It recently occurred to me that our windlass could probably use some attention. After all, it has served us well for a few seasons and hasn’t received any TLC. Our prior boat was much smaller and didn’t have a windlass. Since I didn’t have any experience with any sort of windlass maintenance, I turned to YouTube. Imtra, the company that manufacters the Lofrans Tigres Windlass we have, has a channel with a detailed six step maintenance tutorial. All seven videos were a total of about 30 minutes….easy peasy, right ?
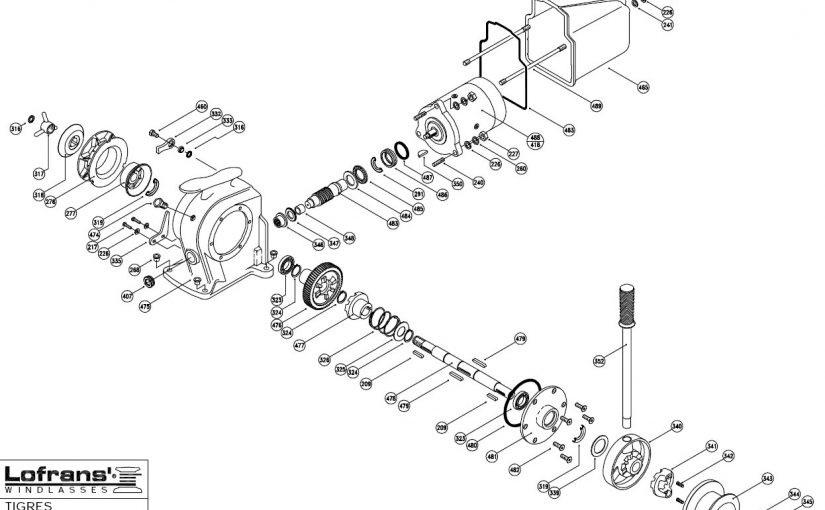
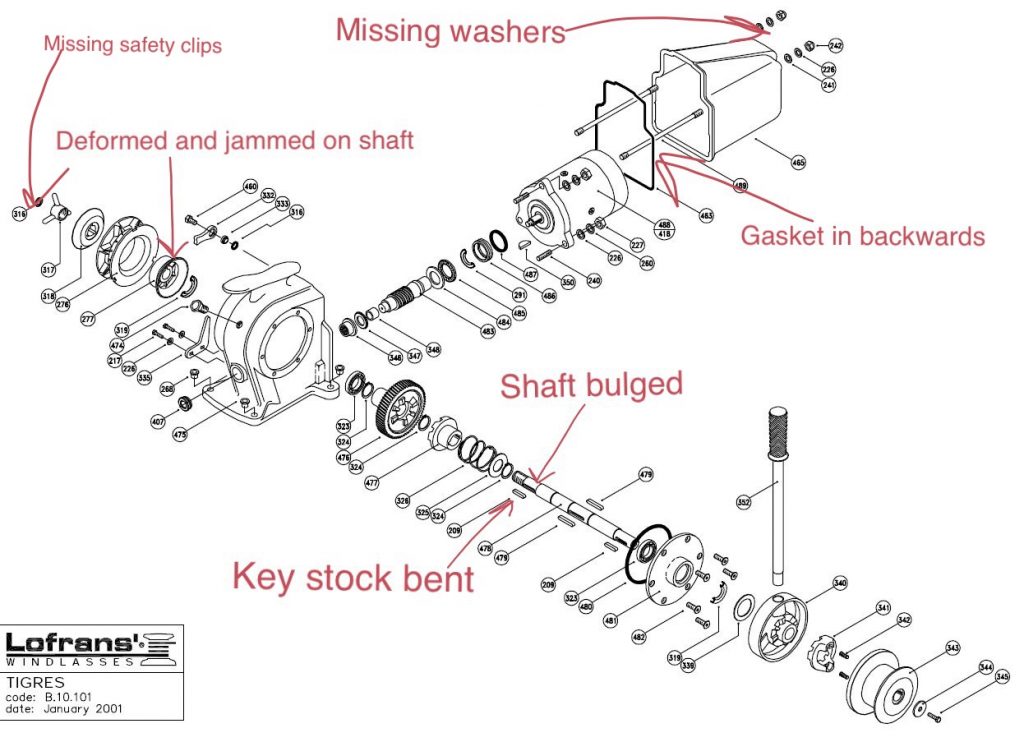
It seemed simple enough, so the next day I dove into the disassembly, cleaning and regreasing. In the far left side of the diagram, on the end, you can see the Circlips, which are small circular washer type safety stops to prevent an item on a threaded shaft from falling off if you loosen it too much or it vibrates loose. Those were missing, so I found and ordered some from Grainger. It seemed that the end of the driveshaft had been damaged at some point and the slot for the clips was bent closed……40 minutes of filing later, the groove was fixed.
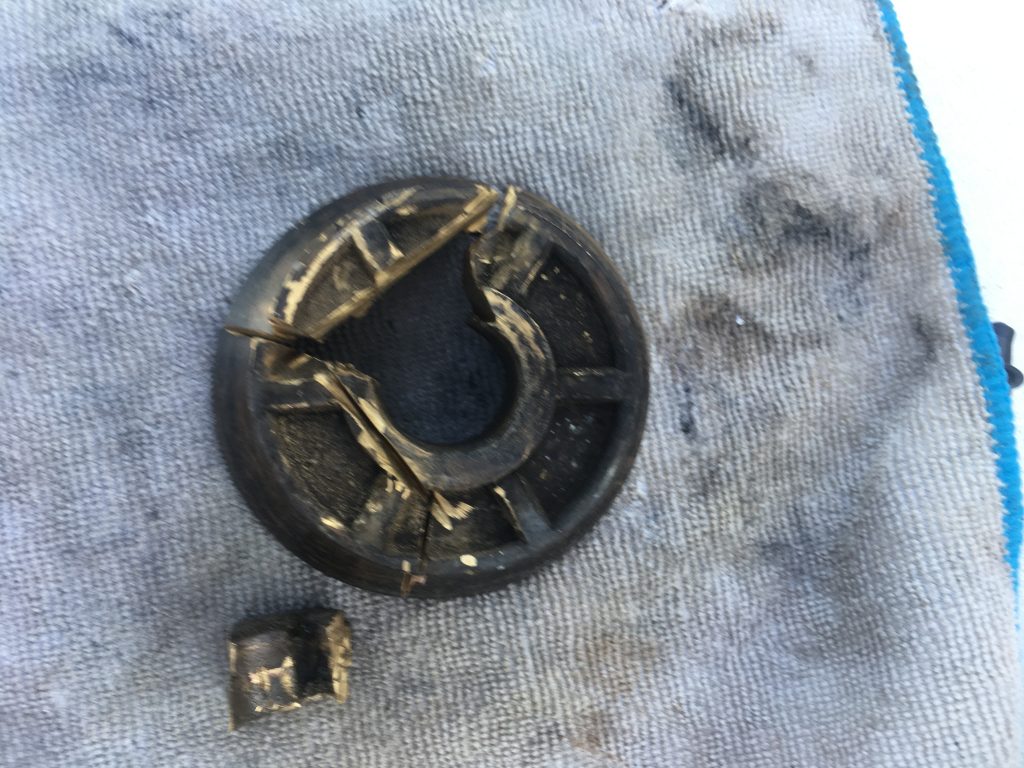
So, working our way inward, once the clutch release is spun off you can remove the outer clutch cone, lower the chain stripper out of the way by removing the aft mounting bolt, remove the chain gypsy and the inner clutch cone. Our inner clutch cone was deformed and jammed on the driveshaft.
So, our inner clutch cone wouldn’t come off. In the video it slipped right off for cleaning, greasing and replacement, not so much in the real world. At some point in the history of our windlass it must have had a lot of stress on the chain without a snubber line to absorb the force. It was bent and slightly split where the keystock fits into the driveshaft. The stainless steel shaft was also slightly bulged, deformed and the keystock was bent. So…out comes the Dremel….90 minutes of careful cutting and the clutch cone was off…..plus ordering a new one for $74 and waiting for delivery…..plus a new gasket for the motor housing $22….
I found a great new source for parts…. https://www.pleasureboatmarine.com they were quick to respond and the parts arrived in two days.
Once the new inner clutch cone arrived I had to file the driveshaft to remove the bulges. That was another hour of fitting the bronze cone, and filing and fitting, since bronze is softer than stainless it made yellow marks on the shaft where it made contact which made it easier to know where to file.
After that was greased and installed the rest went back together pretty easily with the addition of the safety clips on the driveshaft.
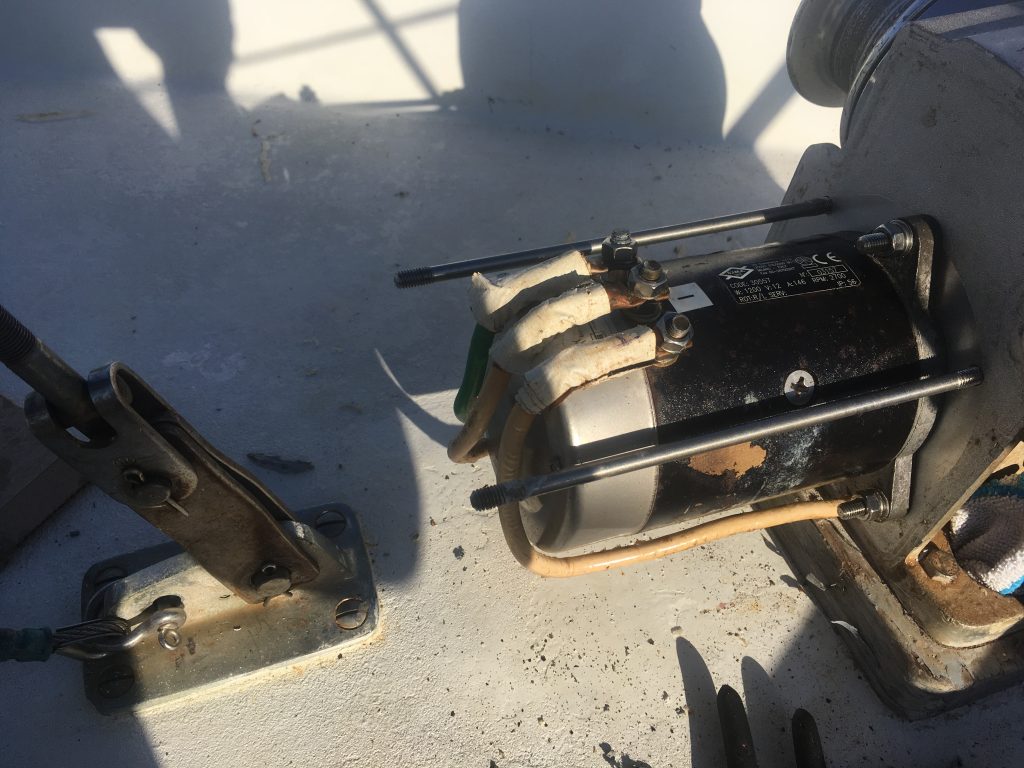
Next, I removed the motor housing cover. This is held in place by two threaded rods that fit into the main body of the windlass secured by acorn, or cap nuts on the outside of the cover. Our cover however, had a bead of caulk around the edge making it extra difficult to remove….so add forty minutes to the process…….
It appeared this caulk was necessary because the nitrile cord gasket had been installed backward and the raised edge was in the groove of the cover rather than facing outward toward the main body of the unit. This removal process was made slightly more difficult by the proximity of the standing rigging for the staysail. I had to loosen the acorn nuts, pry the cover loose, then remove the rods and then take the cover off at an angle and use a rubber mallet to “encourage” it.
Since the housing is aluminum and the bolts and acorn nuts are stainless the cover should have plastic “Delrin” washers to keep the metals from touching as they will interact and cause corrosion. Those washers were also missing.
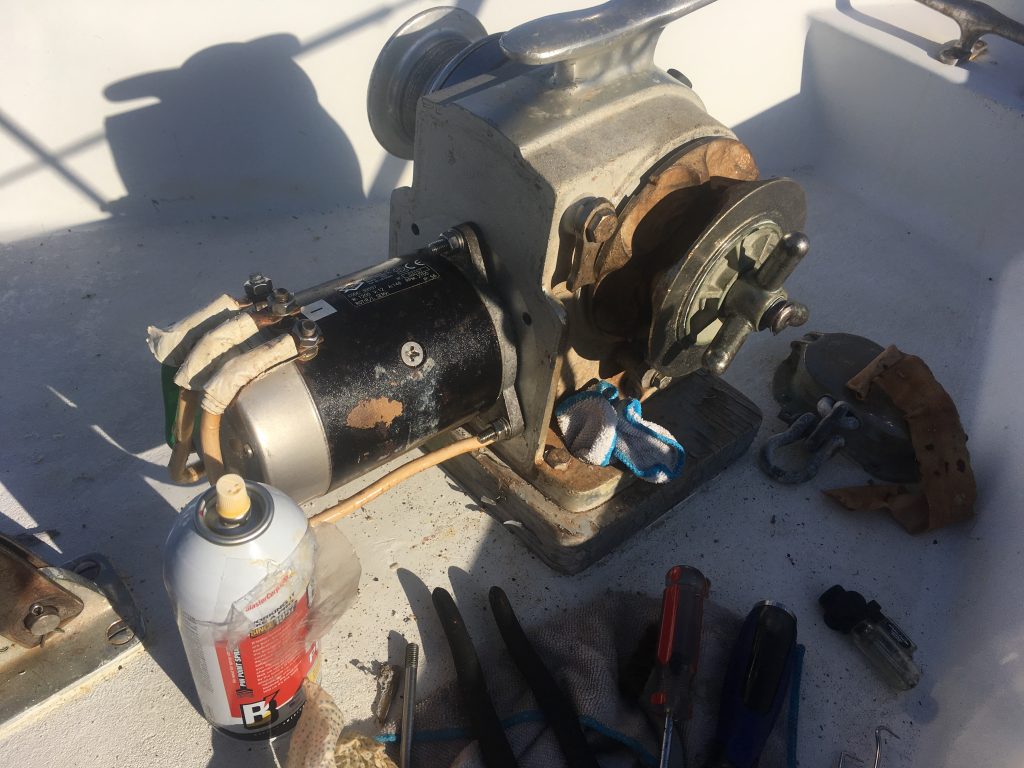
The motor housing was in good shape, the wiring was run properly under the motor and the terminals were clean and secure. I cleaned the motor and applied a light coat of oil to inhibit corrosion.
Once it was reassembled, I tested the rope rode drum side (far right in the diagram), the manual override (where the vertical handle is) and we loaded our new, 250′ of anchor chain into the boat.
need one ?
The 30 minute videos turned into about 4 hours of actual labor and a few days of waiting for parts…boat life !!!
As an added bonus, our windlass remote control has stopped functioning in reverse mode so that’s next on the list…..
Auto Amazon Links: No products found.
