Boat maintenance is one of those recurring things….some is monthly….some is quarterly….some is yearly…..and if you’re unlucky enough to own the boat when some of the items, that only need to be replaced every 20-40 years come along? …you have to do it ……and guess what ? This was that year for us ……we had two seacocks (valves that control water either coming into to or going out of the boat) that needed to be replaced, and our depth sounder was dying a slow and painful death.
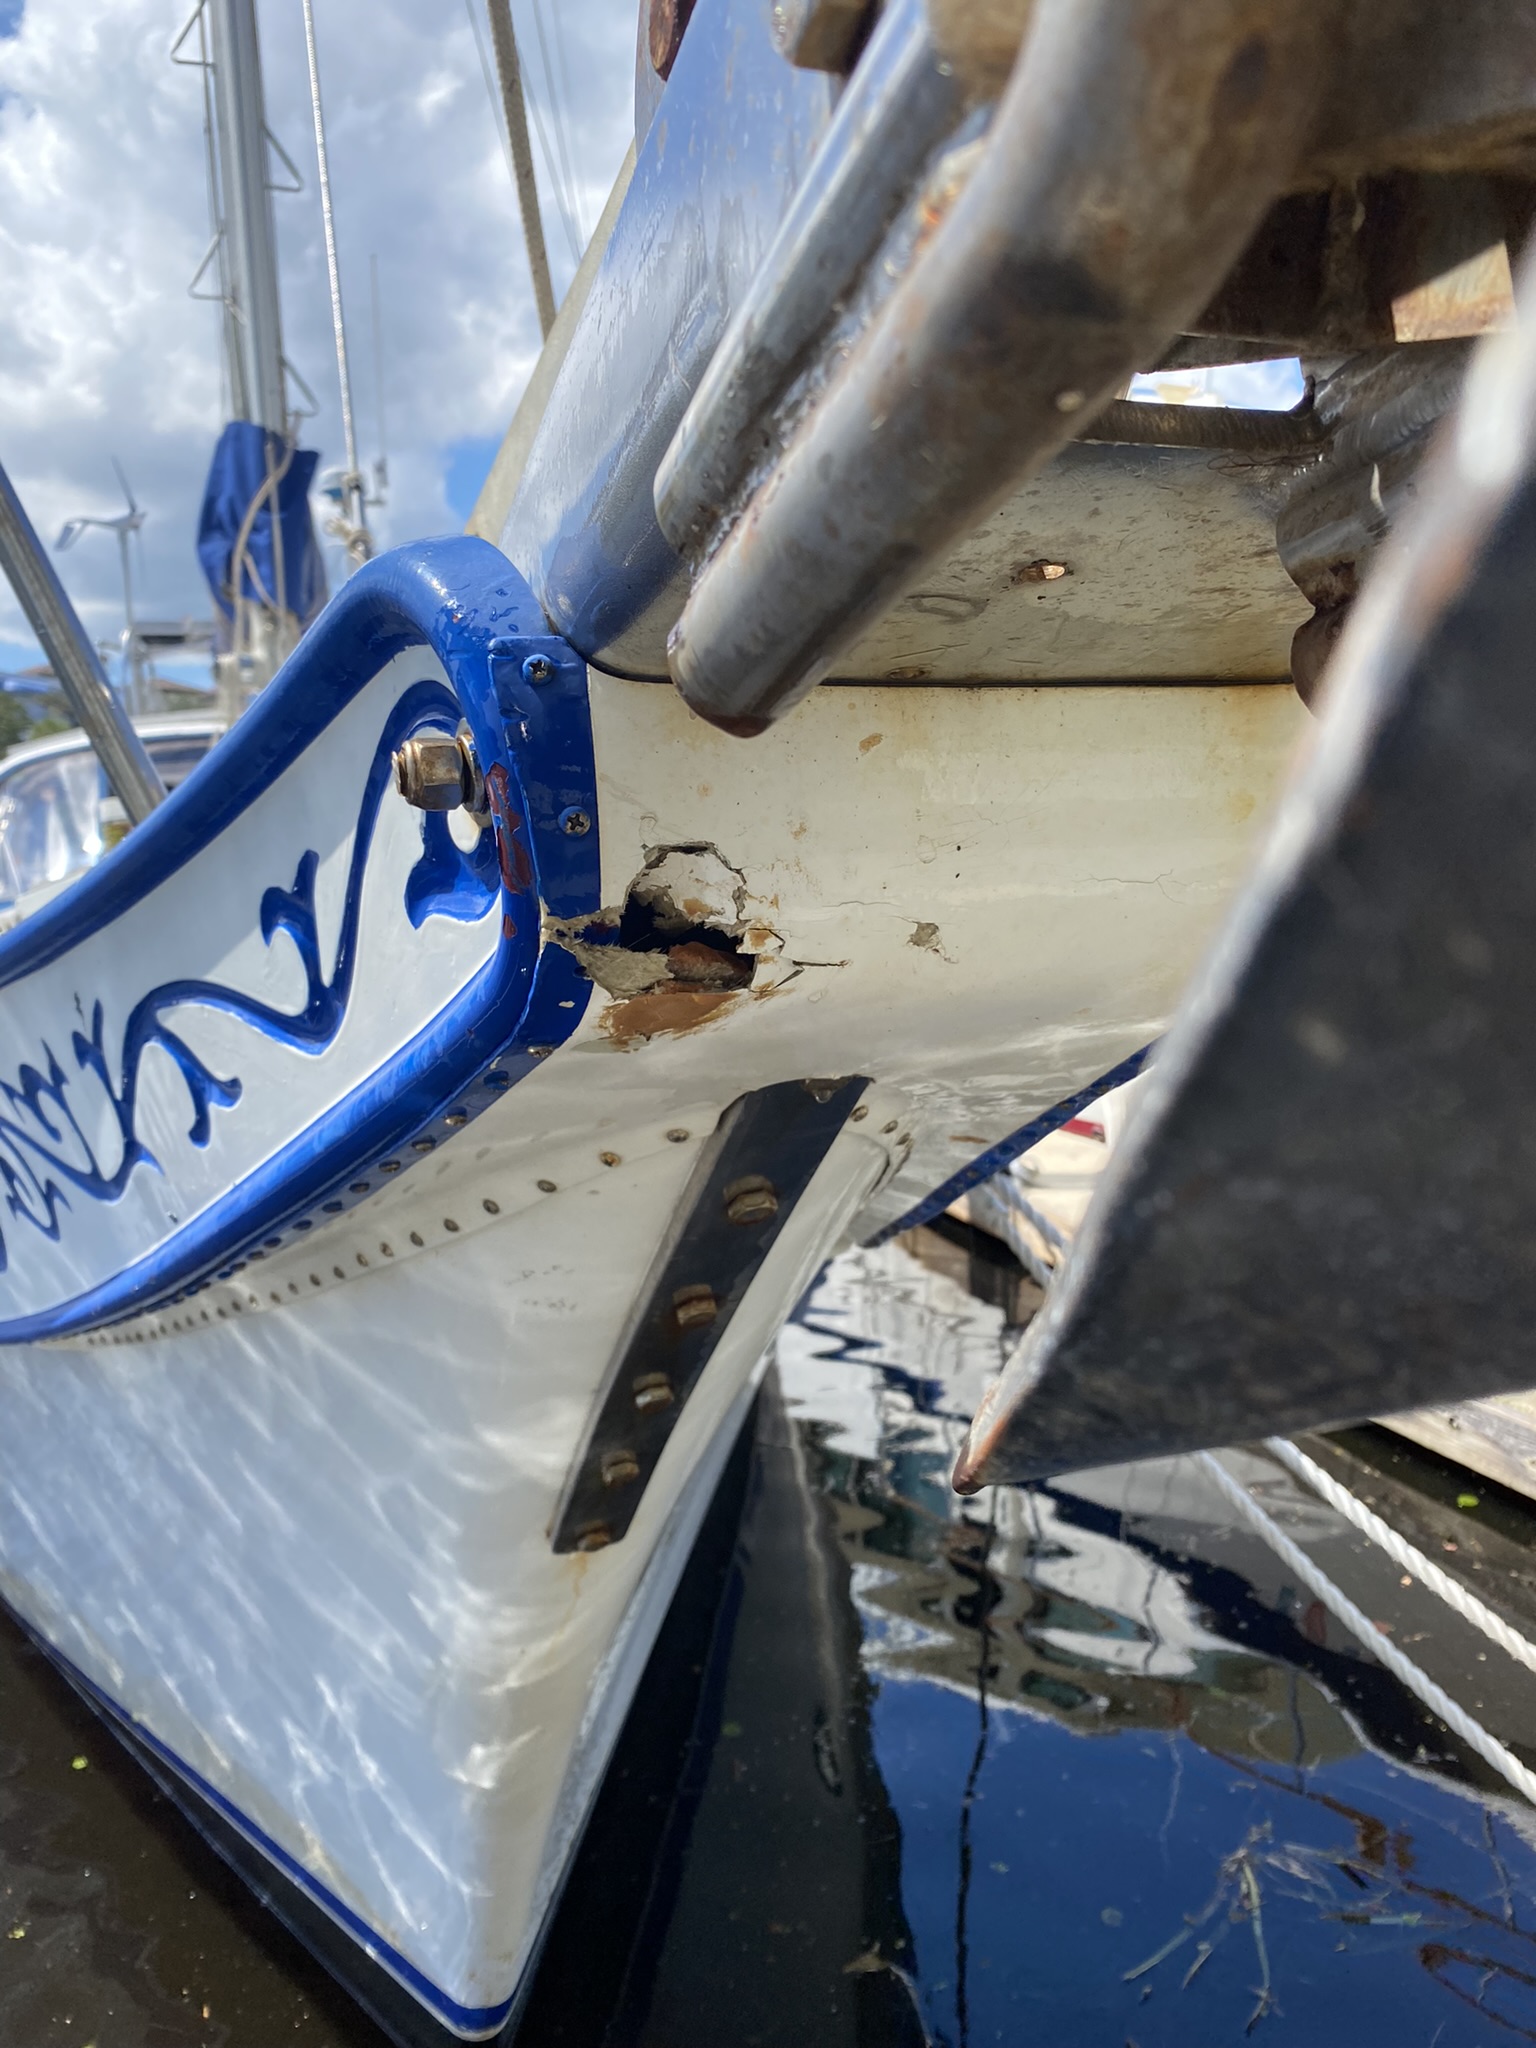
In addition, one of the lesser recognized hurricane hazards is from your own equipment. During hurricane Ian, we were in a marina that experiences some decent swell from the south which tends to hit the beam of the boat and our secondary anchor bashed a hole in what is called our trail board, or as I call our “mustache” on our bow.
Fortunately, we were about a month from a haul out for a bottom paint job. So we decided to wait and have it fixed while were “on the hard”.
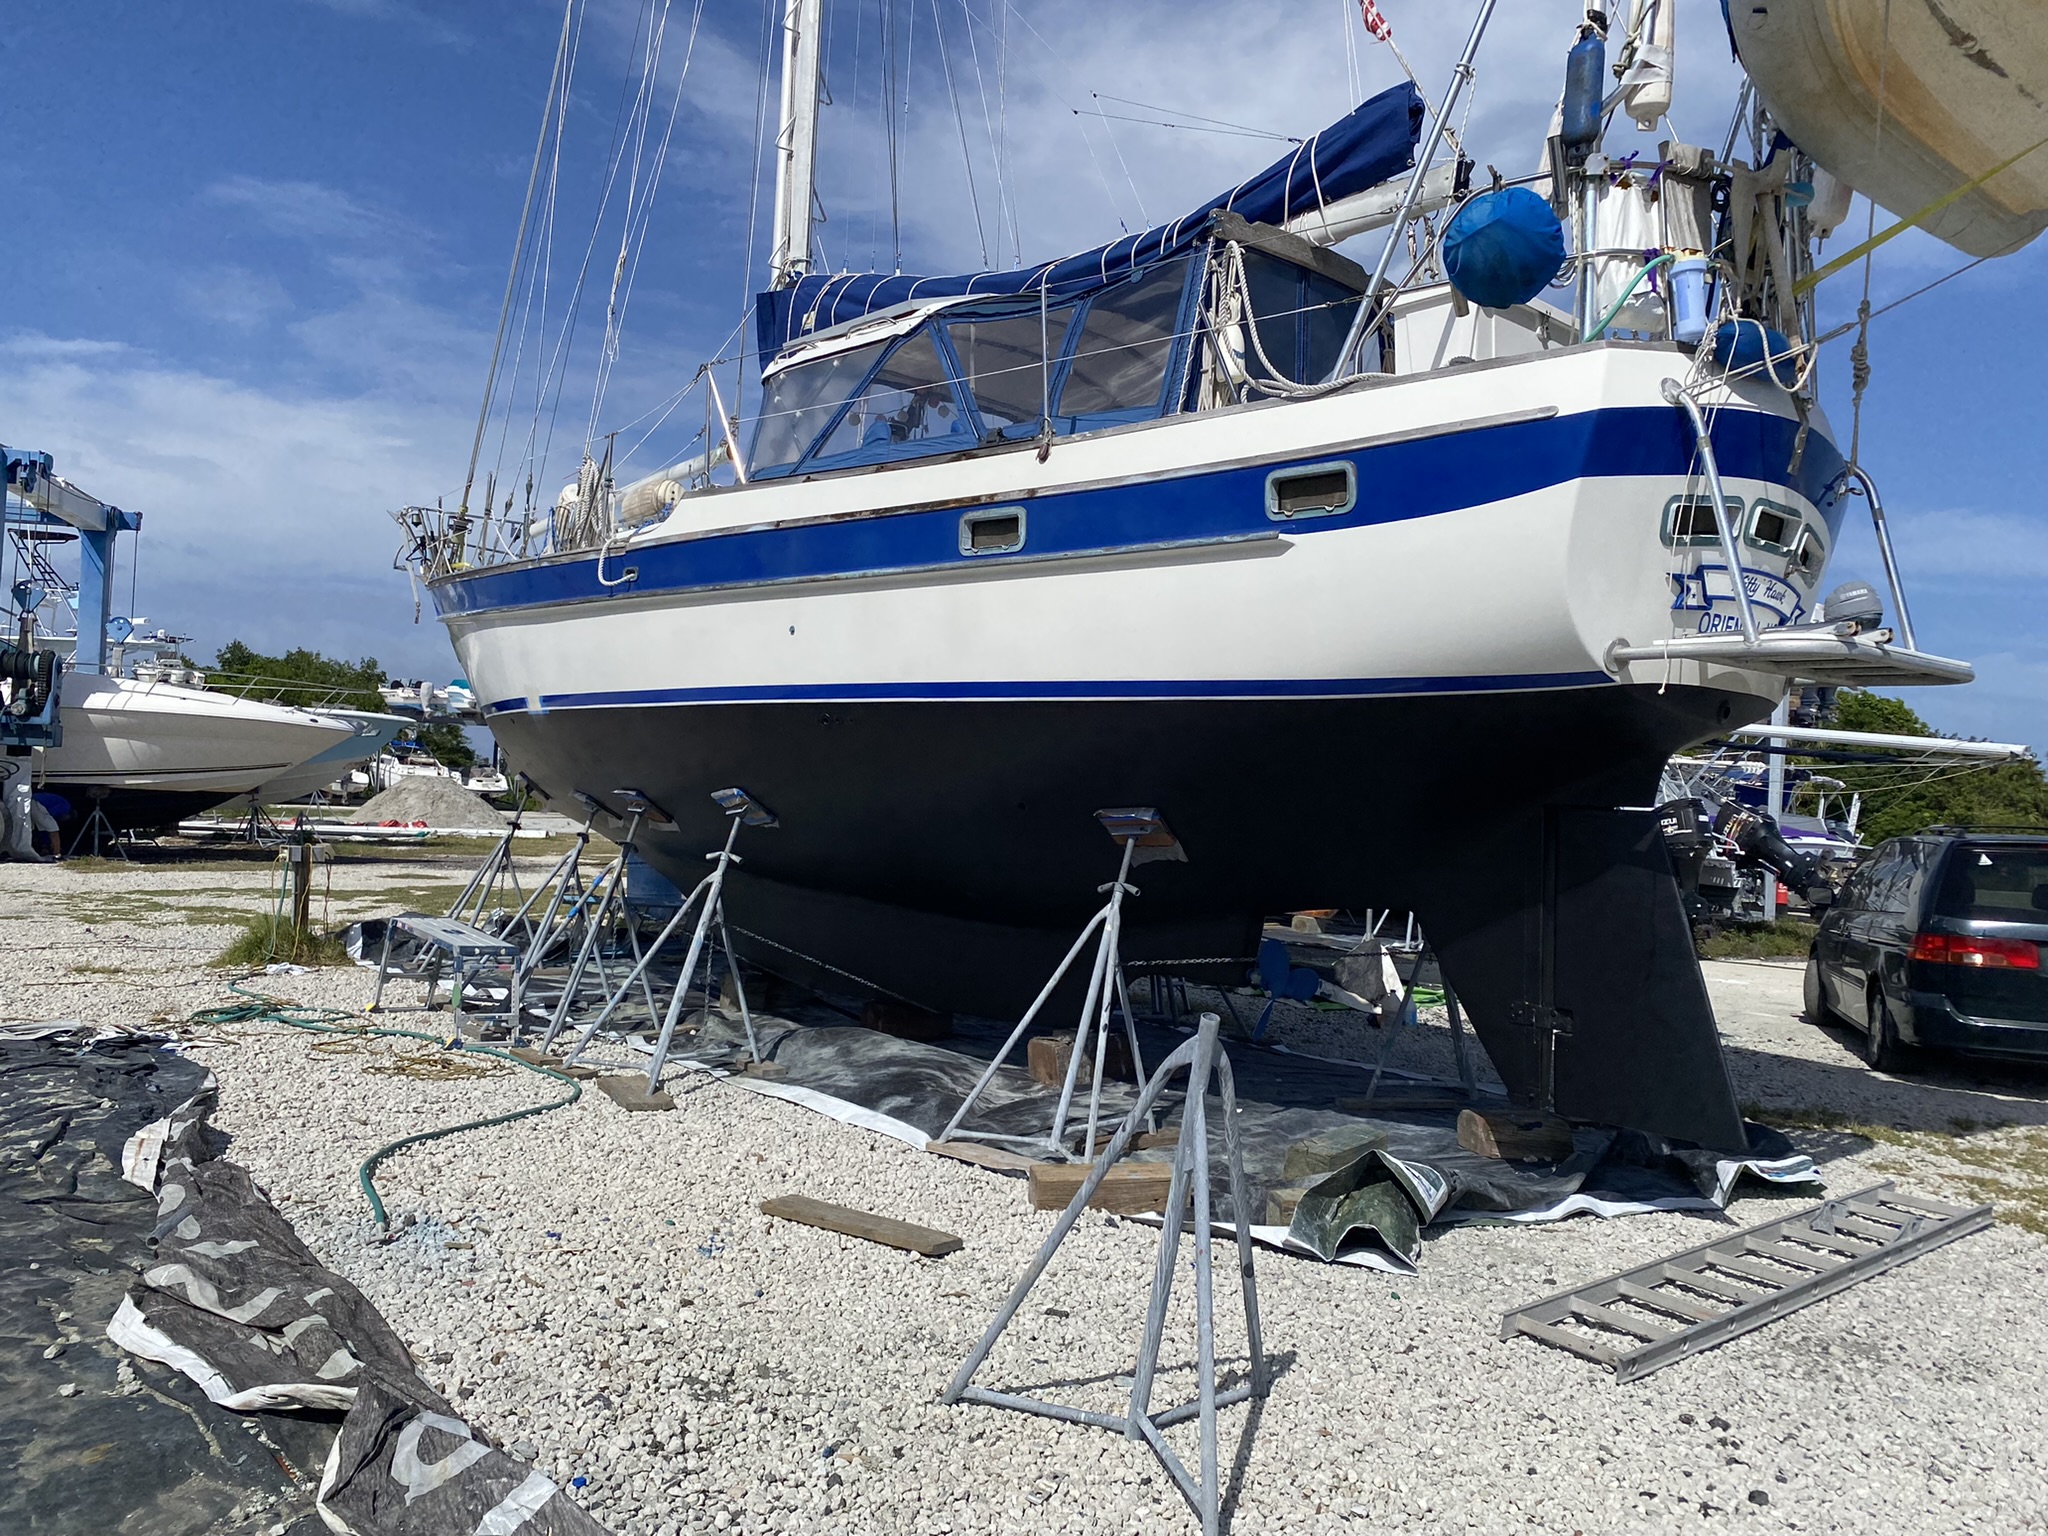
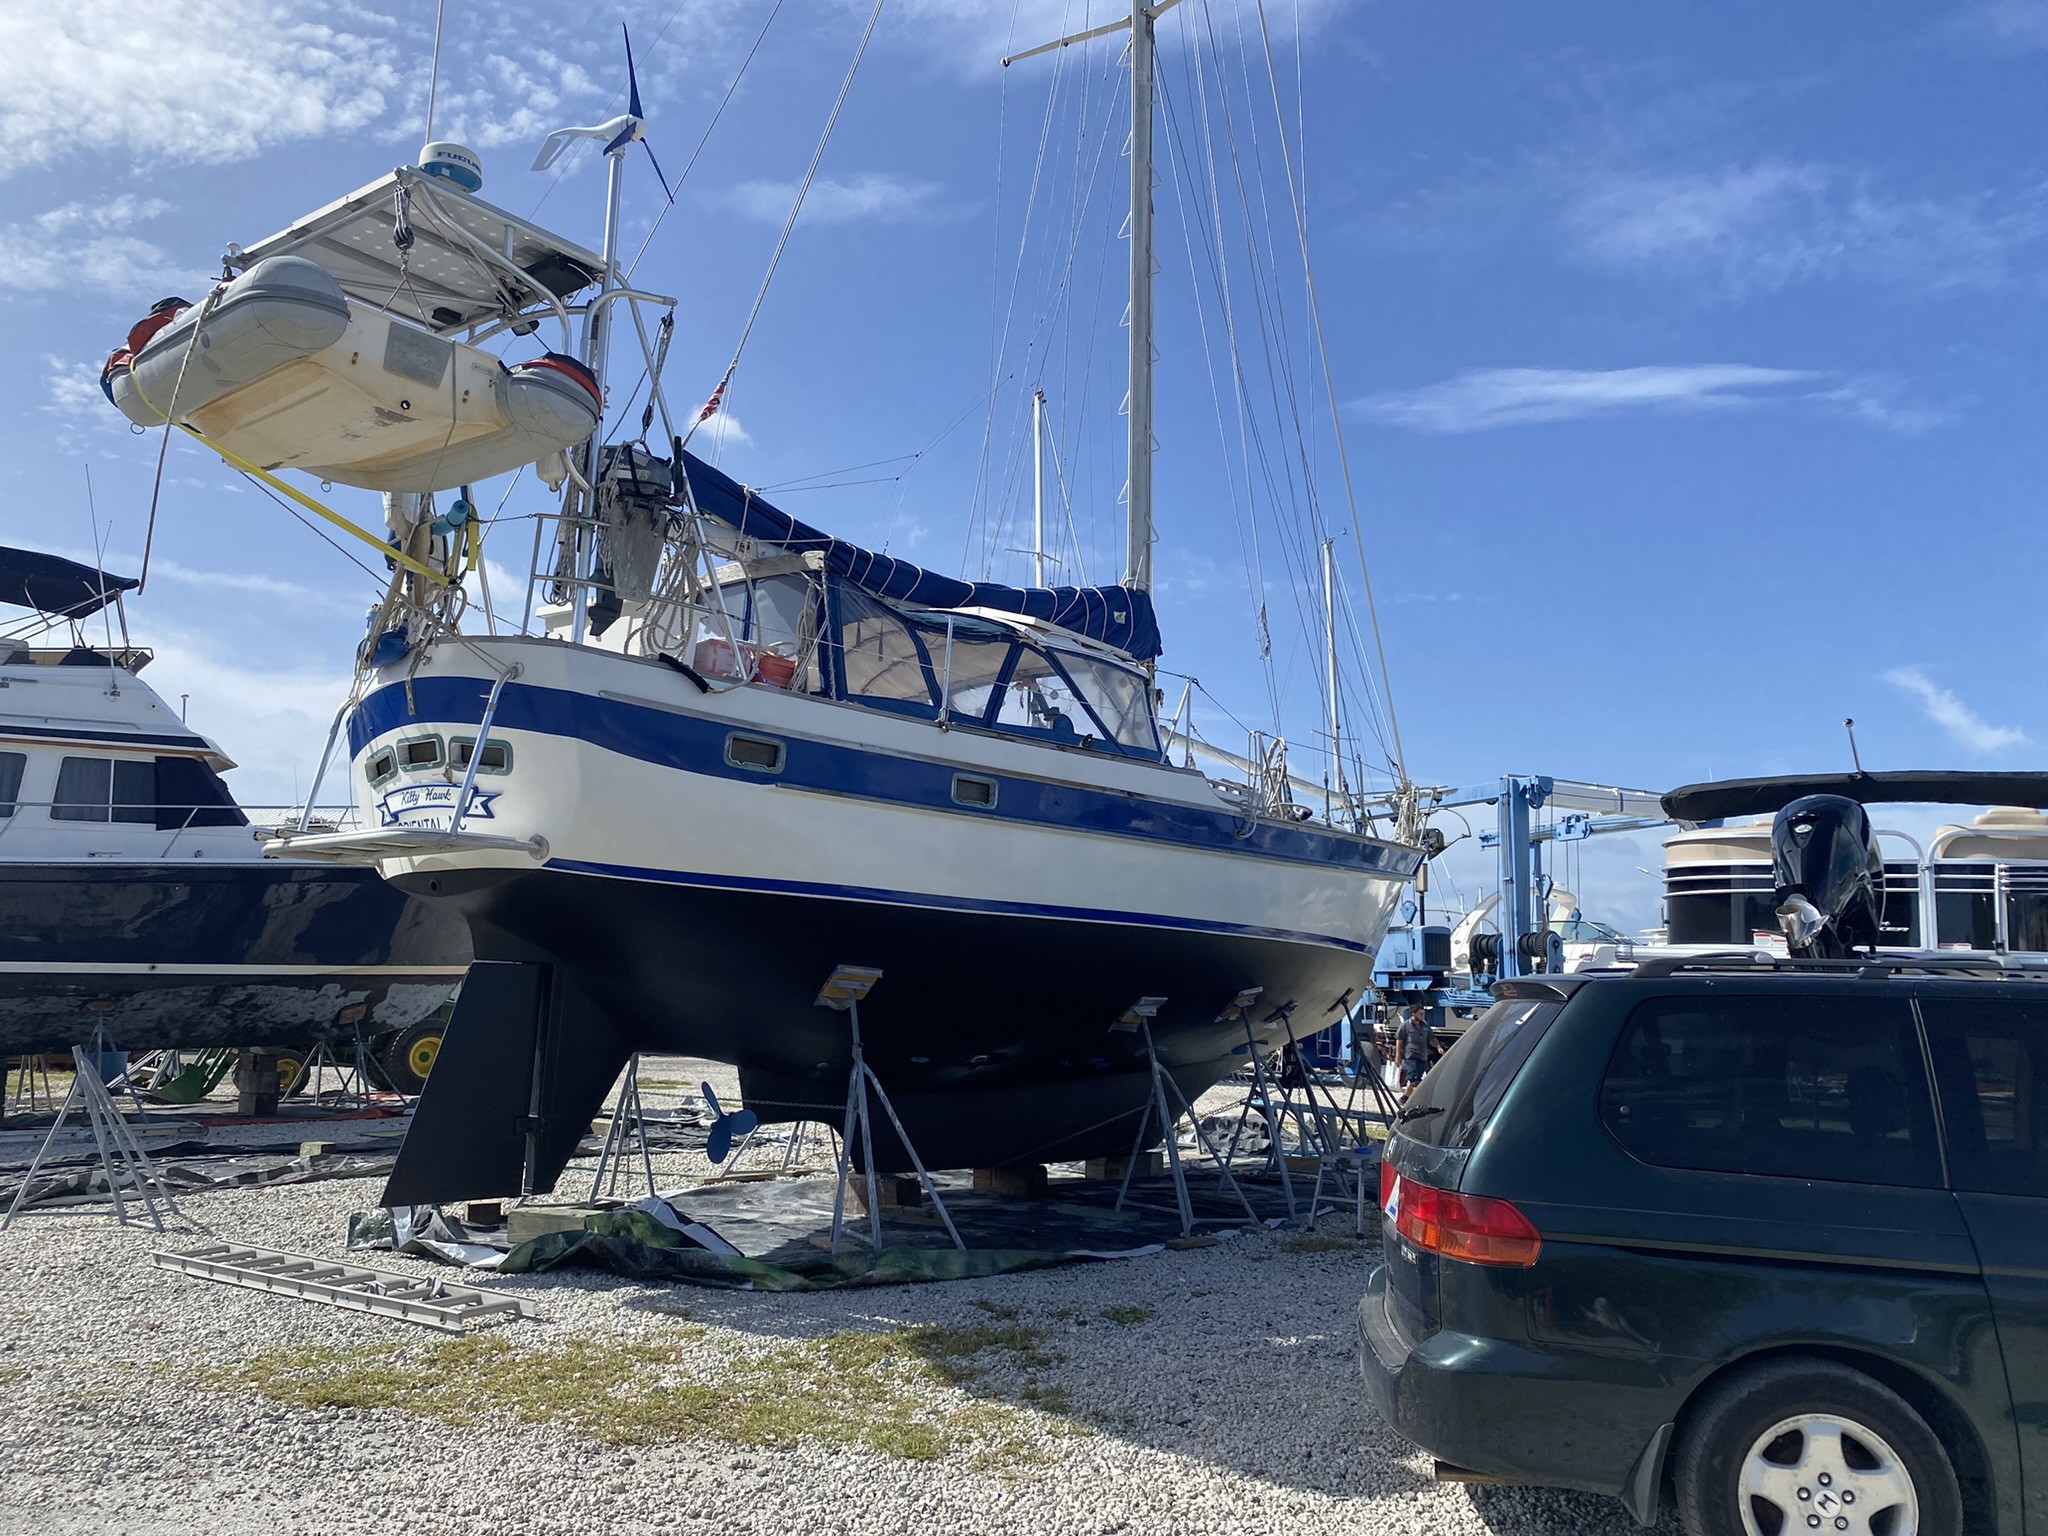
If you’re unfamiliar with the haul out procedure, there is a large framework on wheels that uses a system of hydraulics to lift boat out of the water and carry it into the yard via some enormous nylon straps. You get the first view of how terrible your bottom looks …..(pun intended)
You also get to see what a horrendous job the prior boatyard did on your bottom paint…..Don’t ever use Cape Marine in Port Canaveral, Florida.
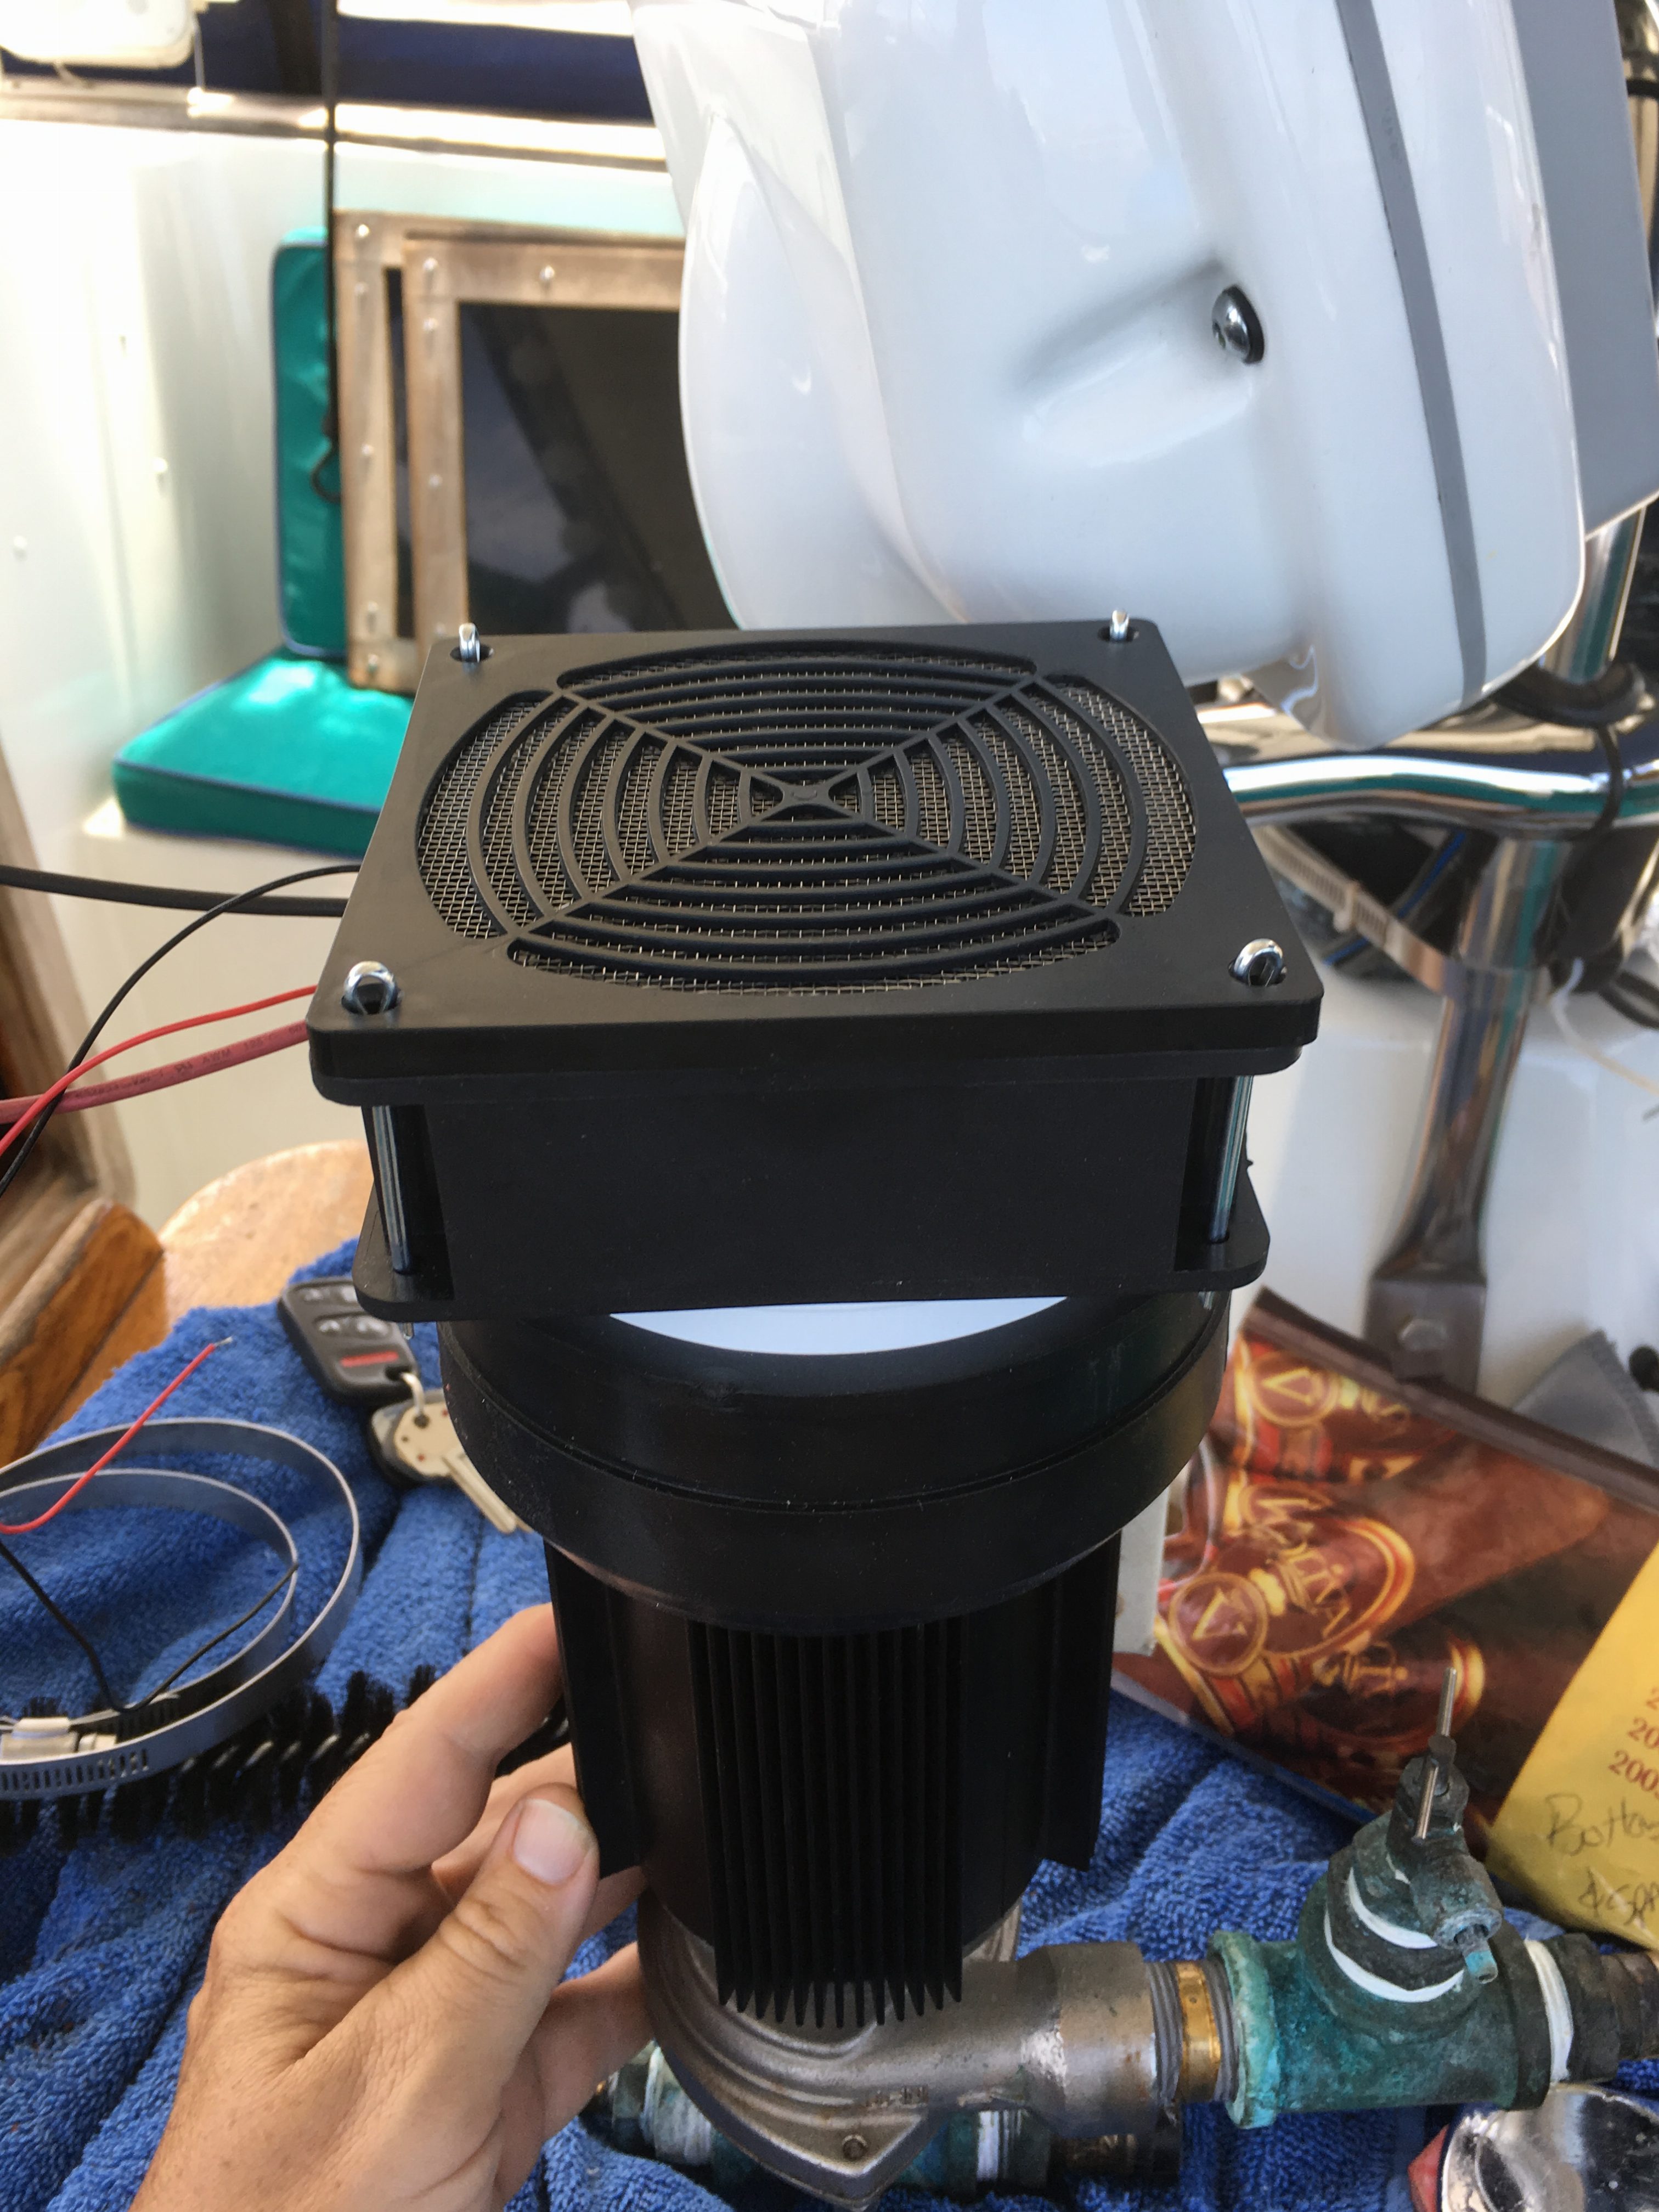
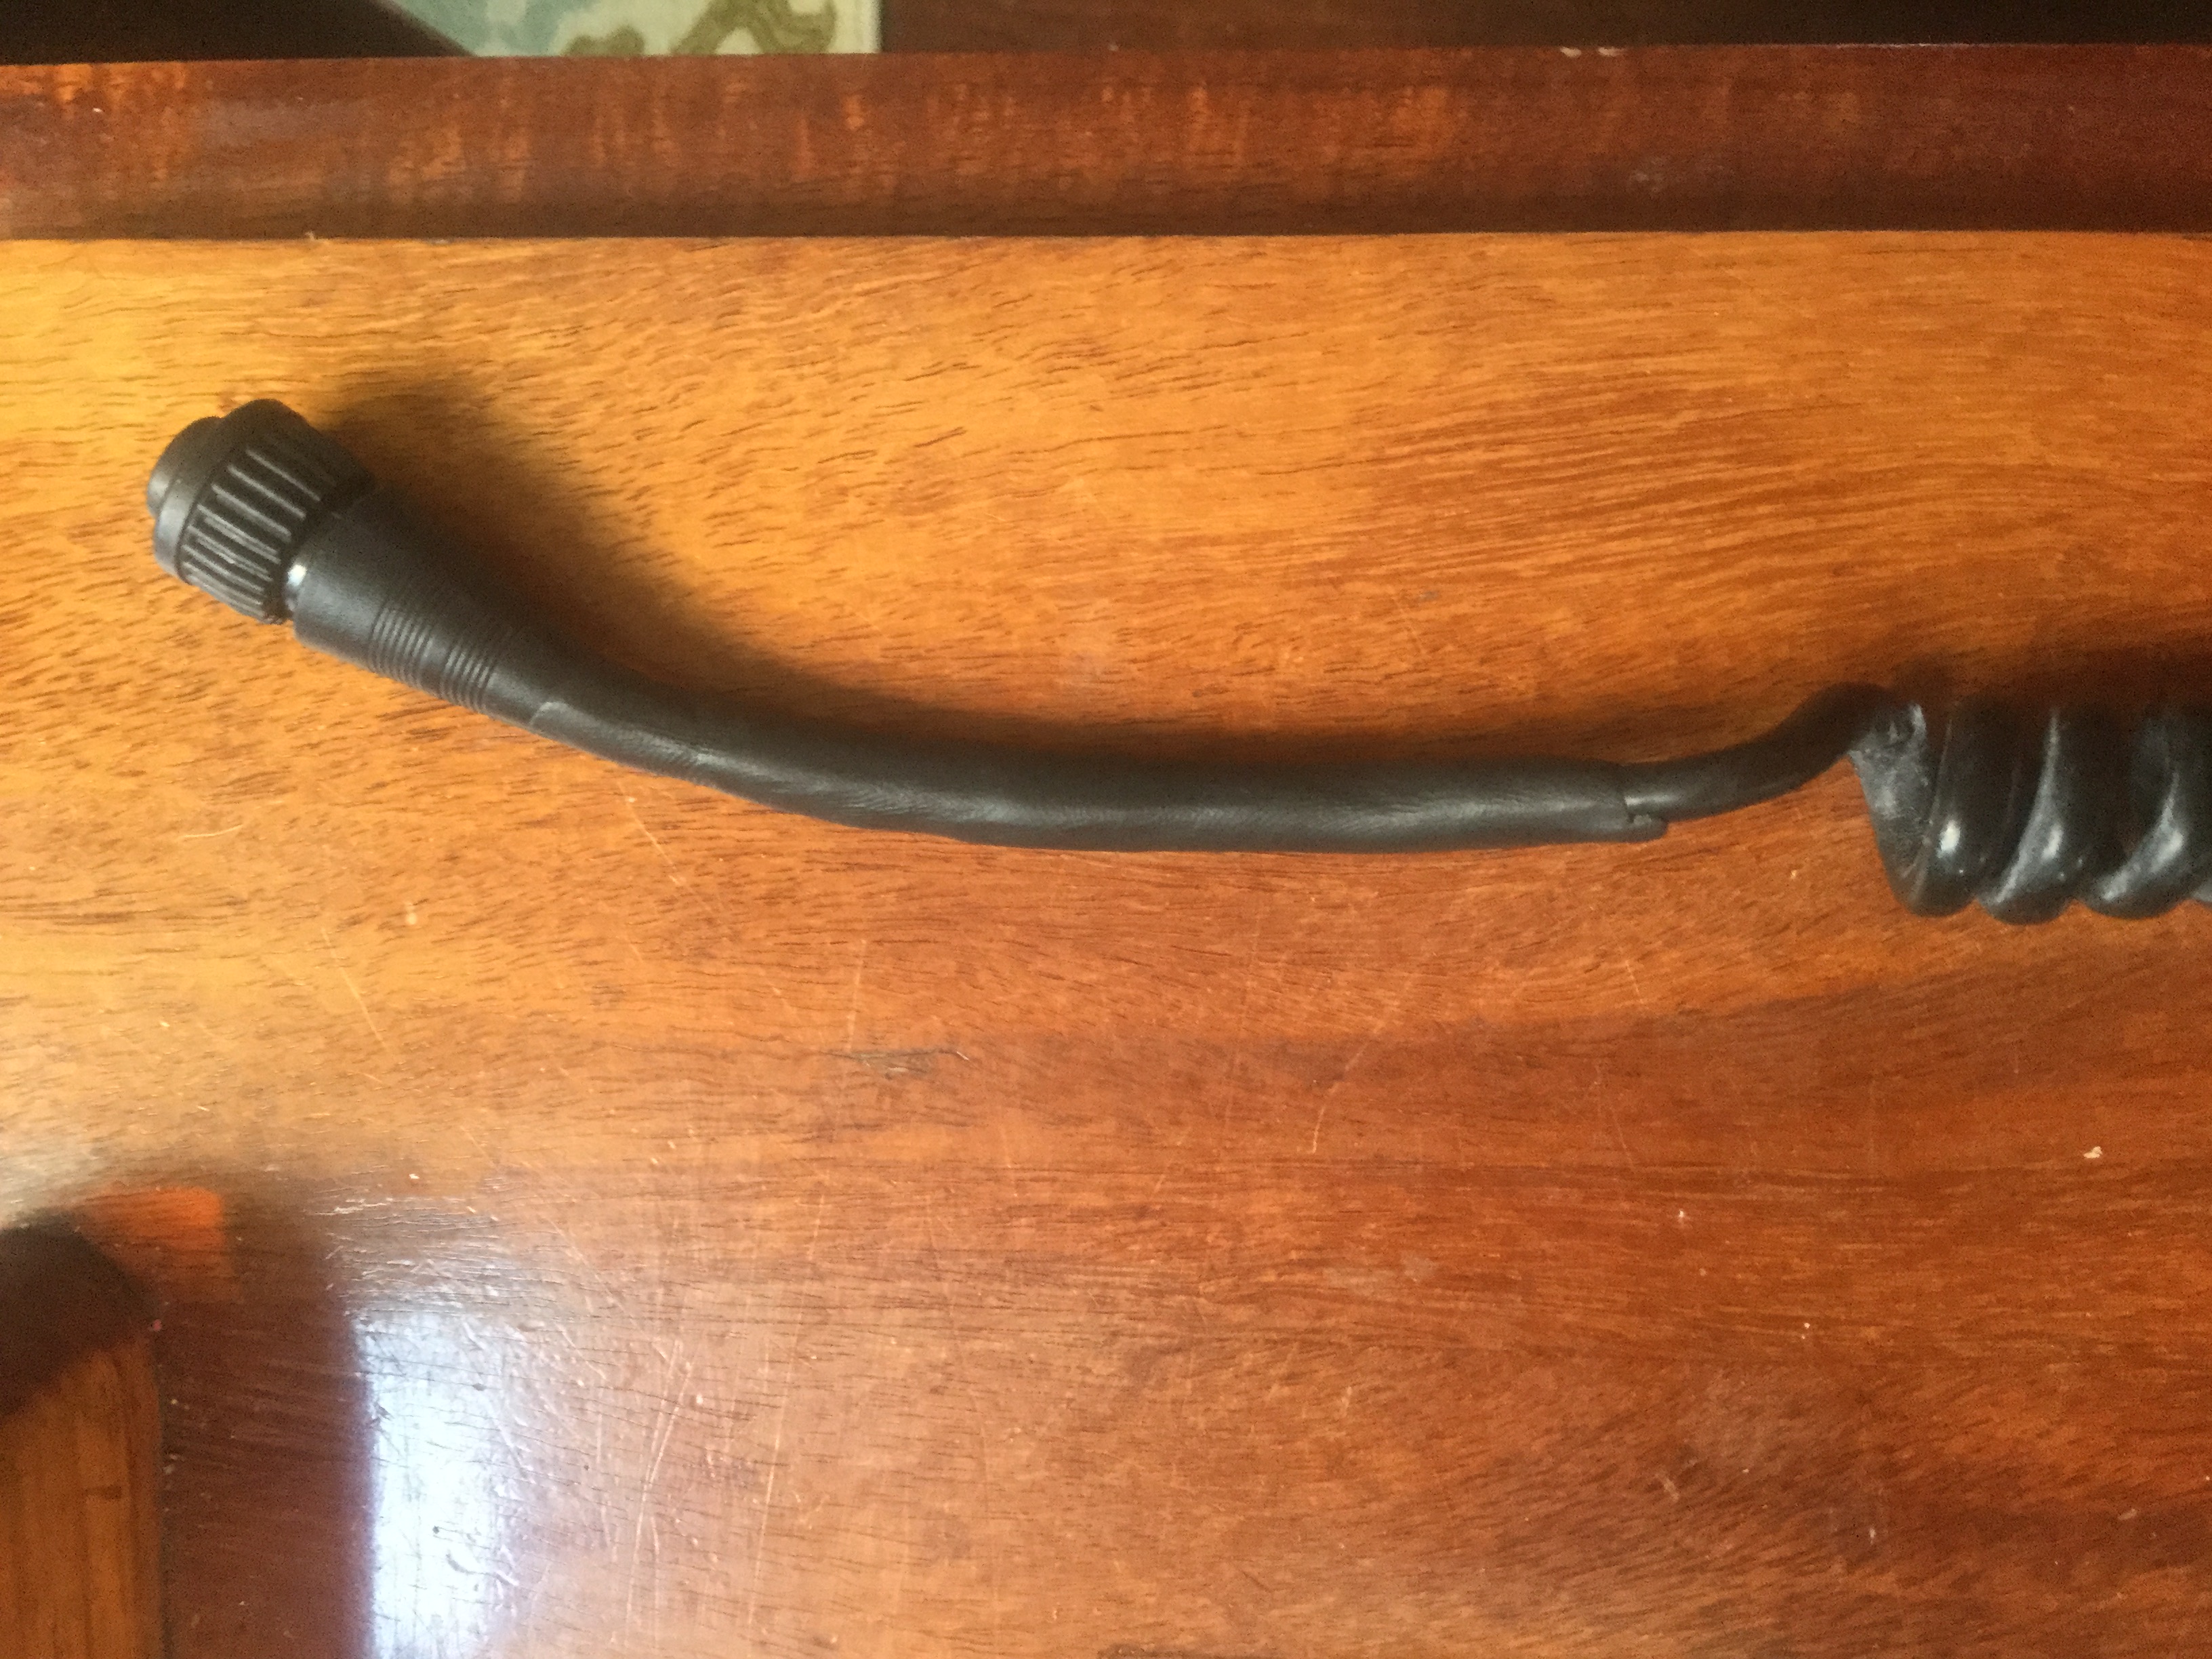
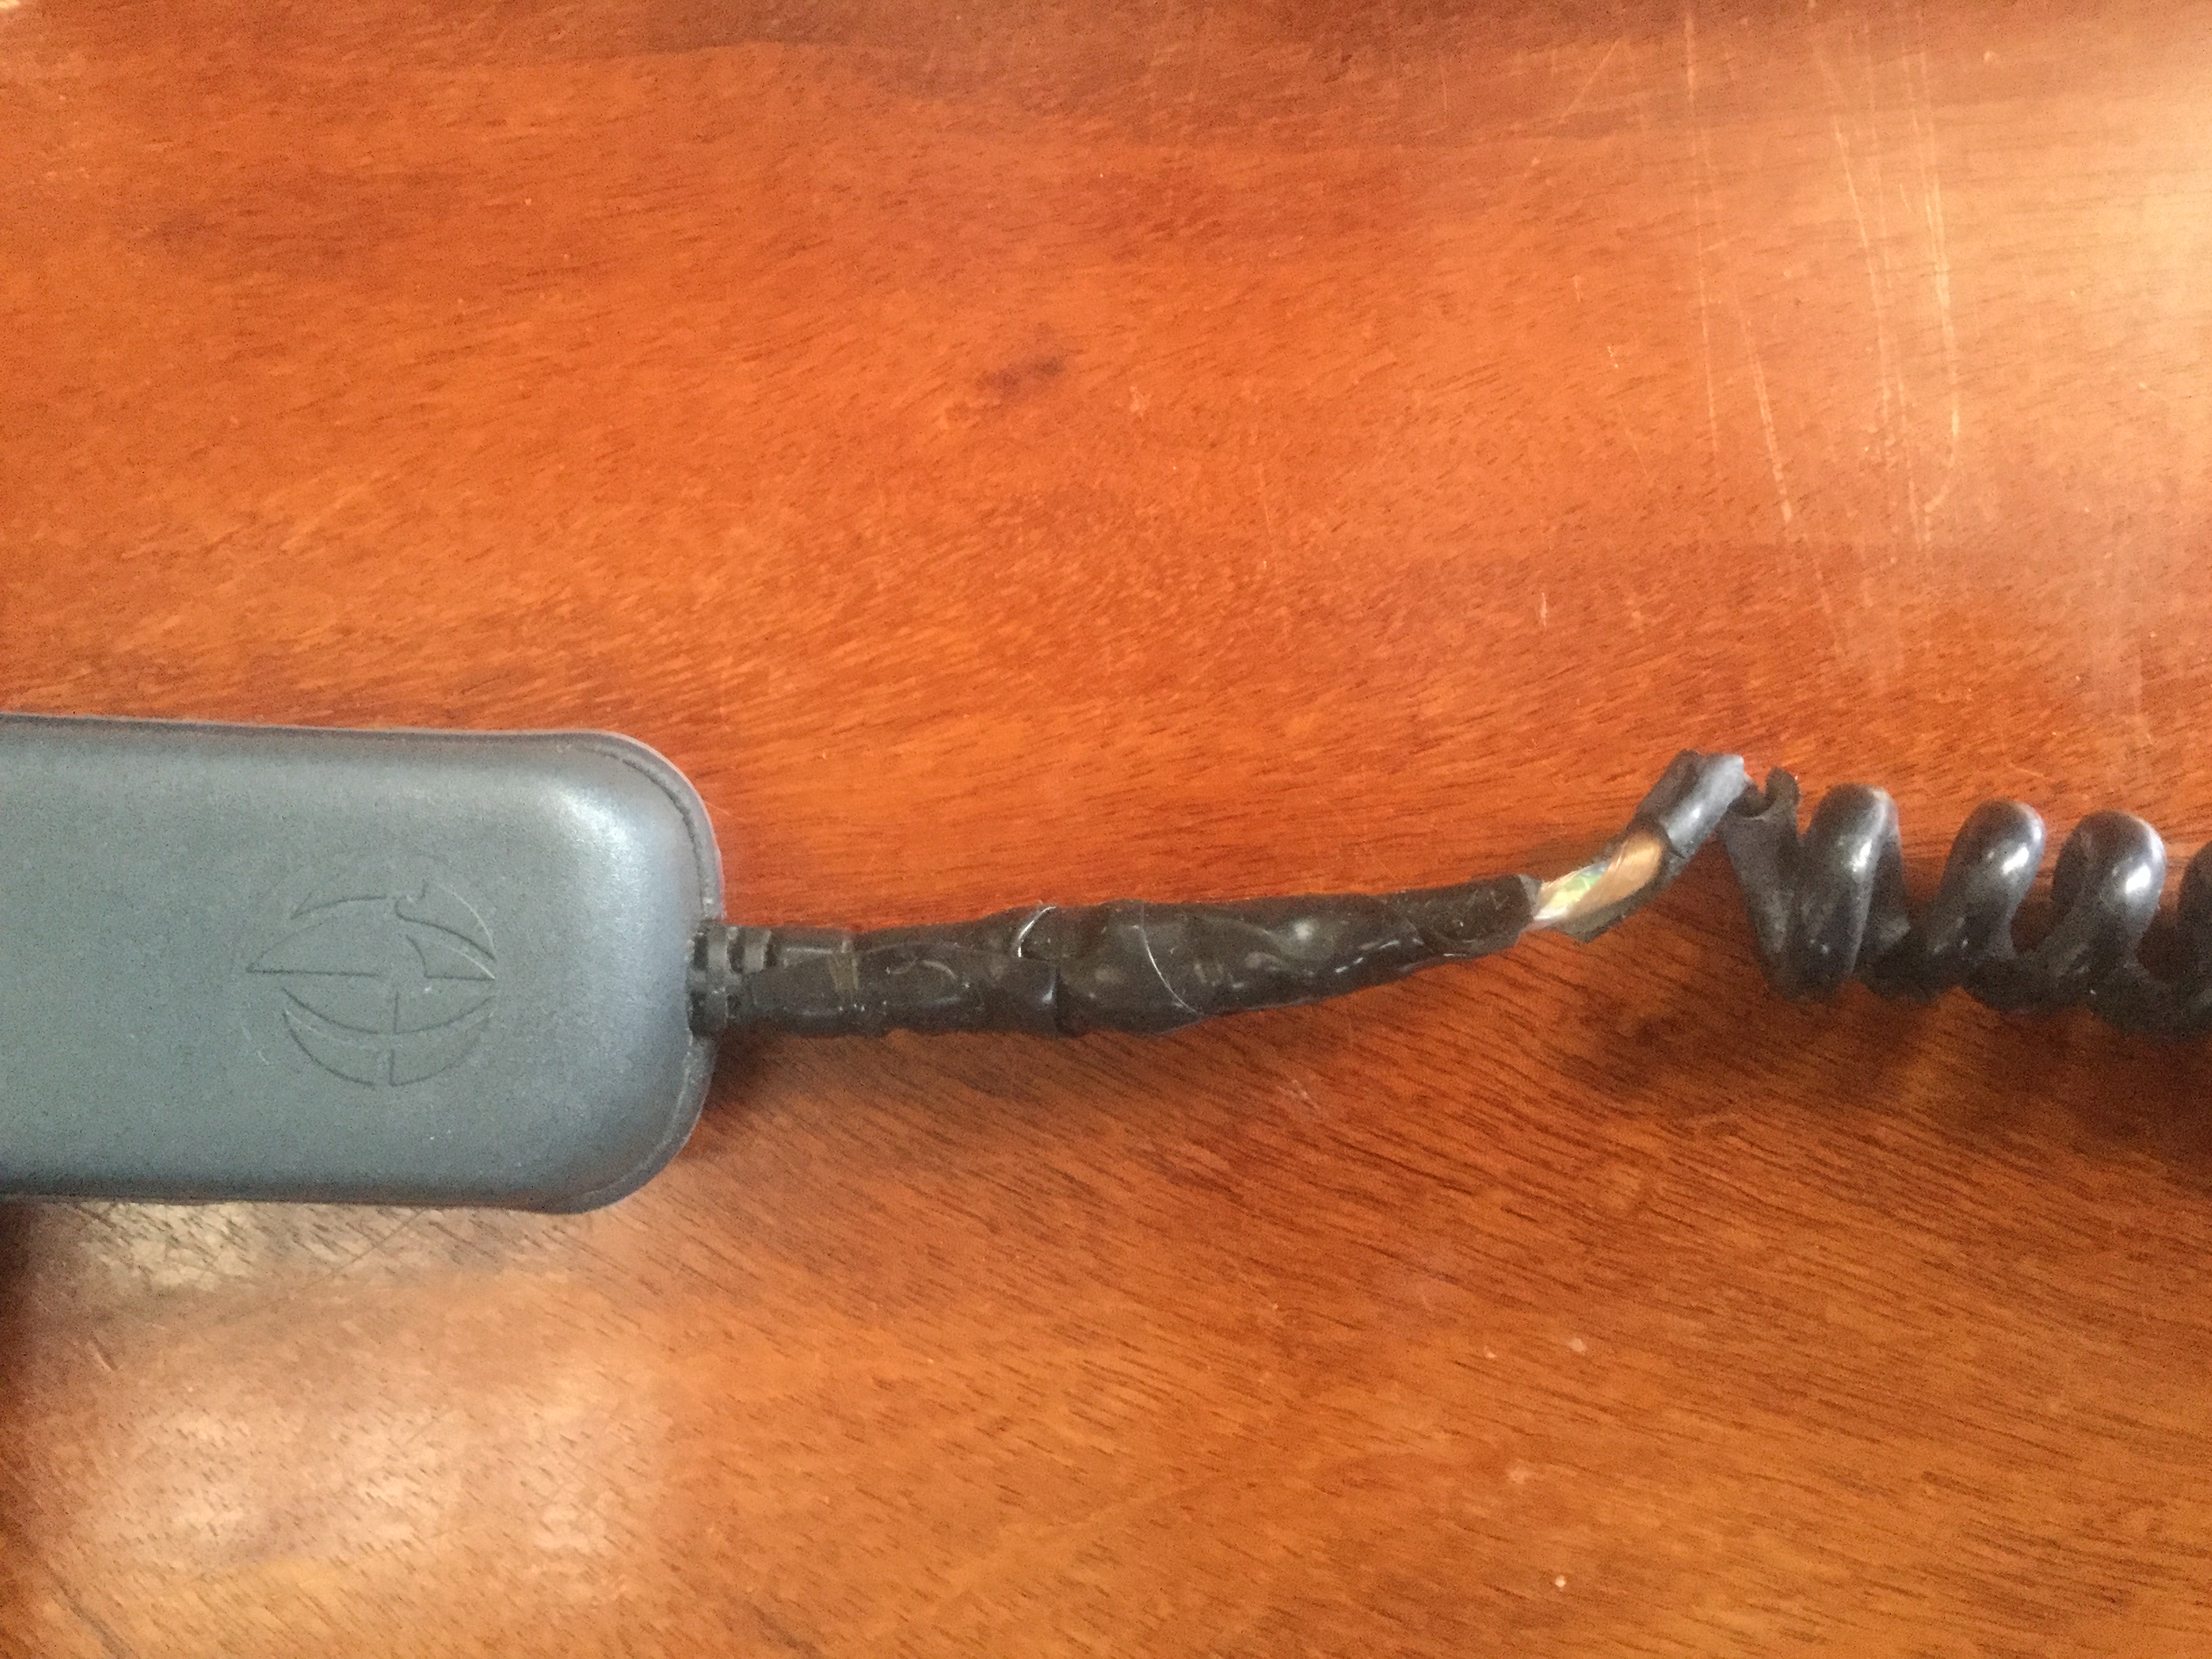
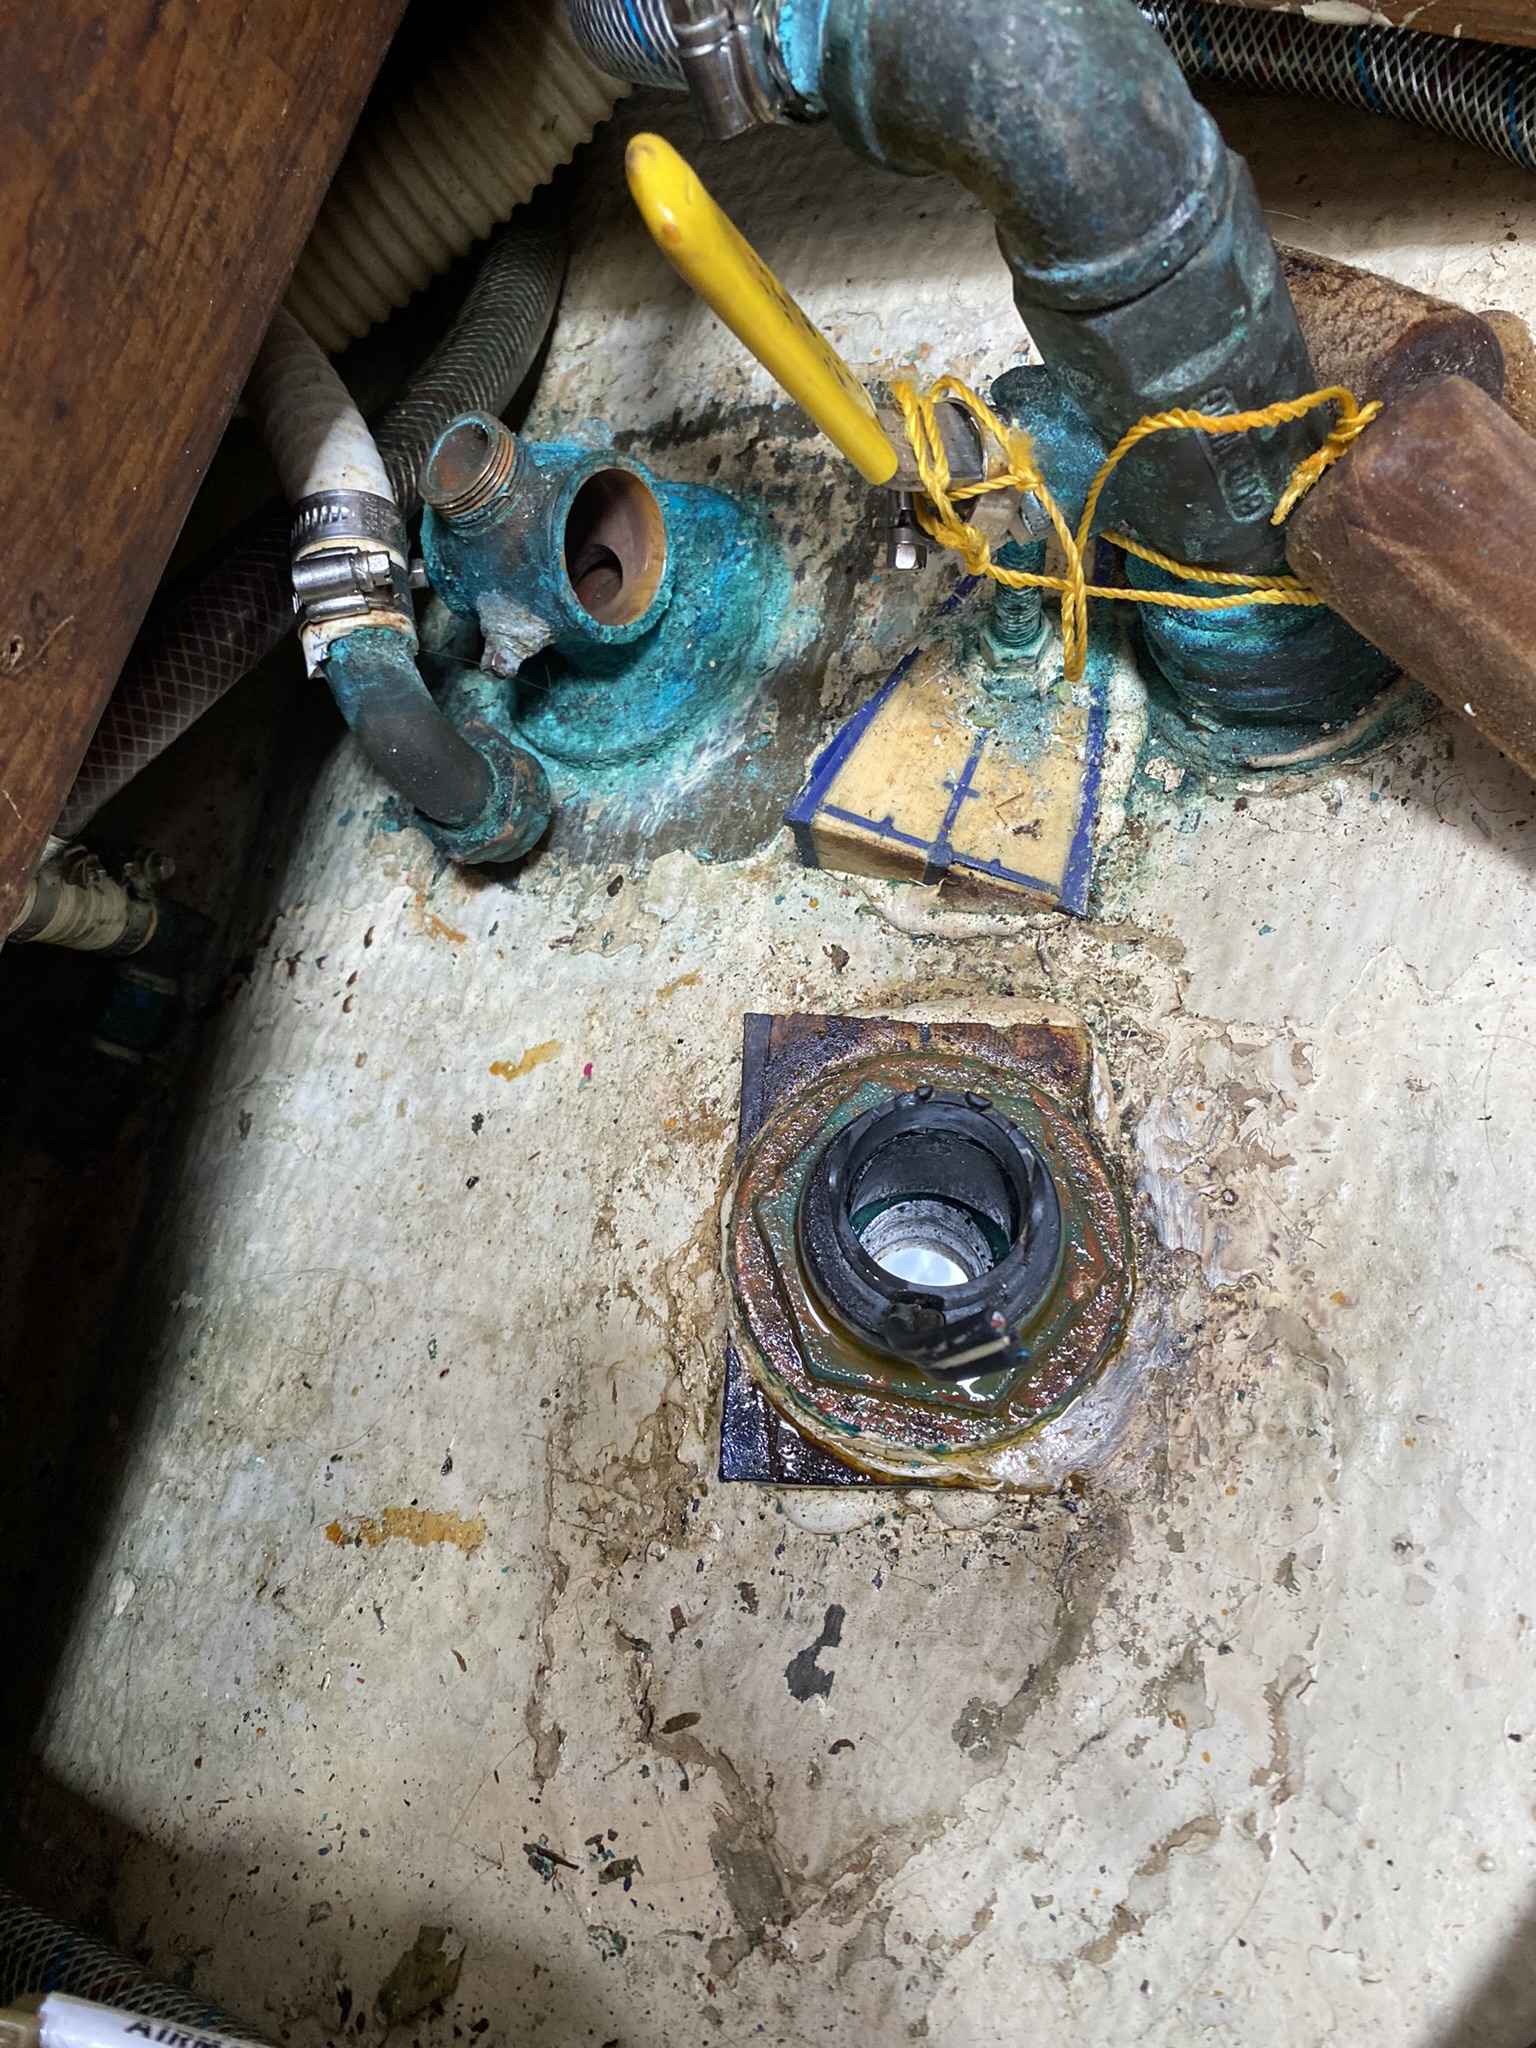
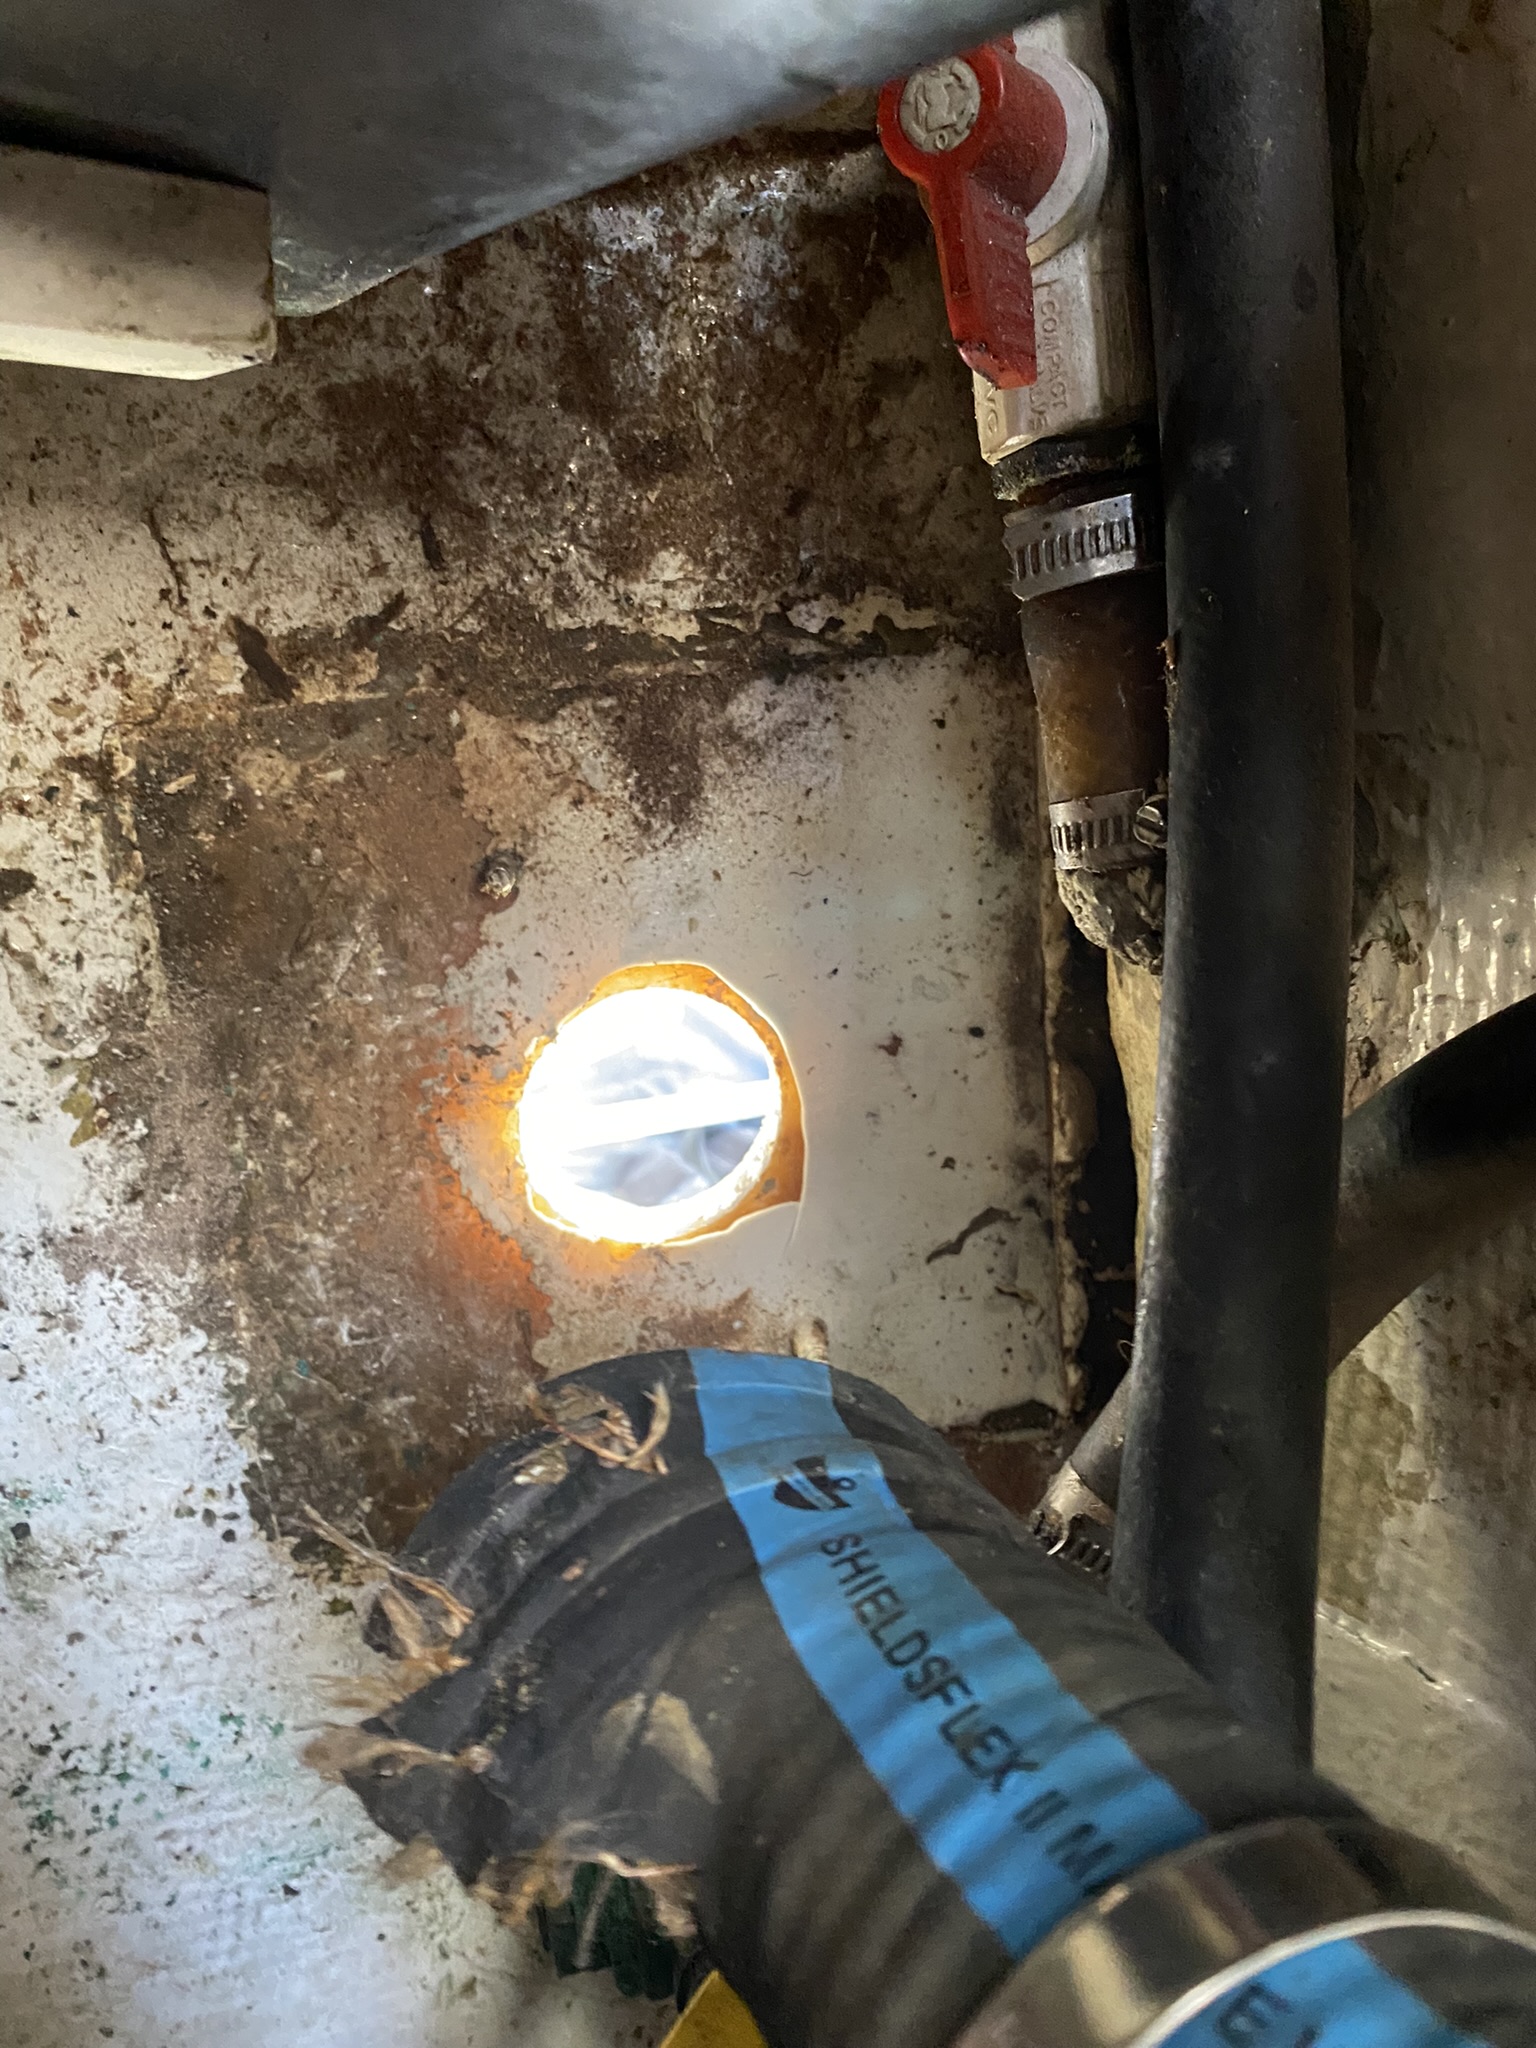
Next it’s the demolition phase……our depth sounder had stopped working in under 8’ of water (which is really when you need it the most) but still worked in 200’ of water???? That black collar is the inboard end of the depth sounder.
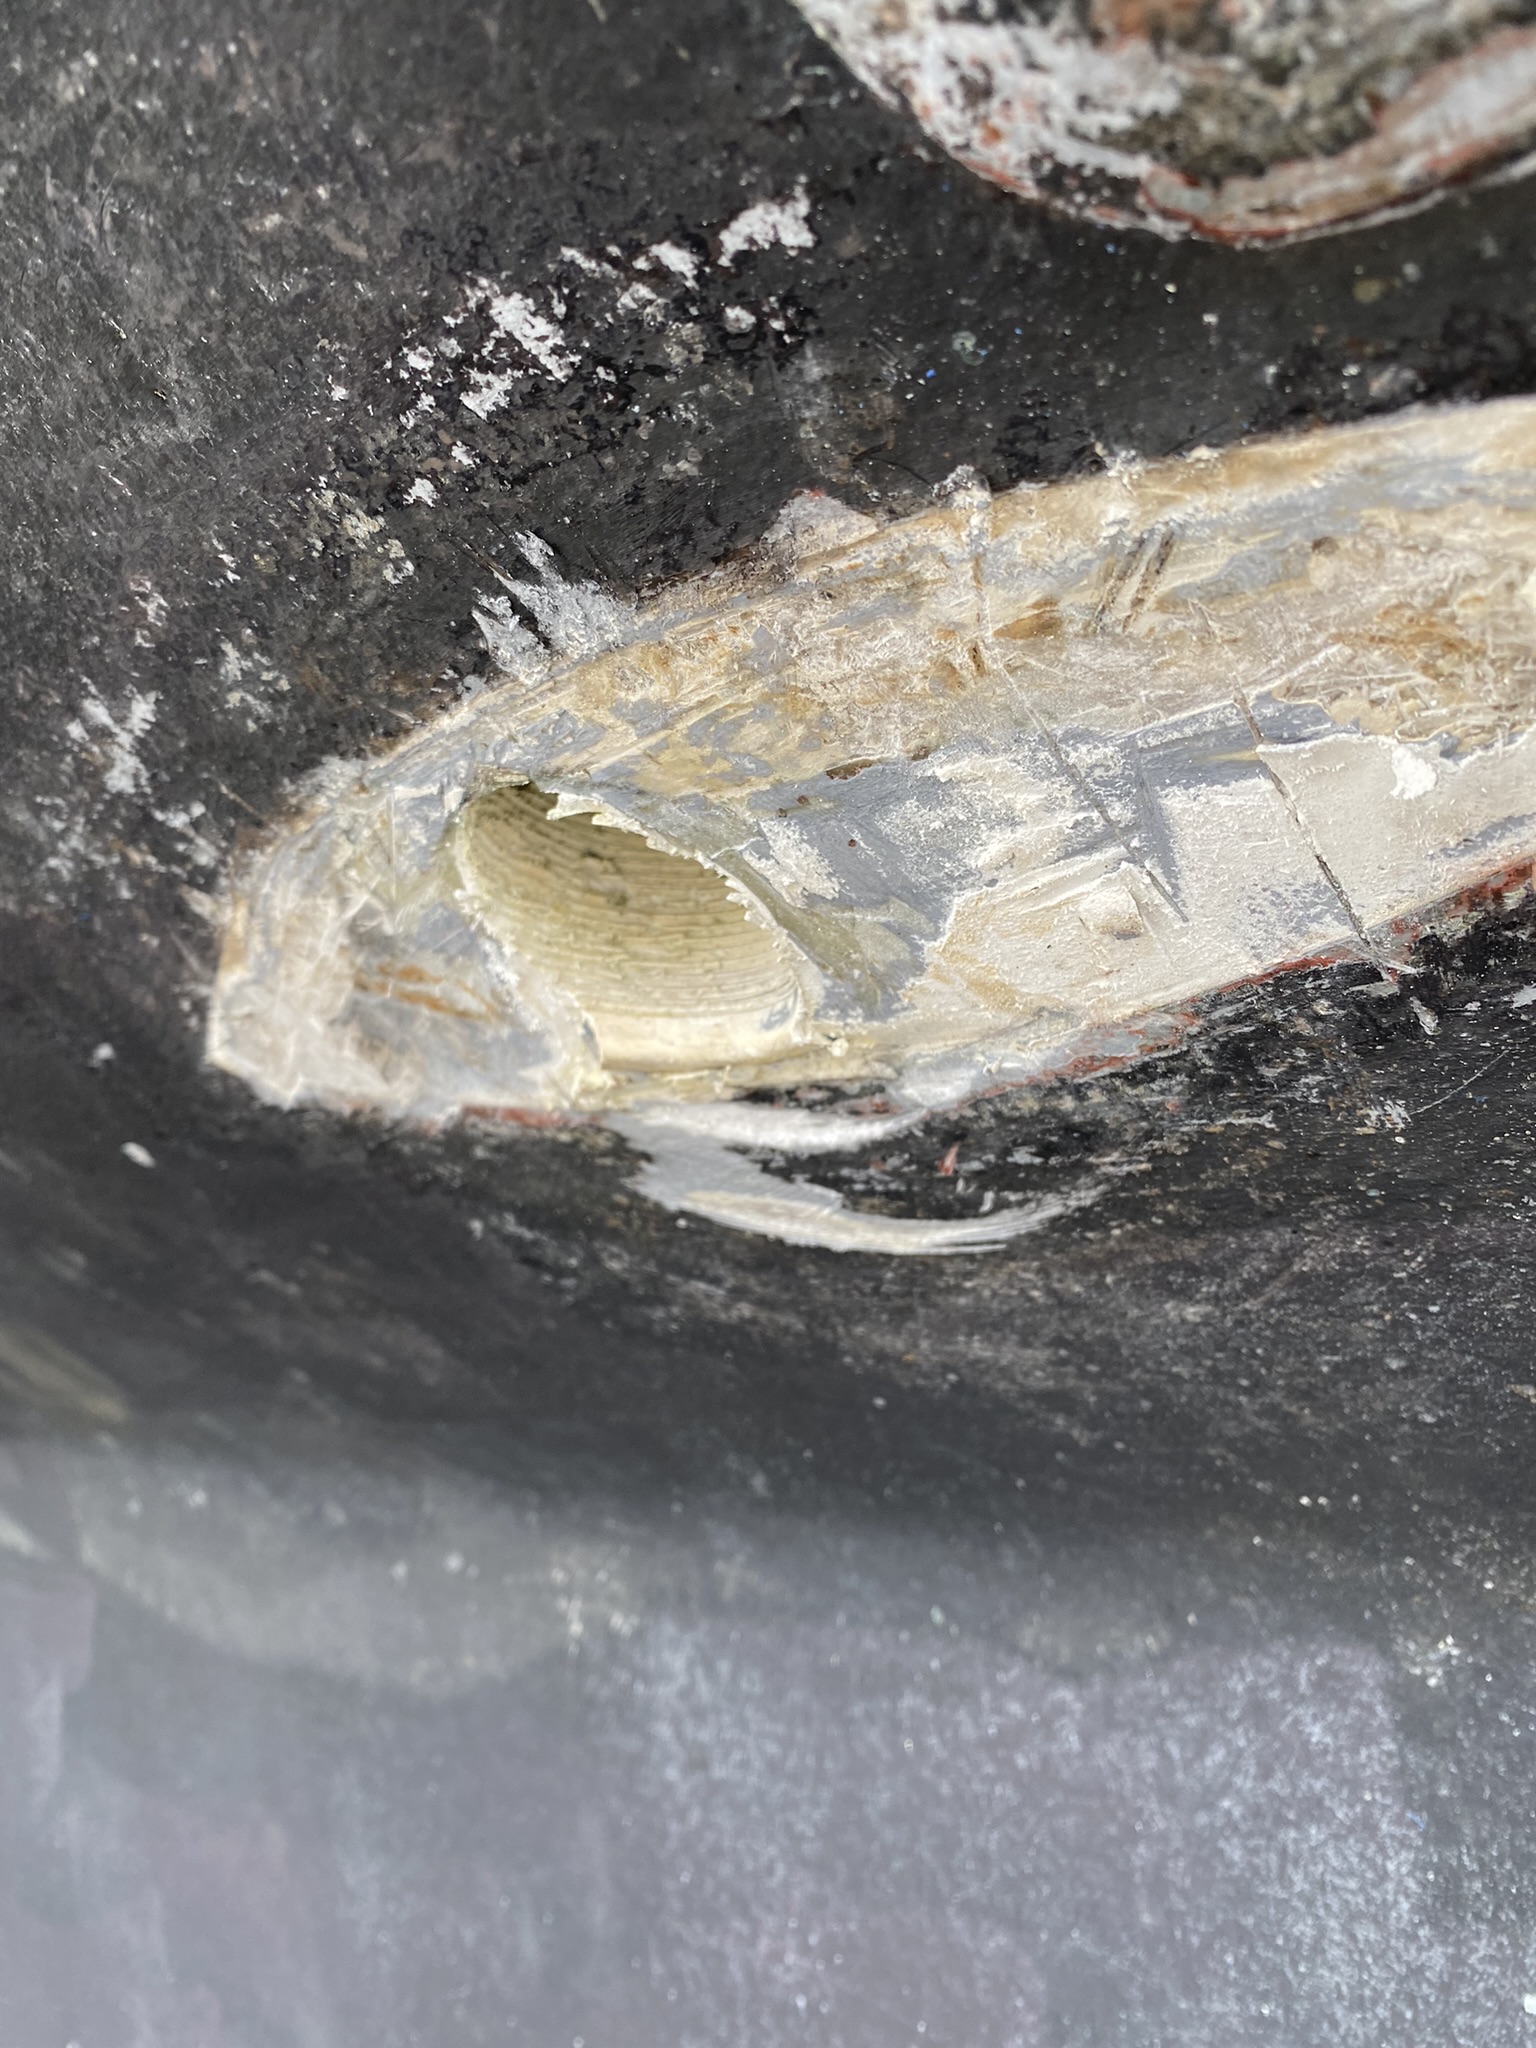
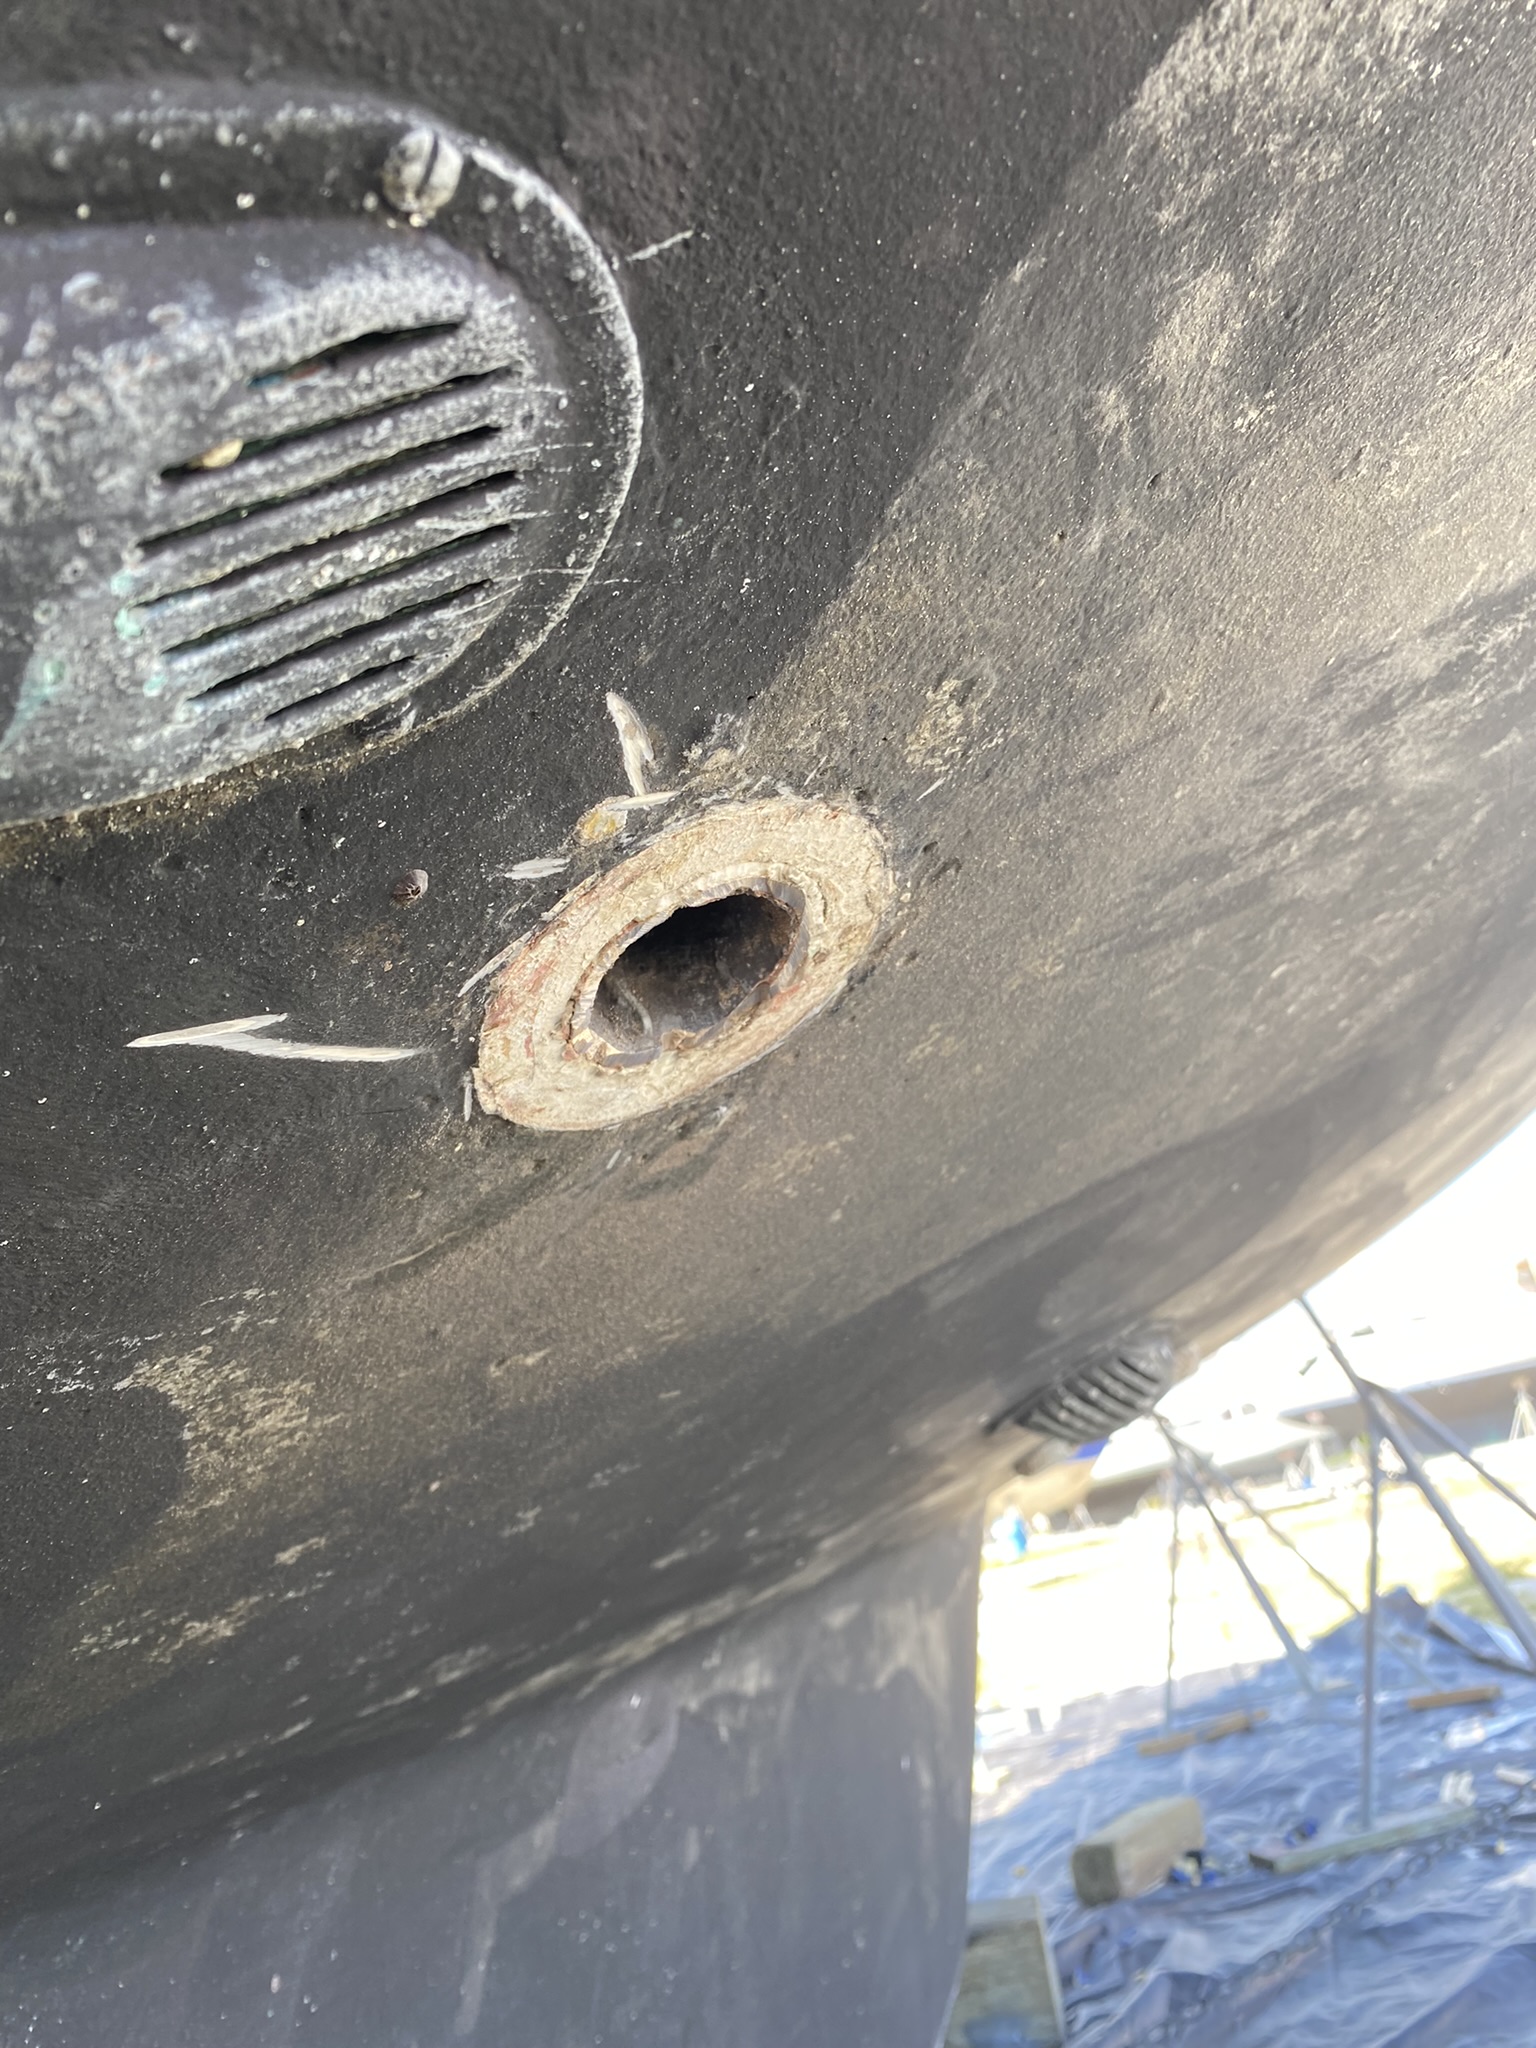
This is the outboard end of the transducer that is normally housed in a faring block that resembles a small canoe to avoid creating drag while underway. It took and entire day to get the faring block cut off and to start the process of removing the actual transducer. It only took 200 turns to get that thing out of the hull…..a quarter a turn at a time….while getting up and walking around a boat stand to complete each turn in the process. As a bonus, it’s all from a squatting position.
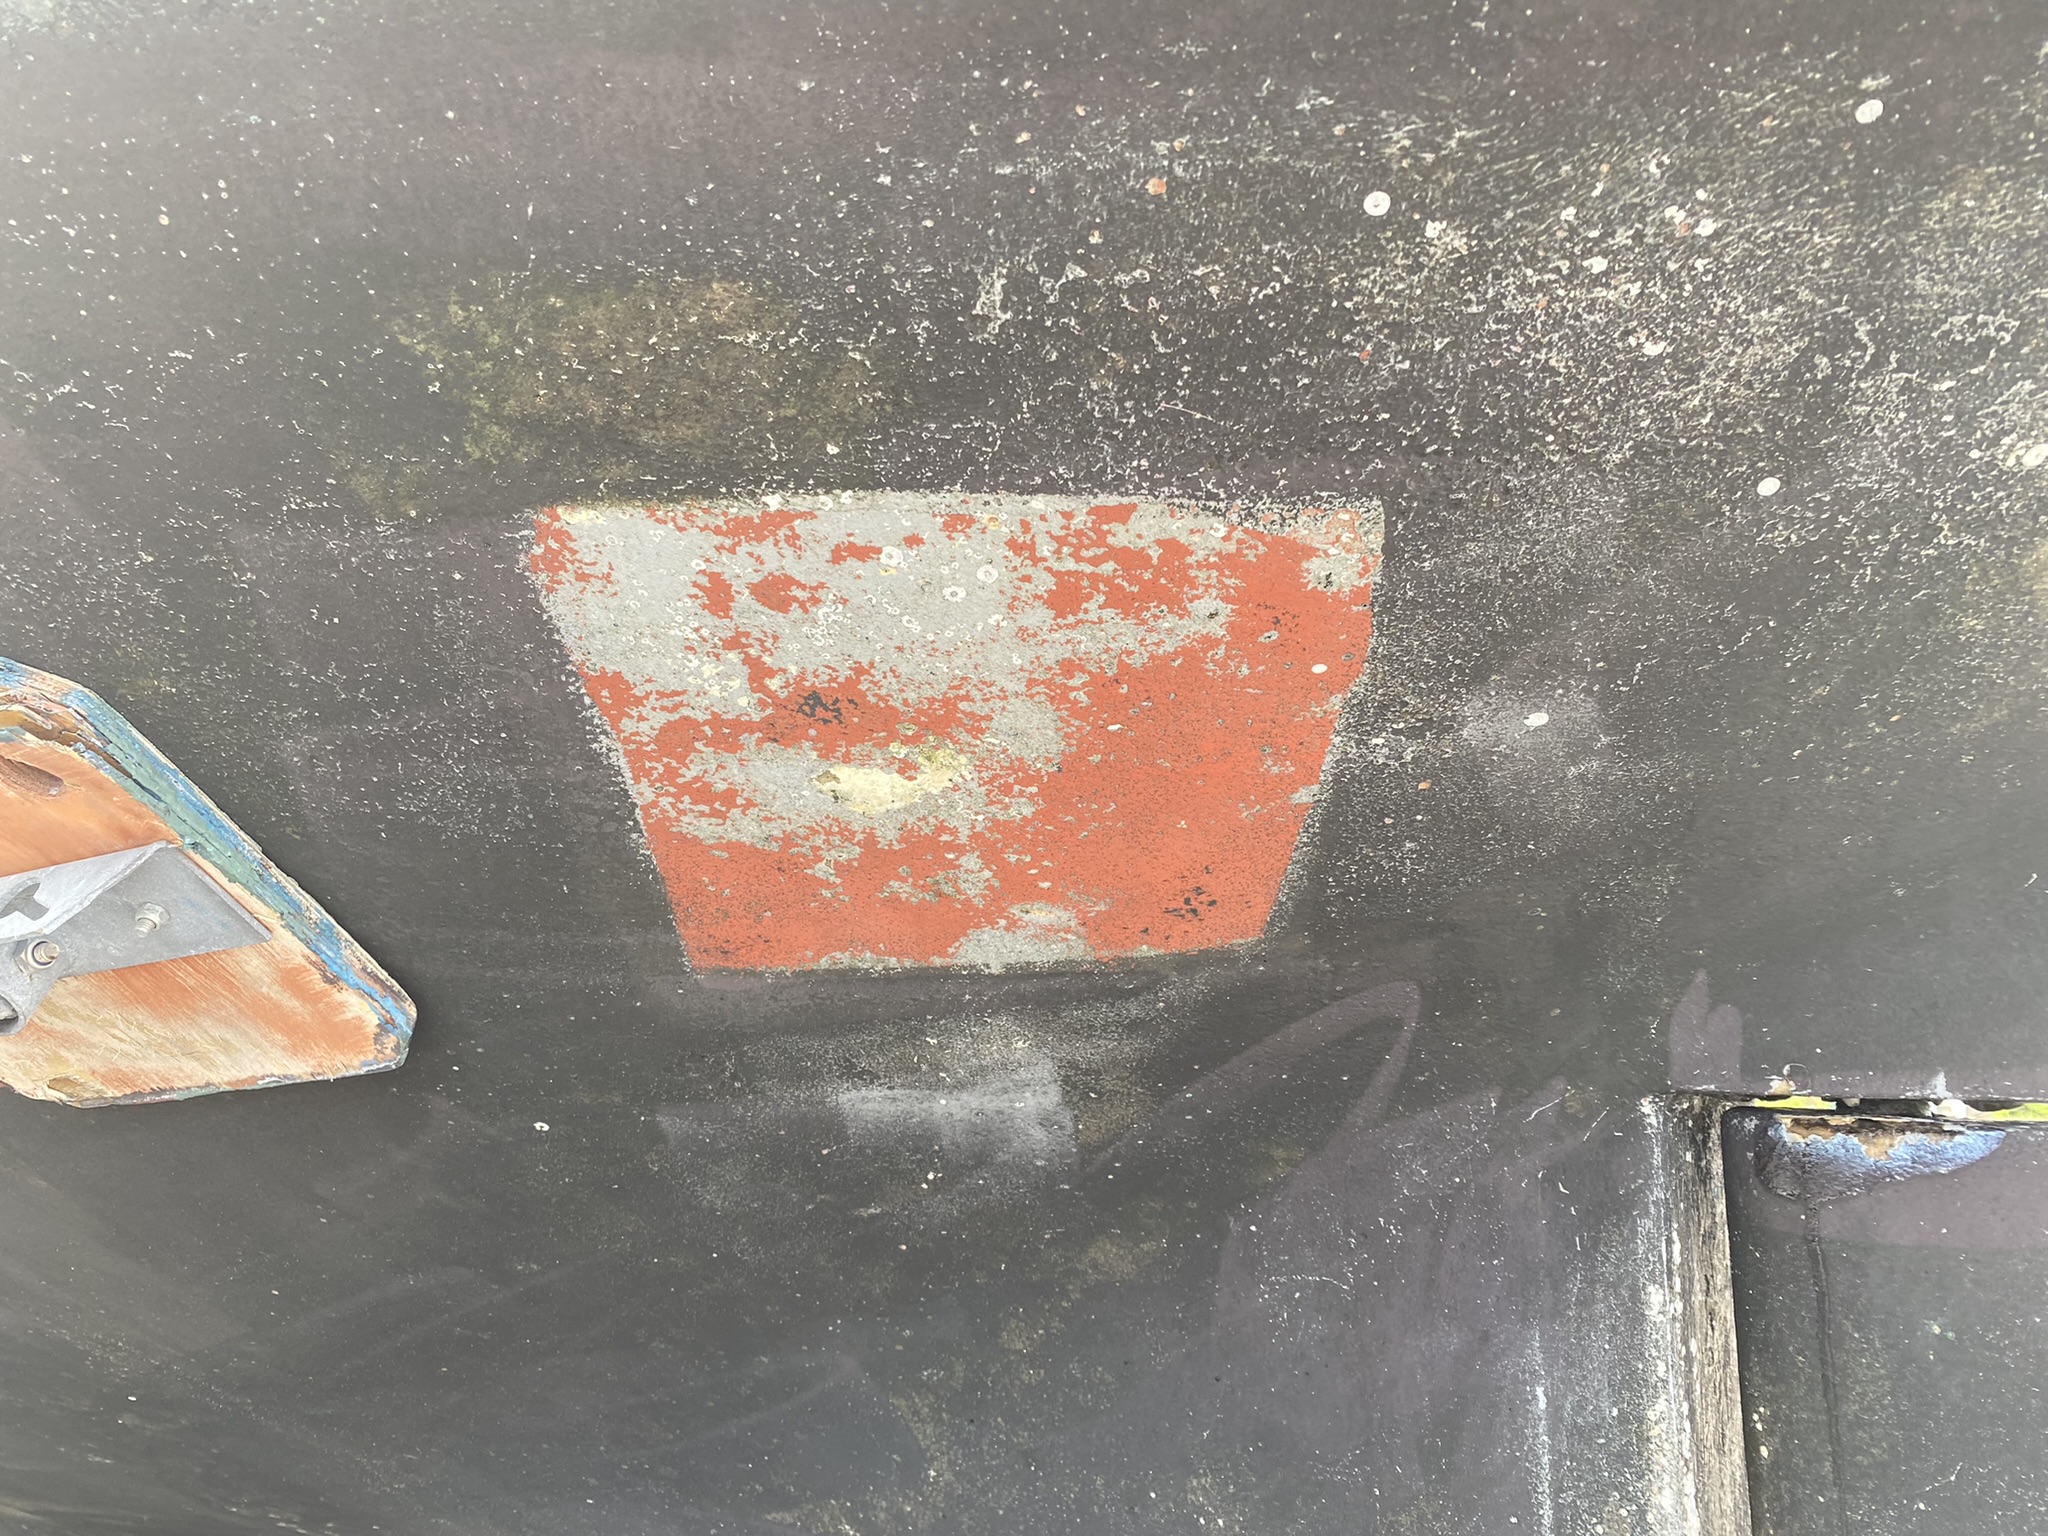
Pretty, clean, painted and ready for the new installation……
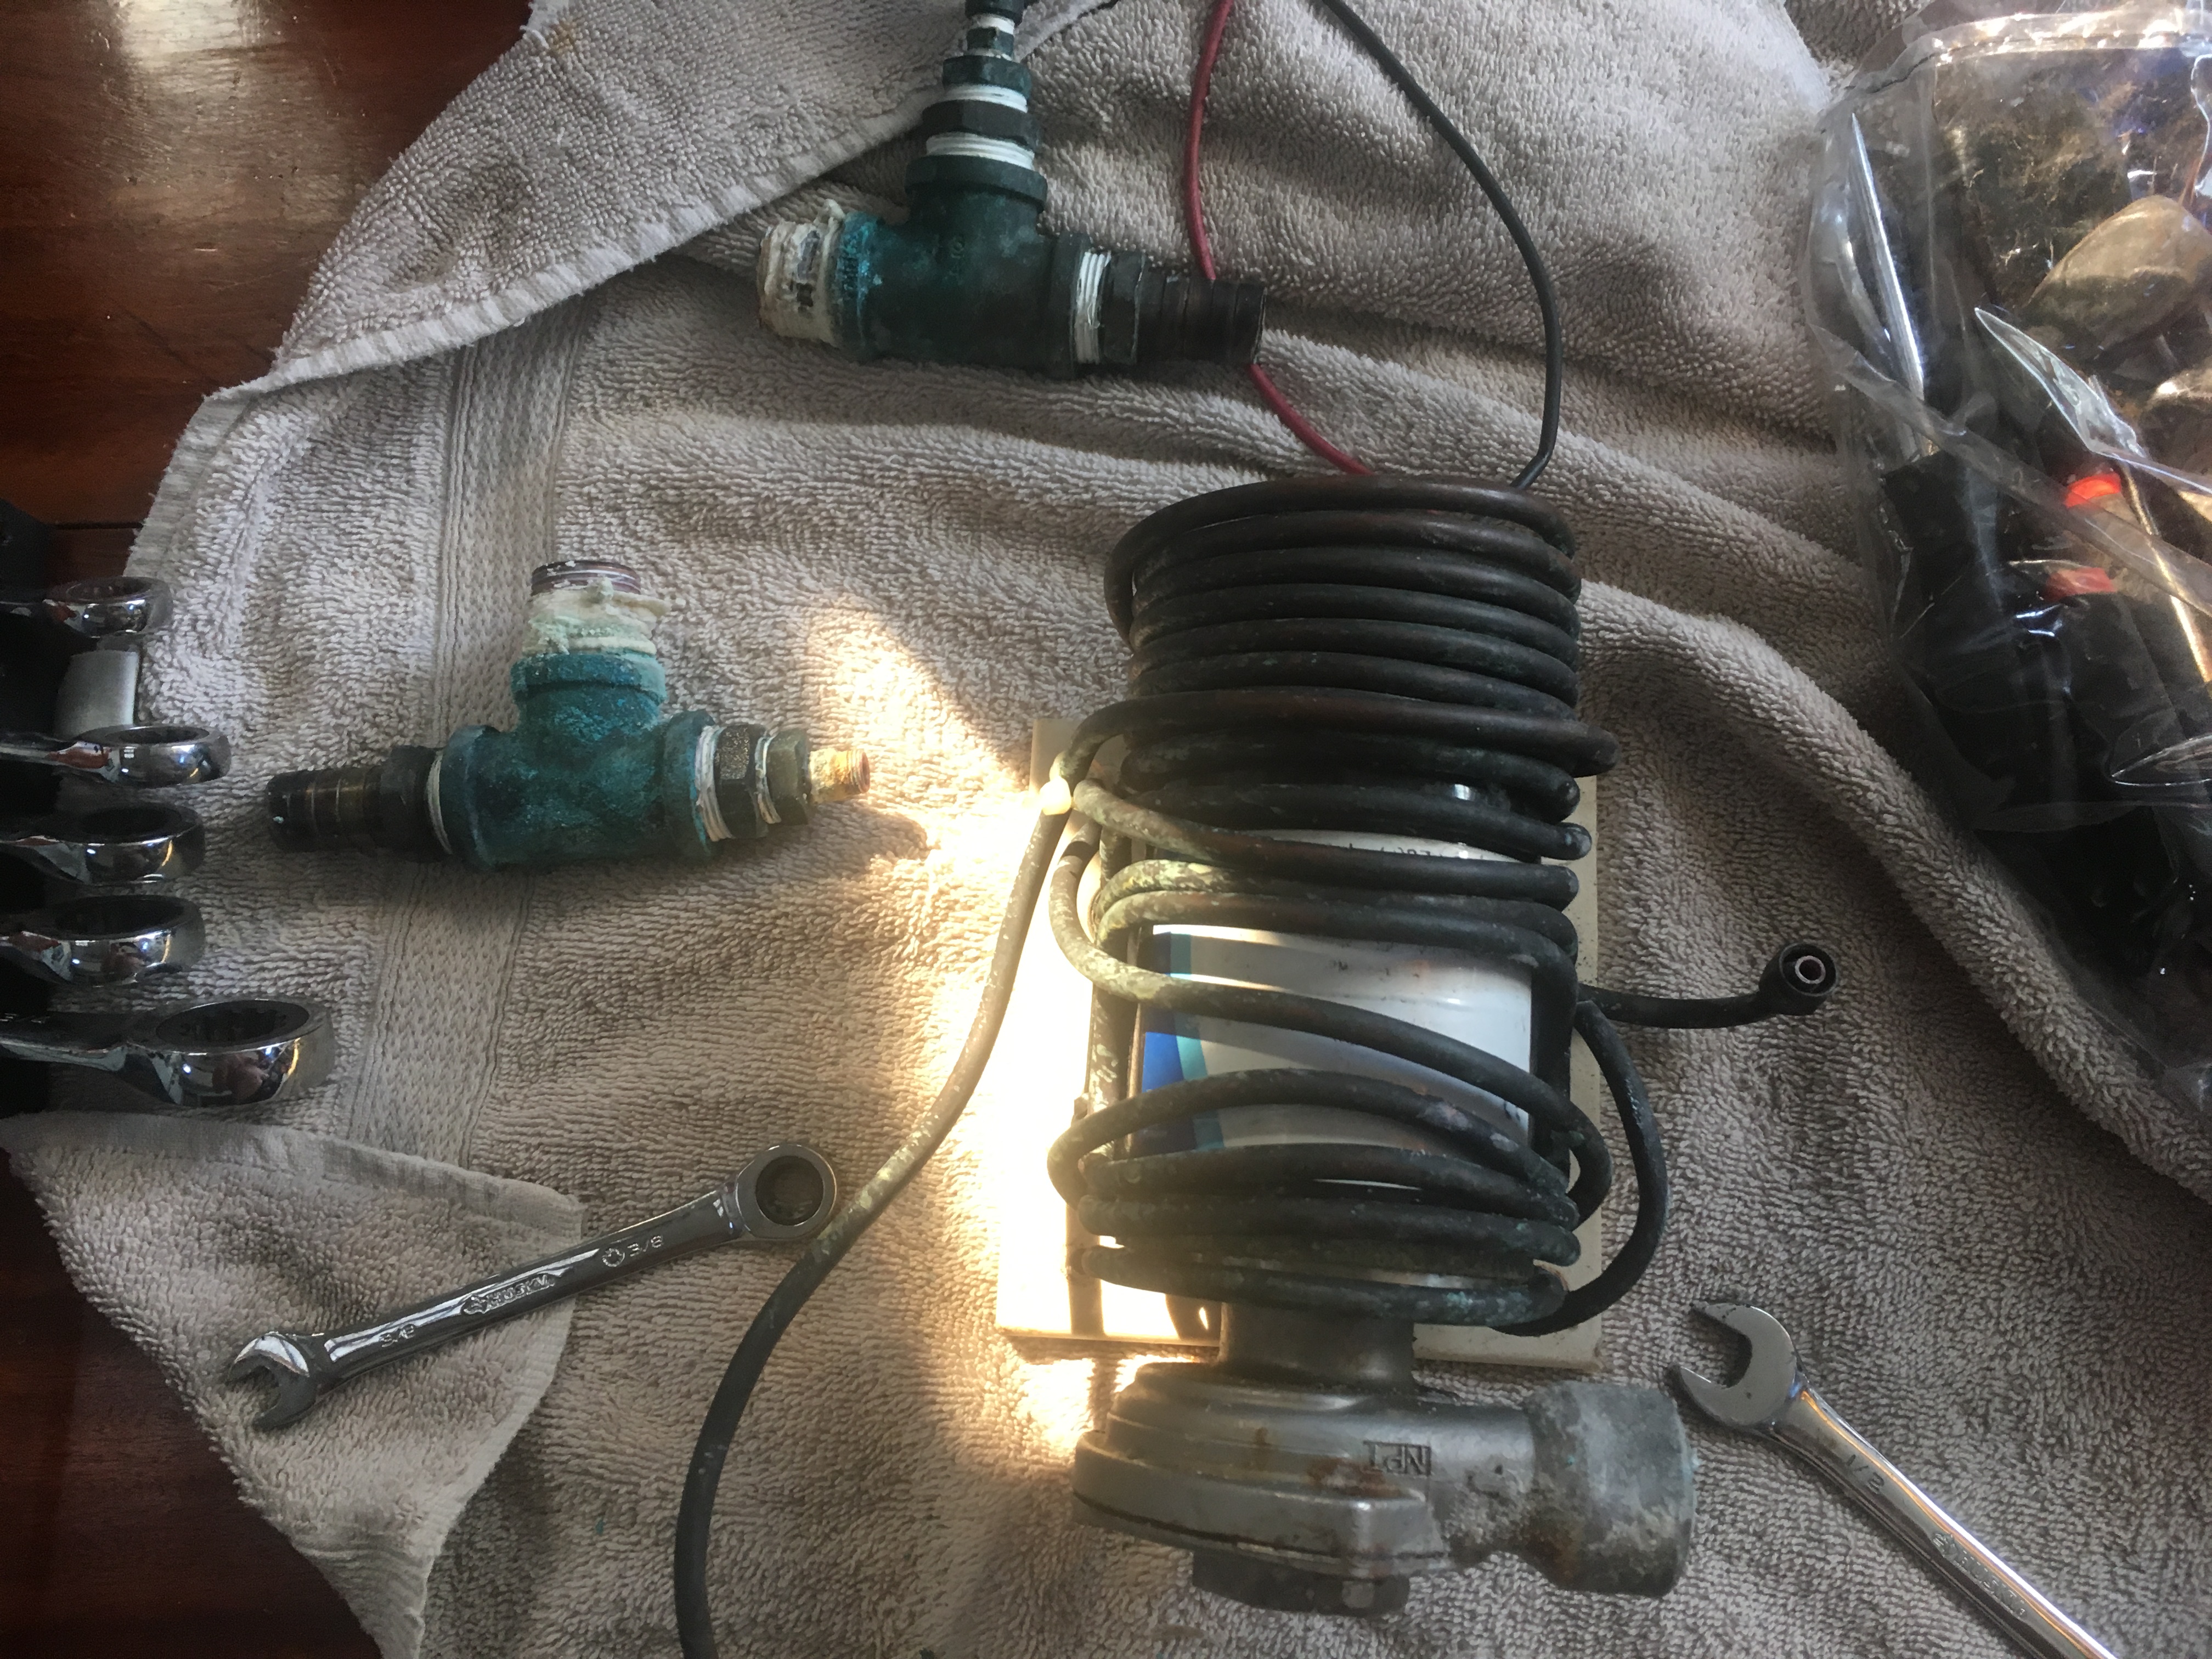
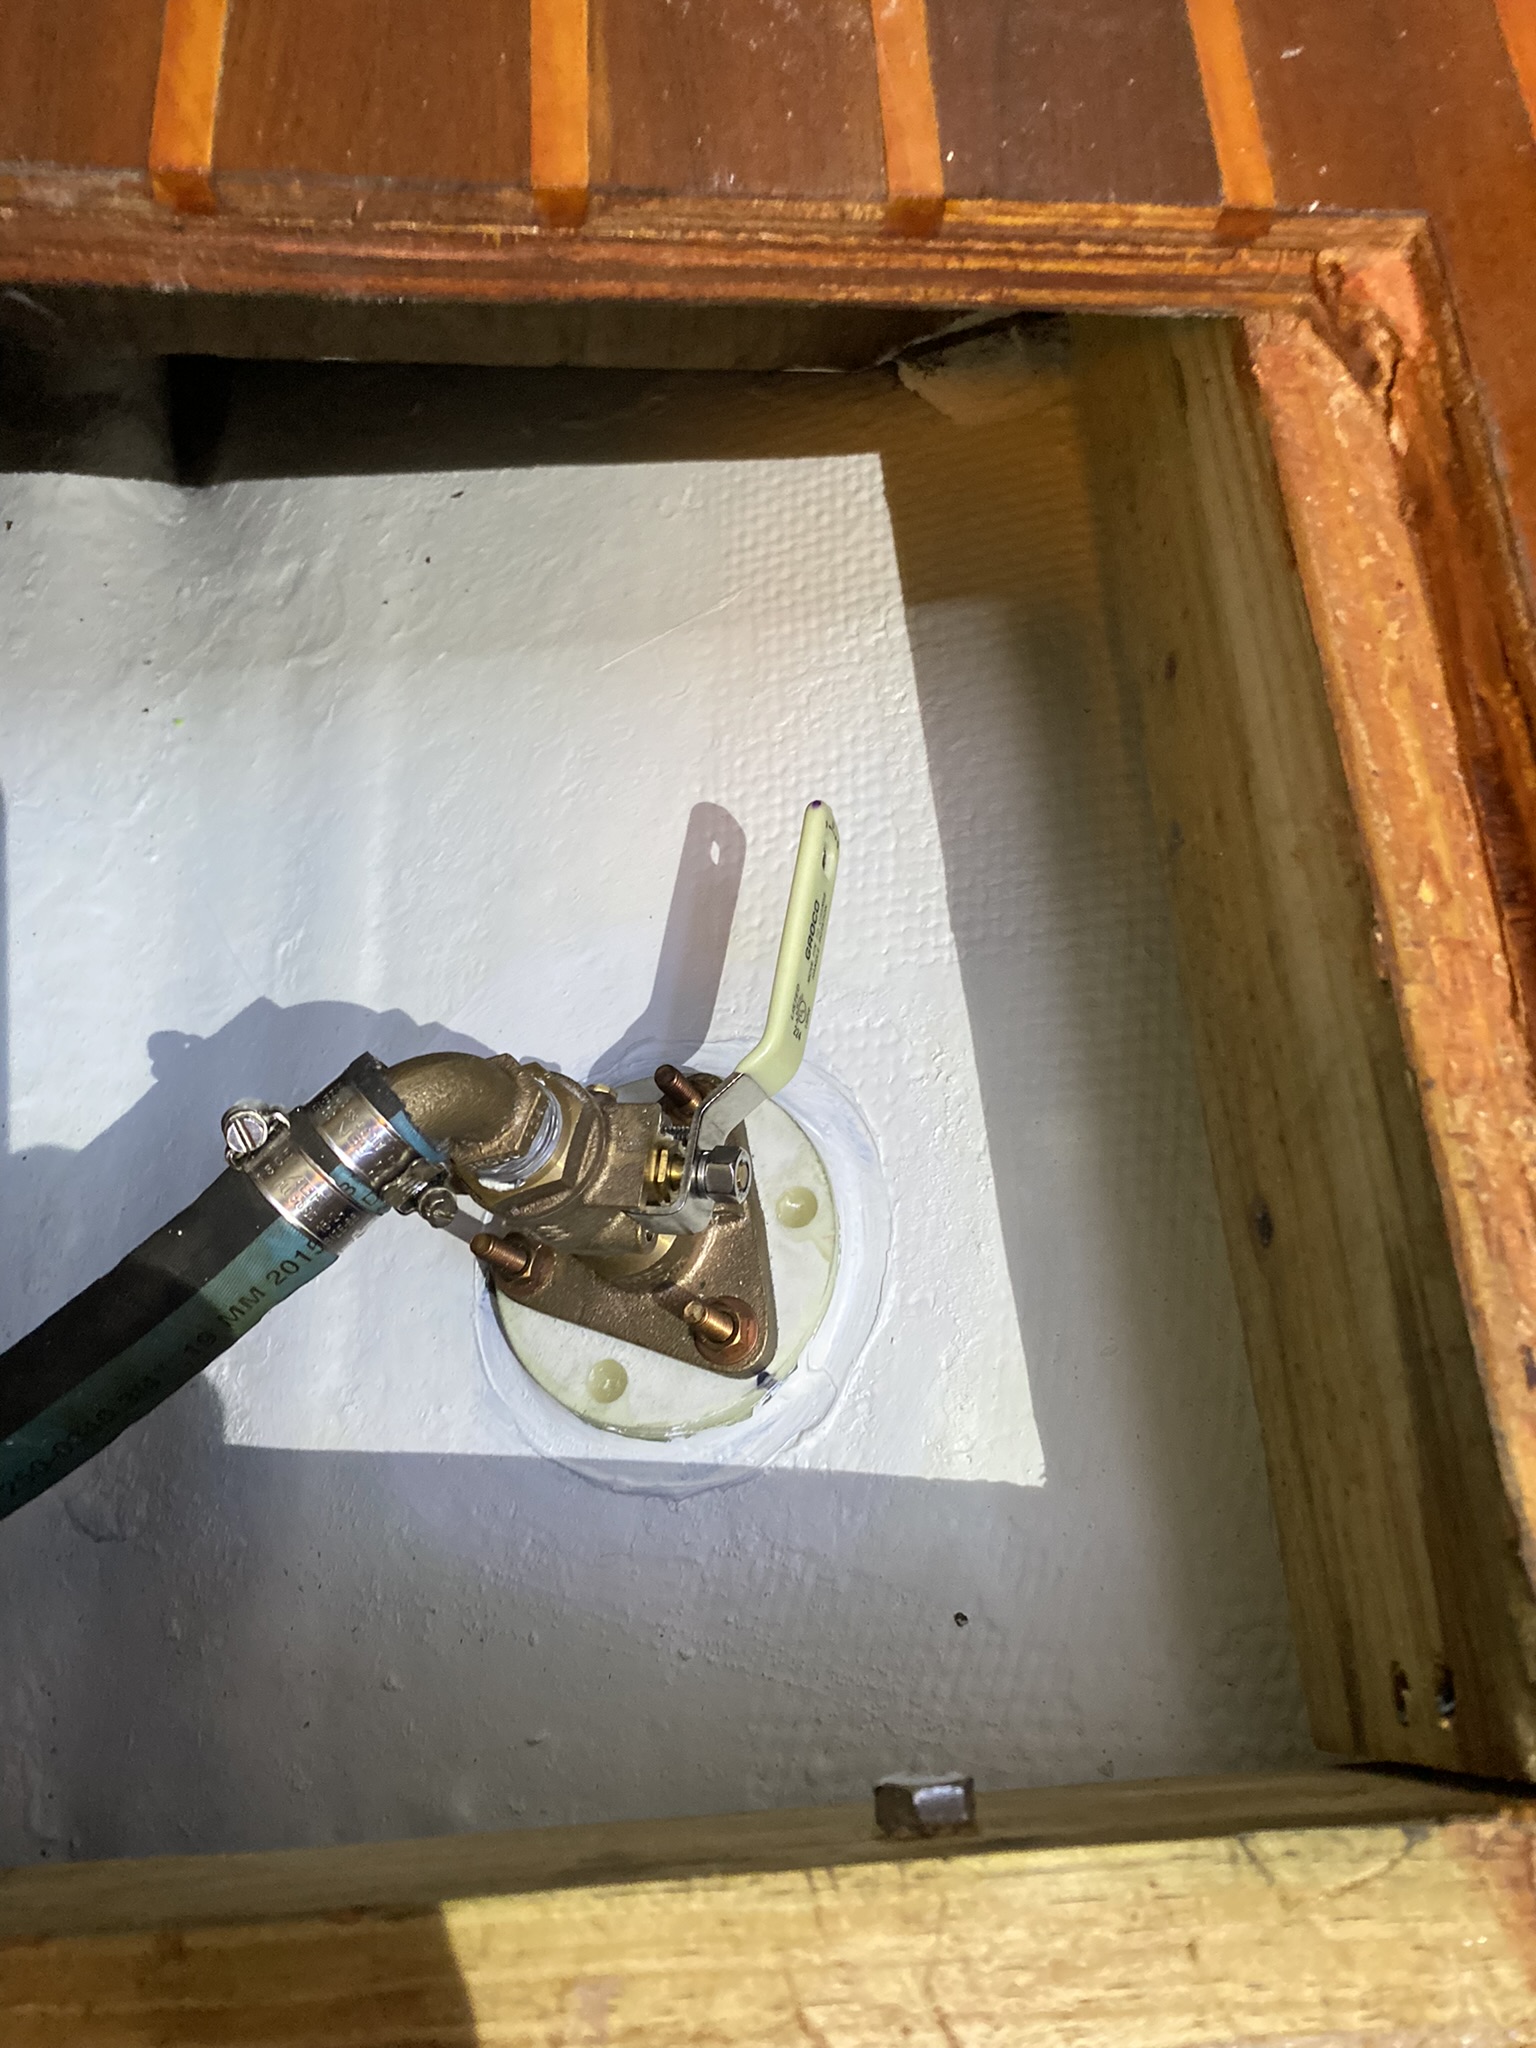
Then it was on to the removal of the old and leaky seacocks (I know some of you are giggling every time you read “seacock”).
These are what they call “tapered barrel” seacocks that use a pair of nuts to maintain the pressure on a the edge of the barrel inside the body of the seacock to seal against water intrusion. Our original seacocks are 43 years old and when treated well, and regularly maintained, they can last a whole lot longer.
The body is above and this is The barrel….
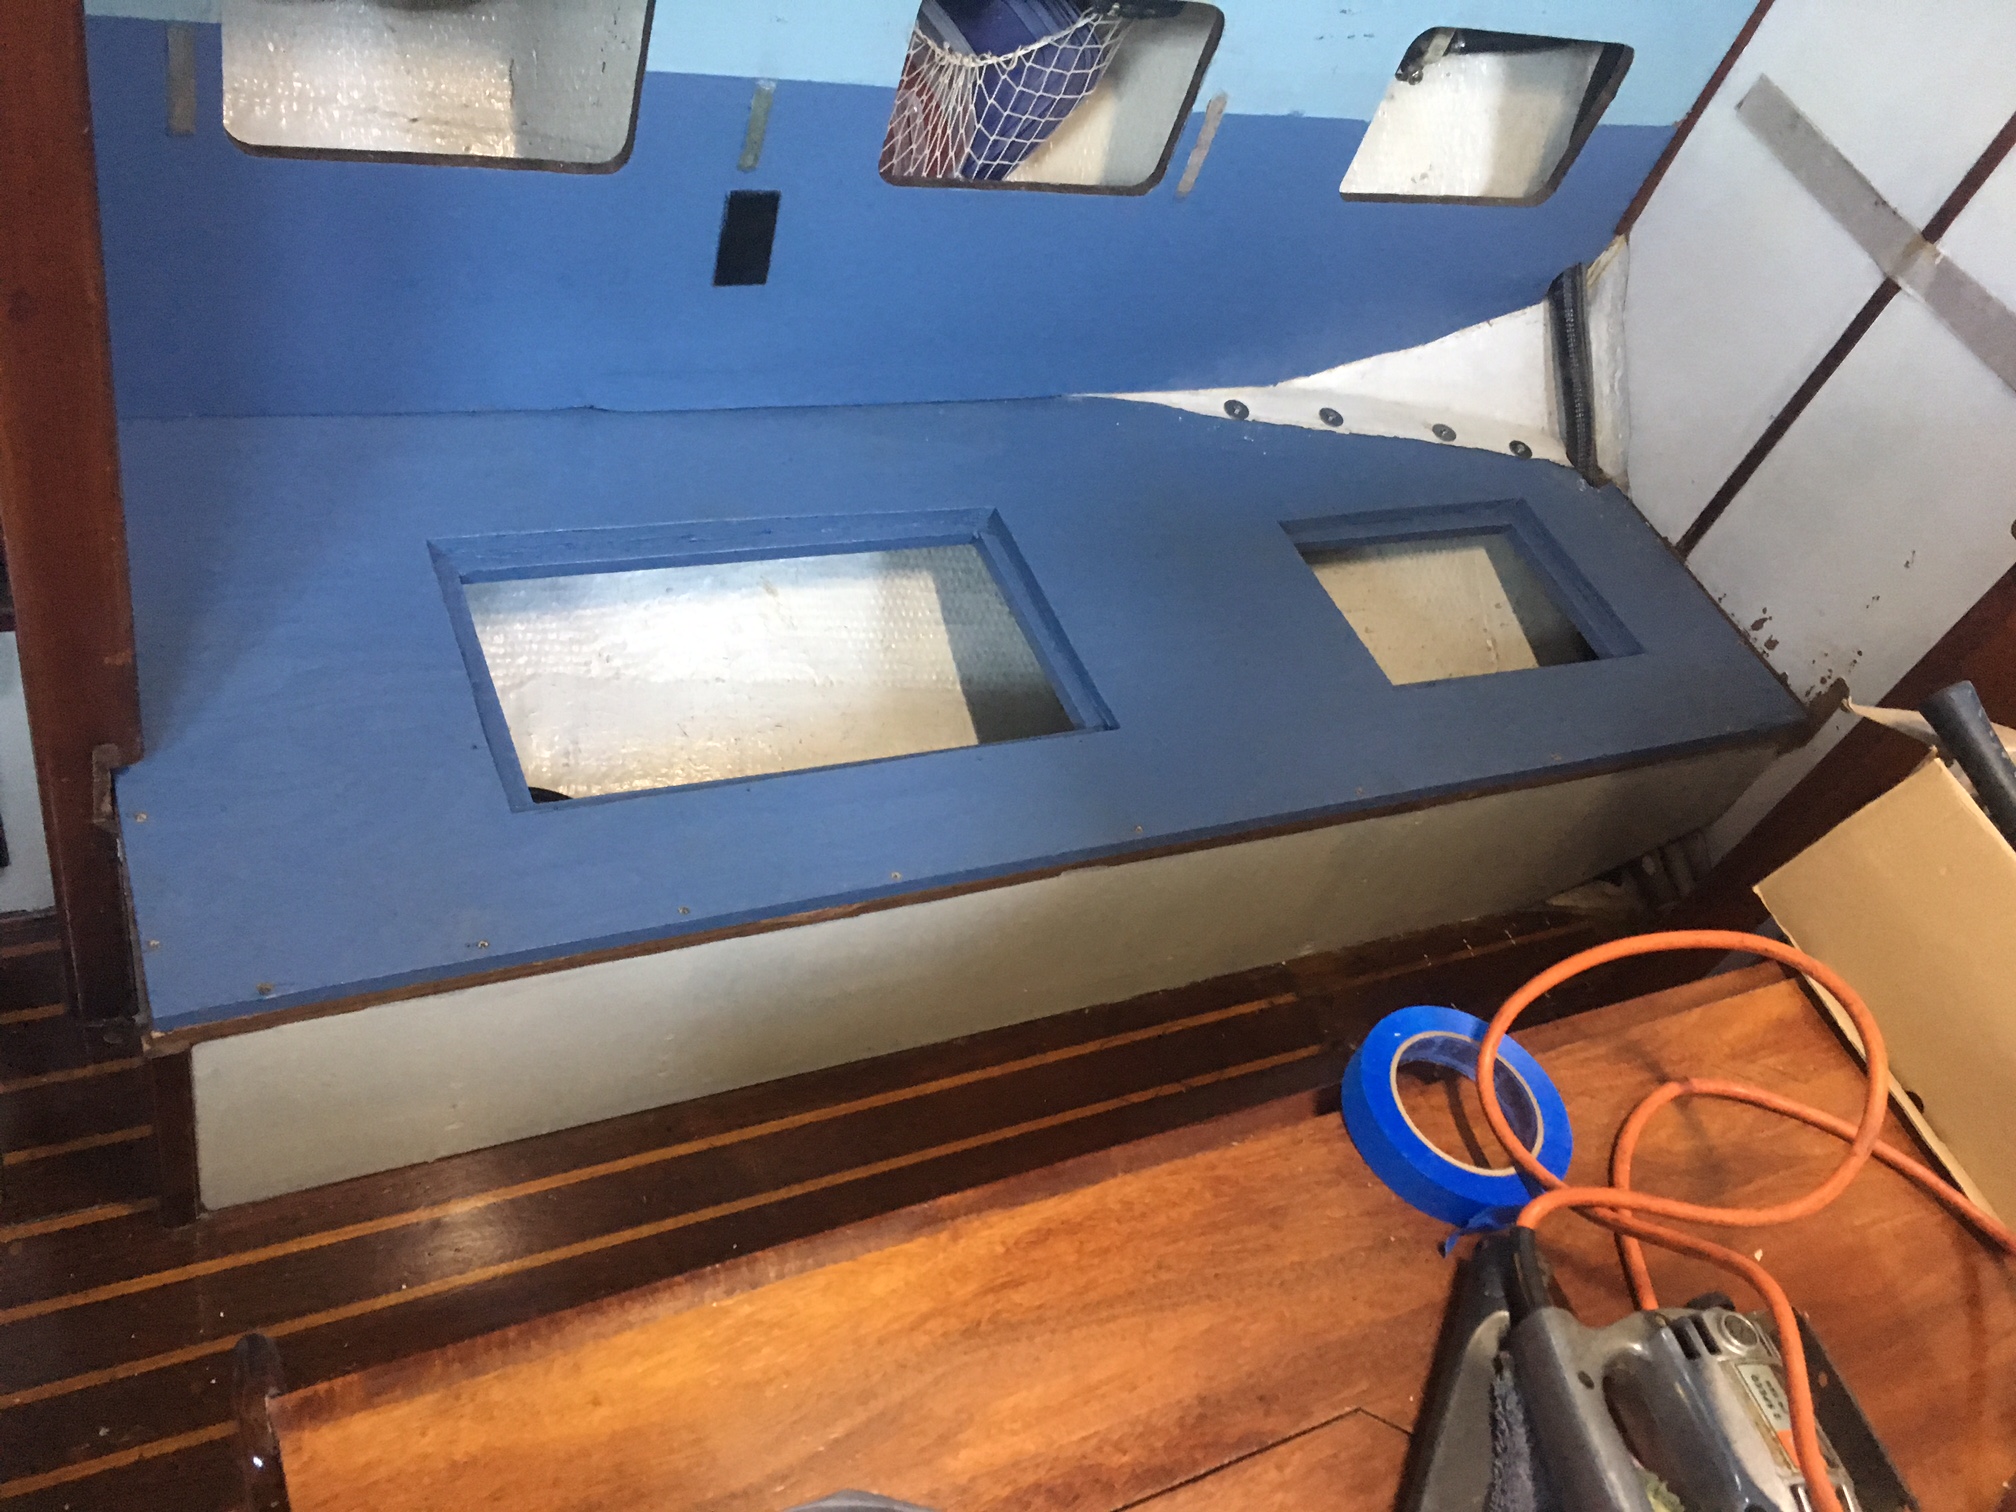
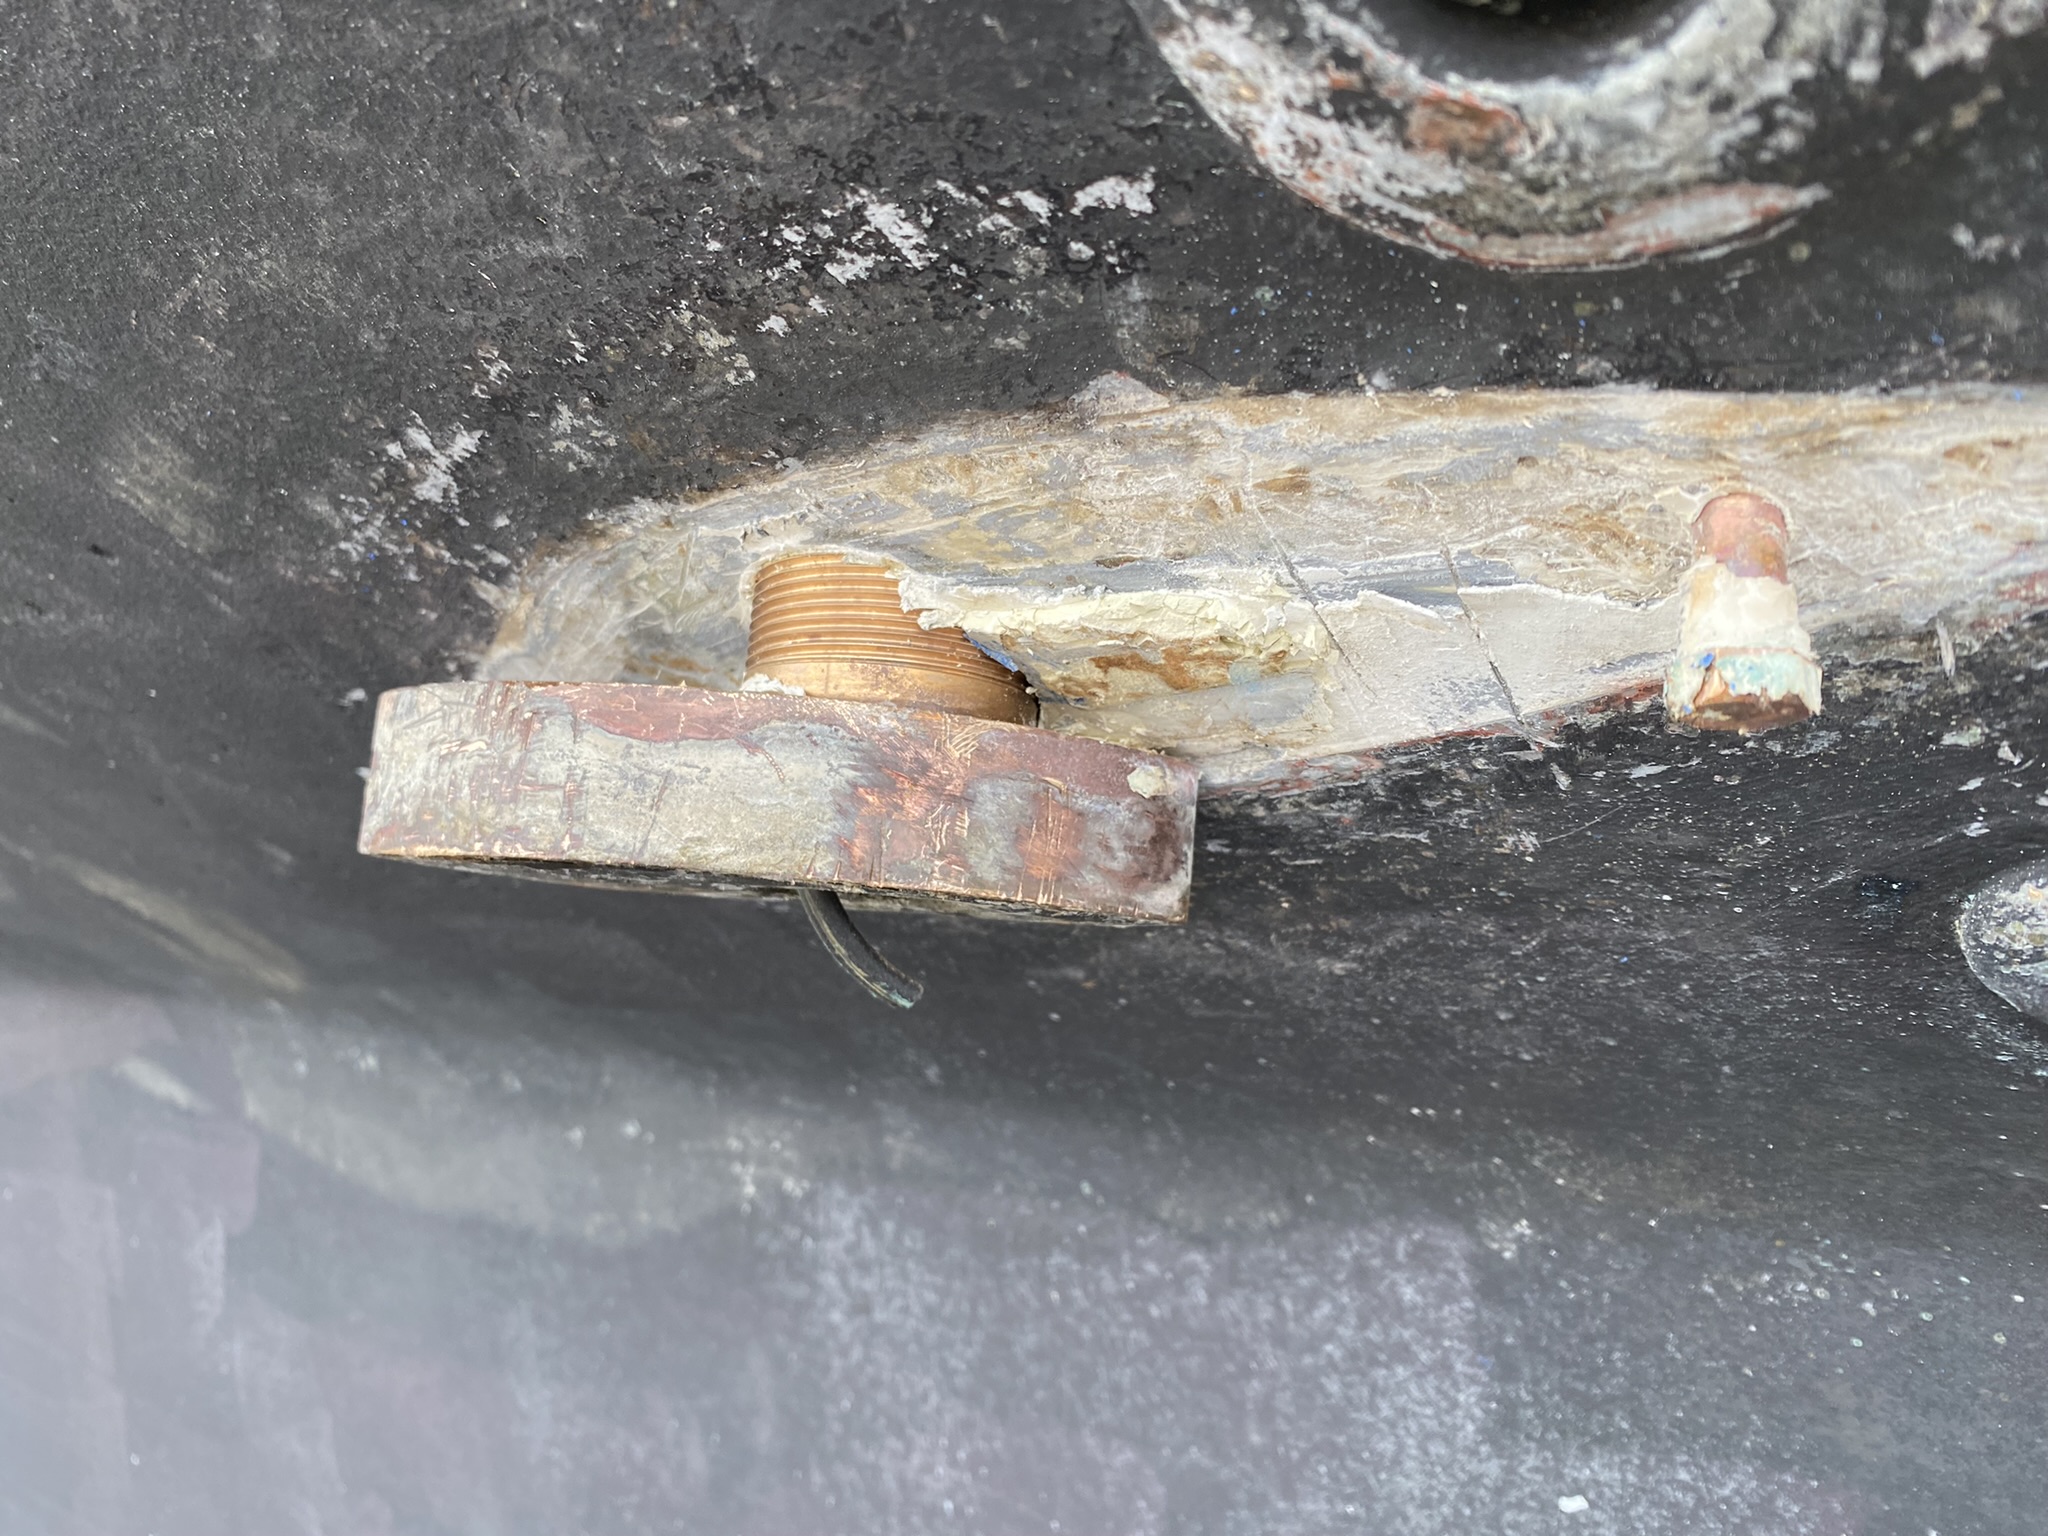
The inside and outside of the thru hull opening….
One of the new seacock backing boards….
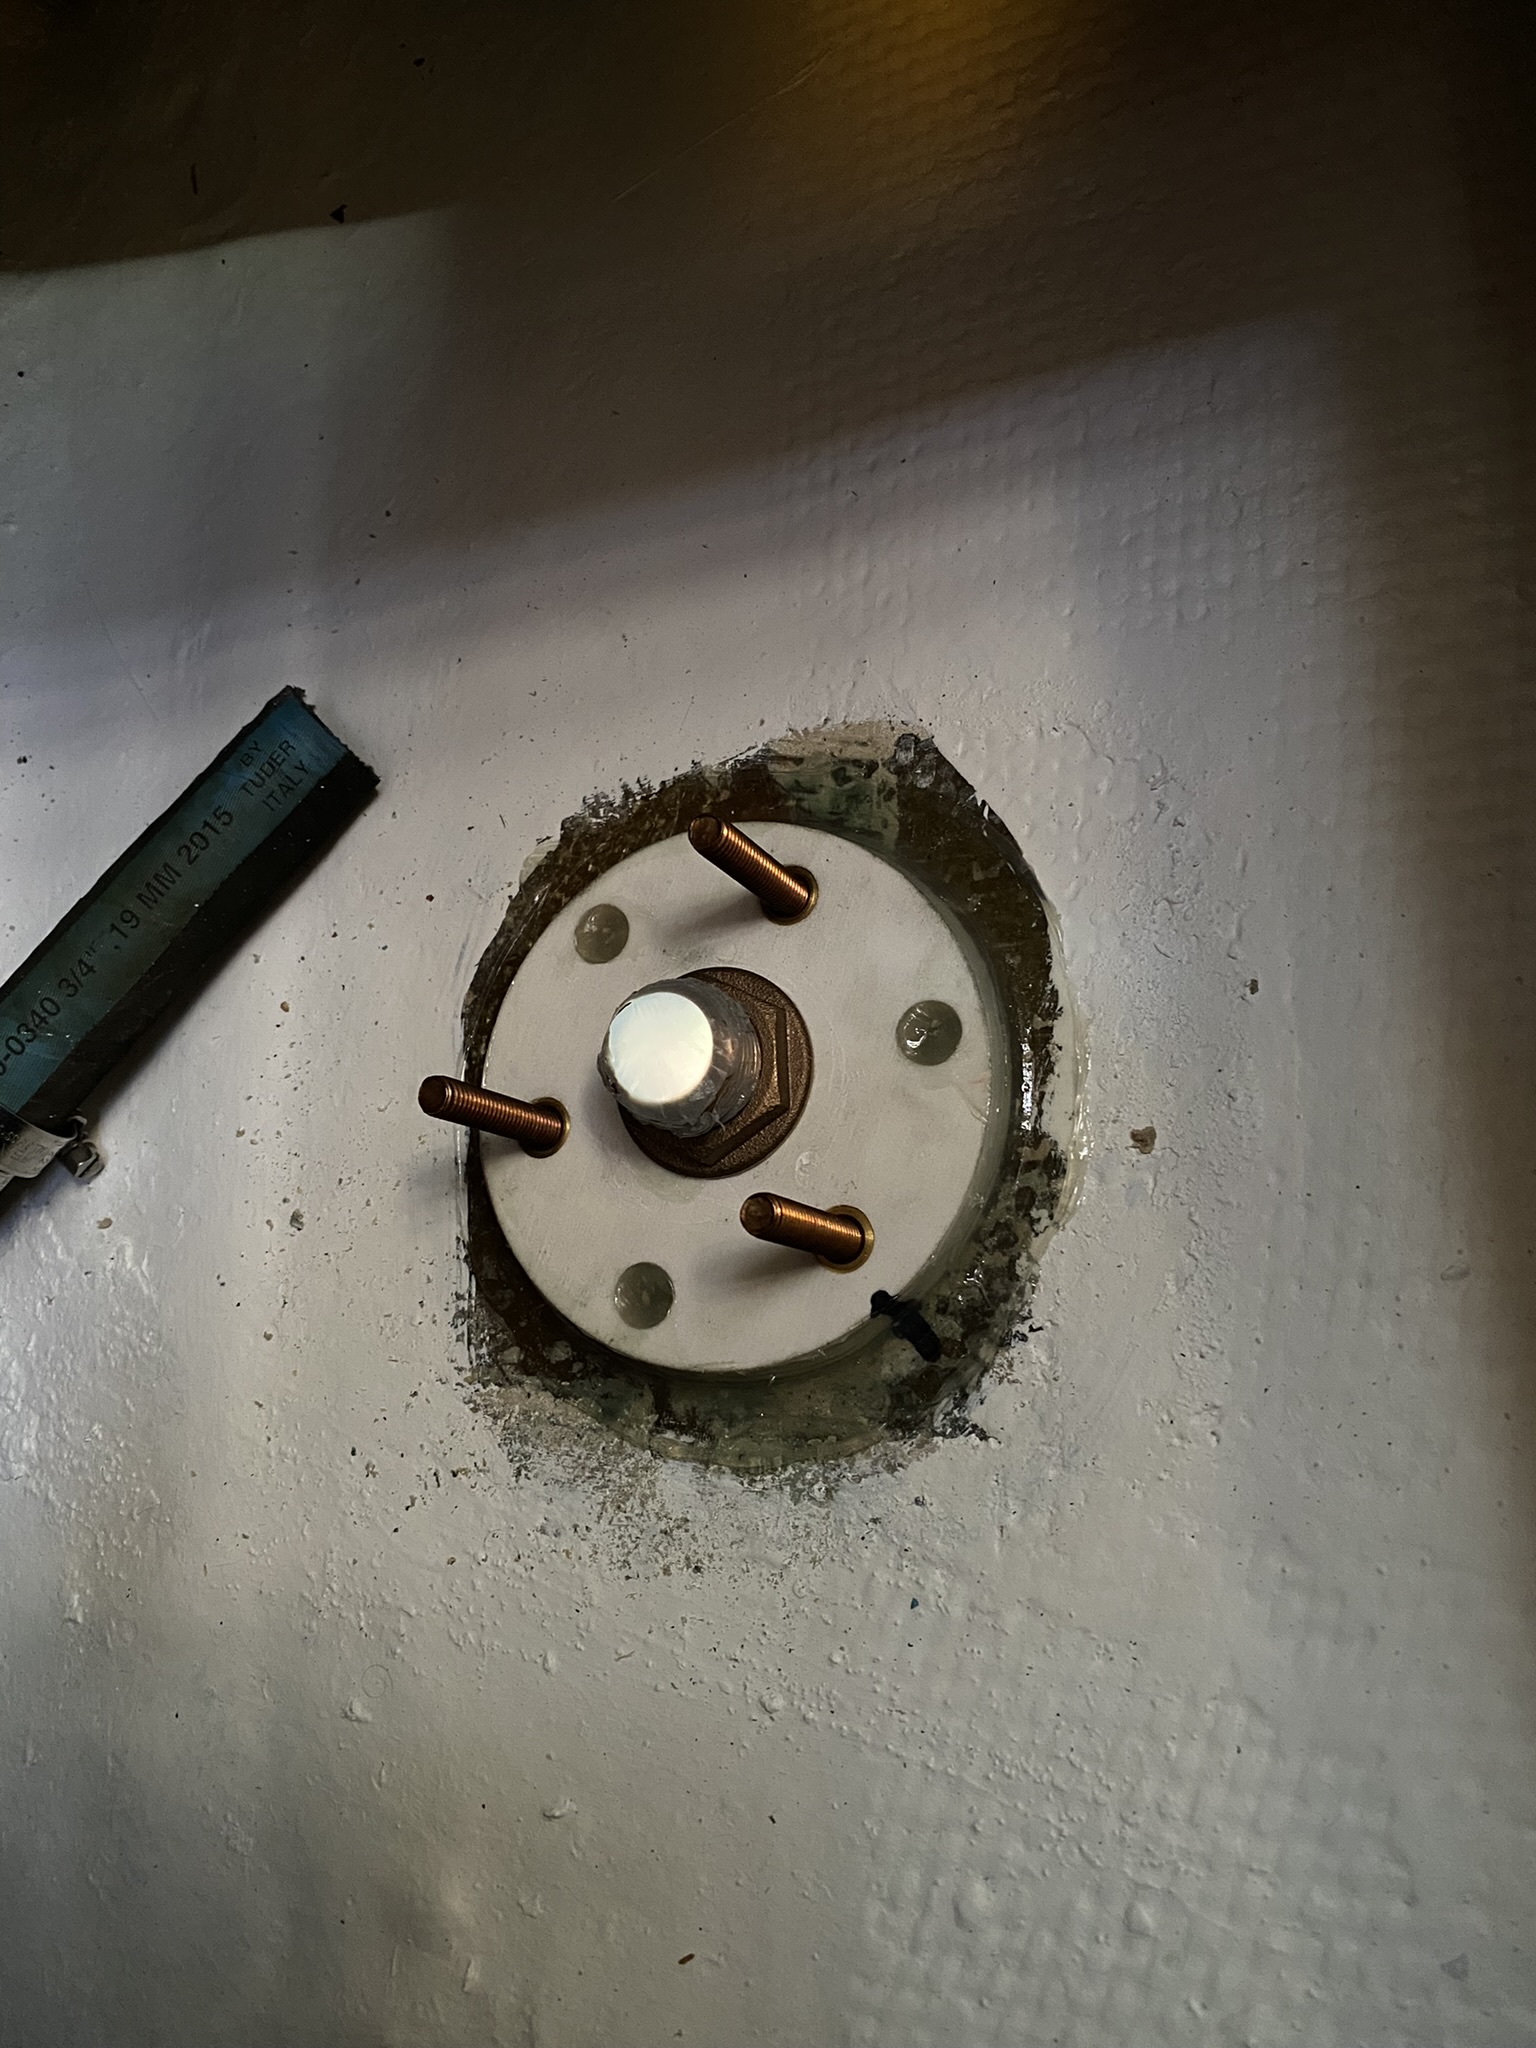
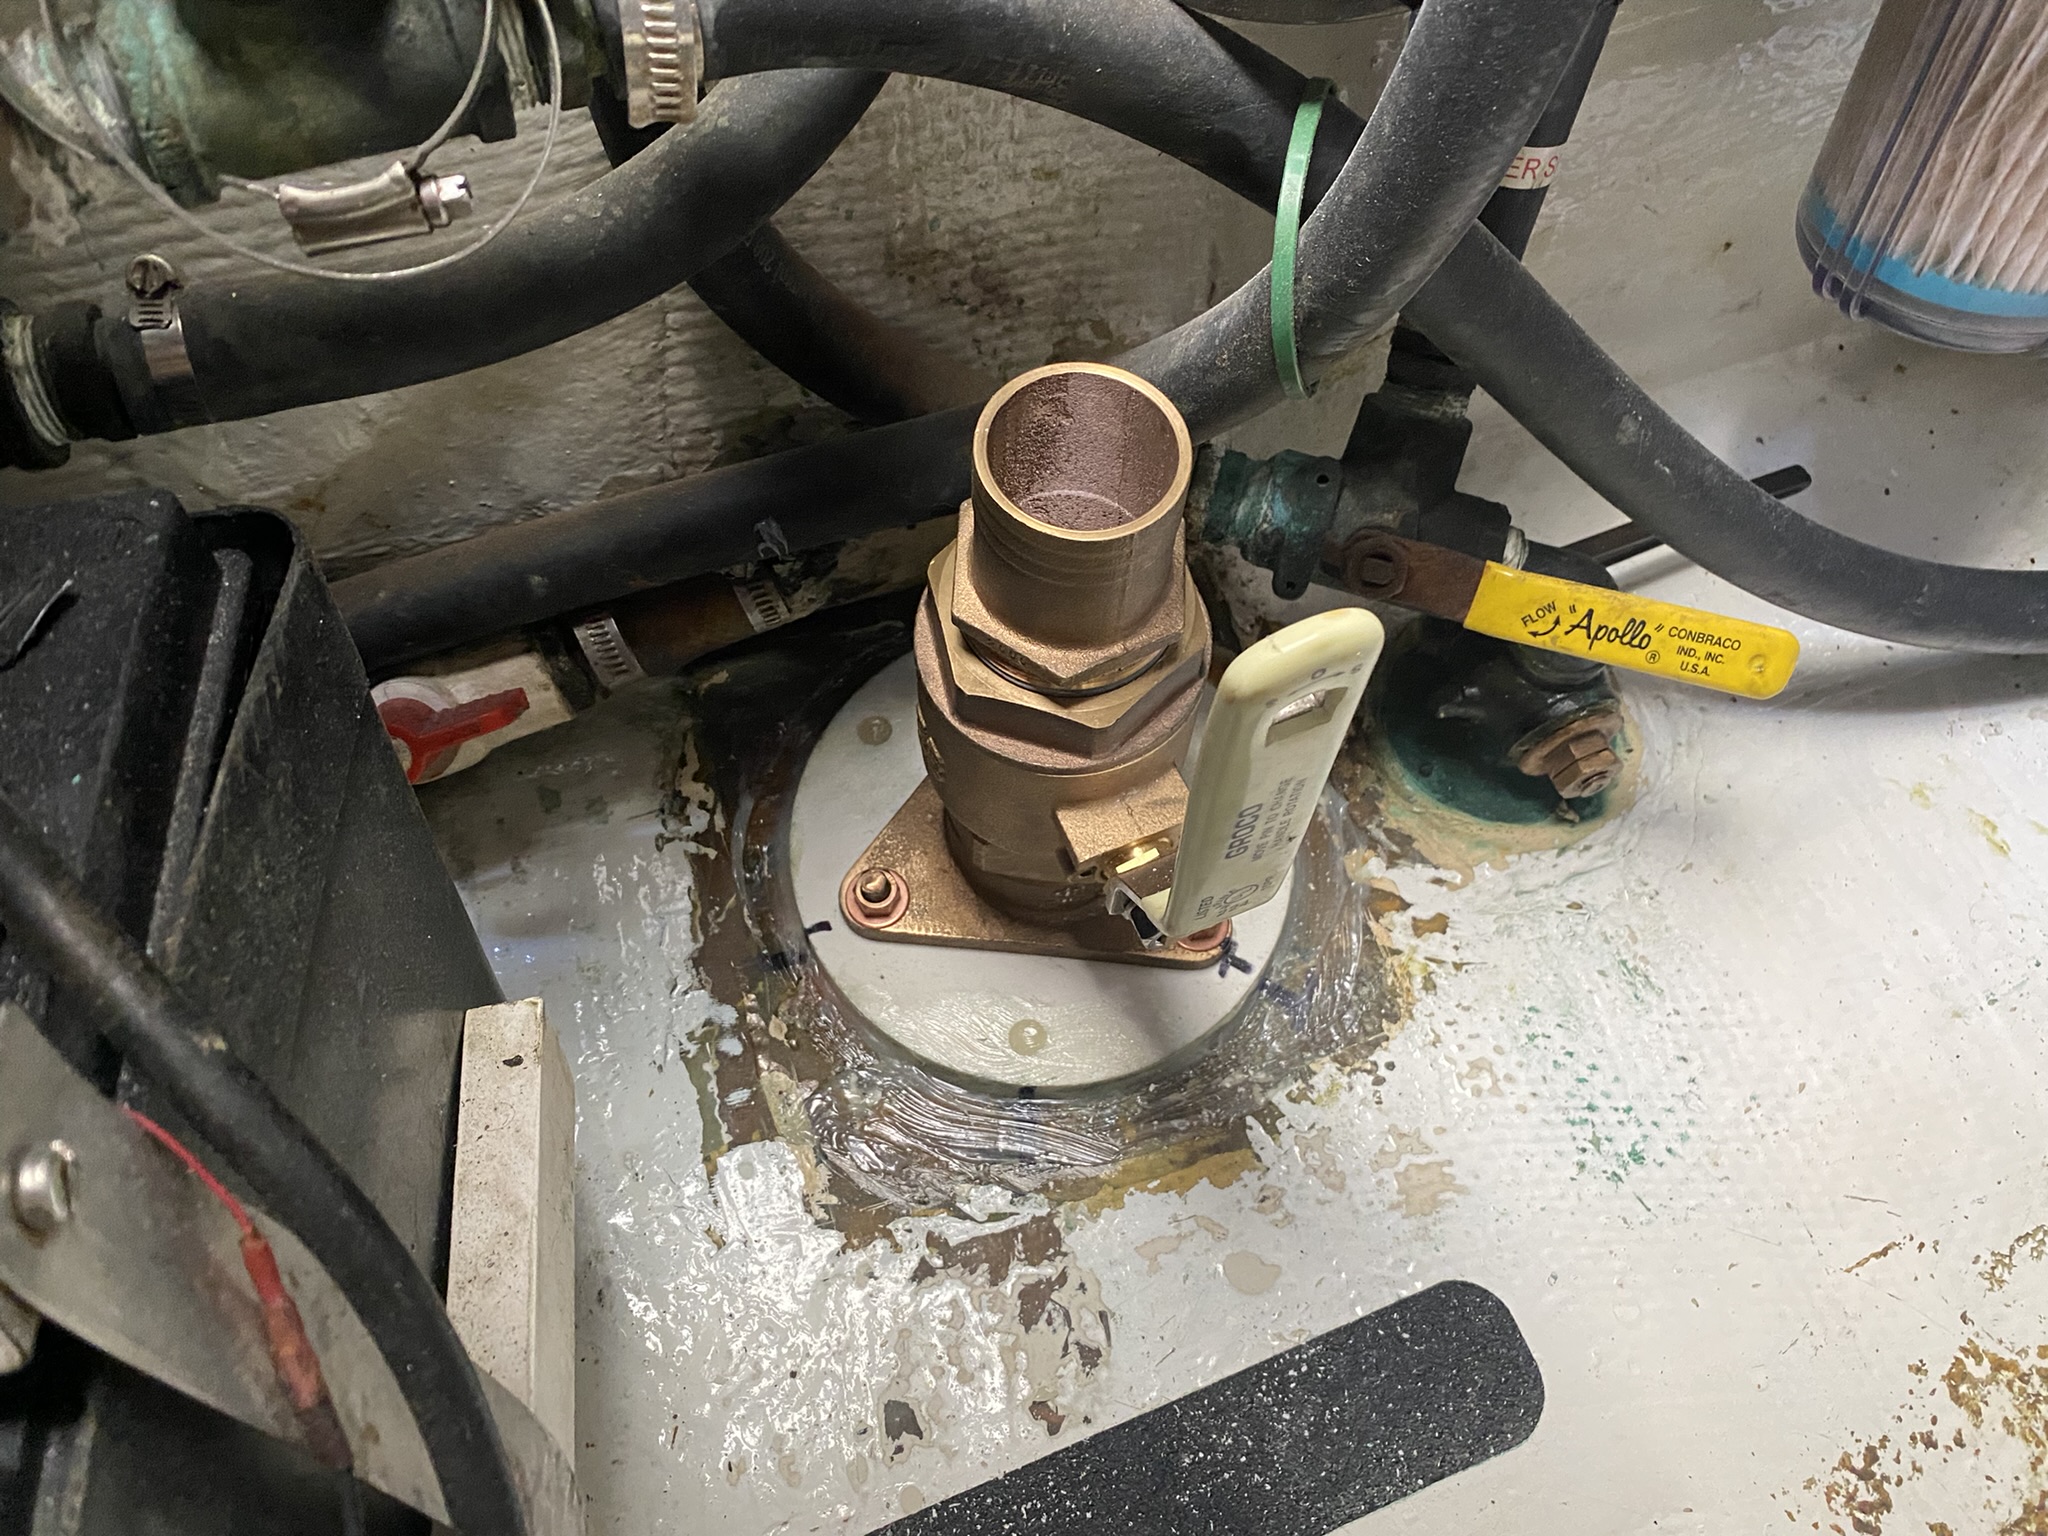
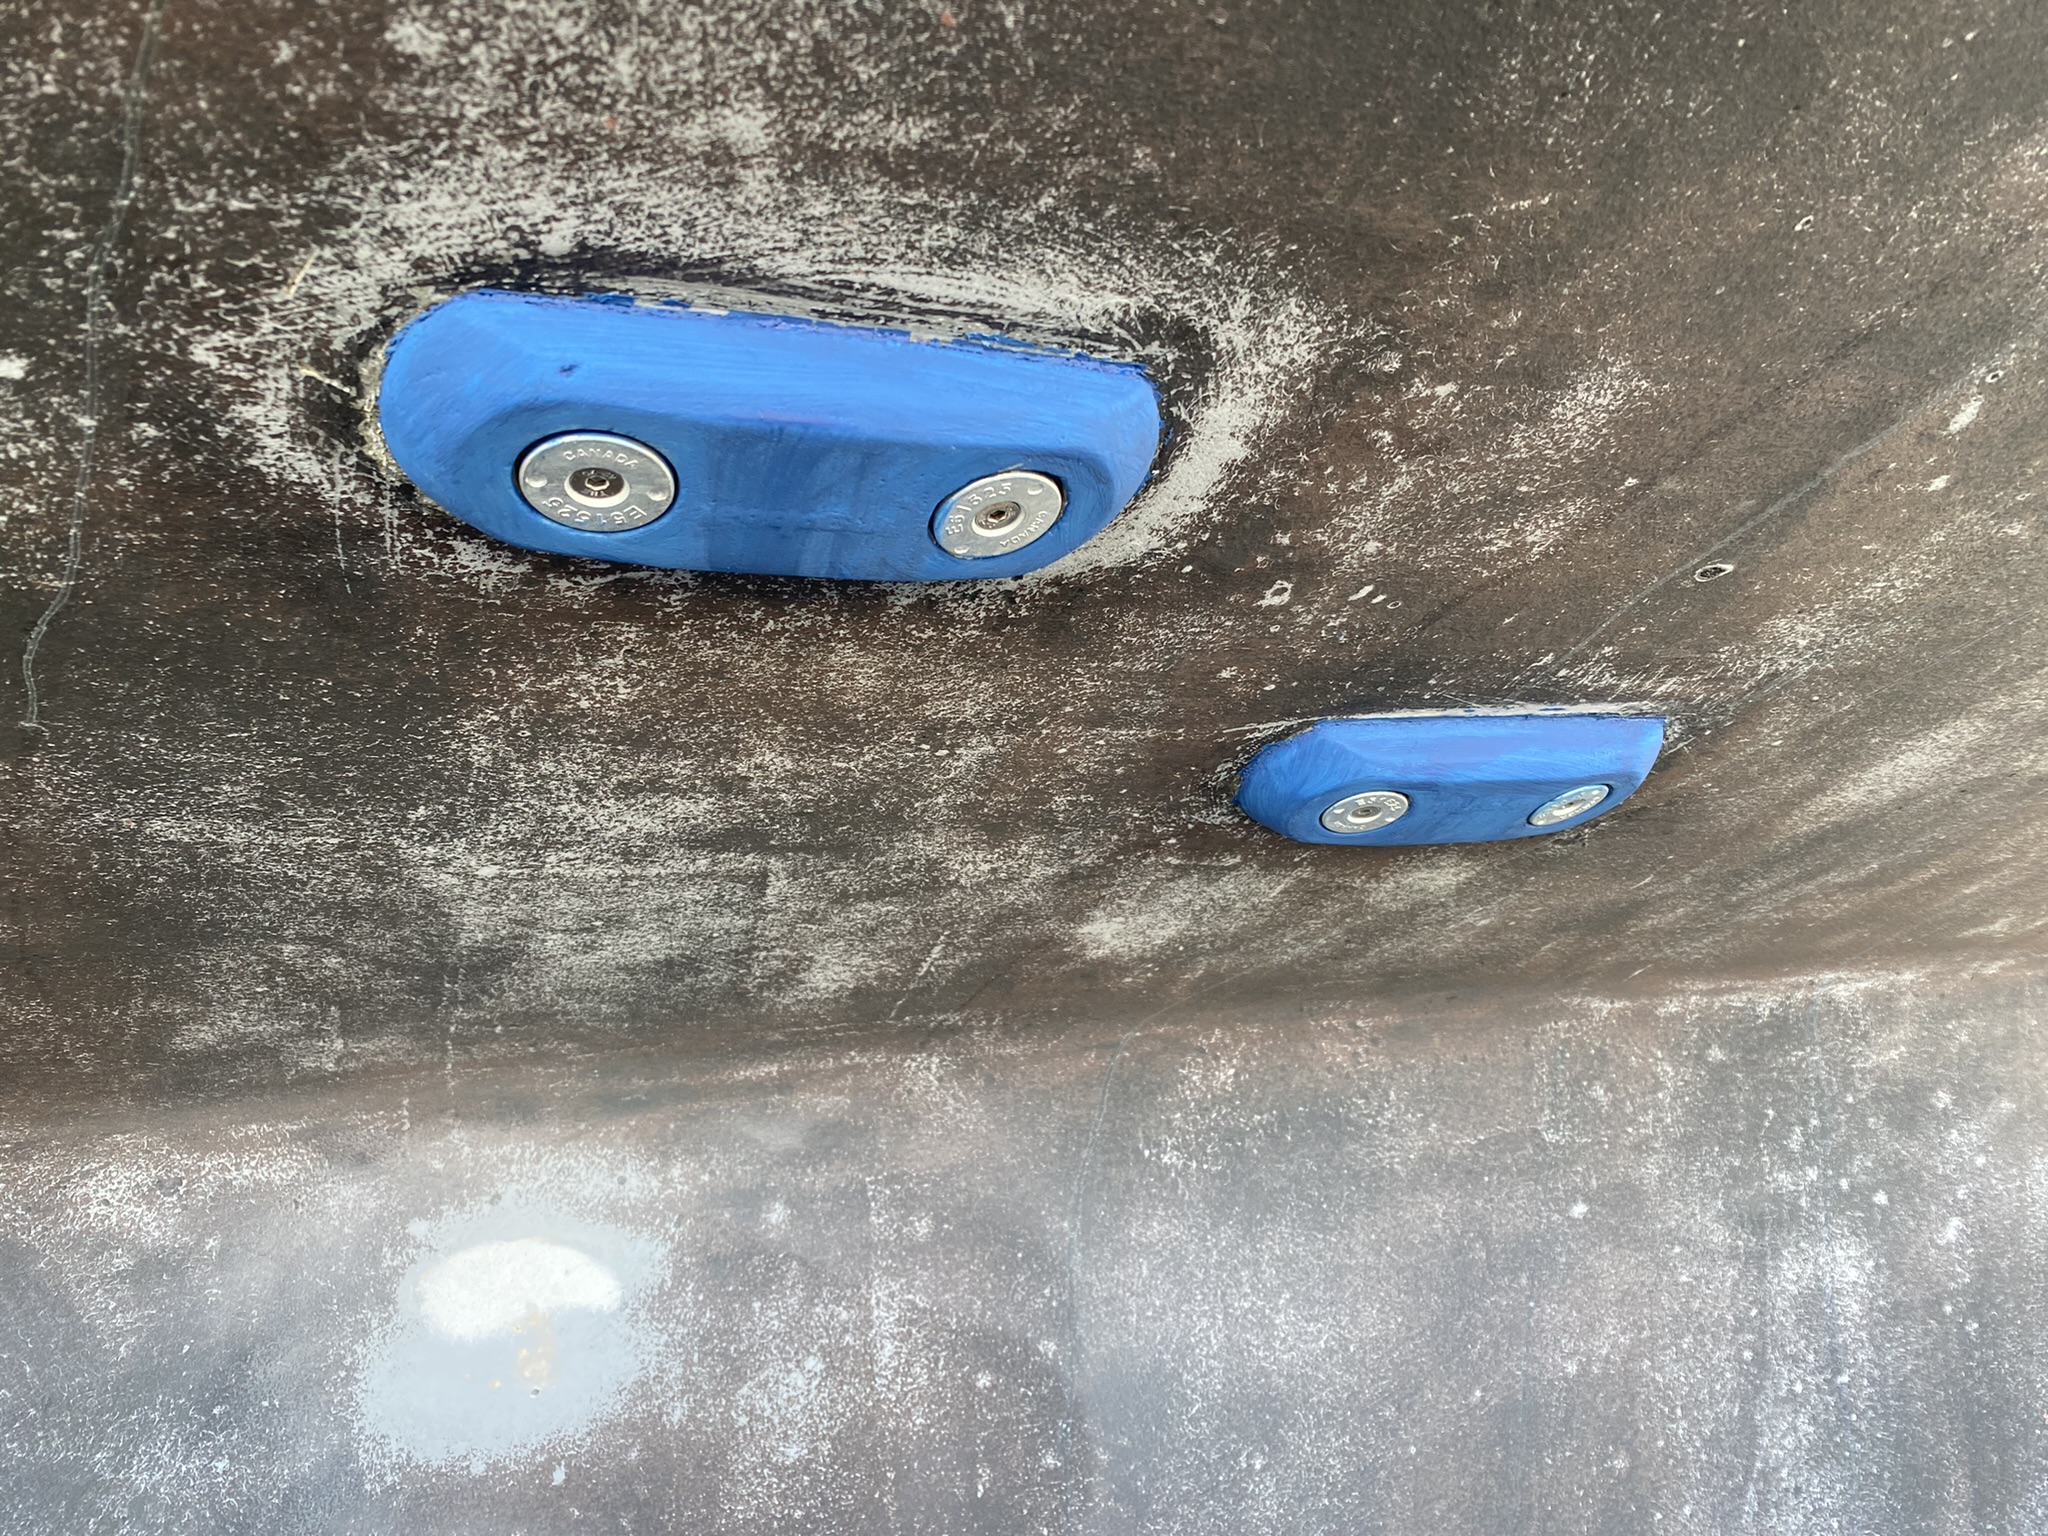
A new seacock installed and finished….
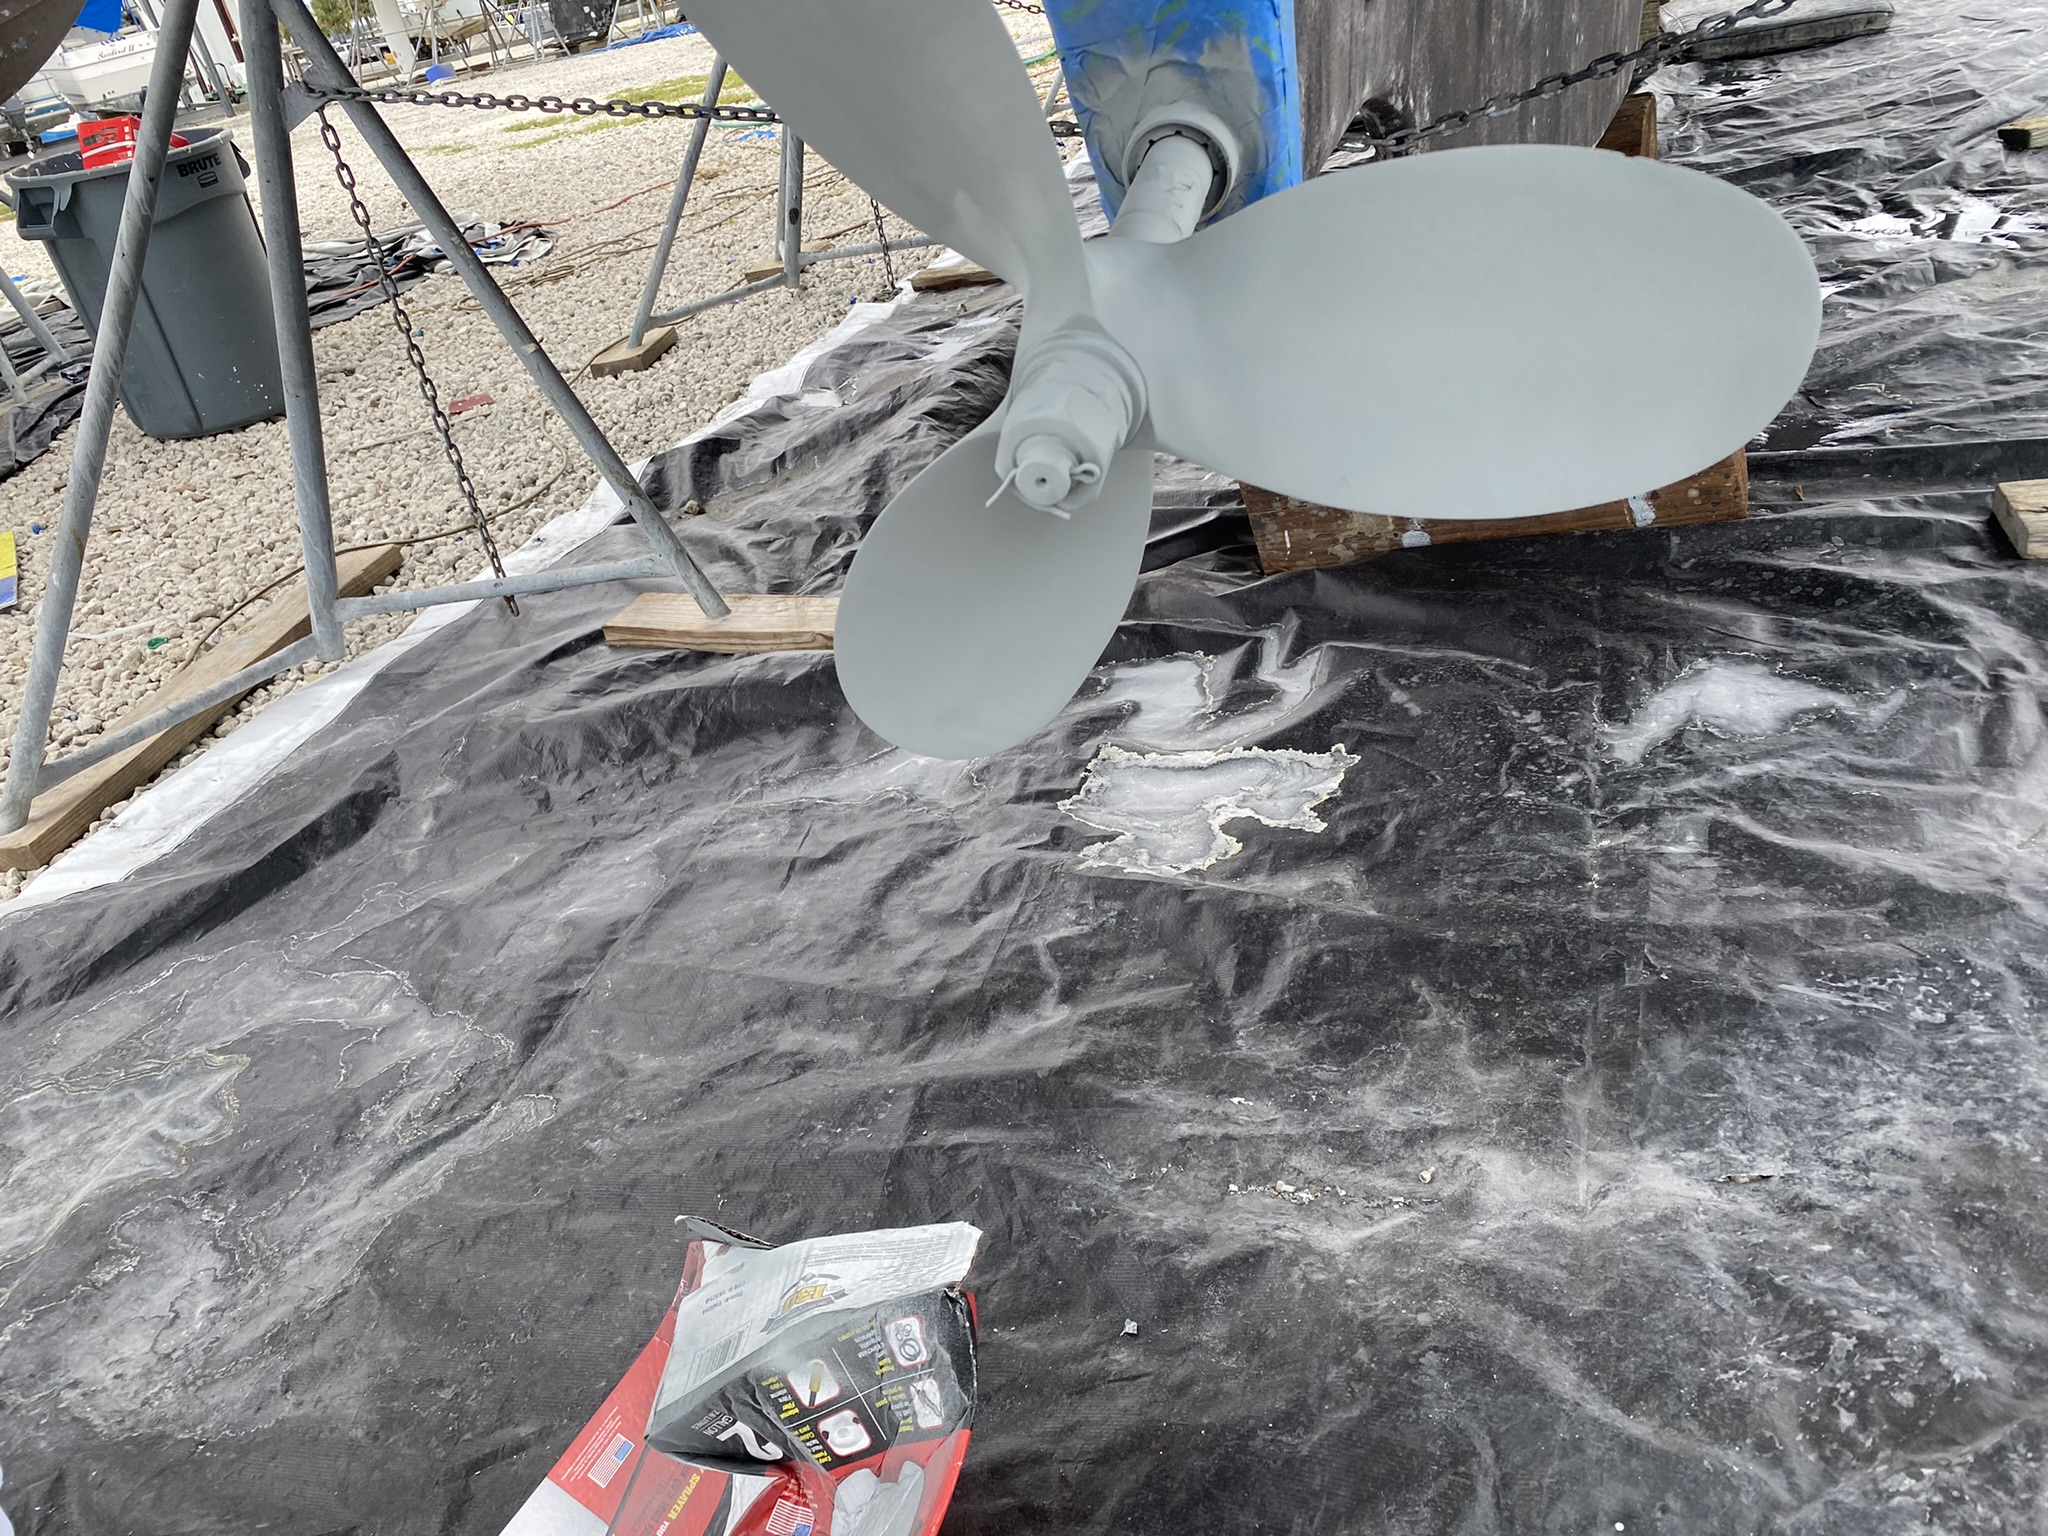
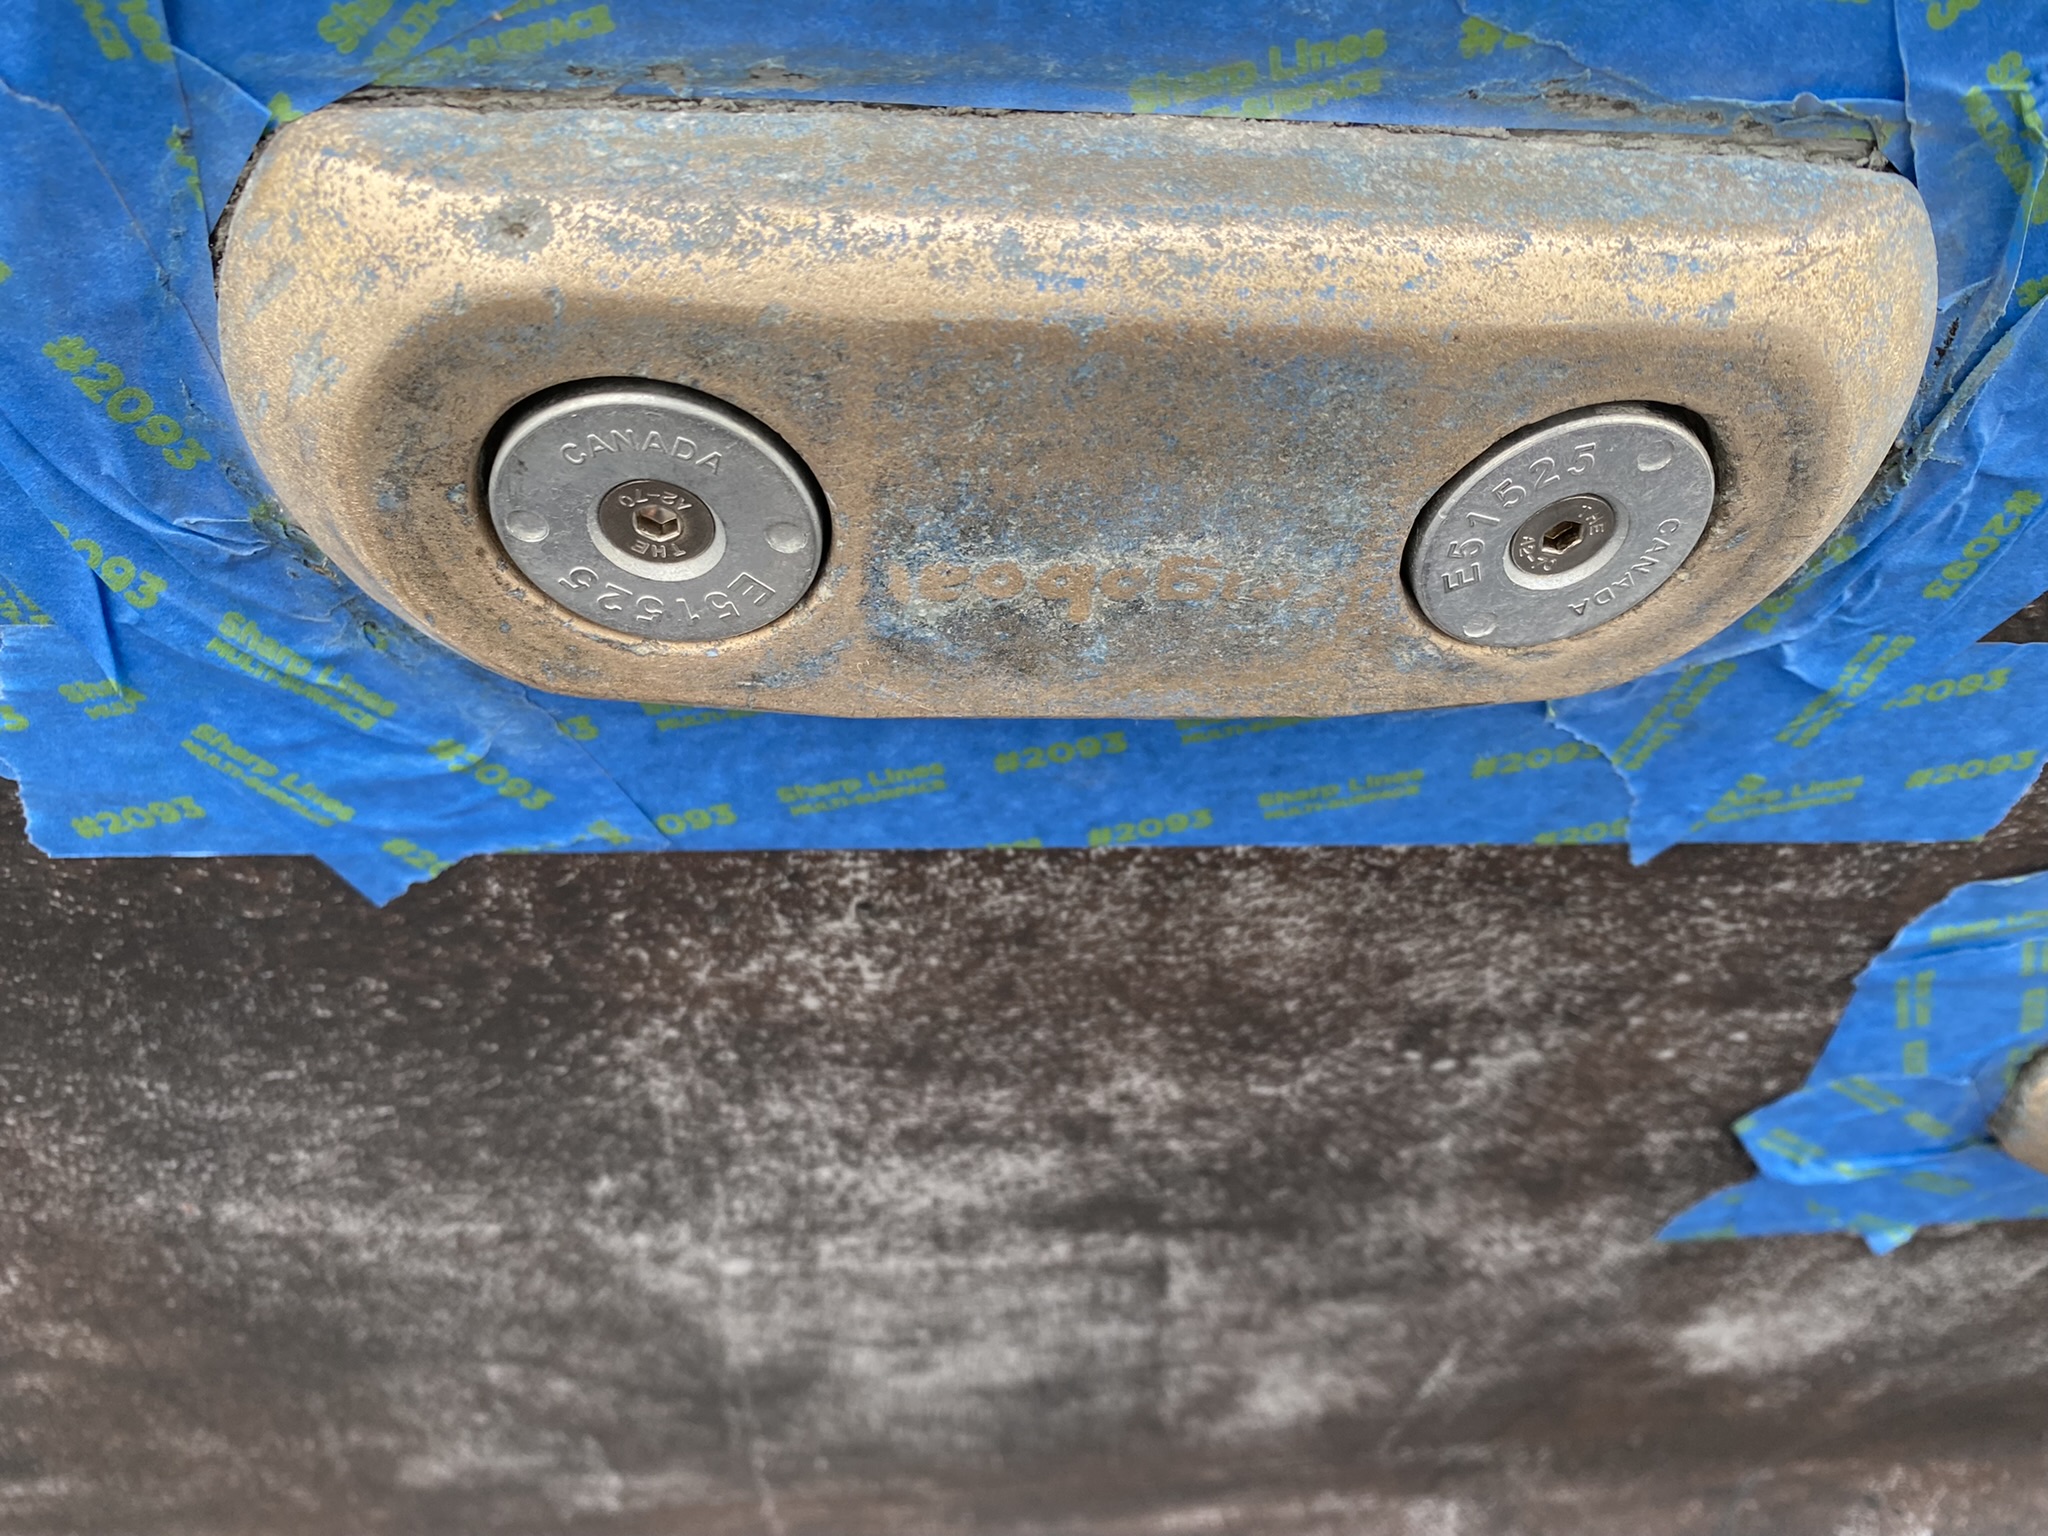
We also needed to clean and refinish our running gear (prop, prop shaft, replace the anodes, and recoat with anti fouling paint.
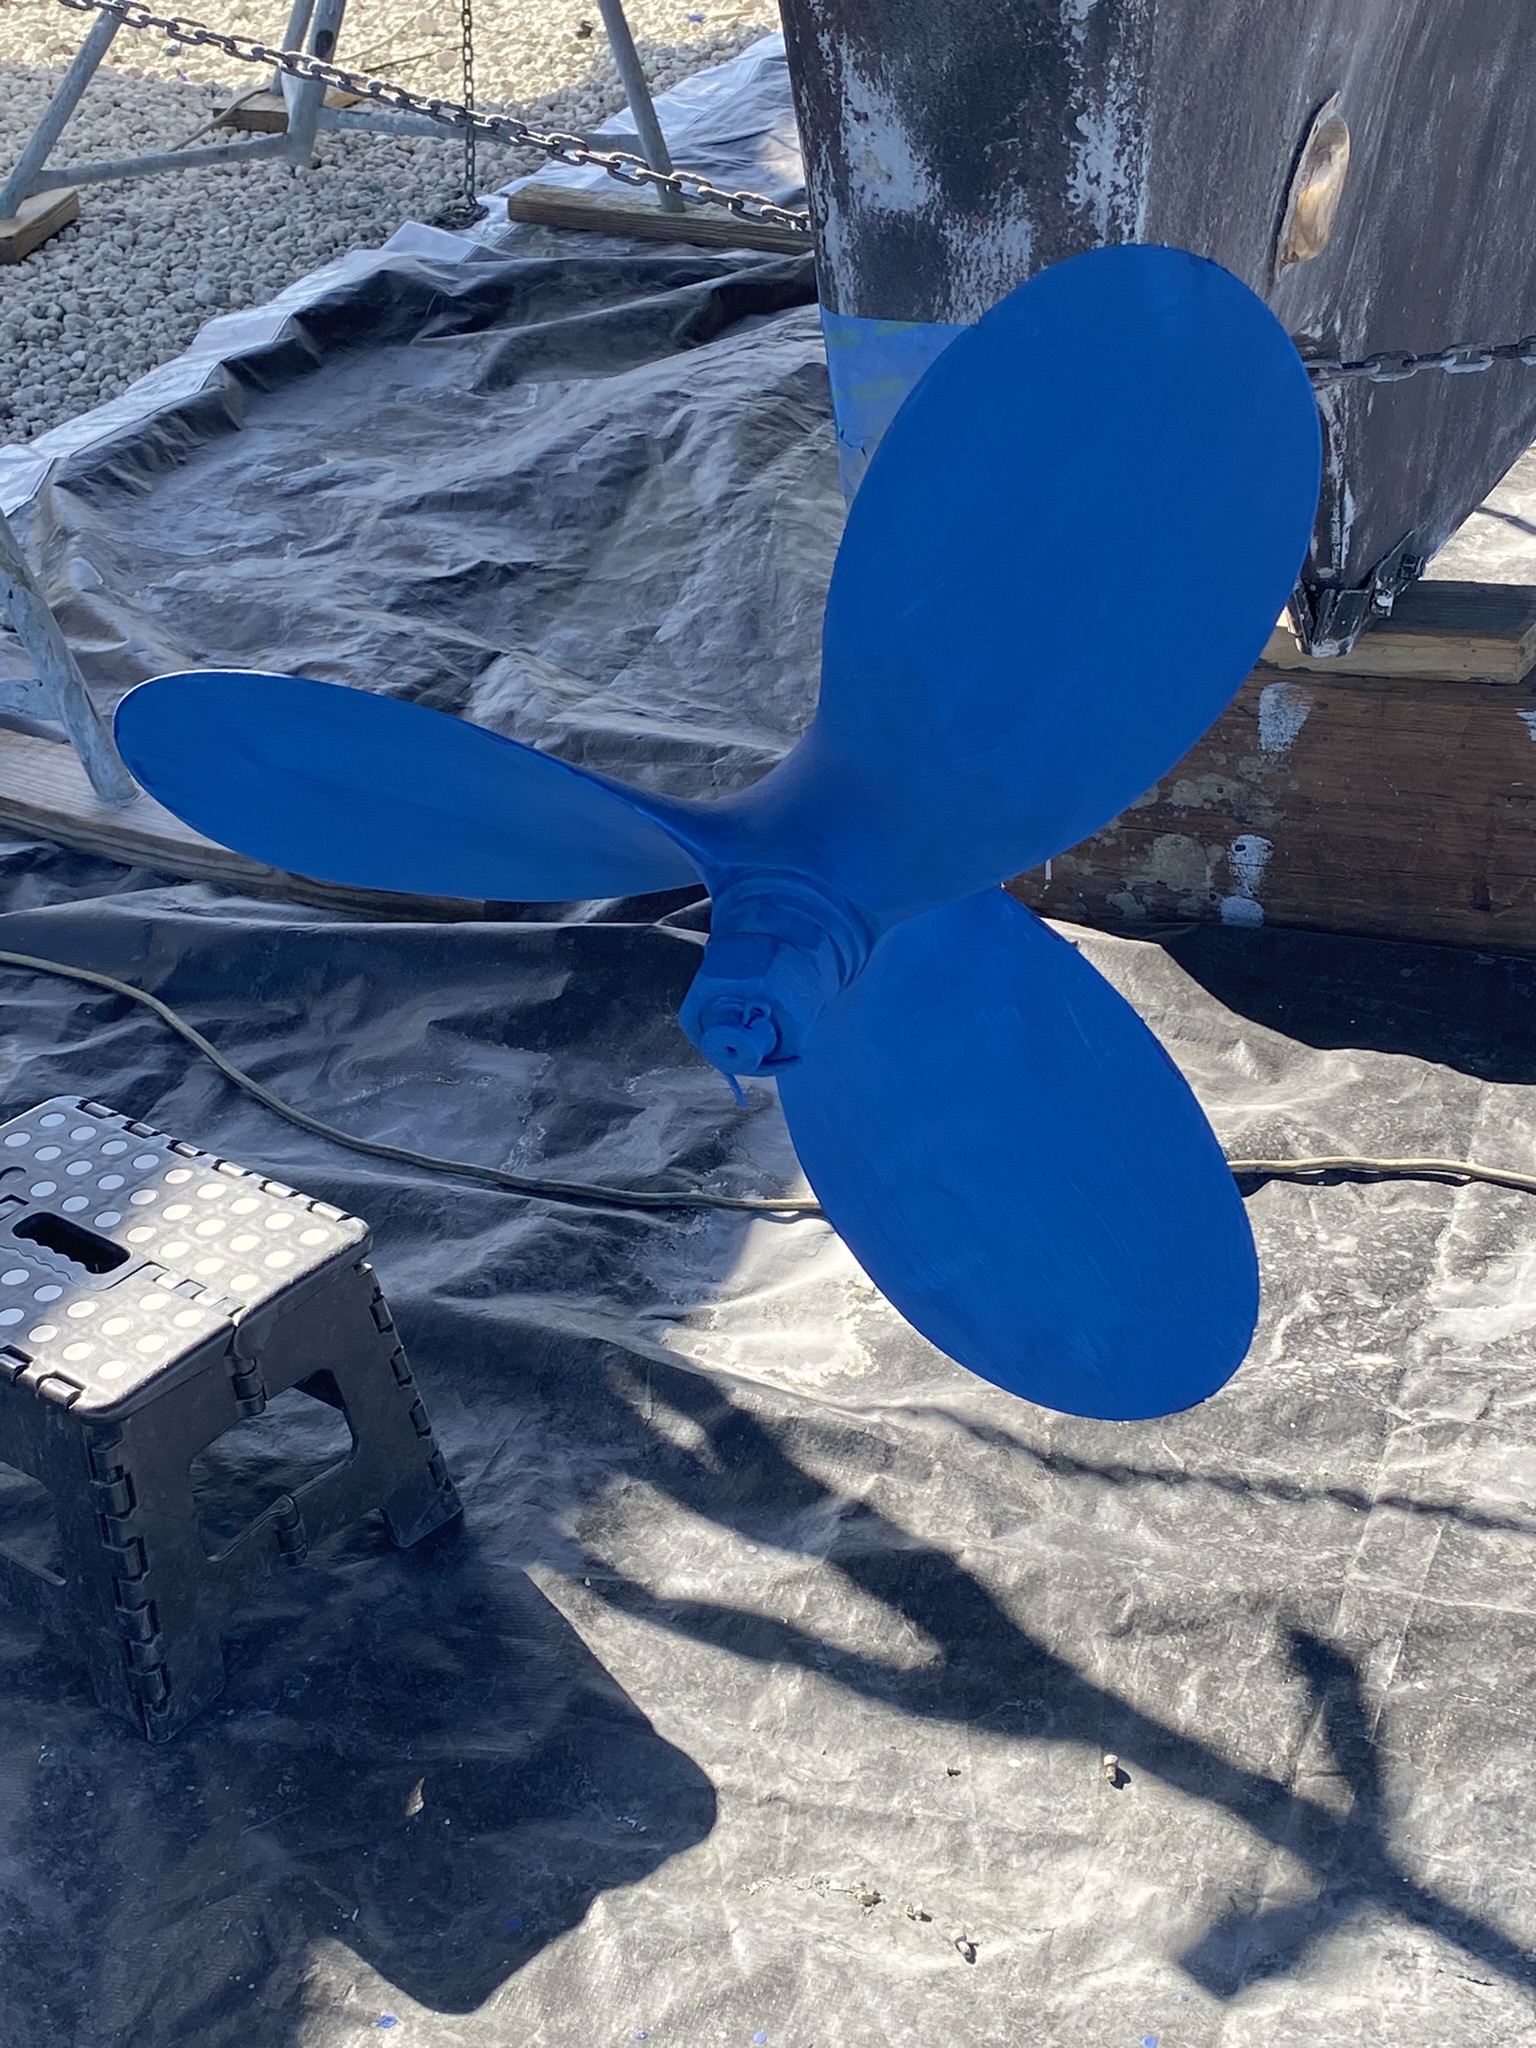
step one sanding…..that takes a day…step two coating with zinc paint…another day ……..step three coating with water based anti fouling paint (the final Smurf blue coat) that can take two or three days…..
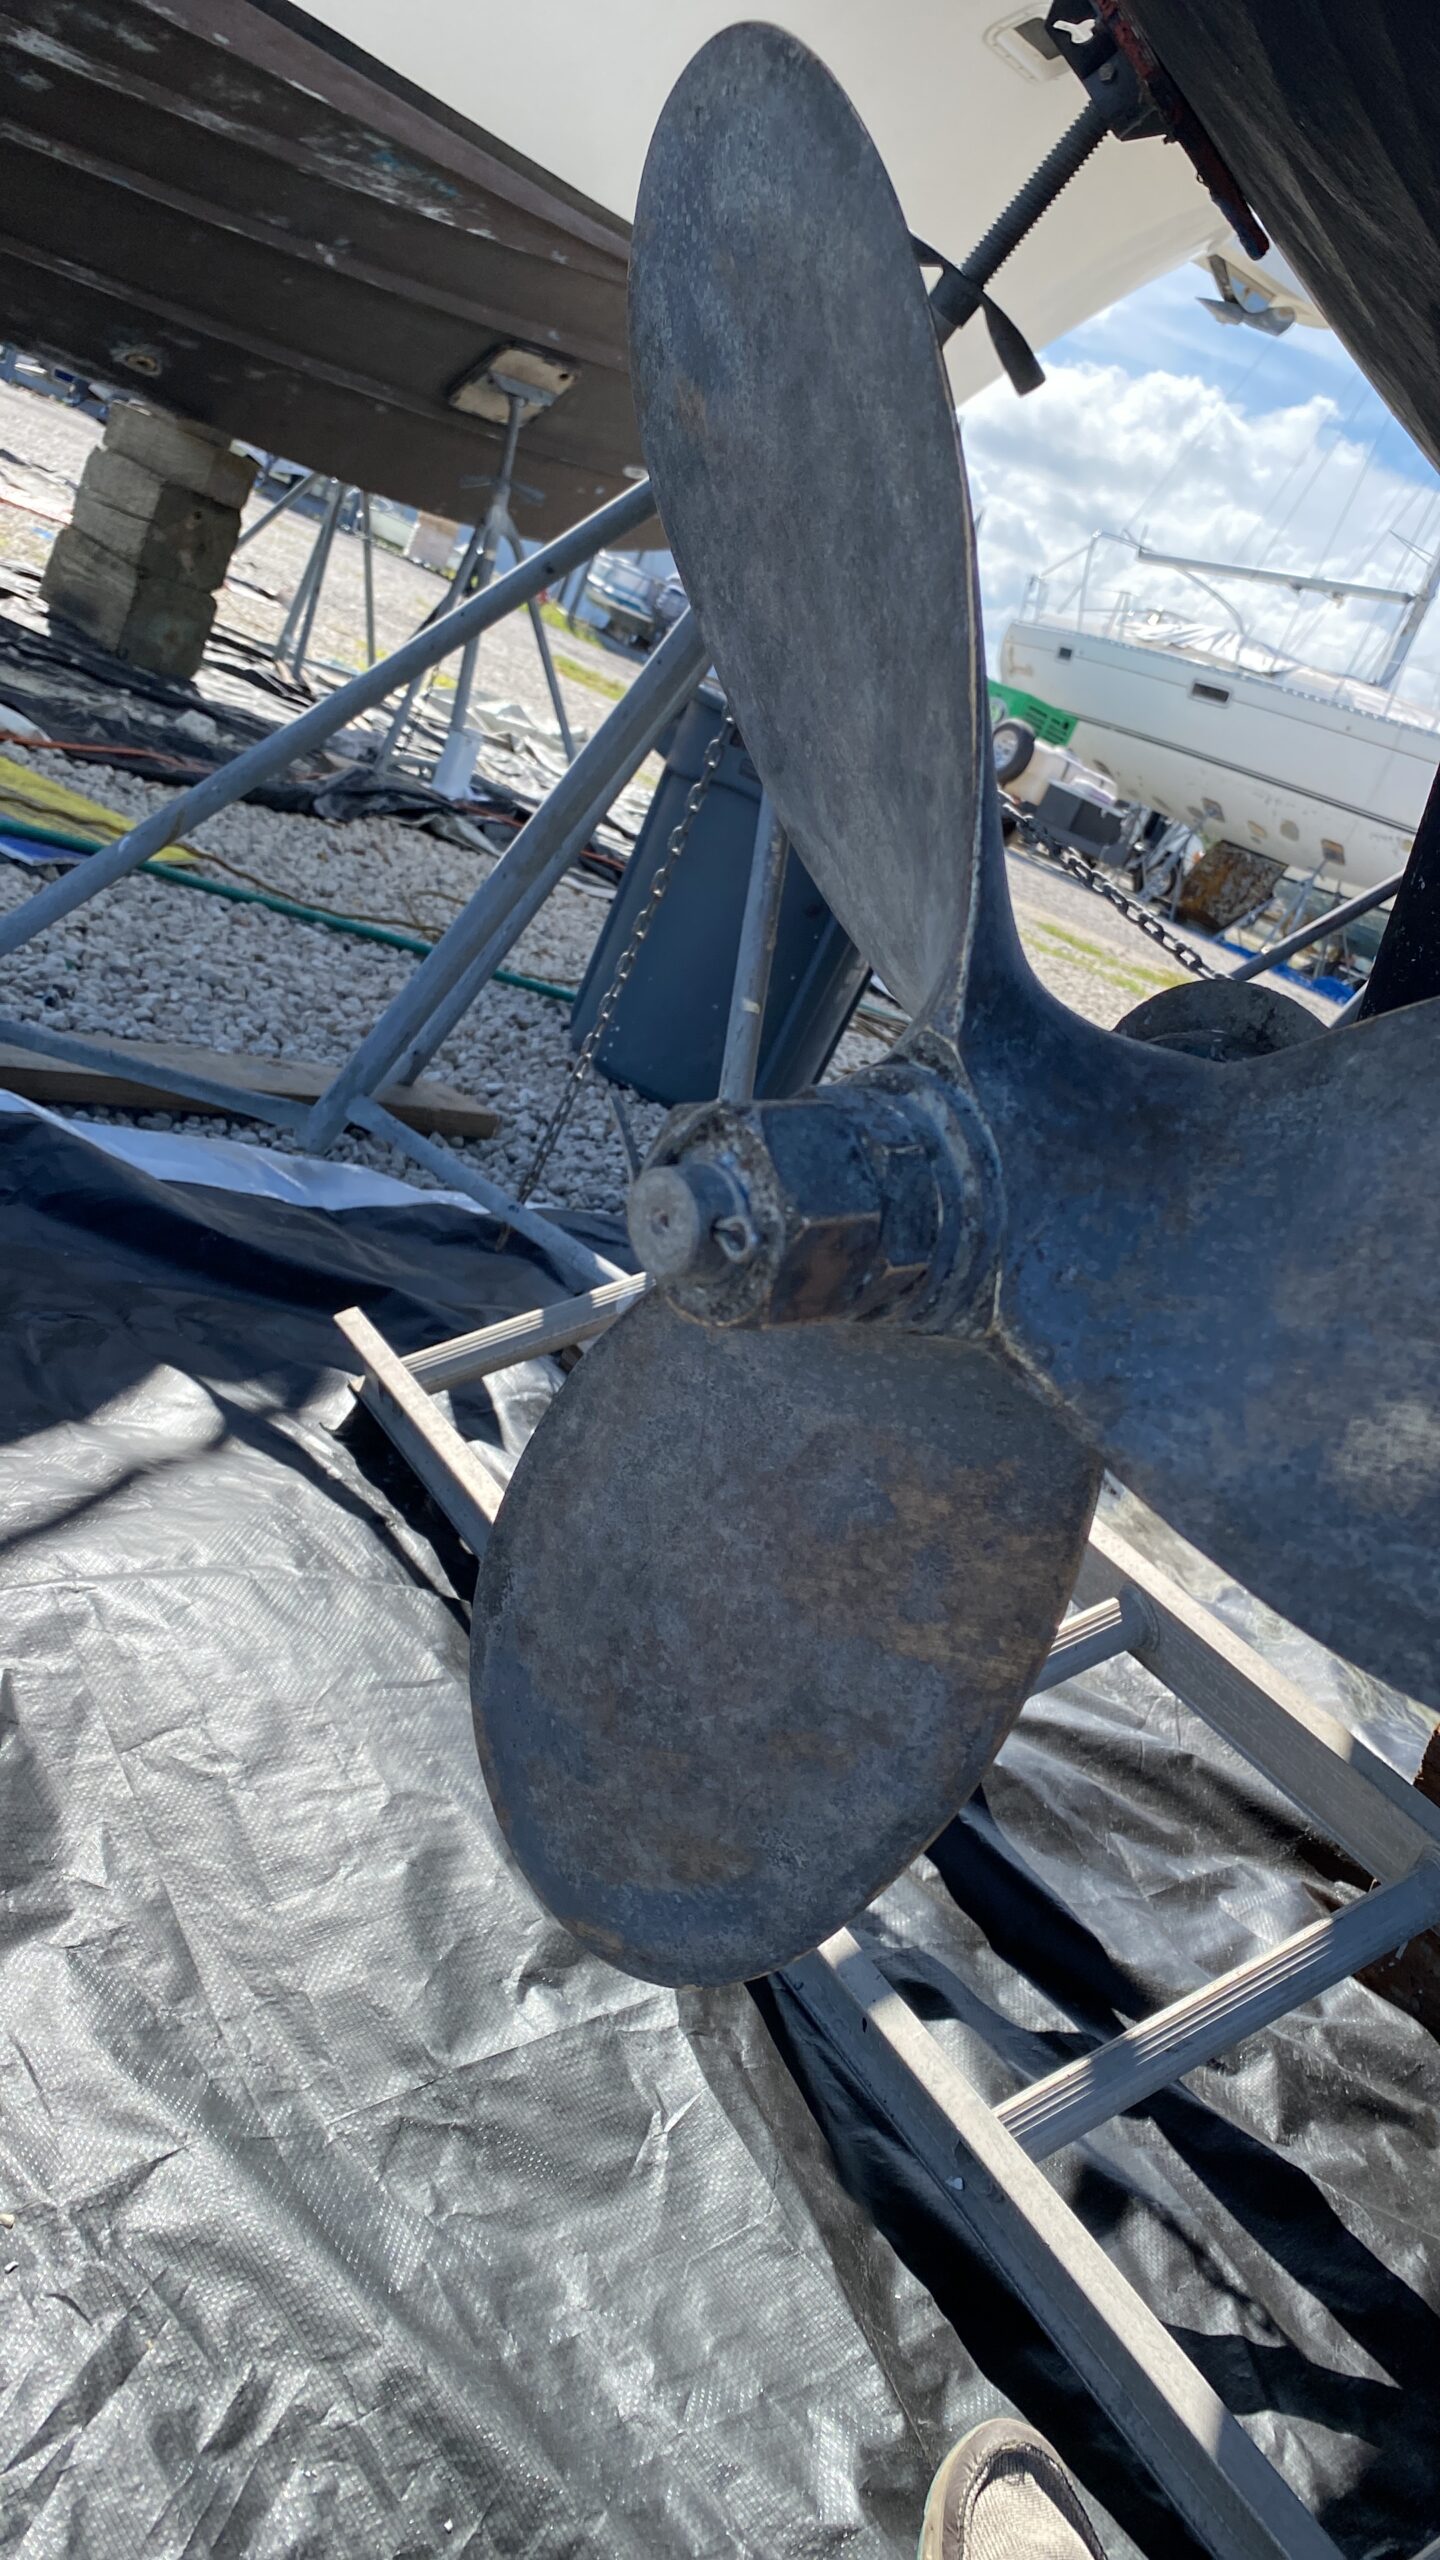
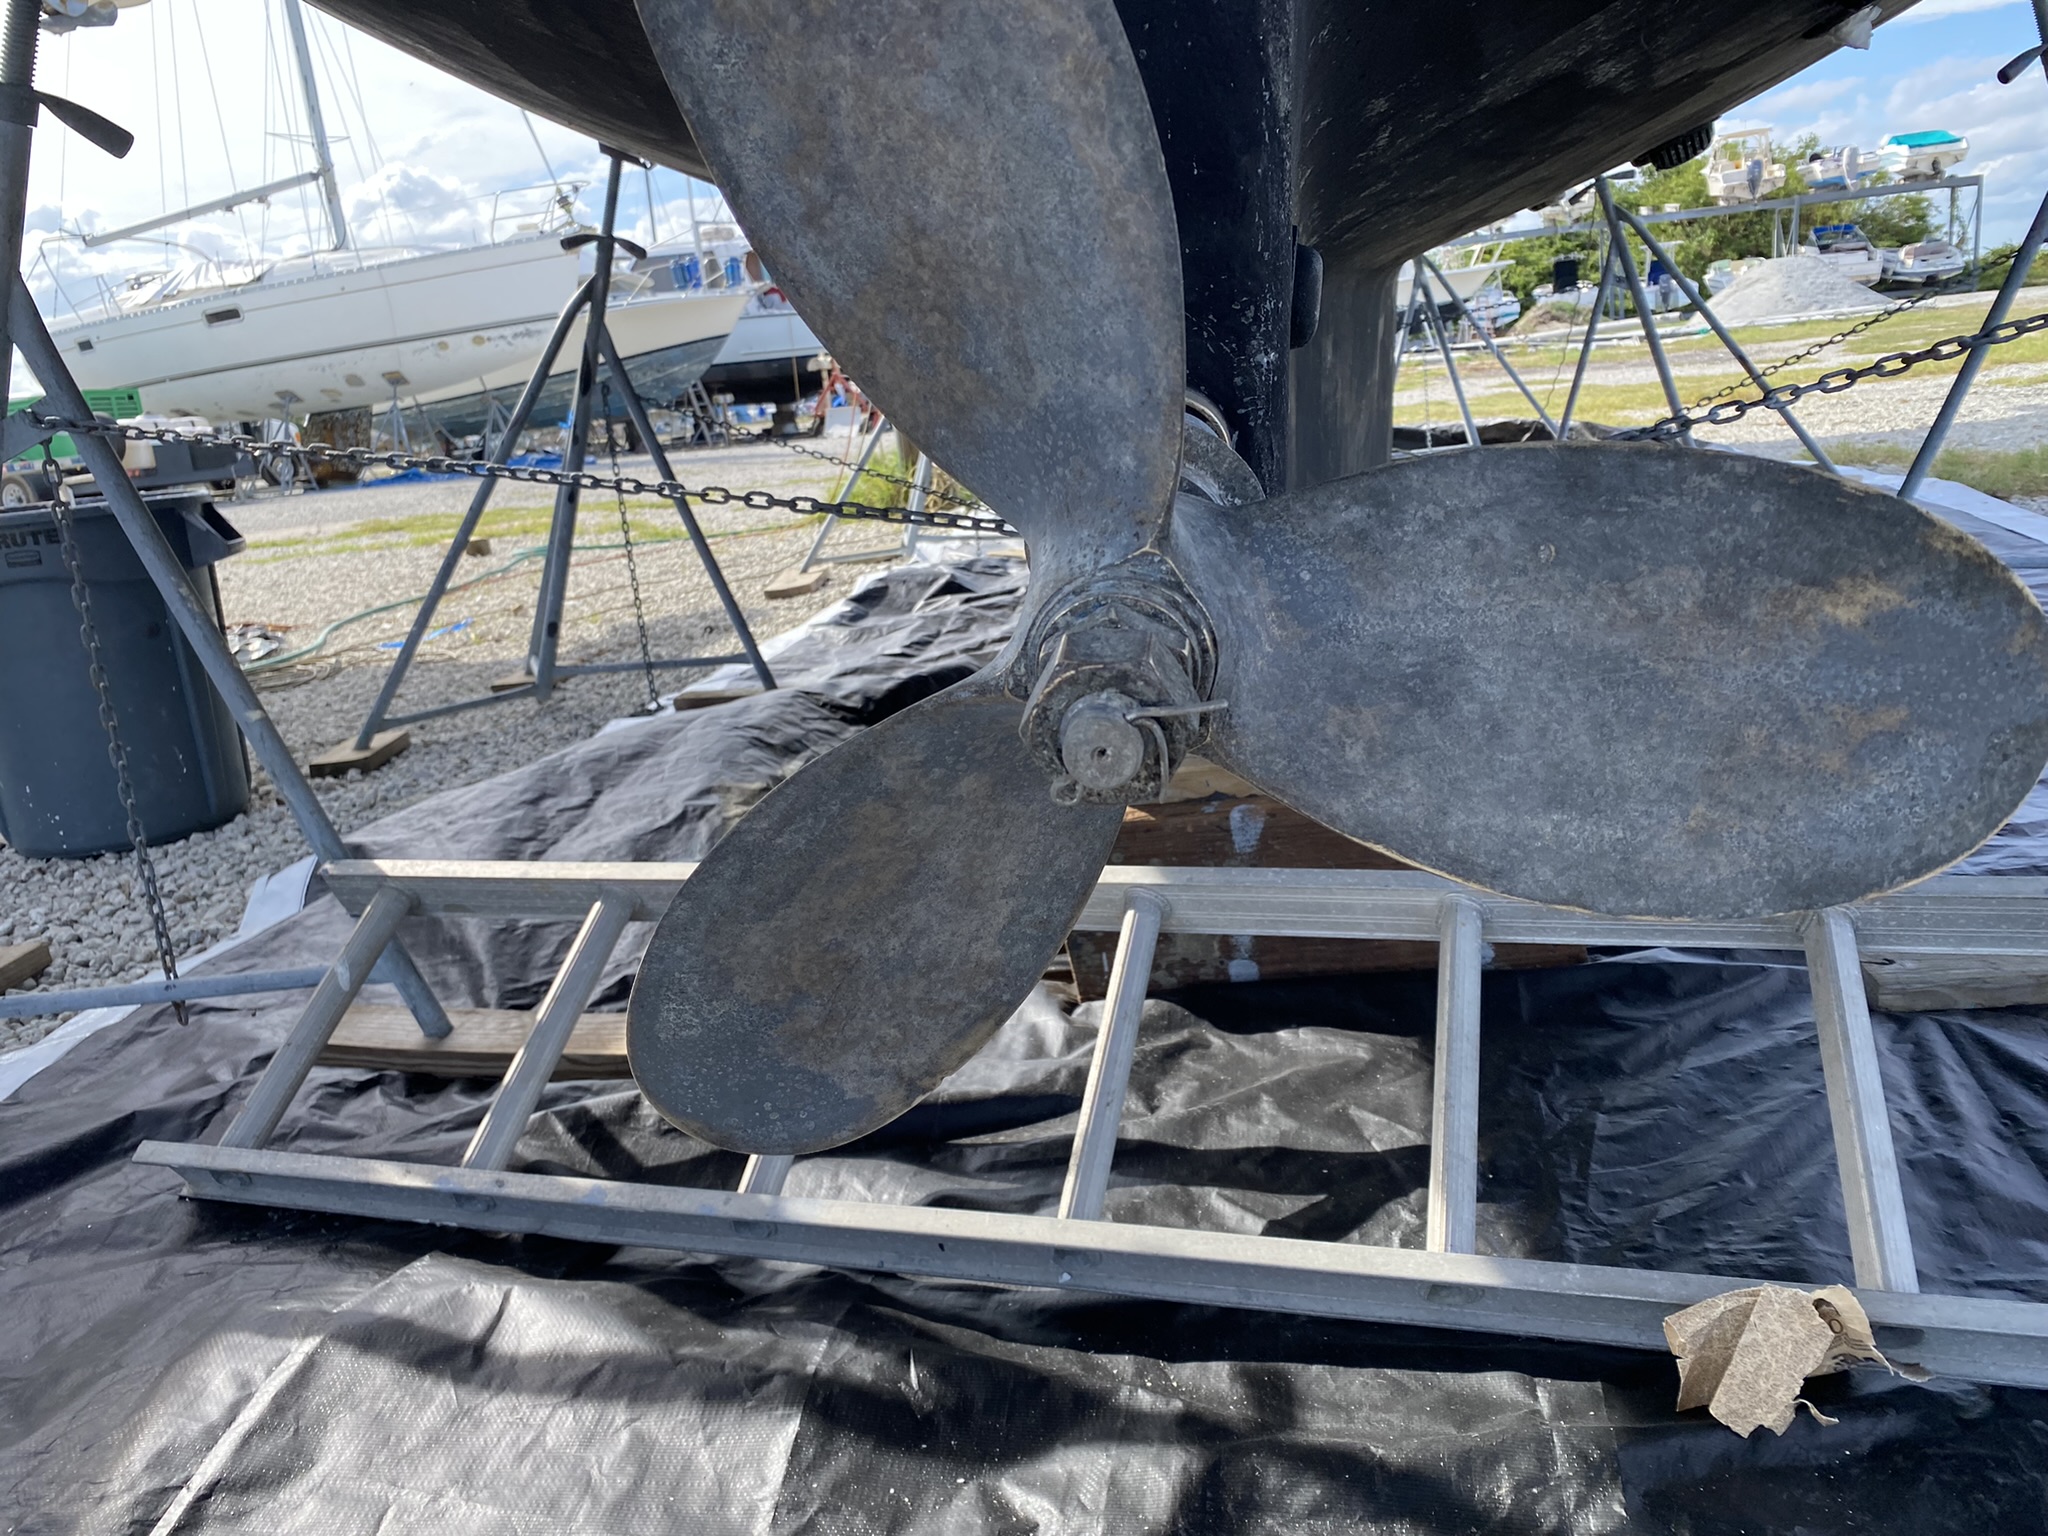
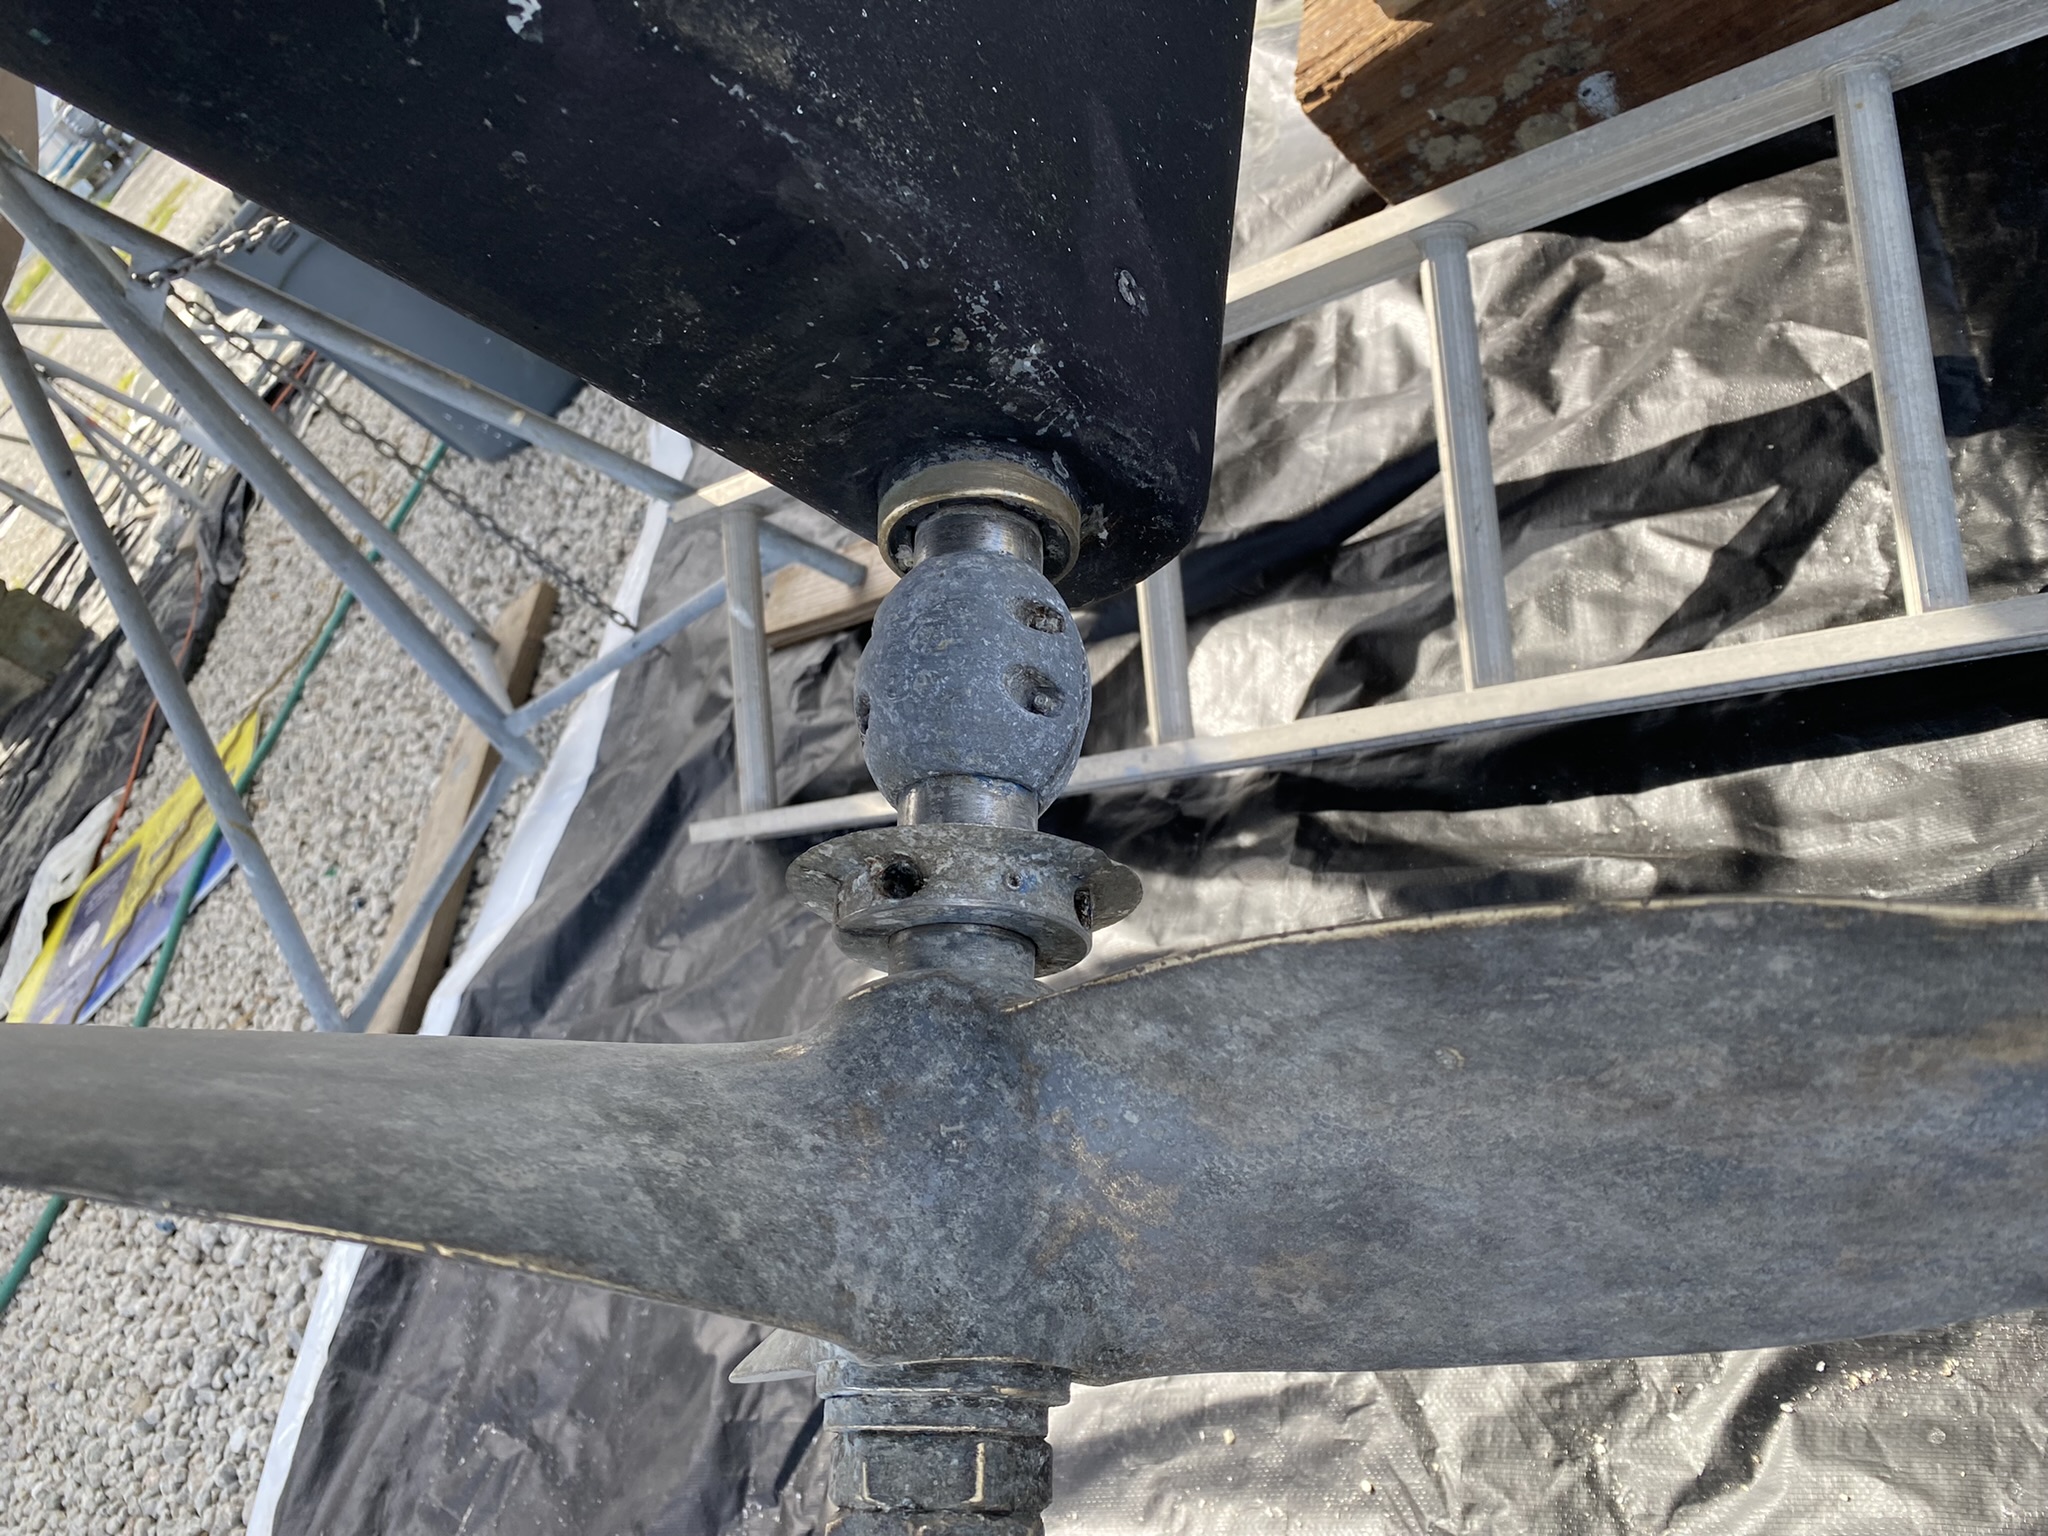
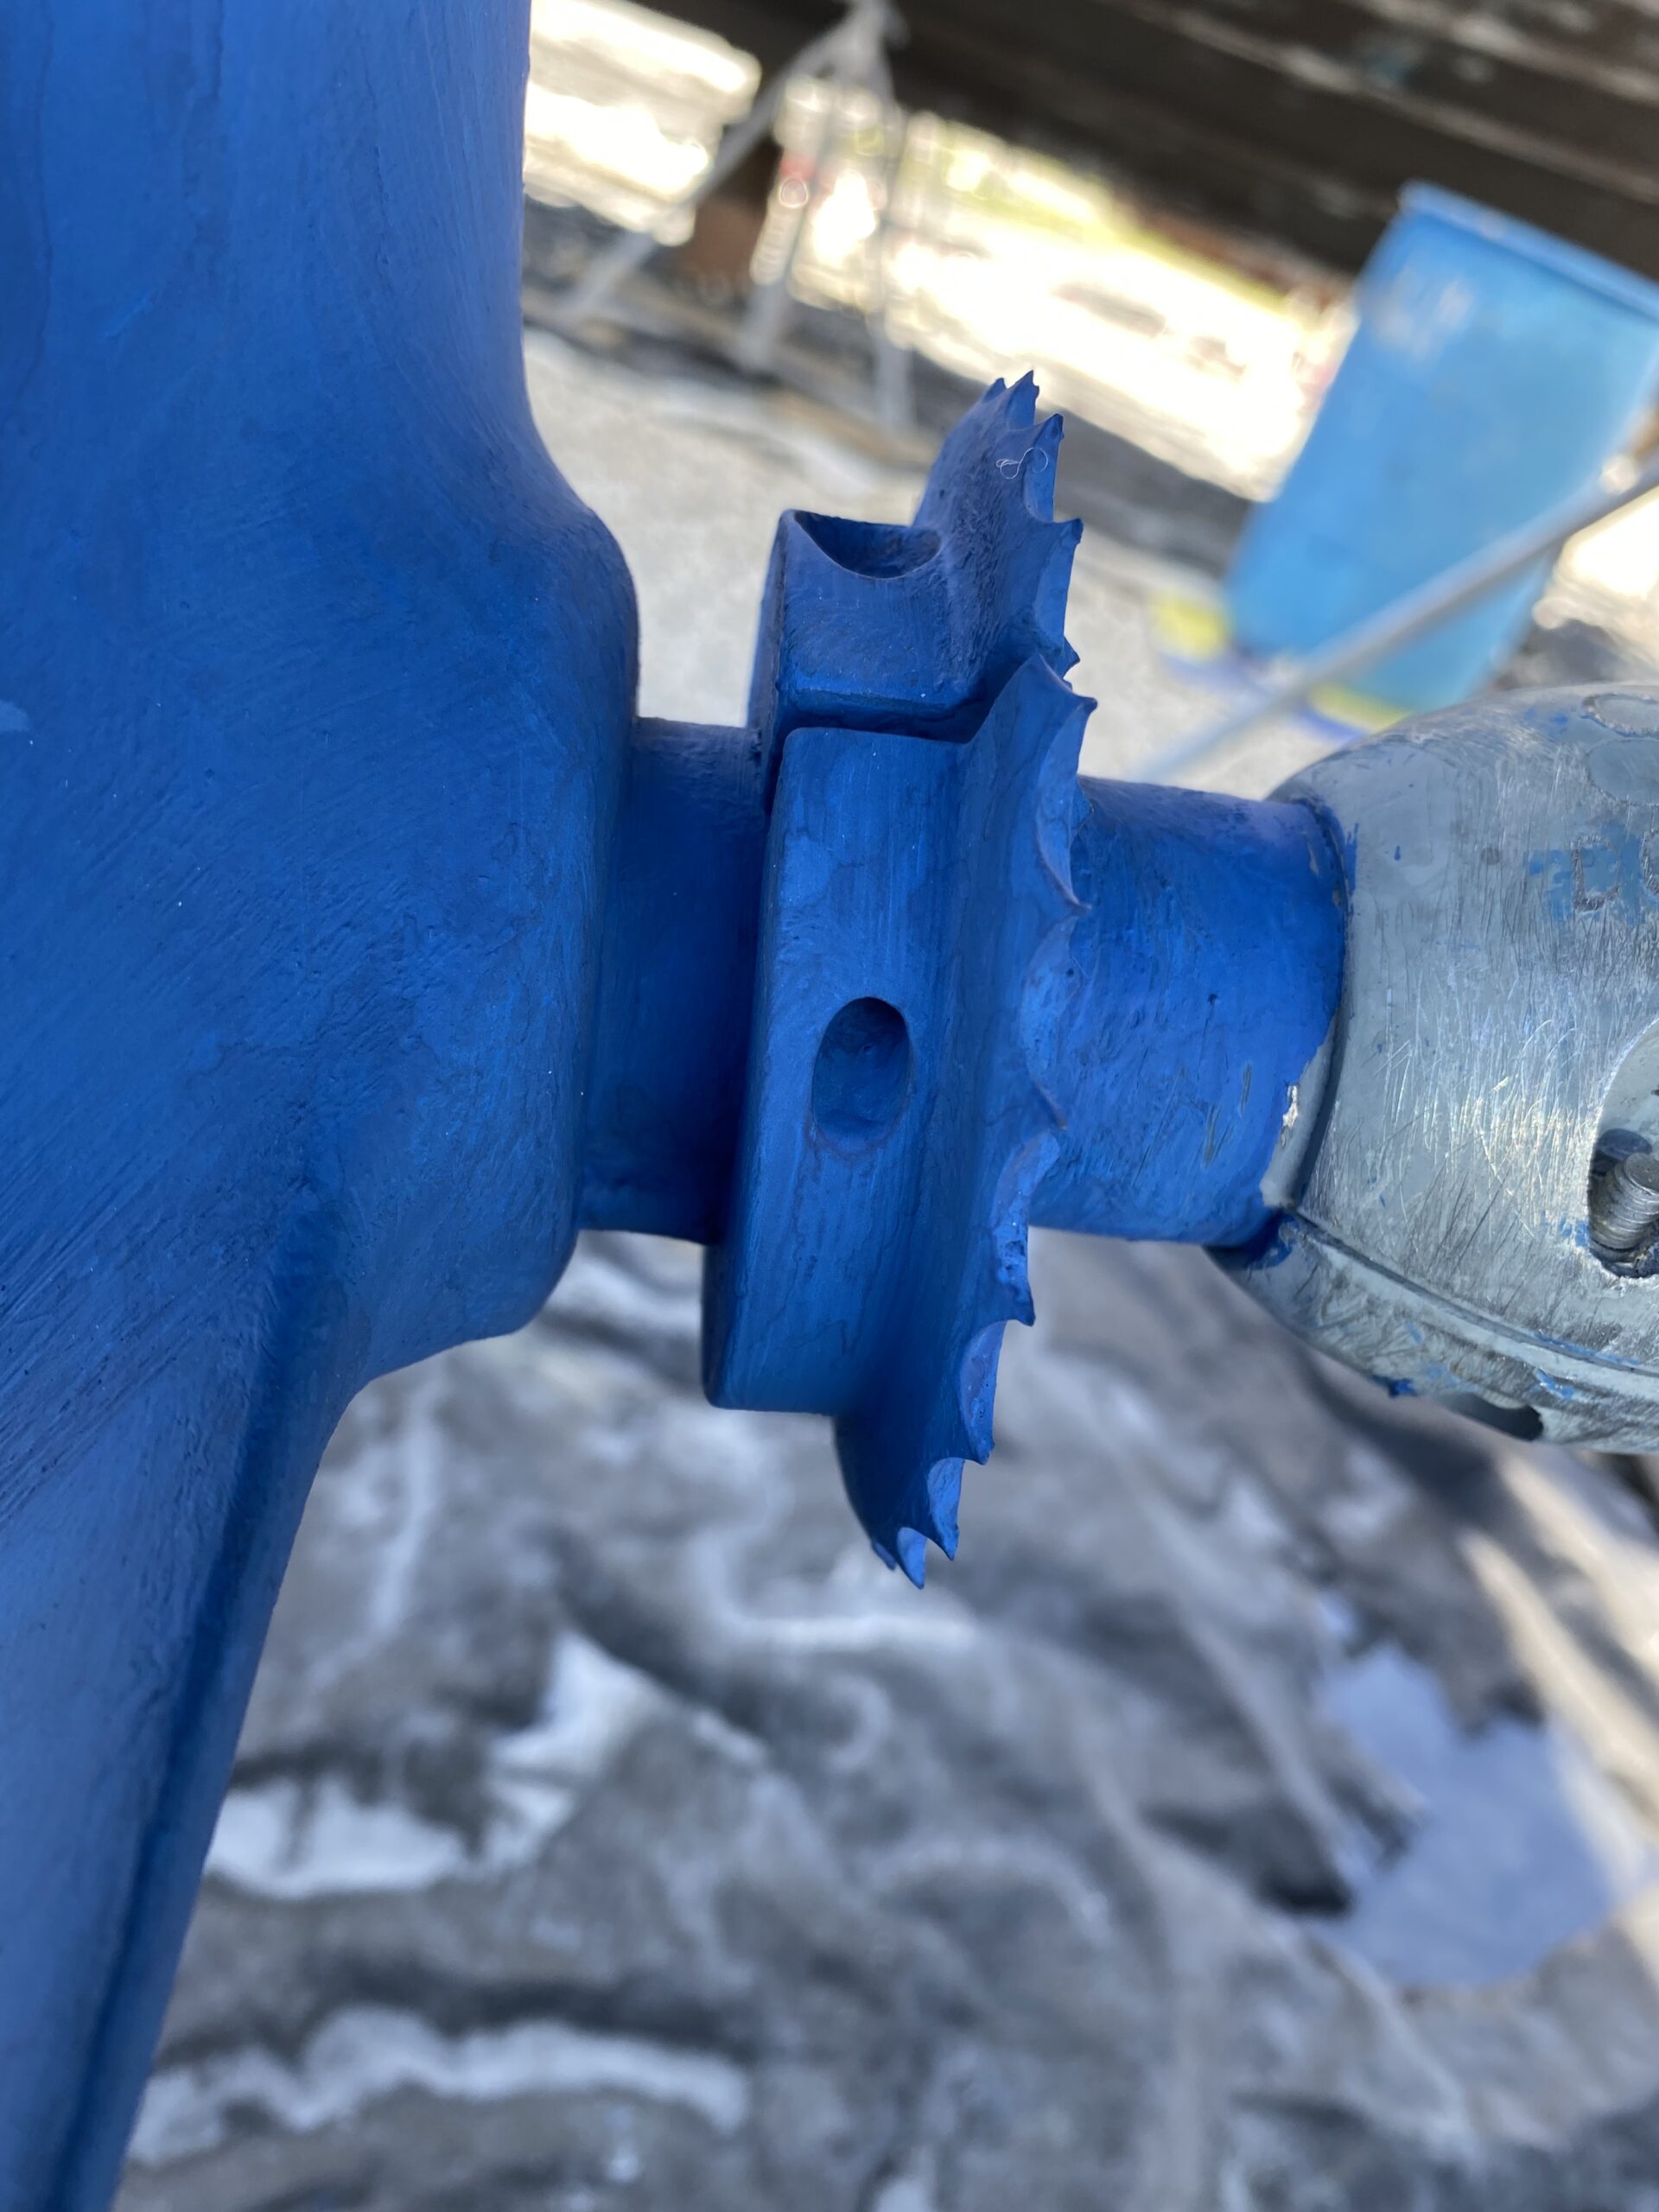
We also replaced our prop shaft mounted line cutter to our prop shaft in case we pick up an abandoned line, net or a line from a crab or lobster trap. Not fool proof, but makes life easier.
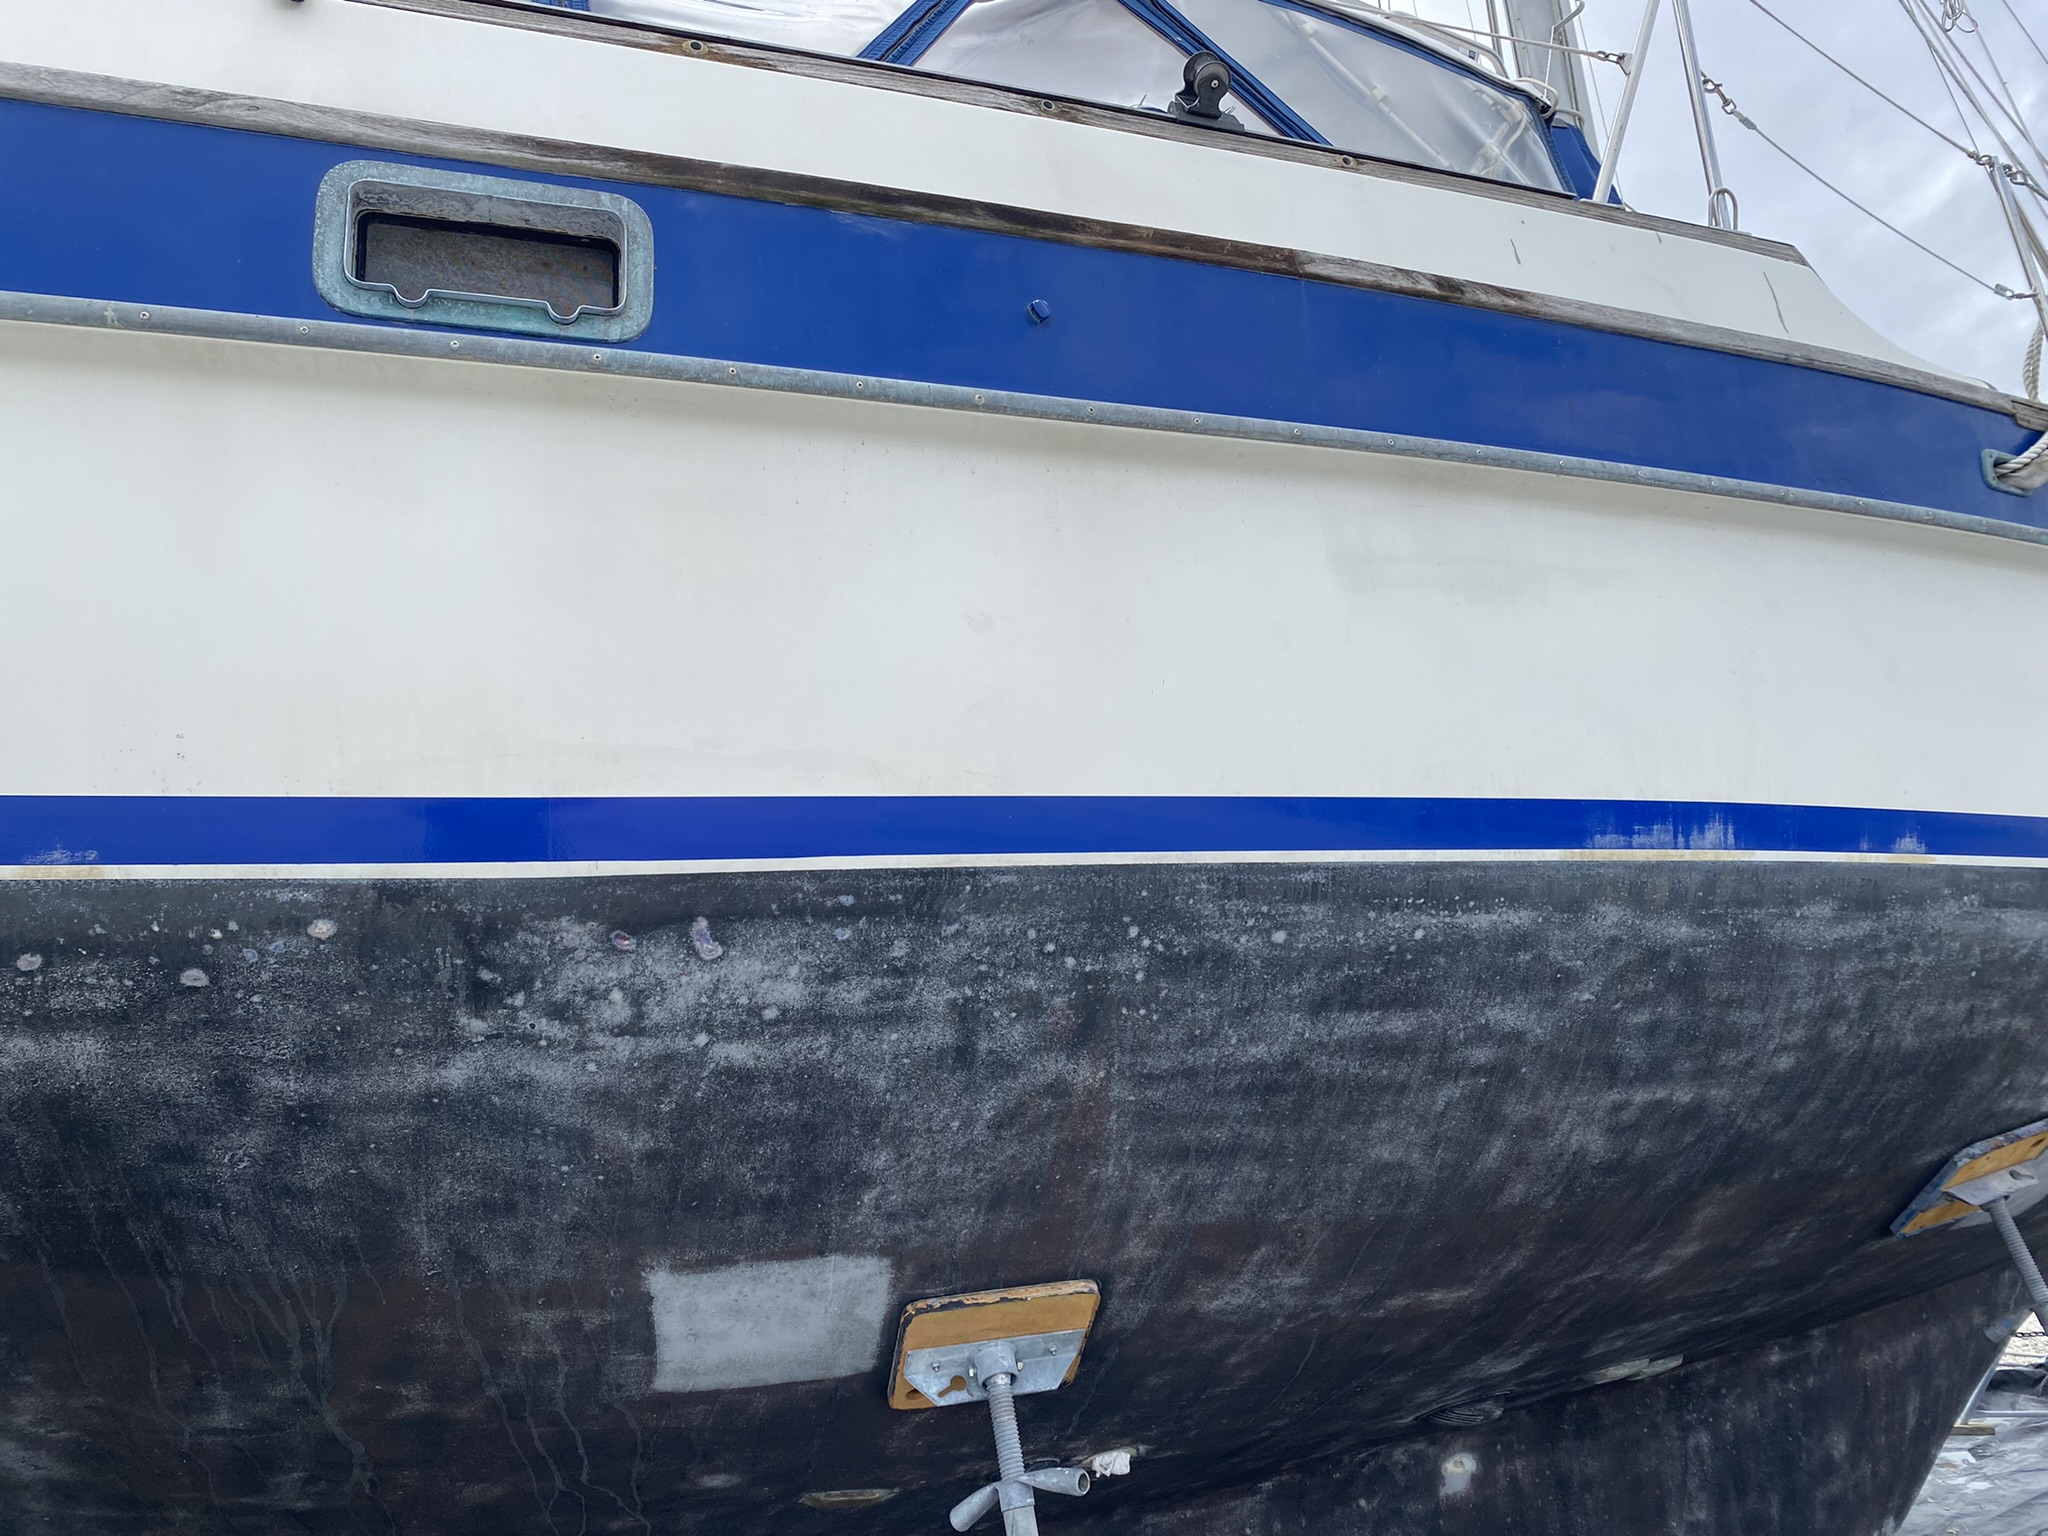
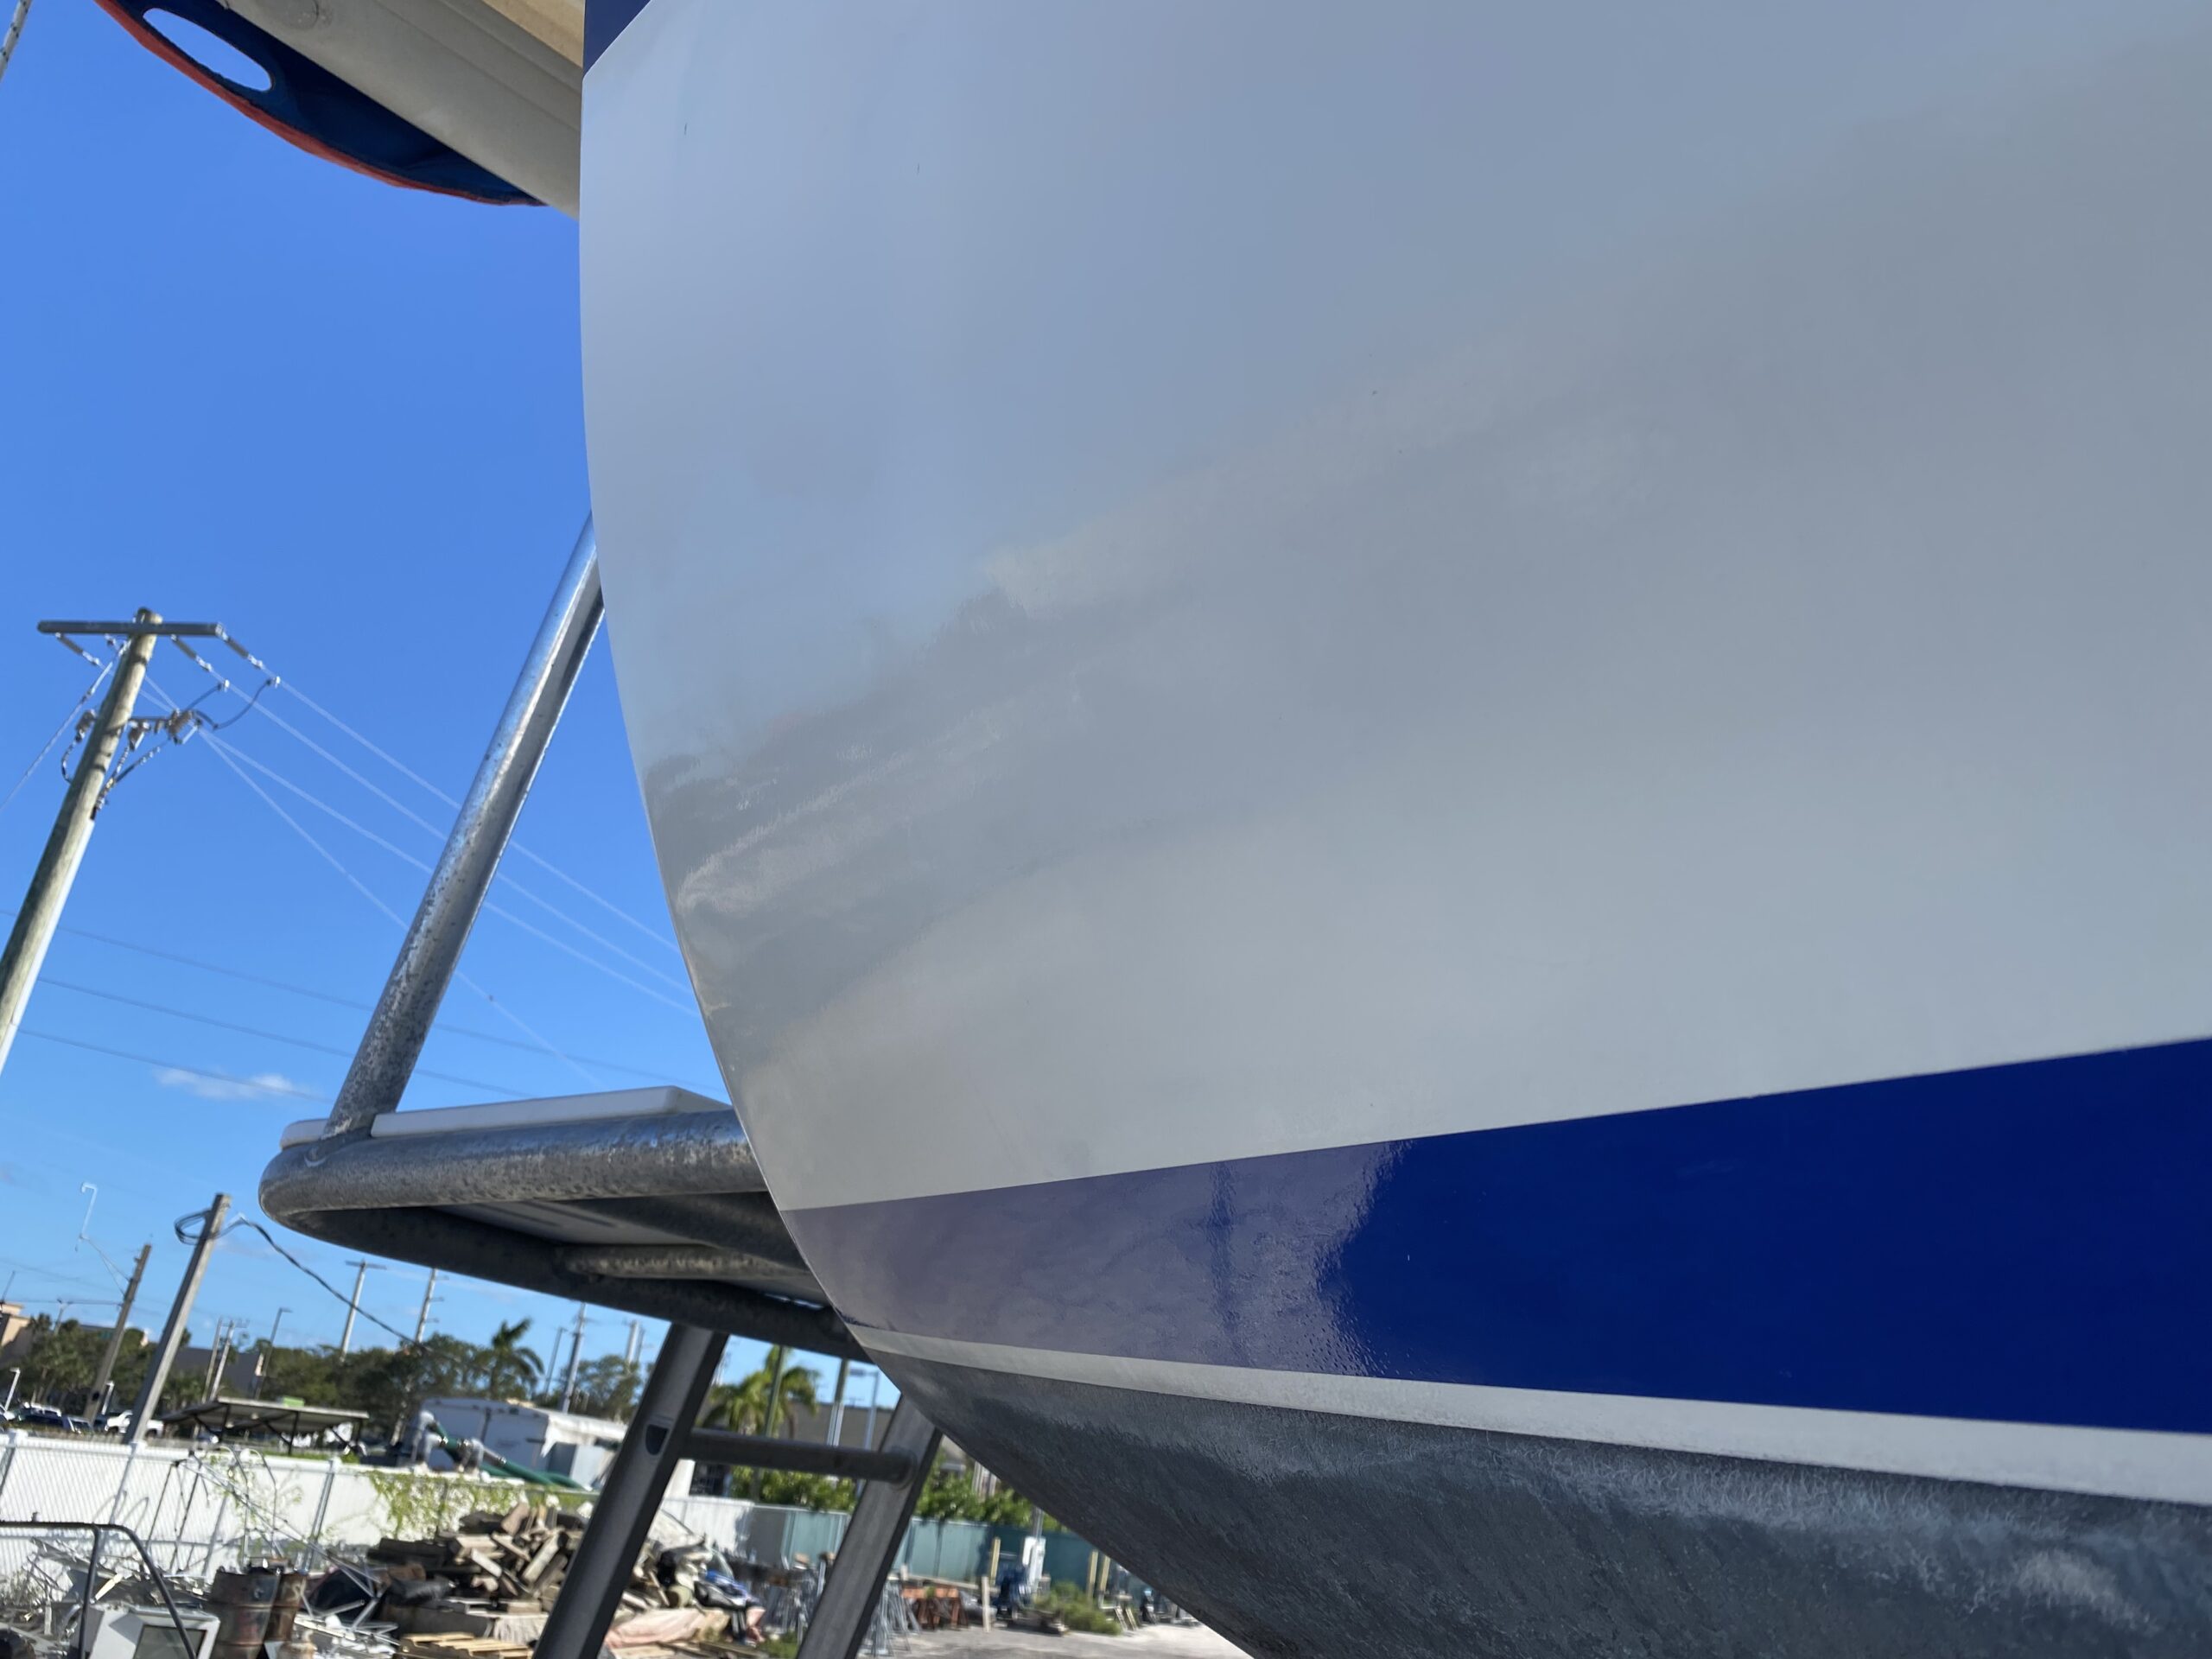
We had some damage to our boot stripe which we repaired also….and some scratches to the topside paint that happened during the hurricane.

While we are out of the water it’s a convenient time to compound and wax the hull….that’s a three day job …minimum….but she’s so pretty and shiny at the end…..thanks to Sherry and Dan Lambert, and Dave Uhles for the assistance.
Plus sanding, stripping, repainting and replacing anodes for our refrigeration “keel coolers” ….. if you’ve read the boat refrigeration entry, you know what those are already……
All in all, it took from October 11 to November 26th, and during that time I had the flu…or RSV or whatever they are calling it this year ….fun…..and hurricane Nicole made an appearance…….but it’s done now and we are back in the water awaiting the next trip…….

Amazon Physical Gift Card | Amazon Designs
(as of July 13, 2026 07:02 GMT +00:00 - More infoProduct prices and availability are accurate as of the date/time indicated and are subject to change. Any price and availability information displayed on [relevant Amazon Site(s), as applicable] at the time of purchase will apply to the purchase of this product.)
DoorDash eGift Card
(as of July 13, 2026 07:02 GMT +00:00 - More infoProduct prices and availability are accurate as of the date/time indicated and are subject to change. Any price and availability information displayed on [relevant Amazon Site(s), as applicable] at the time of purchase will apply to the purchase of this product.)
Amazon Fire HD 10 tablet, built for relaxation, 10.1" vibrant Full HD screen, octa-core processor, 3 GB RAM, 32 GB, Black
(as of July 13, 2026 07:02 GMT +00:00 - More infoProduct prices and availability are accurate as of the date/time indicated and are subject to change. Any price and availability information displayed on [relevant Amazon Site(s), as applicable] at the time of purchase will apply to the purchase of this product.)
Visa Virtual eGift Card - $50 (plus $4.95 Purchase Fee) | For Online Use Only
(as of July 13, 2026 07:02 GMT +00:00 - More infoProduct prices and availability are accurate as of the date/time indicated and are subject to change. Any price and availability information displayed on [relevant Amazon Site(s), as applicable] at the time of purchase will apply to the purchase of this product.)
Visa Physical Gift Card $50 (plus $4.95 Purchase Fee)
(as of July 13, 2026 07:02 GMT +00:00 - More infoProduct prices and availability are accurate as of the date/time indicated and are subject to change. Any price and availability information displayed on [relevant Amazon Site(s), as applicable] at the time of purchase will apply to the purchase of this product.)Auto Amazon Links: No products found.


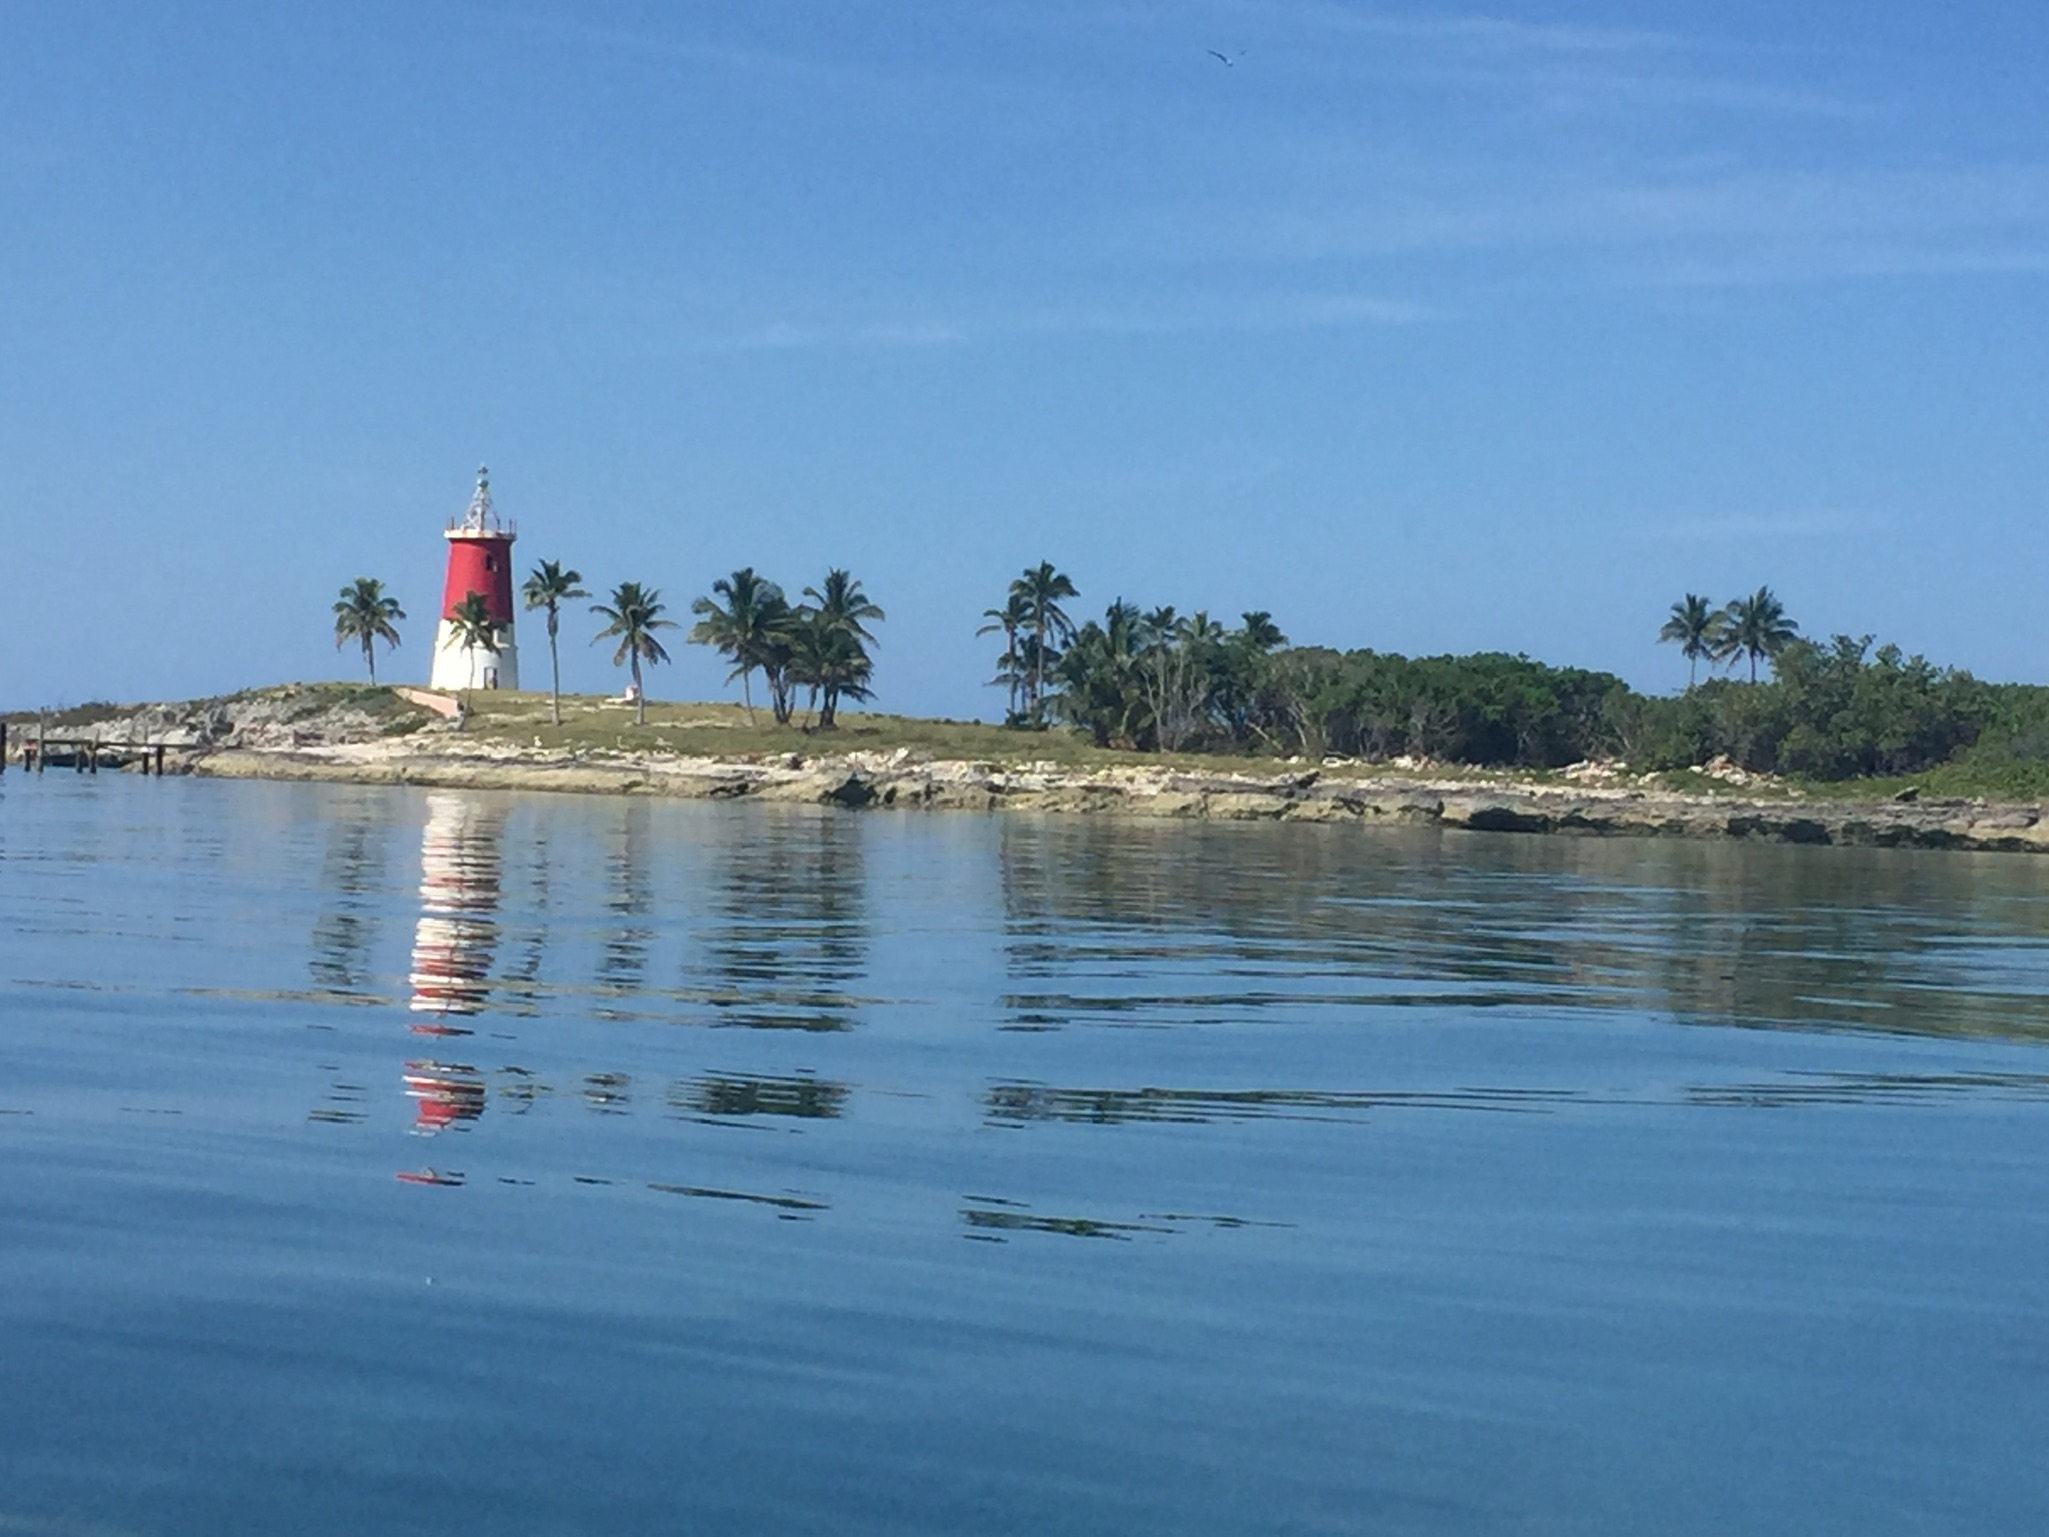
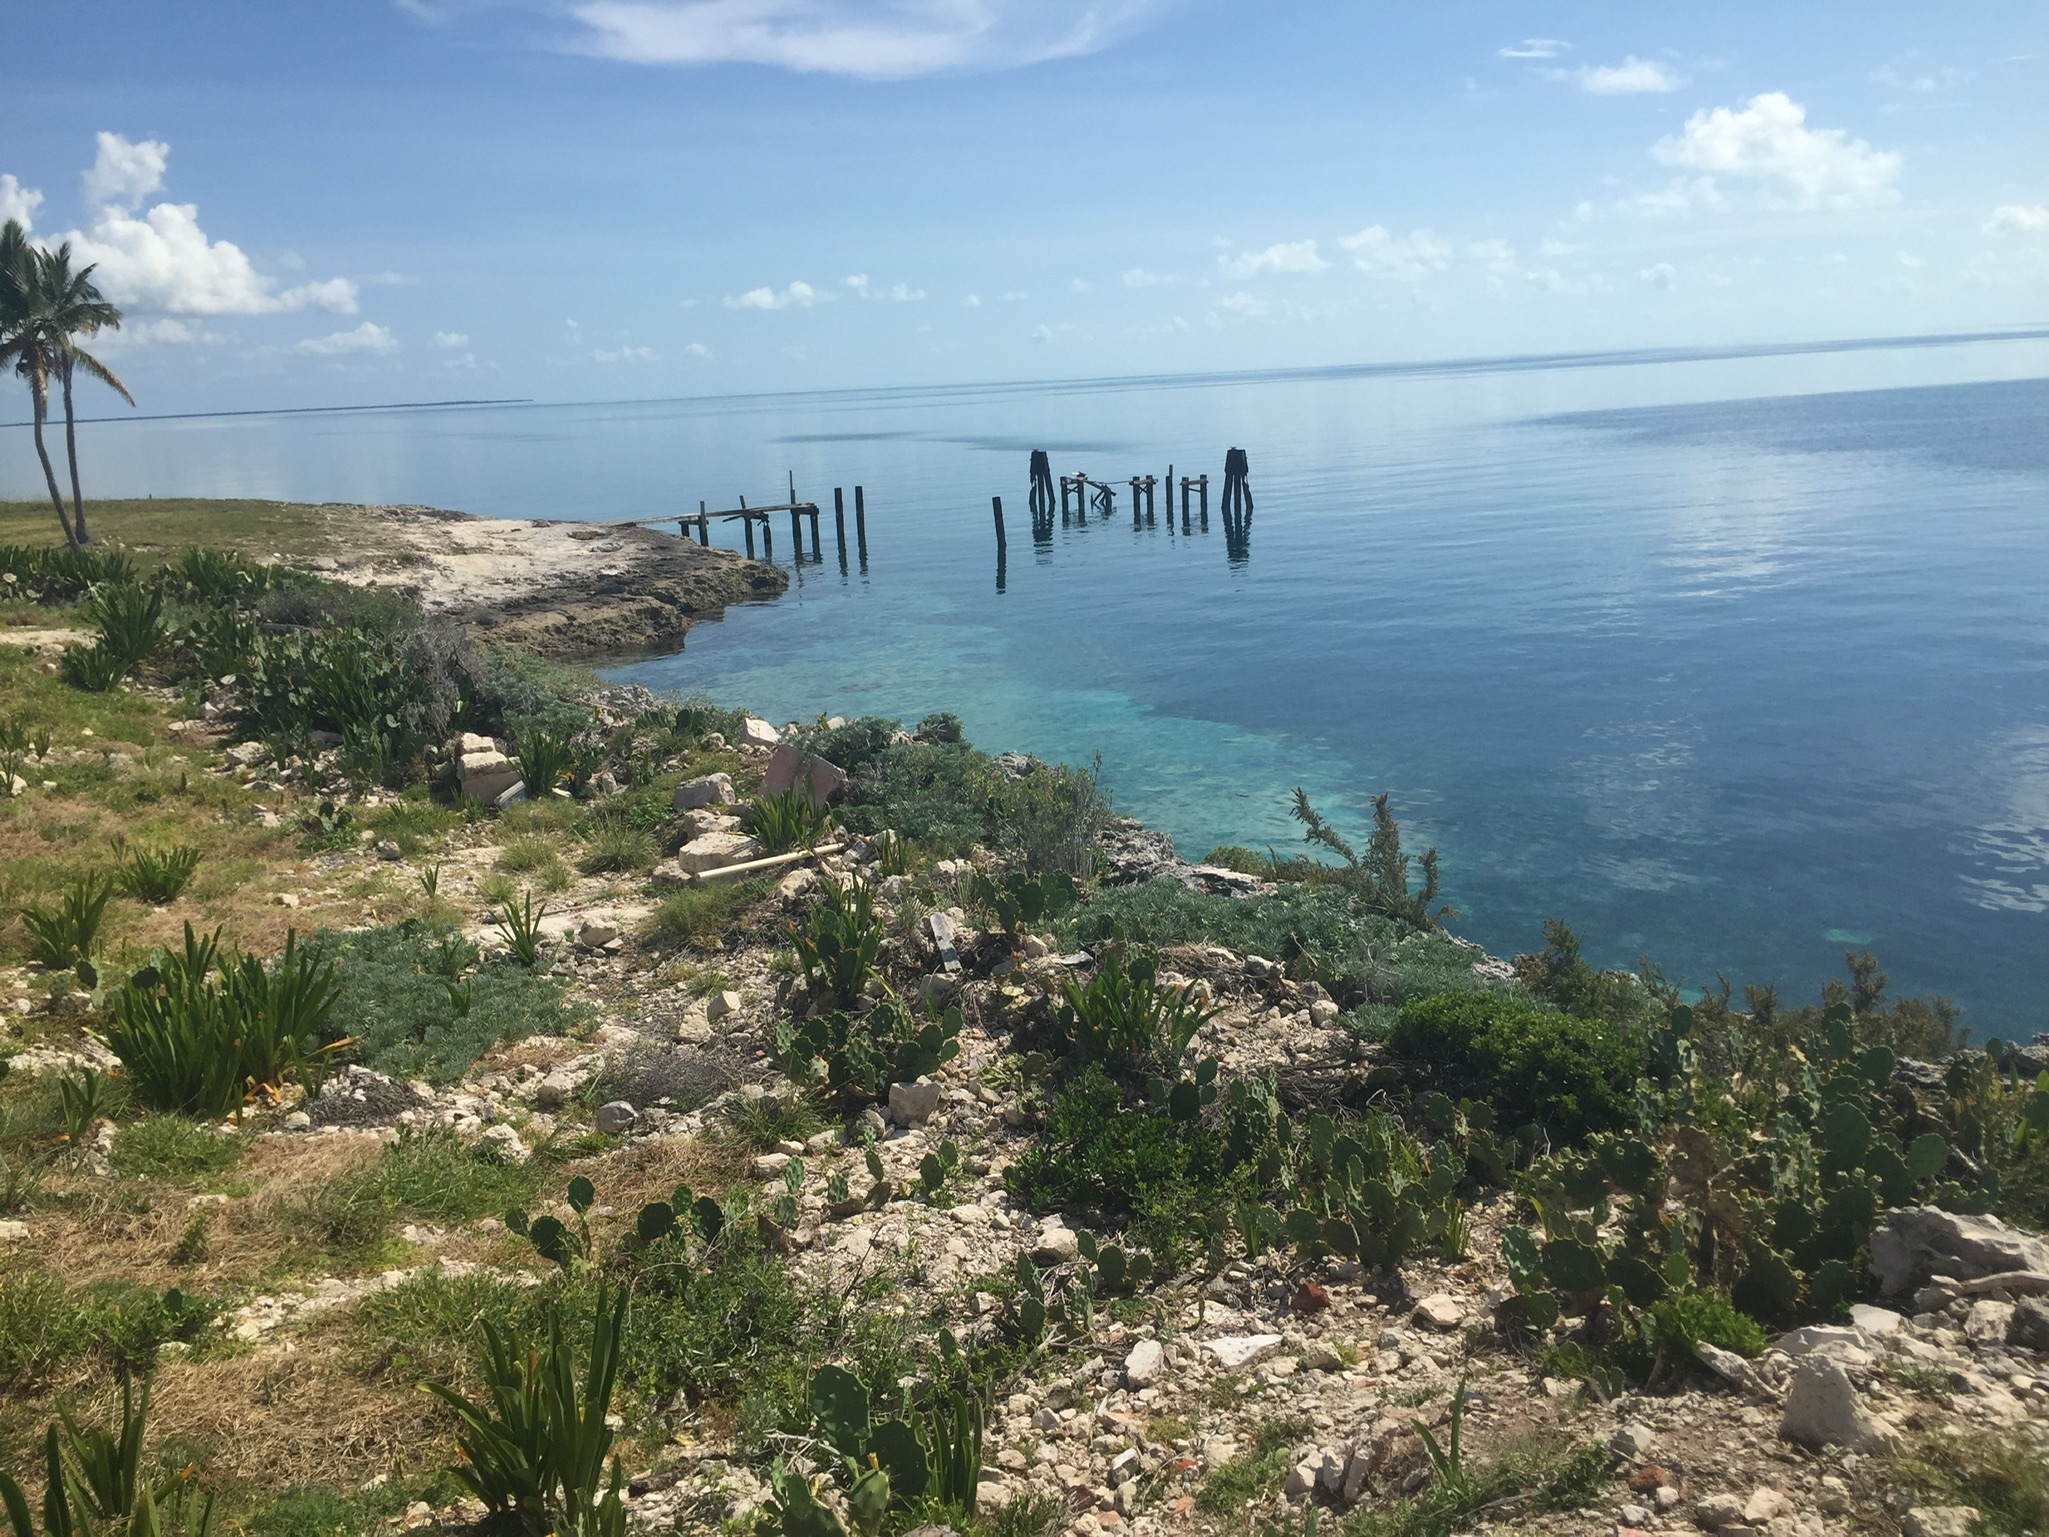 Gun Cay
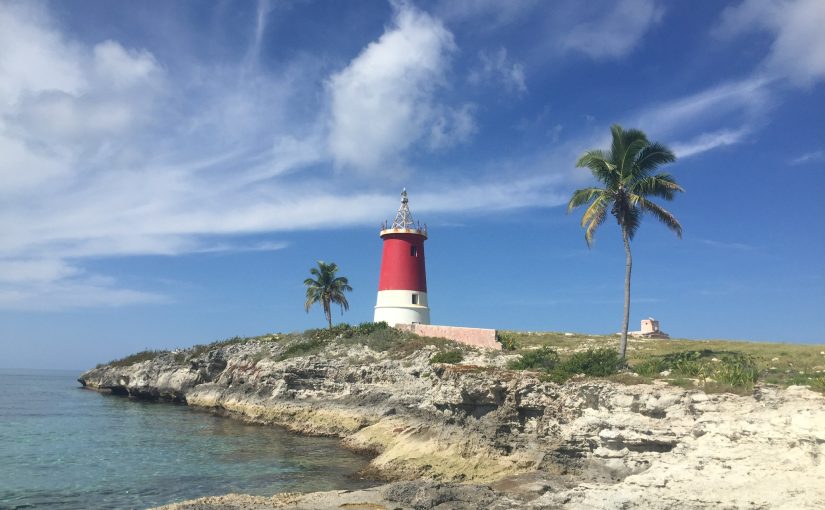
 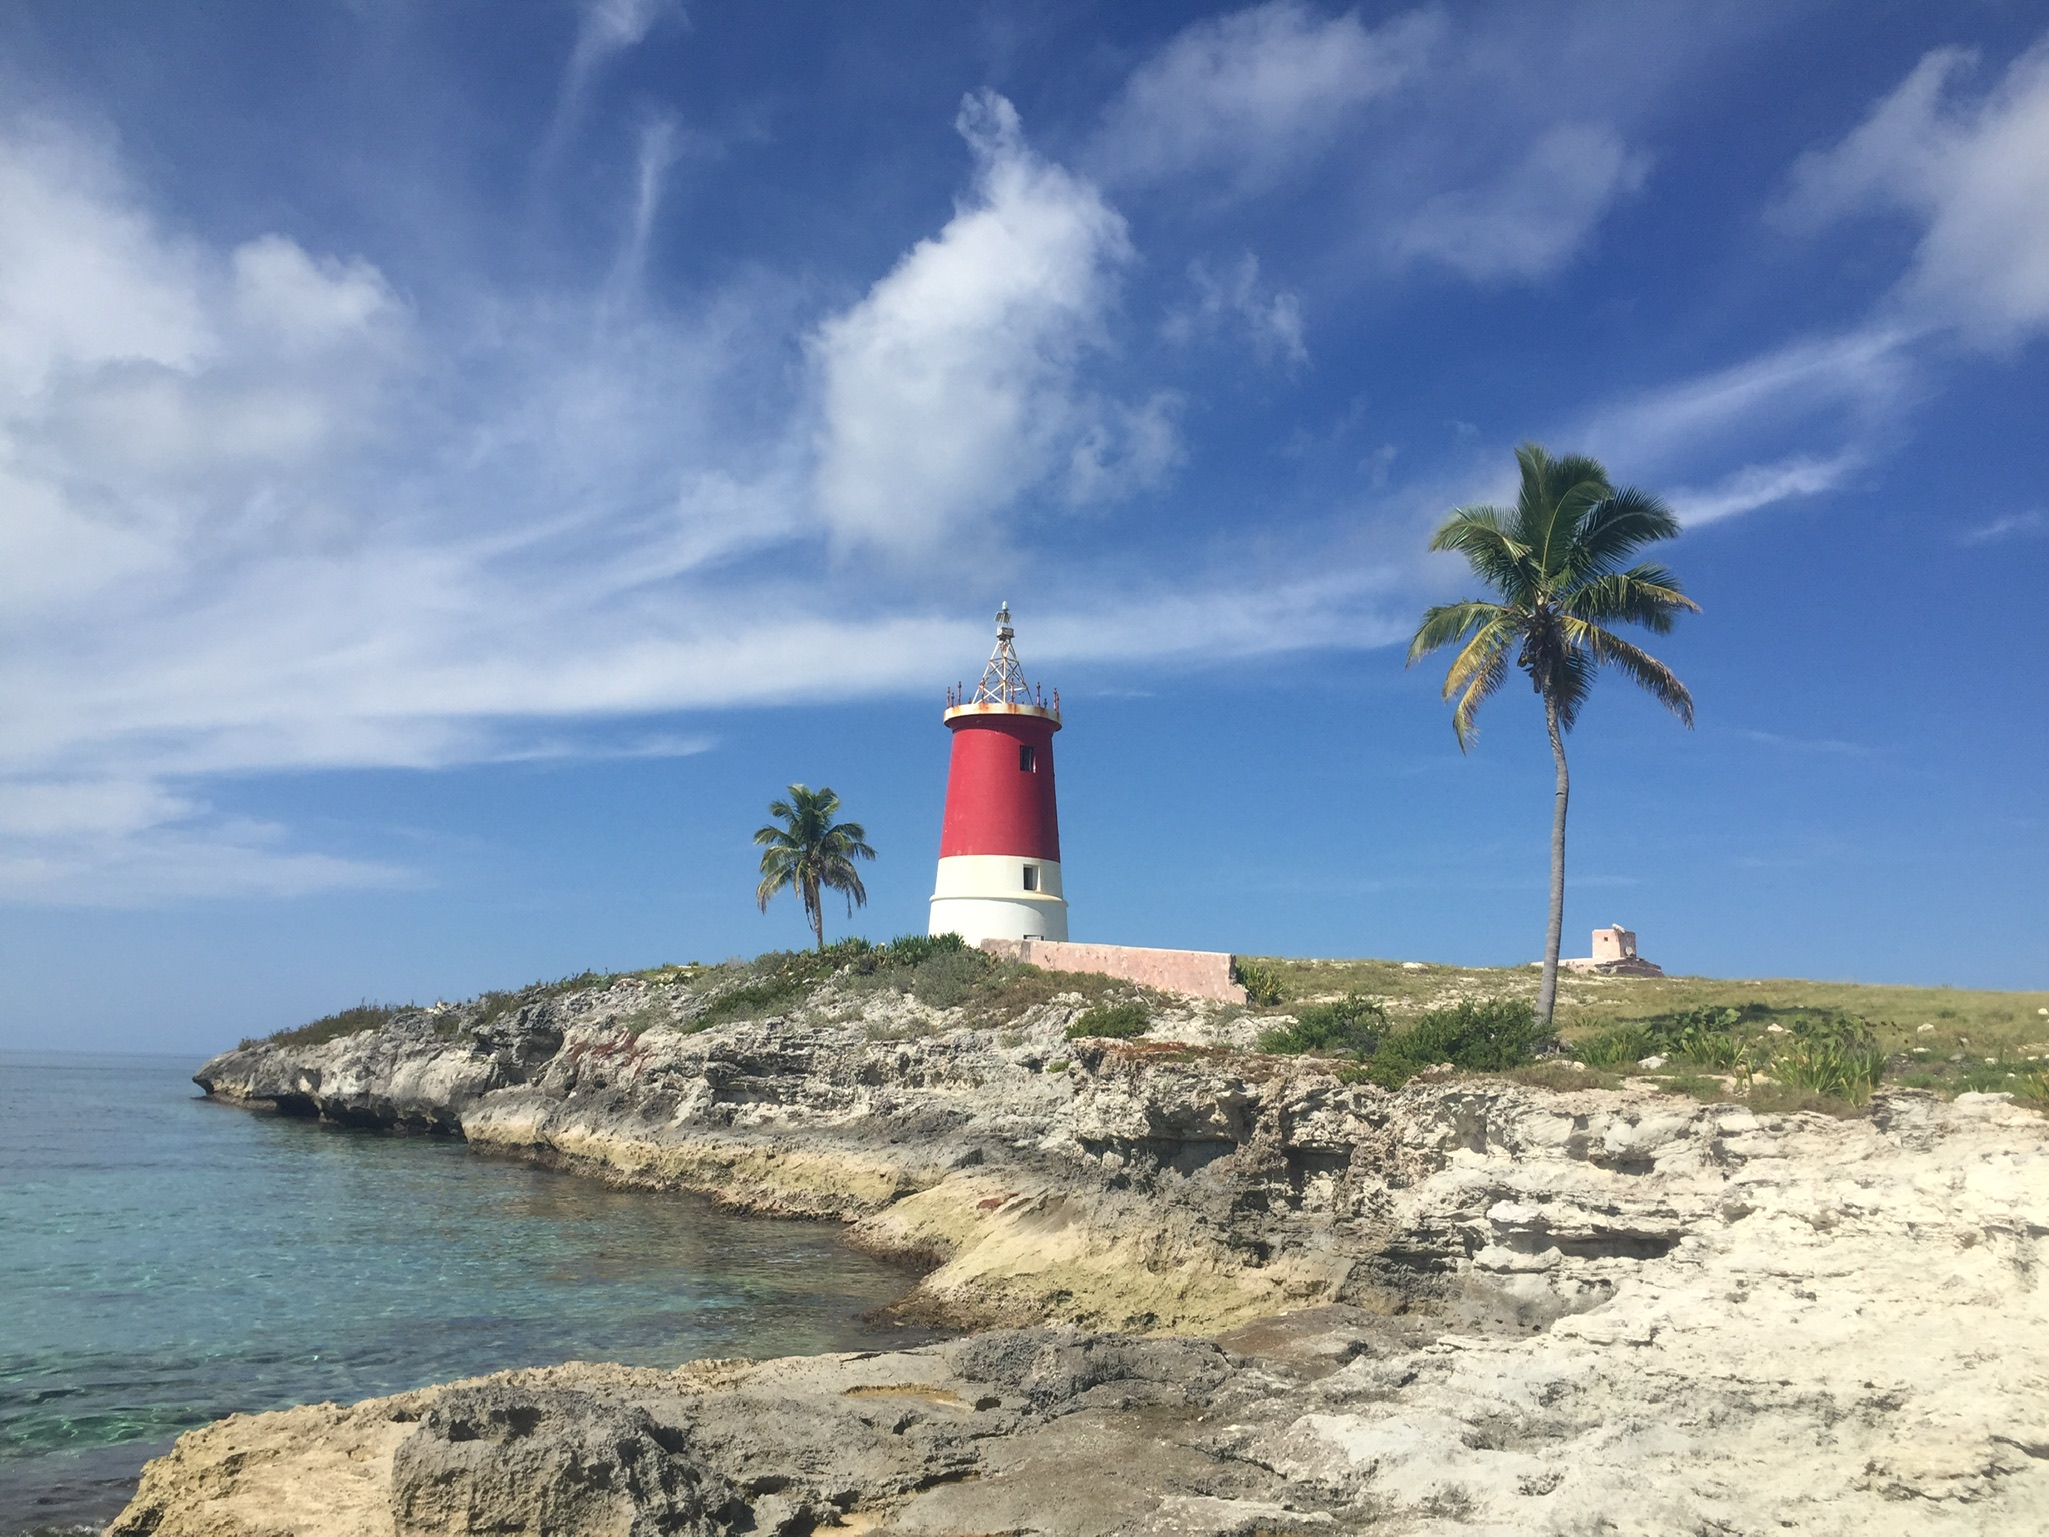 lighthouse at the south end of Gun Cay

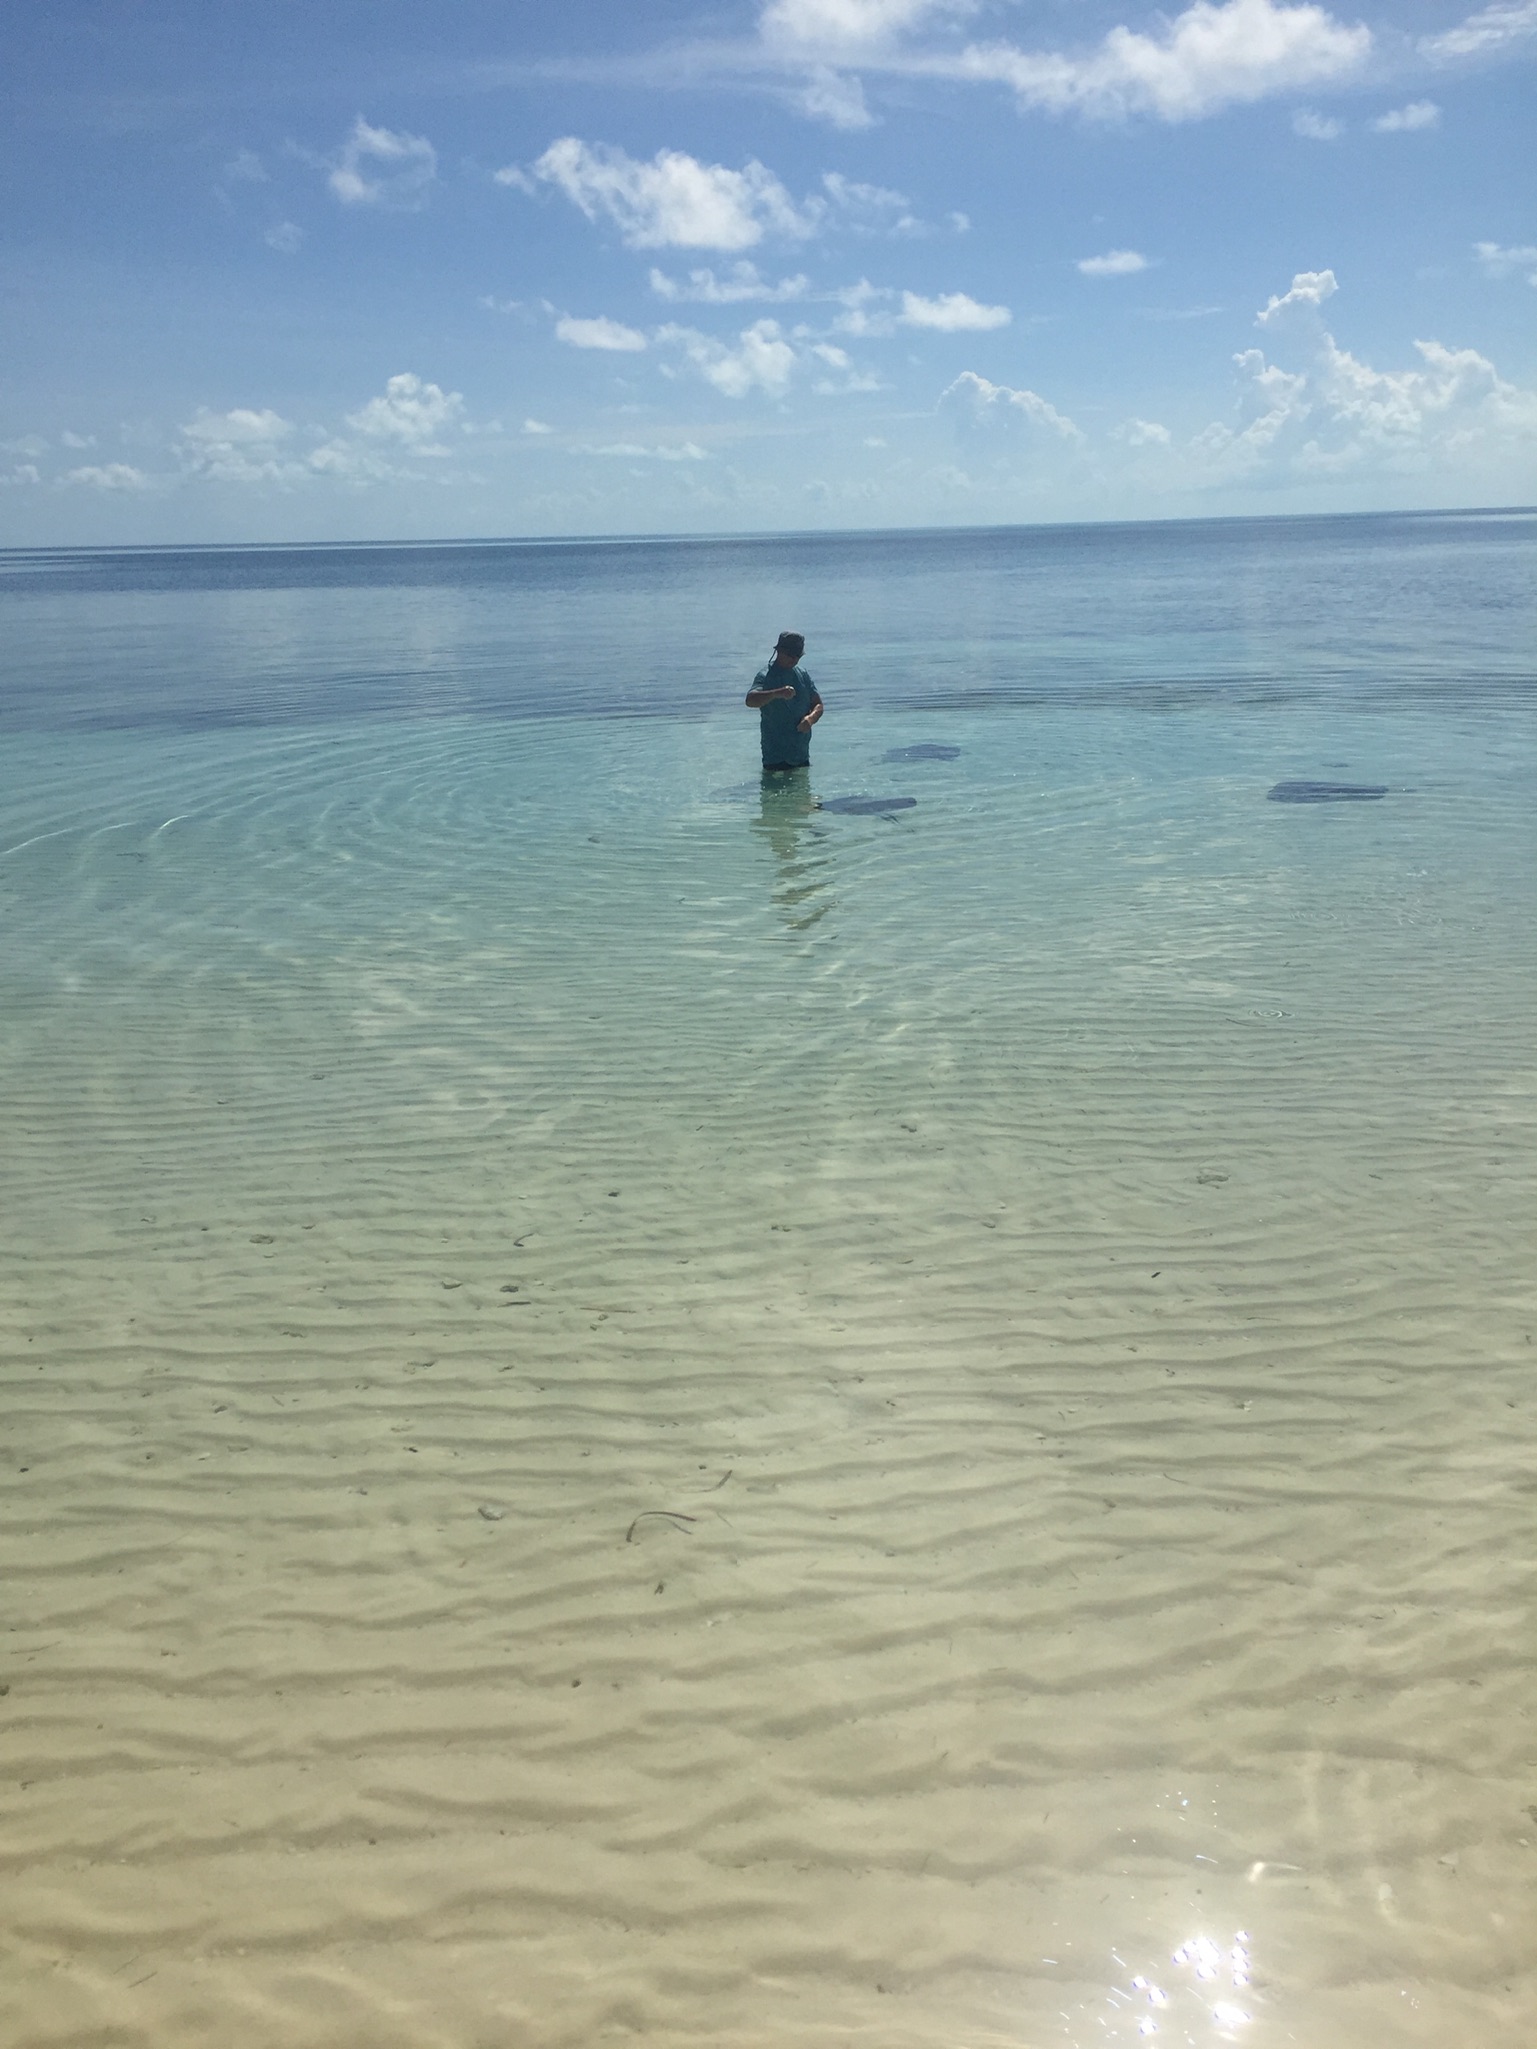
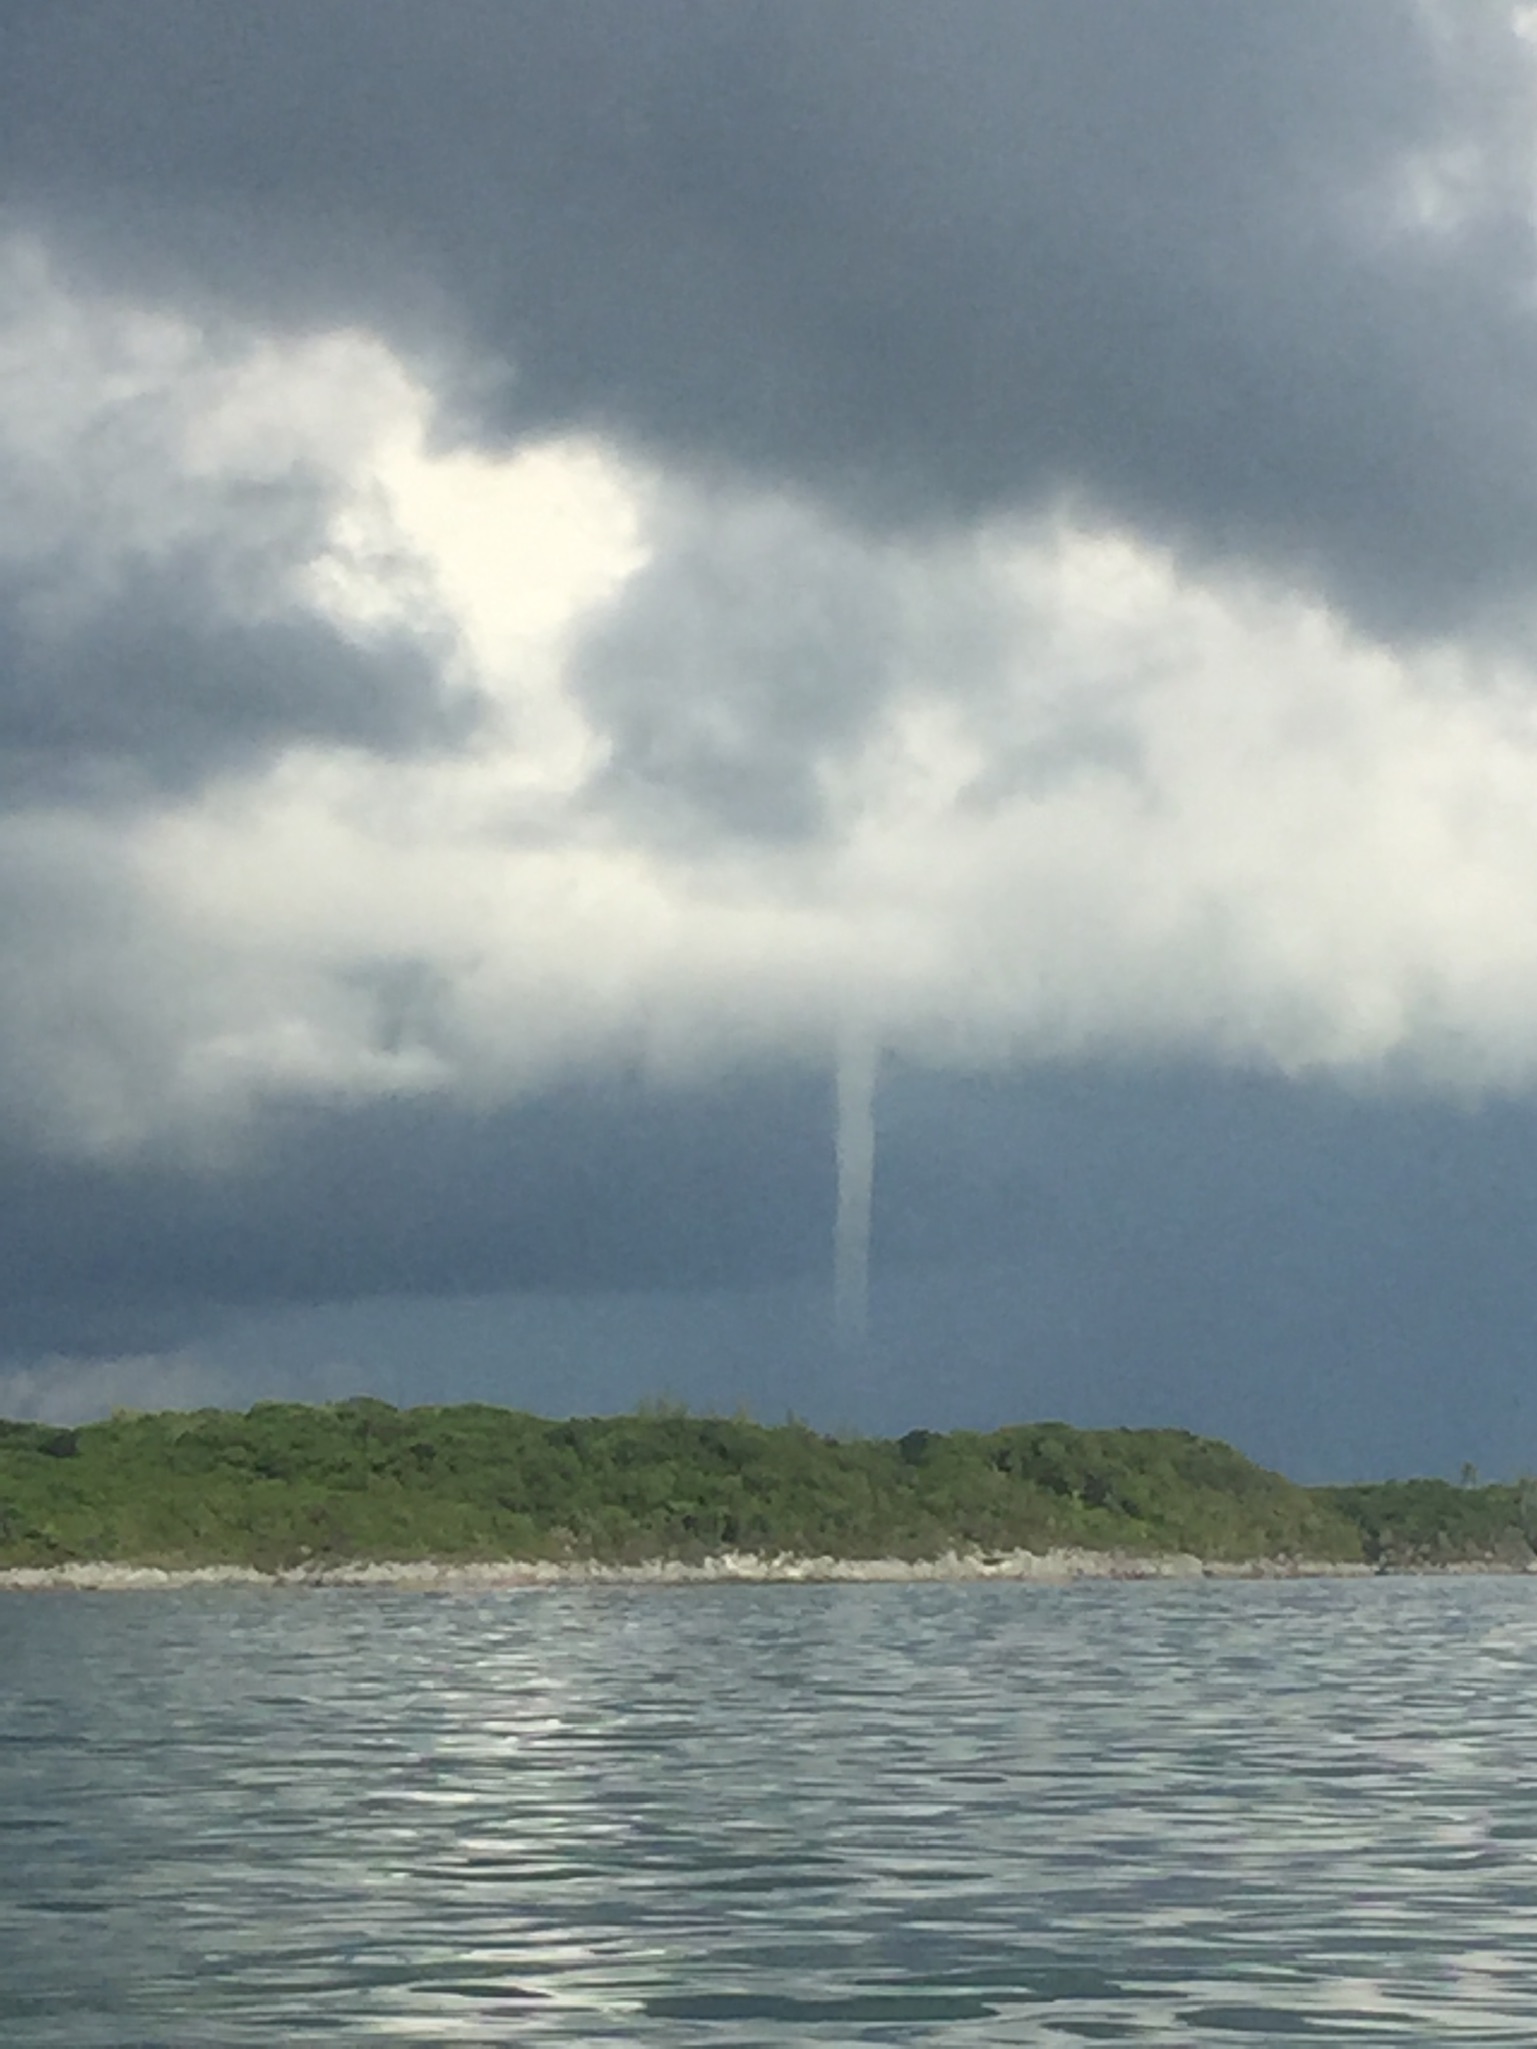
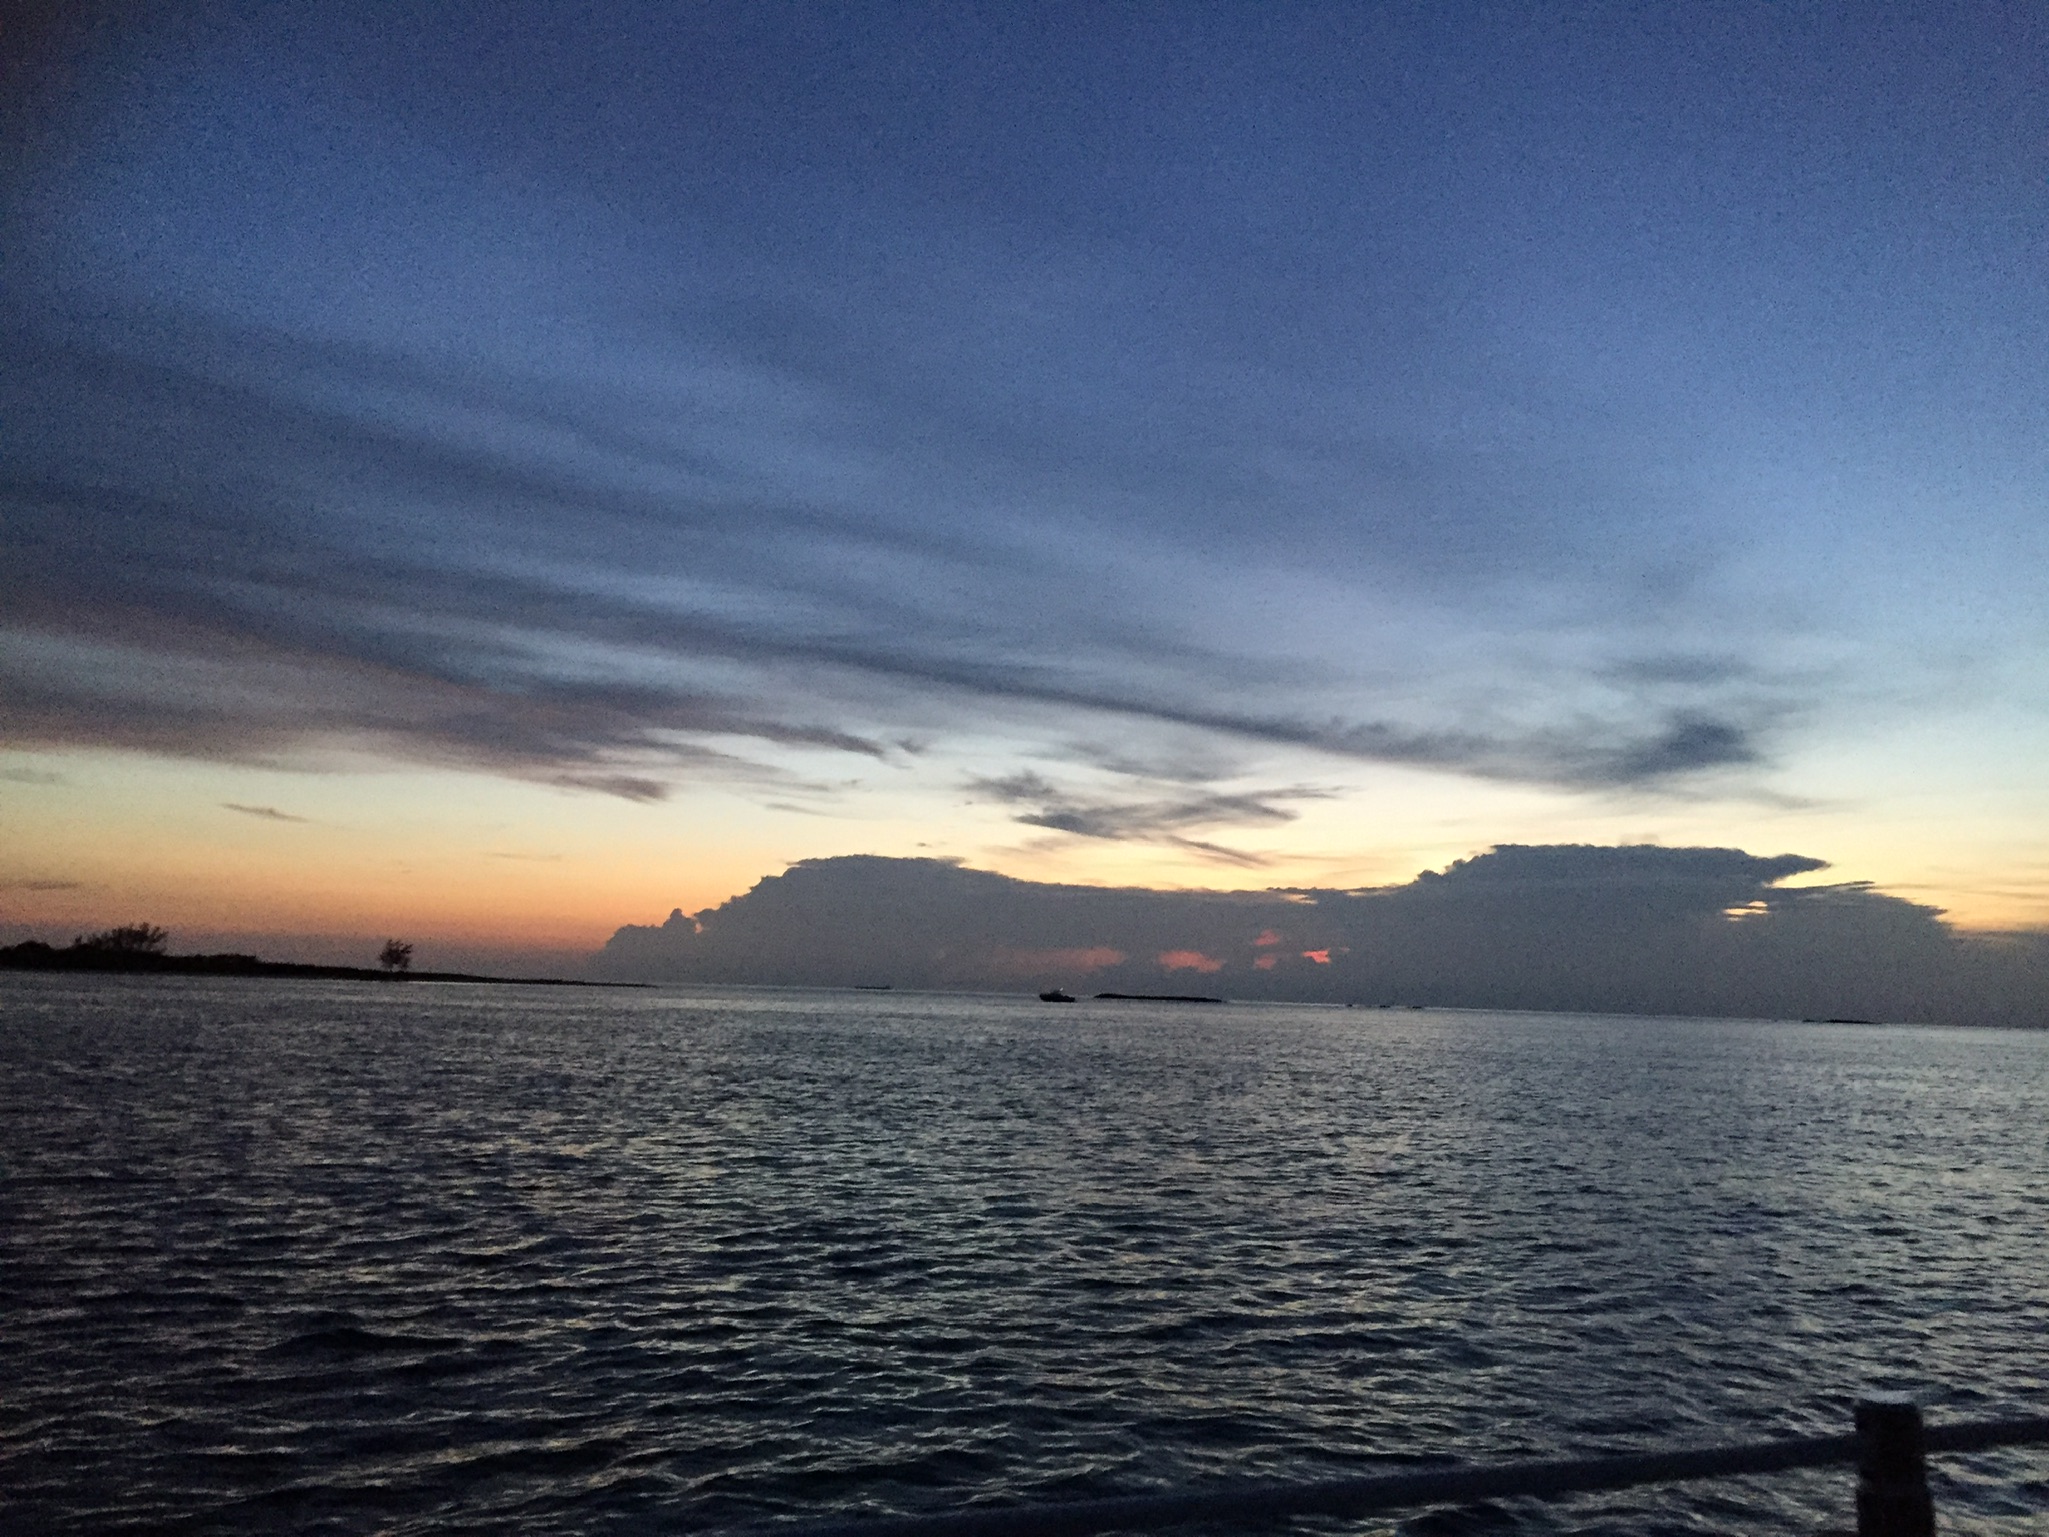 that cloud looks like a giant cruise ship
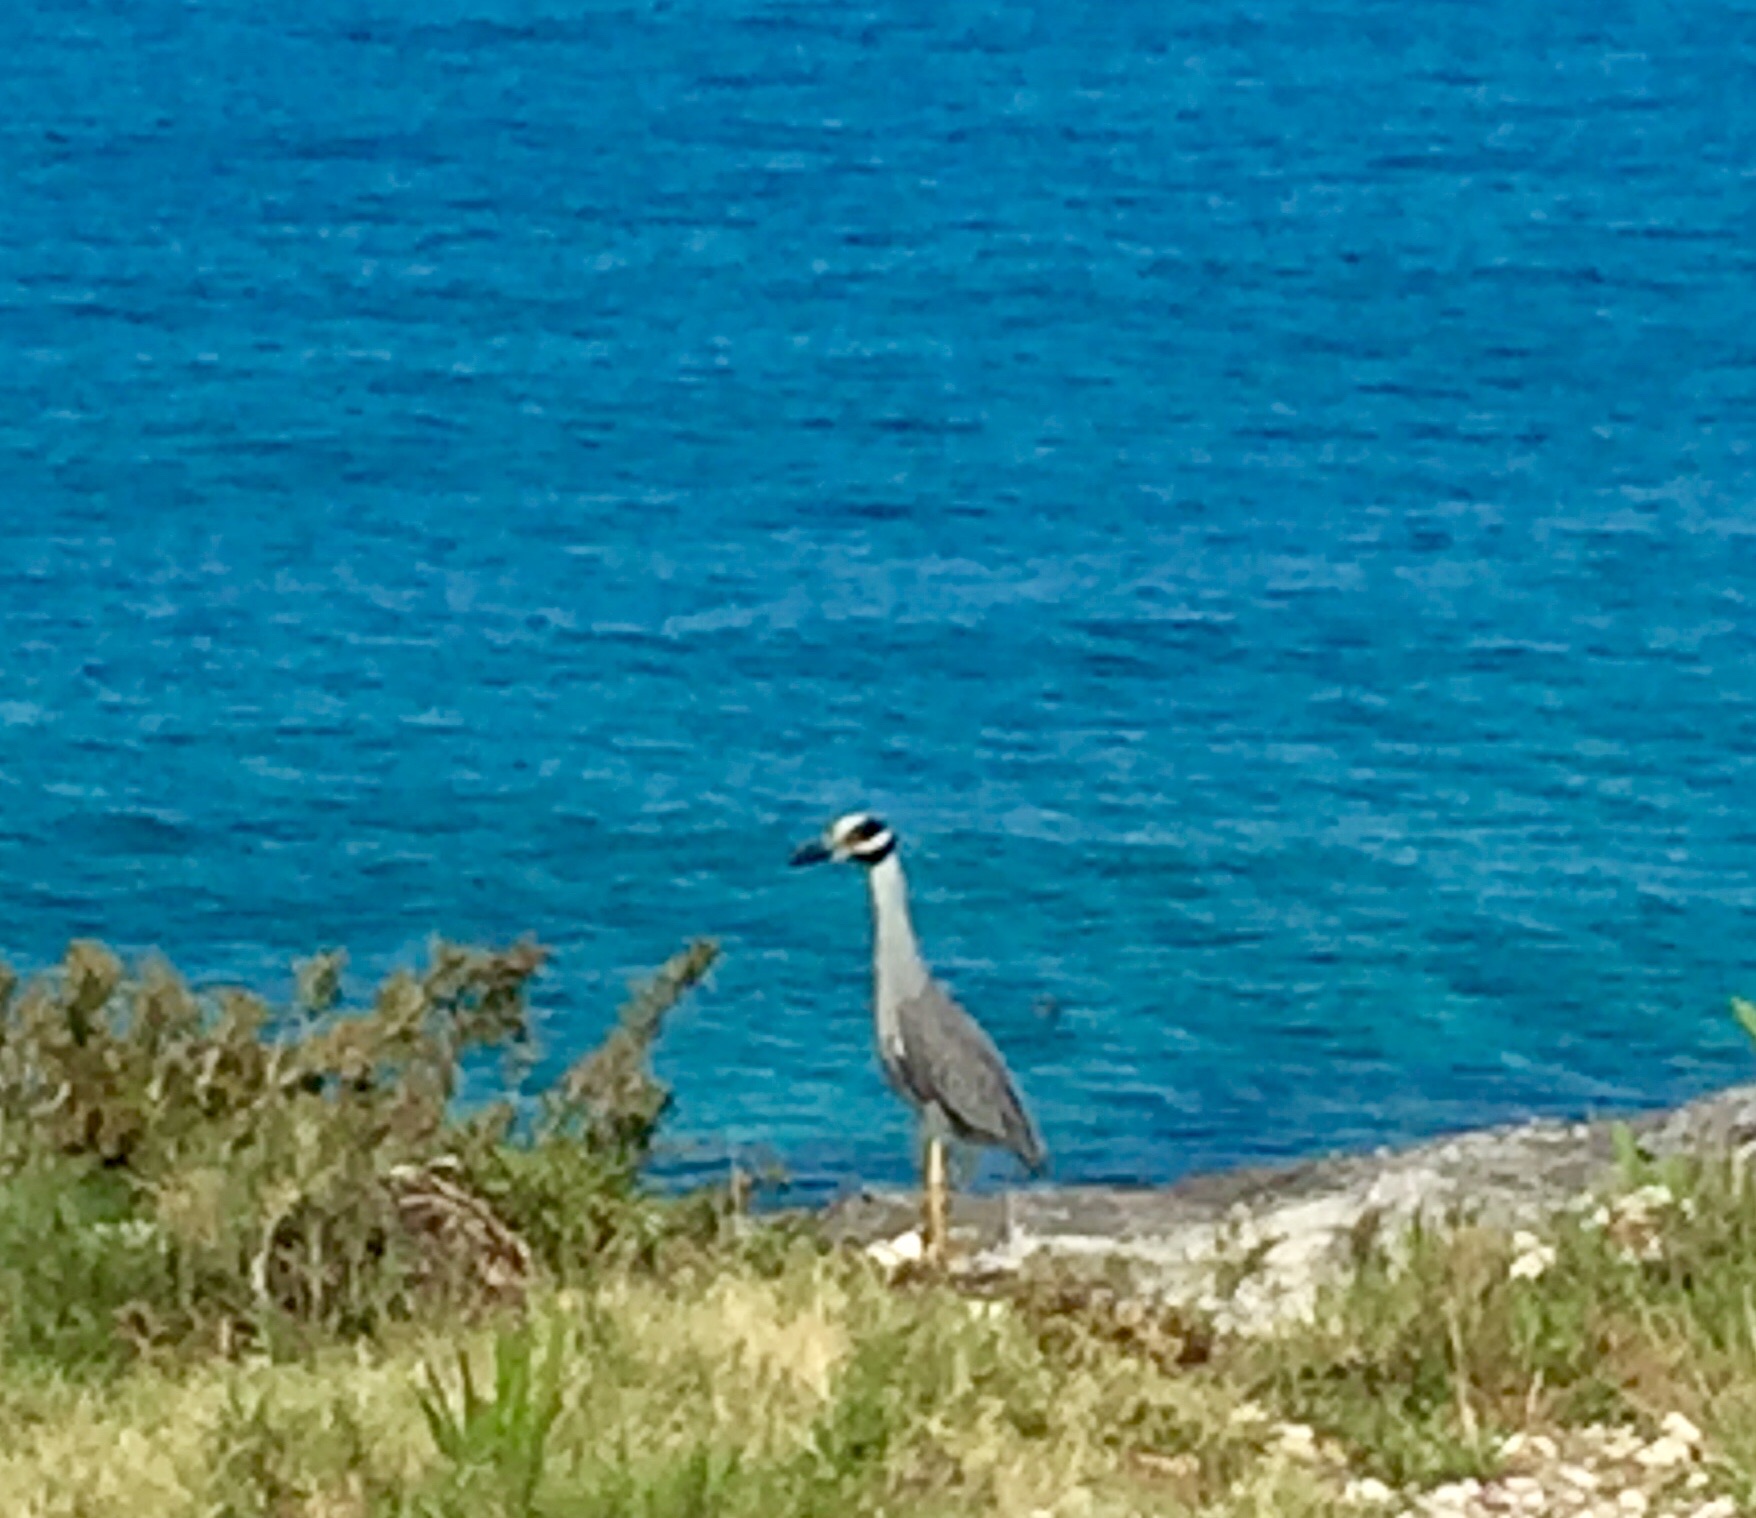
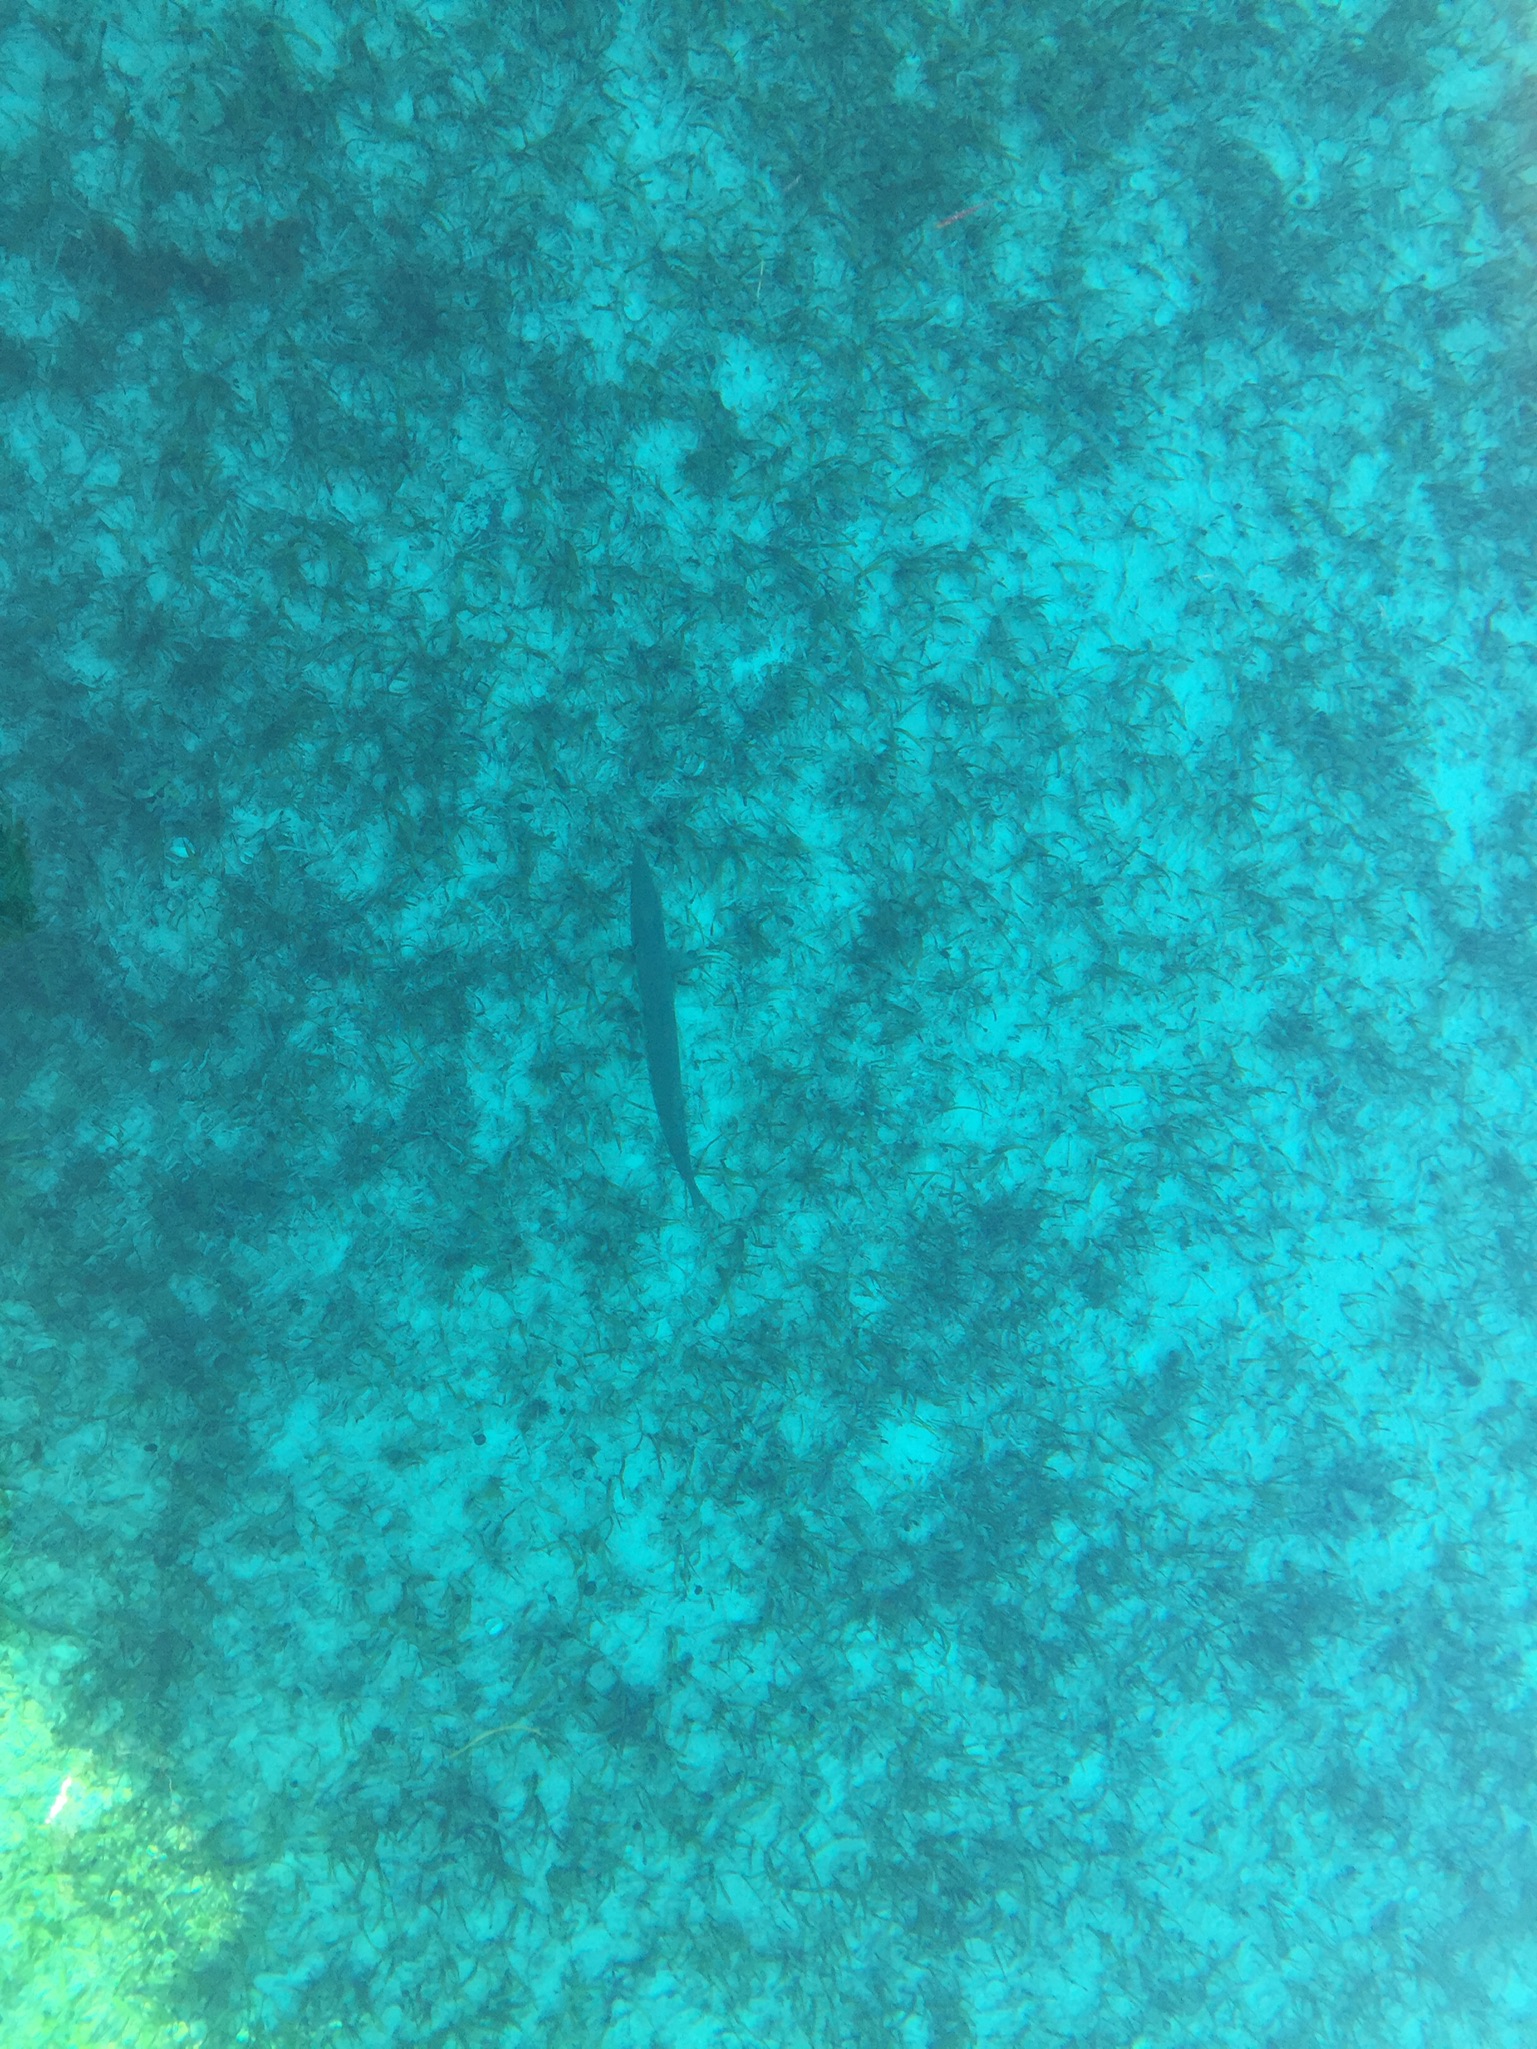 Barry the barracuda