Watermaker Repairs….more of them

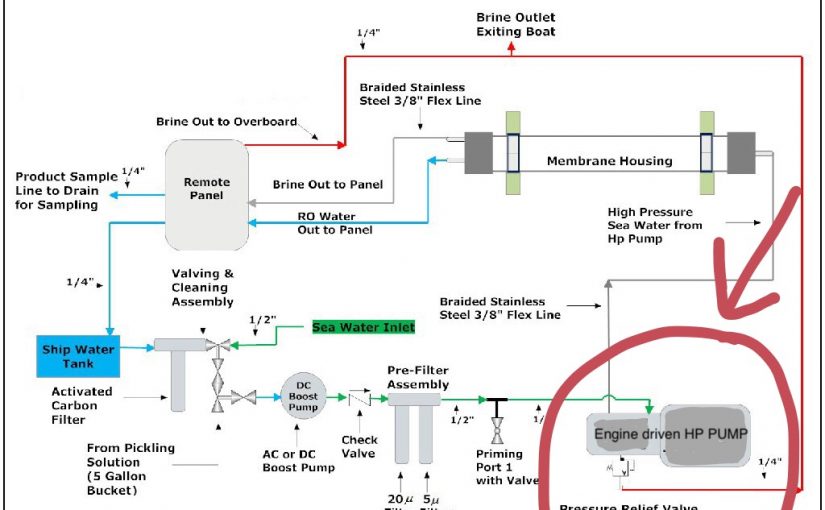
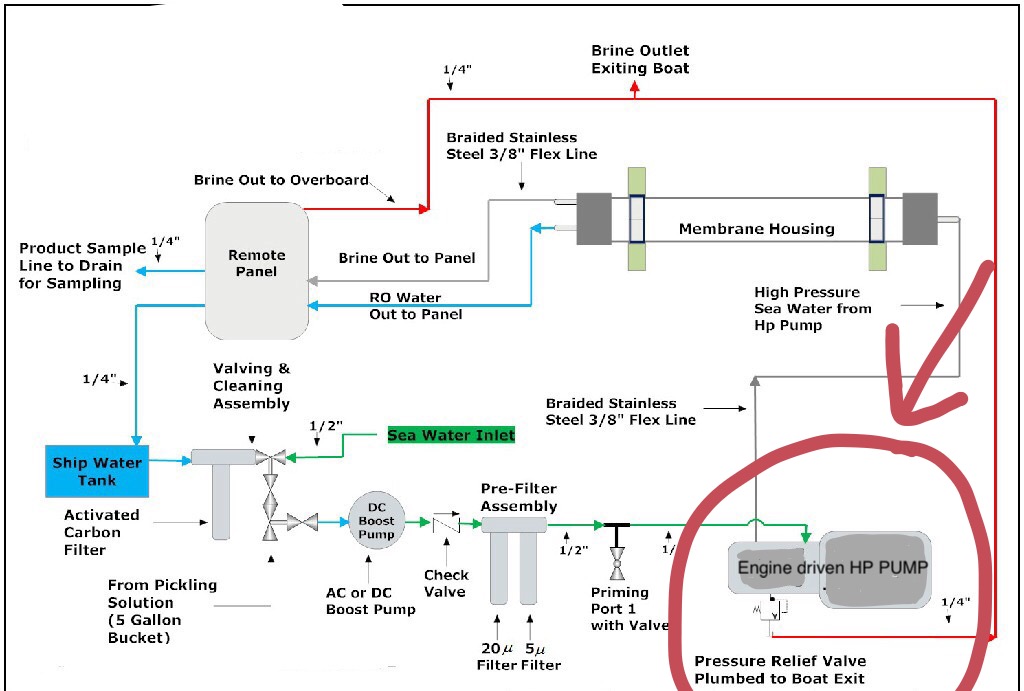
Purely for clarification purposes …..here’s a diagram of what our watermaker system is like….our current issue is the high pressure pump.


Watermaker diagram


 As you may, or may not recall, last year we had to replace our watermaker membranes.  Prior to that, I had to rebuild our low pressure pump and design a new cooling system.


A lot of people ask “How do you make drinking water from seawater?”

The answer is astonishingly simple, even though the design of the system is somewhat complicated. Here’s the secret…..

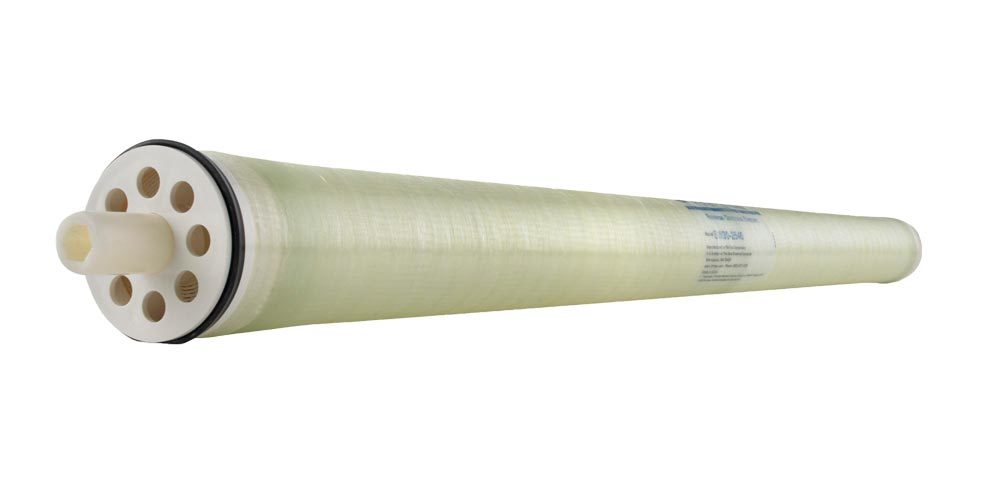
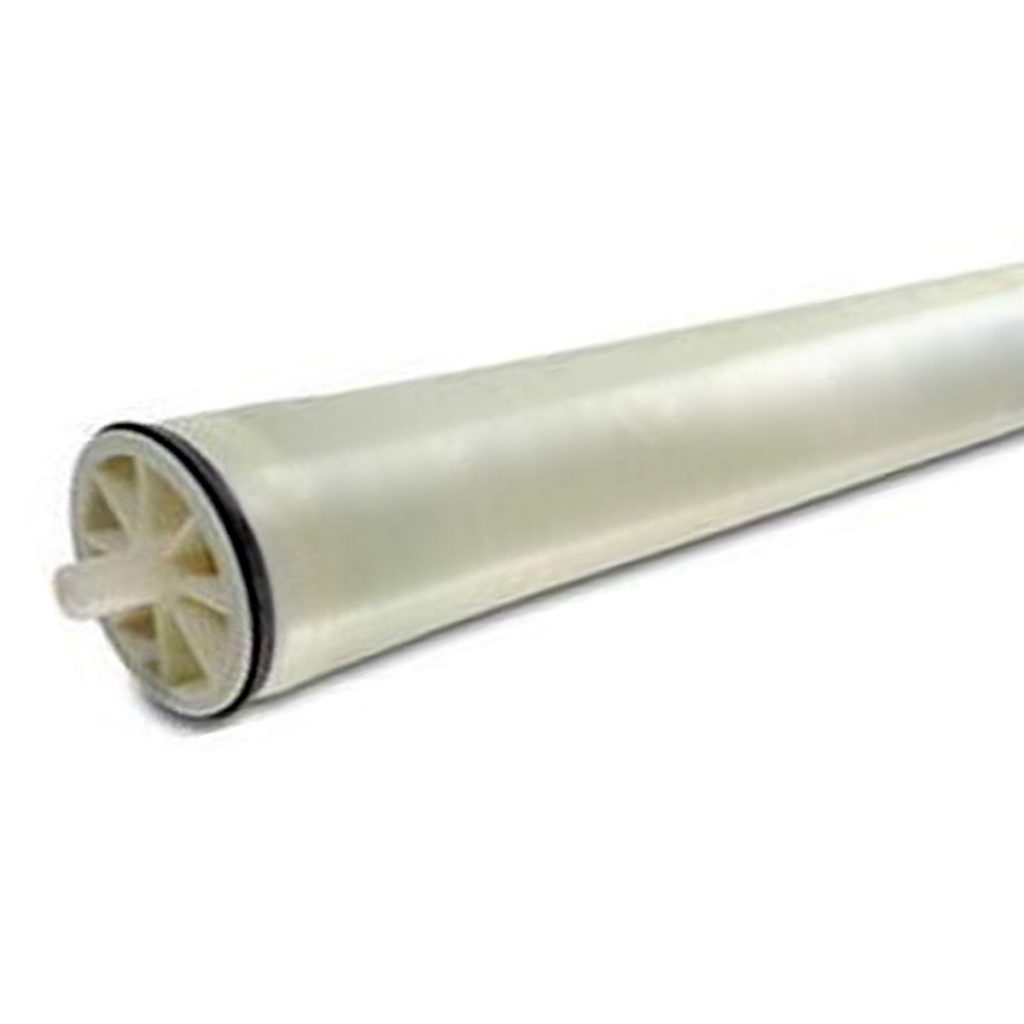
If you remember the membrane post, those membranes are some nifty little 40” long cylinders made by Dow Chemical, and when you place seawater under about 800psi, inside a housing, the water molecules are forced through the membranes and the salt molecules stay on the other side and can be discarded/flushed overboard.  Many islands in the Caribbean, and elsewhere, use industrial scale water makers, the membranes come in a large variety of sizes, for domestic fresh water production. Some of these units make thousands or tens of thousands of gallons per day. Our watermaker is capable of making 50 gallons per hour. Dow also makes versions for brackish water and other types of contaminated water.

Here’s what the membranes look like in the wild……(outside the housing)….

Photos courtesy of Dow Chemical


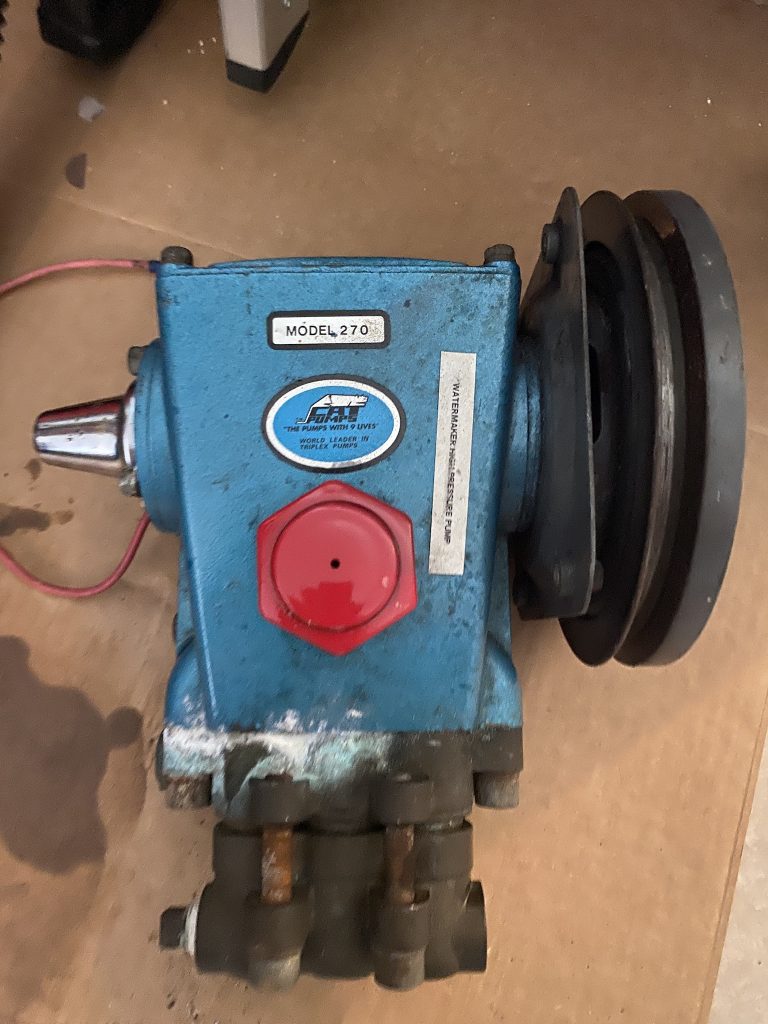
Our current issue was that our high pressure pump (circled in the above diagram in red) was leaking, despite a recent rebuild.  As it turns out, this pump ….(you can see the salt residue where it was leaking….)


is NOT designed for use with salt water…..which is kind of an important feature for a seawater to drinking water conversion system. This pump is designed for use in industrial fresh water pressure washing …..like in a car wash.

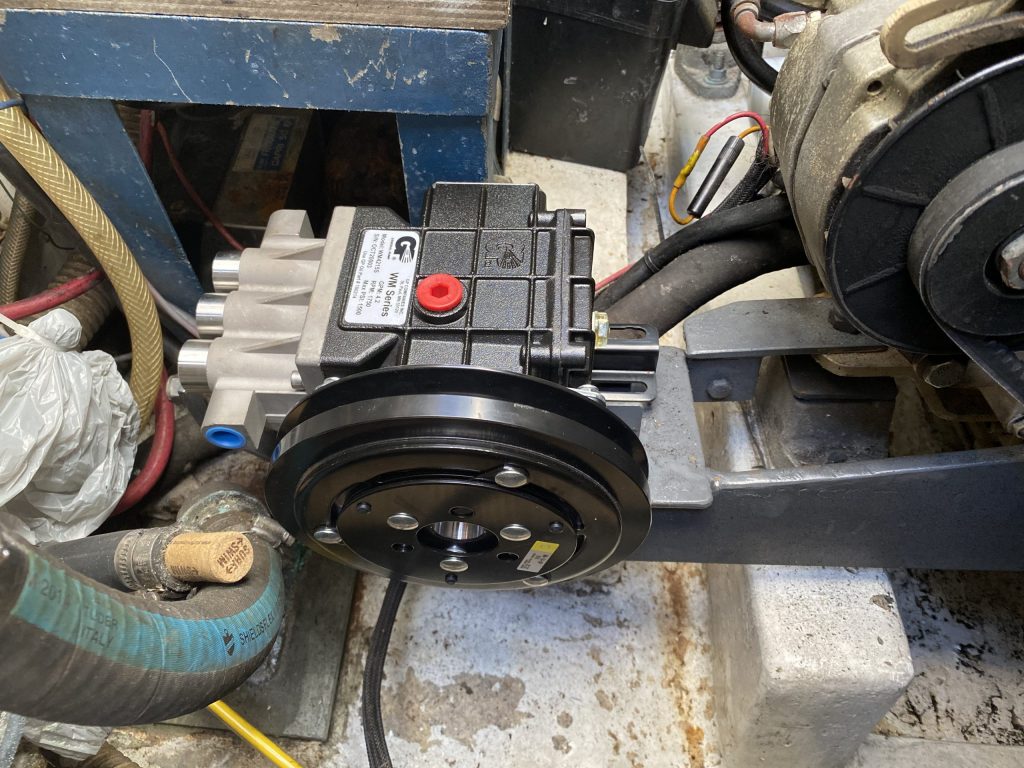
So, I had to research a new pump…..this one…..

The General Pump model WM4215


A little pro tip…..if you need a pump for any application always check with the online company Kleen-Rite….. (https://www.kleen-ritecorp.com) even people who work in the pump repair and supply industry have trouble figuring out how they get their prices so low…..but it’s an advantage for the DIY’ers……

I saved about $1,000 by ordering it through them. It required a little more phone time, talking to them and General Pump, the manufacturer, to get the configuration correct but it was totally worth it. General Pump even installed the electric clutch and pulley at no charge. https://www.generalpump.com

Now the issue is getting a different pump to mount in the same place as the old pump.  I’ve been working on fabricating a bracket that will adapt the old mount to the new pump…….but that’s for next time…..


It just raises and lowers the anchor….how complex can it be ????

It recently occurred to me that our windlass could probably use some attention.  After all, it has served us well for a few seasons and hasn’t received any TLC. Our prior boat was much smaller and didn’t have a windlass. Since I didn’t have any experience with any sort of windlass maintenance, I turned to YouTube.  Imtra, the company that manufacters the Lofrans Tigres Windlass we have, has a channel with a detailed six step maintenance tutorial.  All seven videos were a total of about 30 minutes….easy peasy, right ?

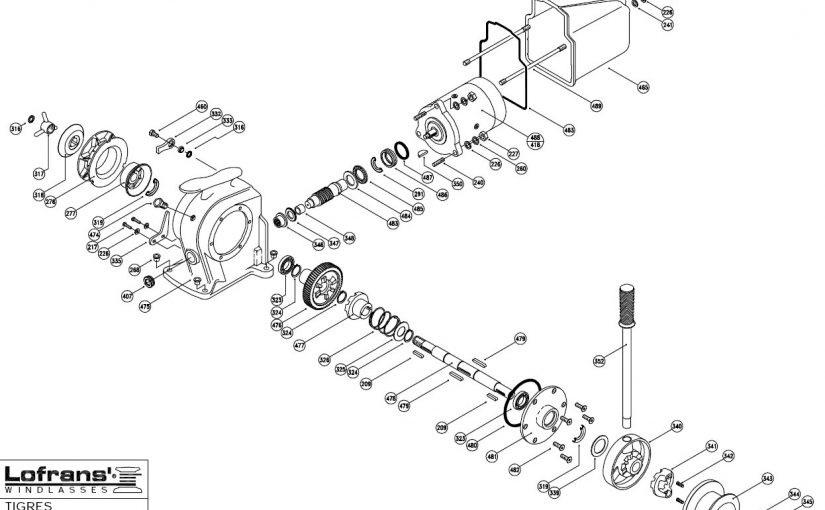
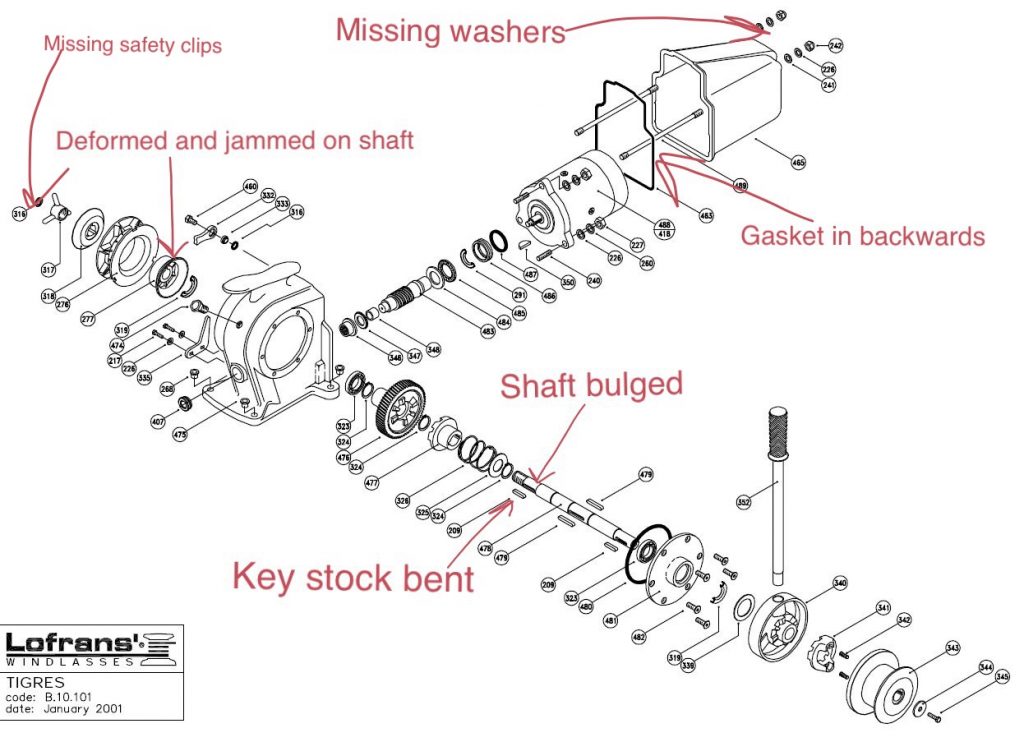
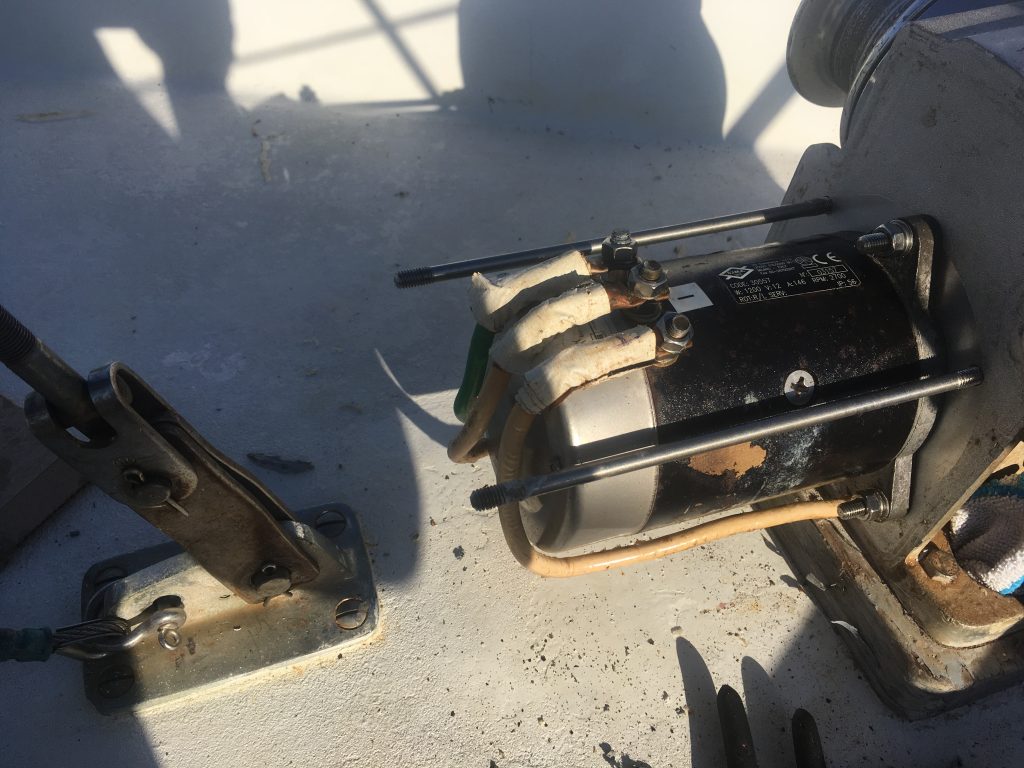
It seemed simple enough, so the next day I dove into the disassembly, cleaning and regreasing. In the far left side of the diagram, on the end, you can see the Circlips, which are small circular washer type safety stops to prevent an item on a threaded shaft from falling off if you loosen it too much or it vibrates loose. Those were missing, so I found and ordered some from Grainger.  It seemed that the end of the driveshaft had been damaged at some point and the slot for the clips was bent closed……40 minutes of filing later, the groove was fixed.

So, working our way inward, once the clutch release is spun off you can remove the outer clutch cone, lower the chain stripper out of the way by removing the aft mounting bolt, remove the chain gypsy and the inner clutch cone. Our inner clutch cone was deformed and jammed on the driveshaft.

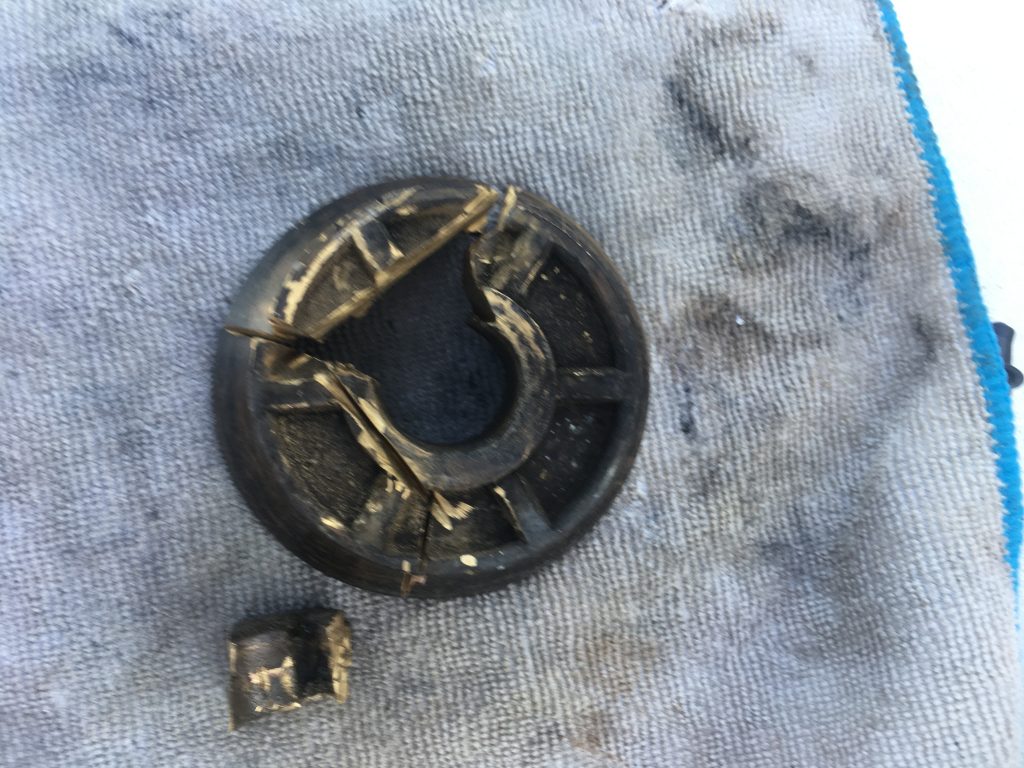
So, our inner clutch cone wouldn’t come off.  In the video it slipped right off for cleaning, greasing and replacement, not so much in the real world.  At some point in the history of our windlass it must have had a lot of stress on the chain without a snubber line to absorb the force. It was bent and slightly split where the keystock fits into the driveshaft.  The stainless steel shaft was also slightly bulged, deformed and the keystock was bent.  So…out comes the Dremel….90 minutes of careful cutting and the clutch cone was off…..plus ordering a new one for $74 and waiting for delivery…..plus a new gasket for the motor housing $22….

I found a great new source for parts…. https://www.pleasureboatmarine.com they were quick to respond and the parts arrived in two days.

Once the new inner clutch cone arrived I had to file the driveshaft to remove the bulges.  That was another hour of fitting the bronze cone, and filing and fitting, since bronze is softer than stainless it made yellow marks on the shaft where it made contact which made it easier to know where to file.

After that was greased and installed the rest went back together pretty easily with the addition of the safety clips on the driveshaft.

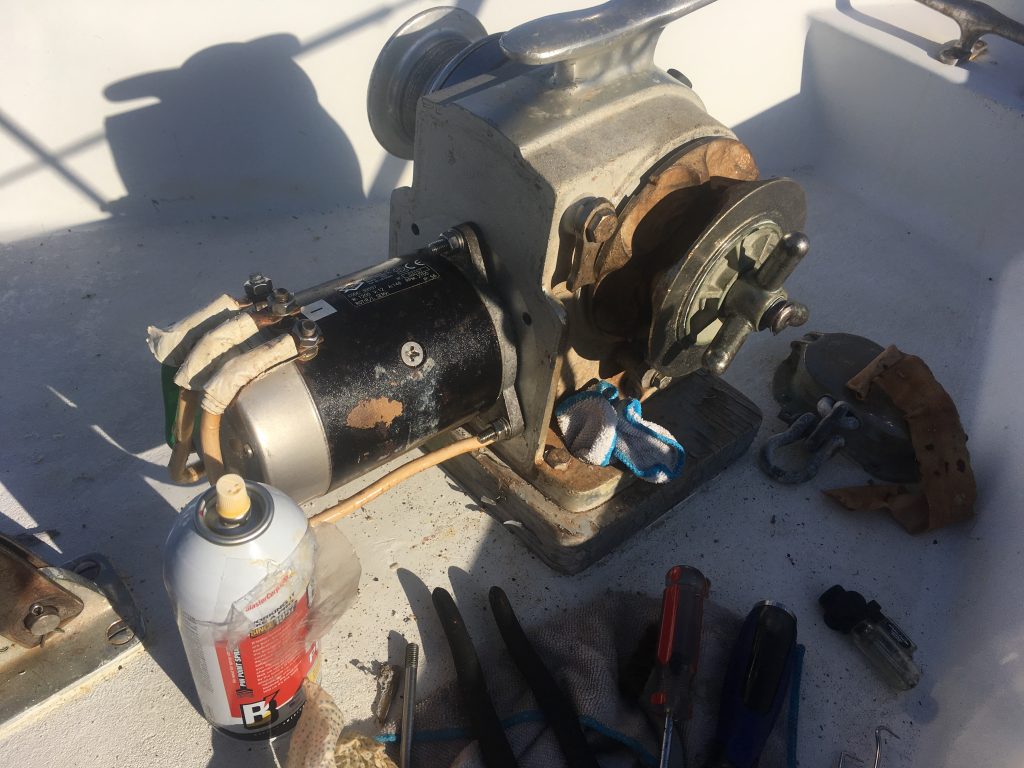
Next, I removed the motor housing cover.  This is held in place by two threaded rods that fit into the main body of the windlass secured by acorn, or cap nuts on the outside of the cover.  Our cover however, had a bead of caulk around the edge making it extra difficult to remove….so add forty minutes to the process…….

It appeared this caulk was necessary because the nitrile cord gasket had been installed backward and the raised edge was in the groove of the cover rather than facing outward toward the main body of the unit.  This removal process was made slightly more difficult by the proximity of the standing rigging for the staysail.  I had to loosen the acorn nuts, pry the cover loose, then remove the rods and then take the cover off at an angle and use a rubber mallet to “encourage” it.

Since the housing is aluminum and the bolts and acorn nuts are stainless the cover should have plastic “Delrin” washers to keep the metals from touching as they will interact and cause corrosion.  Those washers were also missing.

The motor housing was in good shape, the wiring was run properly under the motor and the terminals were clean and secure.   I cleaned the motor and applied a light coat of oil to inhibit corrosion.


Once it was reassembled, I tested the rope rode drum side (far right in the diagram), the manual override (where the vertical handle is) and we loaded our new, 250′ of anchor chain into the boat.


need one ?

The 30 minute videos turned into about 4 hours of actual labor and a few days of waiting for parts…boat life !!!

As an added bonus, our windlass remote control has stopped functioning in reverse mode so that’s next on the list…..

Eleuthera…spiders and seaglass….and breaking stuff

After our harrowing experience at Little San Salvador we made our way to Rock Sound, Eleuthera later that day and anchored for a few weeks….it ended up being longer then anticipated due to some clumsiness on my part.

I had decided that we were due for an oil change.  We were way under on engine hours but over on the time frame for an oil change, so I decided to change the oil and filter while we were here.  Well, long story short, I pumped out the used oil, without spilling a drop (which I should have known was a bad sign) but couldn’t find my slimline strap wrench to remove the filter.  So, I went to the local NAPA and bought a slightly larger wrench that I hoped would work.  Unfortunately, the width of the new wrench snagged the oil cooler line and ruptured it….uh-oh…..bad weather was forecast for the upcoming weekend and after the Little San Salvador incident this was almost too much to deal with….essentially we were going to be without an engine until we received a new line….which in the Bahamas could take weeks……and it did…..we spent about three and a half weeks total and it turned out to be a good thing because we had time to see things and visit our favorite spots again and again.

Part of the moral to this story is ….take plenty of spare parts when you venture away from the U.S.  We have a cruiser’s kit onboard but it doesn’t include oil cooler lines.  I won’t make that mistake again……


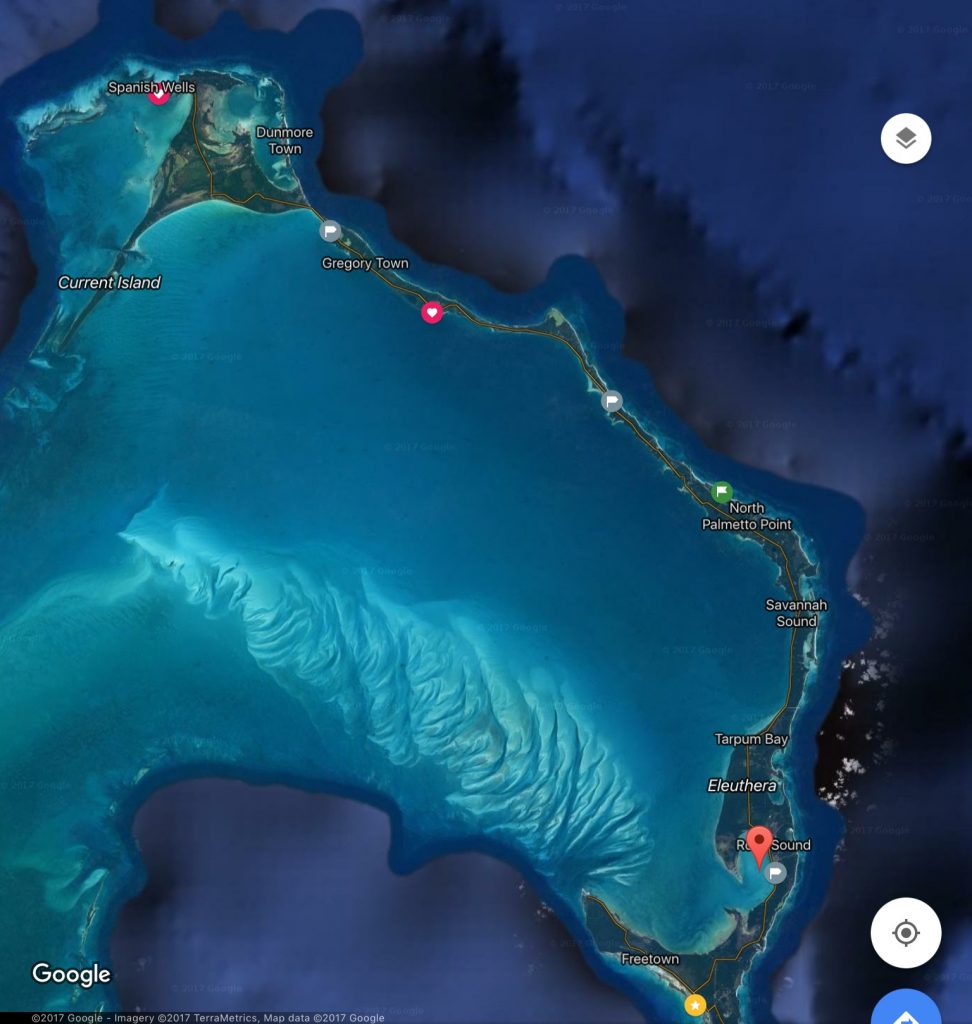
here’s a satellite image of Eleuthera.  The pin is Rock Sound. The Glass Window Bridge is in the skinny part of the island just north of Gregory Town.
Image courtesy of Google Maps

We considered renting a car, but ran into the insurance issue again, so we hired a driver (Lyle) to give us a tour of the island.  He was a super nice guy and was full of knowledge about spots on the island.  The price wasn’t bad, eight hours for $125 plus he knew a great place for lunch.

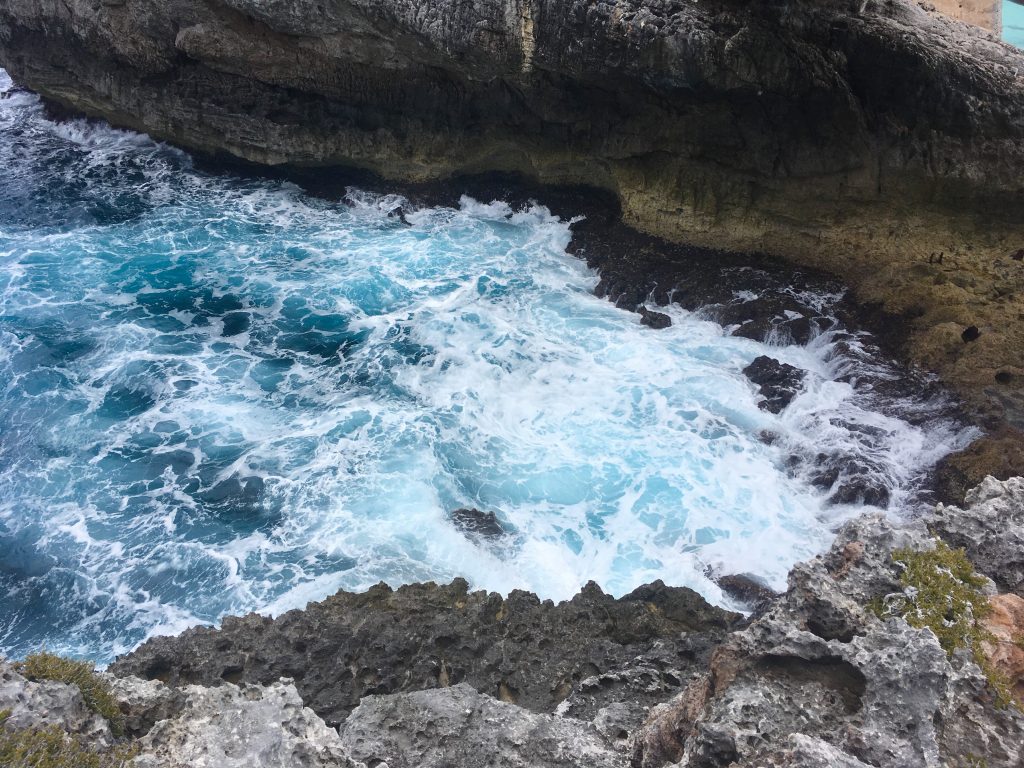
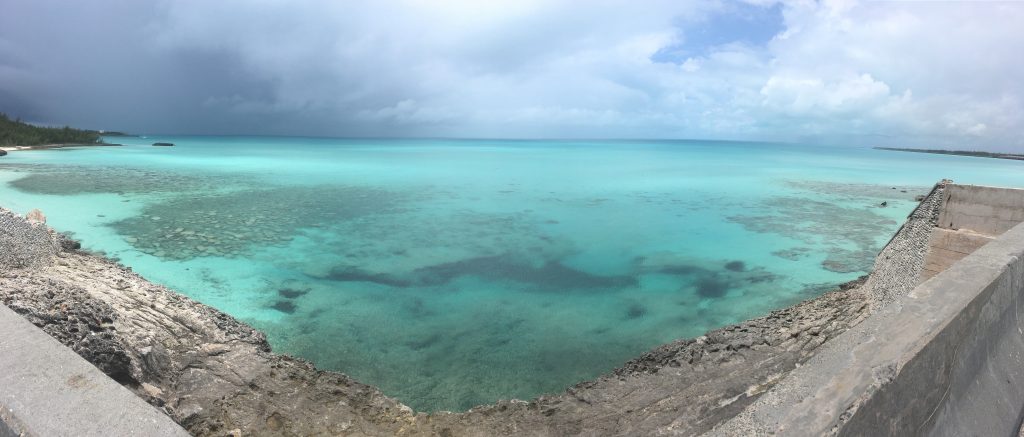
The Glass Window bridge is in northern Eleuthera and is one of the few places you can see the Atlantic and the banks side of the ocean at the same time.  It’s more impressive when the weather is unsettled but still pretty cool.

The east side of the “glass window bridge” on the east side of Eleuthera see the video on my Facebook page….


the west side of the Glass Window….


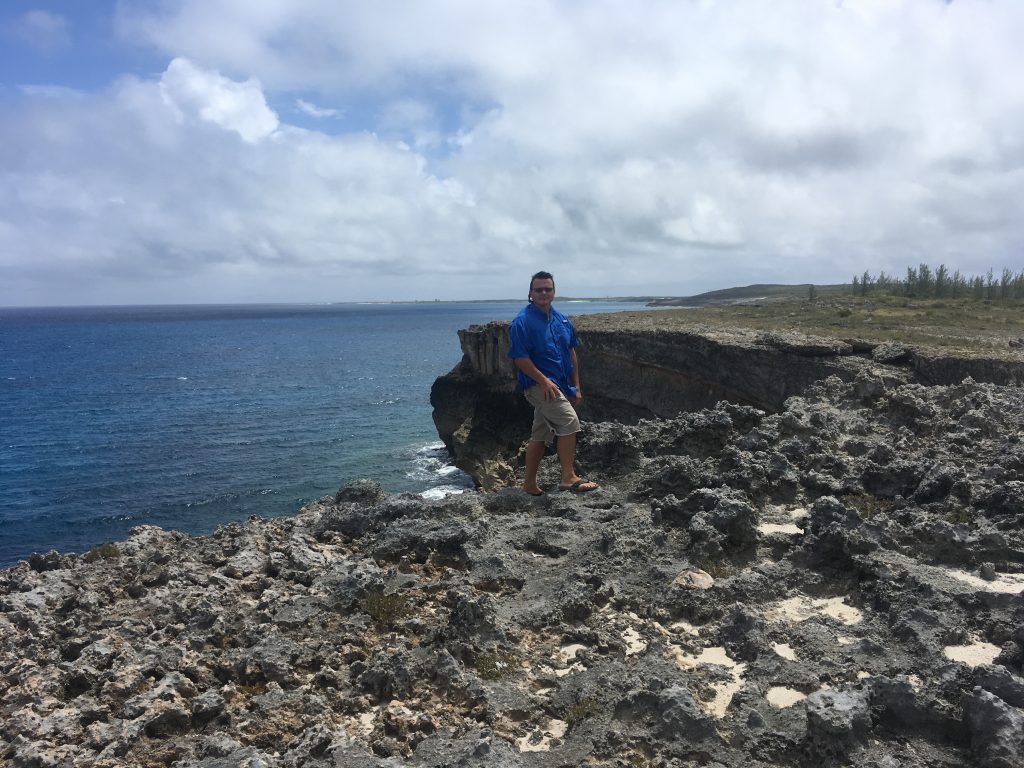
Me at the cliffs….east side of northern Eleuthera


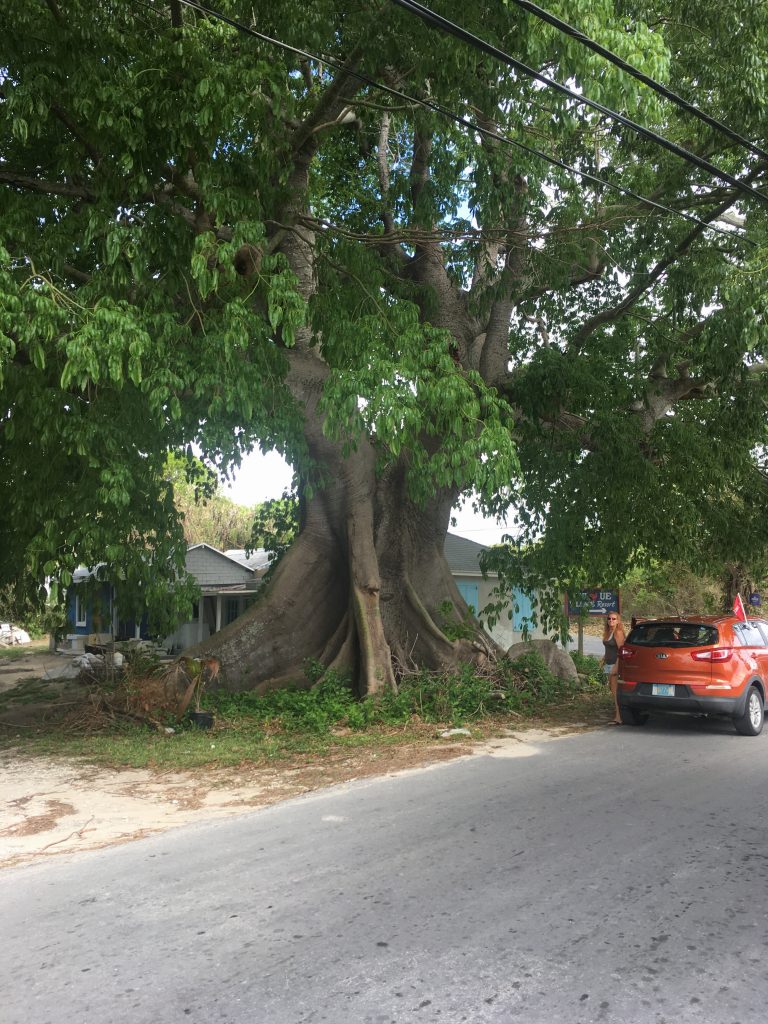
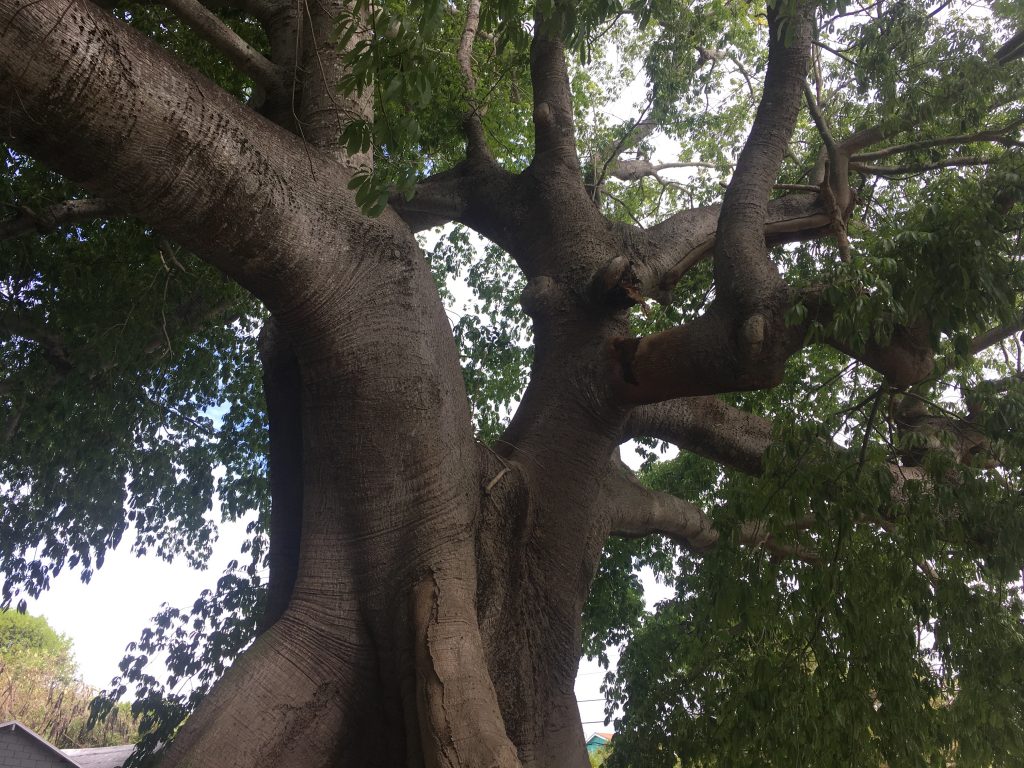
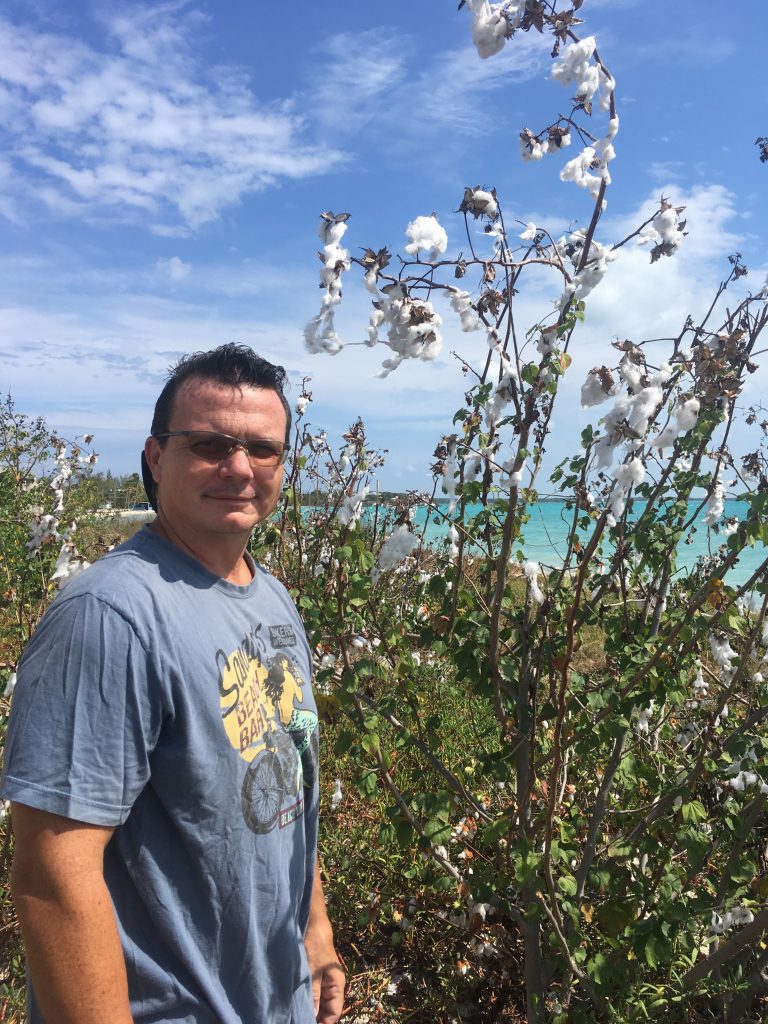
Long view of the Cotton(Ceiba) Silk Tree


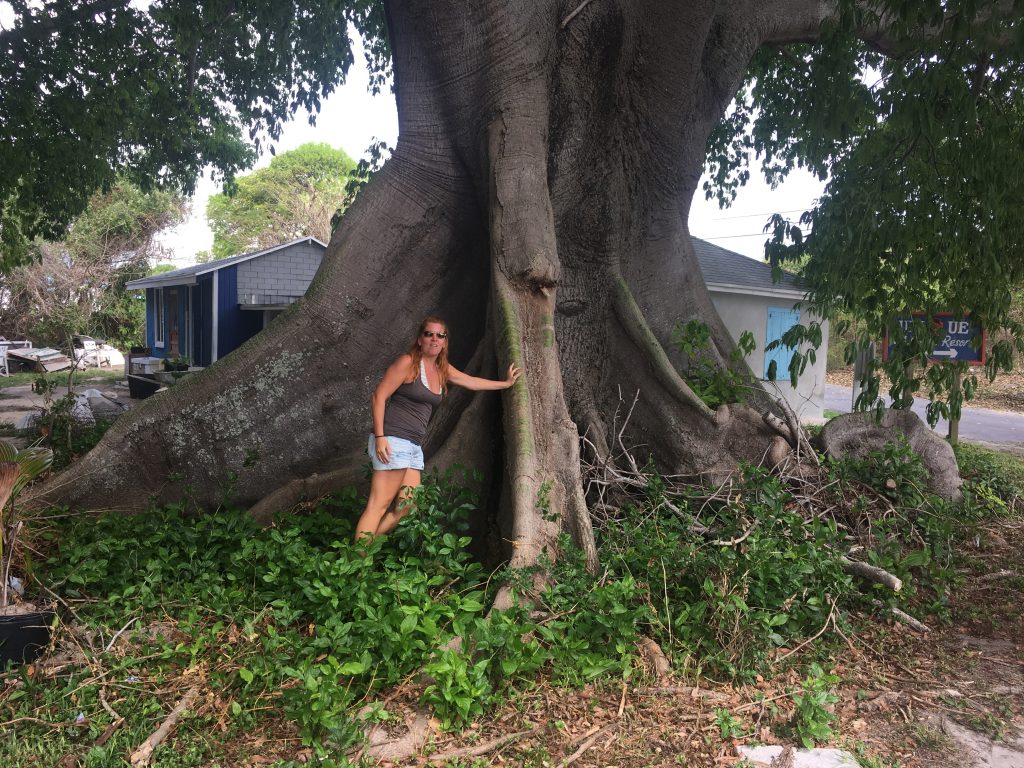
A Cotton Silk or Ceiba tree


Cotton Silk Tree…upview


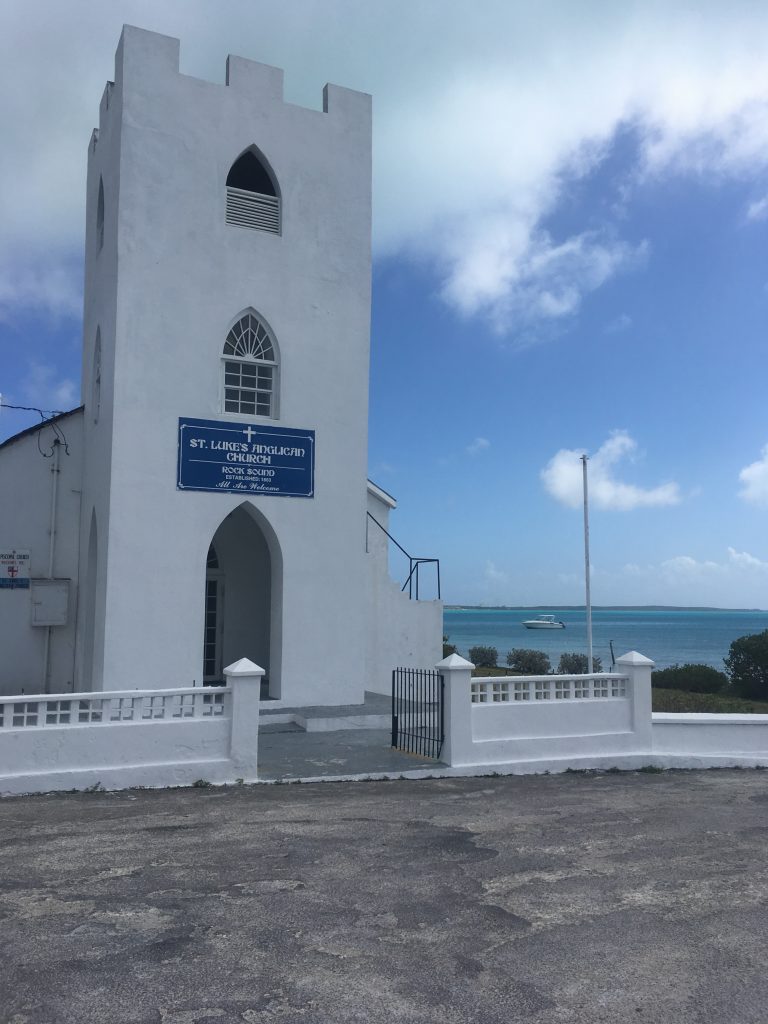
Beautiful beachfront church in Rock Sound


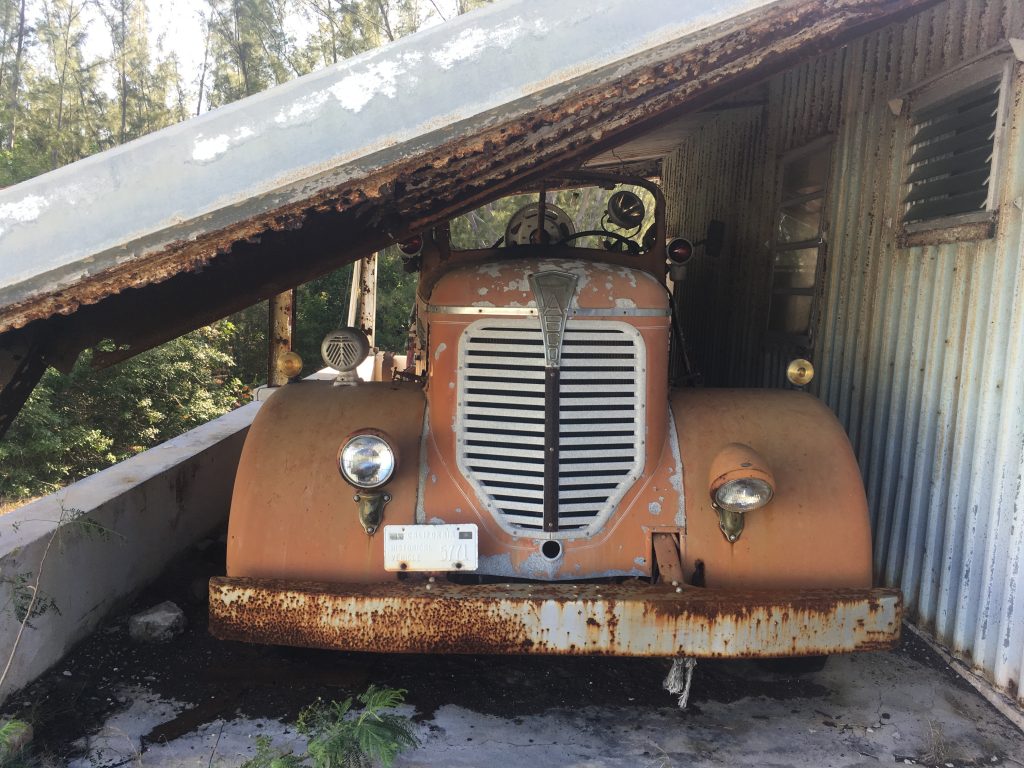
An abandoned 1950’s fire truck stored behind a Kalik beer warehouse….


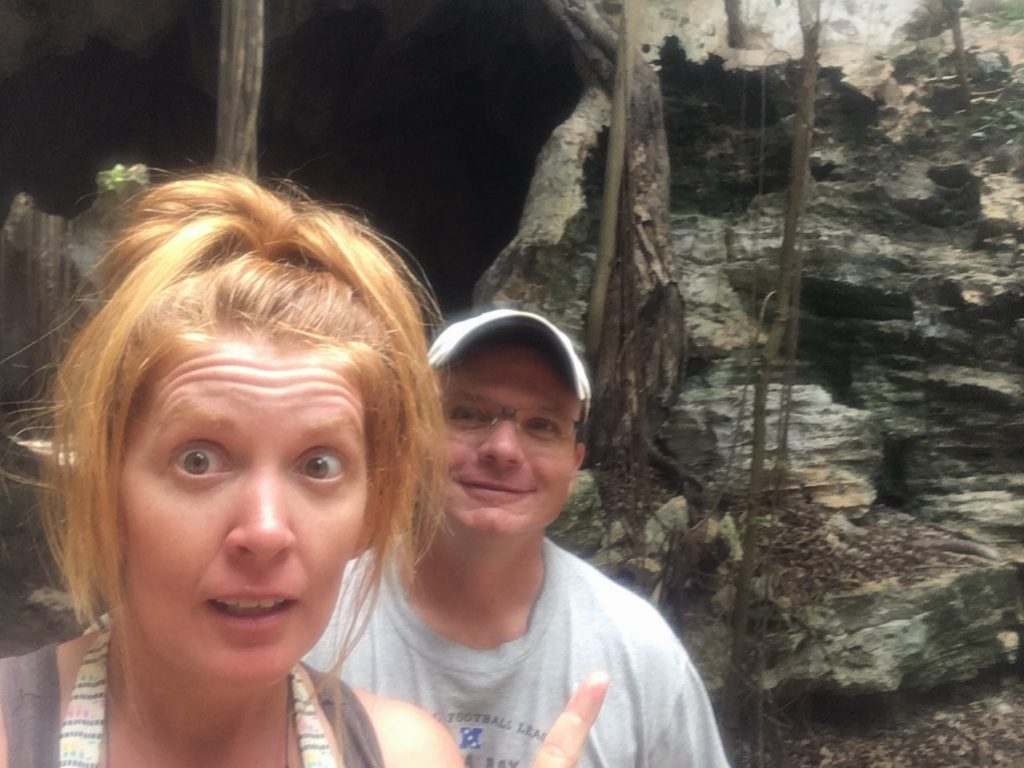
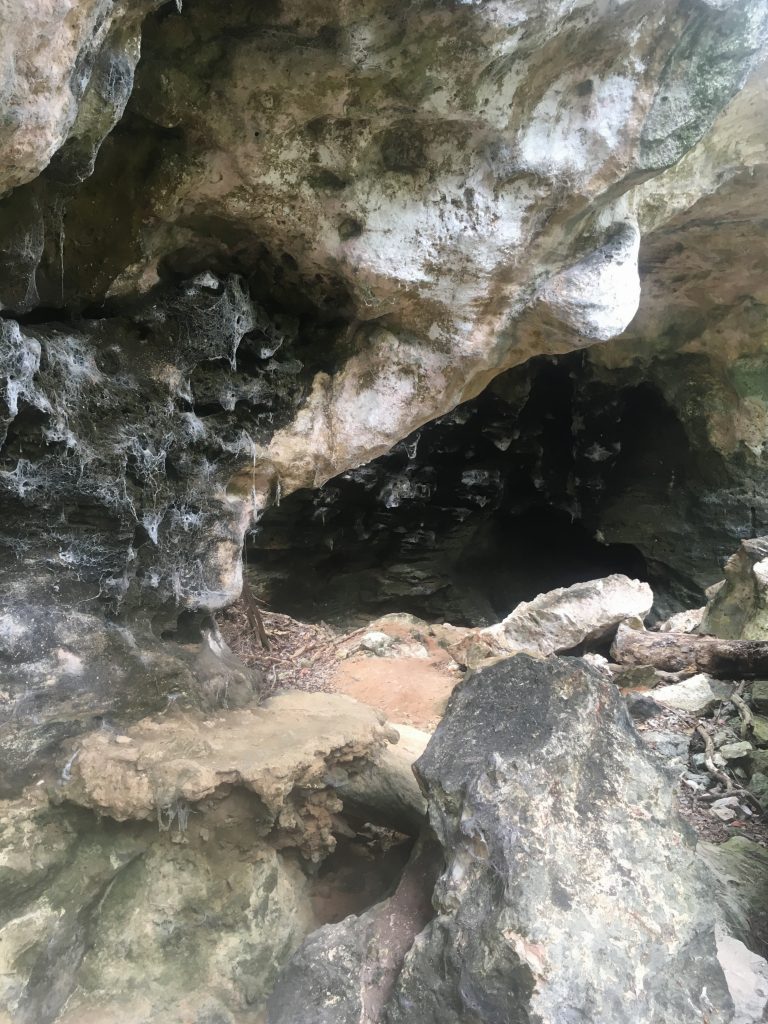
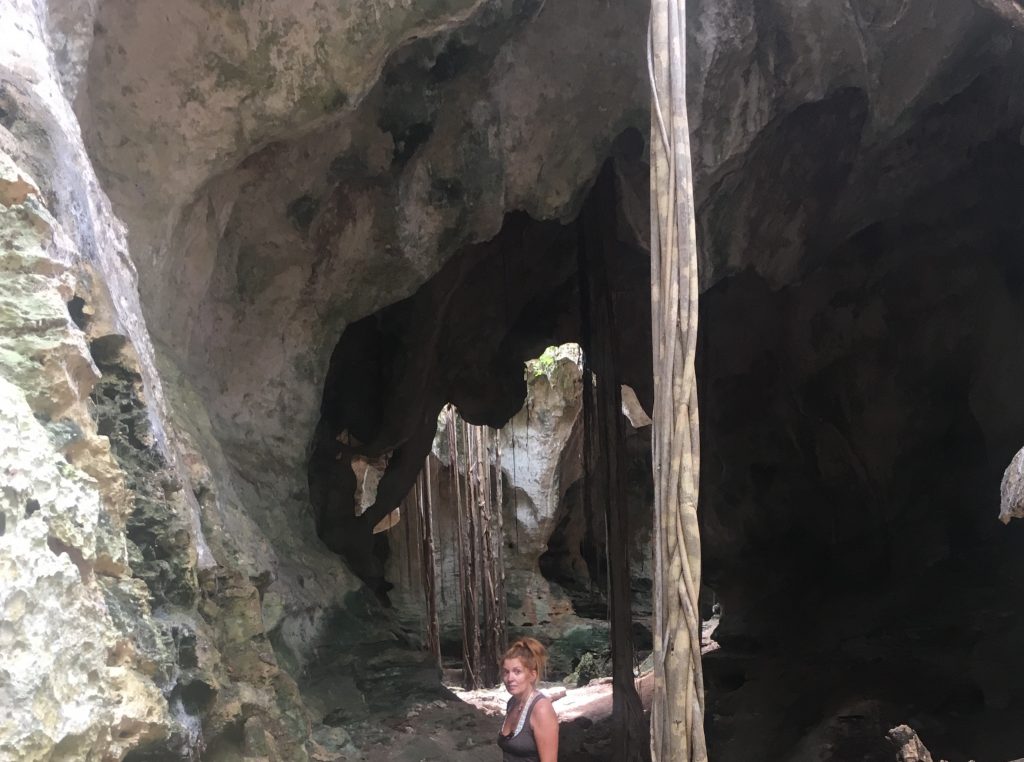
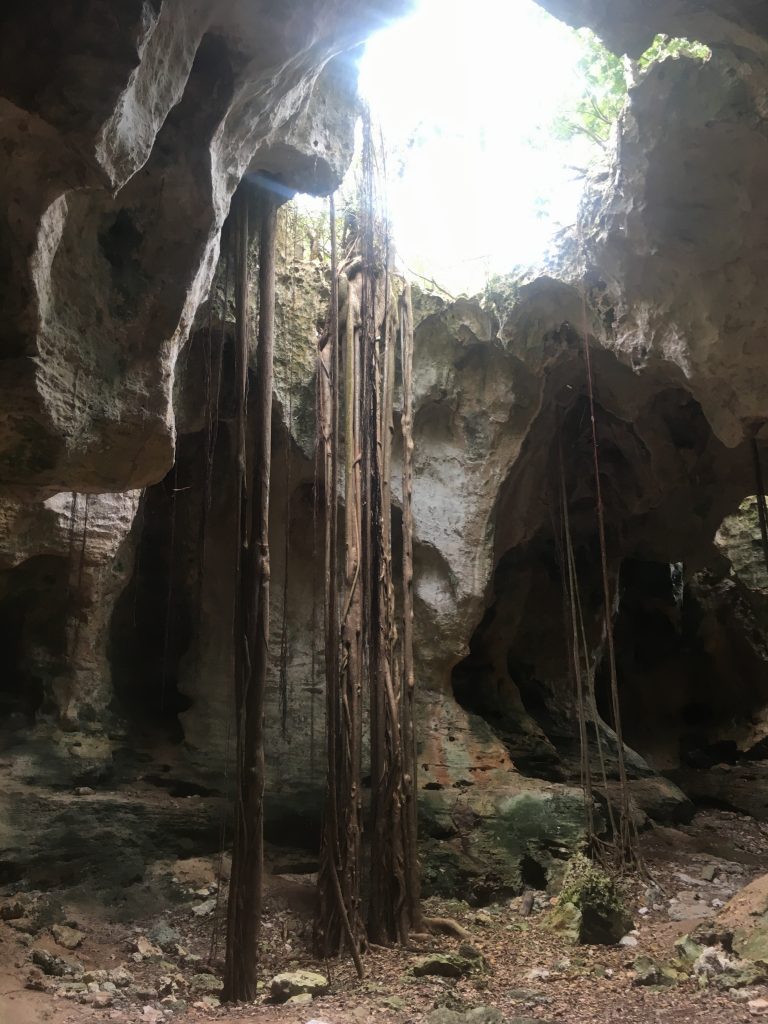
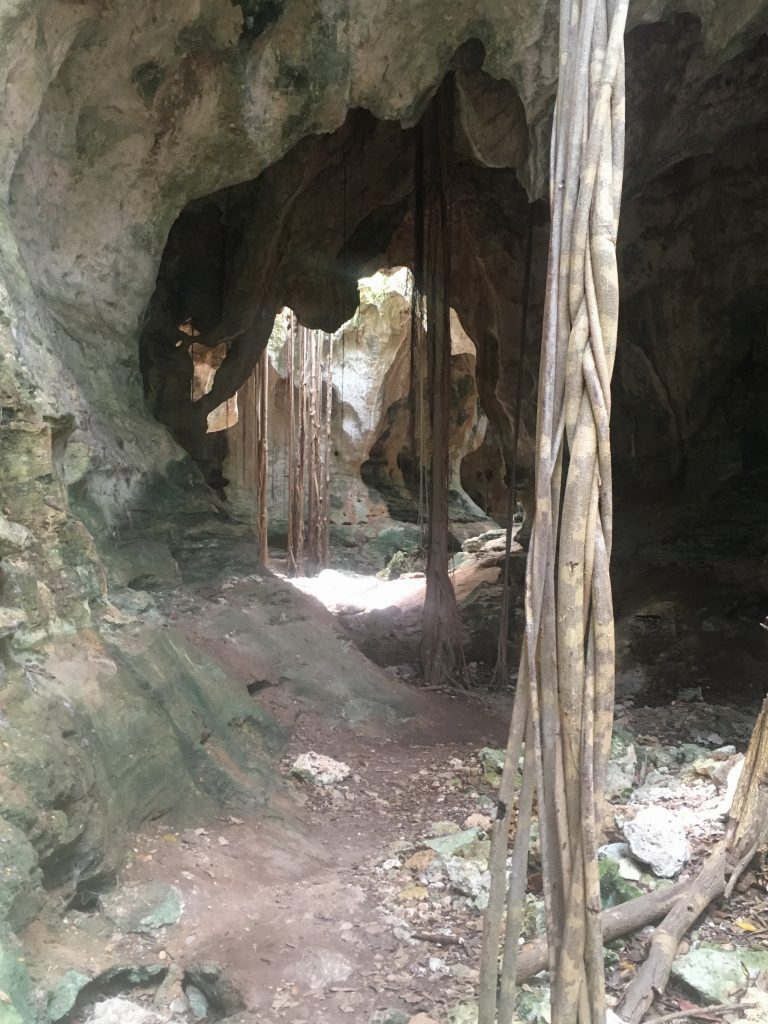
In the spider cave….Kim doesn’t look worried at all….


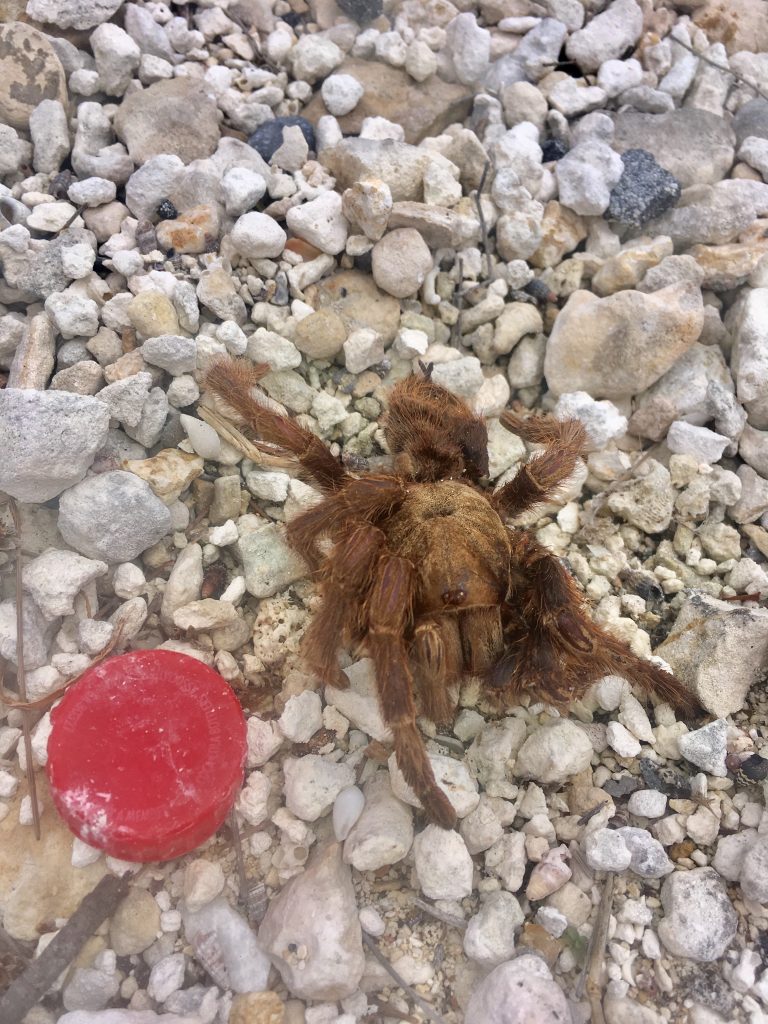
We found this little guy dead on the side of the road….that’s about a 2″ Gatorade lid for scale…..maybe he was hit by a car…..I wonder how badly the car was damaged?


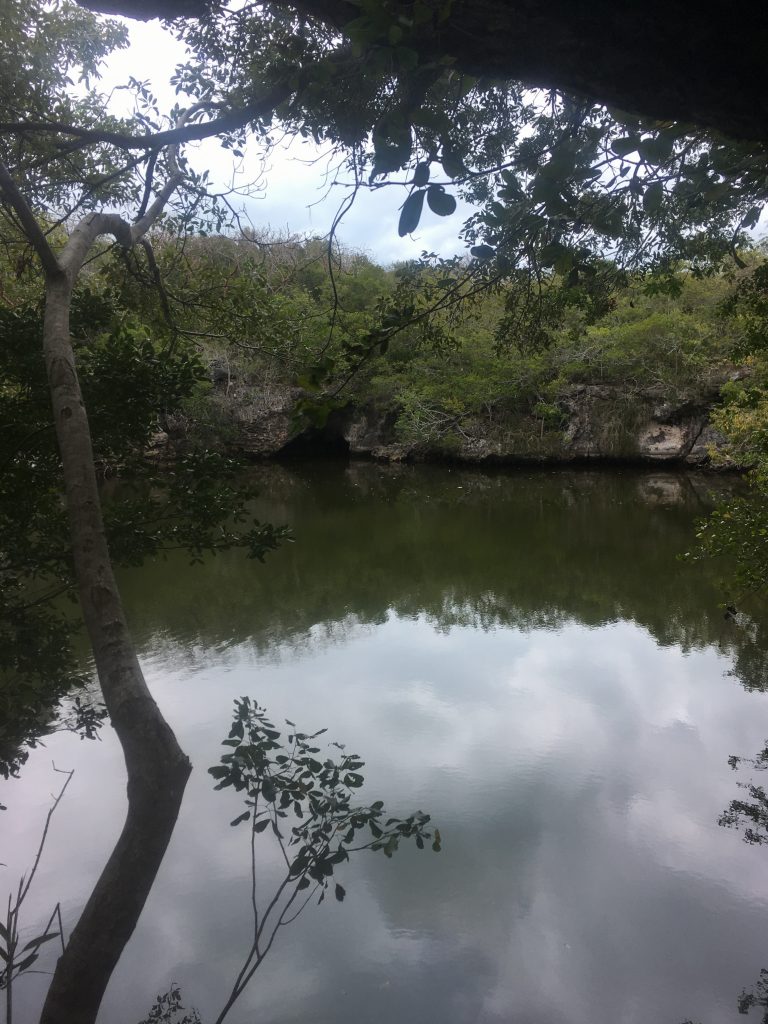
The “Boiling Hole” near the Spider Cave

The “boiling hole” is essentially a blue hole or a cave that is connected to the ocean.  At times, if the tide rises or falls rapidly, the water will churn and bubble. Many of the early residents believed these holes were homes to sea monsters.  Animal and fish carcasses would occasionally surface in these holes after hurricanes which only reinforced that belief.

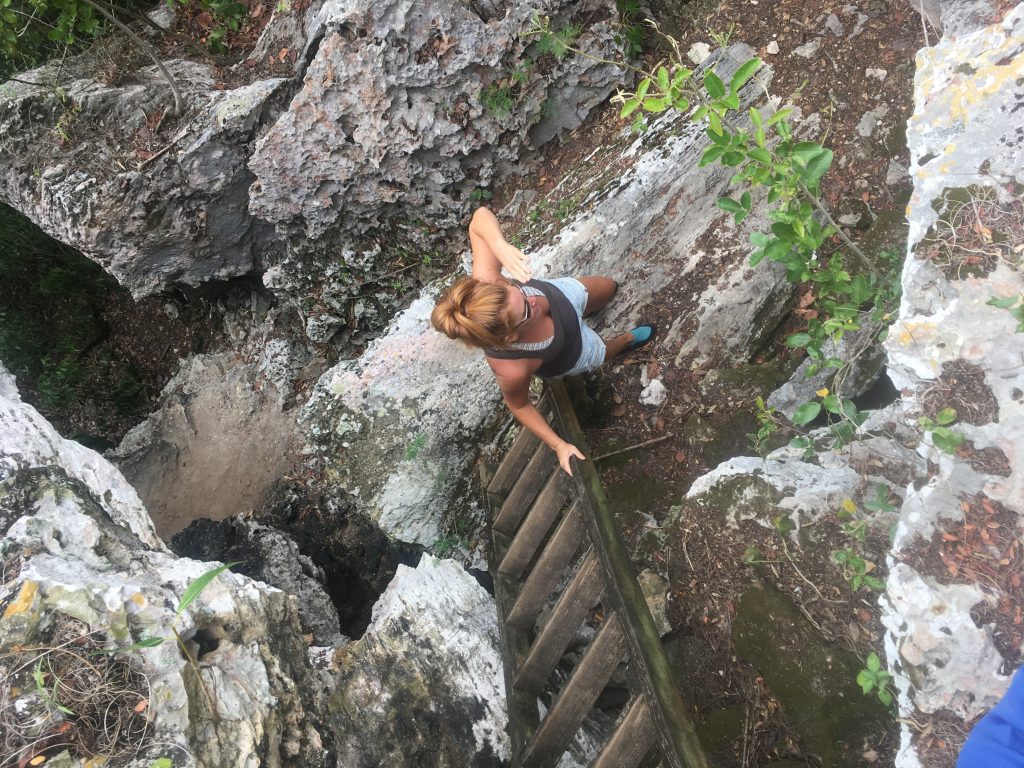
Kim descends to her spidery doom….
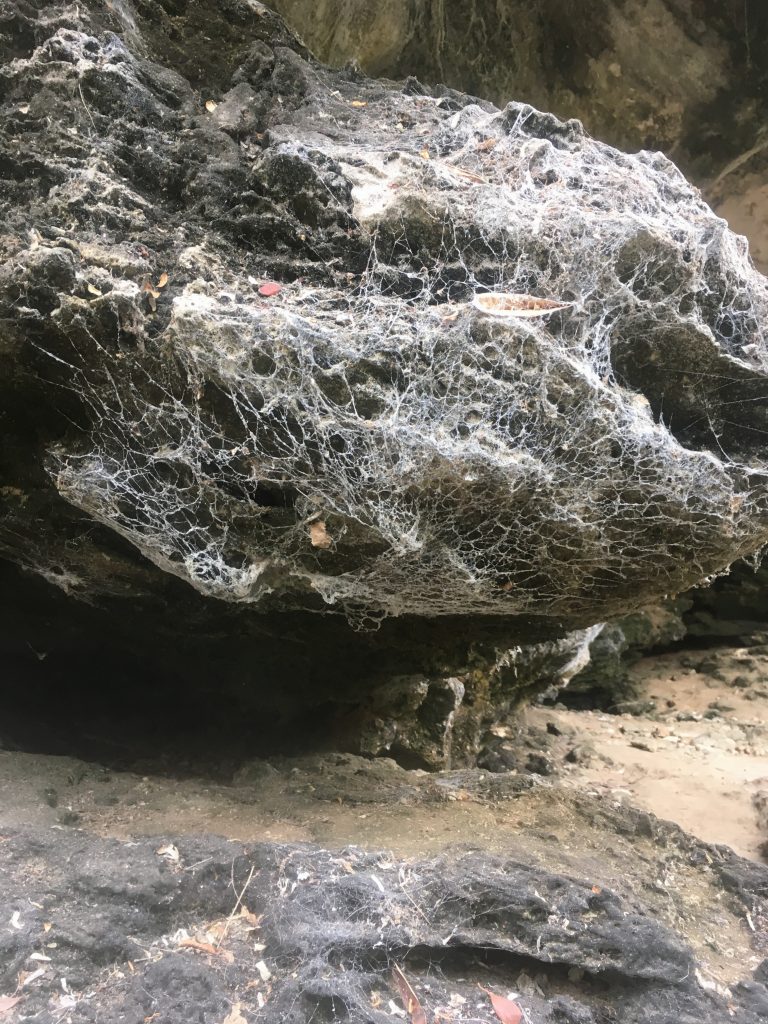
The spiders are here !!!

Kim looks apprehensive …..

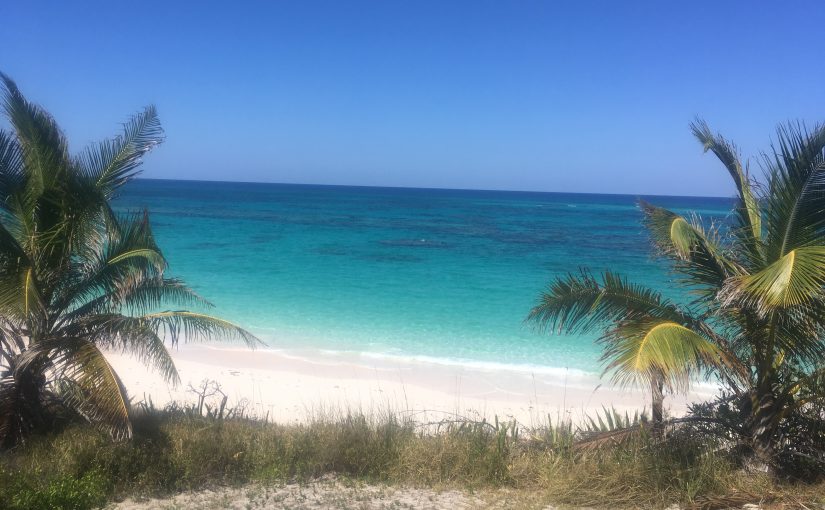
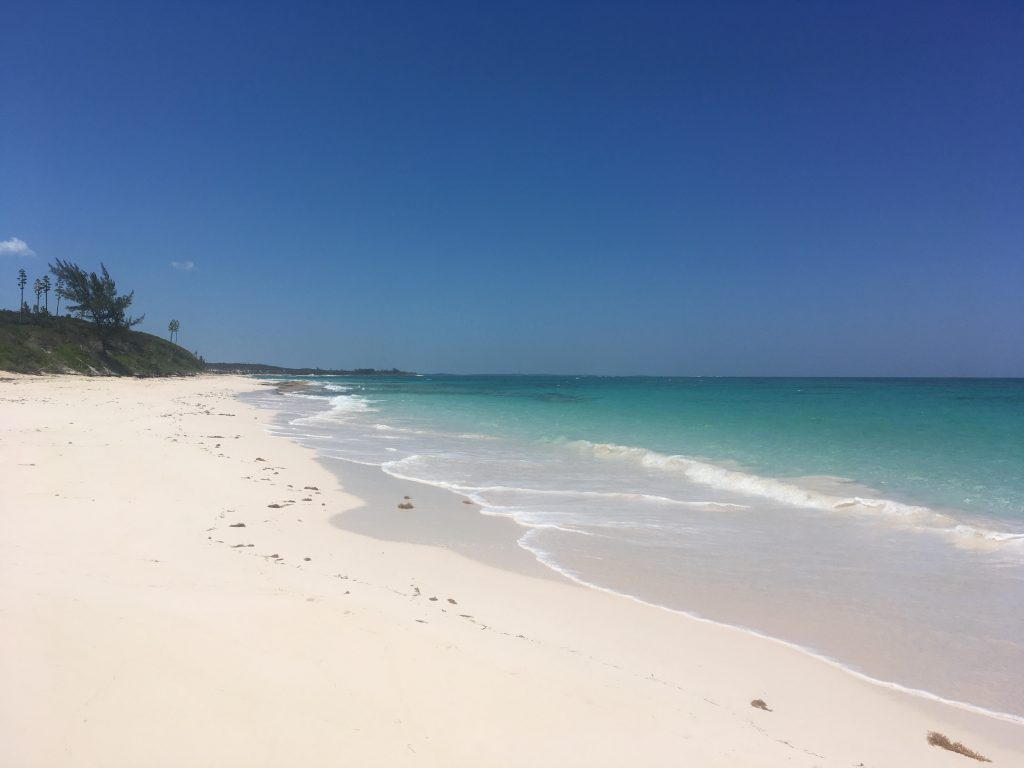
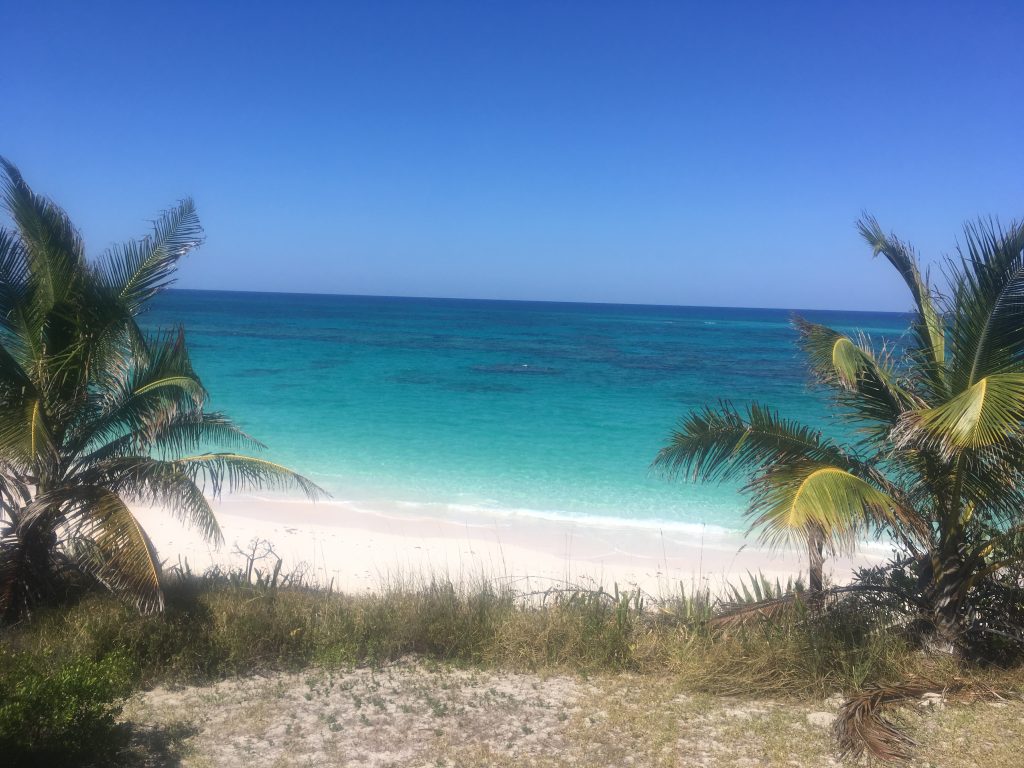
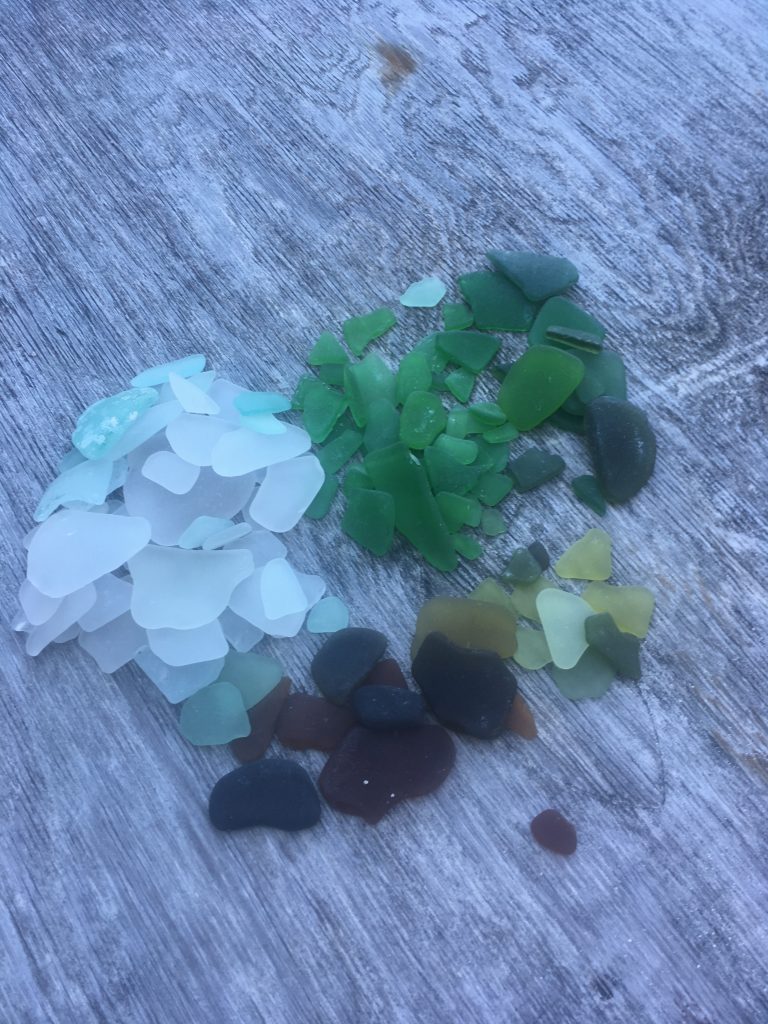
The beaches on the east side of Eleuthera were among some of the most beautiful and isolated….there was also a TON of seaglass…..


The spoils of a couple of hours of seaglass hunting…we found a few black pieces which are the third most rare ….
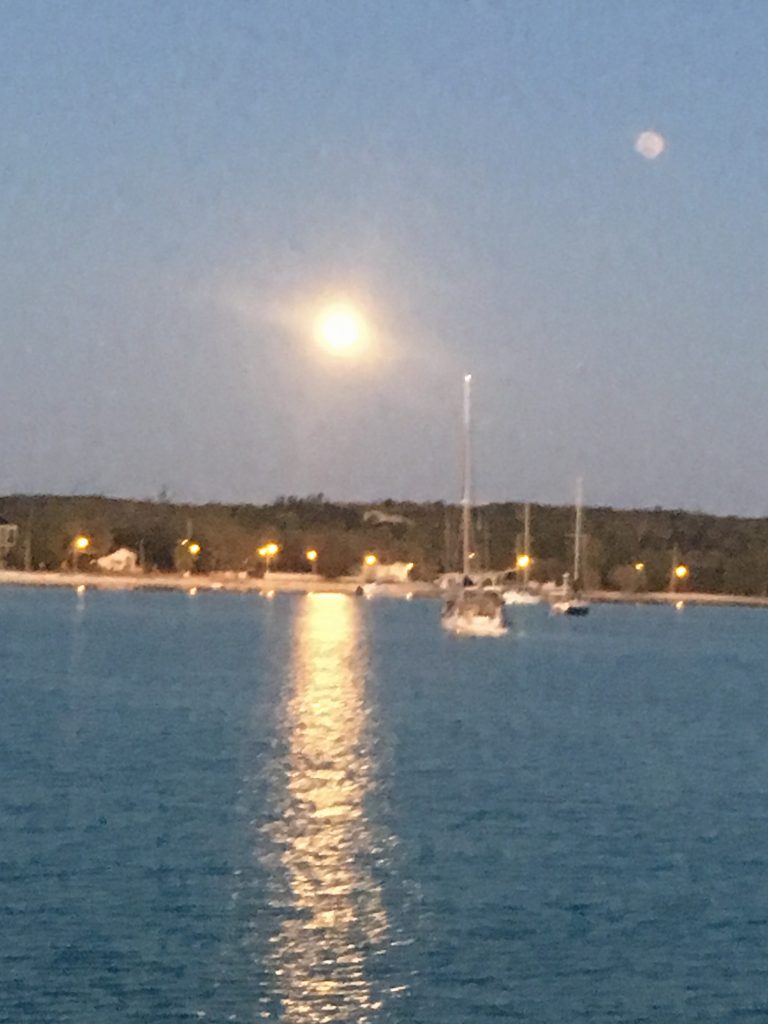
Believe it or not….that’s the moon


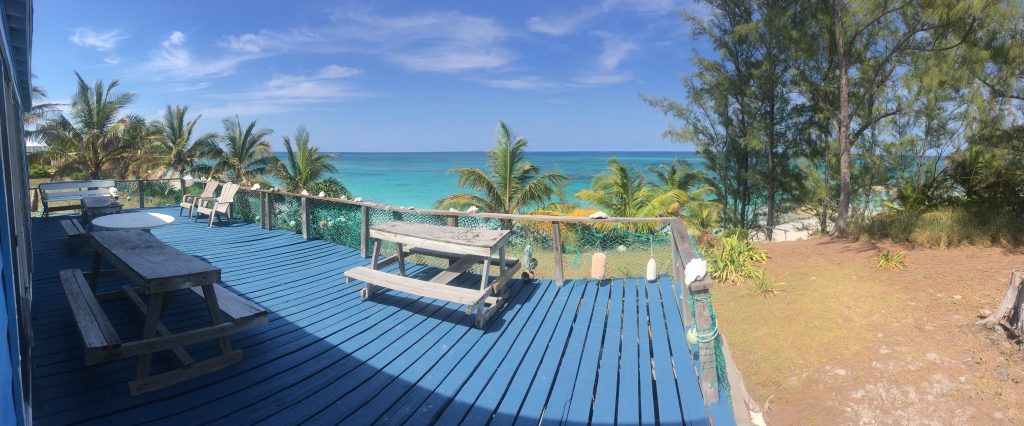
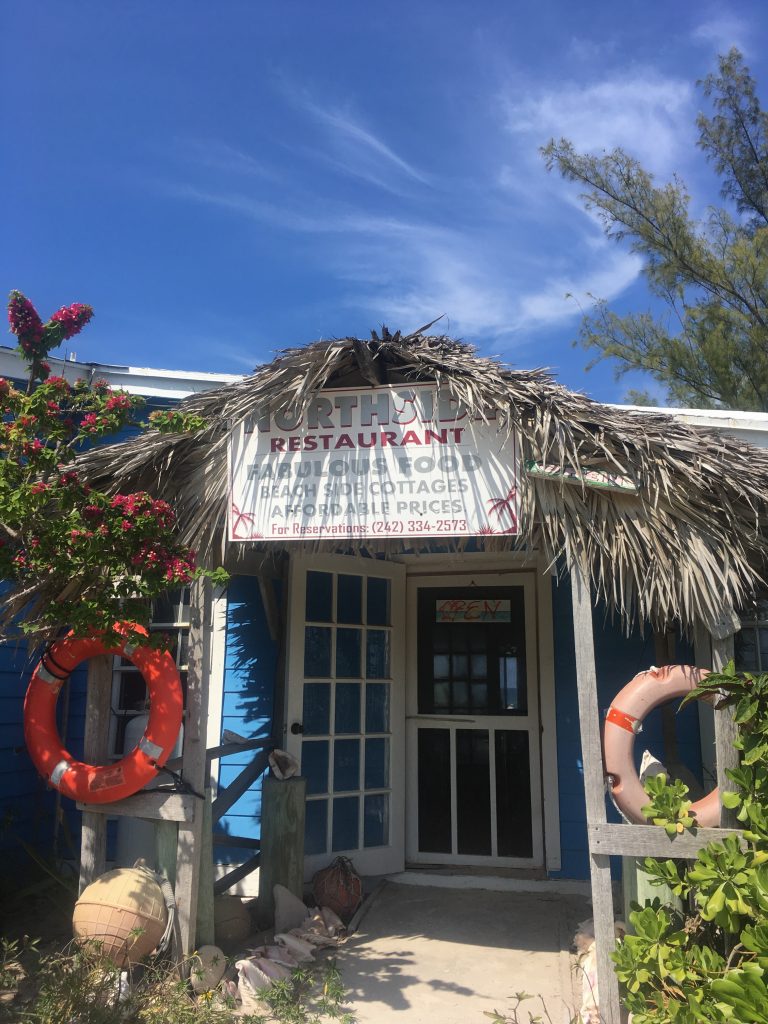
We found a great little restaurant and resort on the east side of Eleuthera across from Rock Sound.  It was owned by a wonderful lady named Rose Gibson. She was super friendly, would pick us up when she saw us walking around town, took us for an impromptu island tour one day while fish shopping and was a great cook !!! There are five cabins on her property that are on a hillside overlooking the ocean…..

Here’s a link to her website…..if you go tell her Brett and Kim sent you !!!

http://www.northsideinneleuthera.com


Remnants of the former Cotton growing industry spring up all over the island ……

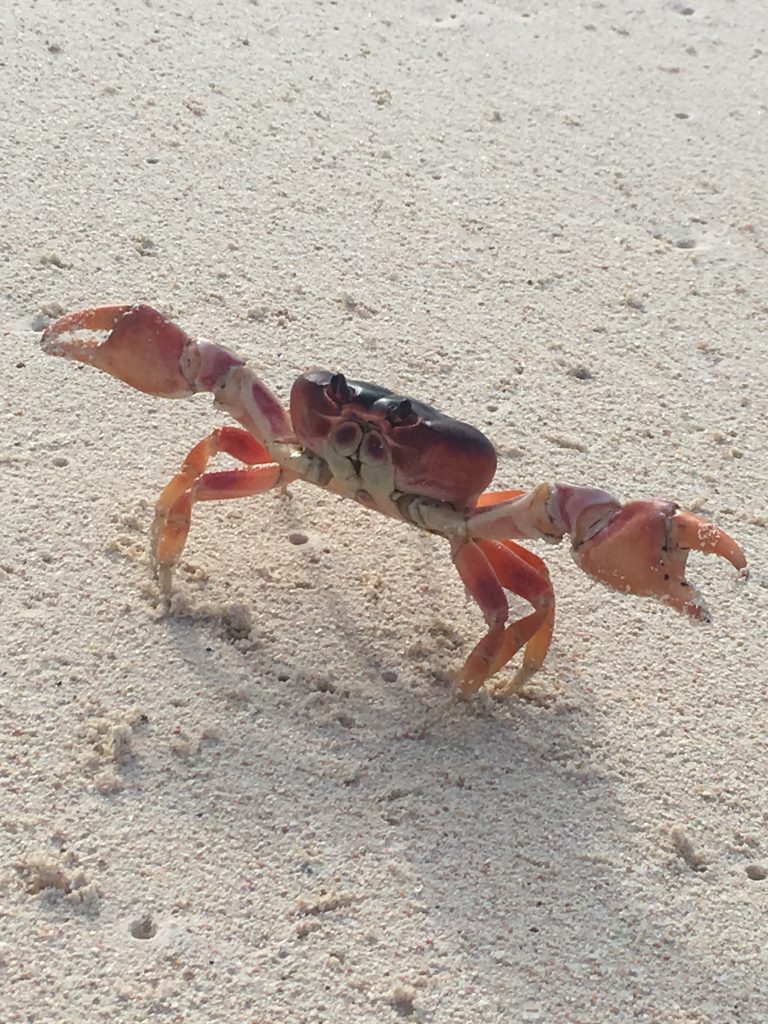
There were thousands of these little land crabs running back and forth between the foliage and the surf….dropping off their eggs


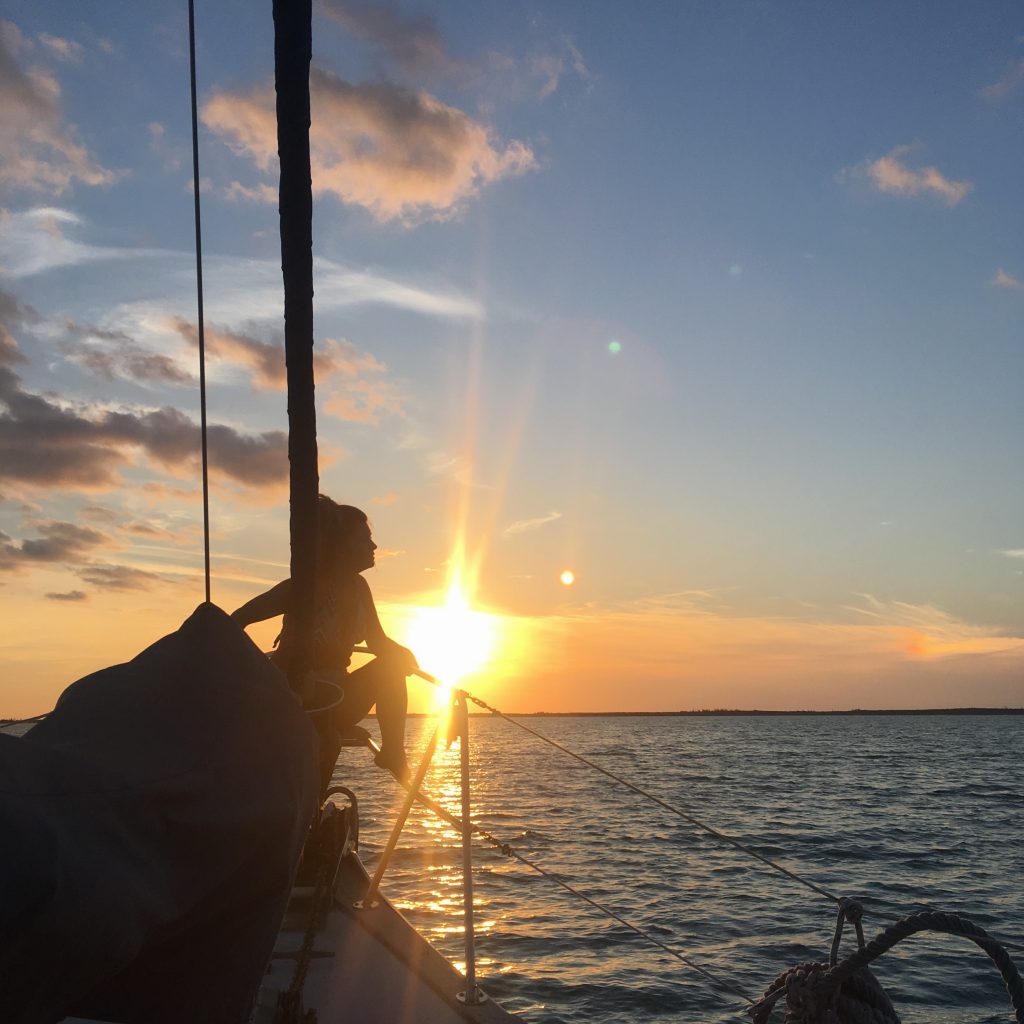
A cropped version of this photo of Kim was used in Cruising Outpost Magazine’s weekly online photo collection….

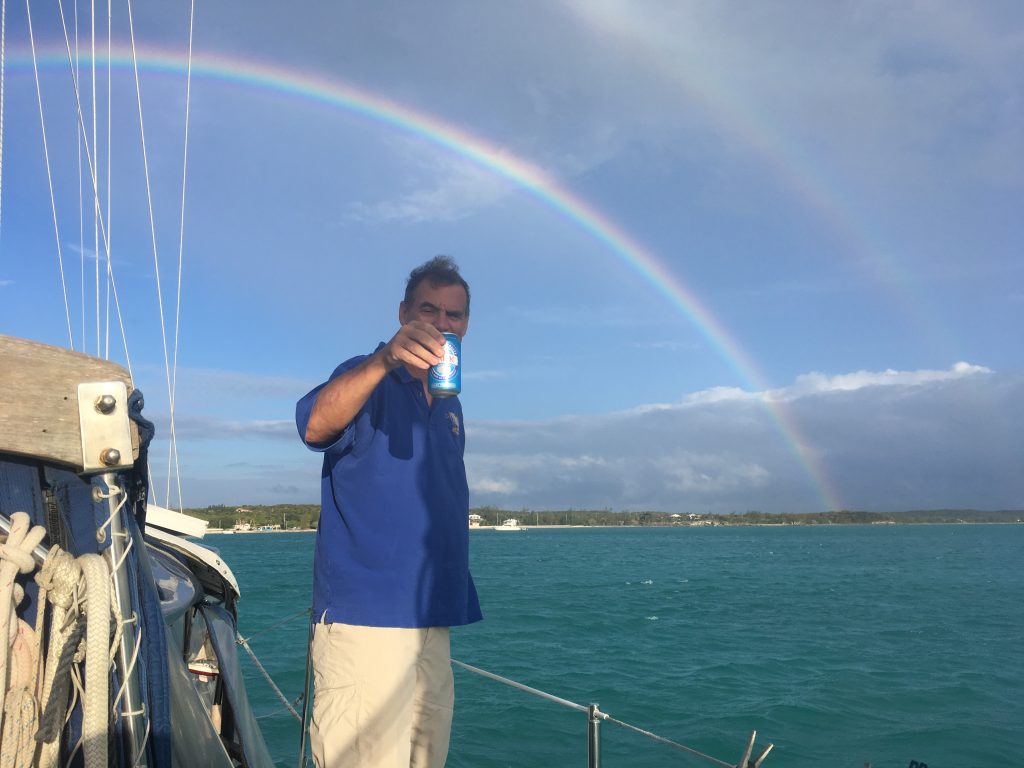
Mike arrives and brings a double rainbow….and has a Kalik !!

Since Hurricane Irma’s recent swing past the Bahamas you’ll be pleased to know that the islands here were largely untouched. We haven’t heard of any structural damage anywhere in Eleuthera.

Little San Salvador….Oh the horror !!!

Here’s a post that is three things…..

1) A big hats off to Mantus Anchors….

order yours here…..


2) A reminder to not skimp on ground tackle

3) and that preparation is the key to safety and a modicum of peace of mind when the fecal matter hits the air moving device….
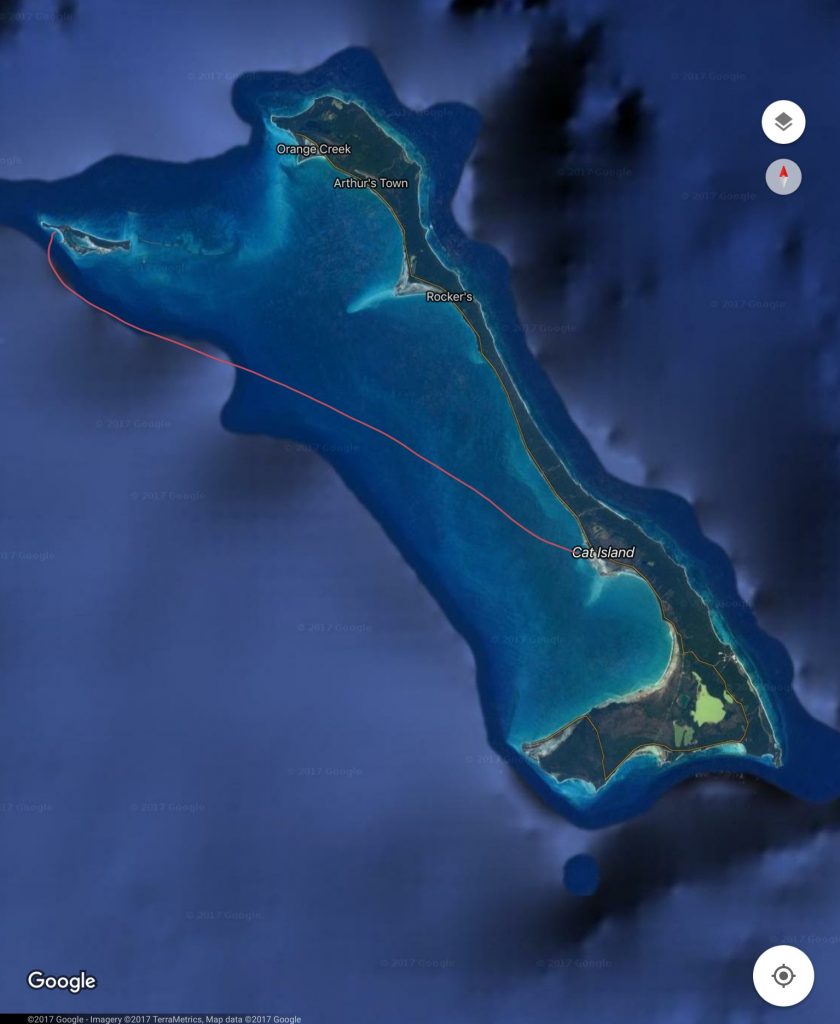
 

Image courtesy of Google Maps

We departed Fernandez Bay and made our way to Half Moon Harbor at Little San Salvador, which is also known as Half Moon Cay.  Little San Salvador is a private Island owned by Carnival Cruise Line.  As such, it has a fake beachside village, what appaeared to be a fake pirate ship, a real water park, and one or two cruise ship priced restaurants. As a cruising boat, you can visit the island once the cruise ship has departed, as long as you radio ahead and get clearance from the island manager. Some reviews also mention visiting the bar if you get in before the staff leaves.  They  bring the staffing in every morning from Eleuthera and take all but the resident employees home every evening.

We had researched the cruise ship schedule and we knew that a cruise ship was leaving around 3:30pm on the day we arrived and that another would be arriving around 9am the next day.  This wasn’t going to be an issue since we were planning to be underway at 6:30am.  We had a very smooth trip to LSS and the cruise ship departed just as we were approaching the anchorage. We had seen some forecast chatter about scattered squalls, but in the Bahamas it seems like if you let that stop you, you’ll never go anywhere.

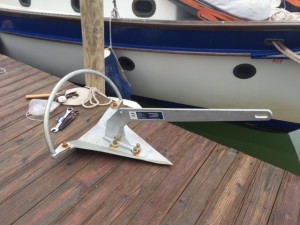
In the below image you can see a closeup of the anchorage and the pin is approximately where we were anchored, about 300′ off the beach in 12′ of water. When we are in an uncrowded anchorage, or alone in one,  we always put out 10 or even 15:1 scope (that’s the length of chain in relation to the depth of the water in which you are anchored.)  Thank goodness for that habit….we have 300′ of 3/8″ G43 chain on our primary Mantus 85 pound anchor……we went a couple of sizes over what’s recommended on the anchor and thank God we did.
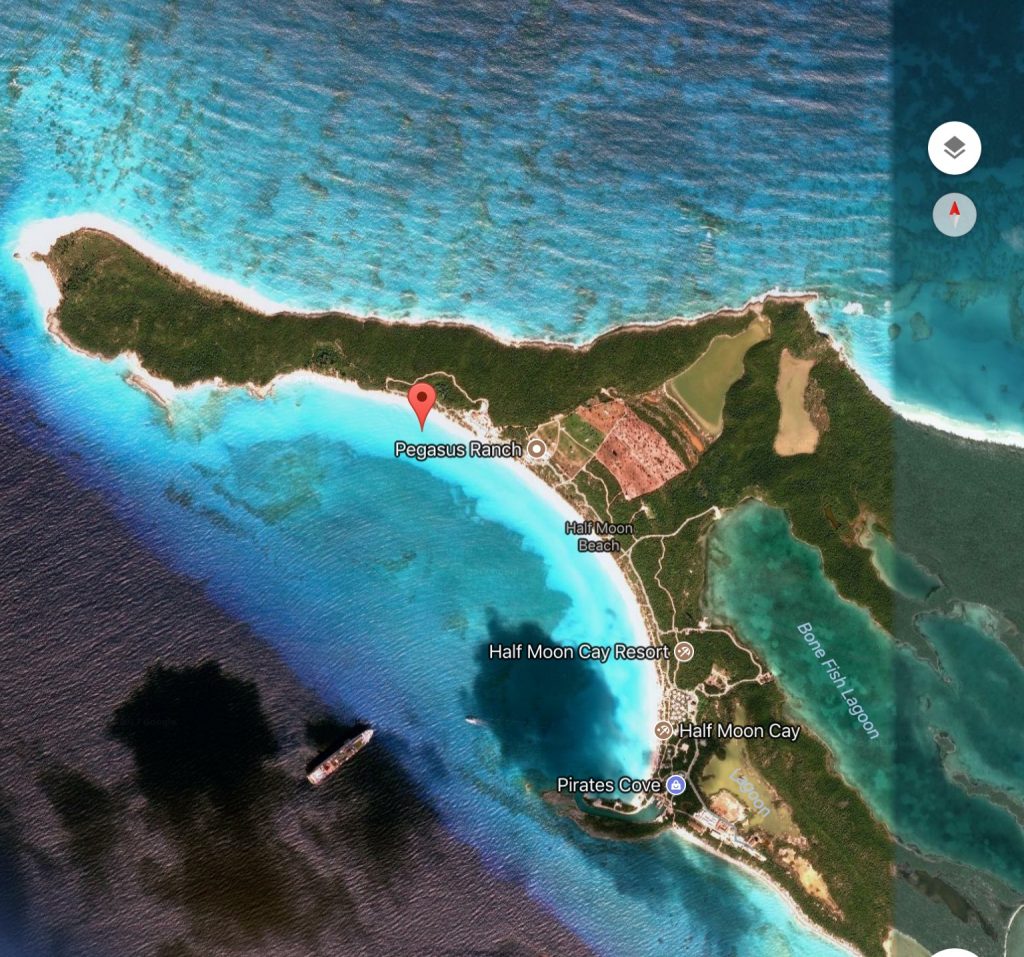
 

image courtesy of Google Maps

It was a little bouncy overnight as the actual wind was more southerly than the forecast wind was anticipated to be, so the wave action was a little choppier than what is comfortable.

Around 5:30am I was awakened by some thunder and the feeling of the wind rising.  At about 6:30 the wind was rapidly increasing, rain began to fall, and the wind had reached about 40 knots and was gusting to just above 45kts.  This was NOT going to be fun…..

The wind was coming out of the West-Southwest so there was nothing to reduce the wave action being generated by the wind.  We usually count on an island, shoal, reef or other shallow feature to diminish the waves.  There seemed to be two cells moving southeast and we were catching the edge of the first one and we got the brunt of the second one as it passed.

After the first hour, I had sent out a few text messages to let people know we were in a potentially bad circumstance.  In the second hour, I knew we were in a bad spot but I wasn’t sure how bad it was going to be.  We began taking 10-12′ waves and some of them were breaking over the bow of the boat.  We were riding up 10-12′ waves and then crashing into the trough behind the wave, then taking the ride up the next wave which would drive the swim platform down into the back of the passing wave and it hit hard, sounding like a bomb every 10-15 seconds.  Kim was motion sick and in the aft cabin.  I was sitting in the cockpit waiting for the anchor to drag and to be forced to decide if we were going to hope it reset before we grounded on the beach, or fire up the diesel and try to power beyond the waves and into deeper water pulling up the anchor as we went and maybe get broached by an incoming wave and still end up on the beach. Either choice had its risks.  Even if the anchor held, we had to be worried about an unusually deep wave trough slamming the keel on the bottom and possibly damaging the rudder. We had anchored in 12′ feet of water but didn’t anticipate 10-12′ waves which could have included troughs deep enough to make our rudder reach the bottom.  We were lucky that didn’t happen.

We had recently purchased a new 15hp outboard in George Town ($2500) and since it had been very calm the prior day and evening we towed the dinghy with the outboard still attached.  That proved to be a slight error in judgement.  I’ve read many stories about people who have towed their dinghies with outboards around the world with no issues….just our luck we wouldn’t make it through one season in the Bahamas towing ours.

Around 8:30am, during a few particularly violent and shifting waves, our dinghy flipped over……our dinghy anchor, one oar, a dinghy pump were adrift and our dinghy chaps (material coverings designed to reduce the UV damage to the inflatable tubes), were ripped.

Around 9:30 the second of the cells moved off a little to the southeast.  Kim rallied and we managed to go out onto the swim platform and flip the dinghy over.  It was a momentous piece of teamwork.  I donned my snorkel gear and recovered our anchor, but the pump and the oar were long gone.

Shortly after that, the waves subsided and we were in the lee of the arriving cruise ship.  We started the diesel, raised the anchor and motored out of the anchorage and were on our way to Eleuthera after about four hours of the worst time on a boat that we have ever experienced…….wondering “why, exactly, are we doing this?”
Things we fixed (aka broke) along the way….

Things we fixed…..(the last few things on this list were more like upgrades)

Both heads (toilets)…..rebuilt the pumps, replaced the intake and output lines, replaced the water intake strainers, siphon breaks..rebuilt the forward head pump multiple times before finally replacing the entire housing…

Diesel—adjusted the Valve lash, oil changes, used high dose diesel cleaning solution treatment four times due to contamination of our injector pump…(this wasn’t an issue we caused, it was caused by a boat yards poor work in NC)

Patch the Genoa Sail sunbrella sacrificial cover

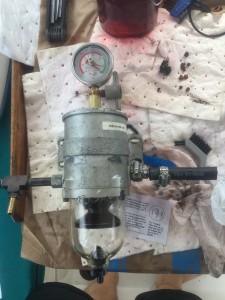
Racor filter / housing rebuild and filter change

image

Galley Faucet….this began to leak and reached a critical point while moored in Key West…..the faucet was so old that the owner of a plumbing supply warehouse, who was in the family business for 50 years said he hadn’t seen one of these in 35 or 40 years!!!

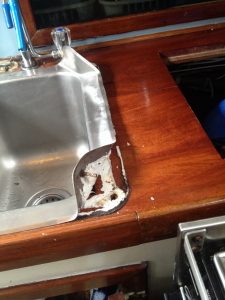
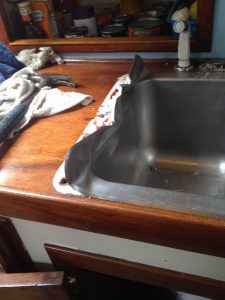
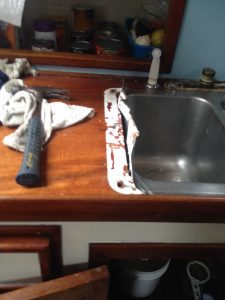
Galley Sink….at some point in our boat’s history….someone (possibly a sadist) used 3M 5200 to seal the sink to the countertop…..for those of you unfamiliar with 5200, it’s a great product for installing things you want to be bulletproof…..it’s not so great for something you might want to remove….ever……even employees at boatyards groan audibly when they learn they have to remove something installed with 5200….it has been nicknamed by some “death paste”.   The upside is, since the edge of our sink was so severely damaged during removal, we had a custom single bowl sink fabricated and installed …..if anyone needs such a replacement let us know we have a great source for these sinks !!!

imageimageimage


Drinking water inline filters (x3)

Aft head cold water faucet replacement

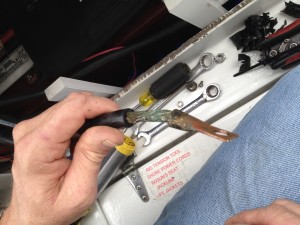
Power switch for VHF radio….which completely deteriorated and fell apart in my hand when we went to switch on the radio to check the weather in the Dry Tortugas…..

Zinc replacement x2

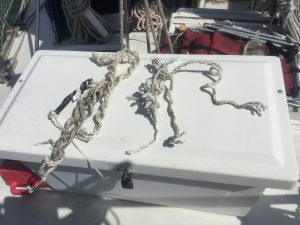
Remove lines from props ….five times….one with a crab trap on it….no bonus crabs though….

image

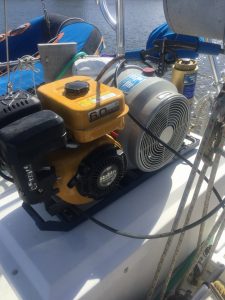
Tune up, recommission the diving air compressor and change the breathing air filter

image

Replace outboard prop and kill switch

Refrigerator coolant line unclogging

Replace Aft cabin fan….then replace defective blade….then fan died…again…ugh

Unclog Lazarette drains

Unclog sink drain x2

Fix aft head intake leaking seacock

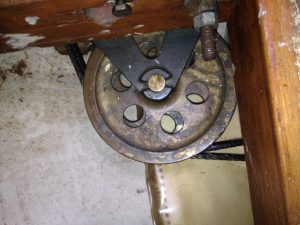
Replace steering sheave and pins

image

Replace Hatch solar fans

Replace / upgrade anchor to a Mantus 85lb galvanized anchor

image

Upgrade Battery cables, install battery bank monitors, replace underrated/melted battery selector switch and install a main fuse for battery banks

imageIMG_2049

Install new Wind instruments and displays

Painted the salon and V-berth interior

Repair salon sole soft spots

Shower stall refinish……

This all added up to about $12k for the year in boat upkeep….they say to anticipate 10% per year of your boat’s value for upkeep so we are a little high but fingers crossed that goes down next year……


It’s been a while…..how have you been ? Or ….Mermaids (?) but no Dolphins

Well, we have made it to the Keys 🎉🎉🎉🎉🎉 !!!!!!

We spent a few days motoring south on the ICW in order to reach Lake Worth where we planned to leave Florida and re-enter at Biscayne Bay just South of Miami.  We enjoyed a visit from my youngest sister and even convinced her to pilot the boat for a short period …….sadly, it was the first time we can recall not seeing any Dolphins or Manatees…..it was weird. My sister was understandably disappointed, but that just means she has to come back sooner. Hurry back Sis!!!


image


We we spent an unexpected three days in Ft. Pierce due to the New Year holiday (who knew some marinas closed all day on New Years Day?) and discovering that the wind was going to be pretty heavy plus we had developed a stalling issue with our diesel.  We discovered the issue while trying to pick up a mooring ball in Vero Beach…..it is a VERY SMALL area with two and three boats on some mooring balls…….a pretty exciting few minutes there…..my apologies to the residents of that mooring field….we couldn’t slow down and when I did, we stalled so I had to come in at about 4 knots and then once we went to neutral we stalled and coasted up to the ball.

We did get to meet a VERY nice and professional TowBoatUS Captain named Al, the next day in Ft. Pierce, which was our first ever tow….if you don’t have BOATUS Towing insurance I highly recommend buying the best package you can afford….we use the unlimited Gold and its only $180 per year and worth every cent….this tow alone would have been $370.

A great by product of this mechanical misadventure was that we discovered what we have decided must be manufactured from voluntarily donated unicorn blood, or some other mystical creature.  Our diesel started fine….ran fine for hours…..then when we tried to shift for neutral we would stall……after some research and consulting with the folks at Trans Atlantic Diesel (a big Thank you to our diesel guru Marcus Neville) we acquired the magic juice…..

image

It’s called “Stanadyne Performance Formula” and your diesel can actually run on just it, but it’s about $80 a gallon, so if you have that kinda coin, can you float me a little?? Long story short, we drained our fuel filters and filled them with this additive, ran the engine at varying RPM’s for an hour ….and …..VOILÁ !!!! SHE RAN LIKE NEW !!!!! We couldn’t even cause a stall…..

We left Ft. Pierce on January 2, 2016 after ringing in the New Year at Cobb’s ….a great restaurant and tiki bar in Ft. Pierce.  If you ever get near there I highly recommend that stop.  We made a quick one night stop in Stuart where the winds howled again that night.  We had the chance to catch up with some friends from our old sailing club, Rick and Cathy.

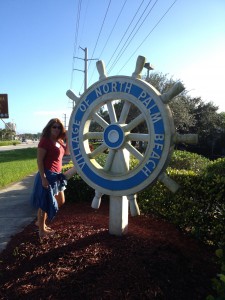
We arrived arrived in Lake Worth the next day and spent five days in a Marina since the winds kicked up yet again and were blowing 30 knots.  Once that settled down we proceeded on our trek where we anchored just South of Peanut Island (where the JFK Cuban Missile Crisis bomb shelter was built) and we spent five days there again riding out 20+ knot winds…. And rain….and heavy chop…..did I mention that I think the wind is following us ? Lake Worth stretches between North Palm Beach, West Palm Beach and Palm Beach…..

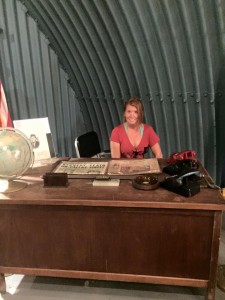
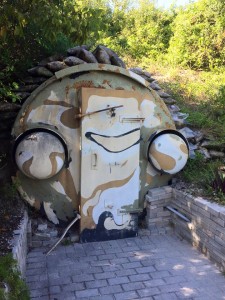
Peanut Island is a man made island constructed from then dredged material created from the digging of the Palm Beach Inlet and Basin and is also the home to JFK’s Cuban Missile Crisis Nuke Shelter.  It seems his family owned a home nearby and the Secret Service chose this spot in the event of a nuclear attack to protect the President.


Kim seated at JFK's Bomb Shelter Desk
Kim seated at JFK’s Bomb Shelter Desk
Me ...running for the bomb shelter!!!
Me …running for the bomb shelter!!!
The JFK Nuke shelter entrance


image

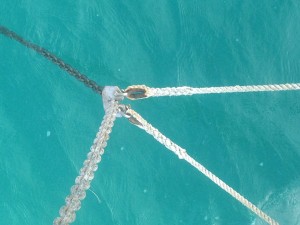
We we noticed after four days of the bucking bronco that our anchor snubber …(snubber: a device made of dock line and a saddle or slotted plate that rides on the anchor chain that is used to absorb the shock of the boat pitching and pulling on its anchor)

….had worn through the starboard side thimble ….(a thimble is  curved section of metal fitted into a loop of spliced line to protect the line from strain and chafe)….so we had to get that replaced at Florida Line and Rigging….another great cruiser friendly place in Palm Beach and Erin really hooked us up, had the new line done in an hour and did a great job on our new snubber line.

See the really rusty loop at the end of that line ?? Rust bad….


image


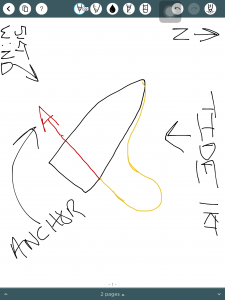
The winds and tides at Lake Worth so often ran against each other that our boat and anchor line looked like they were practicing yoga or twister…..I made a rough diagram of how it looked on one day……the yellow line is our anchor chain…the red part is the chain and anchor that was buried in the sand……its no wonder people often think their anchors are set when their boat doesn’t drift away but many times it’s just the tide and wind working against each other plus the weight of the chain and anchor holding you in place….that’s why we always back down (i.e. Reverse and pull) against our anchor to be sure we are set.


image

We left Lake Worth and cruised down the coast with 15 to 20 knot winds behind us and following seas…..sadly, not as comfortable a ride as the old saying would lead you to believe.  After we came into Biscayne Bay and crossed over into Key Largo, we stopped over at Gilbert’s resort for a night and met a nice couple who worked there, they are also interested in living on their own sailboat….it was great to meet you Lorenzo and Kate…..


Well, that’s it for now……


Two heads are better than one….or so we’ve been led to believe…

First and foremost…..Merry Christmas from the crew of Kitty Hawk……

The casting net Christmas Tree ….an ingenious design by our friend Joan….

image

Well….this month has been a busy one….we’ve had a total of seven visitors on board Kitty Hawk and have two more on the way.  We’ve done a lot of work to Kitty Hawk to get her ready for the next leg of our journey.  Like any aspect of life on board, using any system can and eventually will, expose any deficiencies or lack of maintenance.

During this month, we rebuilt both pump assemblies of our forward and aft heads.  For those not up to speed on nautical terminology, a head is a bathroom and also the name of the actual on board toilet.  So if you say “I’m going to the head” you just mean you’re going to the restroom.  If you say “the head is clogged” you mean that the toilet has failed to deliver whatever was deposited in it to the intended destination, decided to stop the flow of other materials in the future and by extension, ruined the Captain’s day.

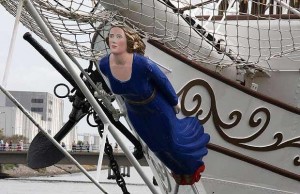
Now, you may ask yourself, “Why call it a head?”….good question.  In the old days when ships could generally only sail downwind, the placement of the head was in the very forward most area of the ship.  Also, near the figurehead that many ships of that day sported for numerous superstitious, decorative or identification reasons. The natural wave action of the boat moving through the sea provided a “flushing out” as the seawater moved into and out of that space through openings in the hull just above the waterline.  Also, since the vessel was sailing downwind the smell was being carried away from the rest of the boat.

image

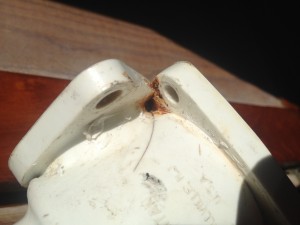
During our rebuild of our heads, (which are Raritan Compact II manual heads, which means they must be manually pumped to drain and introduce water as opposed to electric heads which just require the push of a button) we ran into an issue where the pump assembly, simply would not stop leaking. We disassembled and reassembled the unit about a half dozen times.  It had what we thought was just a difficult seal around one of the bolts that holds the pump to the base.  My brilliant wife said “could there be a crack in that we can’t see?”  Well, long story short even thought we couldn’t see or feel a crack…there was one…..once we we replaced the pump housing….voilá…no leak.
image

Once the pump was removed we could see the hairline crack on the backside….it looked like a mark from a wrench…..we made sure to inspect all of our spare units and discarded any with a similar mark….so we threw away three of them….which will cost about $110 a piece to replace….ow.

Since we had two sets of visitors it was only right that during each visit one of our heads clogged.  Our aft head was first during the first set of visitors and then our forward head lines clogged.  Maybe two heads really are better than one ? Haha….you don’t want to be without a head at all.  I had even made the comment that “if the aft one has clogged the forward one can’t be far behind” how regrettably right I was.   We were glad it happened where we were, rather than away from easy access to transportation and parts.  Plus, I had assistance from one of our guests when the forward head clogged.  The upside is we have rebuilt pumps and brand new lines for both heads now. These clogs are mostly caused by calcium build up from using salt water to flush the heads.  We are considering changing to composting heads in the future but for now they are just too expensive plus we should get four or five years of use after this rebuild.
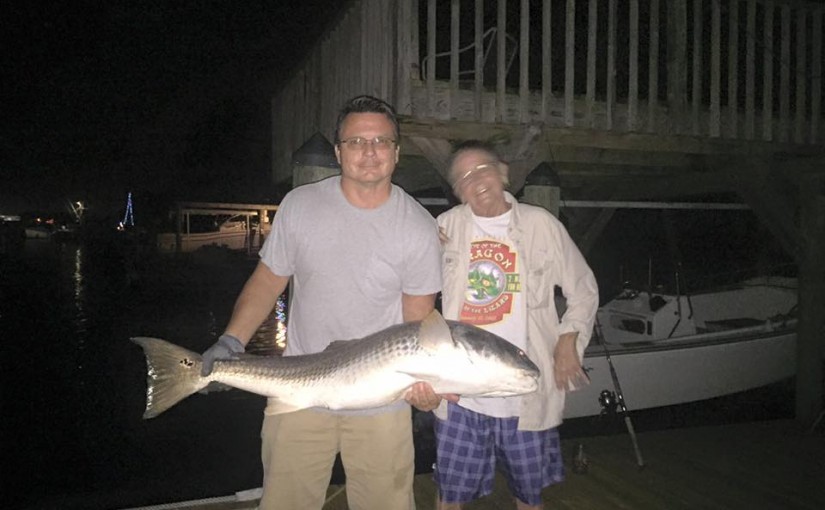
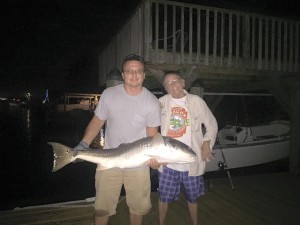
On the upside…between clogged heads…..a neighbor and I landed an enormous Redfish….so two heads did work better than one in that instance……sadly, it  was over the size limit to keep but may have been a state record…..

image


The psychological struggles of living aboard……


“The battle of life is, in most cases, fought uphill; and to win it without a struggle were perhaps to win it without honor. If there were no difficulties there would be no success; if there were nothing to struggle for, there would be nothing to be achieved.”   –  Samuel Smiles

I have felt, at certain points in my life, that I had been successful in certain aspects because I had chosen some paths of lesser resistance or perhaps only attempted things at which I already knew, or felt, I could succeed.  Right or wrong, I think everyone has these feelings at one time or another.  During these times you can doubt your abilities to adapt or overcome adversity, to learn and comprehend new ideas and master new or unfamiliar  technologies.  The important thing to remember is that no matter how alone you feel, help isn’t far away.  This help may come even from within through exercising some patience and the study of your “enemy”.

Once you have committed to live on board a boat of any type, you will almost certainly be faced with a situation, repair or replacement of some system or component with which you are unfamiliar or unskilled.  This can make you feel very overwhelmed and even helpless.  It can even make you want to abandon the dream if you hit a really low spot.  A combination of challenges or gear failures can test even the most hearty among us.  You will question your decision to pursue the dream you have committed to and wonder if you have done the right thing.  After all, for many cruisers, embarking on a long term cruise or to live aboard full time requires a tremendous sacrifice of stability, financial and physical.  These feelings can be compounded by the distance from assistance of any type and a lack of readily available support, whether it is technical or emotional.

It is important during these times to remember that patience pays off.  The seemingly insurmountable problems of today can be overcome with some time and even the slightest change of perspective.  Don’t be afraid to take your time, walk away from the project and take advantage of the time it takes to have parts delivered and recharge your batteries.  You can’t reasonably expect to be an expert in every field, unless of course you happen to be an ABYC Master Certified Techinican in a variety of fields, in which case, do you have any free time to stop by Kitty Hawk ? Haha….(no, seriously, swing by..)

Whenever I am faced with a repair of a system with which I am unfamiliar, I always take the time to conduct a “reasonable” amount of research on the system or component before I try to tackle it.   This can relieve a tremendous amount of anxiety.  Dealing with the unknown only adds a layer to the stress of the situation.  Many systems on a boat, sail or power, have evolved to be reasonably user friendly.  The research tactic can also translate to the planning of a trip to a new cruising area.  Reading the cruising guides, thoroughly reviewing the charts and comments from others who have visited the area before you can make the unknown much less intimidating. If you are anything like me, knowledge reduces stress.  Don’t be afraid to contact a professional and get their input. I was initially surprised how many will give you free advice (not unlimited) on how to best tackle your problem.  I have even enlisted professionals to evaluate my repairs for as little as one hour of their normal labor rate to be certain I hadn’t missed anything.  You’d be surprised how generous they can be with their time in these circumstances.

I can’t imagine how some cruisers make it.  I have seen many online requests for help because the people living on their boat didn’t know how to fix or maintain their engine, outboard, dinghy or any other systems and were apparently unwilling or unable to research the repairs and couldn’t afford professional help.  Their first and only recourse was an online plea through social media for assistance.  Most of these requests are from the same people over and over again.  Living with that degree of uncertainty would most certainly diminish my enjoyment to the point that I might surrender and I’ve seen almost all of those cases end up in a “Boat for sale” posting.

So, how do you avoid that?

Research.  You know how they used to say “Reading Is Fundamental” ? Well, it wasn’t just a catchy slogan.  If you know going in that you can’t afford much (or any) professional help, learn as much as you can about your potential dream boat’s systems.

Take “baby steps”.  There are tons of seminars (online and real time) being given away out there.   They cover everything from repairs and maintenance to upgrading and even boat handling skills. Go to (and watch online) as many as you can.  Be prepared to get a “starter boat” and move up from there adding complexity as you go.  If you can’t resist buying your dream boat right out of the gate, limit your cruising until you can become versed in the systems and their upkeep/maintenance.  That way you don’t end up stranded in a remote location.

Be realistic.  Don’t make your first boat a Pandora’s box of systems you know nothing about and assume nothing will break or go wrong.  The learning curve can be steep and you don’t want to break the bank (or your spirit) in the process.

Finally, remember it’s supposed to be a fun adventure, not a soul crushing grind.  If you don’t rush things and learn as you go, even a complex  problem can be an enjoyable challenge.

And now, a moment to relax after discussing all those stressful obstacles…..

image


Always check your ground……

When we encounter something on our boat, I realize that we generally aren’t reinventing the wheel here.  I mean, there here are certain axioms in any field that have stood the test of time and been proven over and over again.  One of these, in the field electronics is “Always check your ground first” ….ok, that might not be the literal way it is stated but you get my point.  Most electrical (and I think especially 12 volt systems can be pretty straight forward.

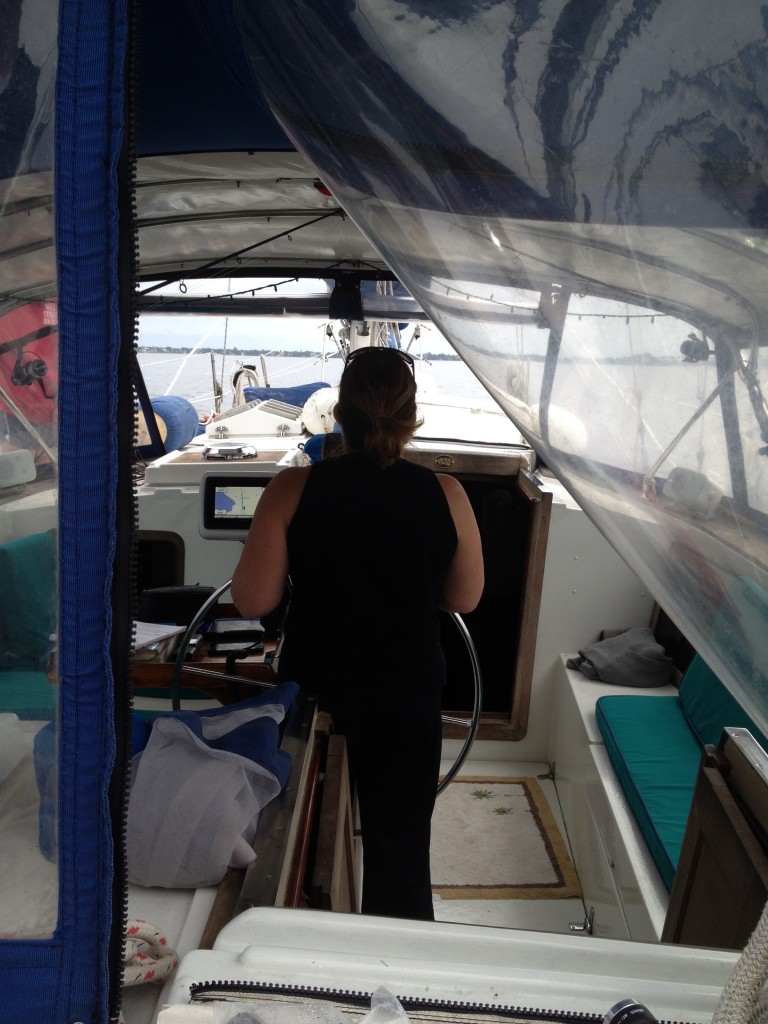
Let’s say you have a 12V source and a device that needs 12V power.  For this example, let’s say your device is a Chartplotter….now, this Chartplotter has worked flawlessly for about 12 months….but suddenly on the day you are scheduled to leave for a ten or twelve day trip, and it won’t turn on…..ugh

Here’s the thing about boat electronics, there is generally a fair amount of moisture in the air and that moisture can lead to corrosion on even the best protected (heat shrink wrapped, electrical taped and wire nutted) connections you can make.  When it does you will experience a failure that may leave you baffled.

In this instance, you begin troubleshooting and find that the device is indeed receiving well above the prescribed 12V (which is common in a 12V system as 12v is a nominal voltage for functionality).  I commonly see 12.7 to 13.0 in some of our circuits.  After a short period of testing a retesting the power, you try the device….it turns on and you feel like a genius….seconds later it flickers and dies….now is the time for that saying….check your ground.  The easiest way is to provide a direct link to the device from a known solid power source….and a very solid ground….a close battery or even a substitute 12V source.  I keep a cigarette style power plug in my 12V electrical kit that has the wire end cut off that I can direct wire to any device to test functionality.  That easily eliminates or confirms that the device is functioning as it should.  You may even see a steady current using an electrical or “fluke” meter.  Don’t be fooled by that into thinking your ground is solid.  Meters can be much more forgiving than a device that uses power. you may even get a good “continuity” signal from the meter.  Many boats have had many owners and some of these owners may not have been the best or most strict when it came to their wiring techniques.  A lot of people assume if it works once it will always work which is generally not the case.  Since our Chartplotter is such an important piece of gear (we get tide info, currents, calculate arrival times, read charts, obtain general information about any spot you can click on the touch screen and you can add information as you go along) it really becomes very, very useful.

The fastest and most reliable way to remedy this is to establish a new power and grounding bus bar ( In electrical power distribution, a busbar (also spelled bus bar, or sometimes as buss bar or bussbar, with the term bus being a contraction of the Latin omnibus, “for all”) is a metallic strip or bar (typically copper, brass or aluminium) that conducts electricity within a switchboard, distribution board, substation, battery bank, or other electrical apparatus. Its main purpose is to conduct a substantial current of electricity, and not to function as a structural member.) for the device.  Our grounding system needs a good cleaning and some minor rewiring but since we were on a tight timetable I opted for the new bus.  We wired the bus directly to one of our house battery banks and put a fuse on the positive line between the batteries and the bus bar in the event of a battery failure. There was also a fuse between the bus and the Chartplotter.  If your bus bar is in an area where things are crowded (and where on a boat aren’t things close) it’s probably a good idea to put a plastic or other non conductive cover across the connection points to avoid a short. This condition could cause a fire if it happens.  Even a 12v circuit can generate a tremendous amount of heat if the wires become damaged or another item capable of conducting the power comes in contact with both side simultaneously for long enough.  The best example of this is a screw that accidentally pierces both sides of a wire after being driven through a bulkhead and through  a concealed wire.

It helps sometimes to envision the device as a pass through for the current.  The power not only needs to get in but it also needs to get out and back to the battery for the device to work as it should. If all the power that goes in can’t get back out through a solid, consistent ground you will have an issue like we did.

Once we had a solid ground, the Chartplotter worked as it always has and we were ready to depart……I hope you will also be ready if you encounter this circumstance…..check the ground !!