So, there’s been a few changes to the U.S. administrative aspects for visiting Cuba. That doesn’t mean the visits are completely over. People from the US have been visiting Cuba for decades before some restrictions were eased in 2010. The important thing to remember is that nothing lasts forever. You could, and still can in some instances, visit Cuba without supporting the Cuban government. There has been a blanket policy instituted prohibiting private vessels and aircraft from visiting but this has yet to be tested. It seems a bit discriminatory, to me, to allow guided tours by companies and yet prevent private citizens from visiting for the same licensed purposes.

Based on my conversations with the citizenry, the Cuban people are weary of their government running every aspect of their lives but live in fear of being jailed for speaking their minds. Visits to Cuba and the expenditure of foreign dollars at places controlled by the government (i.e. Cruise ship areas and many of the tourist traps in downtown Havana) only perpetuate the system that oppresses its own people and supports similar systems elsewhere. Cruise ship fees go directly to the government and military. Almost all the shops and attractions around the cruise ship ports are government controlled. We were very cautious to only visit private businesses, which are only the very small family run style and the individual owners keeps the proceeds. Marina Hemingway is controlled by a private group and is the only marina where you can currently clear in when coming from the US.
Cuba is the only country I have ever visited, where, despite the constant touting of their healthcare system by some, you continually meet adults with completely treatable conditions which they are not “permitted” to have surgery or other remedies to correct. The most notable was an otherwise perfectly health young bartender who had suffered from frequent infections of his tonsils since he was a small child. He was frequently unable to speak for a week or more. The only treatment he could obtain was a constant supply of antibiotics which will eventually lead to bacterial resistance and a host of other side effects. He was also not allowed to leave the country for surgery.
I’ve read a lot of complaints about the tightening of the visitation regulations. Most seem rather selfish and short sighted. Imagine if the employees at any business were denigrated, oppressed, threatened, denied healthcare, and generally mistreated by the management ? Would you still patronize them and line the pockets of their oppressors? If Europeans and Canadians were allowed to go, and went, at times supporting such a system, would you use that as an excuse to visit through that form of tourism anyway ?
US Travelers can still visit Cuba, subject to specific conditions:
Family visits
Official U.S. government business
Journalistic activity–you must be employed full time by a recognized media outlet….unfortunately bloggers don’t qualify
Professional research and meetings
Educational activities (like those from U.S. academic institutions and secondary schools)
Religious activities
Support for the Cuban people—this will hopefully be the license that allows private vessels to visit again.
Humanitarian projects
If this program doesn’t work out we will have to wait till the tide turns and we can more easily visit Cuba again (without supporting this current Cuban government) let’s still be ready……
You’ve done all your research, you have the USCG permit email in your hot little hands, the boat is ready to go and there is a weather window approaching right on cue. Why are you so nervous then?
Over the decades there has been a lot of misinformation floating around about Cuba, some even correct information attributed to the incorrect source or cause. Some people believe it is crime ridden, dirty and unsafe. I have always judged places I visit by the character of the people and not the spit and polish state of their buildings and streets. By this metric, Cuba could not be a better place to visit. It certainly has infrastructure problems. Sidewalks are broken and usually poorly maintained, if still usable. Roads are potholed, some are dirt, some (most) have horse drawn wagons on them, even the interstate. The people are kind, honest and humble. Cuba is more than Havana, as the US is more than NYC. Some think Cuba must be like any American Cuban neighborhood they may have visited. It seems that Cuban/American culture has become so commingled and diluted by American culture that it has become unique. The lack of similarities were surprising.
Back to arrival preparations…..be sure and take a stack of $5 bills for tips, I took about $100 in fives. You will meet Marina attendants and other employees who will expect small gratuities. Don’t change any money until after you are fully checked in and don’t go to the hotel or the bank when you are ready to change it.
If you like to trade things, take some MLB hats or shirts, some American beer, some bourbon or other American products that aren’t imported to Cuba. They make great gifts when someone really helps you out or just to trade and save a few bucks. We traded a case of Budweiser we bought for $15 stateside for a case of Cristal Cuban beer which was $24 a case. We gave away hats and MLB shirts to people we made friends with around the marina. That didn’t hurt when it came time to stock up on rum, coffee and cigars as we were pointed to the best sources.
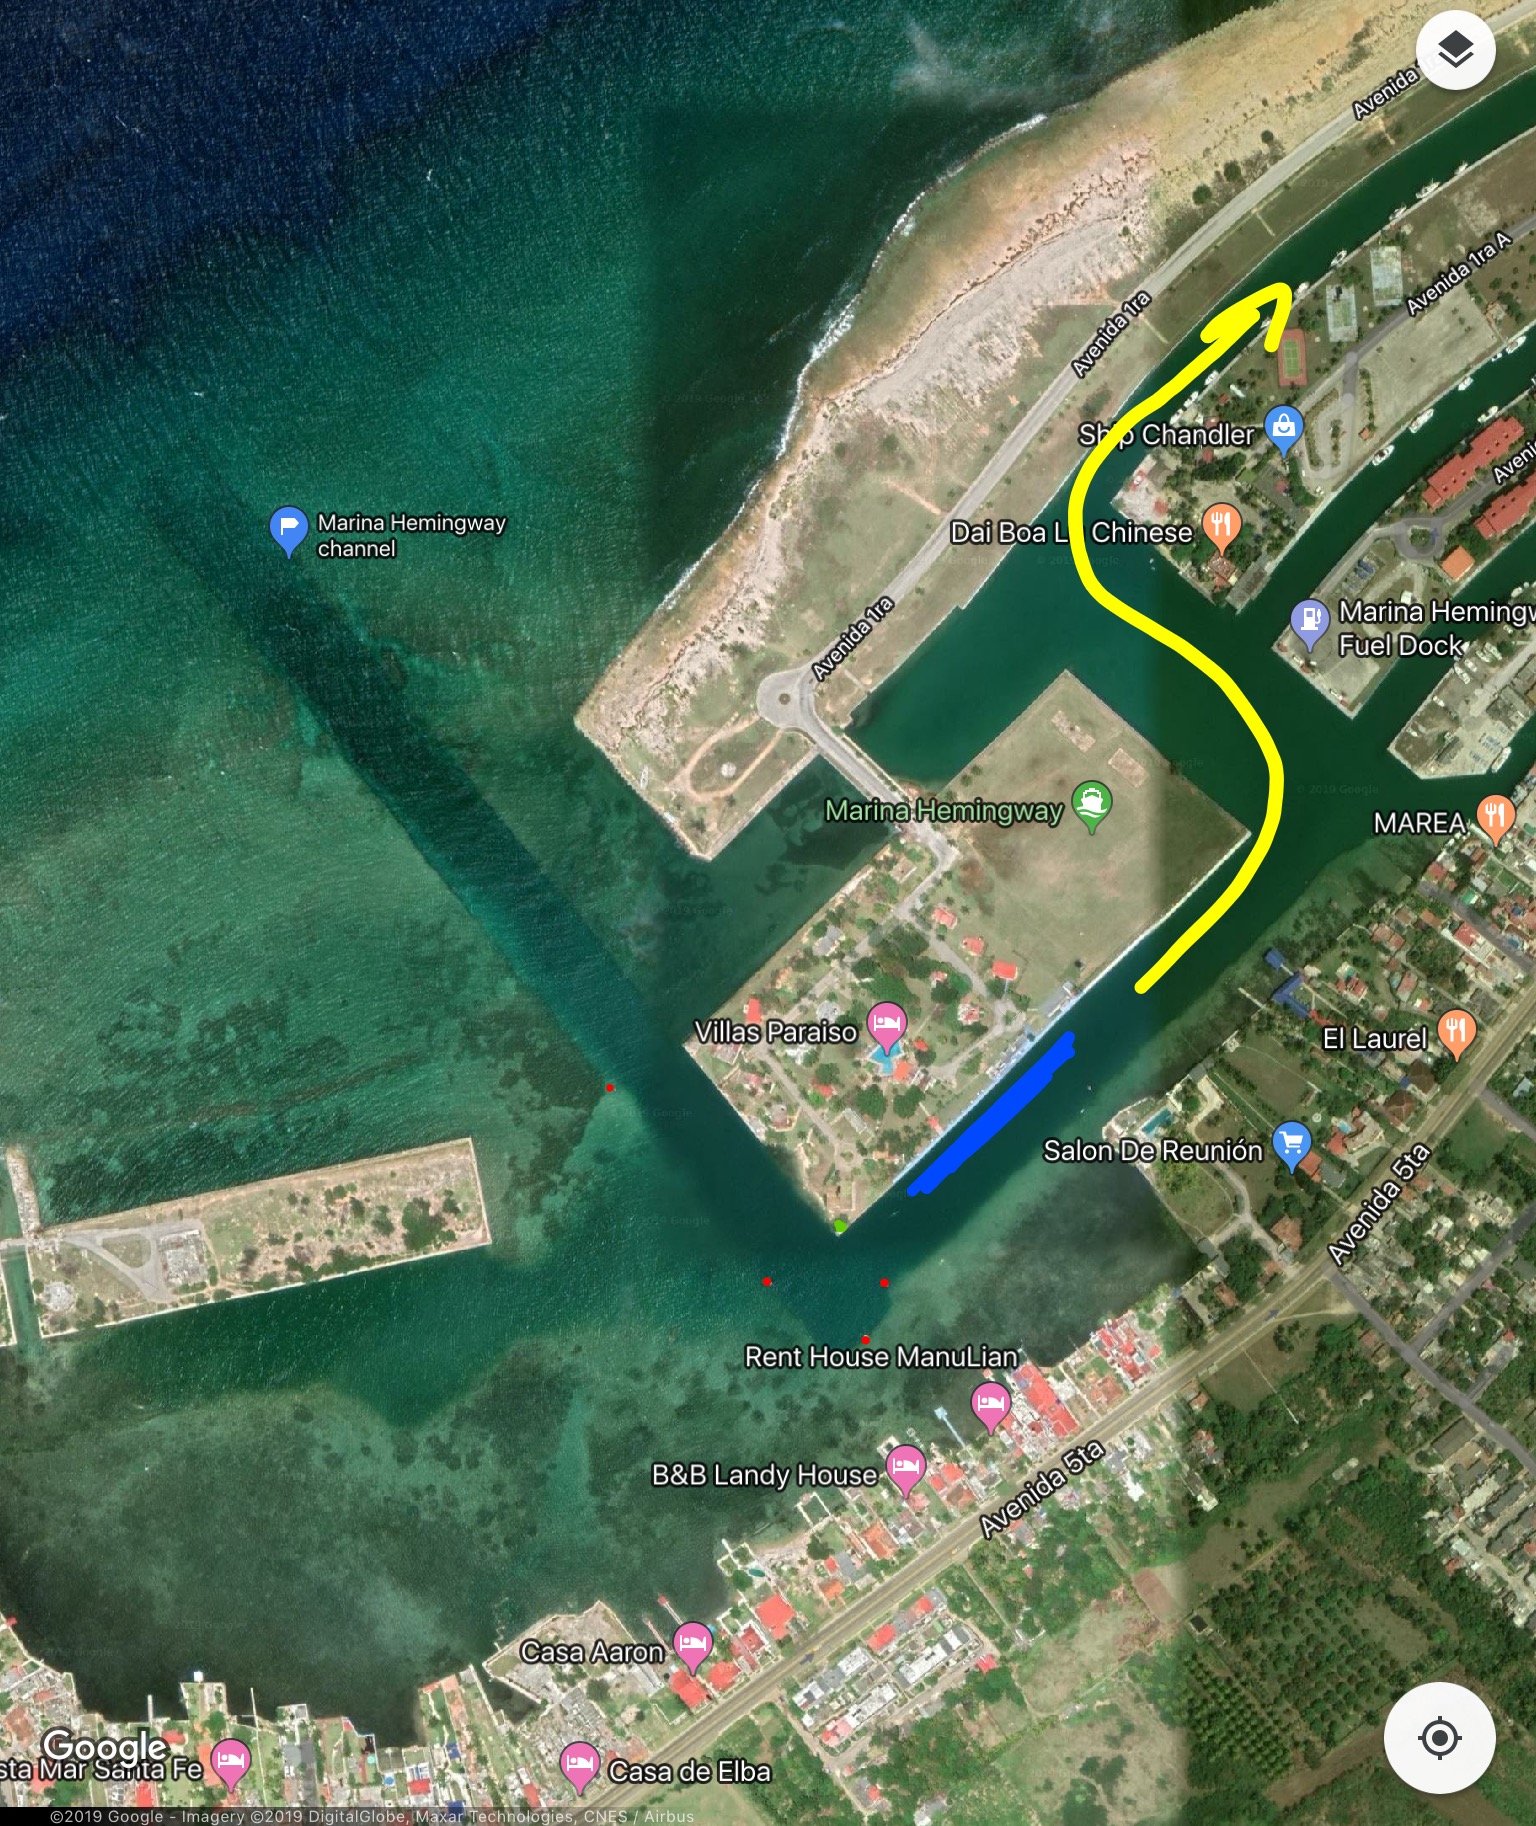
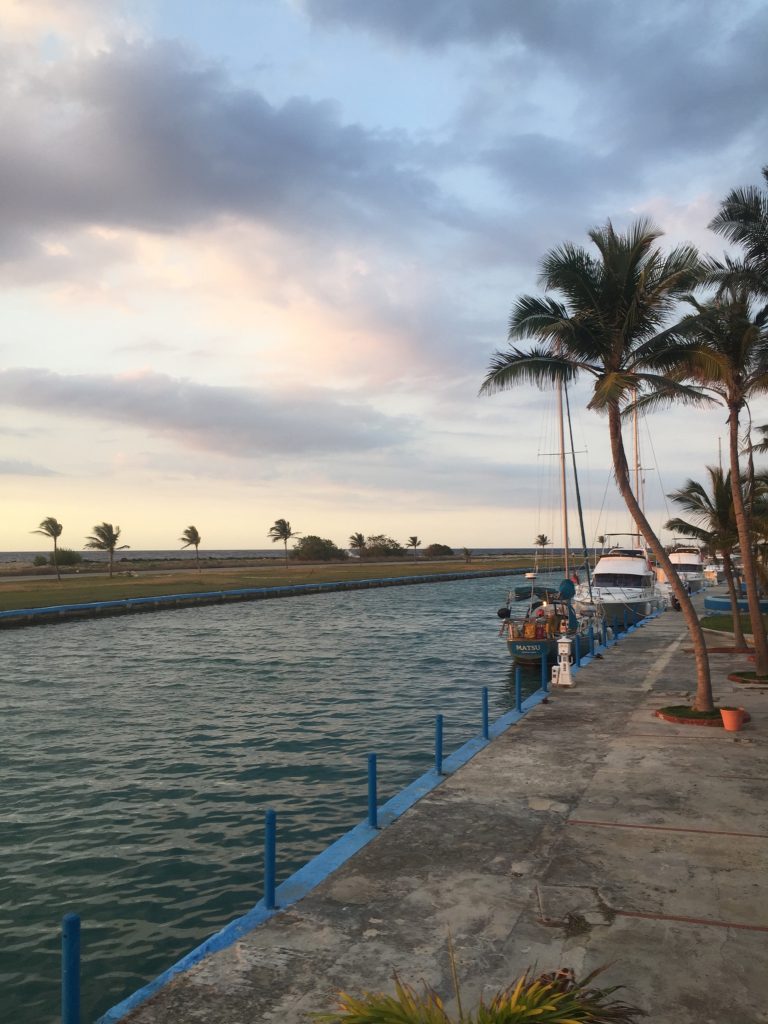
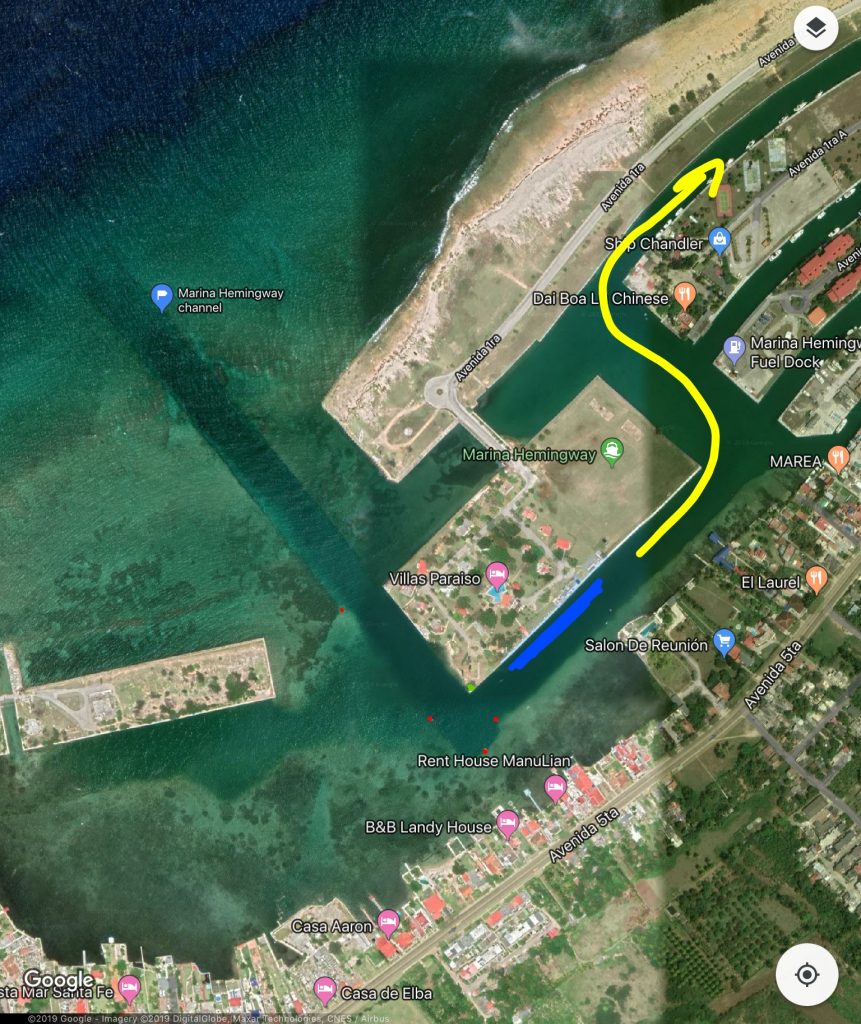
As I previously mentioned, the entrance to Hemingway Marina is tricky and exposed to North winds, so you’ll have to time your arrival appropriately. The channel is a bit narrow and there was a sunken boat on the east side of the channel in about 15′ of water when we were there. If it’s your first time it will look a little confusing as you come into the inlet. The markers are on poles rather than the more traditional buoy. That makes them hard to see from a distance to be sure you are lined up. The last green mark before the turn to the customs dock (the dock, actually just a wall, is painted blue and I marked it with a blue line in the image below.) the last green mark is actually on shore and obstructed by some large growth. The seawall on your port side is the edge of the channel, but I still wouldn’t cut it too close. The channel appears to drastically narrow and in truth the last red mark does narrow it slightly but it’s not as bad as it looks. It would have greatly reduced the stress had I known the last green was on the corner of the land by the Customs dock, rather than just being confused about where it might be lurking.
Once you round the corner and tie up on your port side, the Customs officials, who were all much younger (early 20’s) and friendlier than we anticipated, come aboard. A Nurse comes aboard with Customs for a few minutes to take temperatures and generally check the crew for communicable diseases. The process was quick and the search was very, very minimal. The customs officers won’t accept or expect a tip, although some might accept the offer of some coffee or a soda.
Keep in mind these canals were dug out and poured in the 40’s or 50’s the concrete must have escaped from the forms during pouring and there are some large extensions that extend into the canals by 5-6′ in places at depths of 3-5′. Stay as close to the center of the canal as you can until you’re ready to tie up.
If you can, it’s a good idea when you make your reservations to request the first canal and the berths along that wall are numbered in the 100 range. We were in slip 124. The restrooms and a small snack bar are located where you make the turn into that canal, so wifi and restrooms will be convenient.
Speaking of wifi….you have to purchase wifi cards, similar to the old prepaid phone cards in the US. You can get the cards at the snack bar, the Chinese restaurant, the Yacht Club or the Mexican restaurant. Then you go to a place with wifi access, the snack bar, the Chinese restaurant, which is very good, or the Yacht Club and log in. You get an hour for $1.50CUC.
As you approach the wall in the canal, the dockmaster will probably be there to meet you. The dockmaster will hint around for a tip. I found that giving out a few $5 tips when appropriate makes later interactions much easier and the people you might need help or guidance from are obviously much more willing to help. The marina electrician has to plug your boat in and it’s a good idea to give him a small tip because you will have power outages and he will be the one fixing the power pedestal.
Next the agriculture officer will come around to inspect your food stores and make sure you don’t have any risky vegetables or meat. A Doctor from the health ministry will come aboard to verify your holding tank is closed off from discharge (they just ask but don’t inspect). After the paperwork is done both of these agents will say “we would appreciate a small tip if you’d like to give one but it isn’t necessary”, we tipped them both and they checked in on us three times during our visit to make sure we didn’t need anything.
After that you are all checked in and ready to see Cuba !!!
The store, marked as the “Ship’s Chandlery” on the satellite image is the best place to change money. You can get .9 CUC for each dollar rather than .87 and paying any other penalties and if you have Cuban CUC’s left at the end, Jose the store manager, will buy them back. Jose is also a great resource for meeting other people who sell rum, cigars, coffee, souvenirs and conduct tours at much cheaper prices than the stores and other organizations. Plus you’ll know your money is going to the person and not the government.
There are two currencies in Cuba. The CUP, the peso, is for Cubans. The CUC is the tourist currency. One CUC is equal to 24CUP. Tourists are not legally allowed to have or exchange in pesos. All businesses accept both. Some, that charge in pesos will charge tourists in CUC one for one. Most will adjust the exchange rate and you can eat and drink very inexpensively. One afternoon three of us had lunch and beers for about $8.
Next time we get around Cuba and buy some goodies……
Auto Amazon Links: No products found.
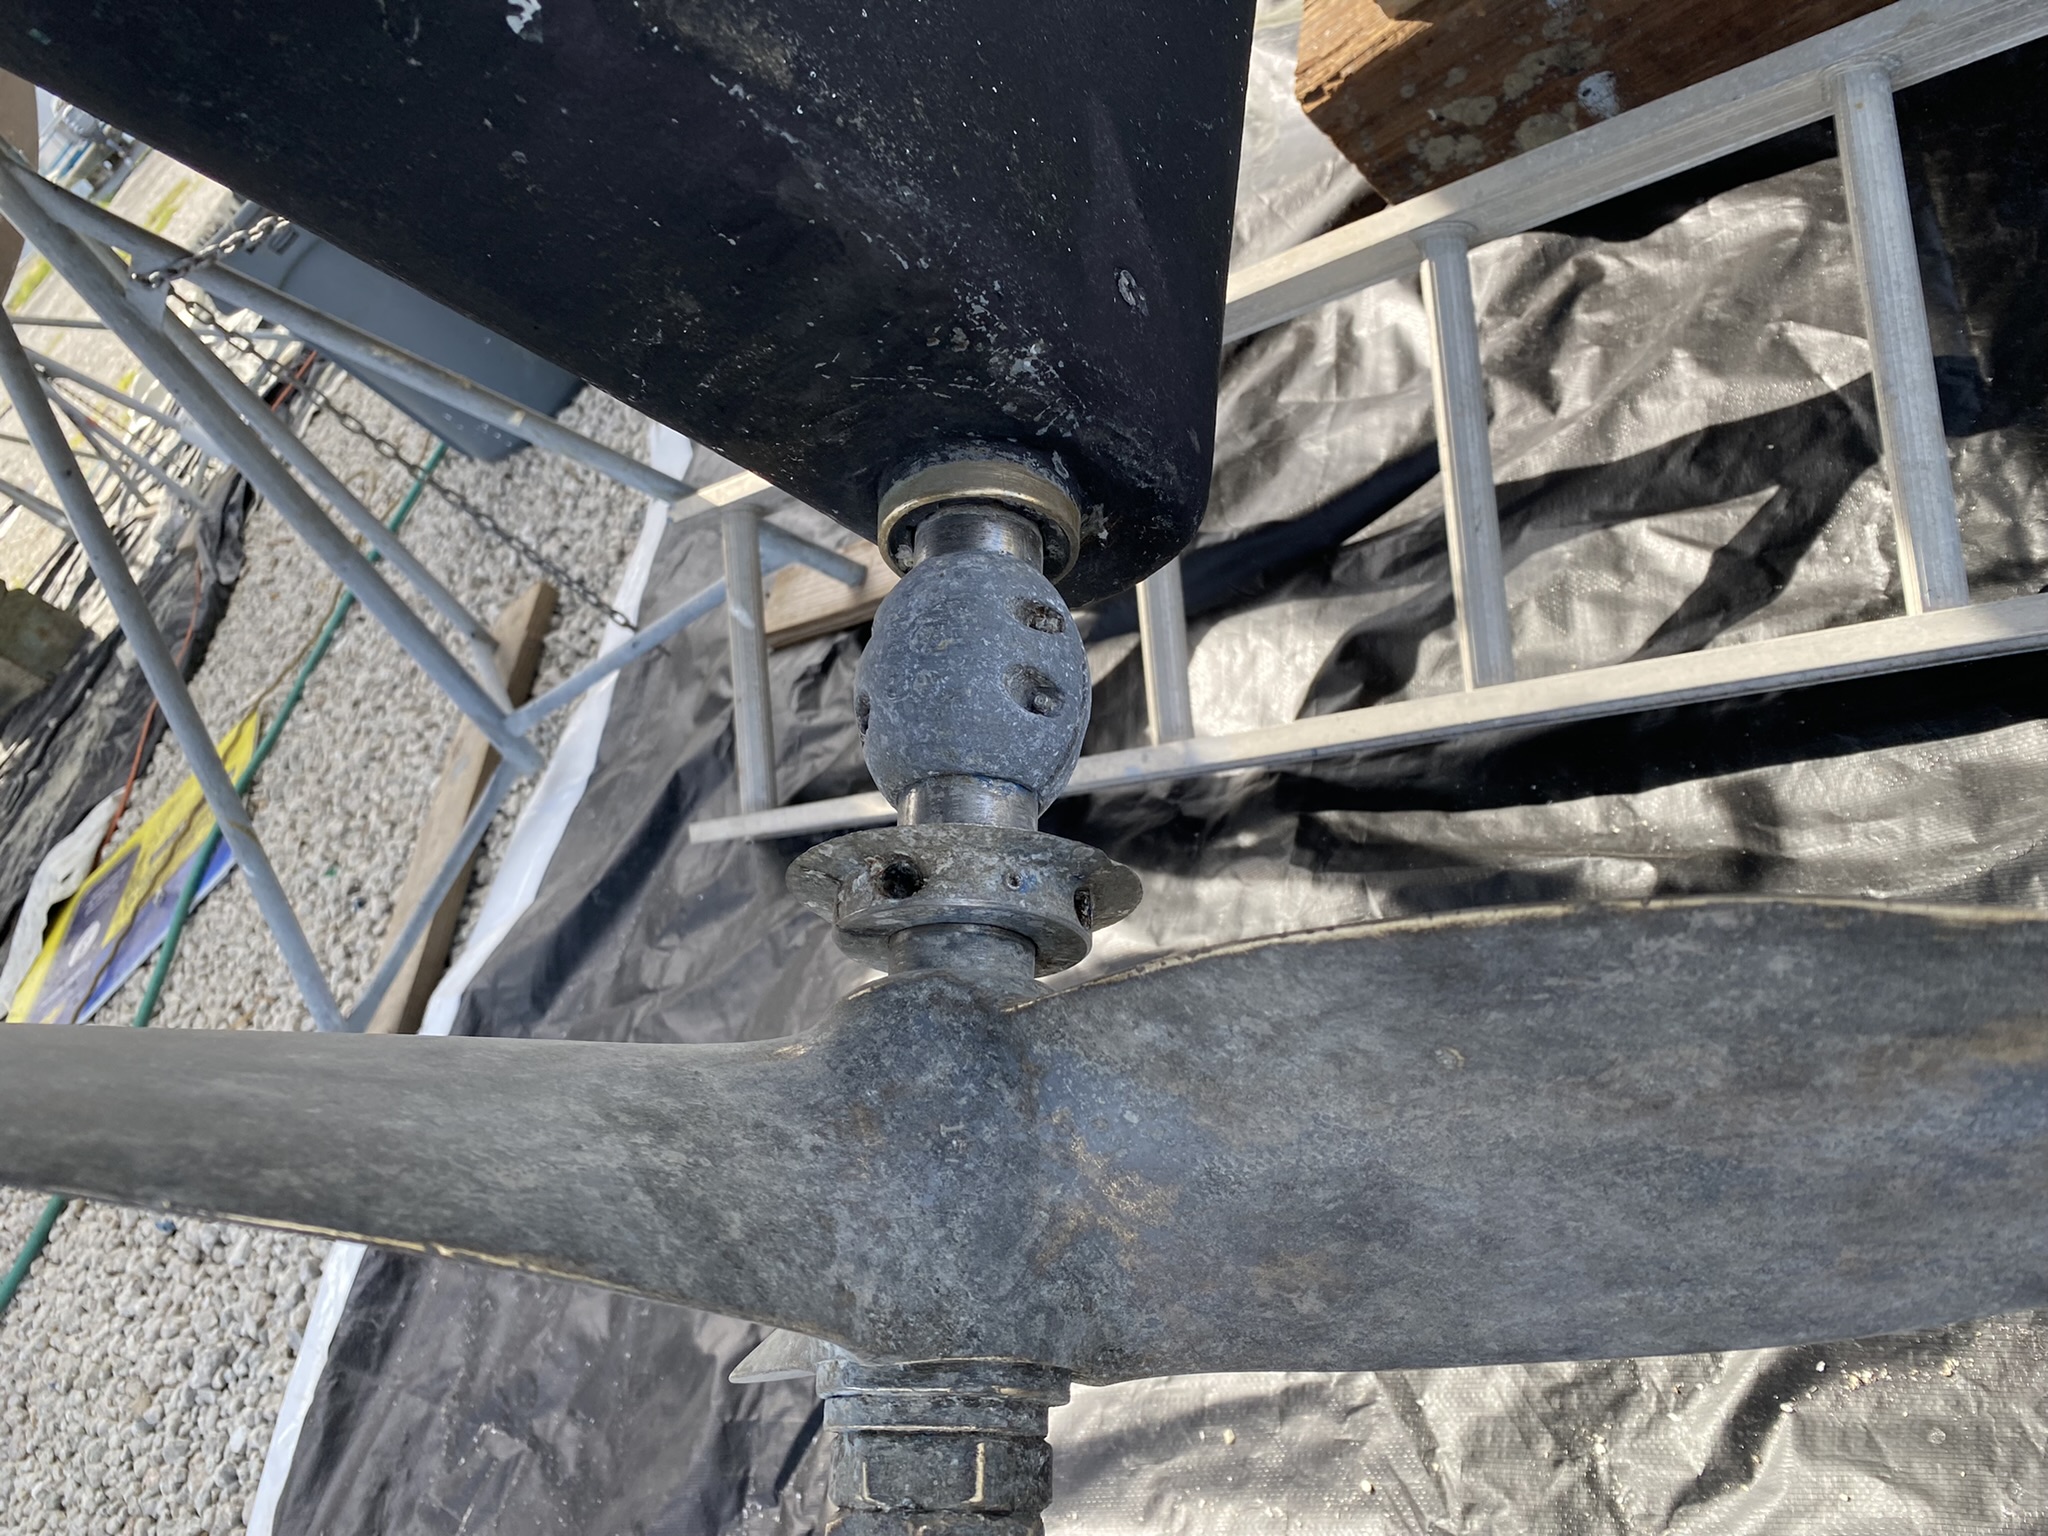
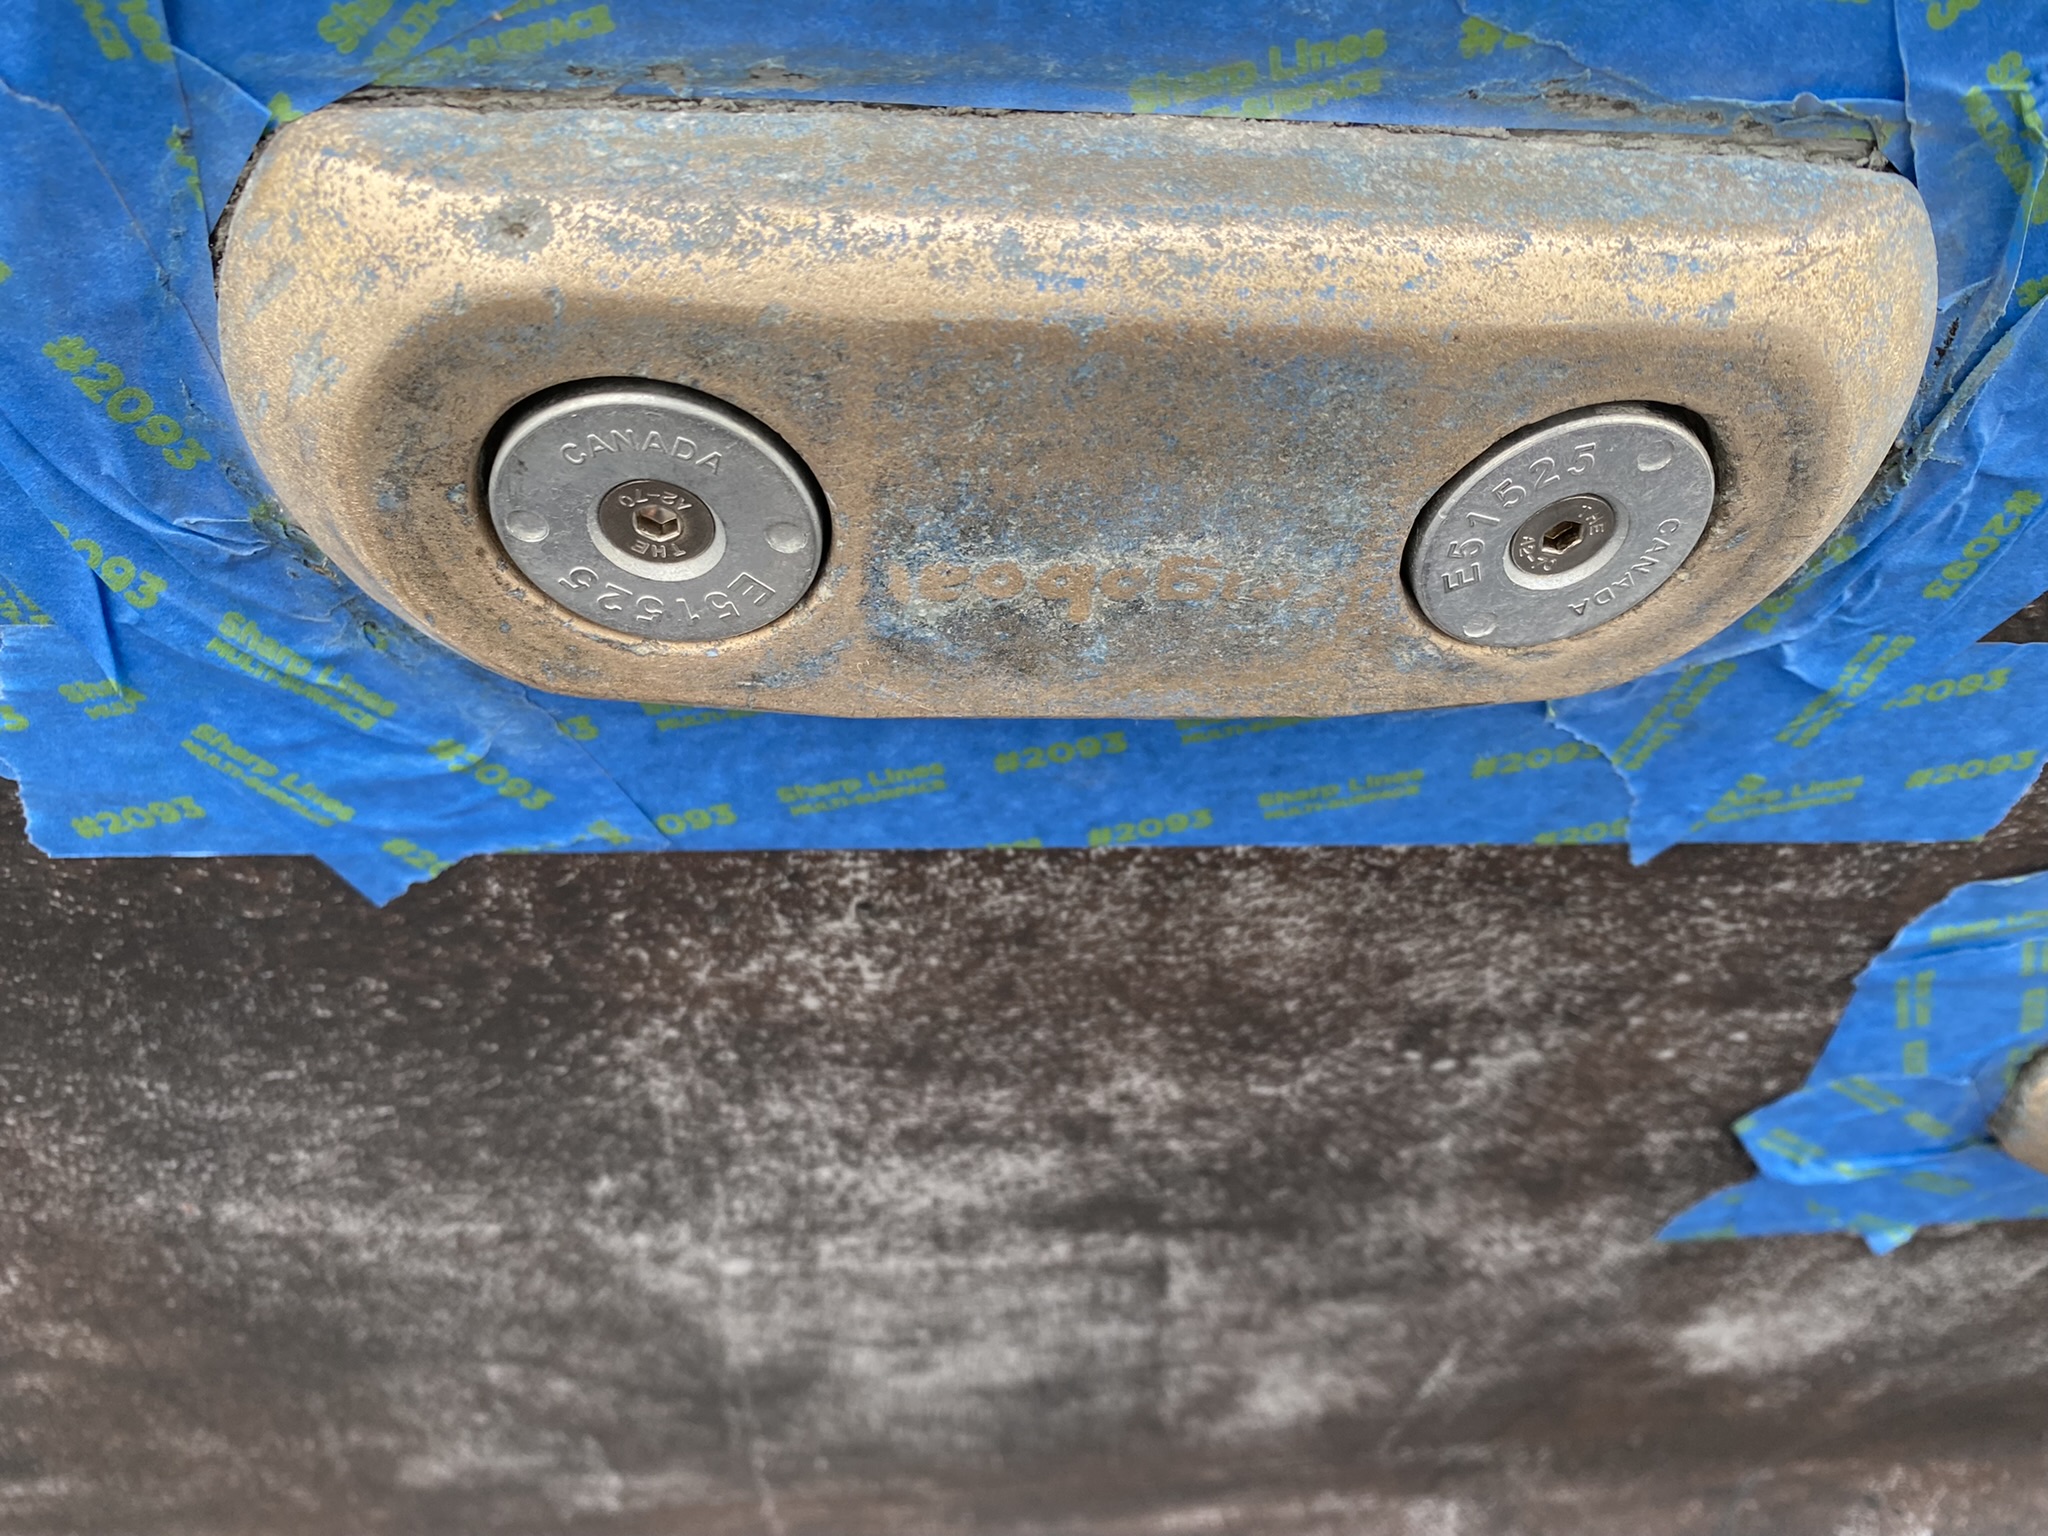
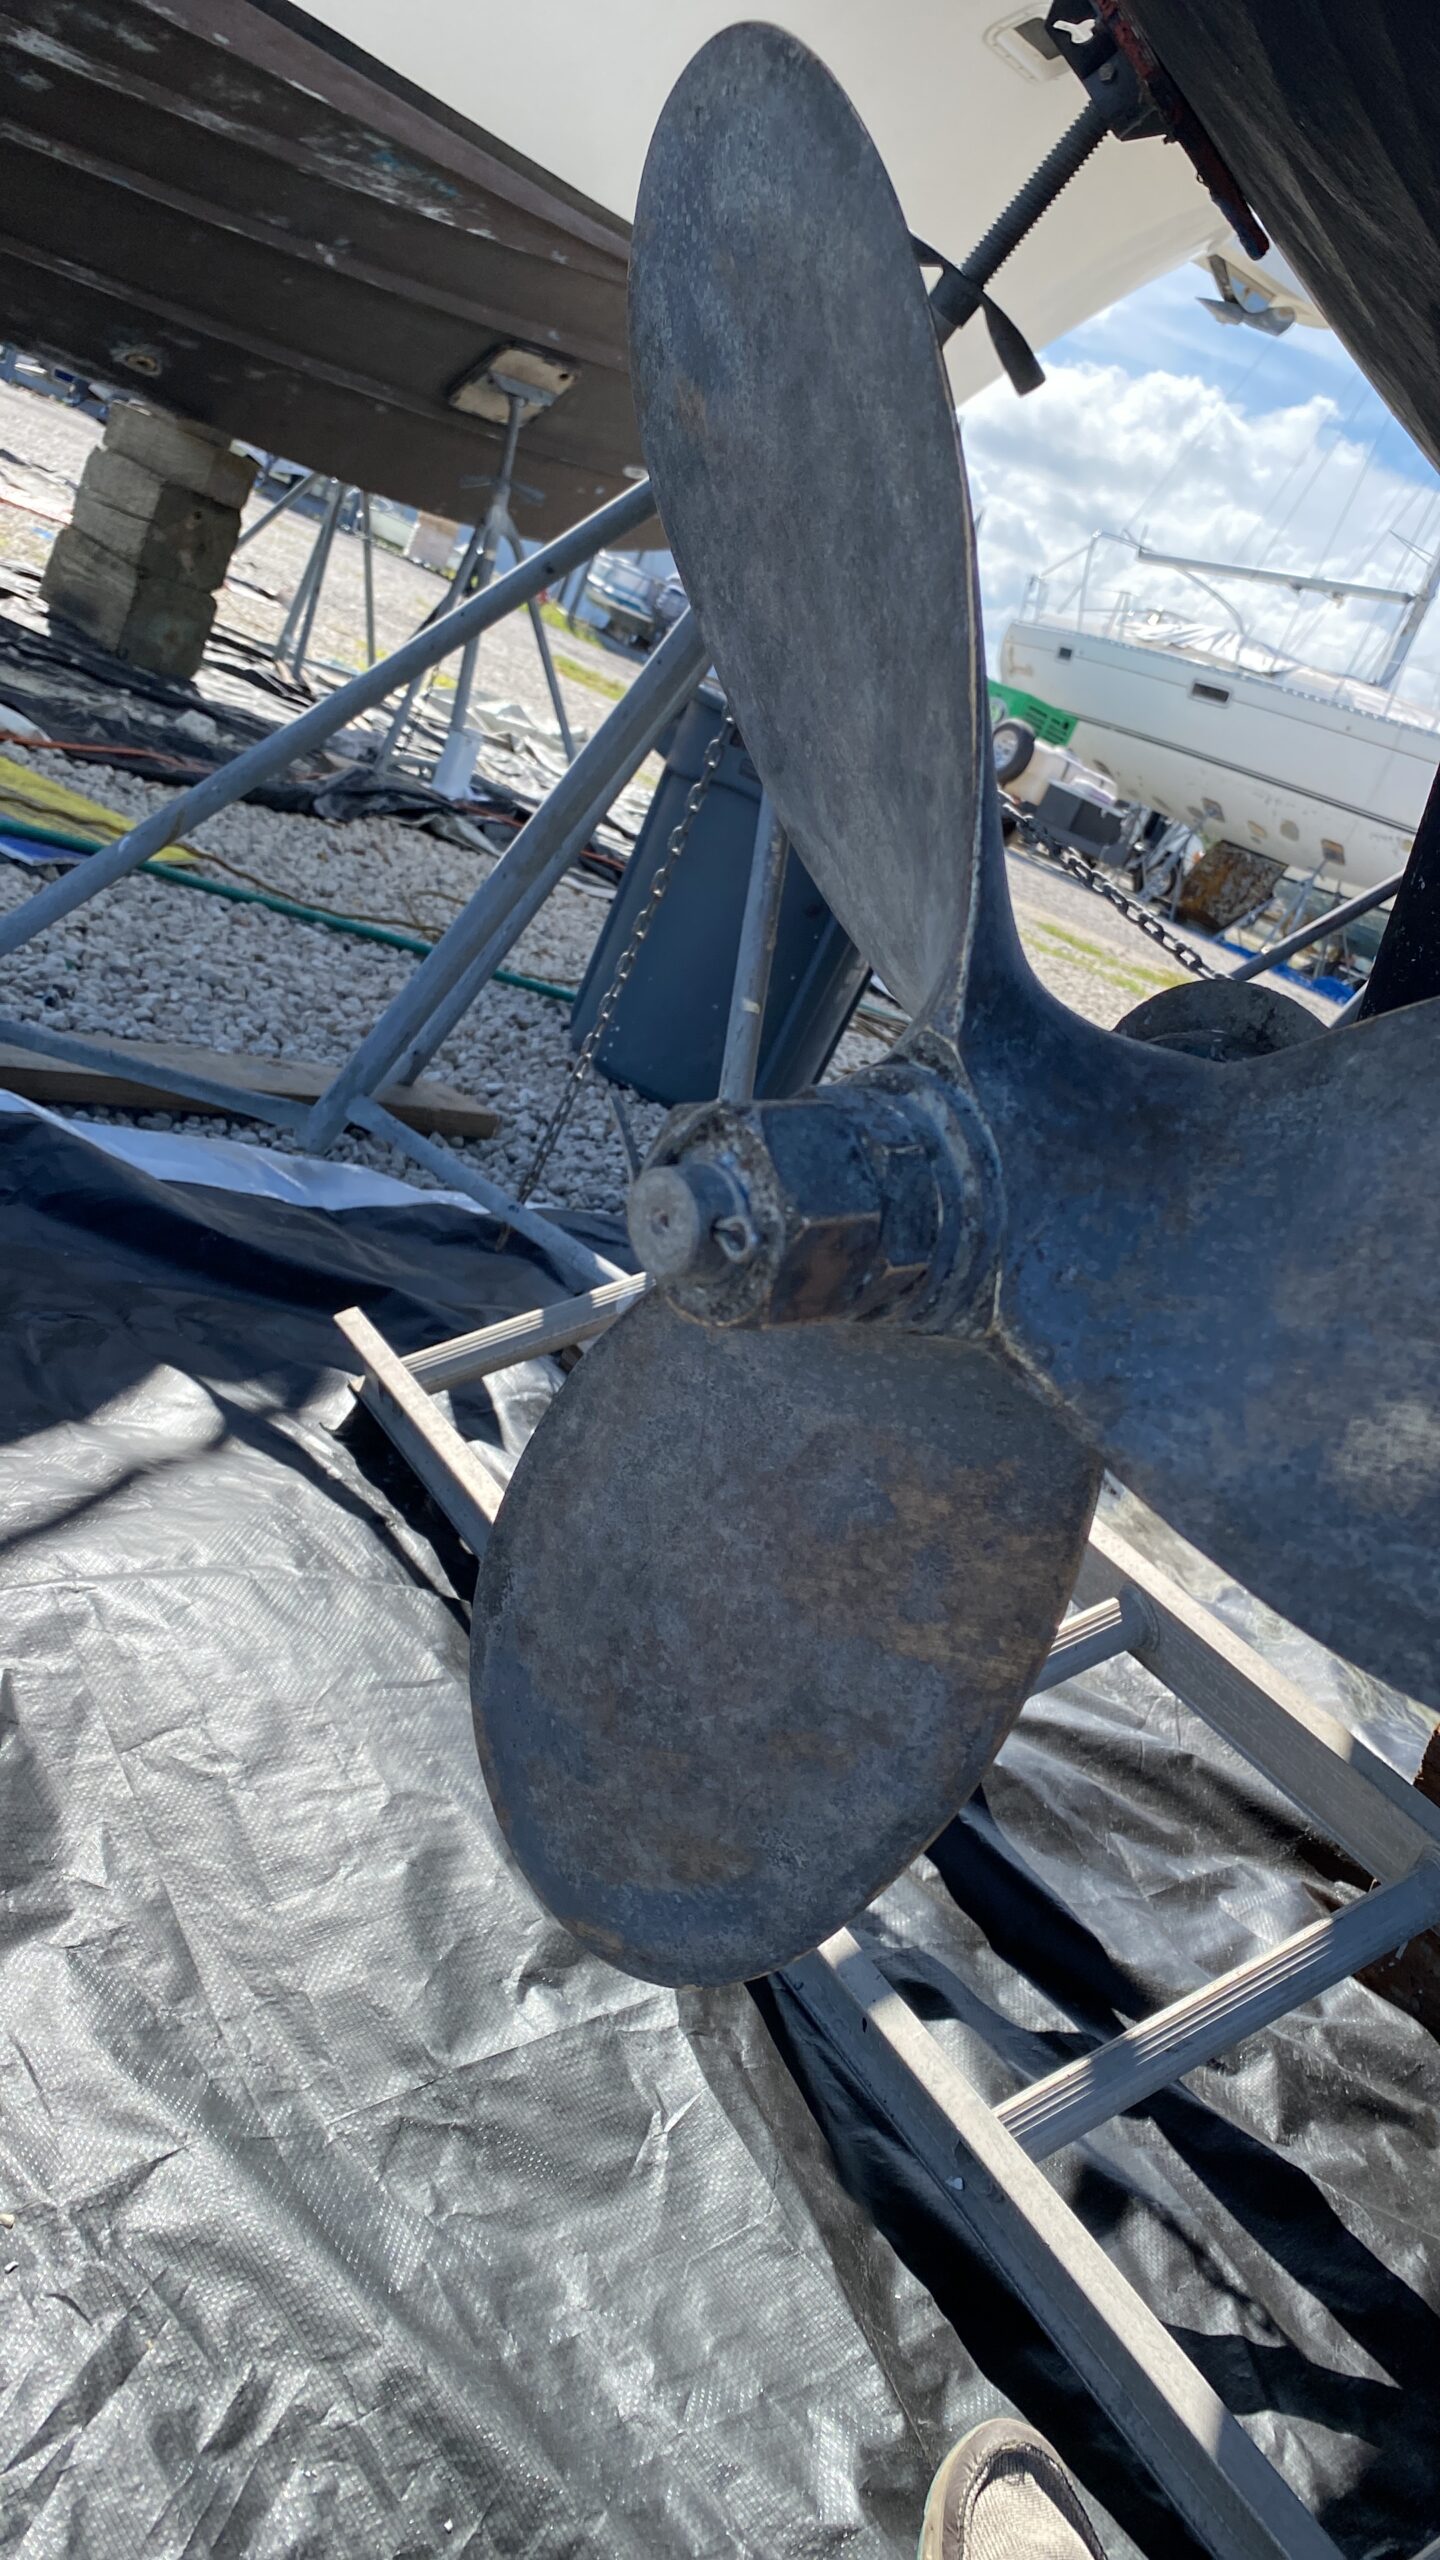
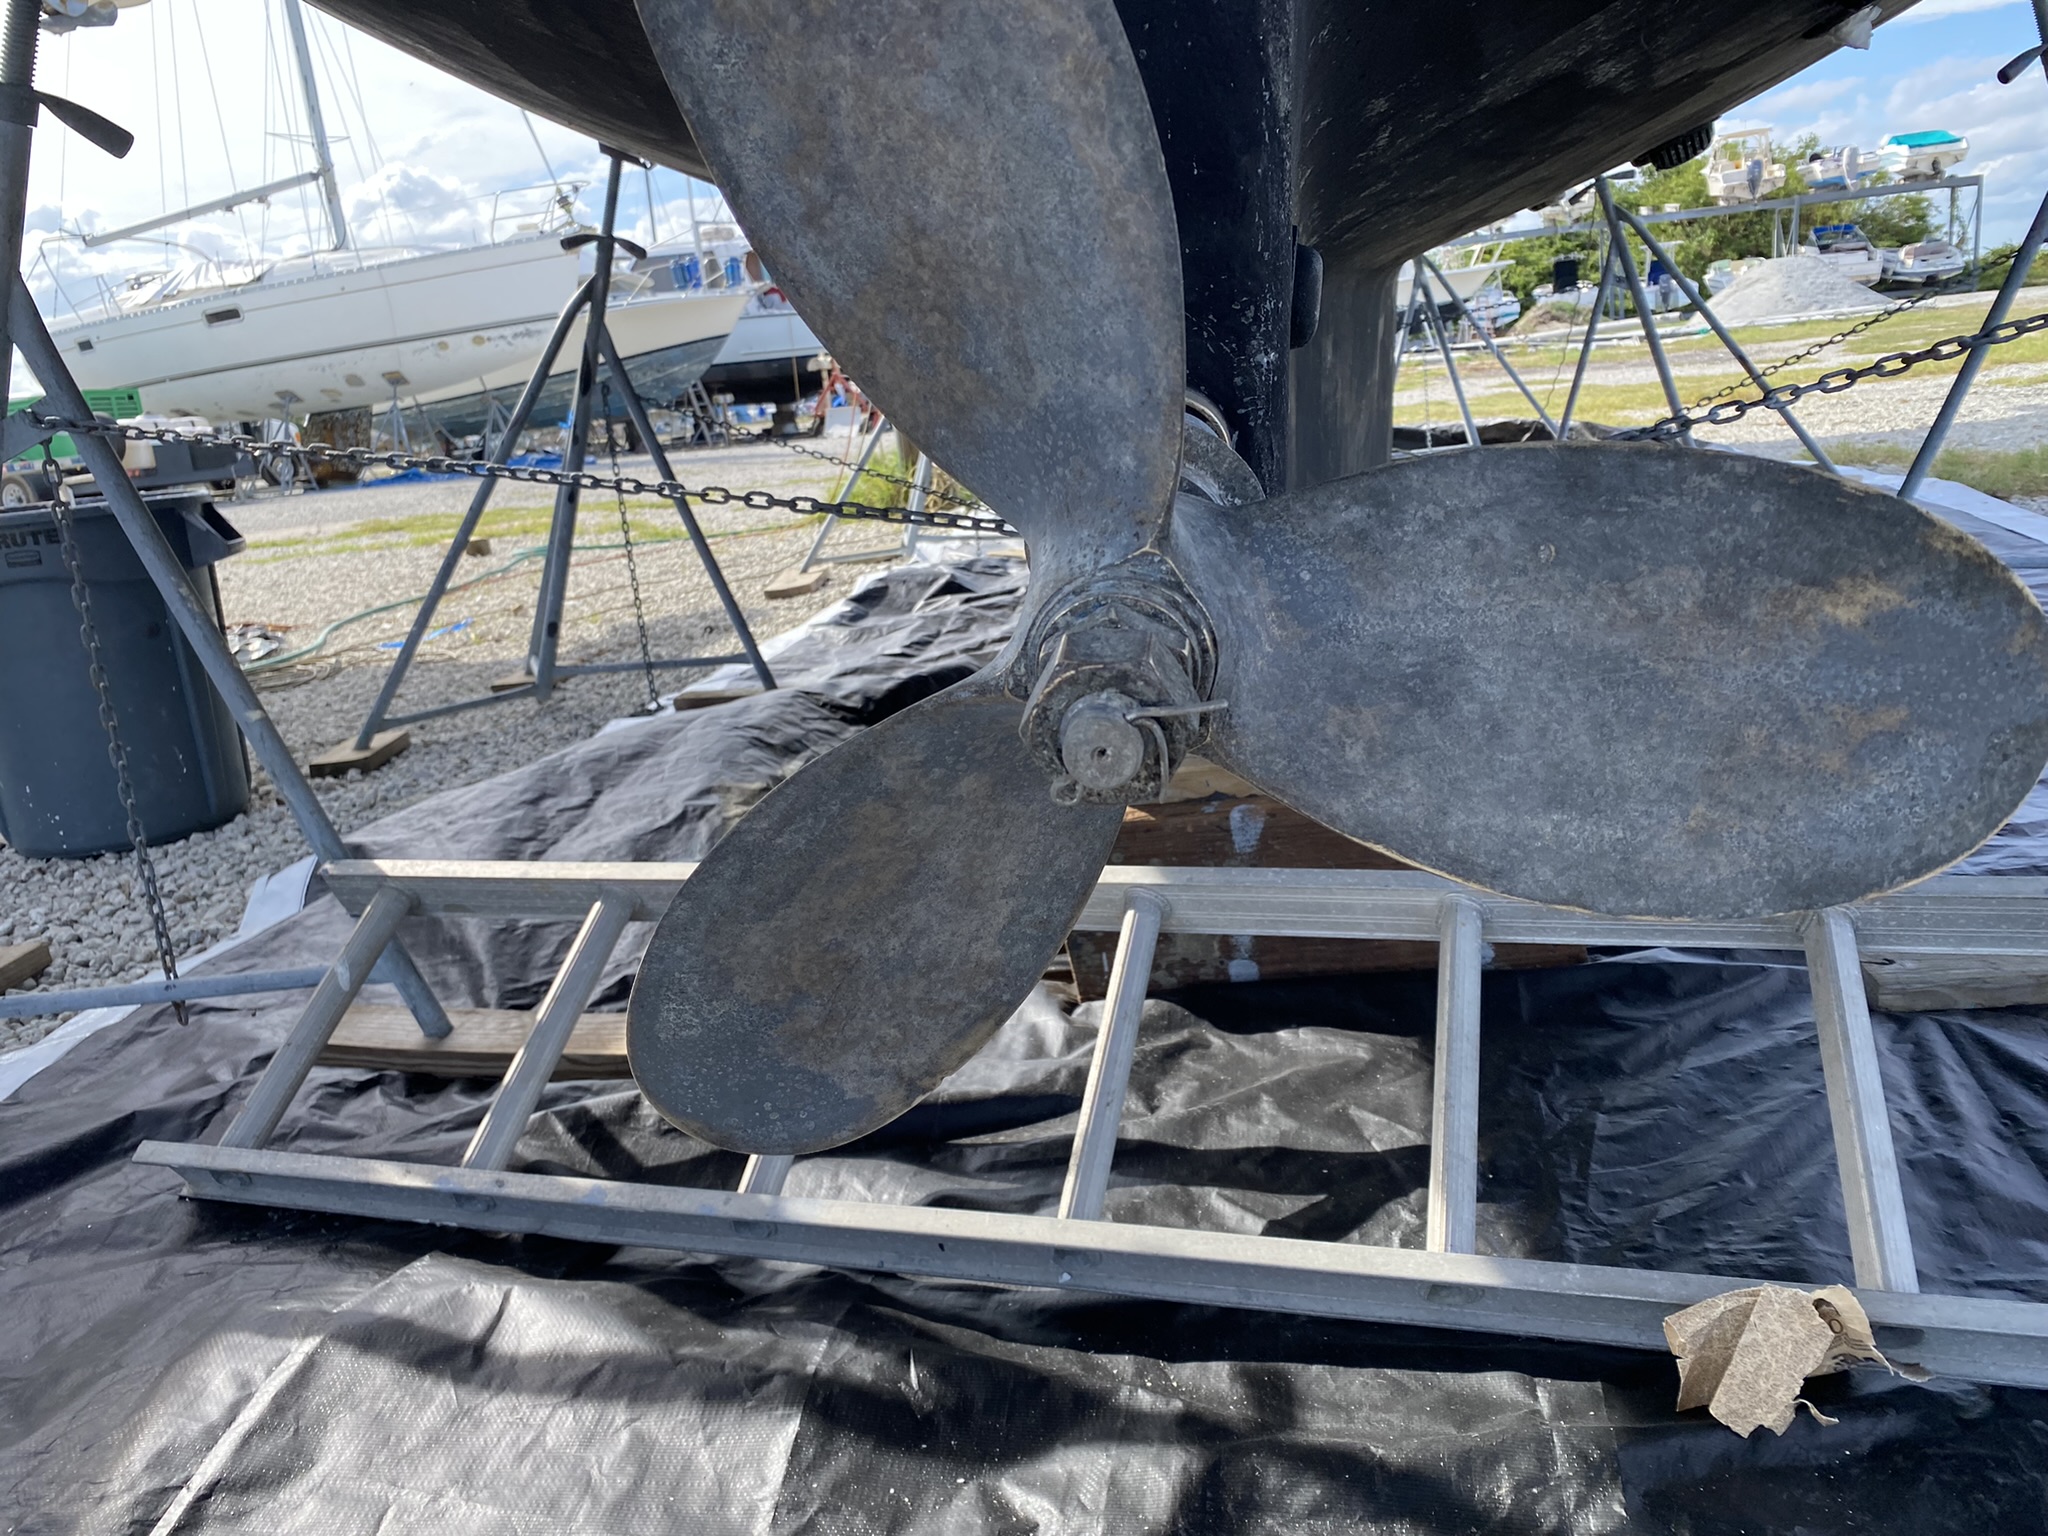
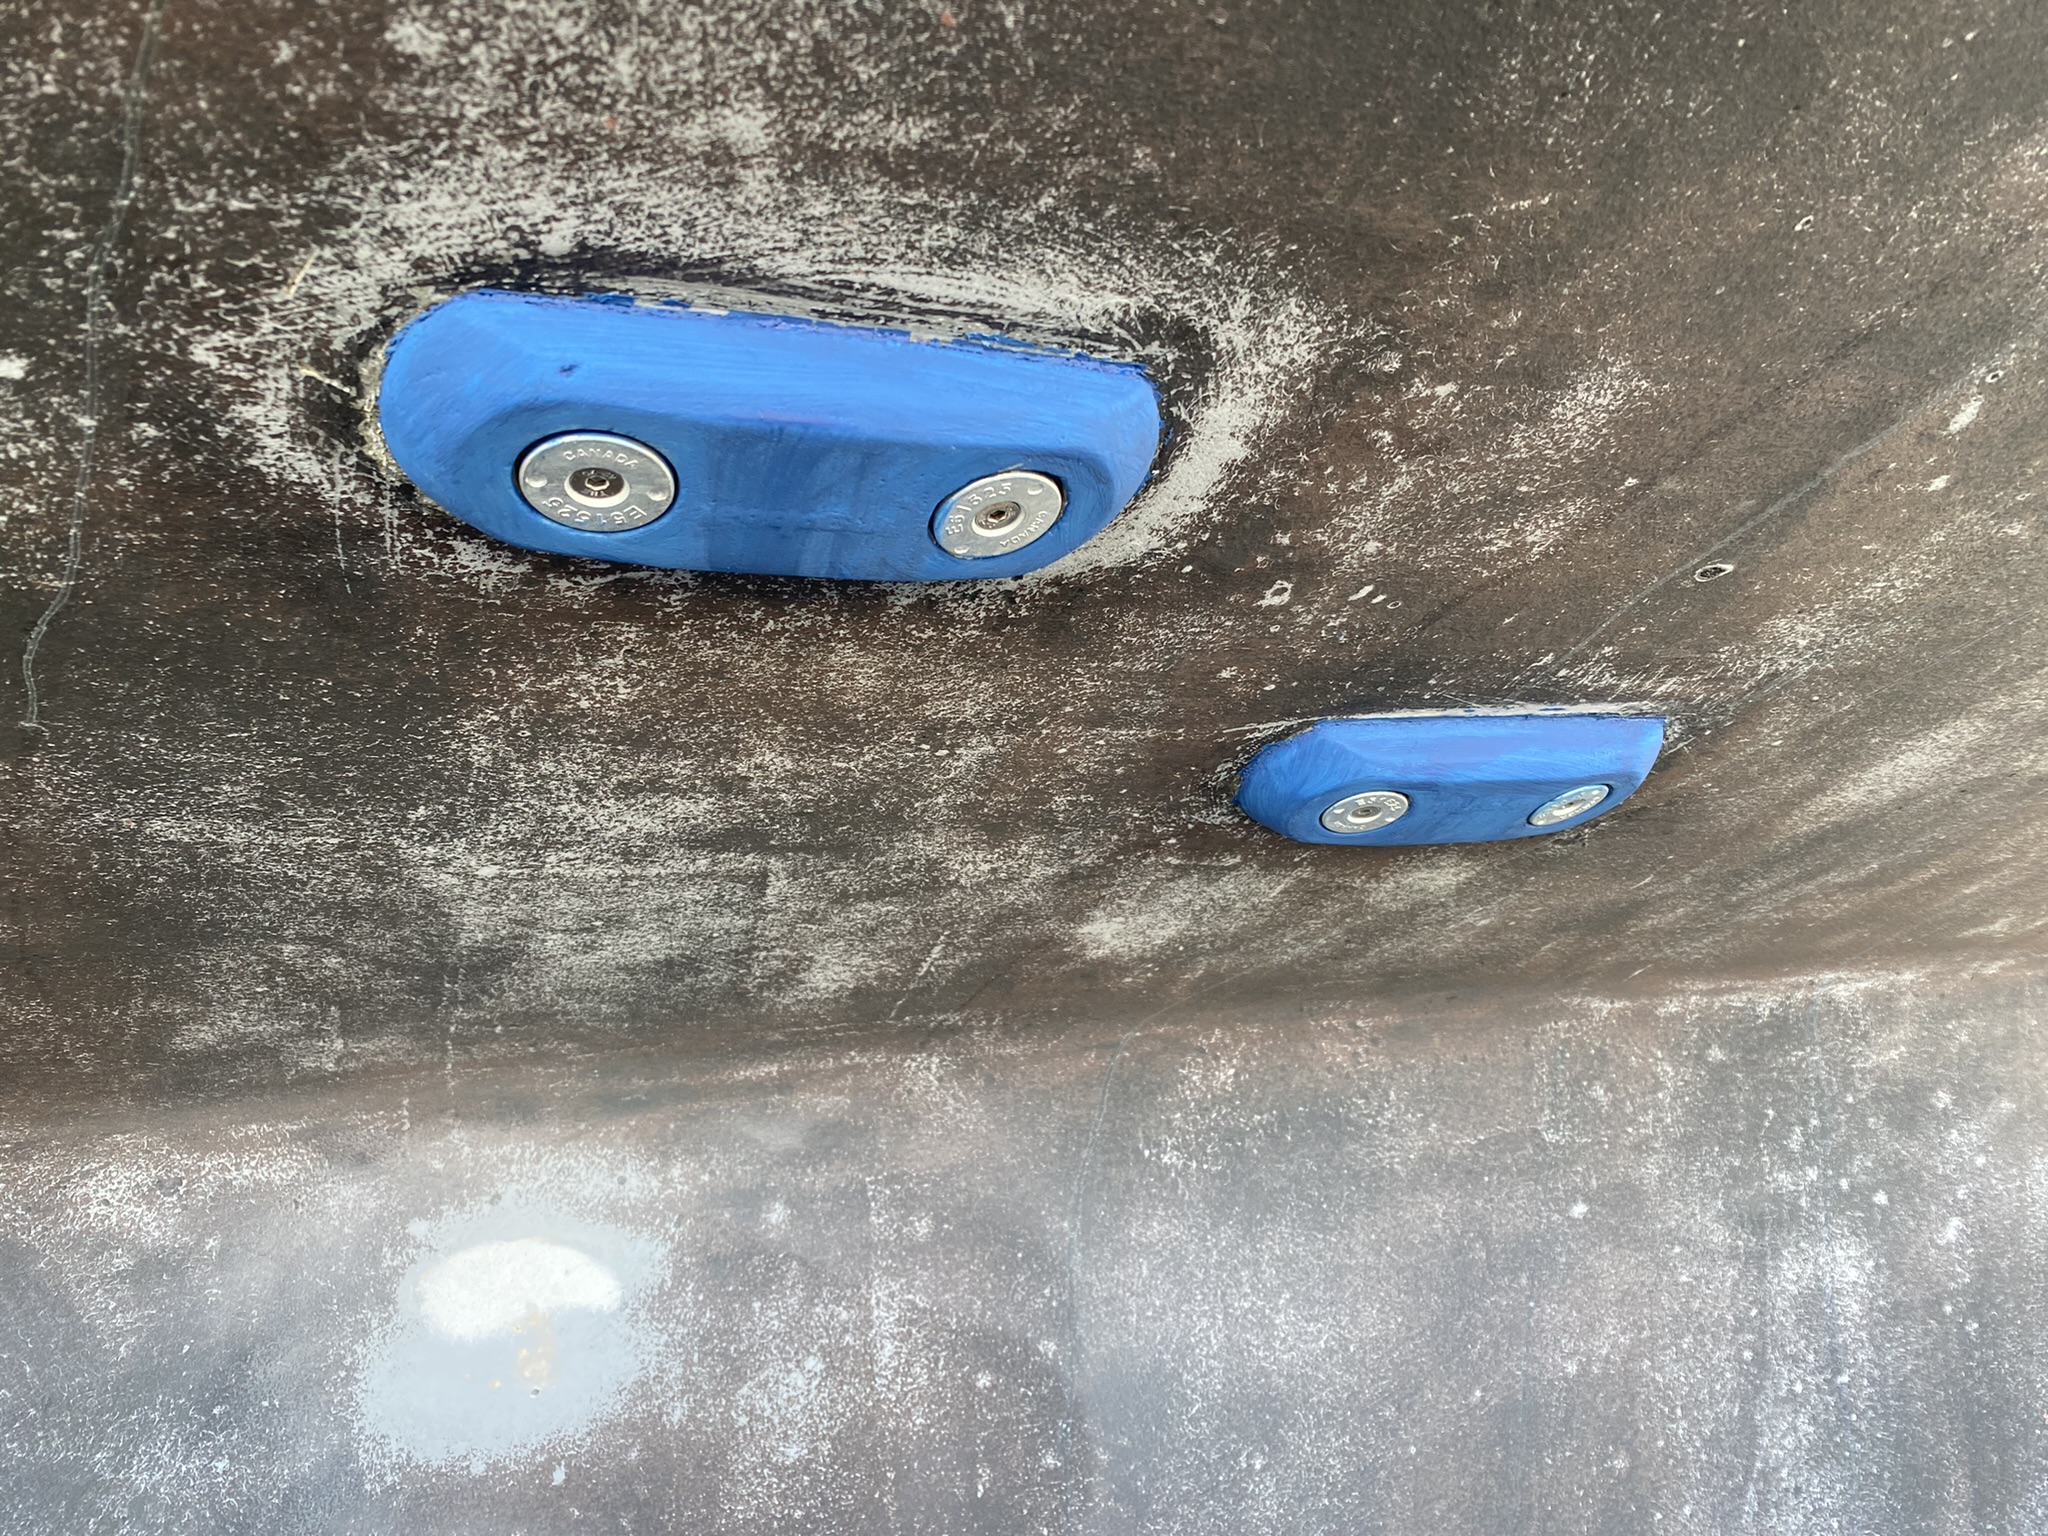
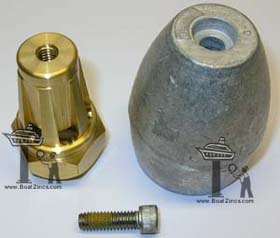
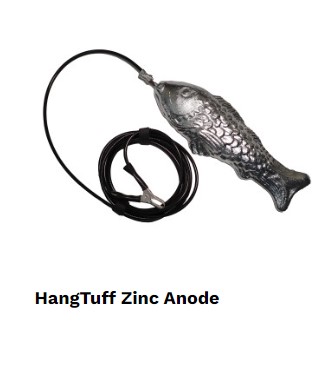 The starting weight for the new hanging anode was 2lbs 10 ounces. After the first week the weight was 2lbs 9oz apparently that’s a normal loss for an area with moderate stray current. After our first few anodes like this someone local must have had their dock or boat lift rewired because the zince wear diminished to almost zero. But these protected us until that was resolved.