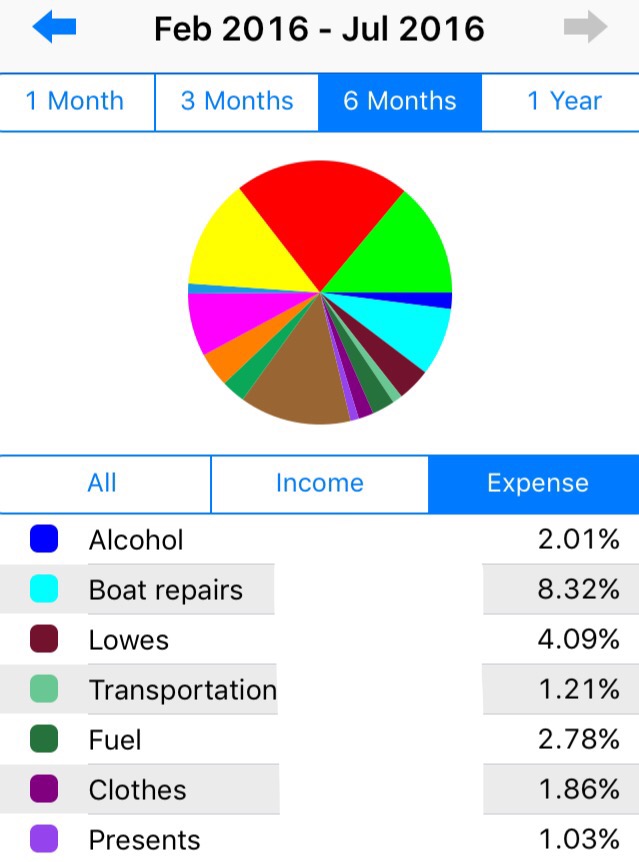
After our harrowing experience at Little San Salvador we made our way to Rock Sound, Eleuthera later that day and anchored for a few weeks….it ended up being longer then anticipated due to some clumsiness on my part.
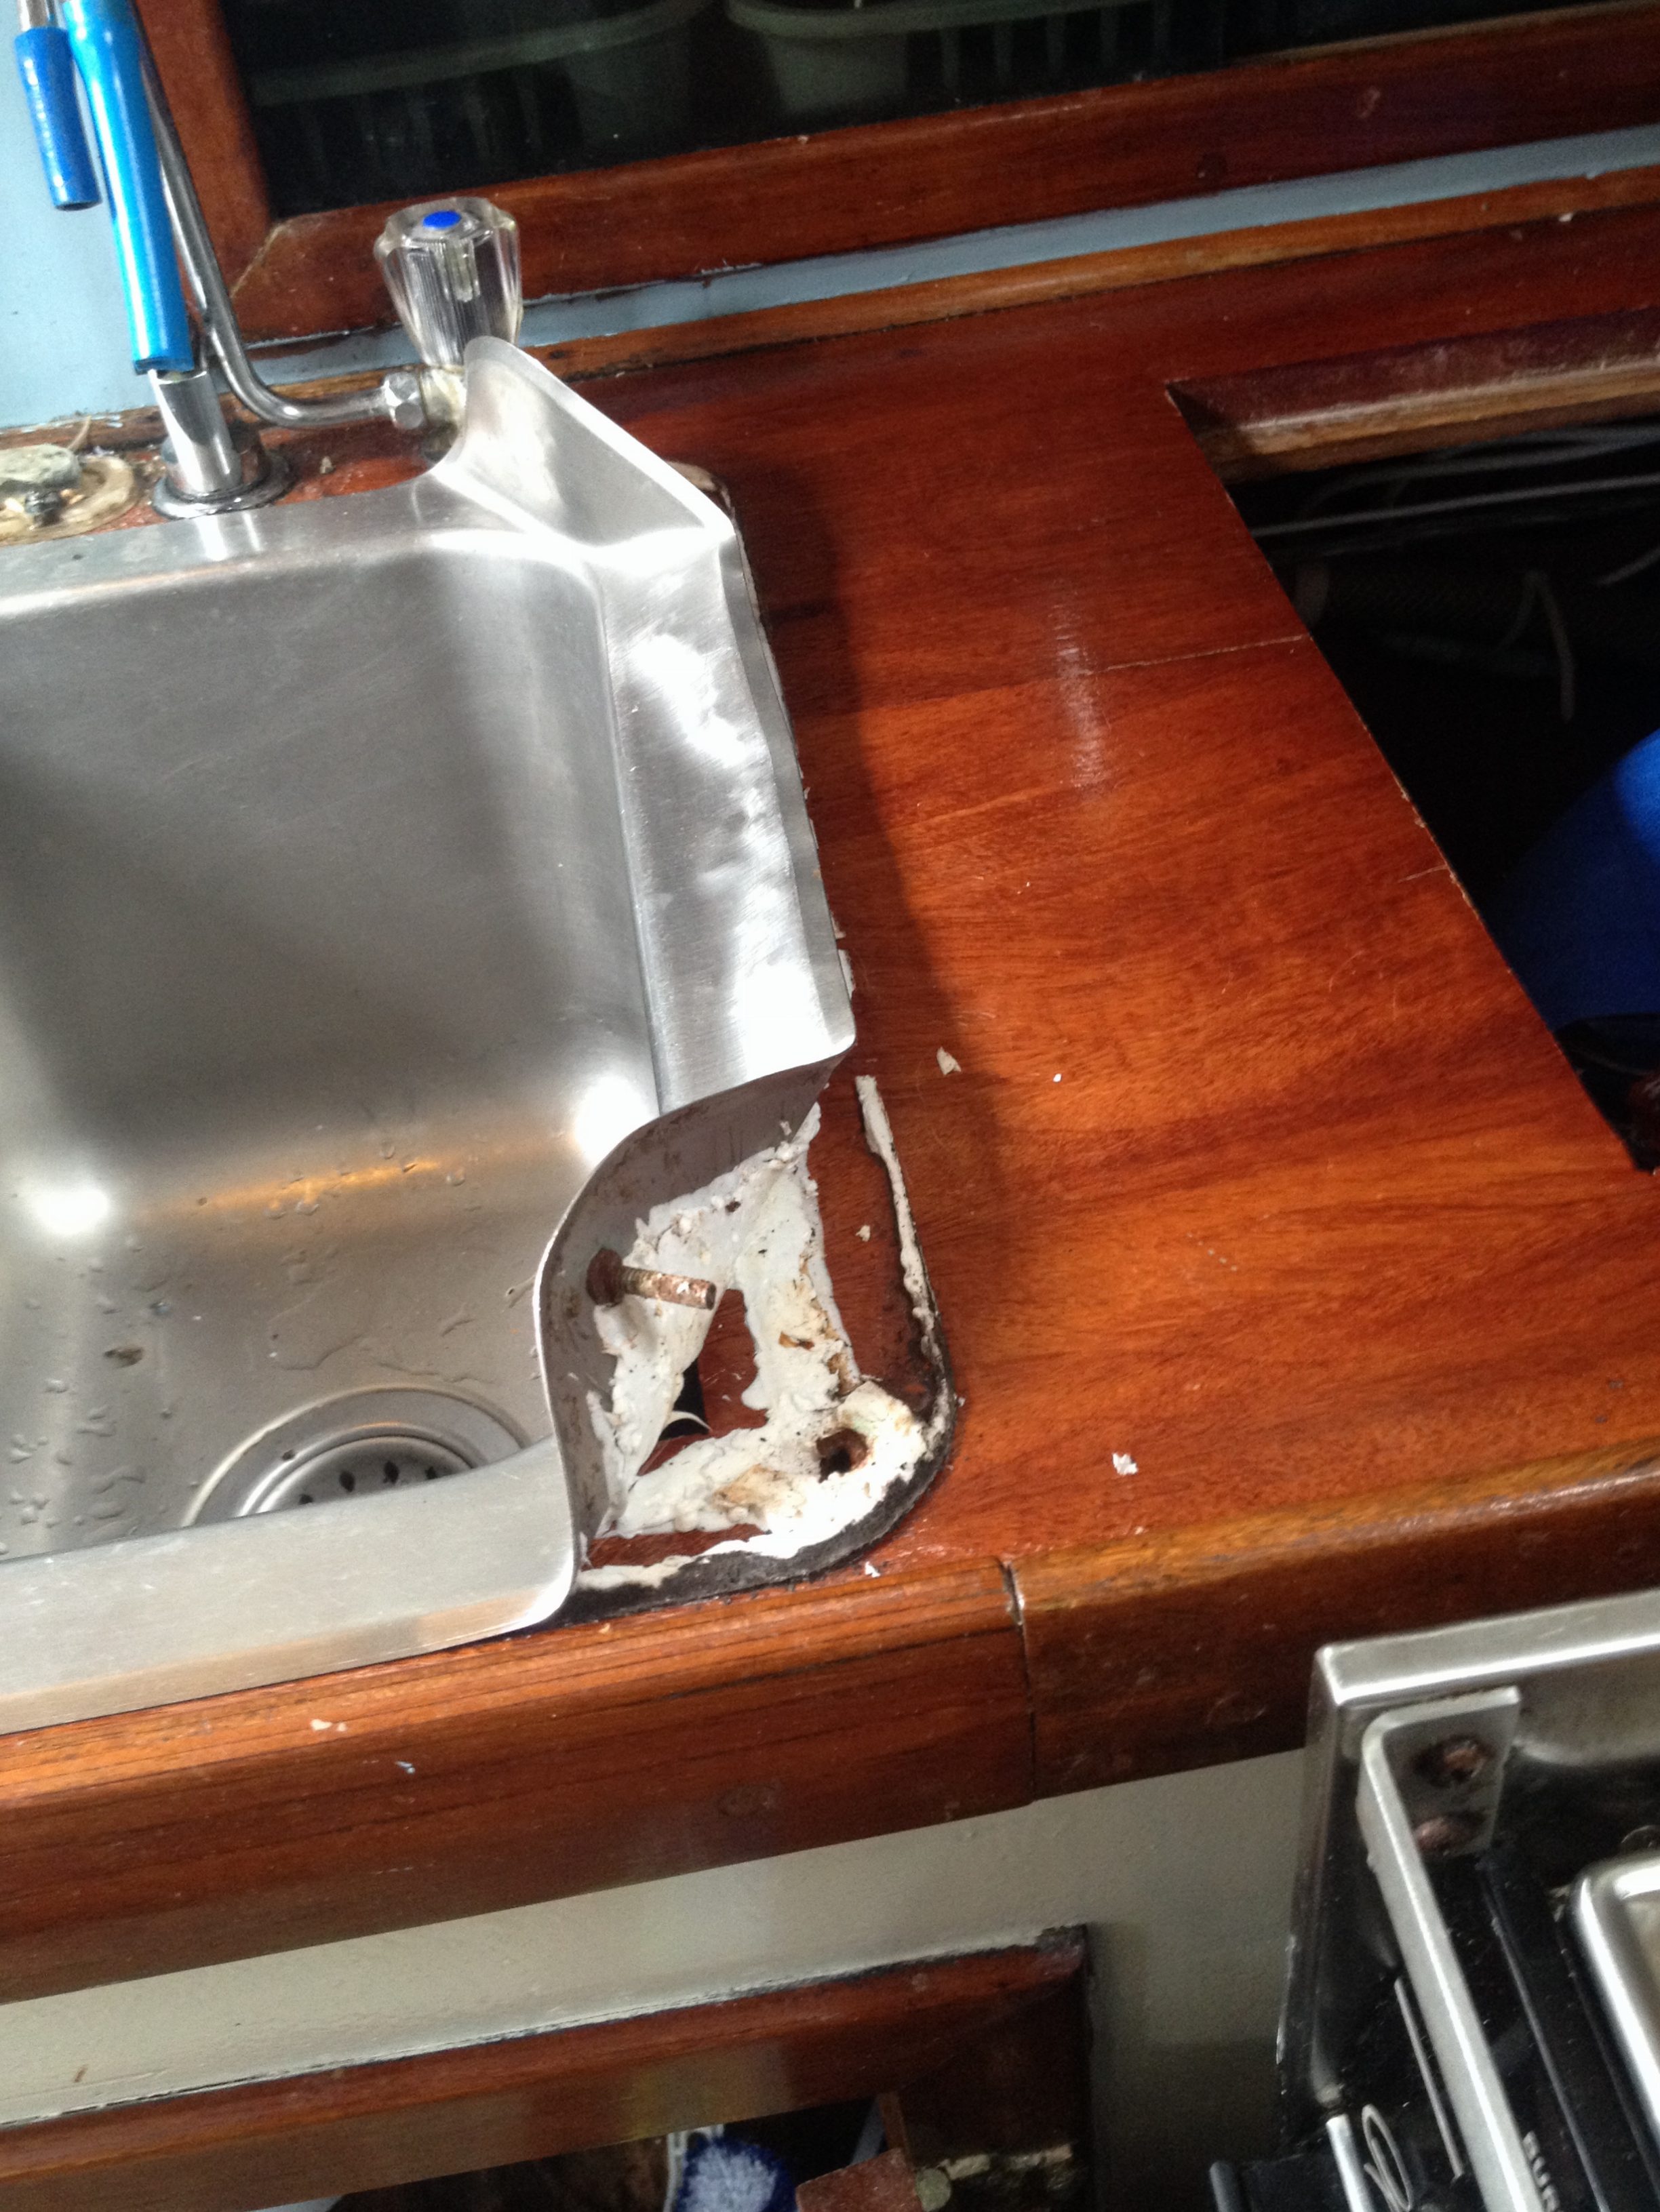
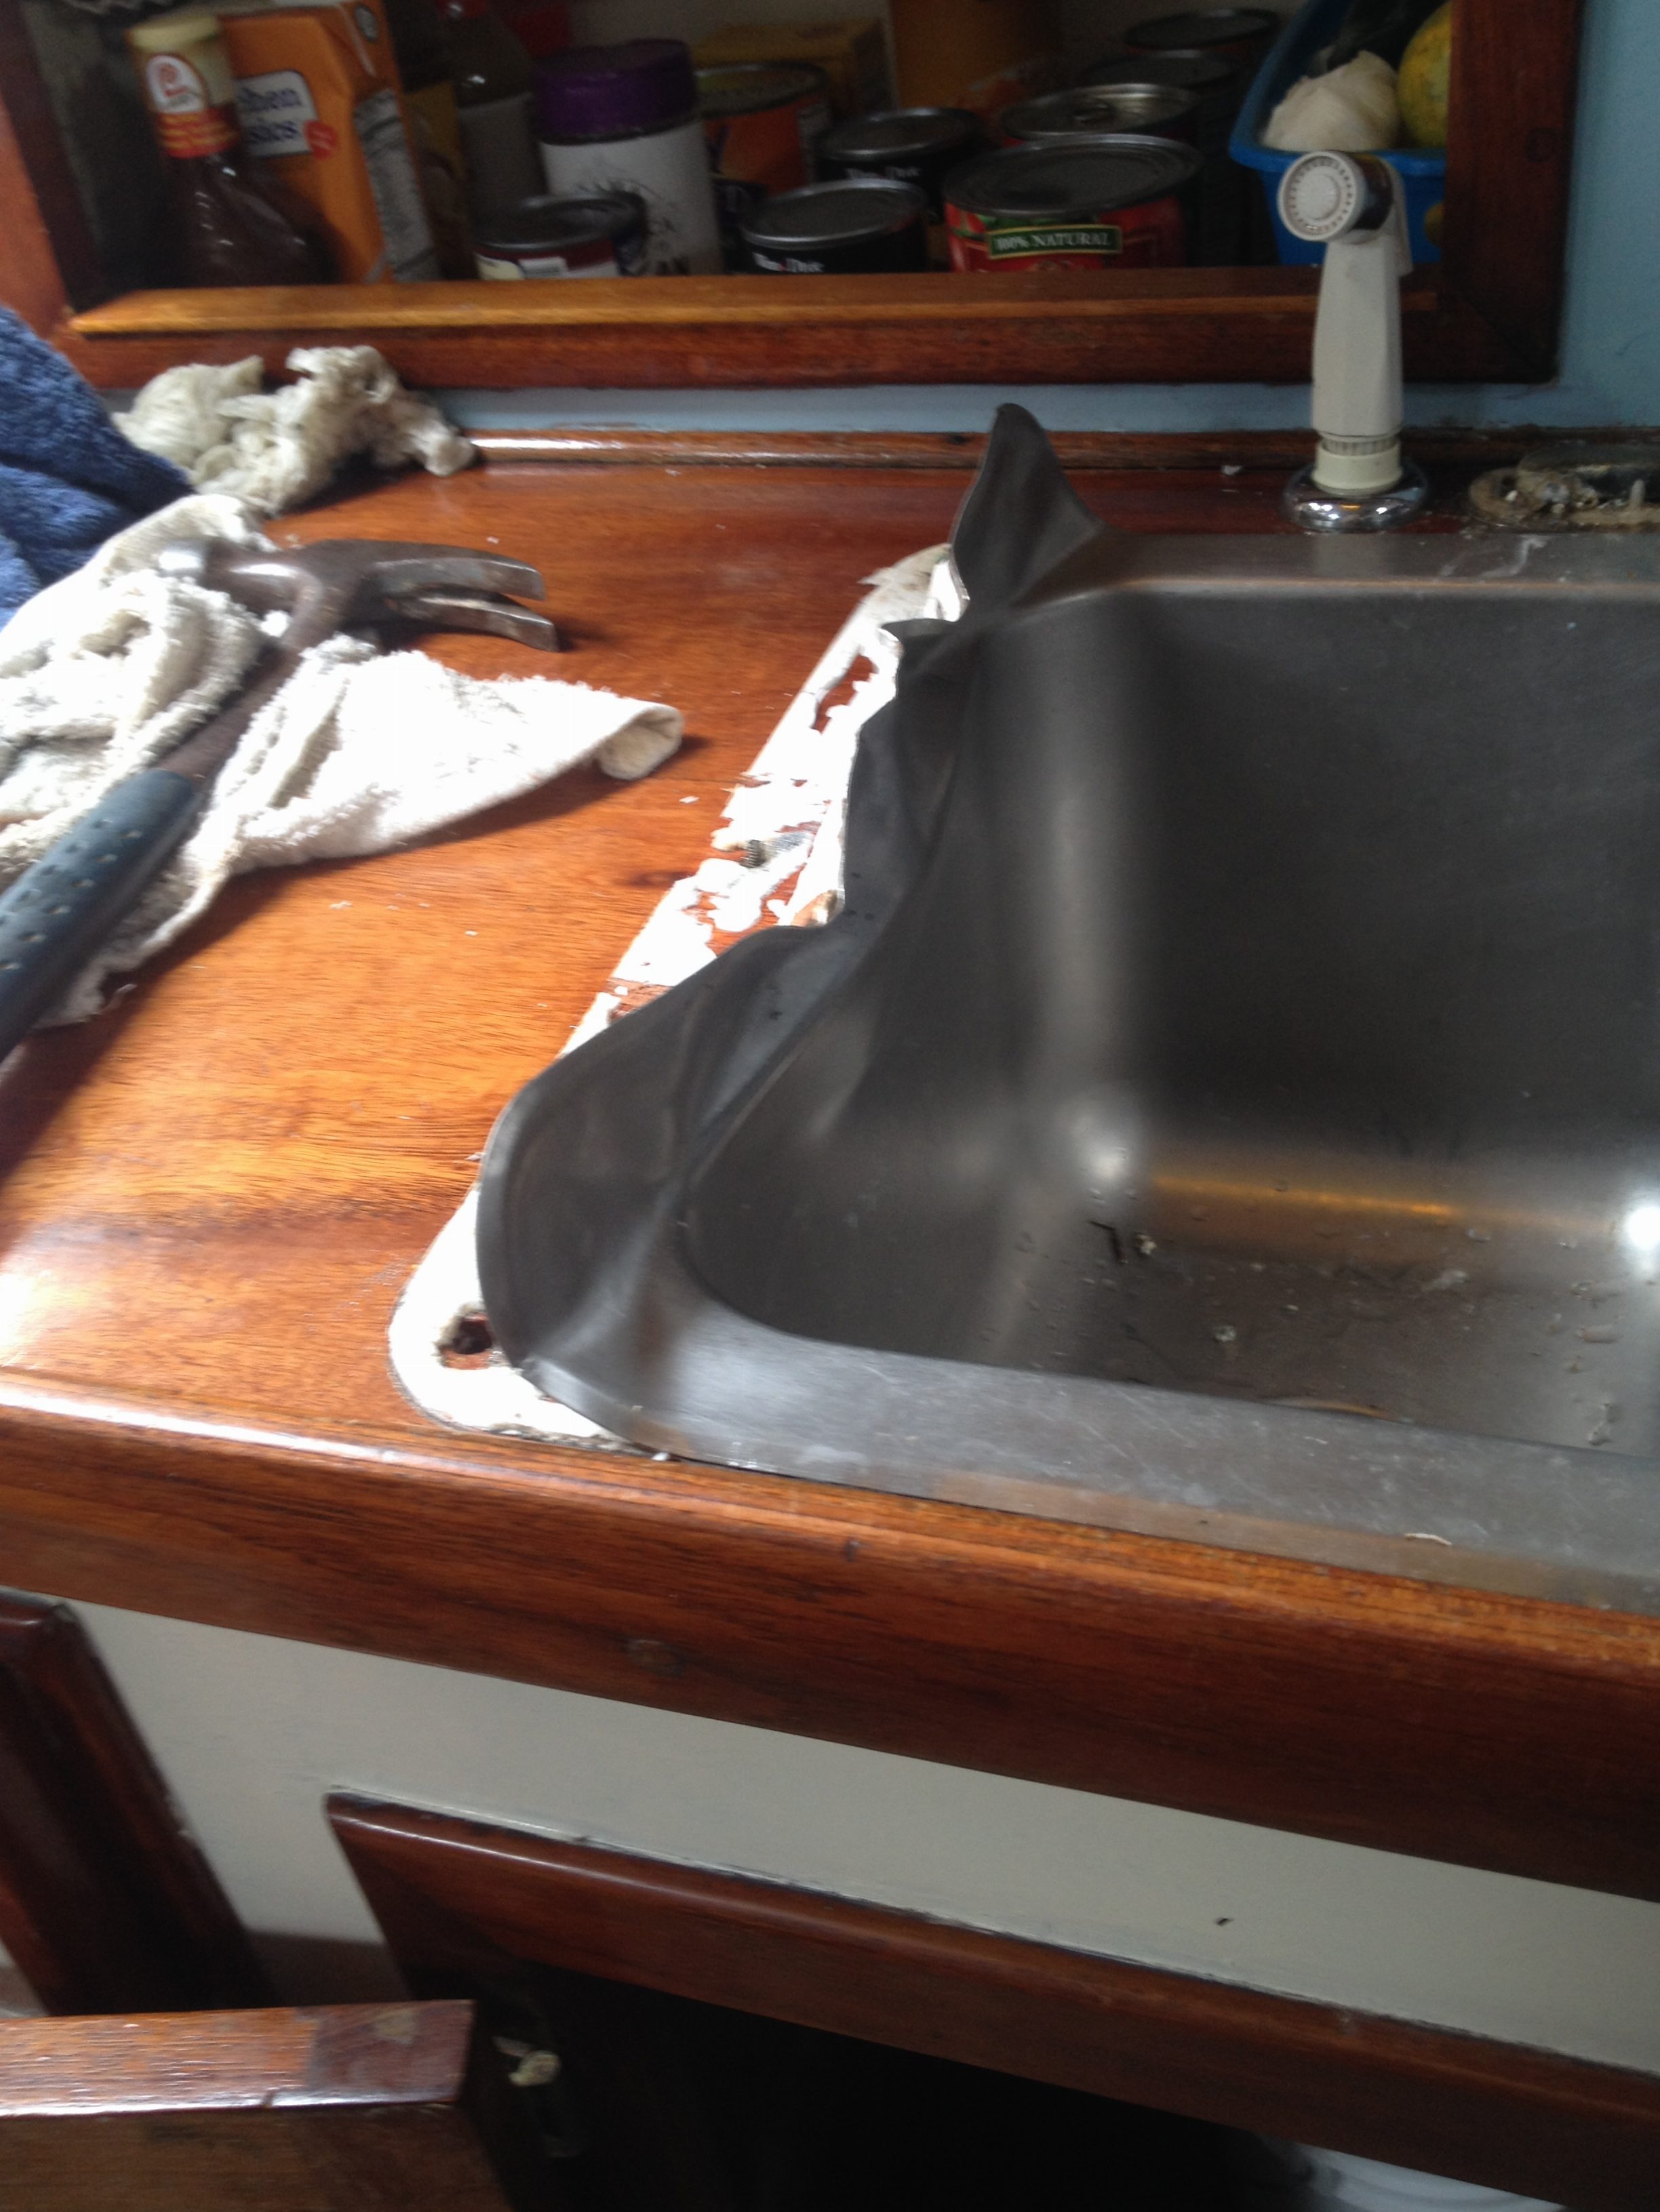
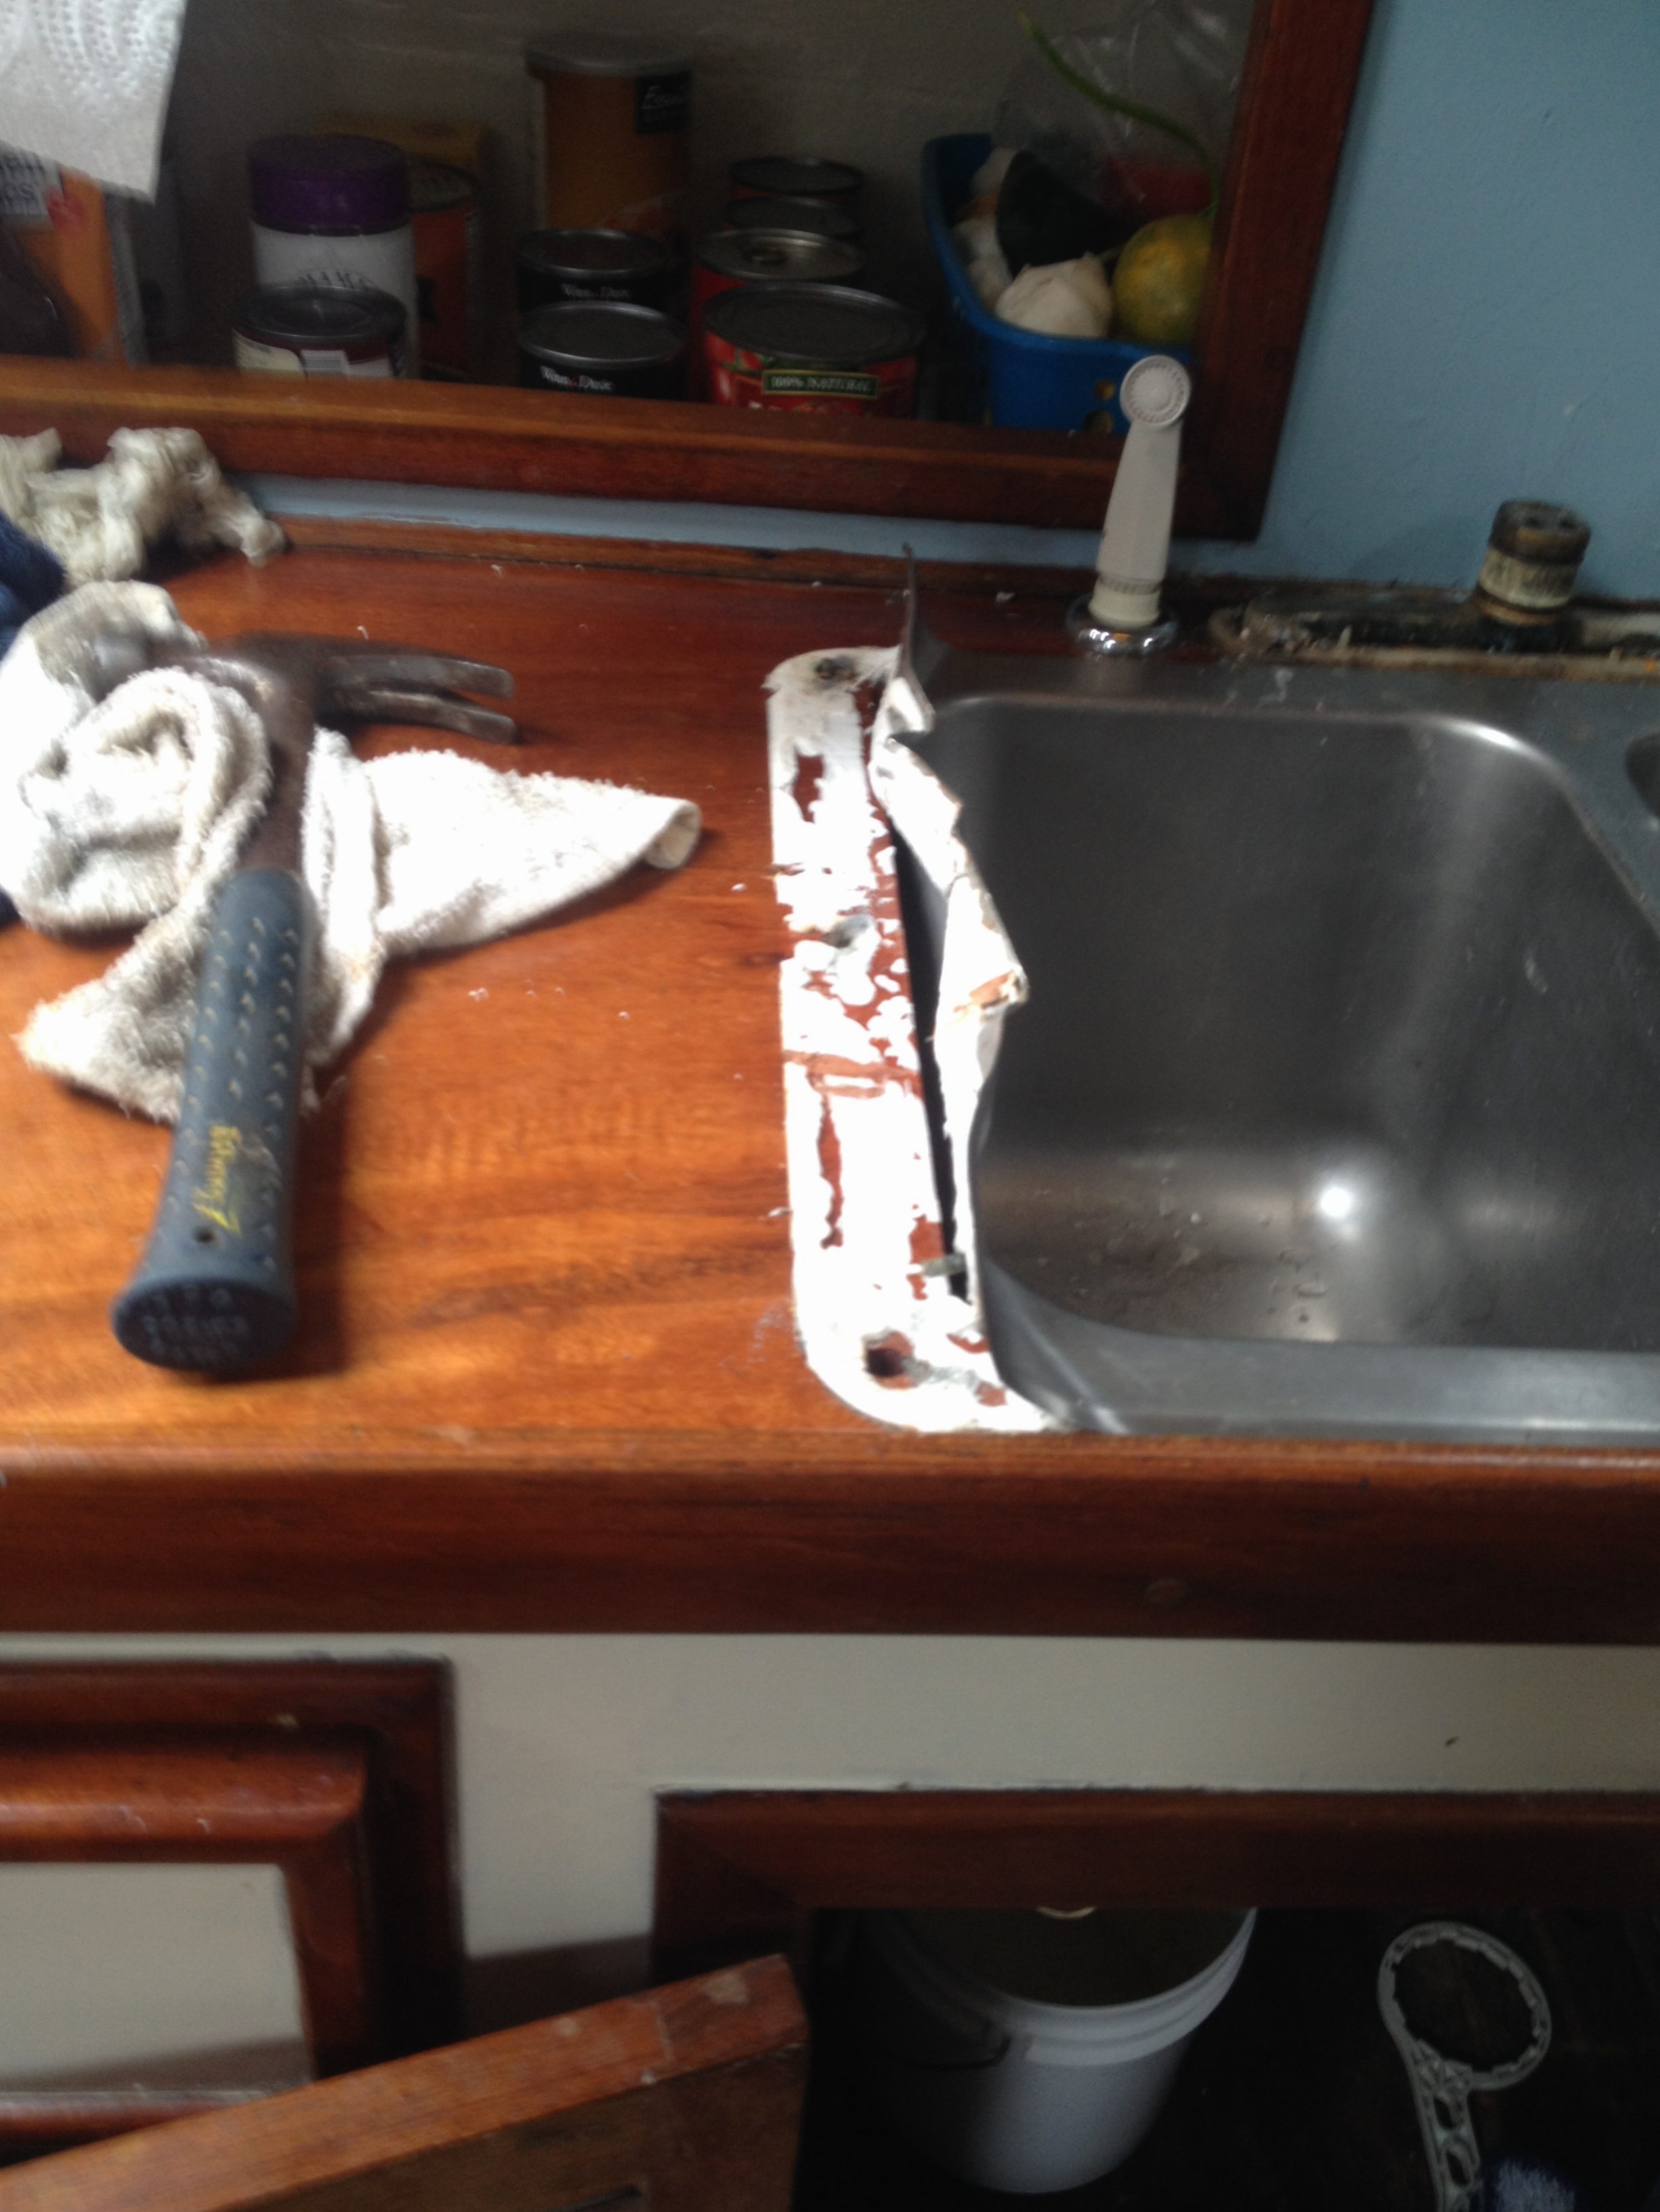
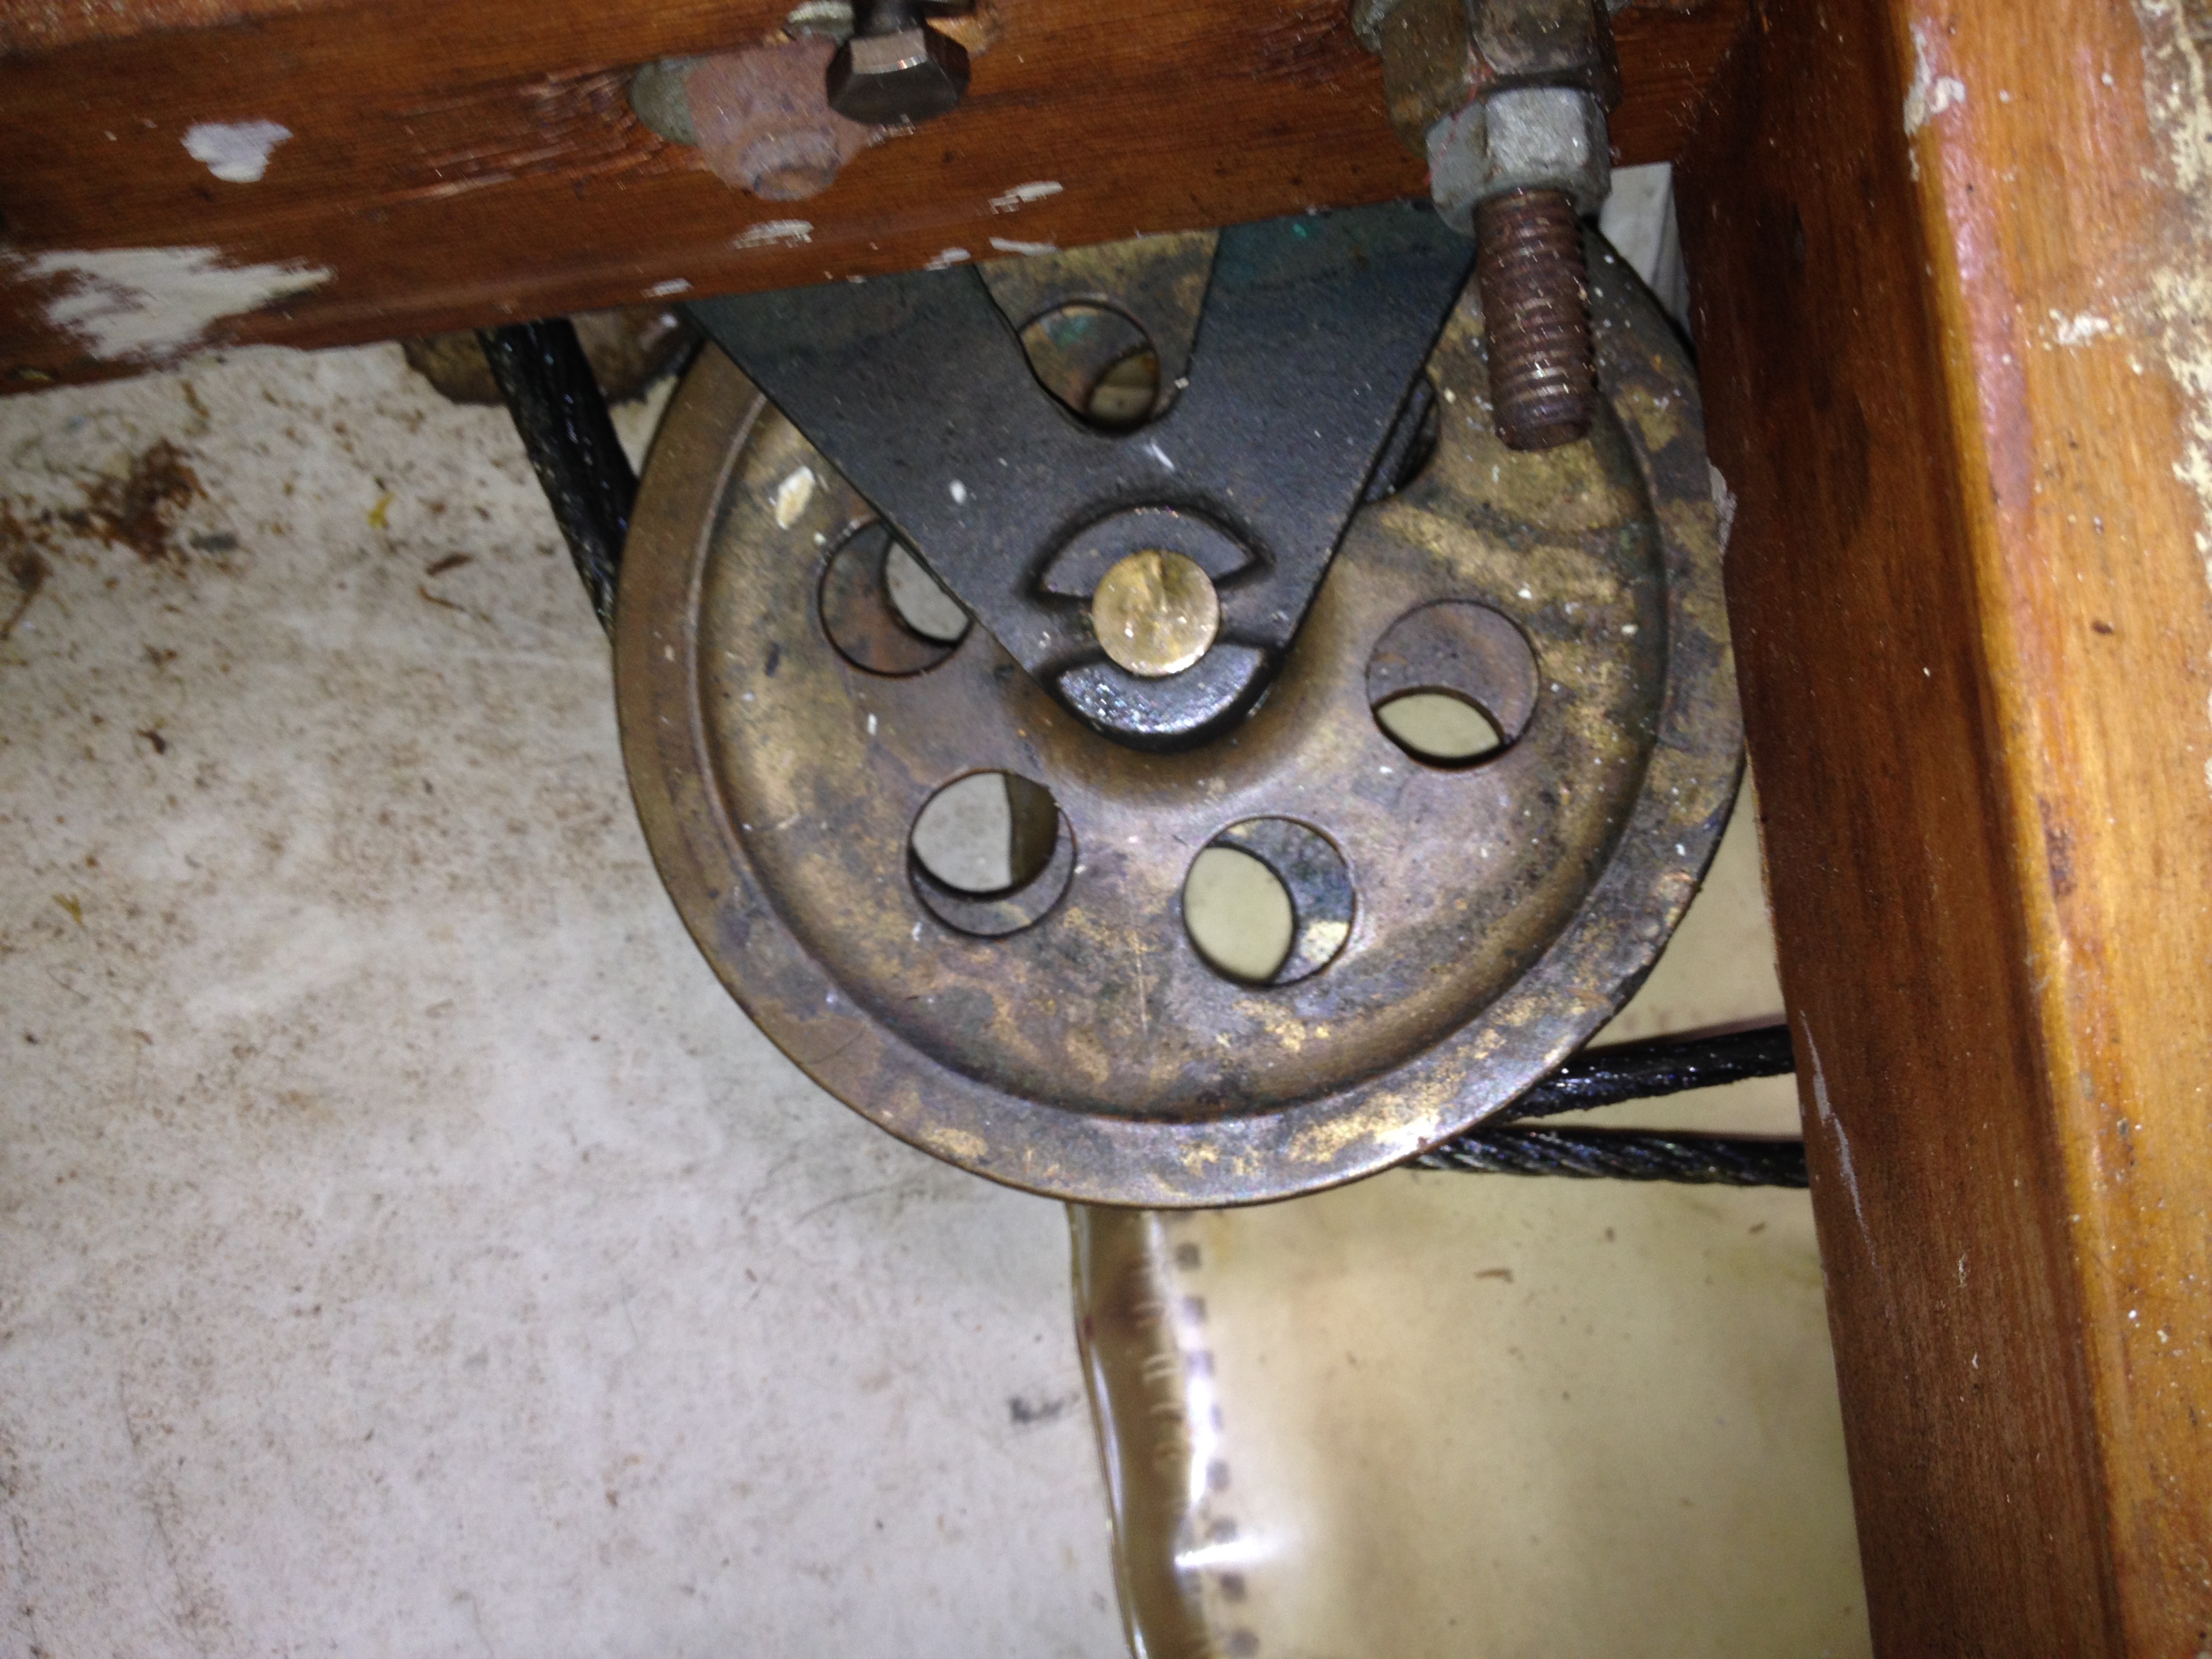
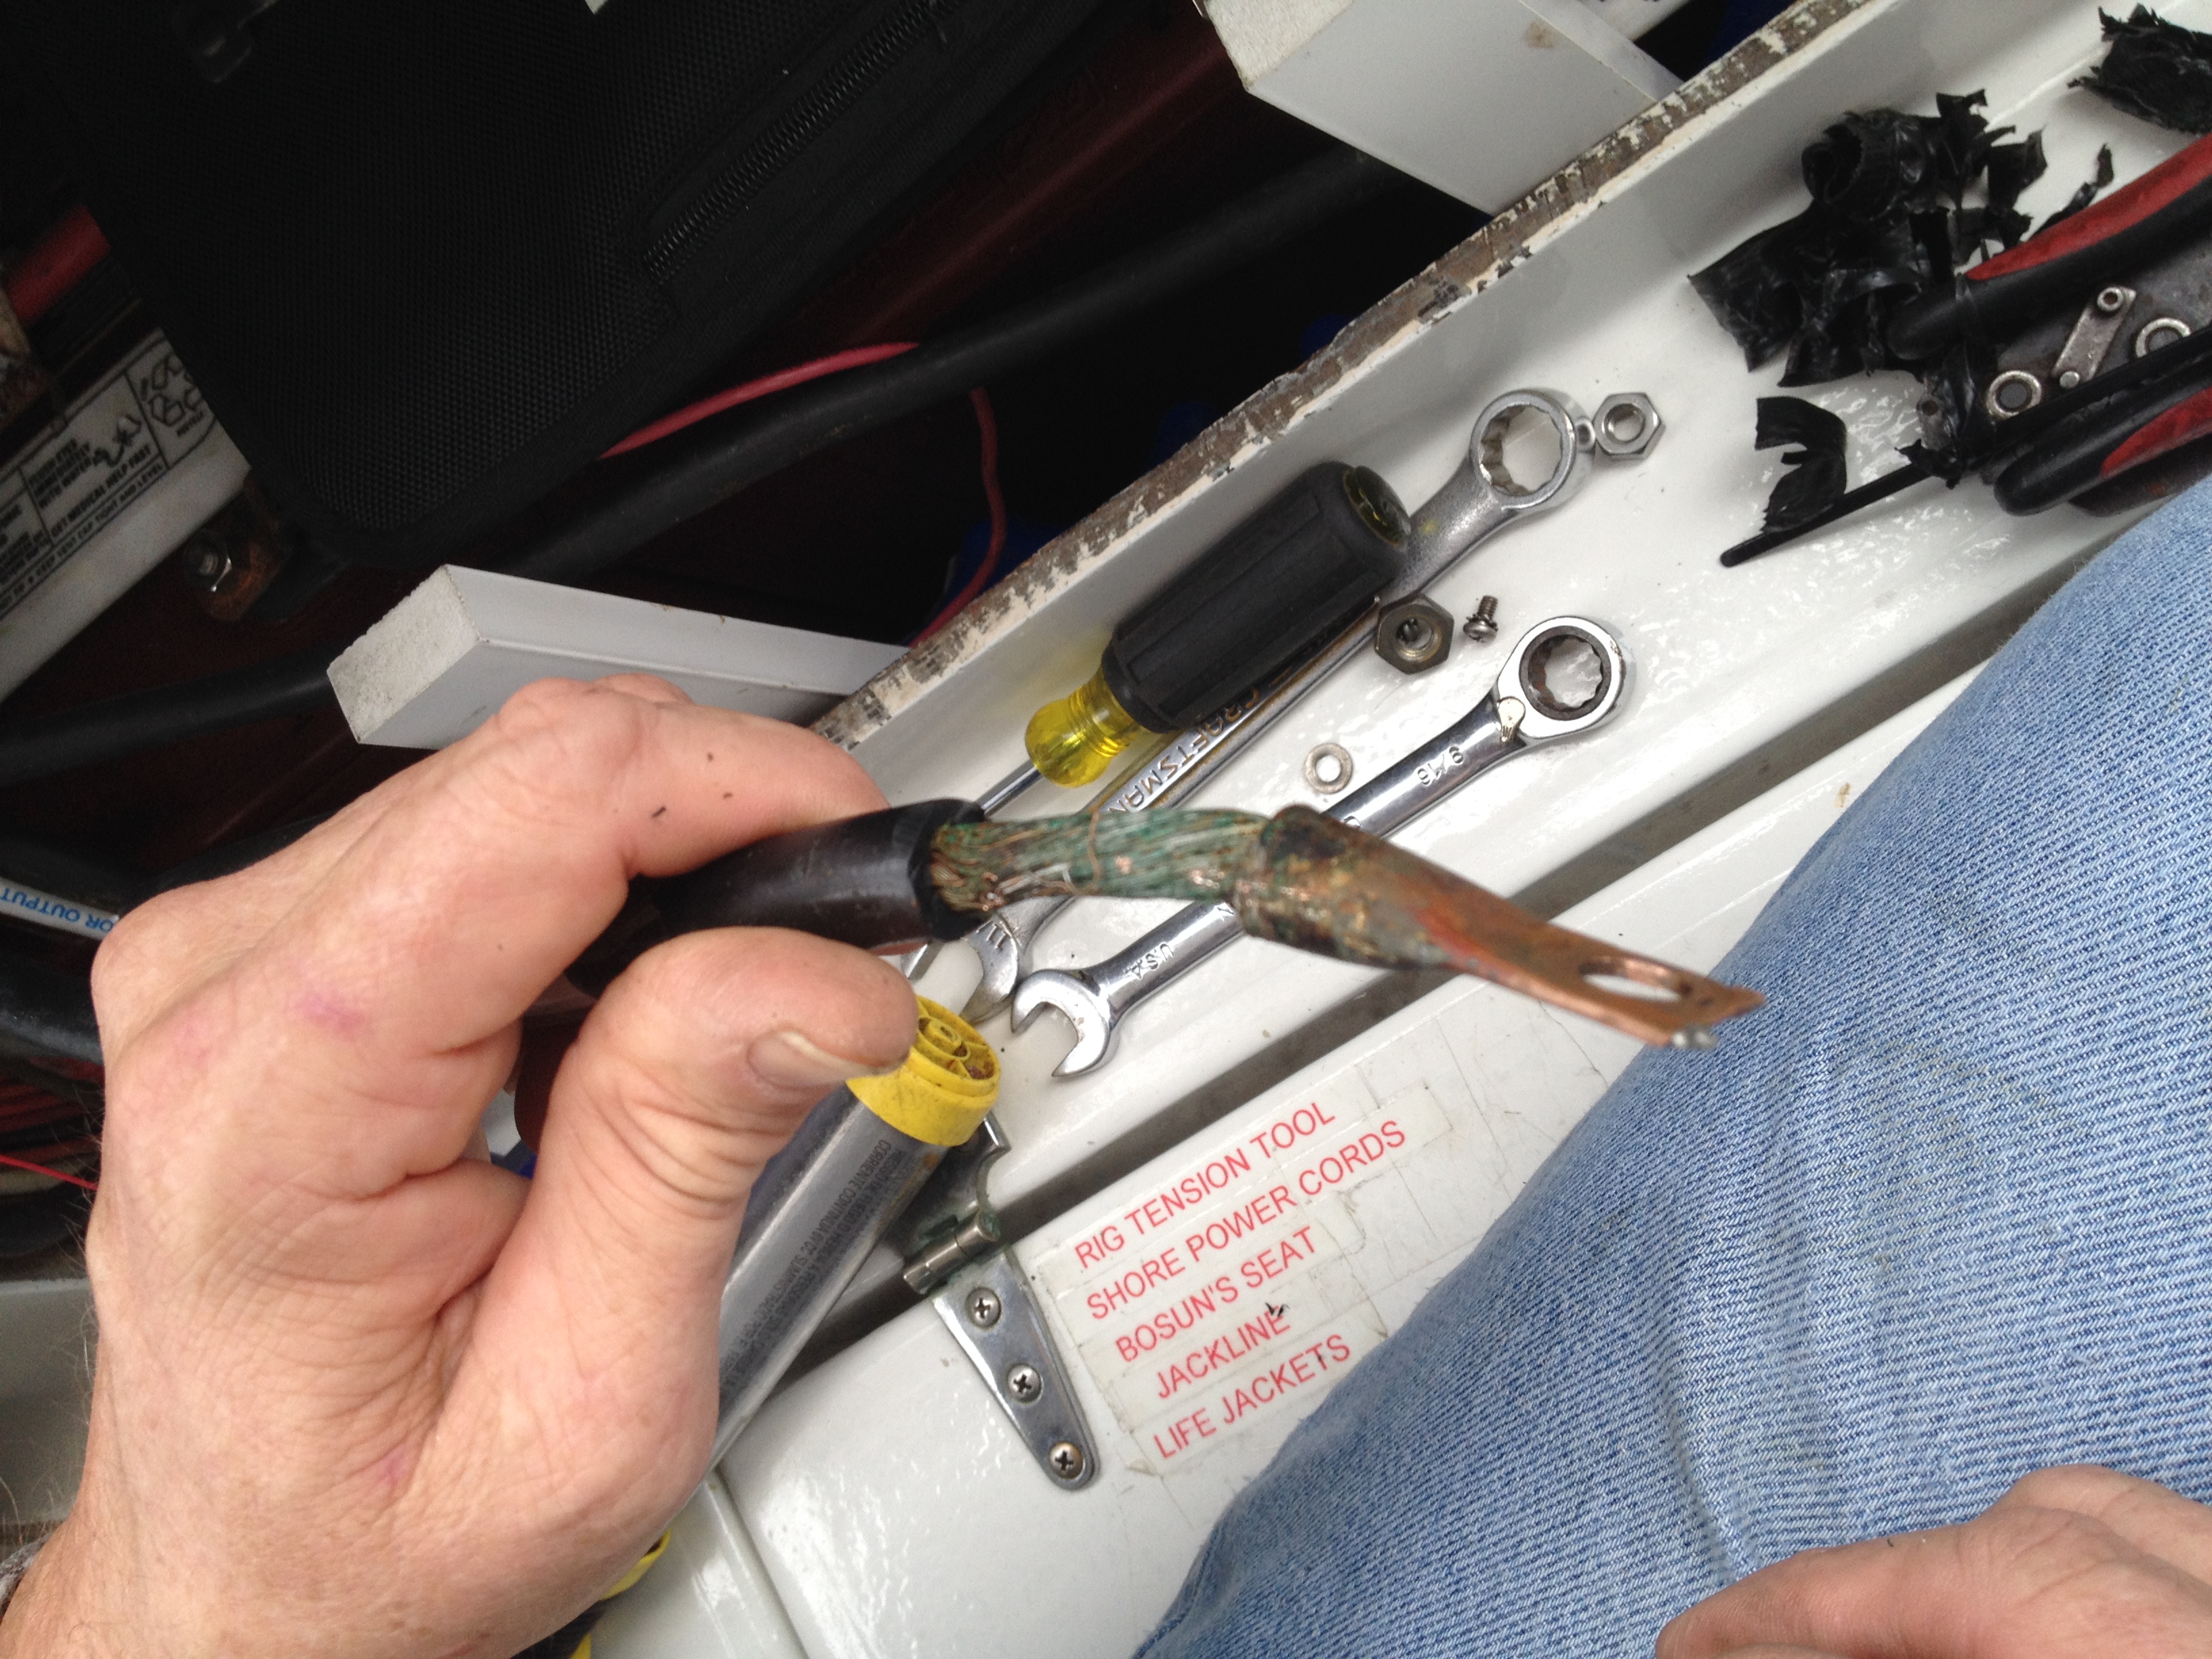
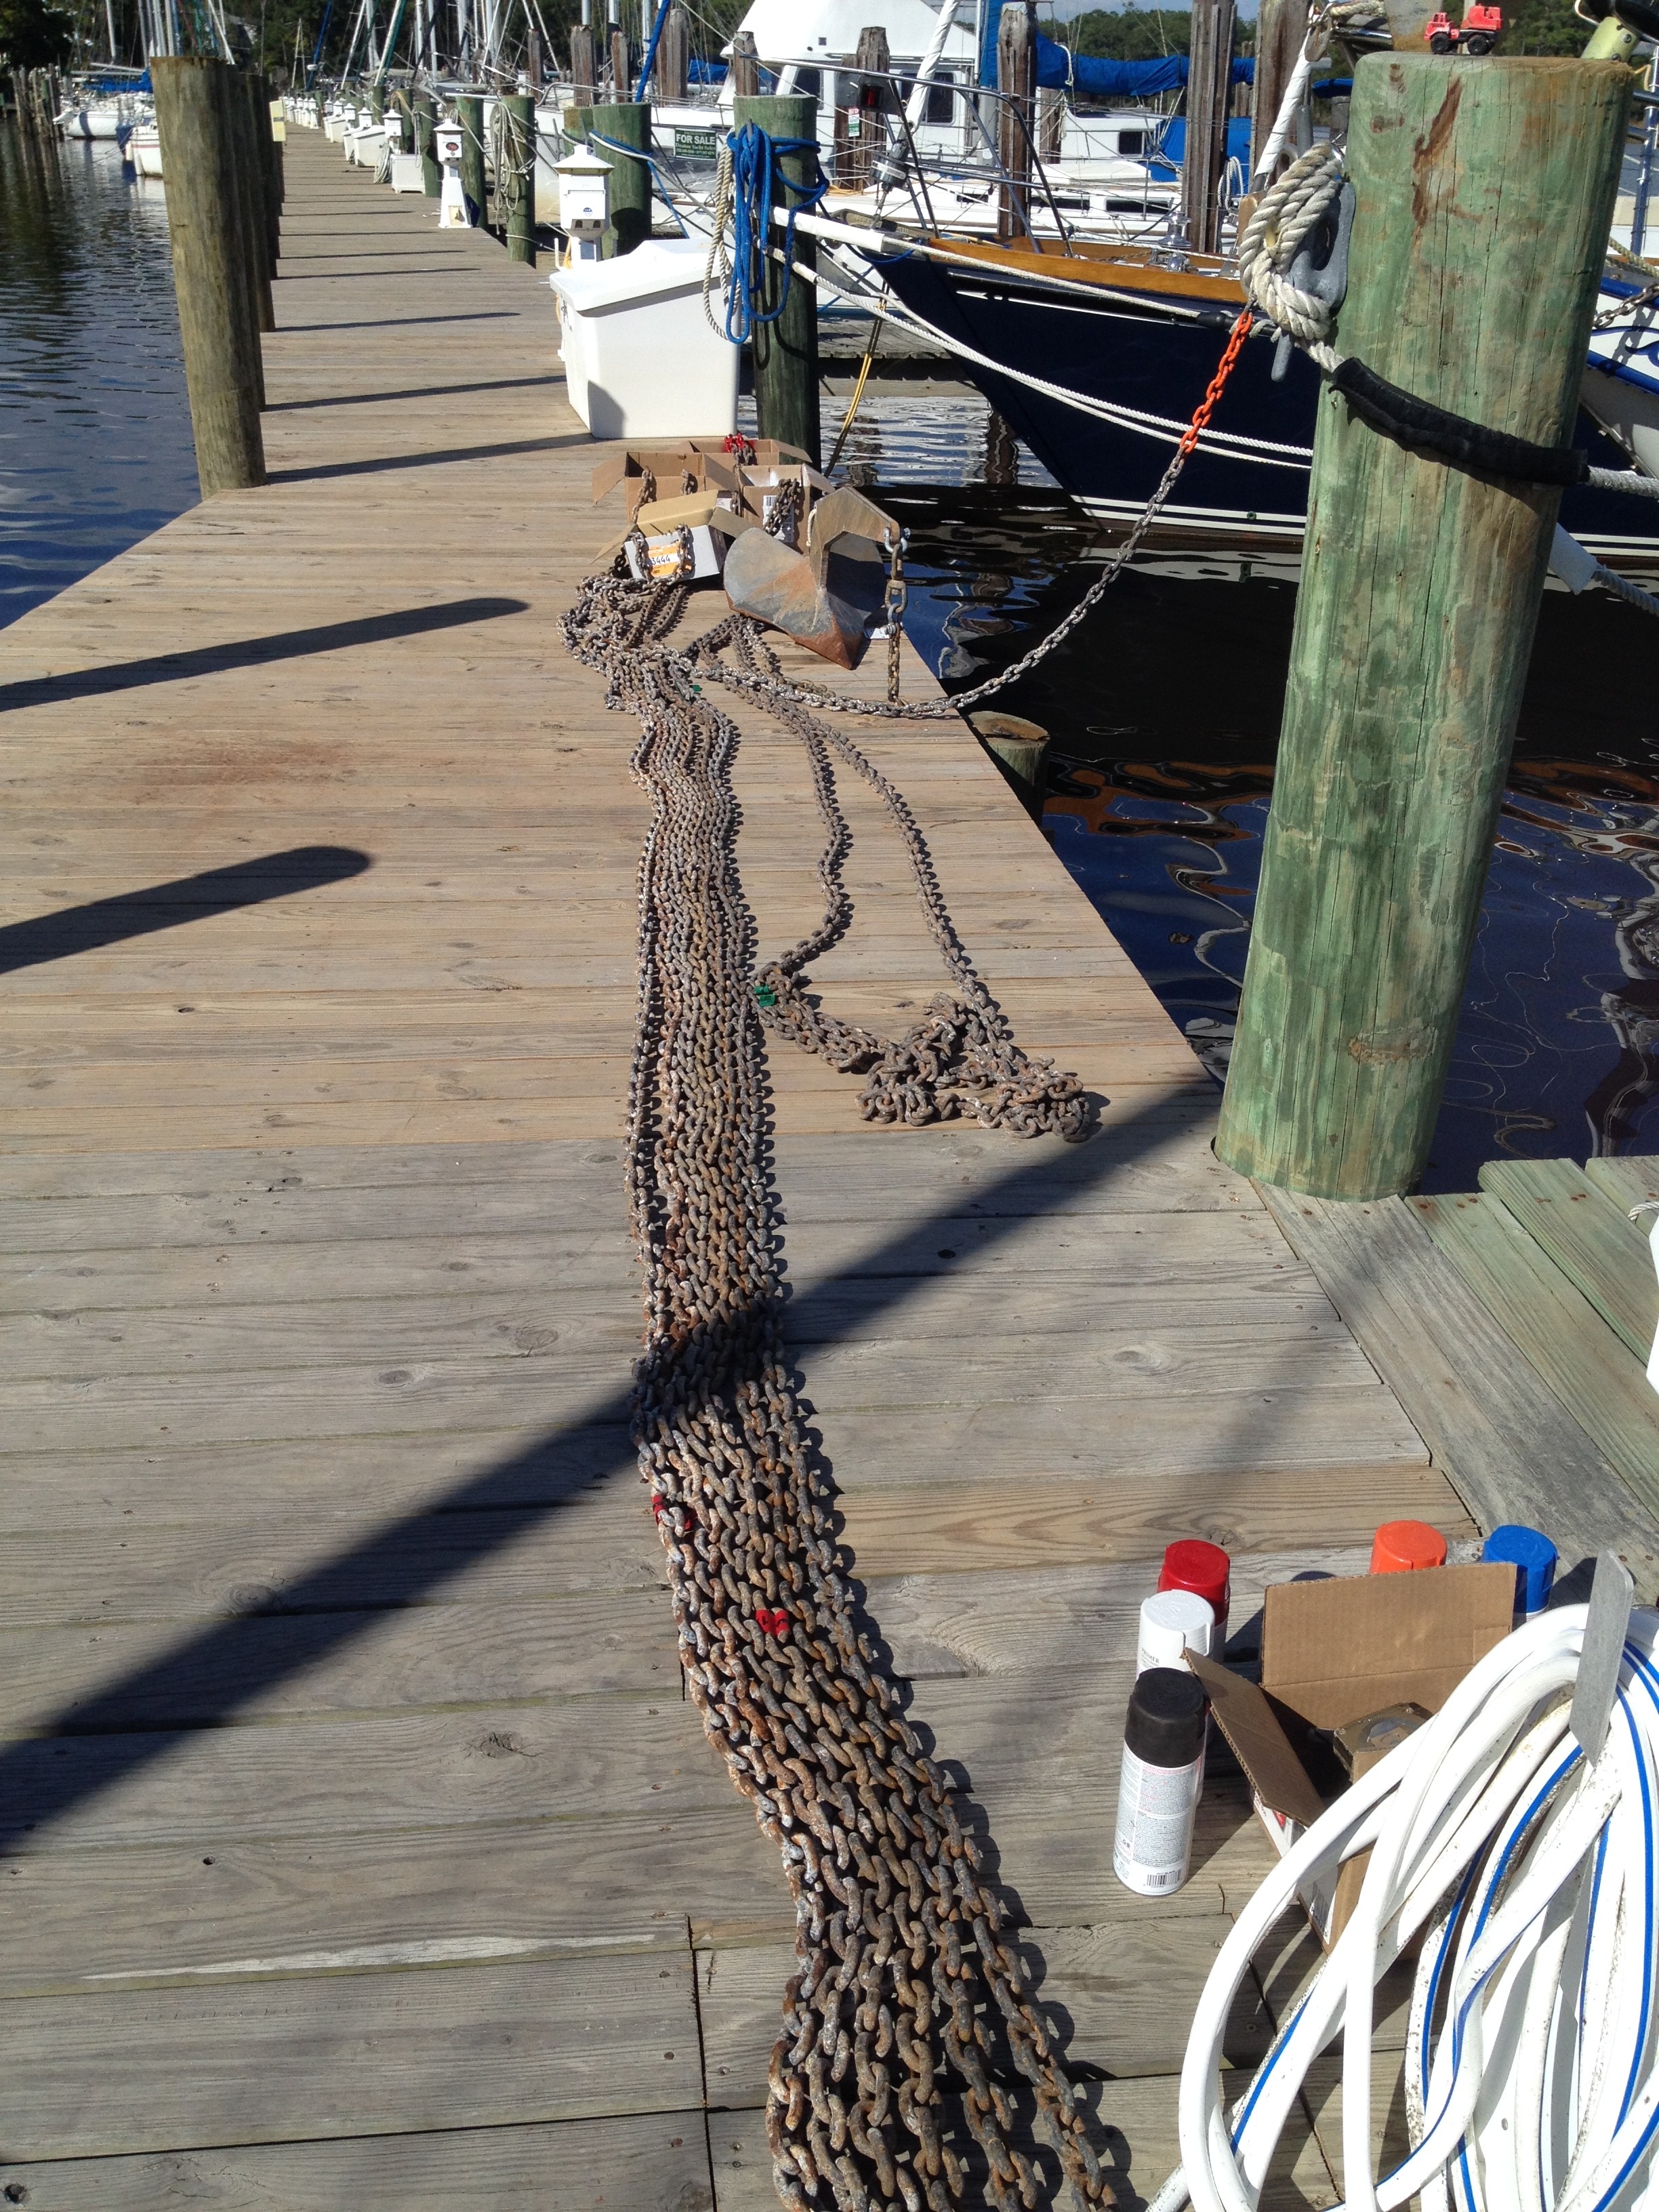
I had decided that we were due for an oil change. We were way under on engine hours but over on the time frame for an oil change, so I decided to change the oil and filter while we were here. Well, long story short, I pumped out the used oil, without spilling a drop (which I should have known was a bad sign) but couldn’t find my slimline strap wrench to remove the filter. So, I went to the local NAPA and bought a slightly larger wrench that I hoped would work. Unfortunately, the width of the new wrench snagged the oil cooler line and ruptured it….uh-oh…..bad weather was forecast for the upcoming weekend and after the Little San Salvador incident this was almost too much to deal with….essentially we were going to be without an engine until we received a new line….which in the Bahamas could take weeks……and it did…..we spent about three and a half weeks total and it turned out to be a good thing because we had time to see things and visit our favorite spots again and again.
Part of the moral to this story is ….take plenty of spare parts when you venture away from the U.S. We have a cruiser’s kit onboard but it doesn’t include oil cooler lines. I won’t make that mistake again……
here’s a satellite image of Eleuthera. The pin is Rock Sound. The Glass Window Bridge is in the skinny part of the island just north of Gregory Town.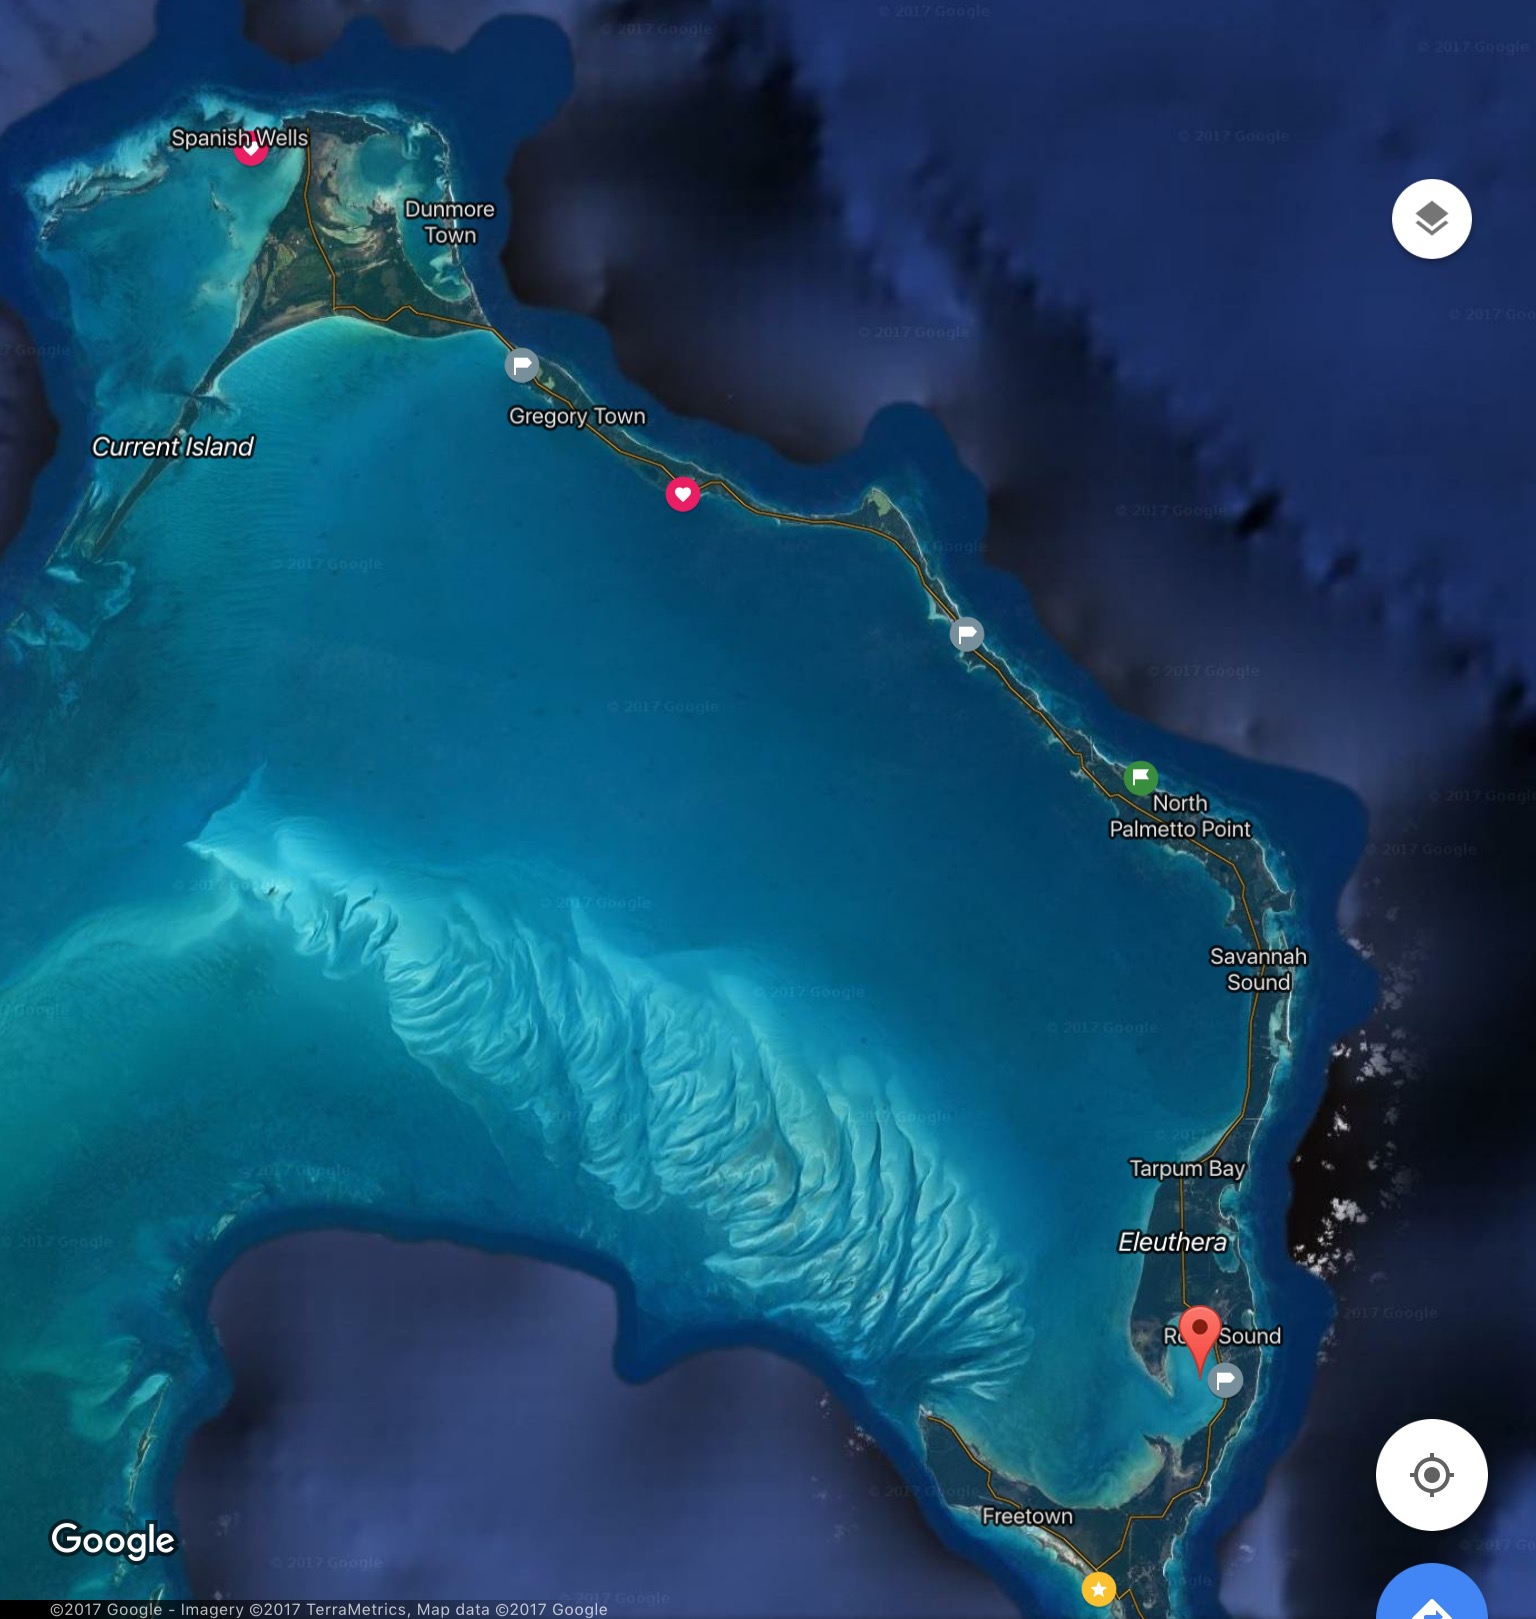
Image courtesy of Google Maps
We considered renting a car, but ran into the insurance issue again, so we hired a driver (Lyle) to give us a tour of the island. He was a super nice guy and was full of knowledge about spots on the island. The price wasn’t bad, eight hours for $125 plus he knew a great place for lunch.
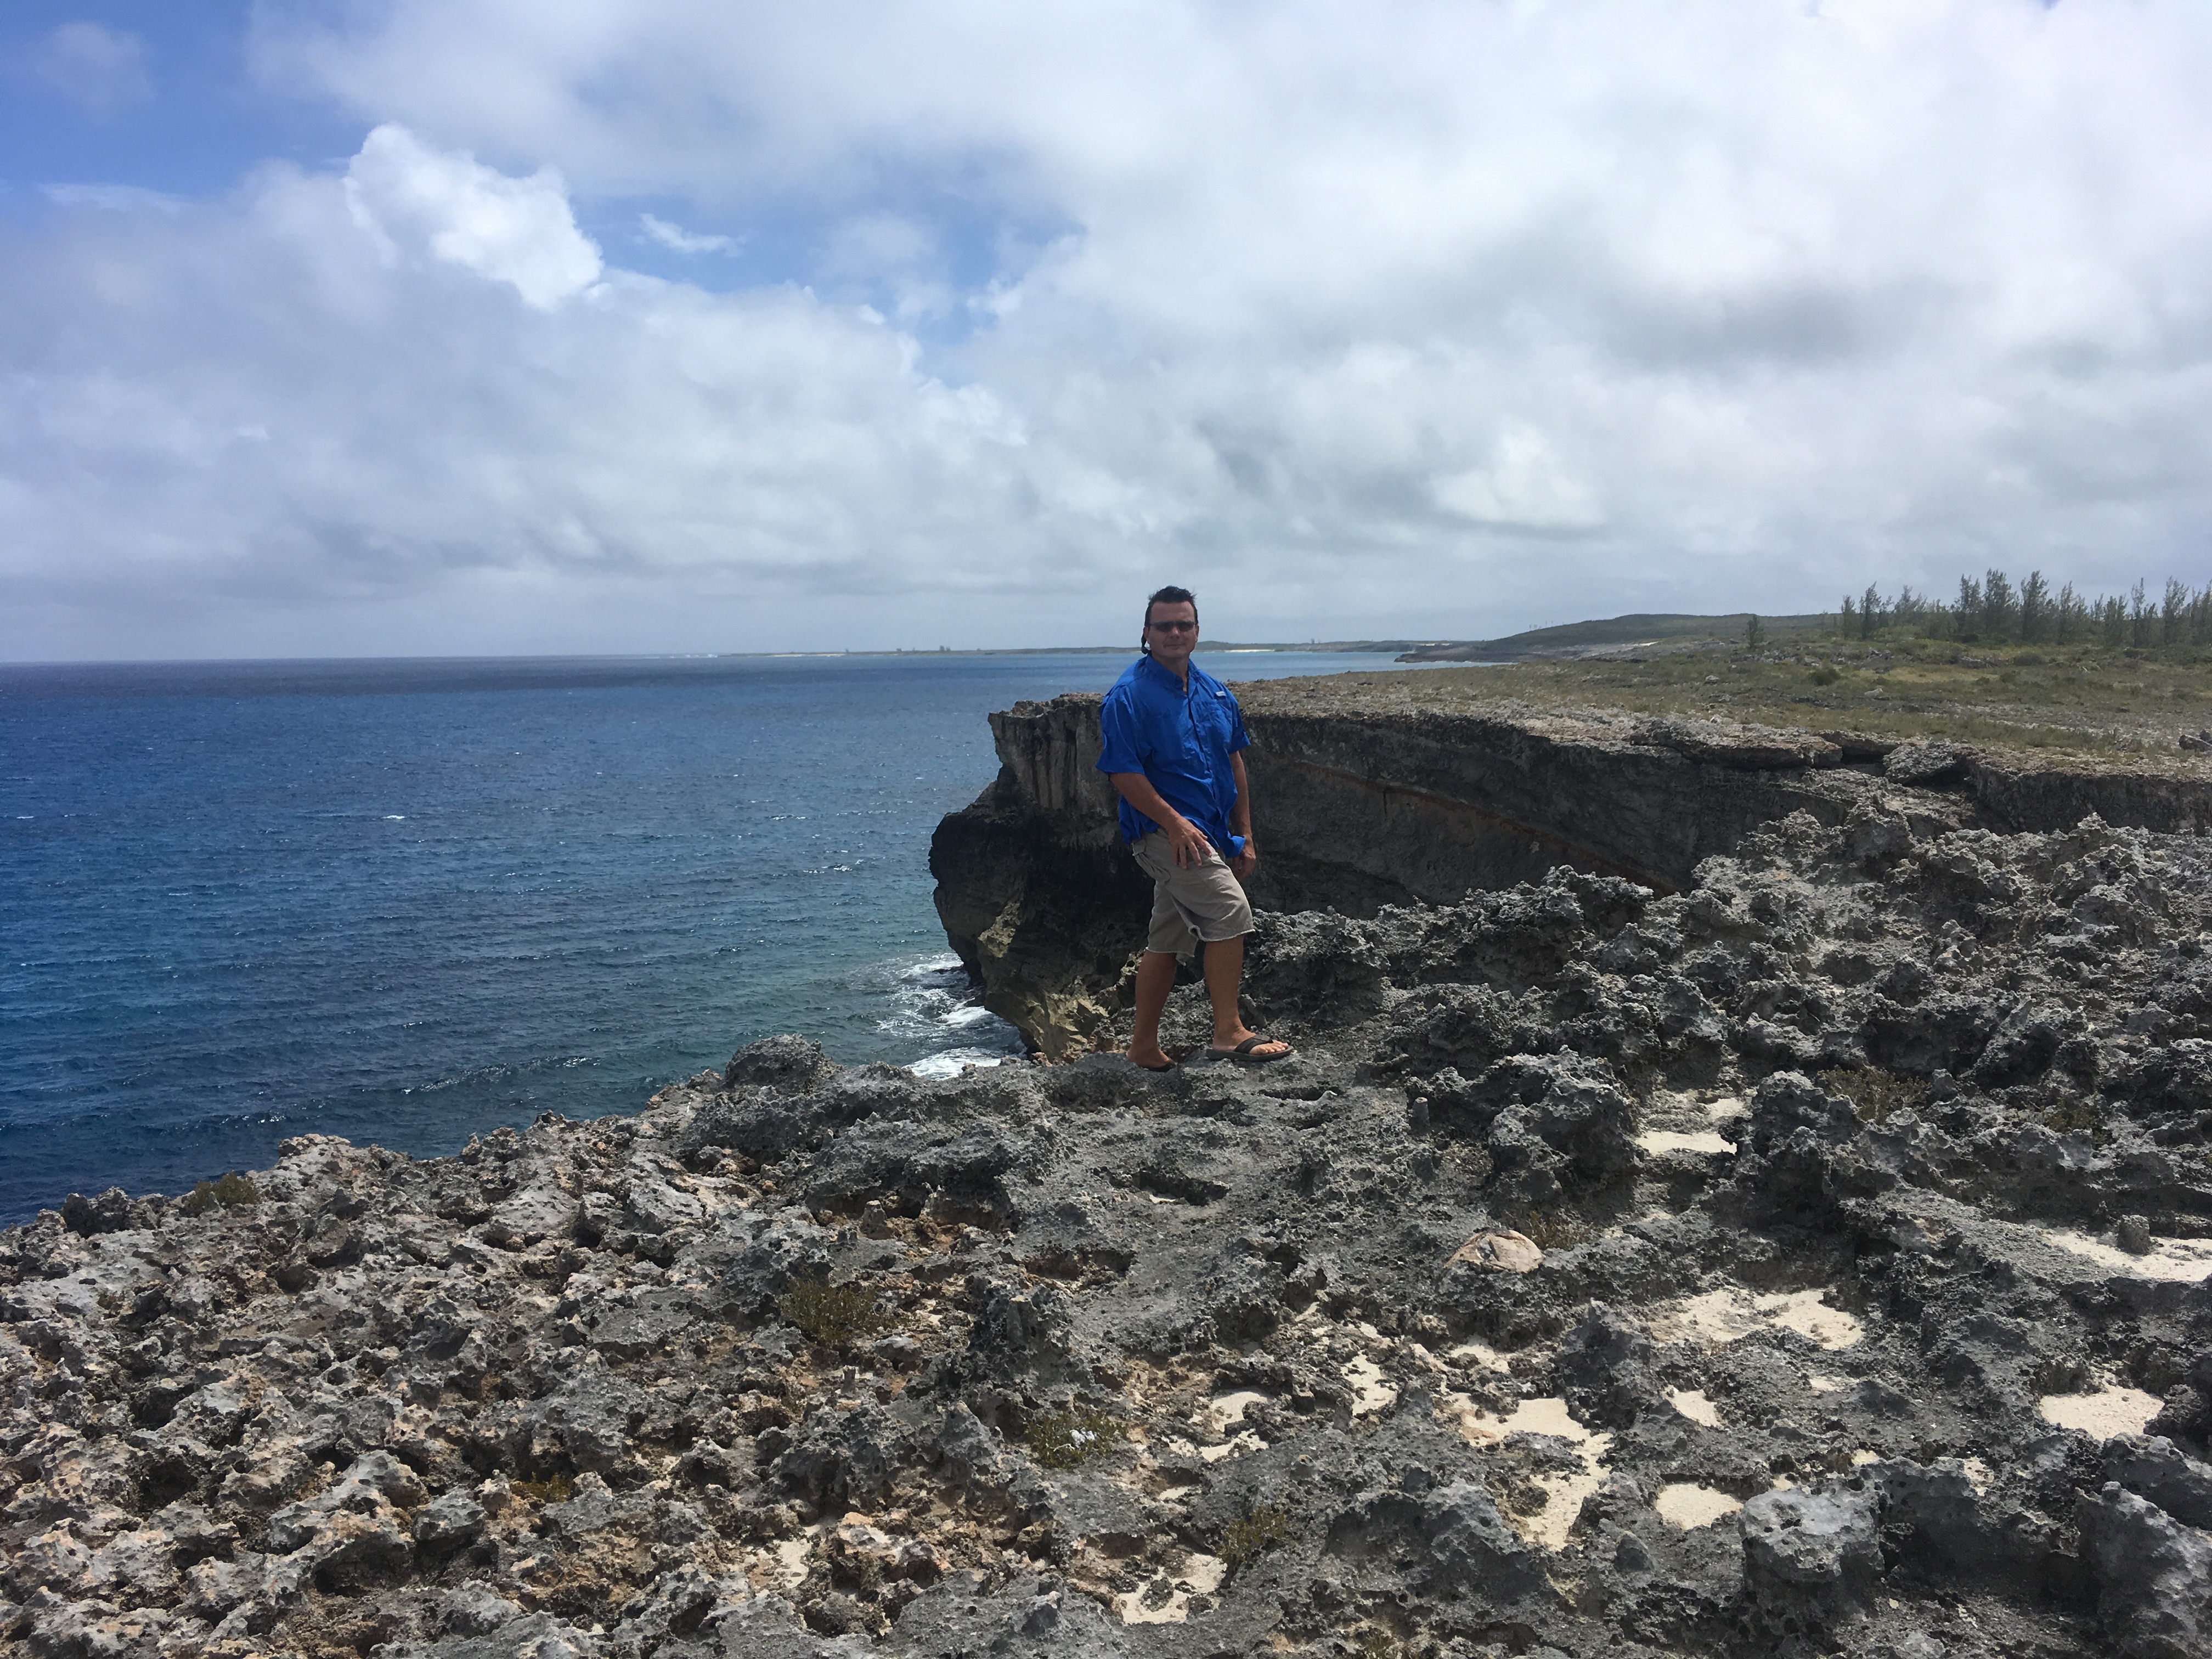
The Glass Window bridge is in northern Eleuthera and is one of the few places you can see the Atlantic and the banks side of the ocean at the same time. It’s more impressive when the weather is unsettled but still pretty cool.
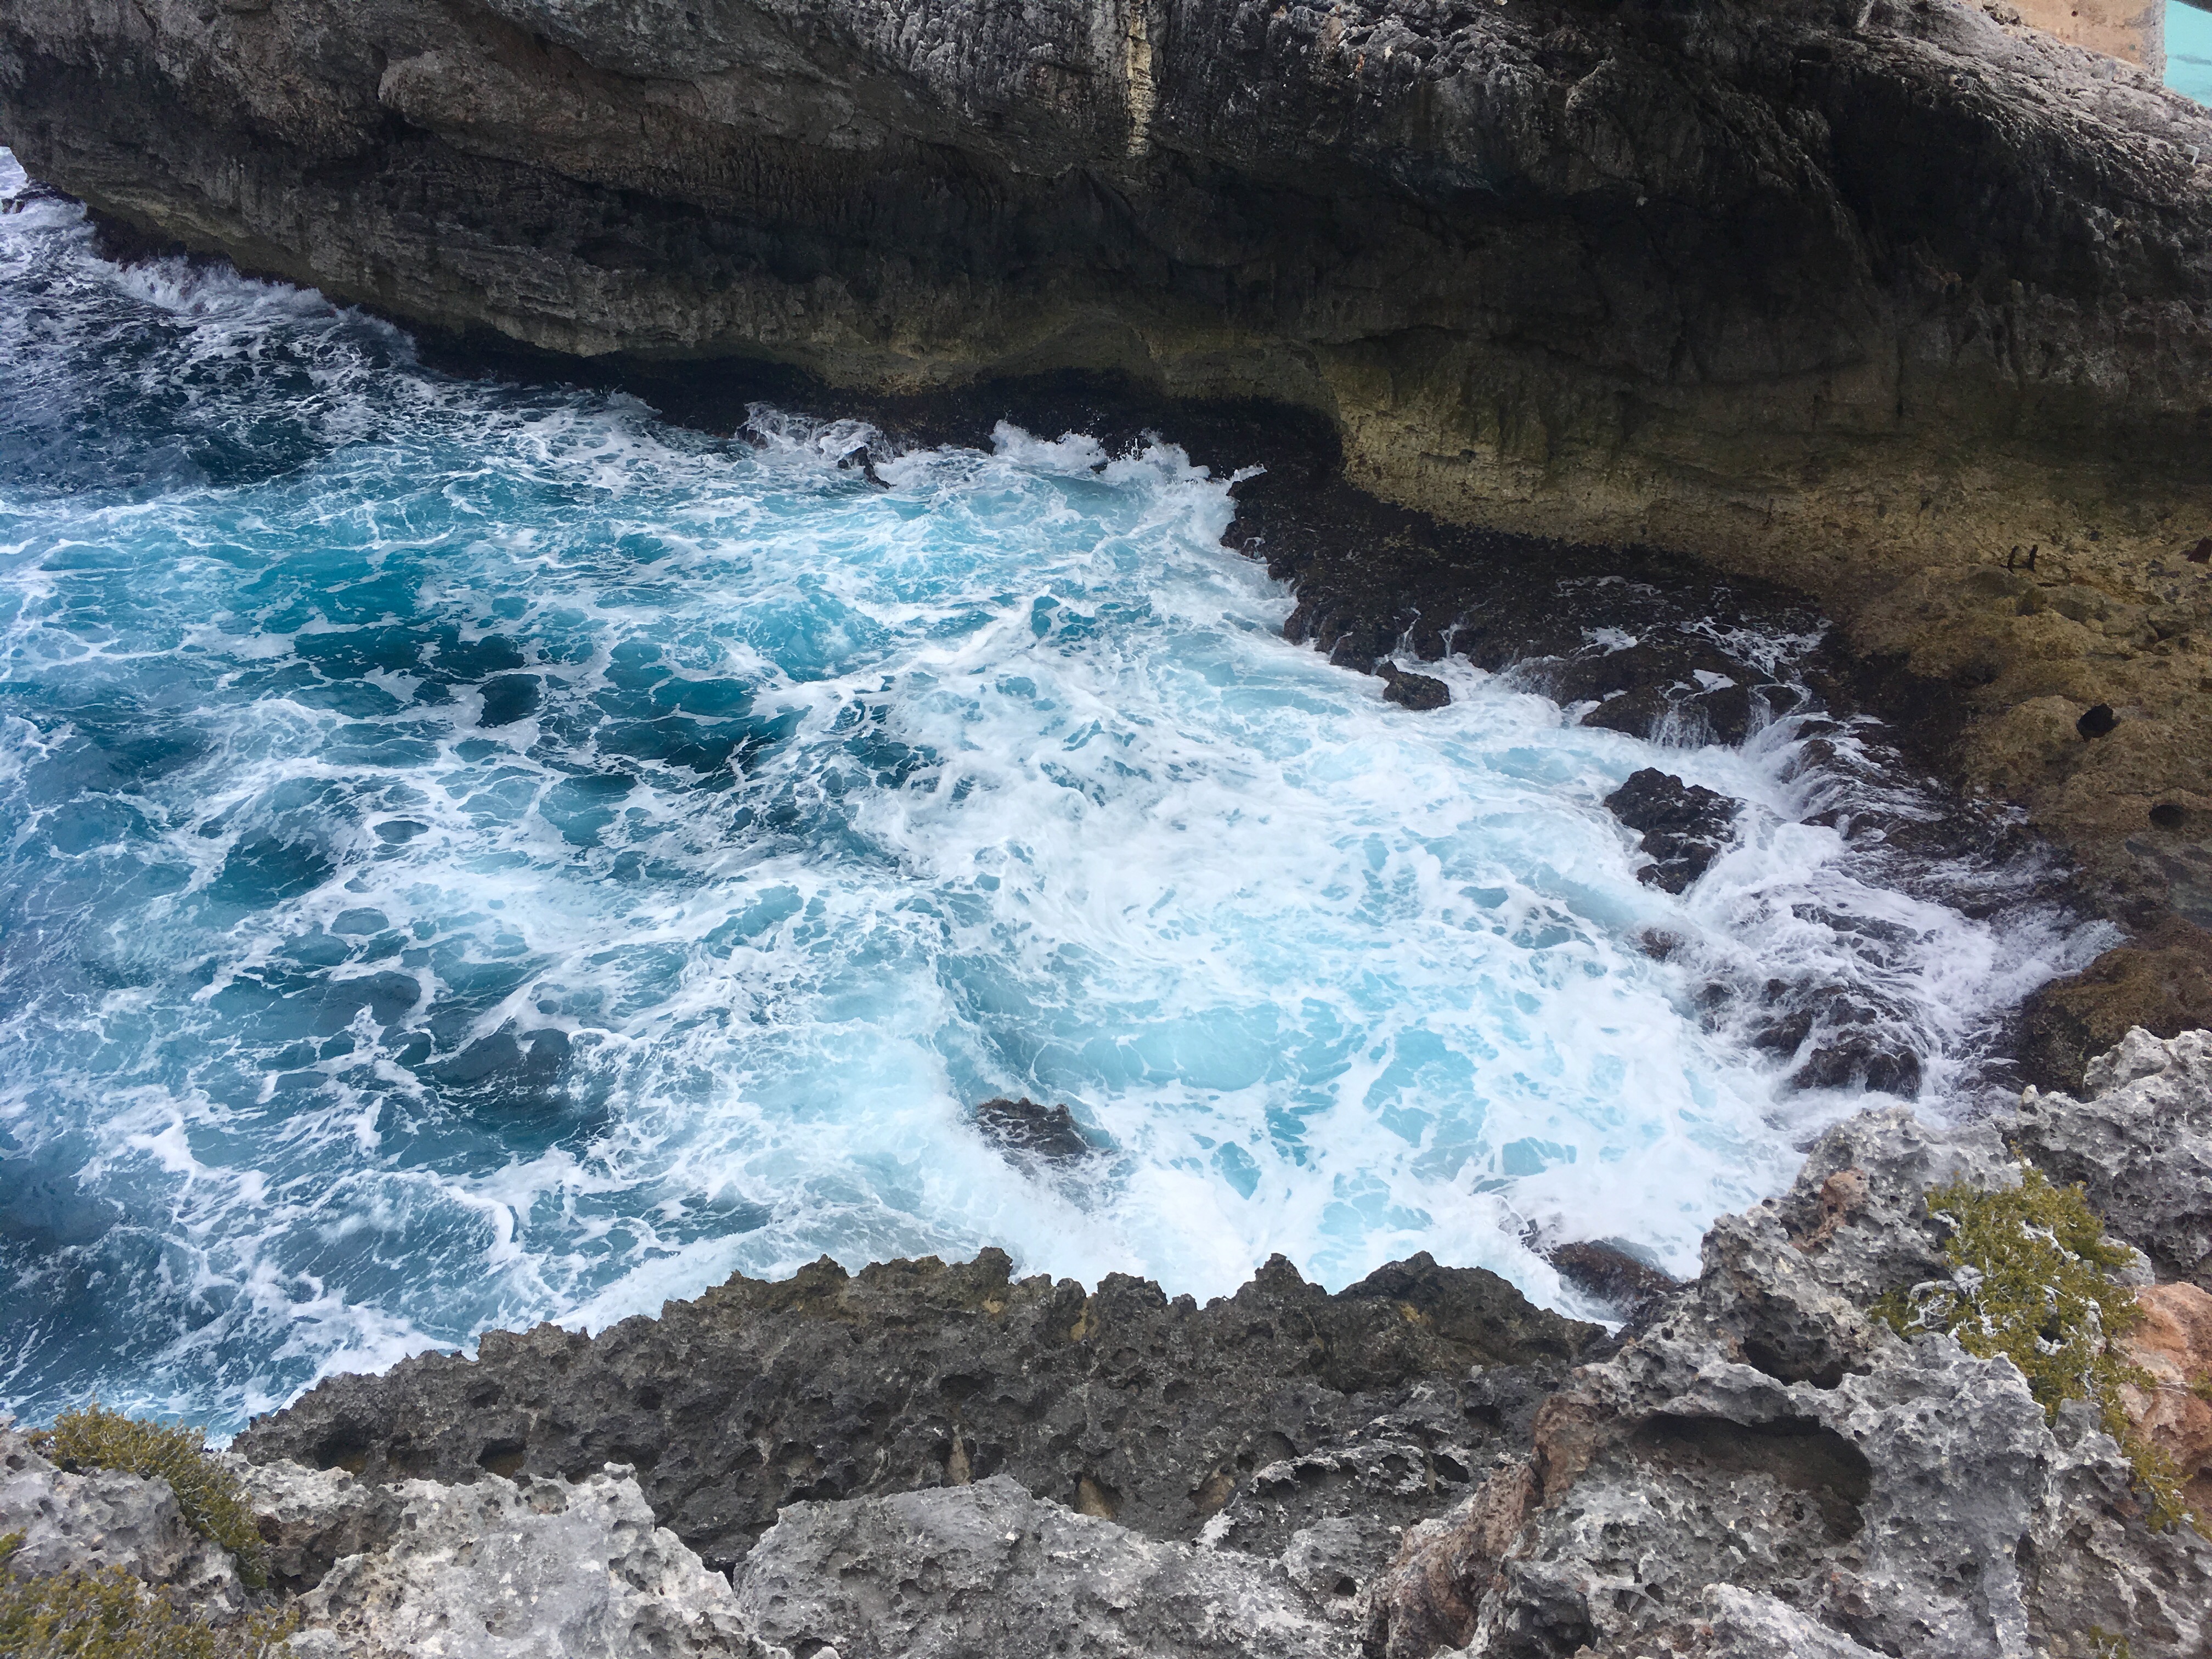
the west side of the Glass Window….


Beautiful beachfront church in Rock Sound

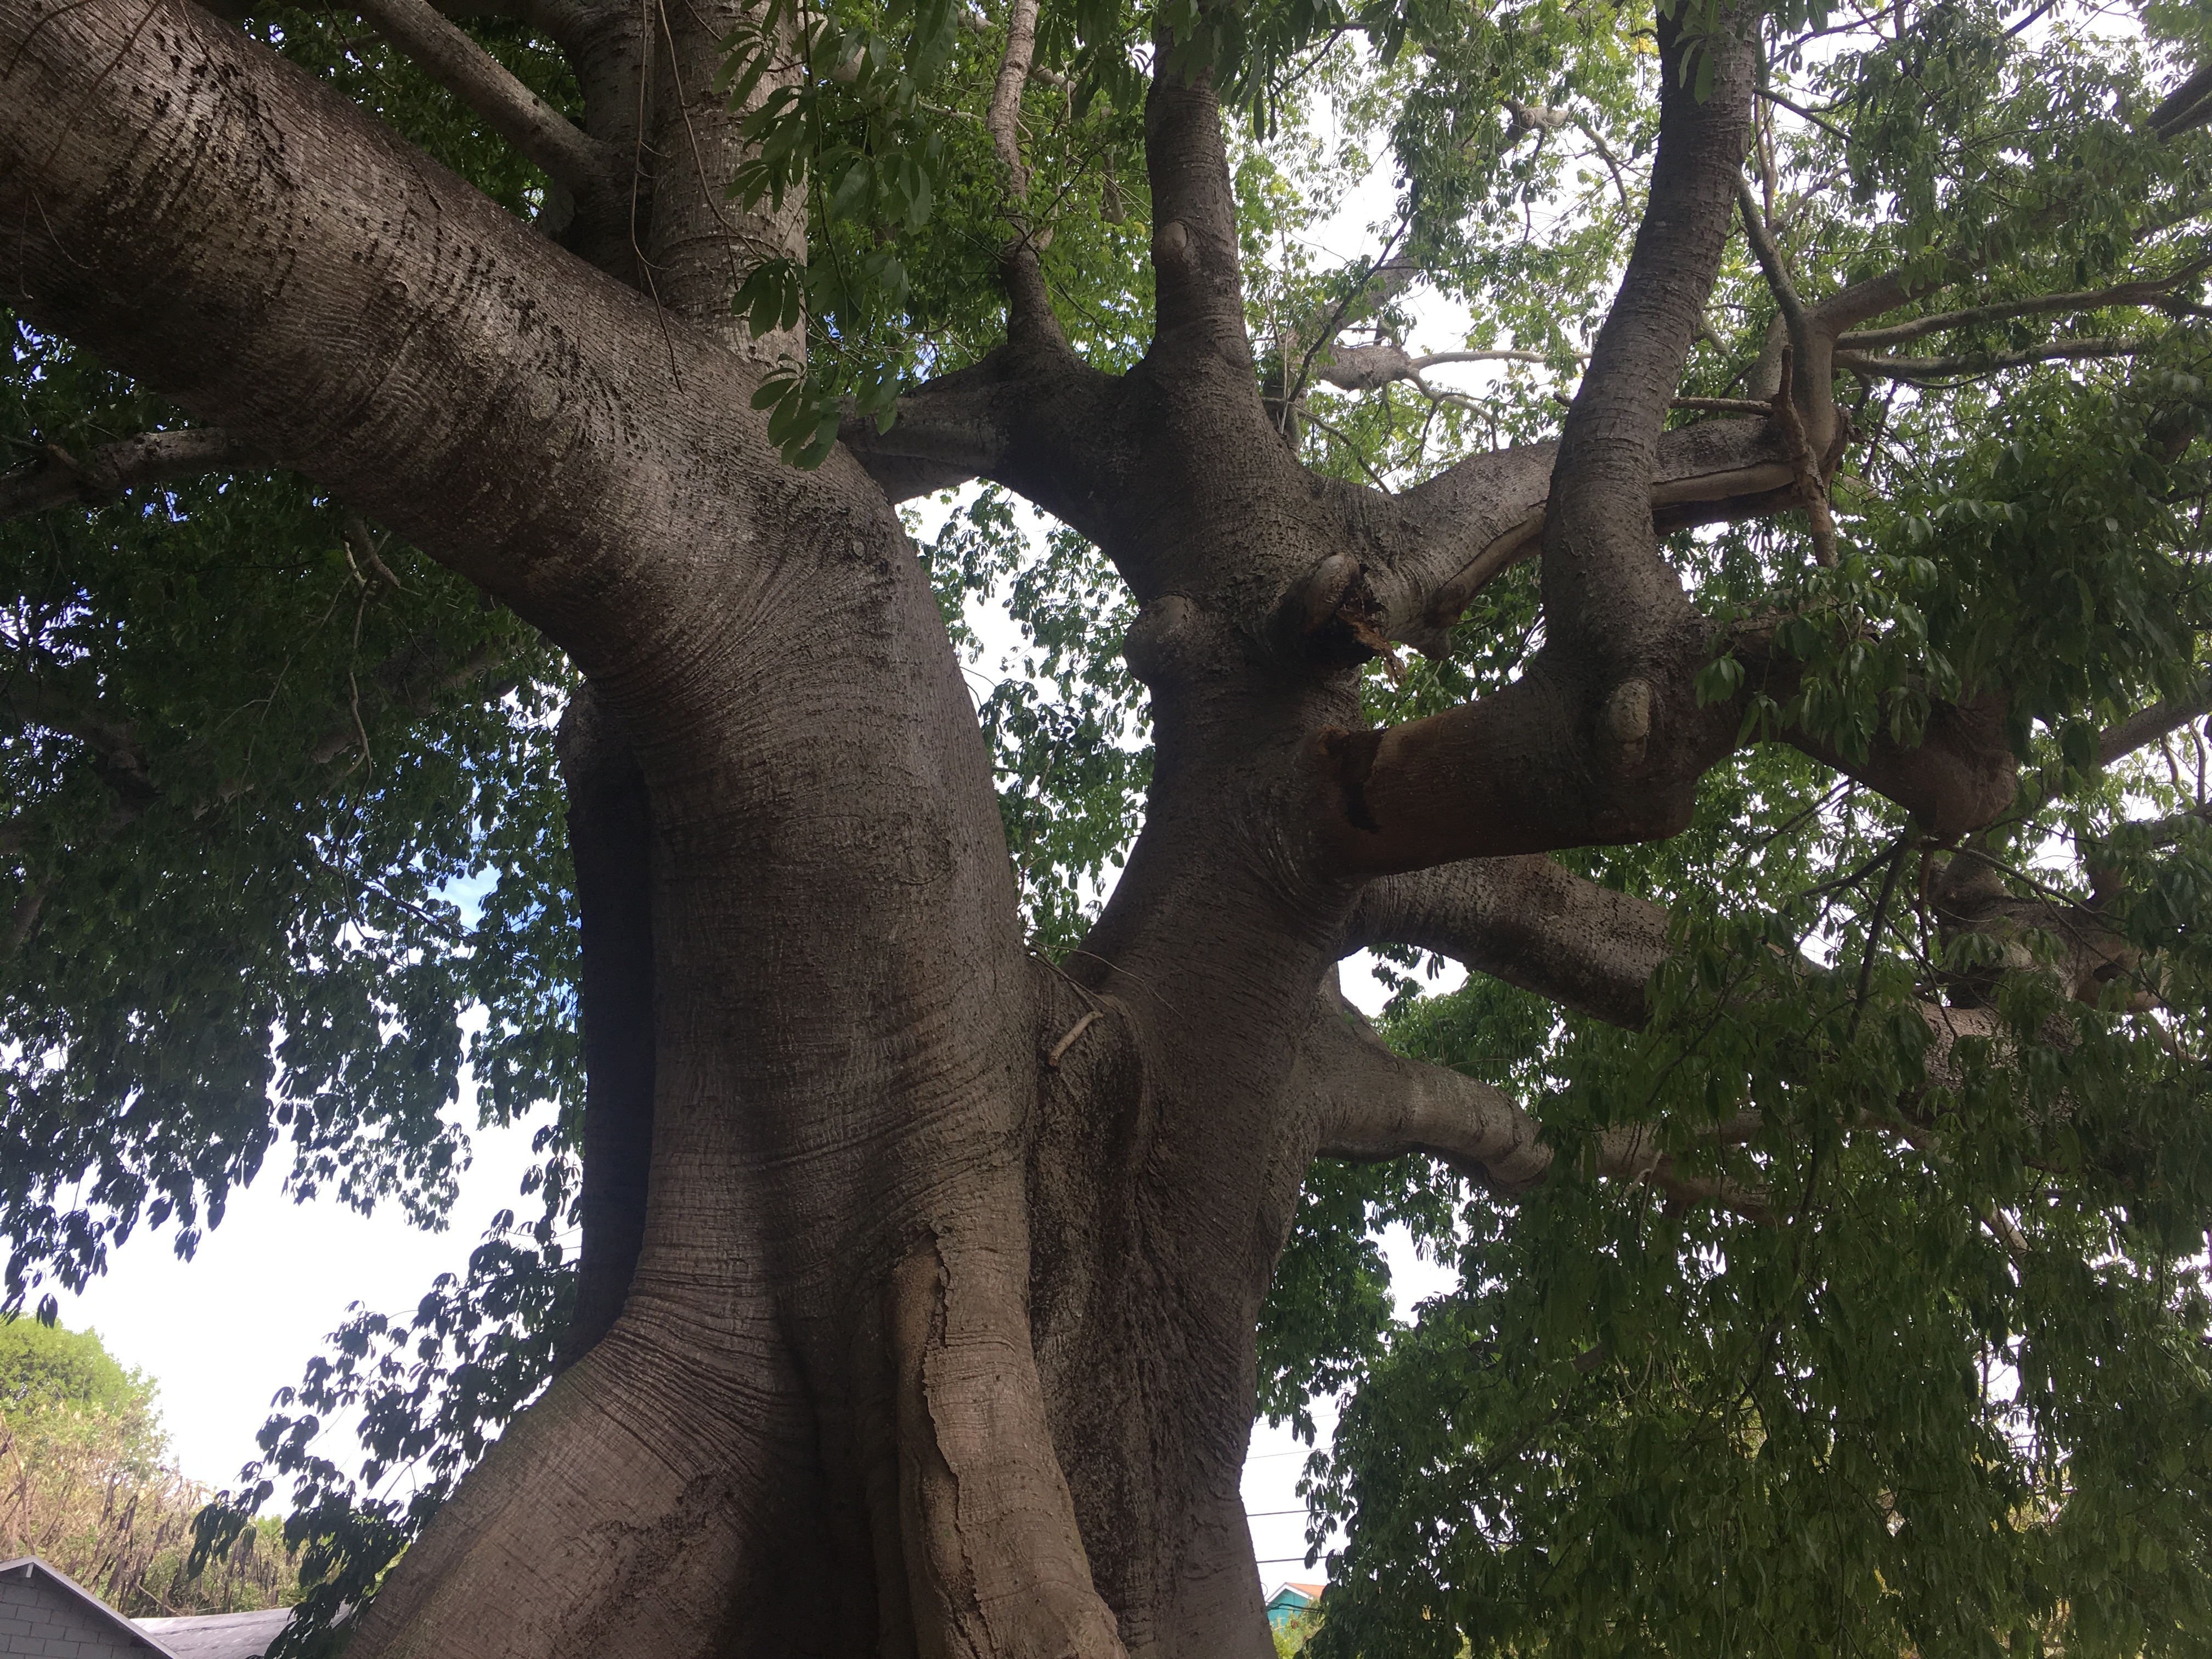
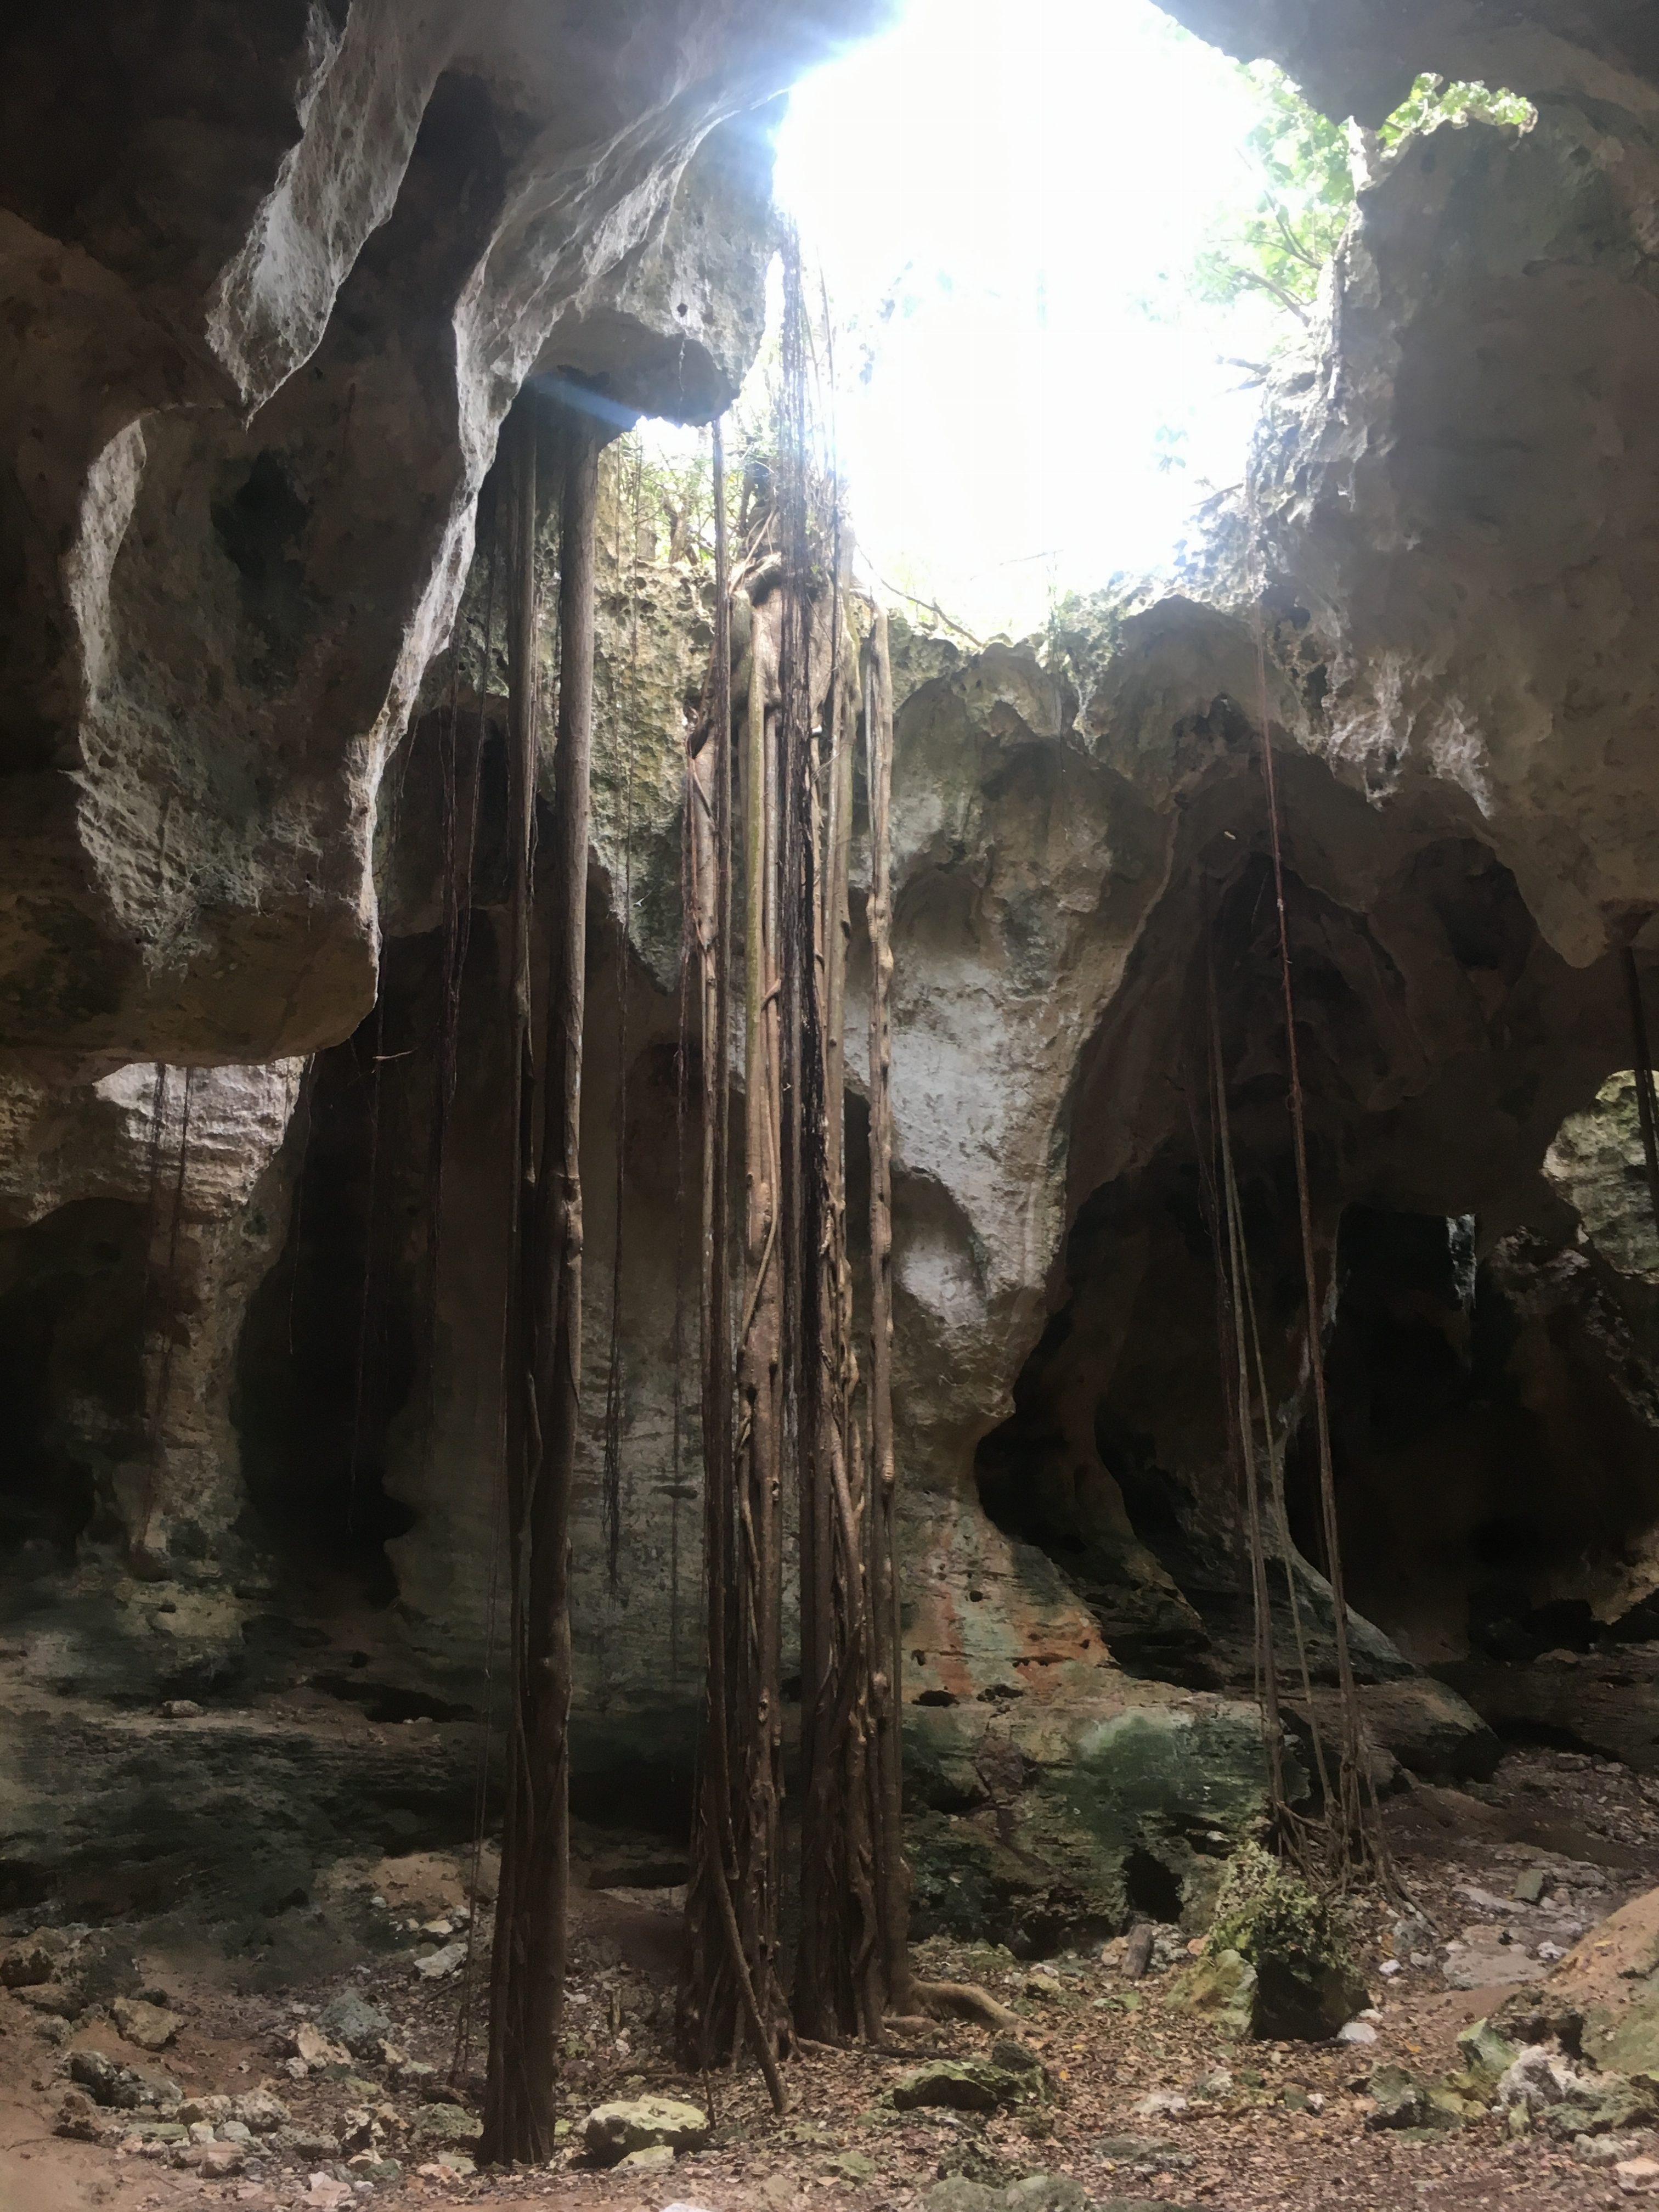
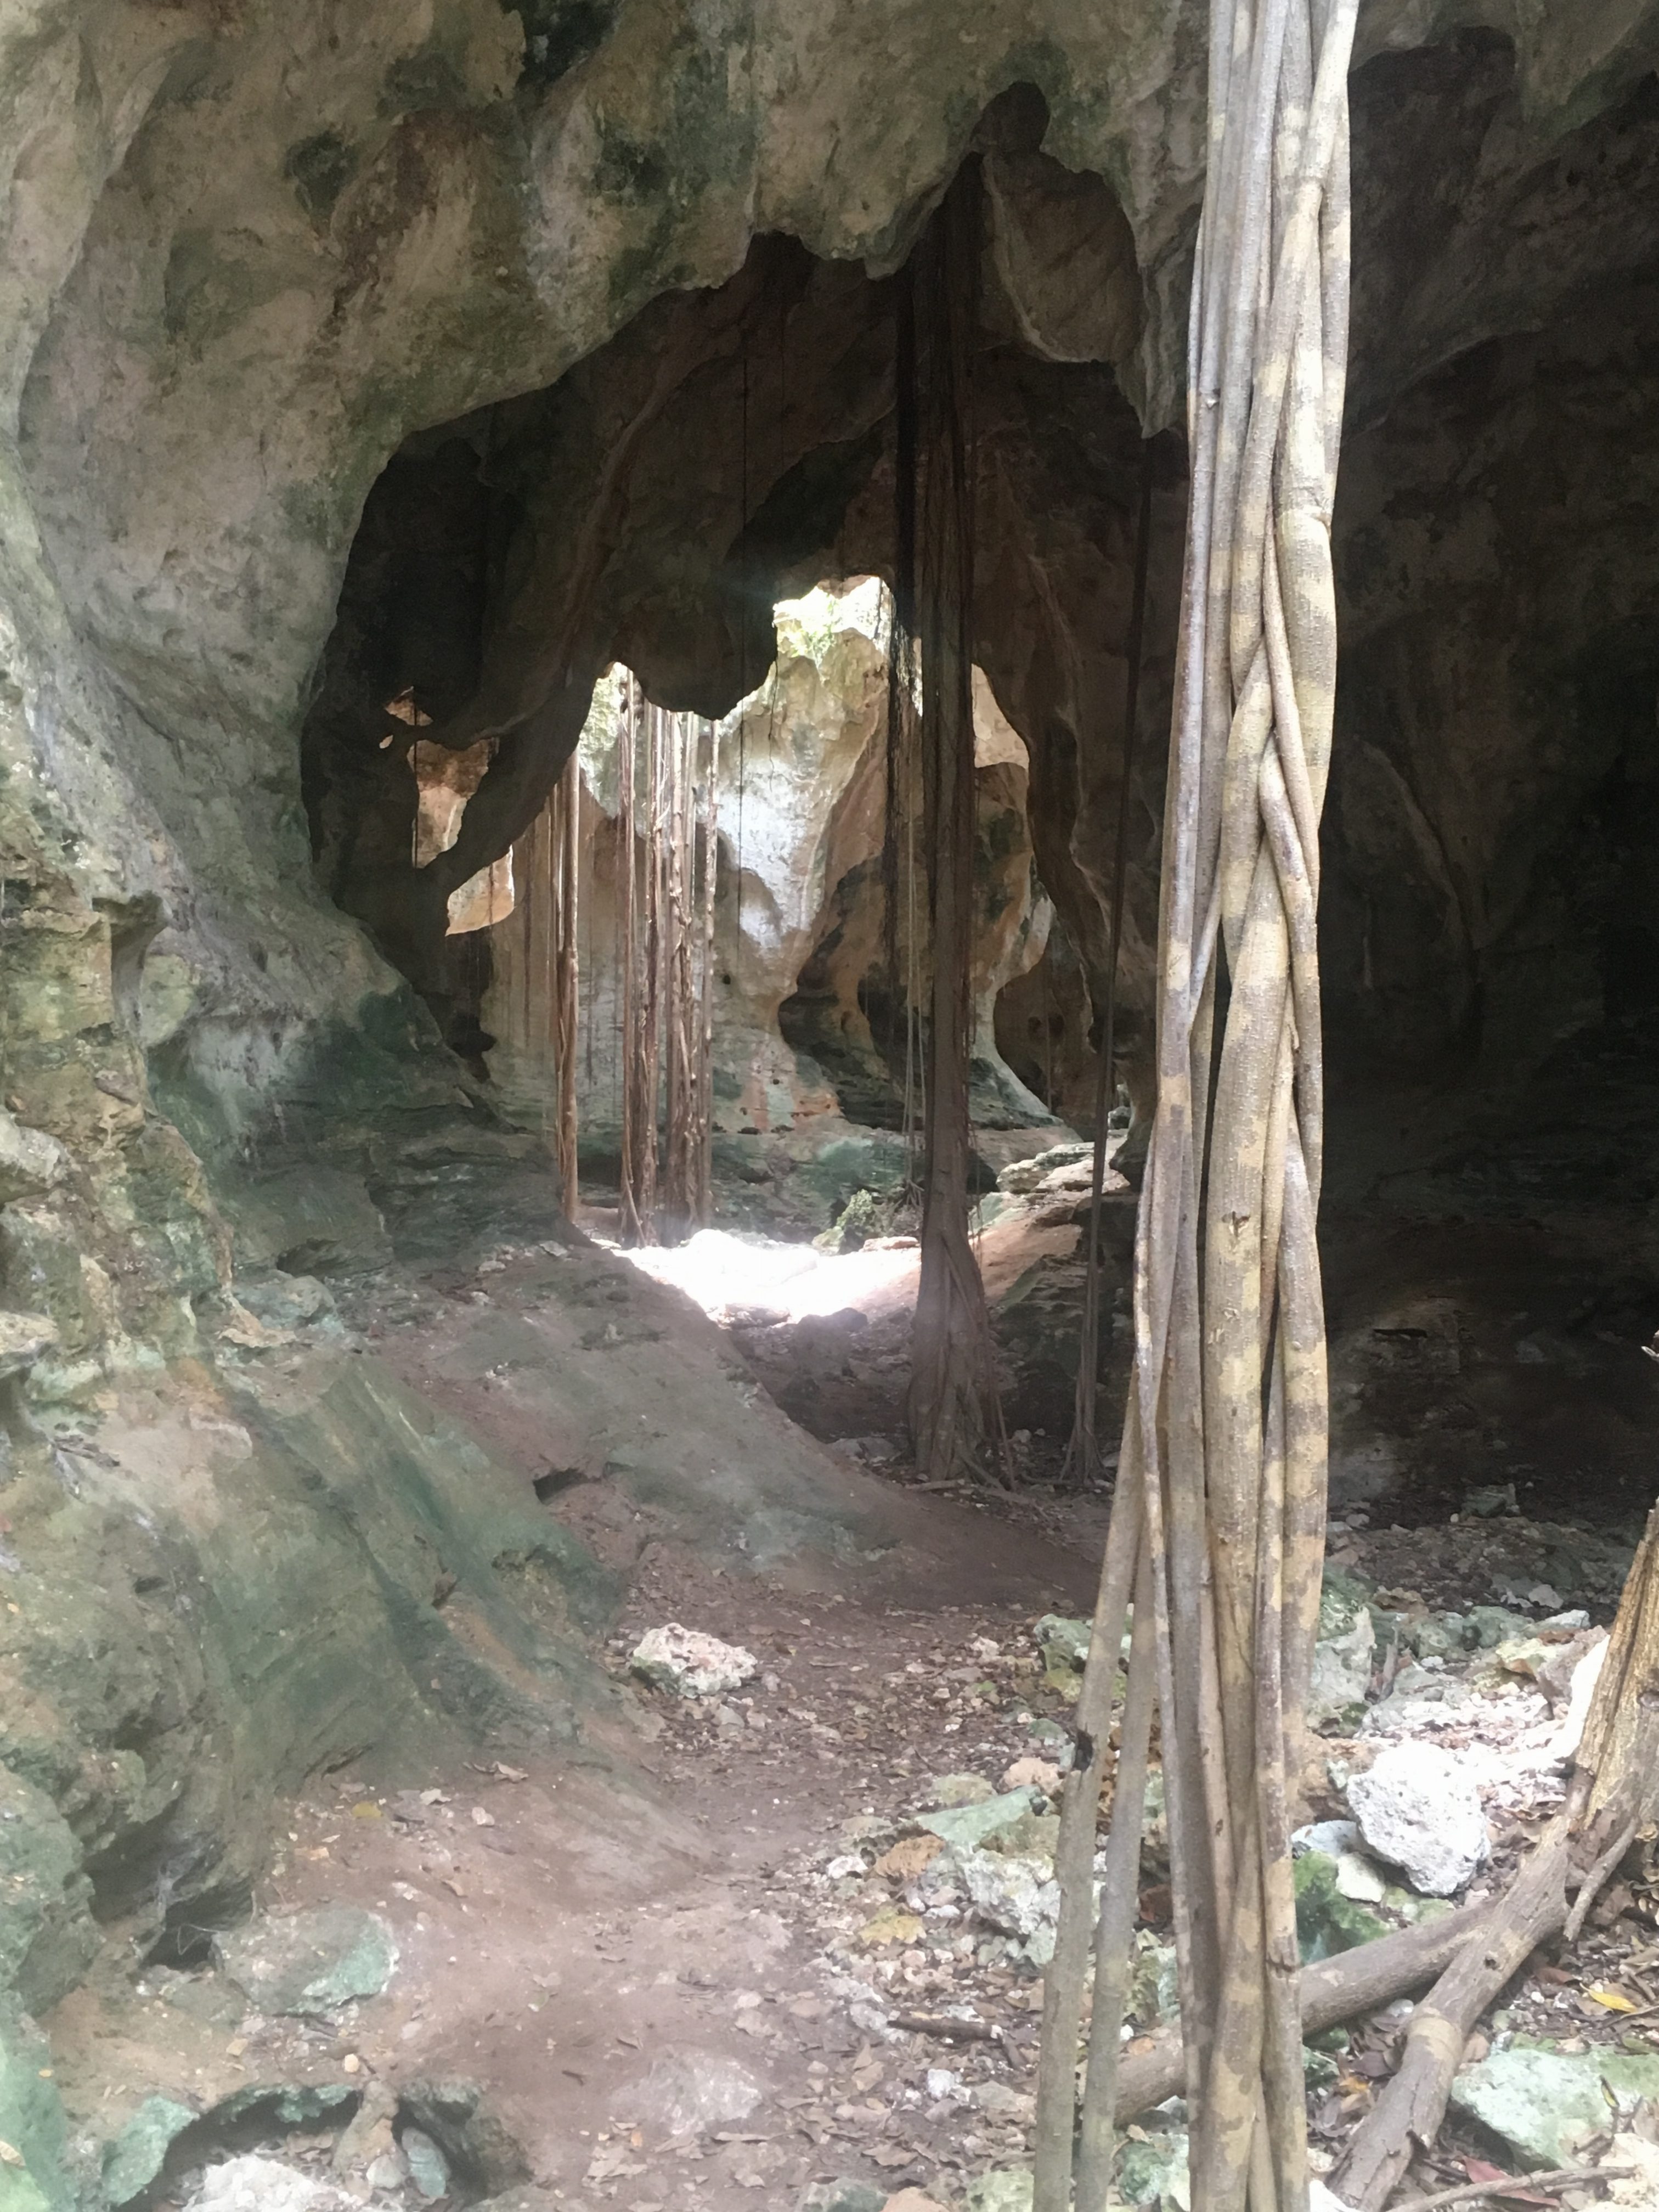
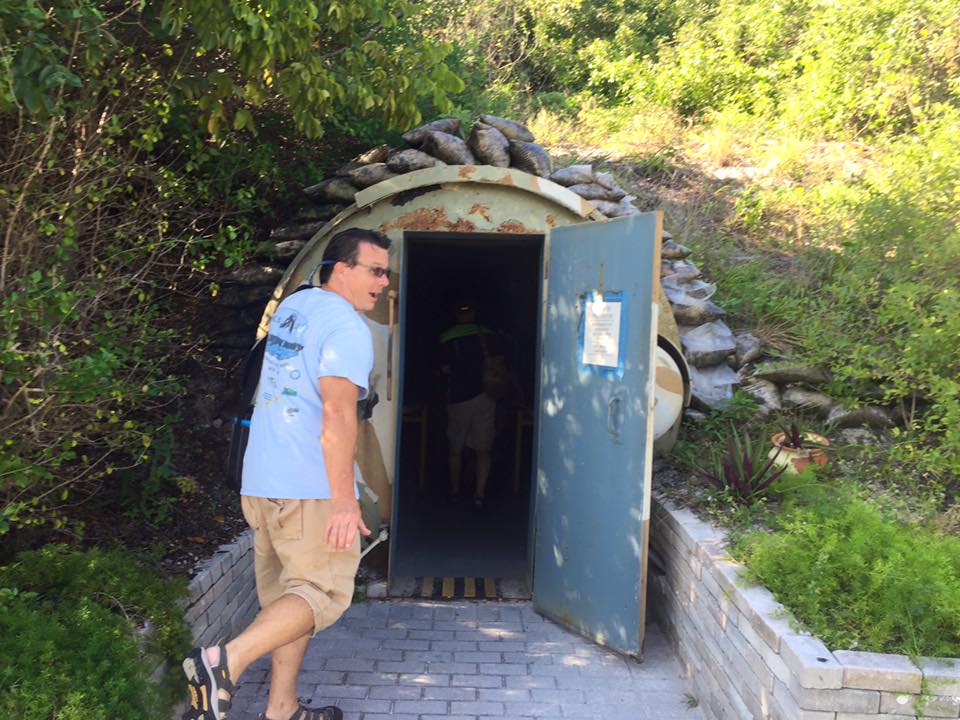
In the spider cave….Kim doesn’t look worried at all….
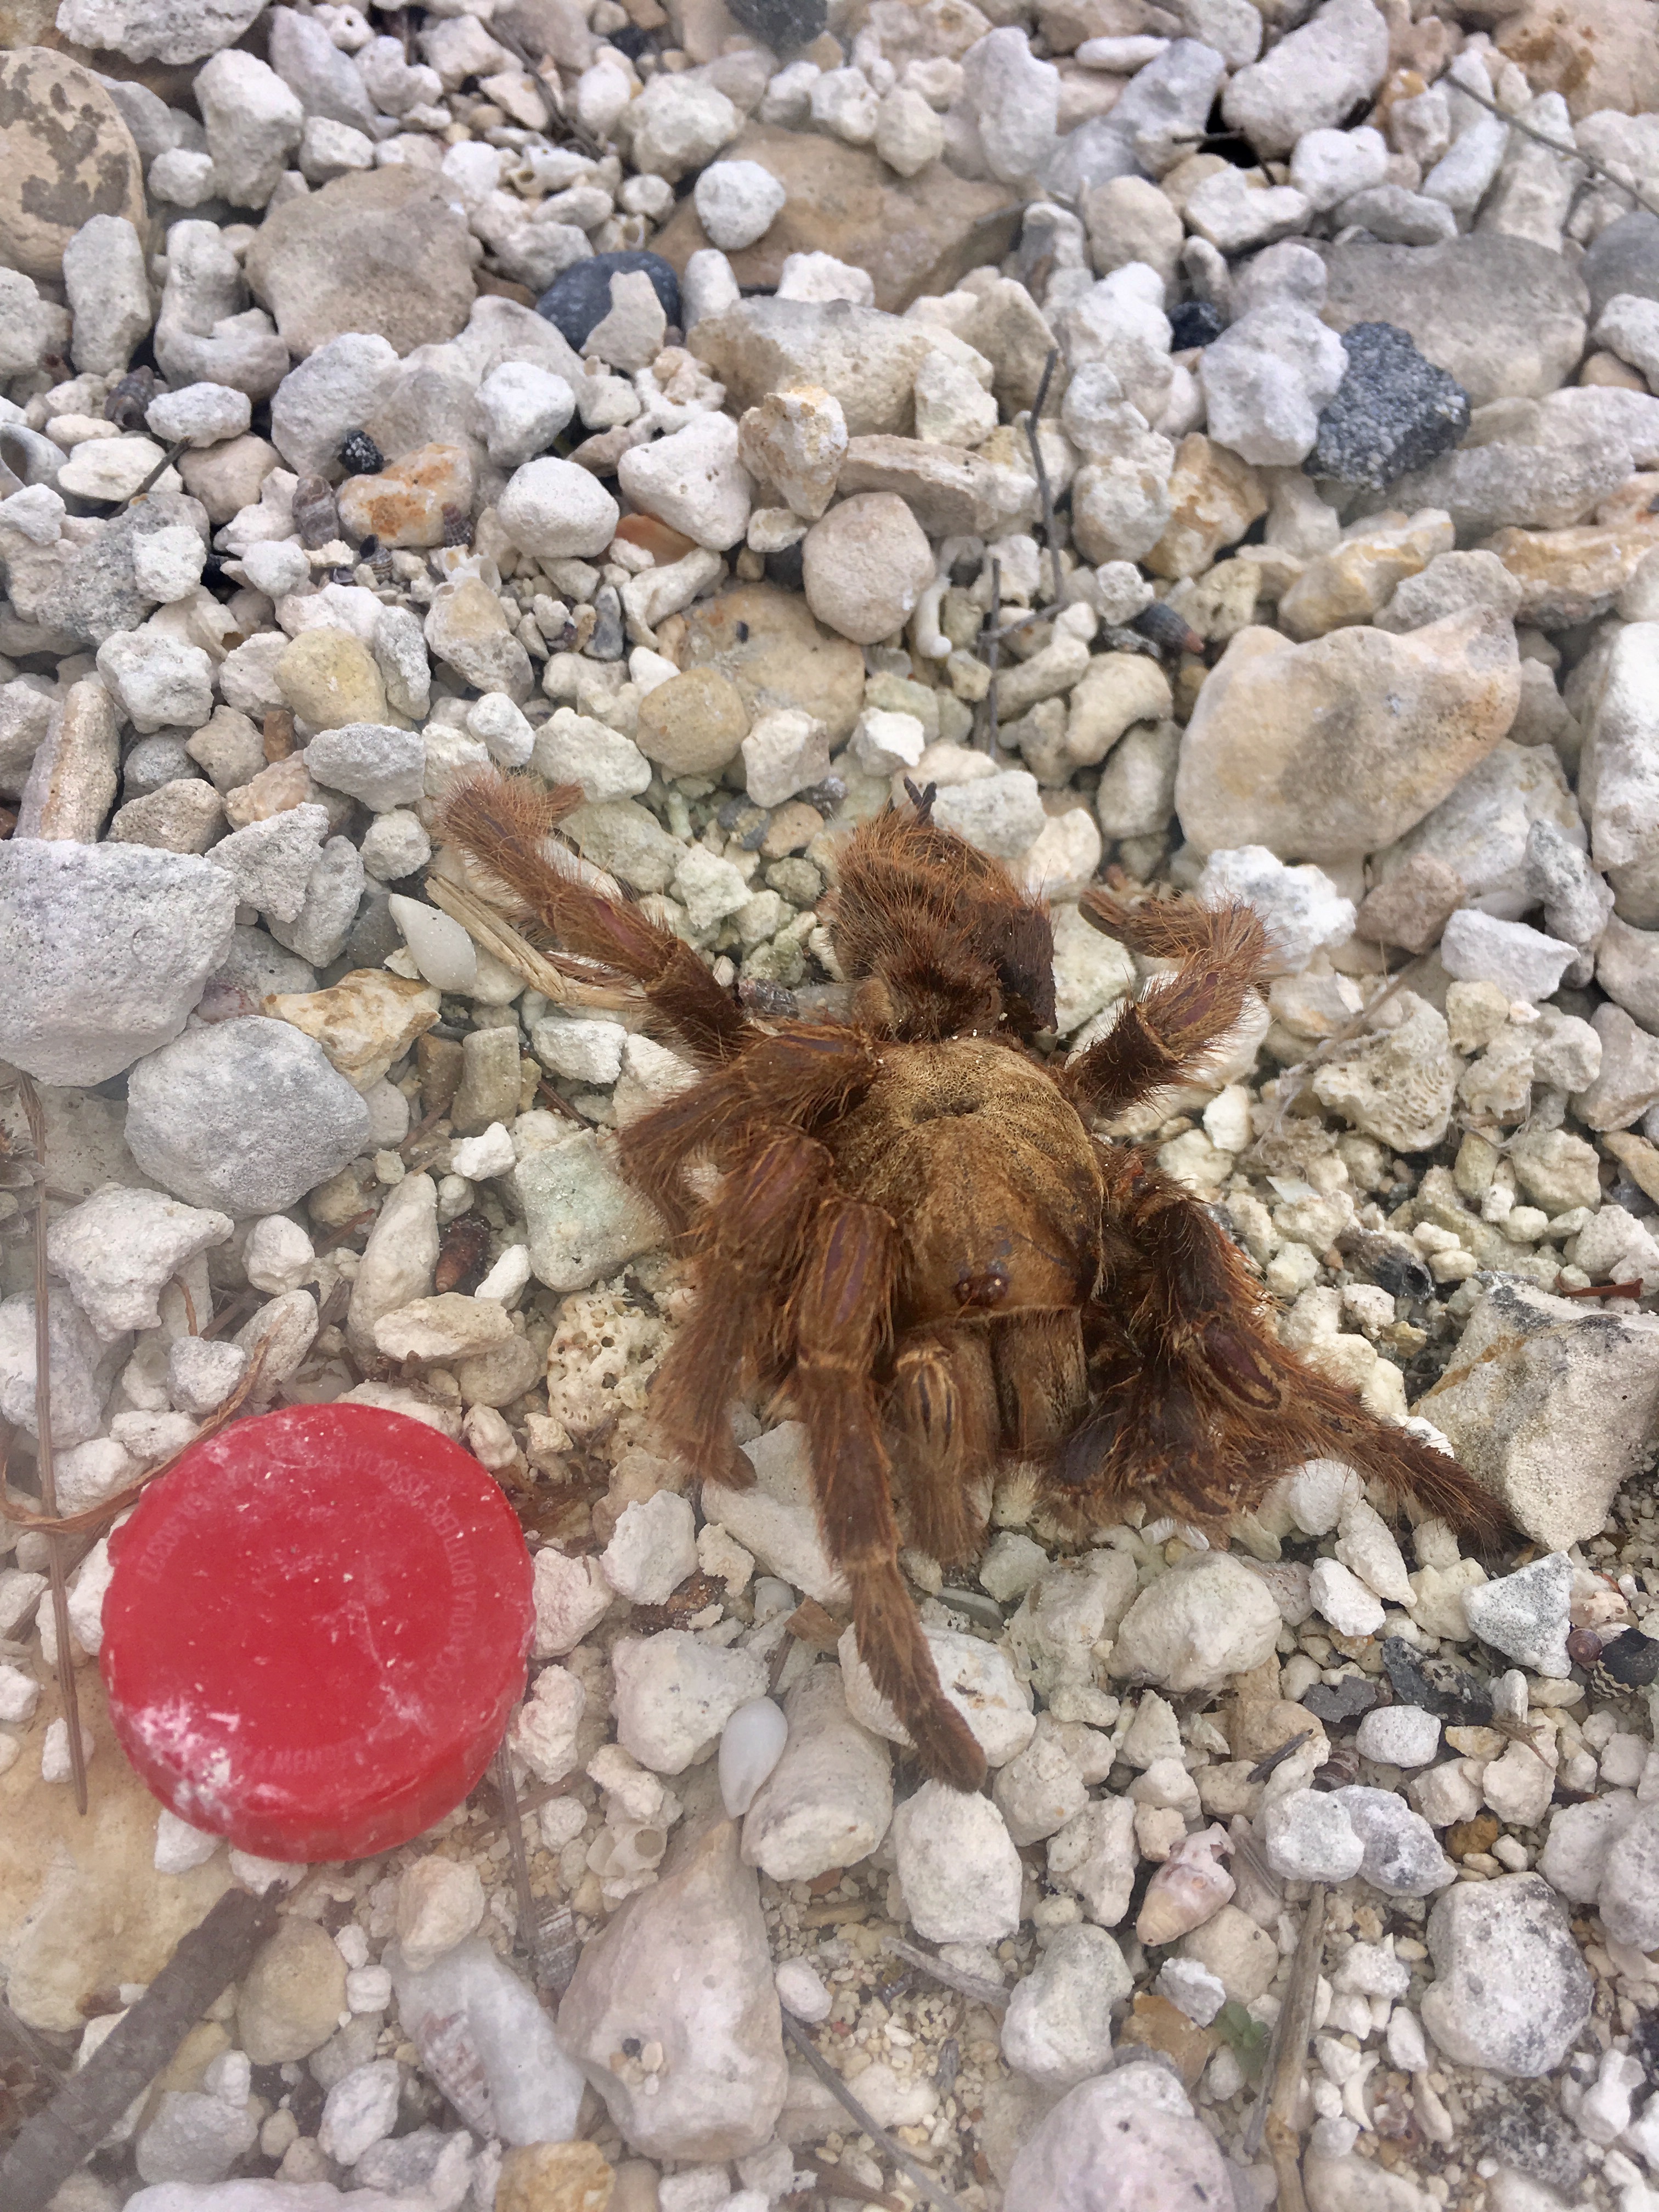
We found this little guy dead on the side of the road….that’s about a 2″ Gatorade lid for scale…..maybe he was hit by a car…..I wonder how badly the car was damaged?
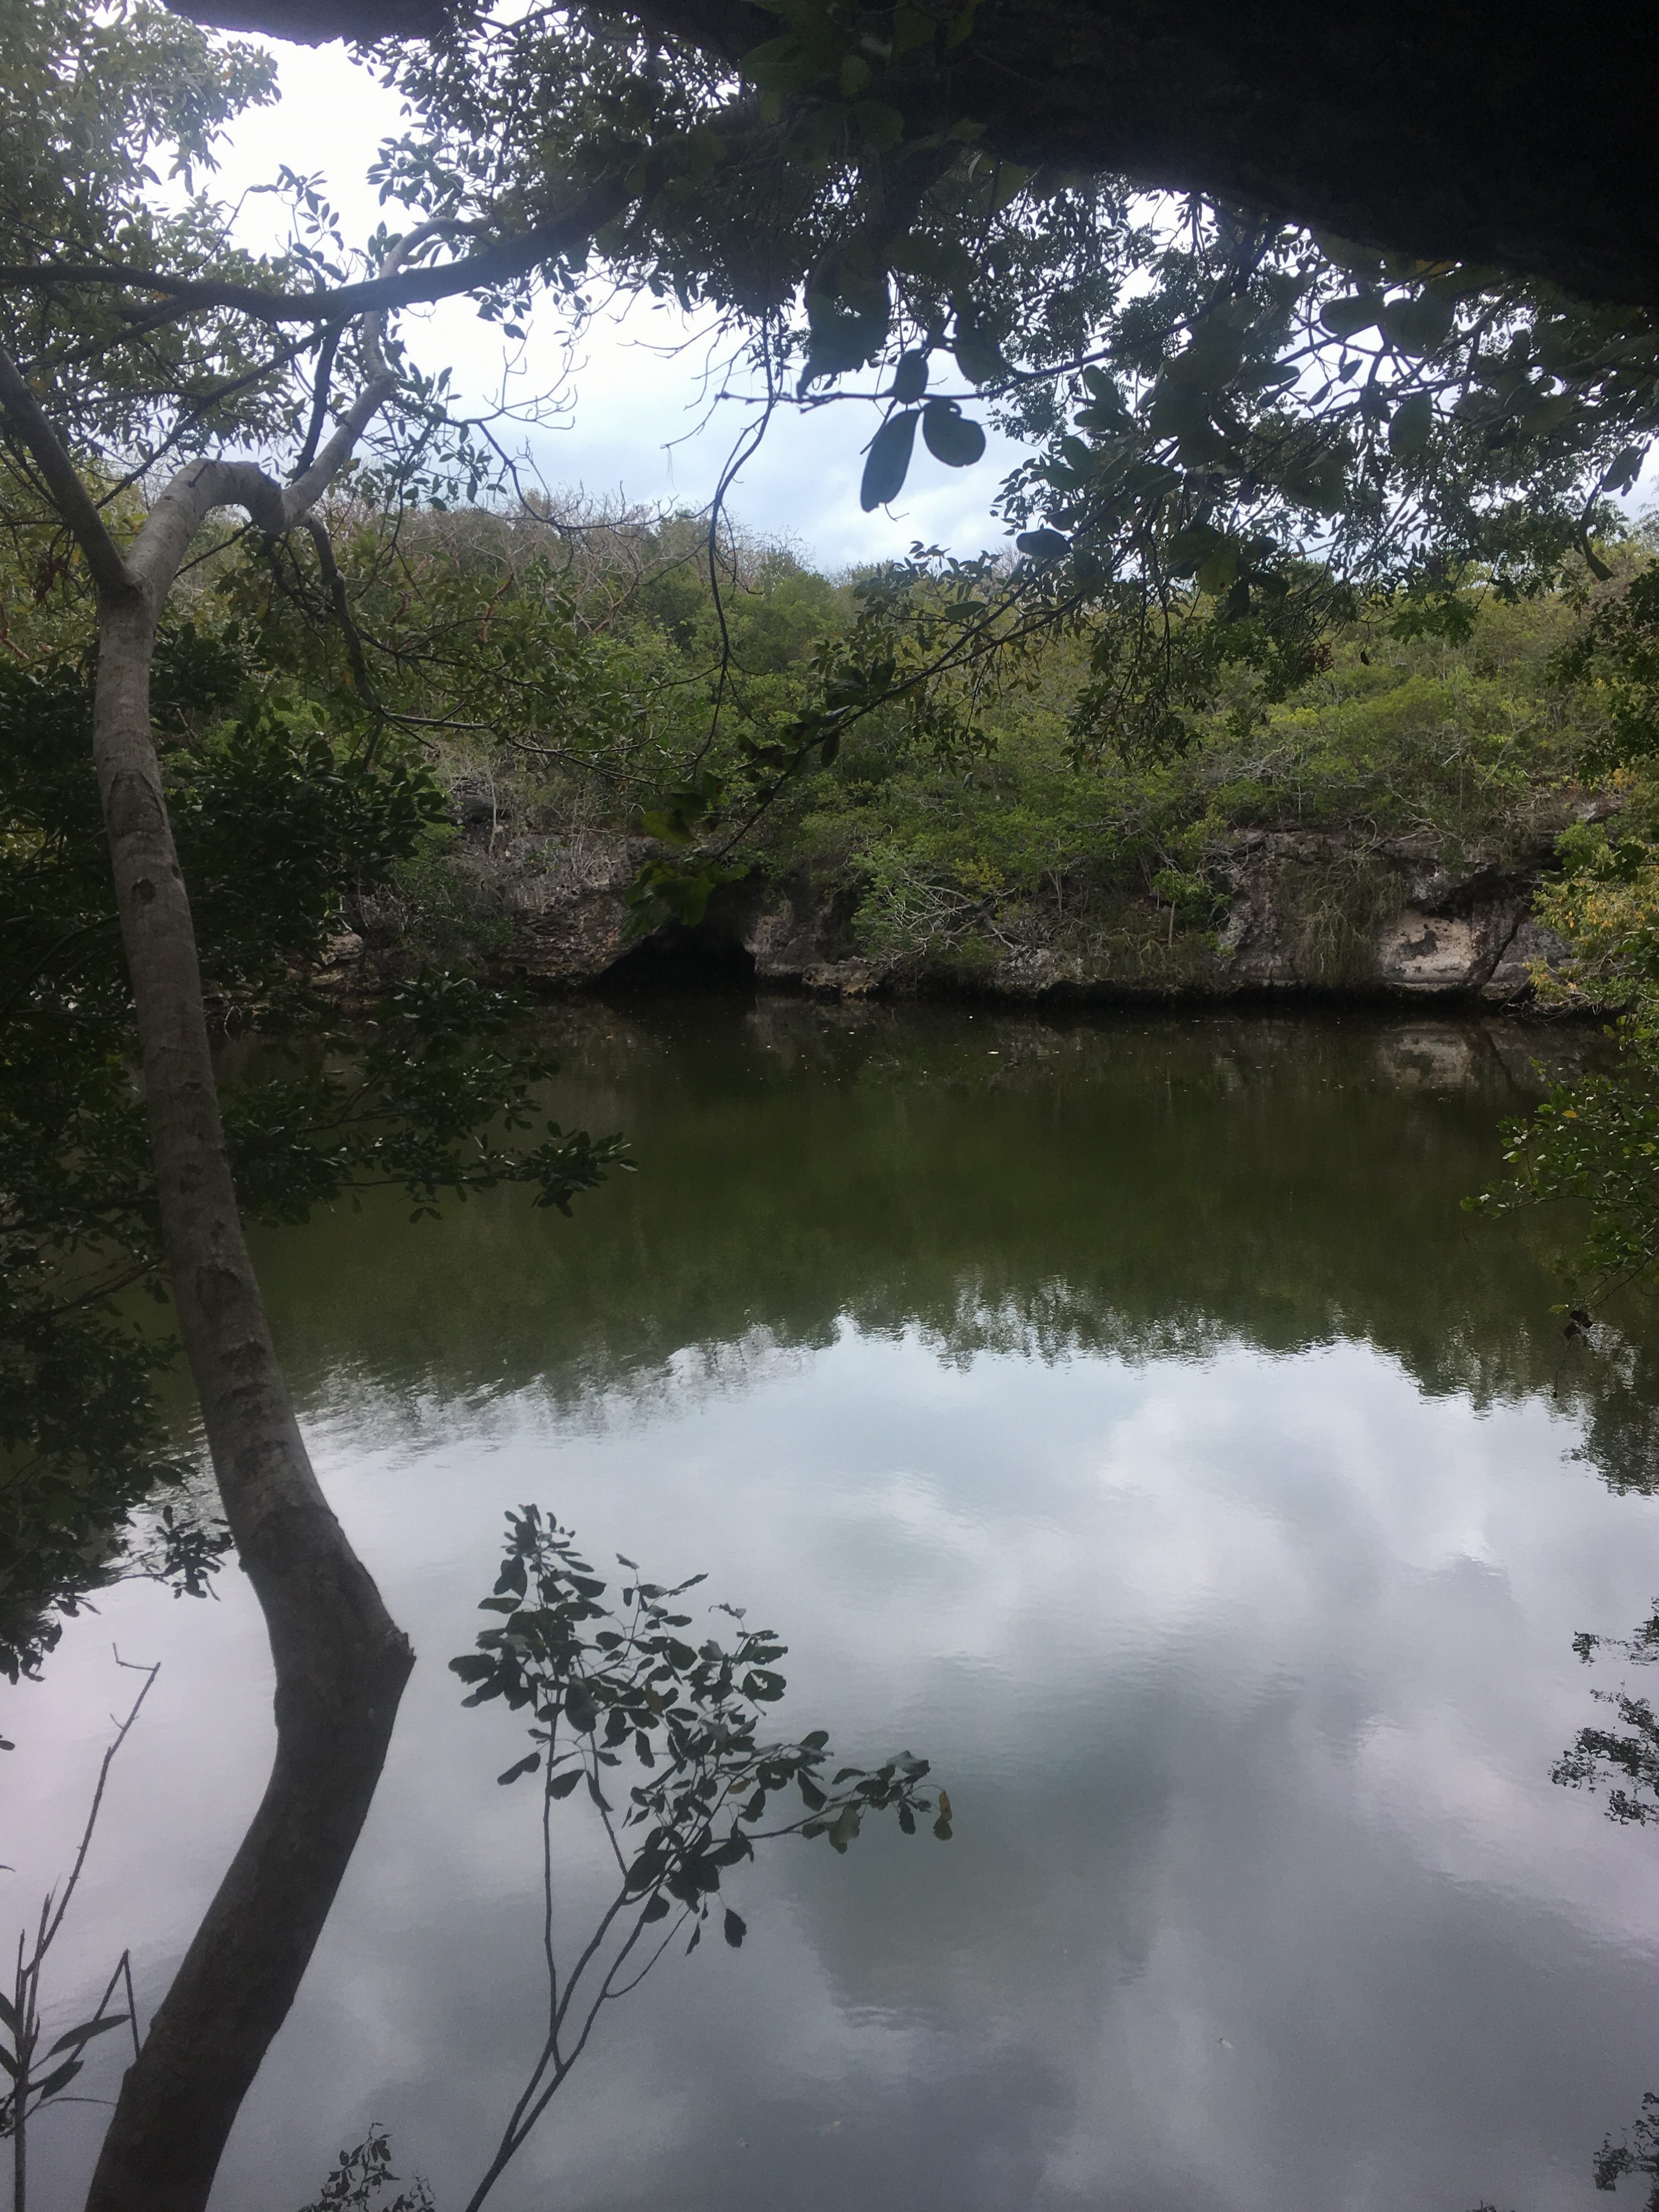
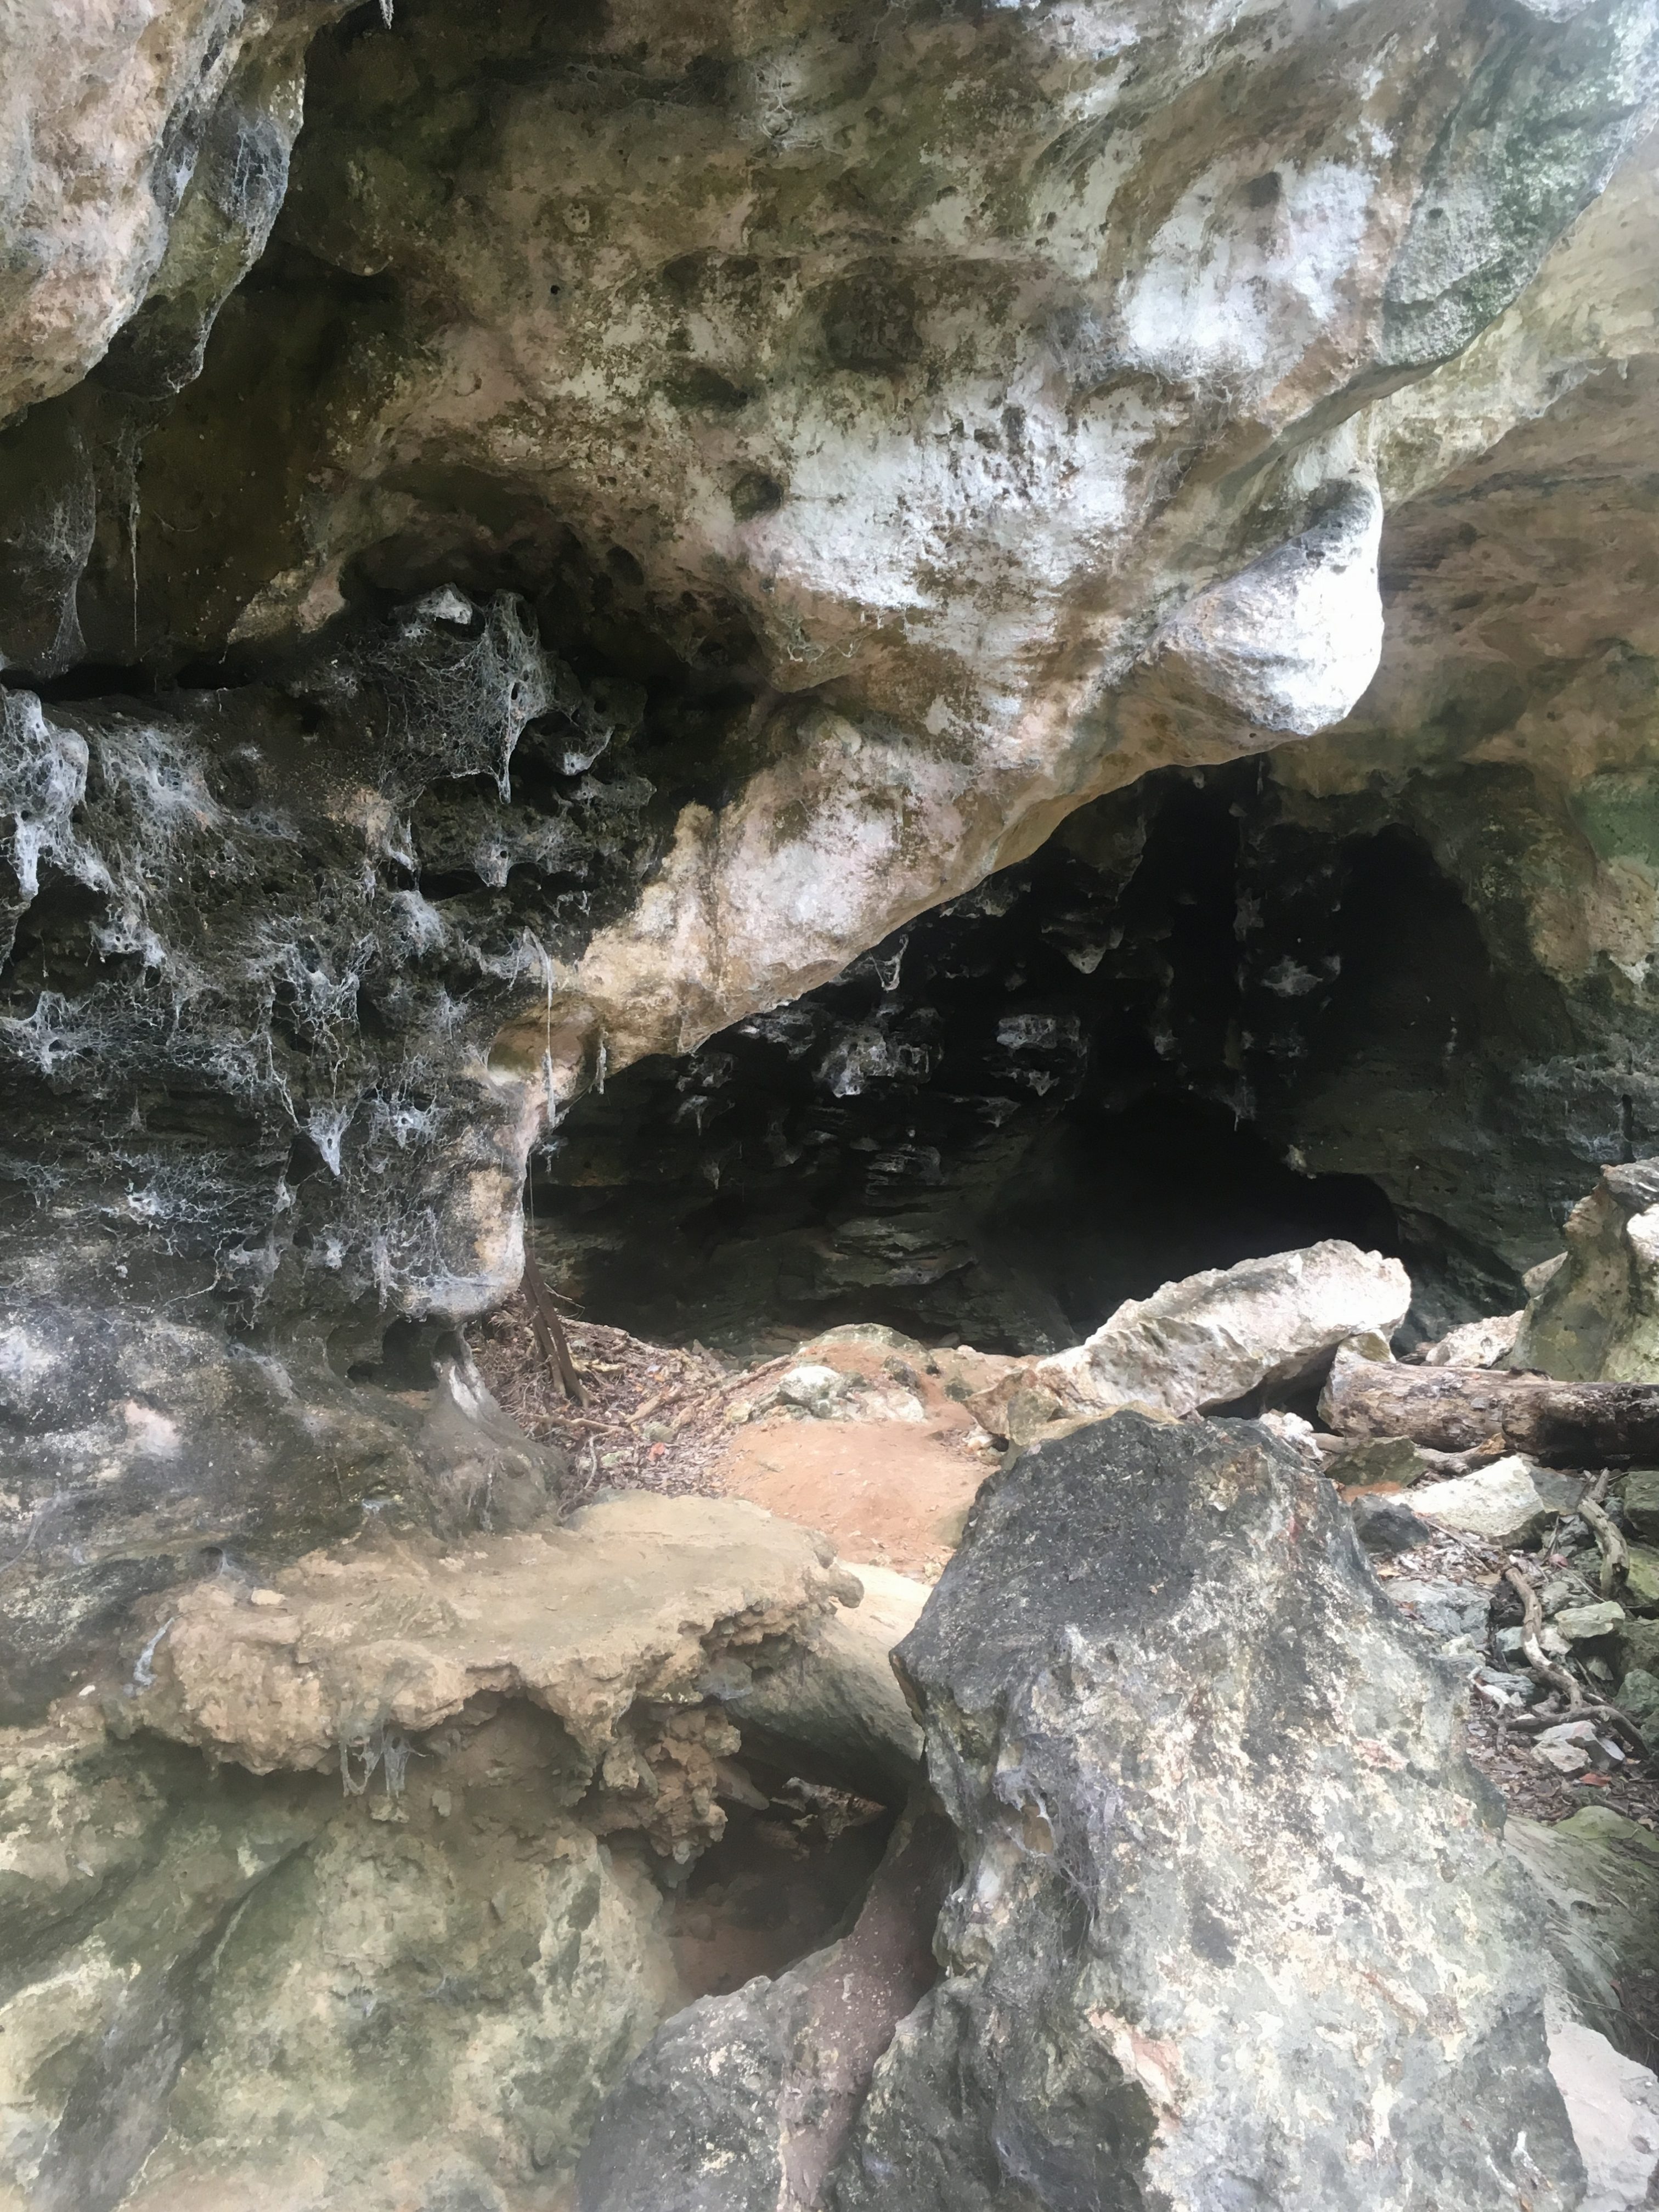
The “boiling hole” is essentially a blue hole or a cave that is connected to the ocean. At times, if the tide rises or falls rapidly, the water will churn and bubble. Many of the early residents believed these holes were homes to sea monsters. Animal and fish carcasses would occasionally surface in these holes after hurricanes which only reinforced that belief.
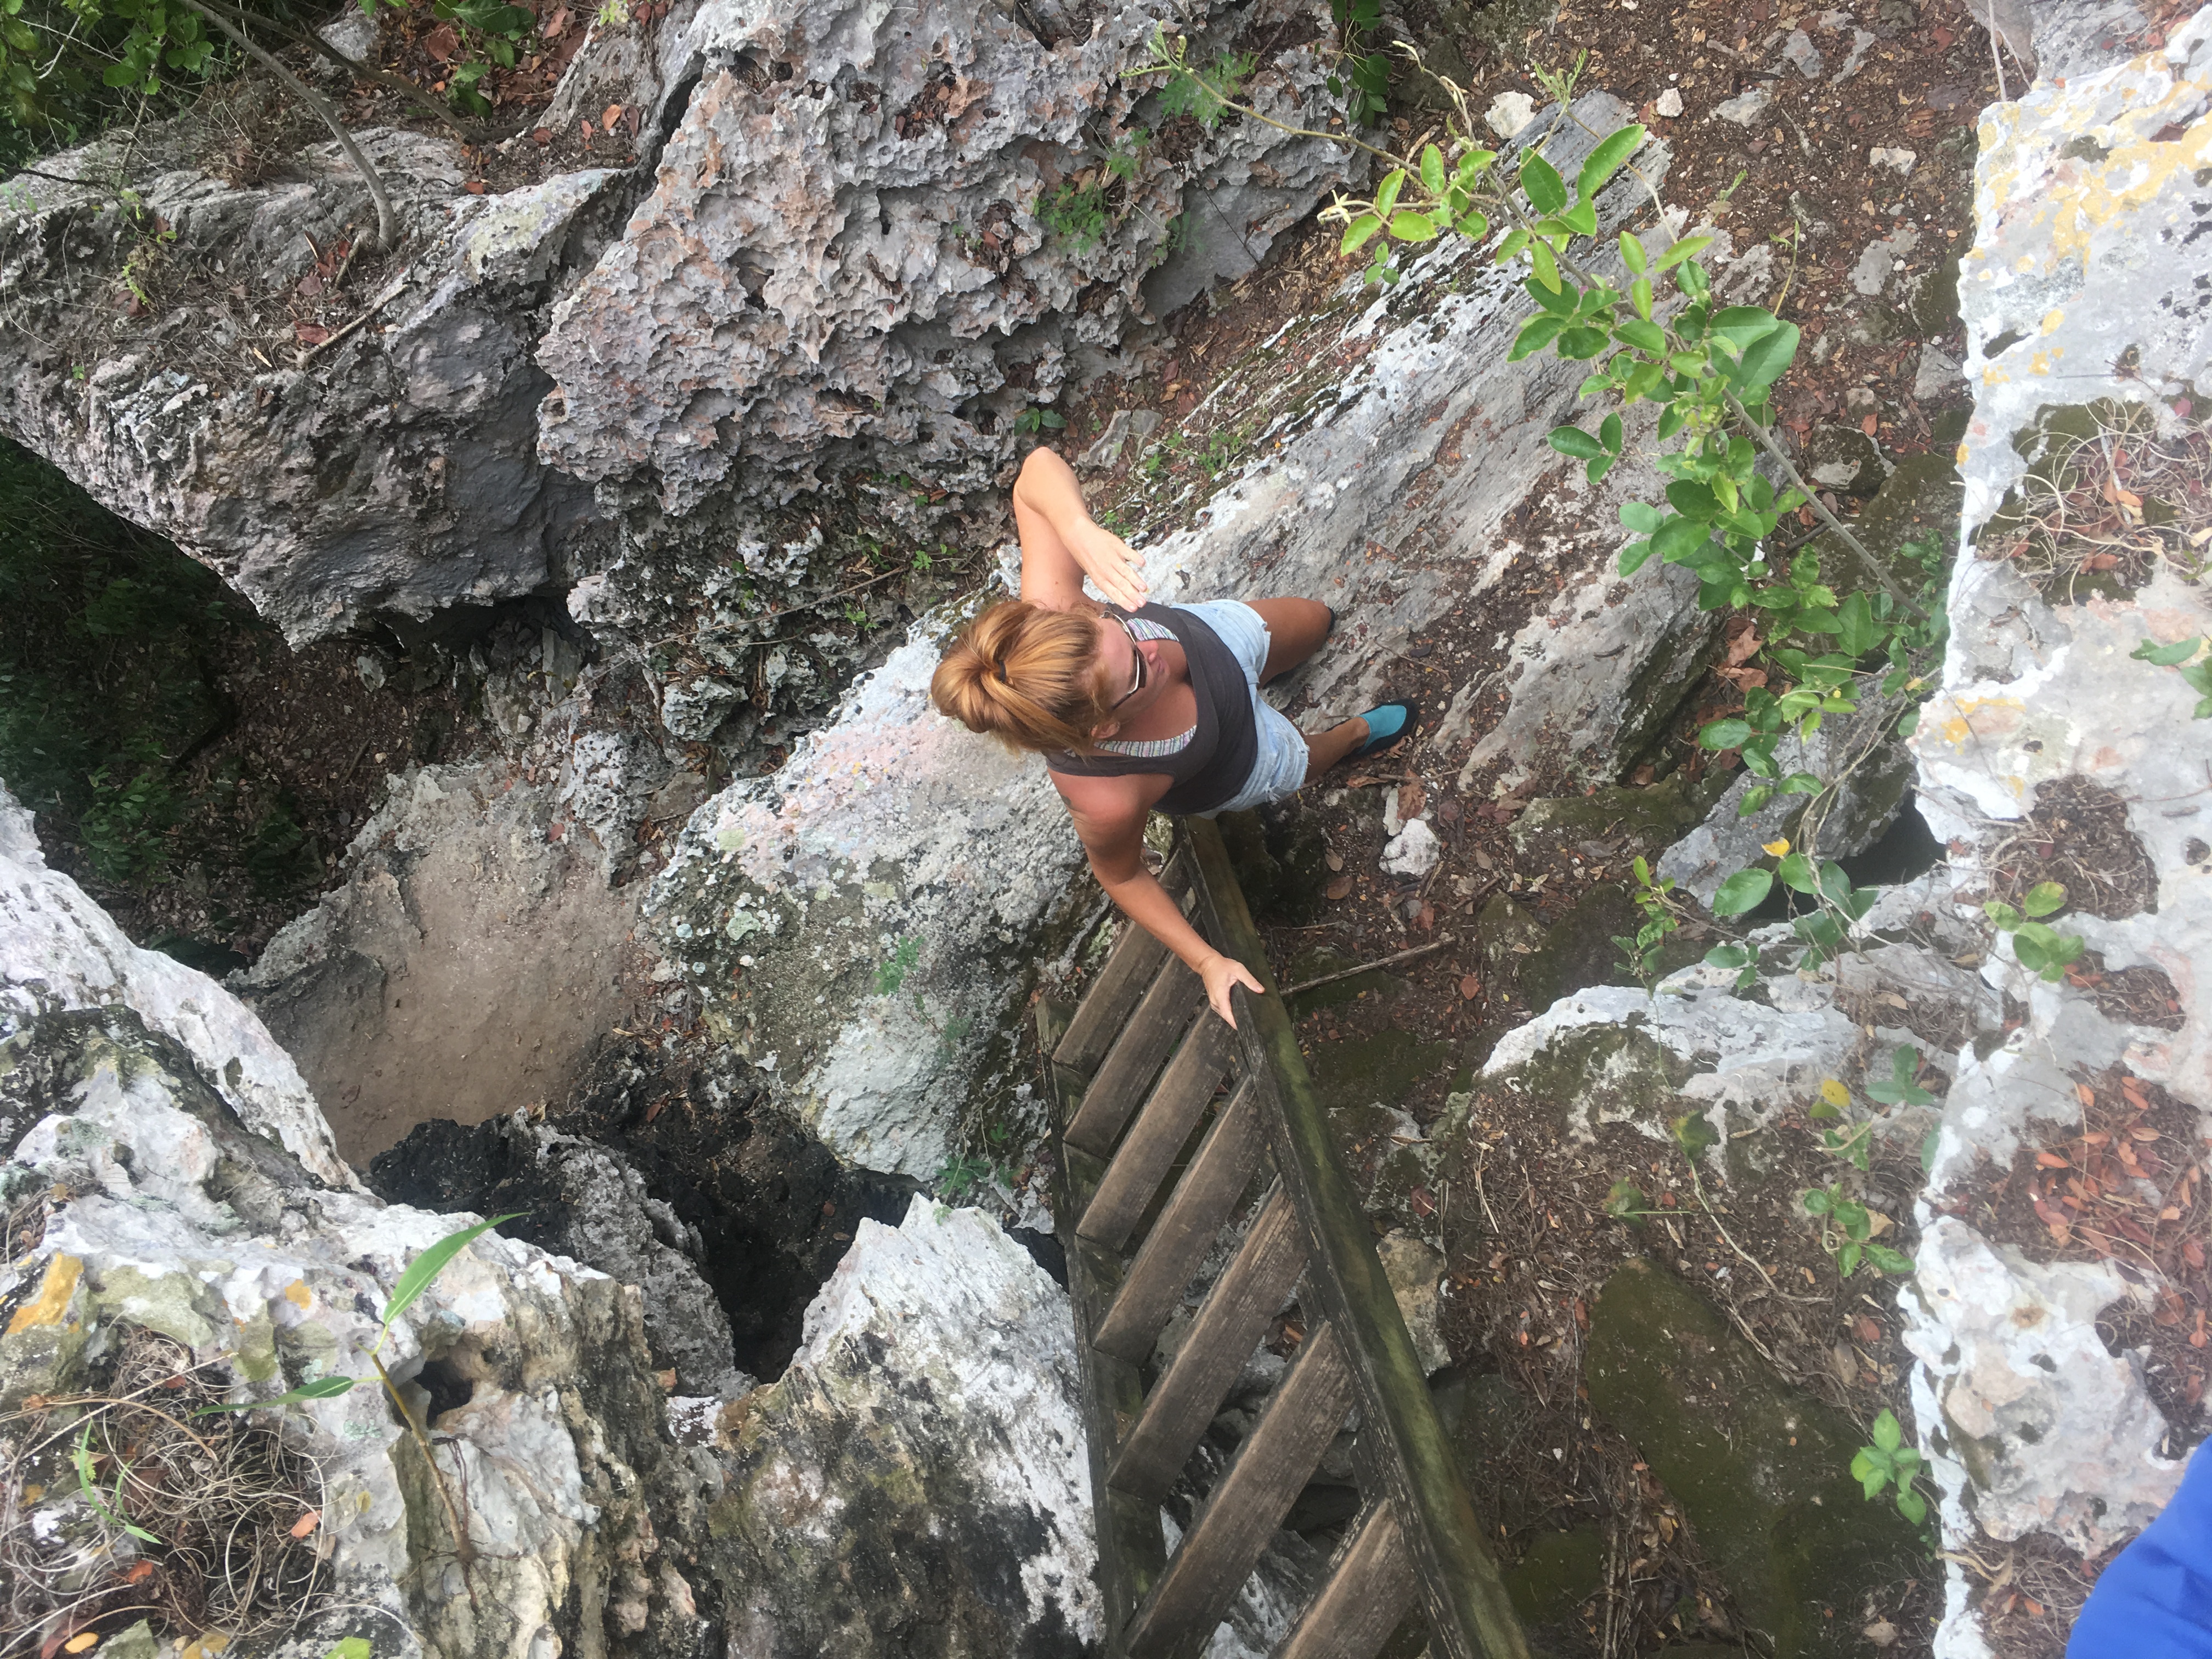


Kim looks apprehensive …..
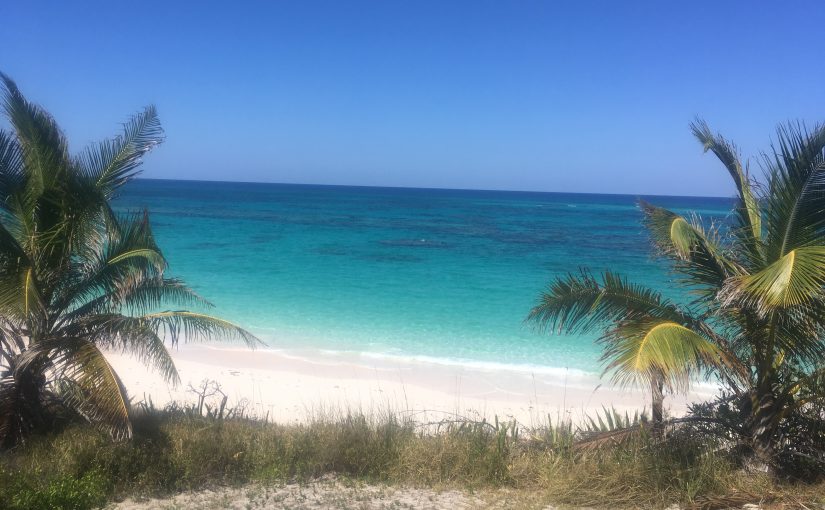
The beaches on the east side of Eleuthera were among some of the most beautiful and isolated….there was also a TON of seaglass…..

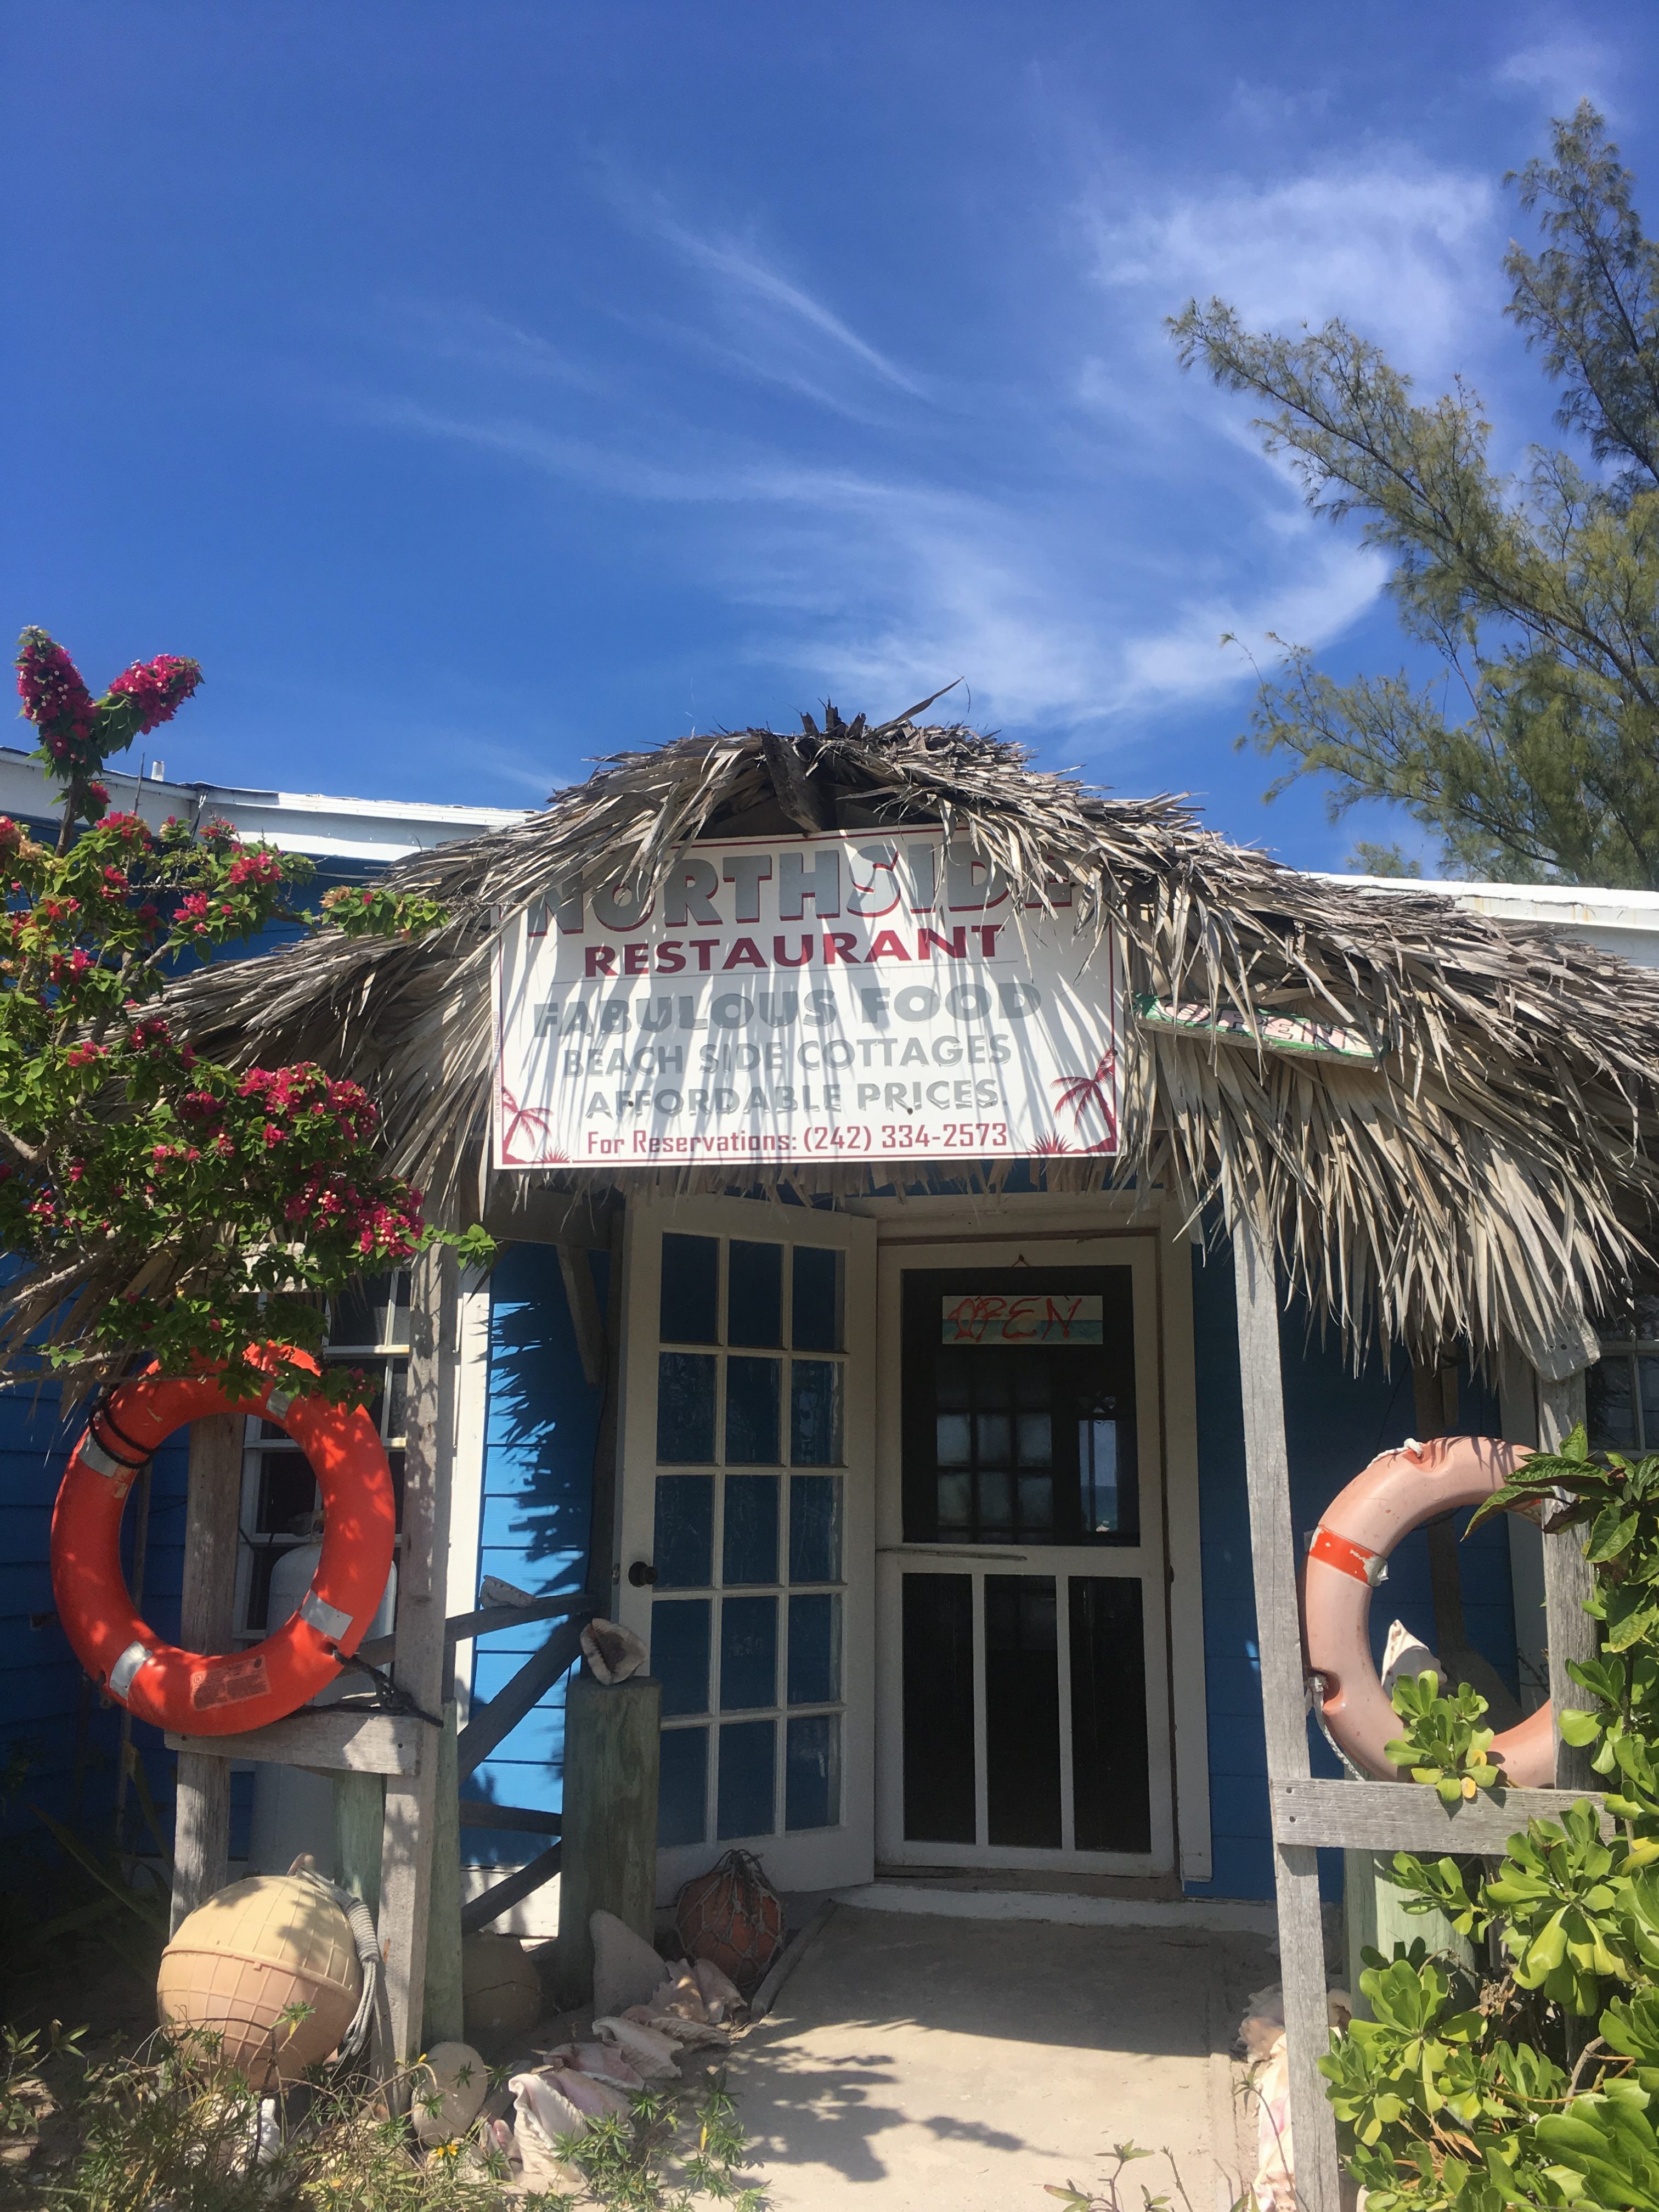
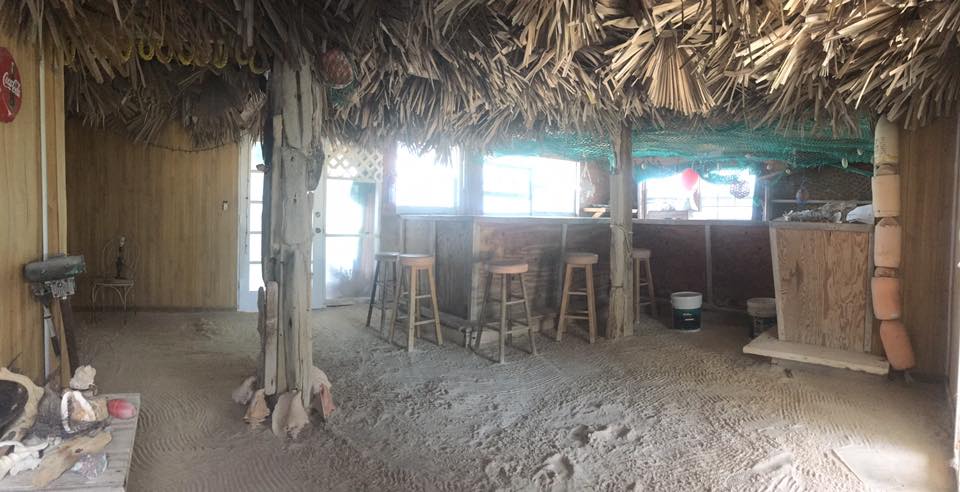
We found a great little restaurant and resort on the east side of Eleuthera across from Rock Sound. It was owned by a wonderful lady named Rose Gibson. She was super friendly, would pick us up when she saw us walking around town, took us for an impromptu island tour one day while fish shopping and was a great cook !!! There are five cabins on her property that are on a hillside overlooking the ocean…..
Here’s a link to her website…..if you go tell her Brett and Kim sent you !!!
http://www.northsideinneleuthera.com
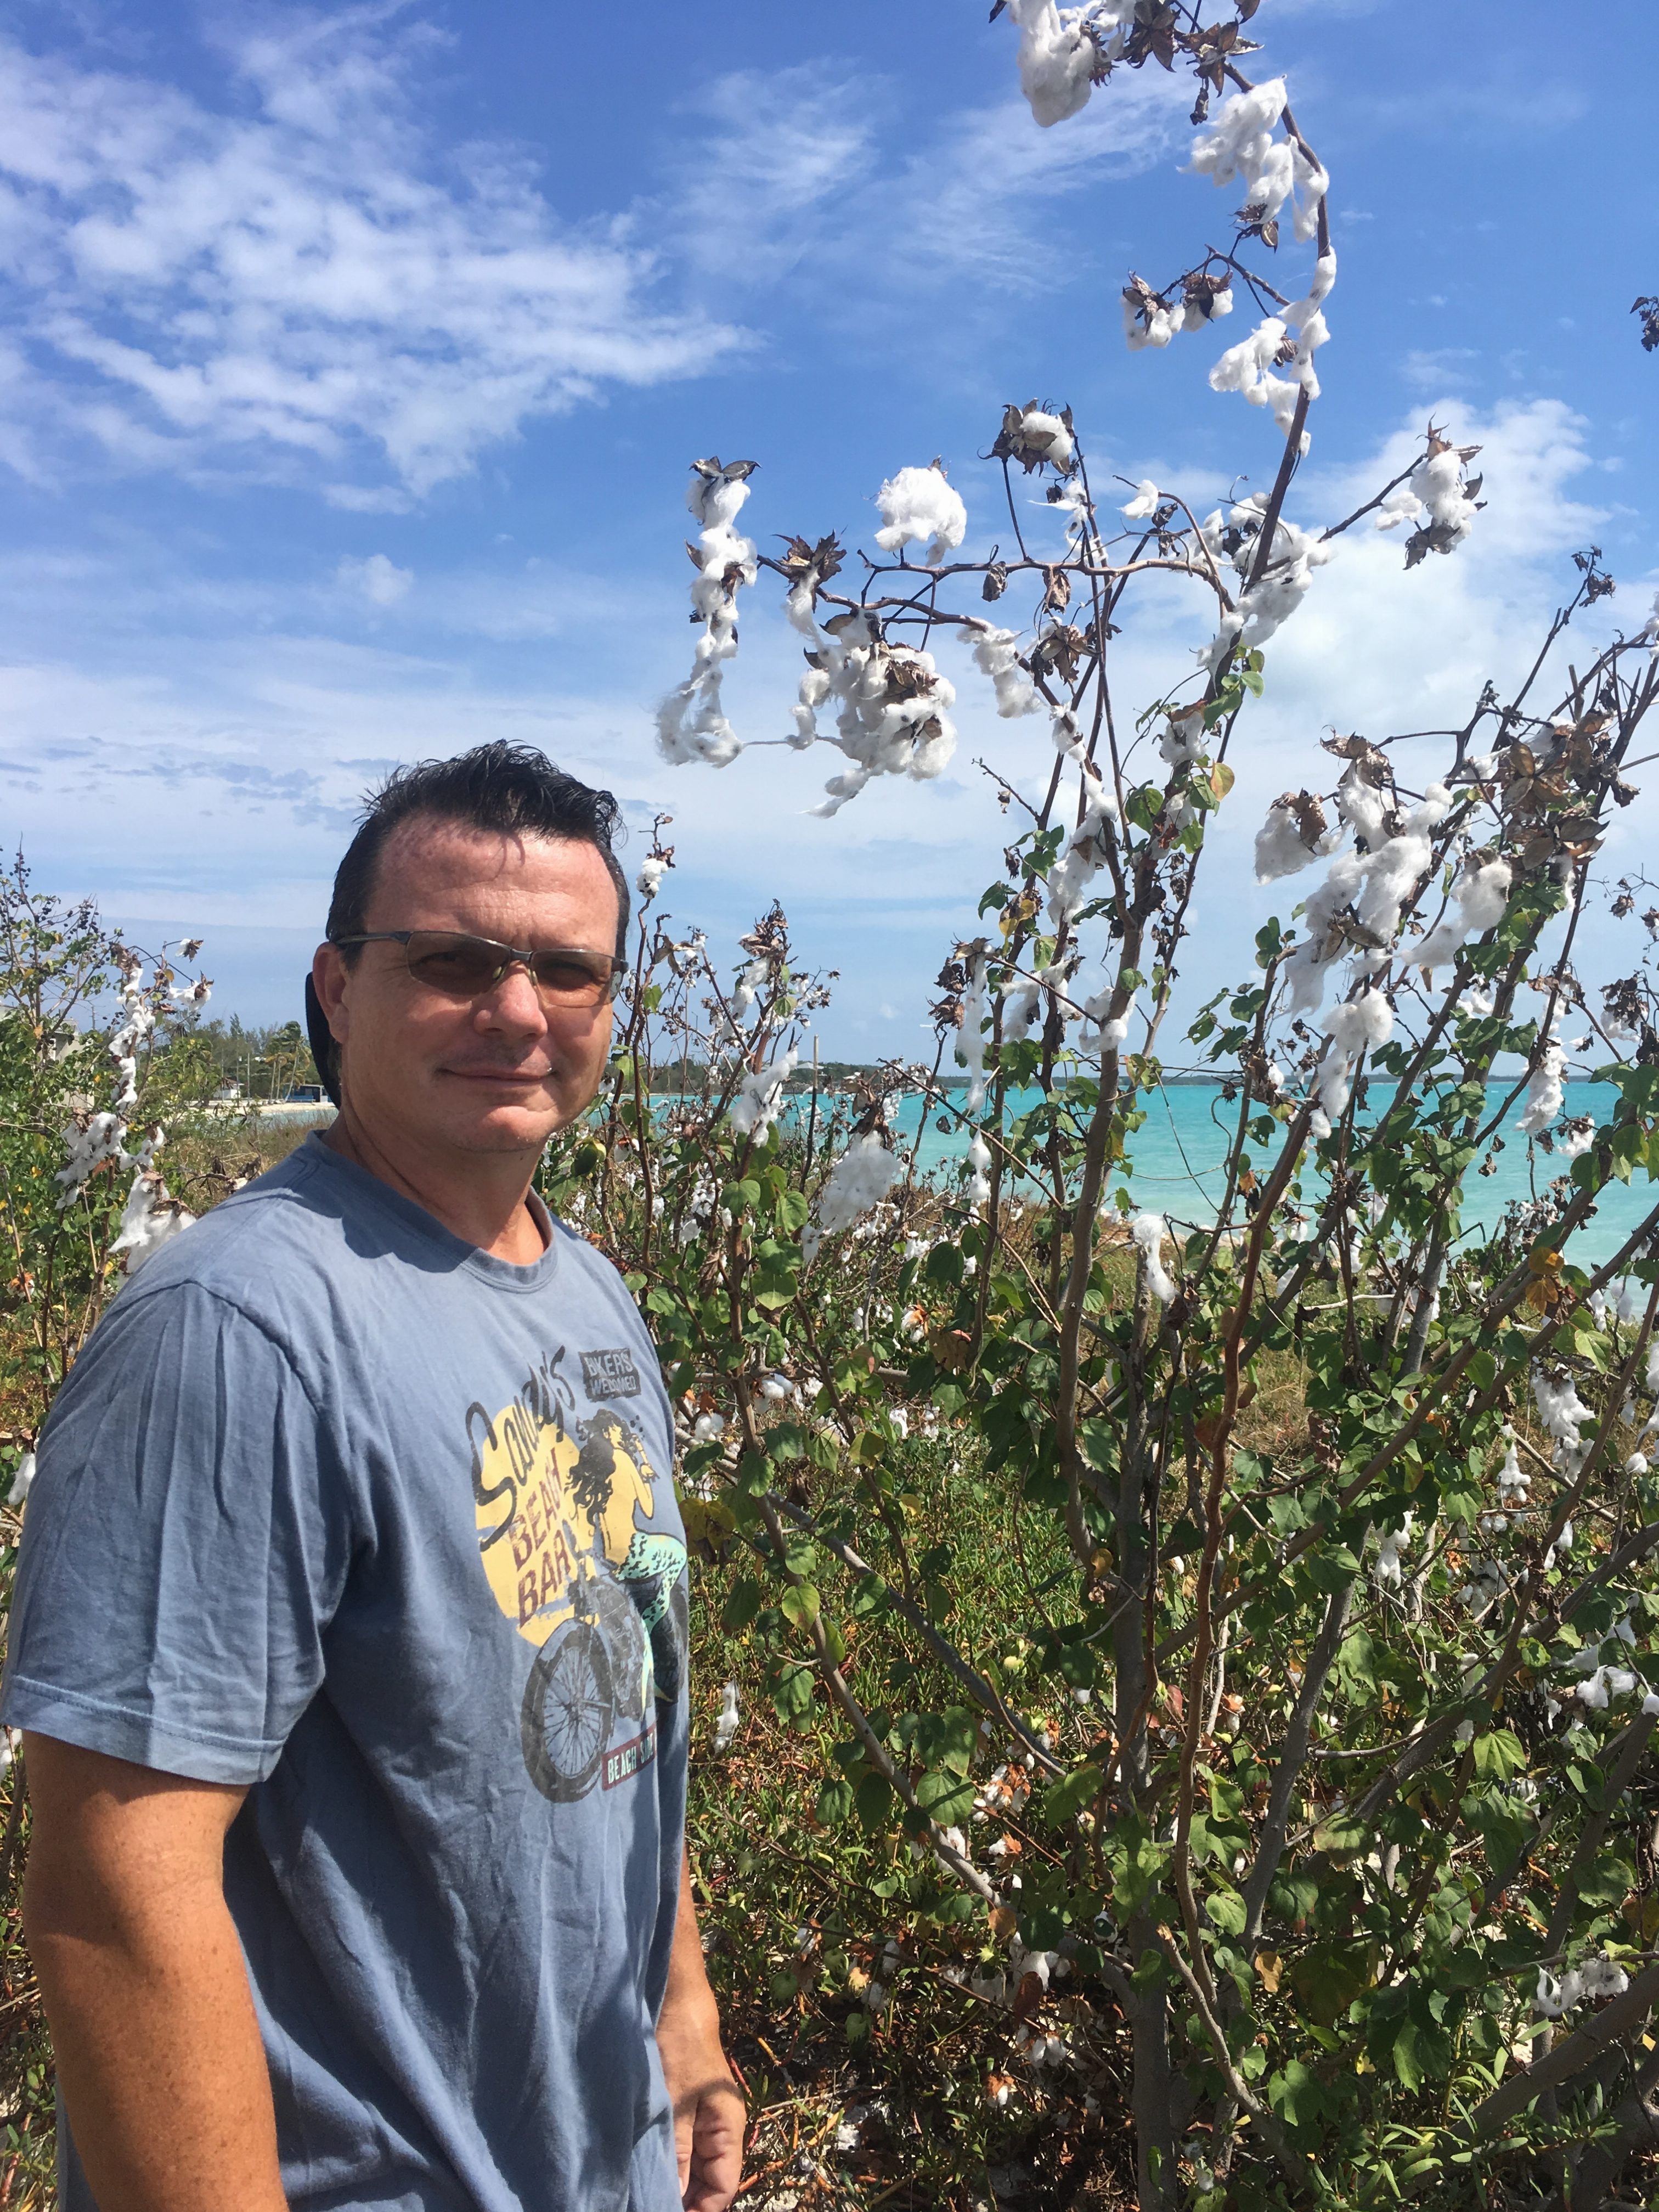
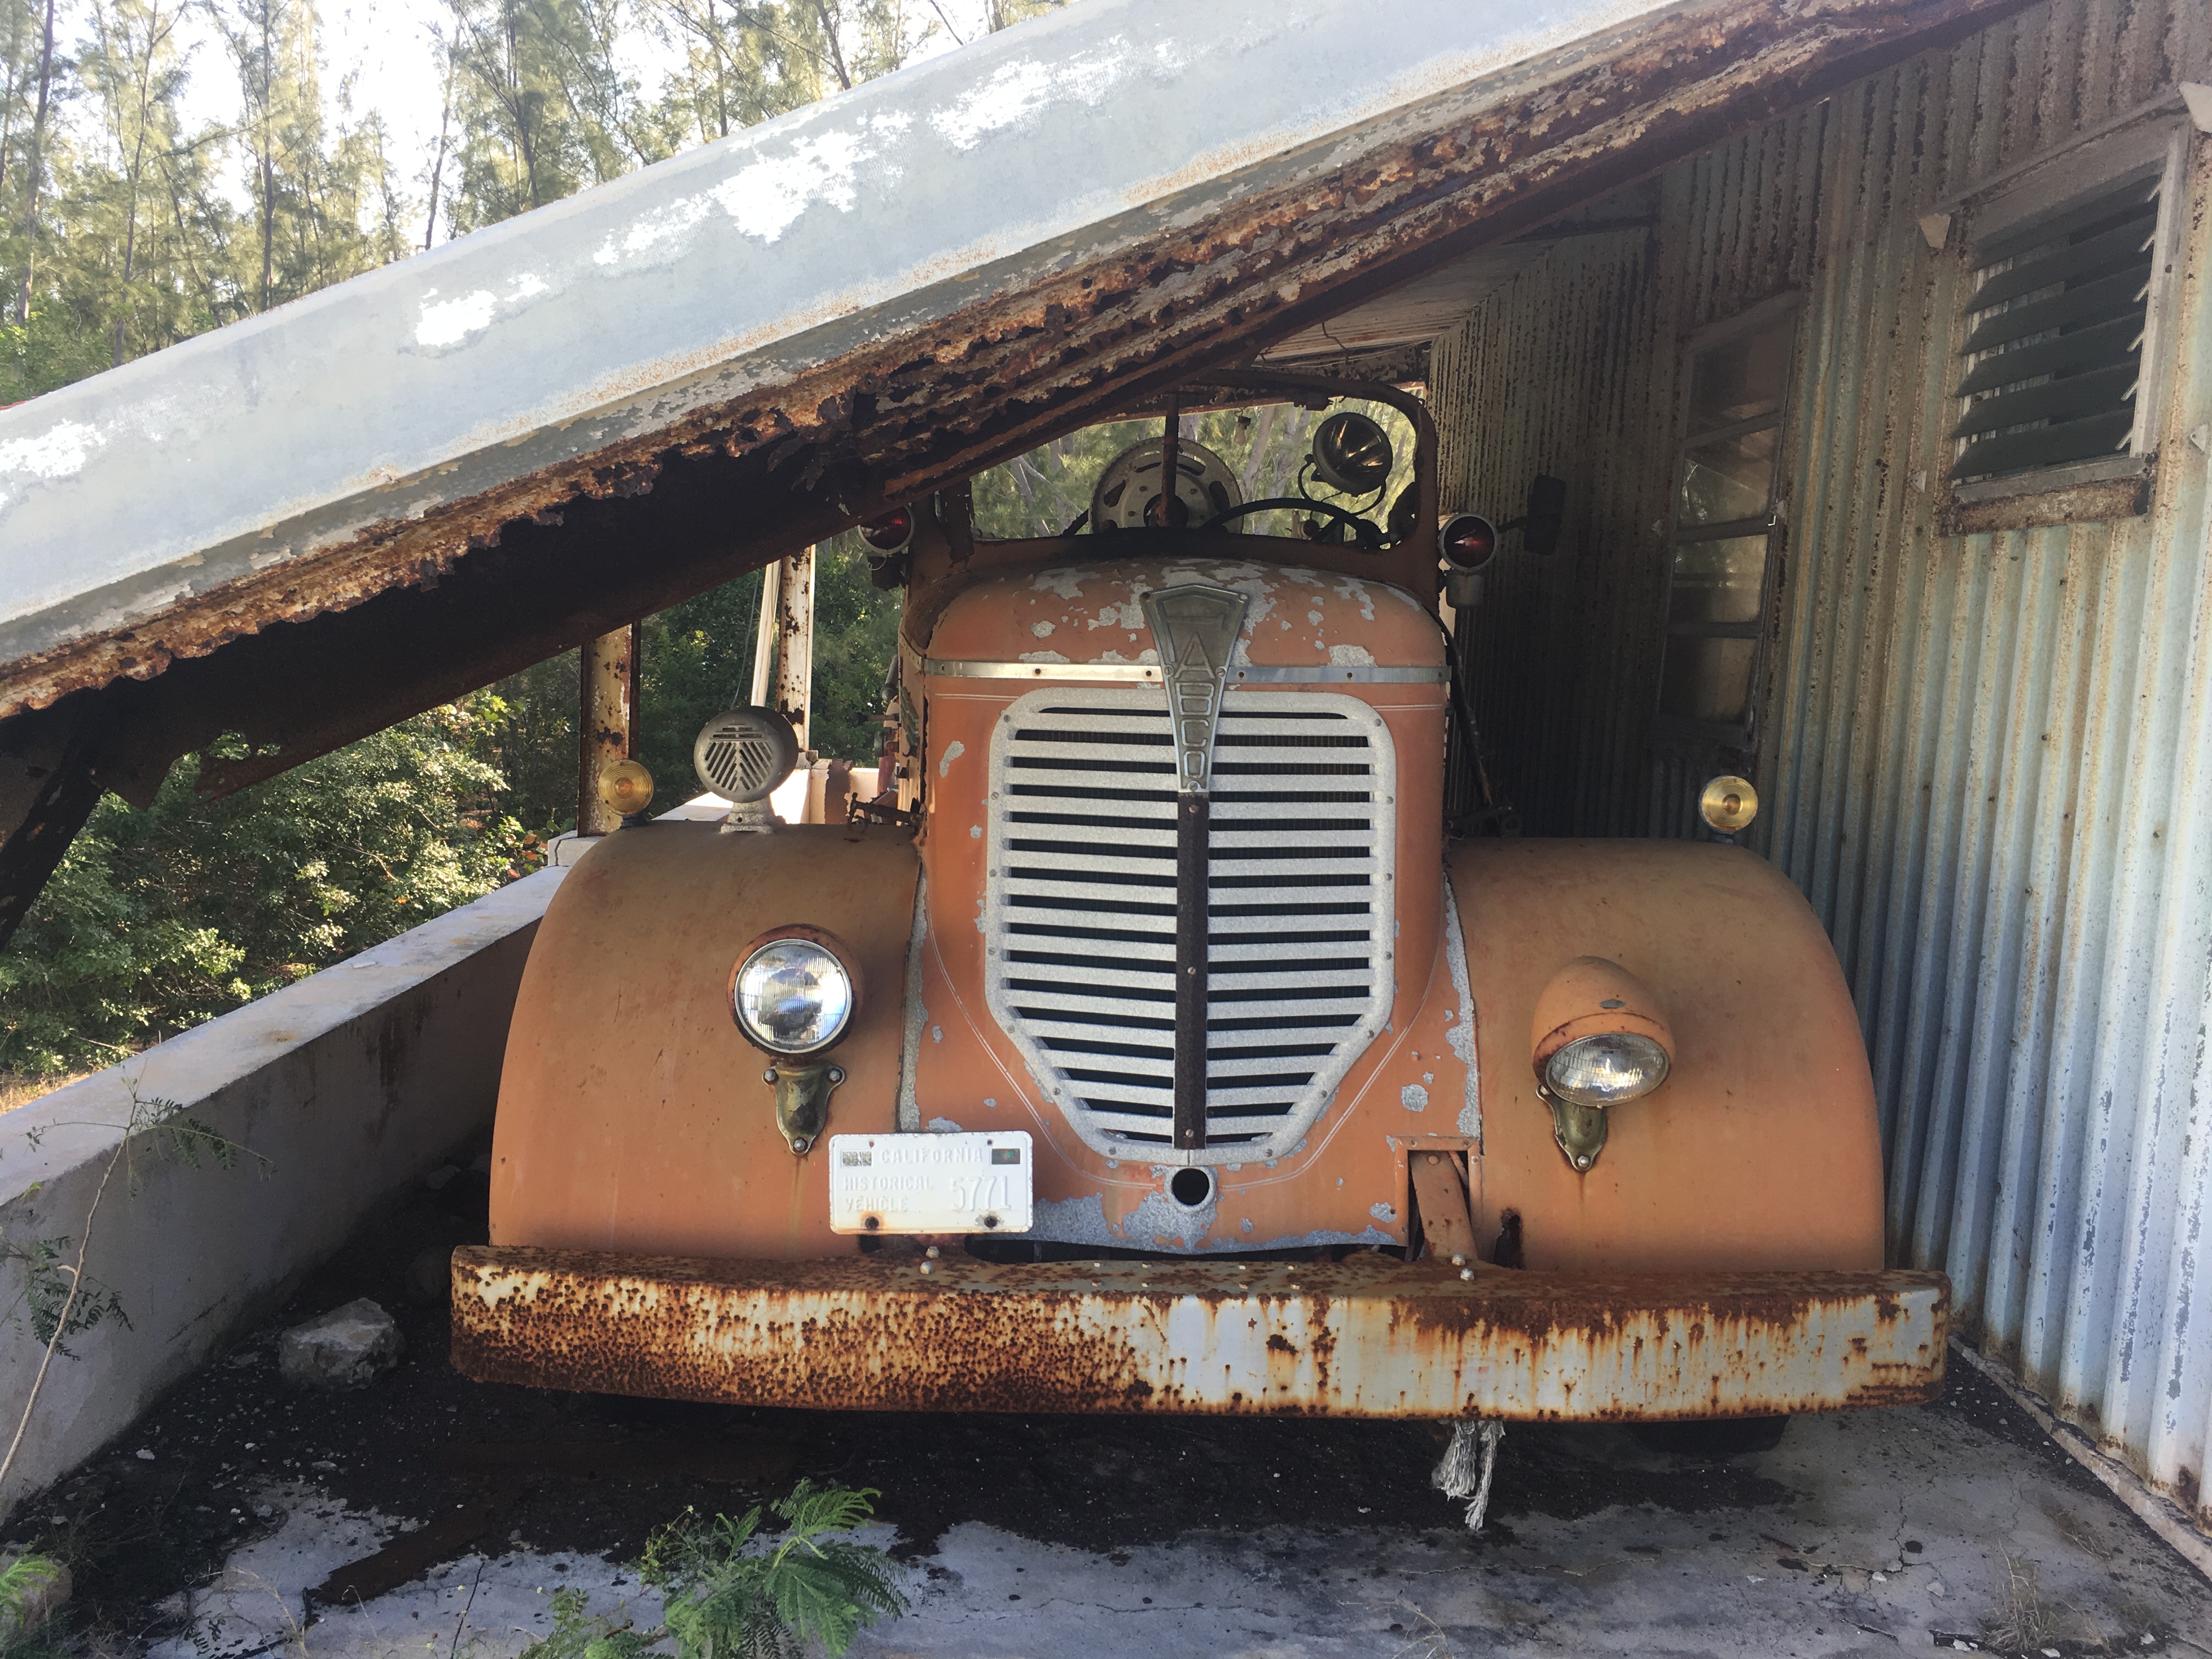
Remnants of the former Cotton growing industry spring up all over the island ……
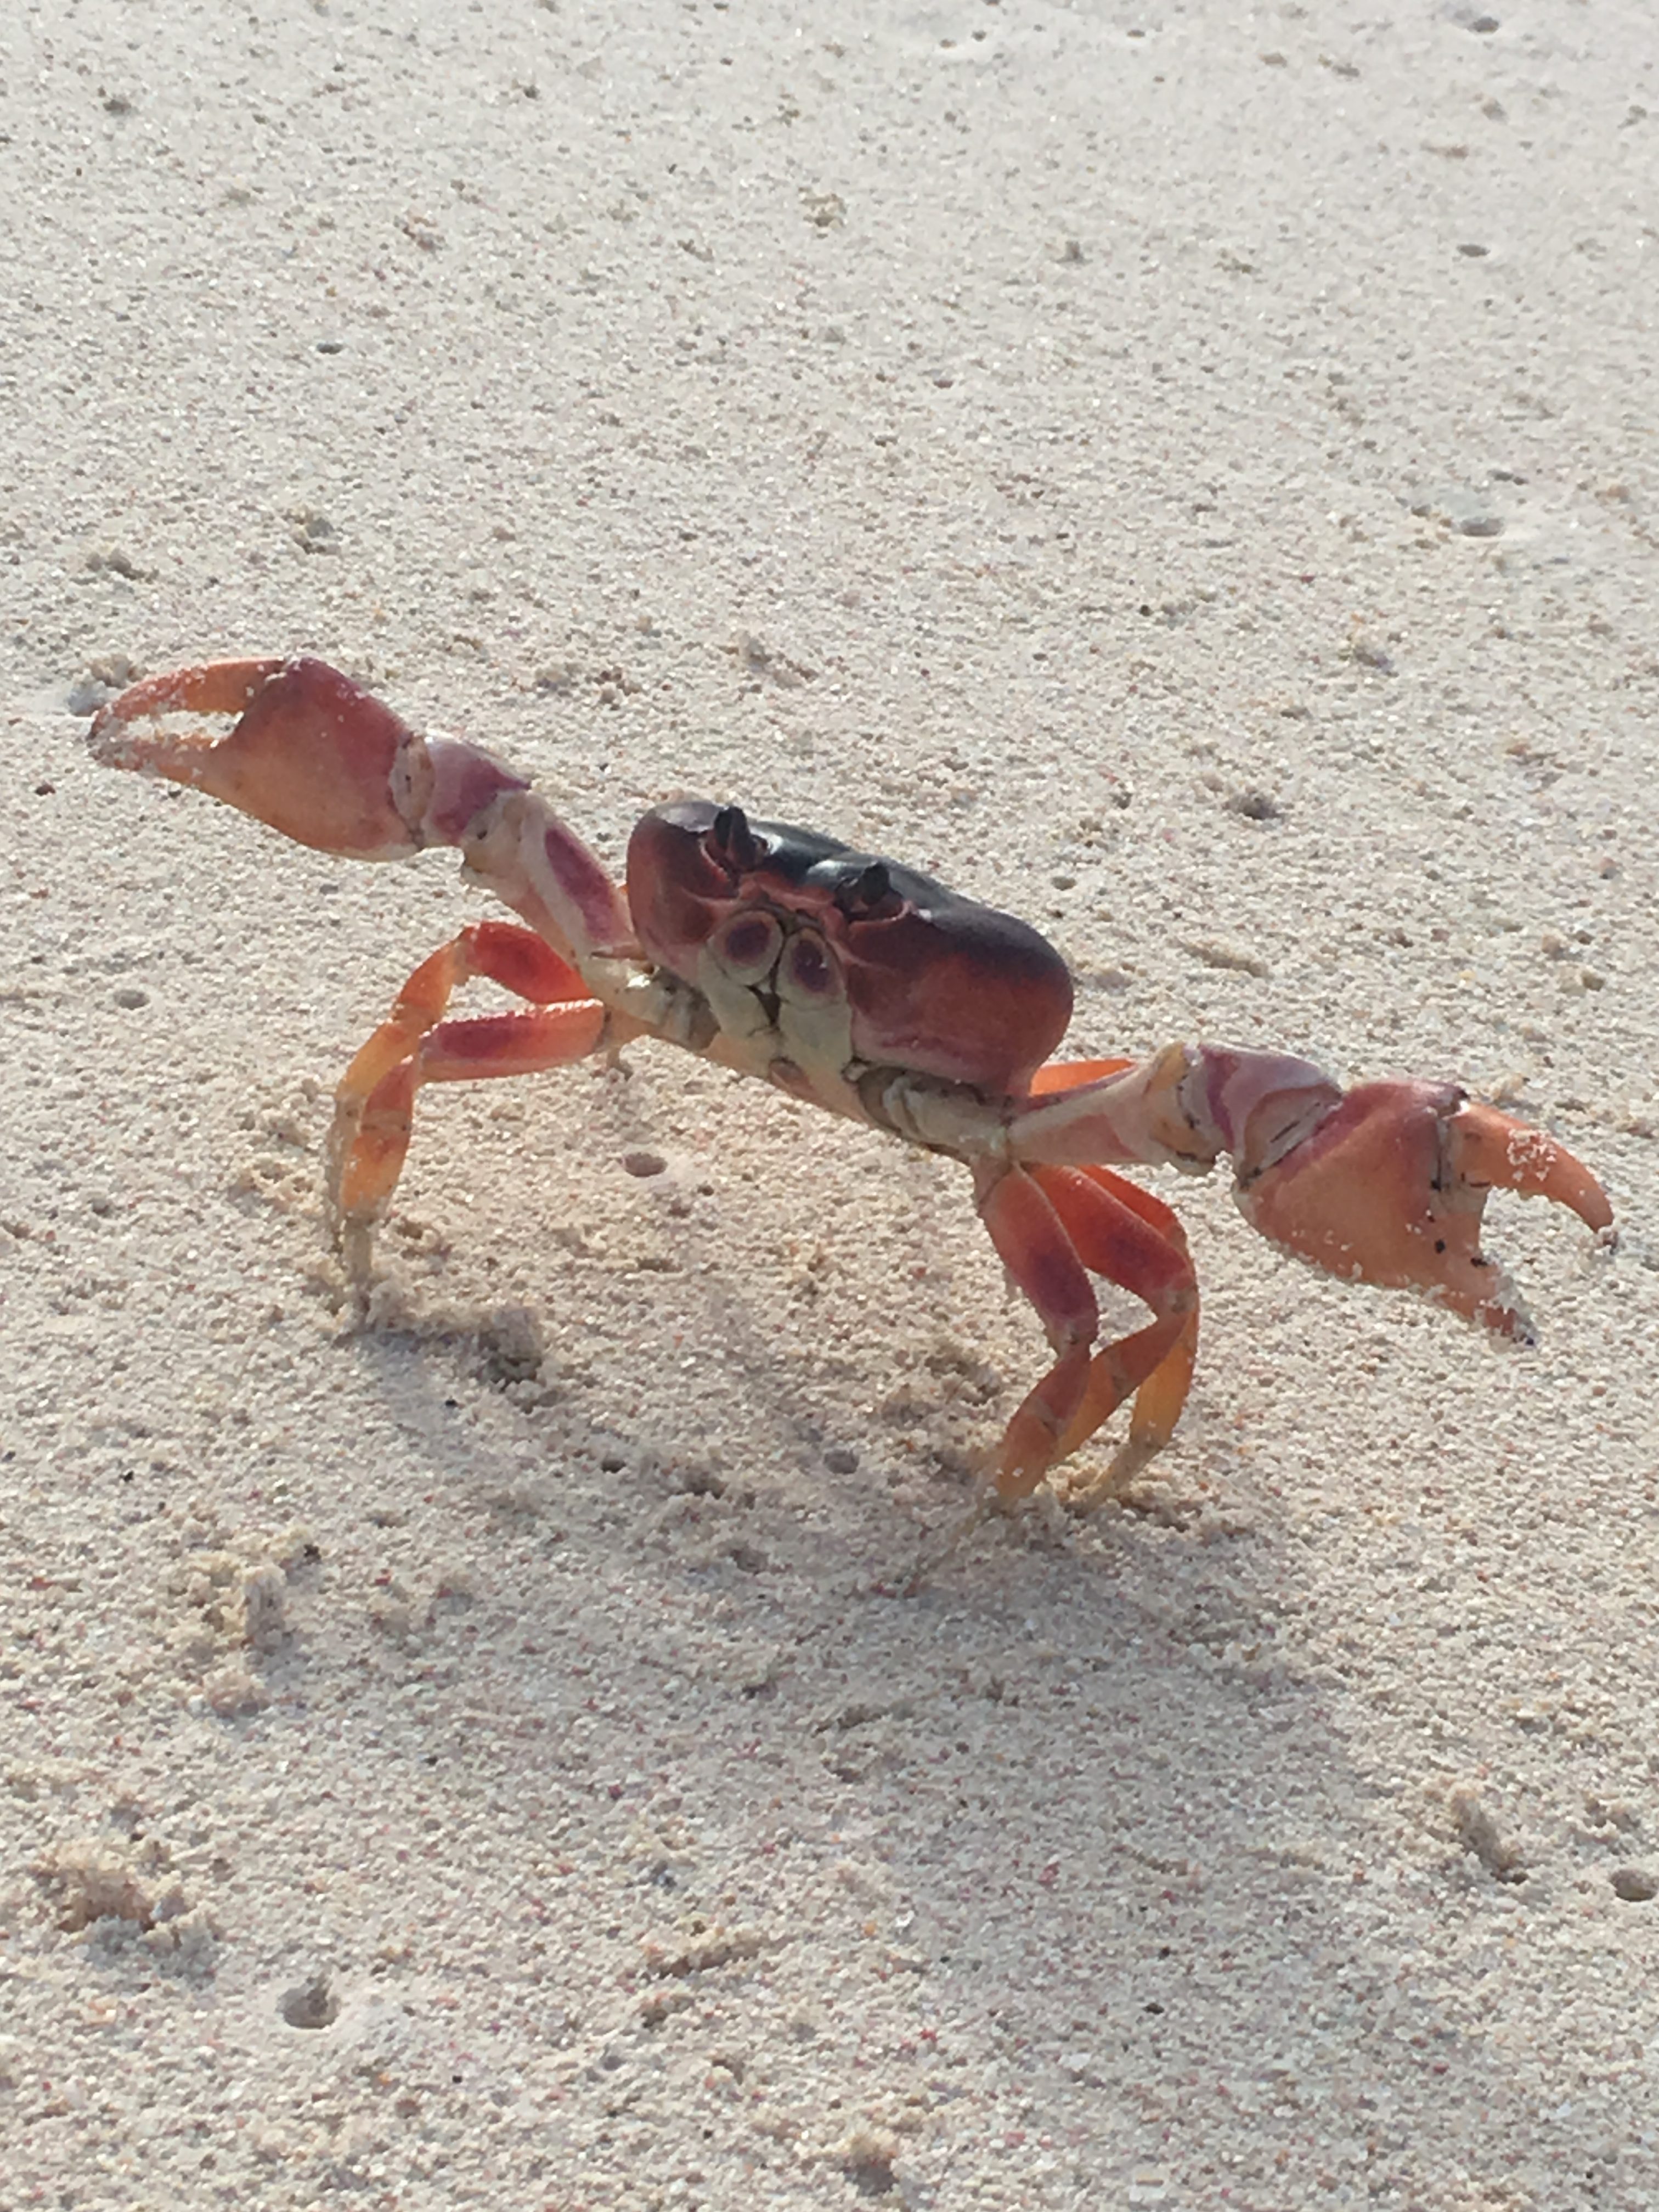
There were thousands of these little land crabs running back and forth between the foliage and the surf….dropping off their eggs
A cropped version of this photo of Kim was used in Cruising Outpost Magazine’s weekly online photo collection….


Mike arrives and brings a double rainbow….and has a Kalik !!
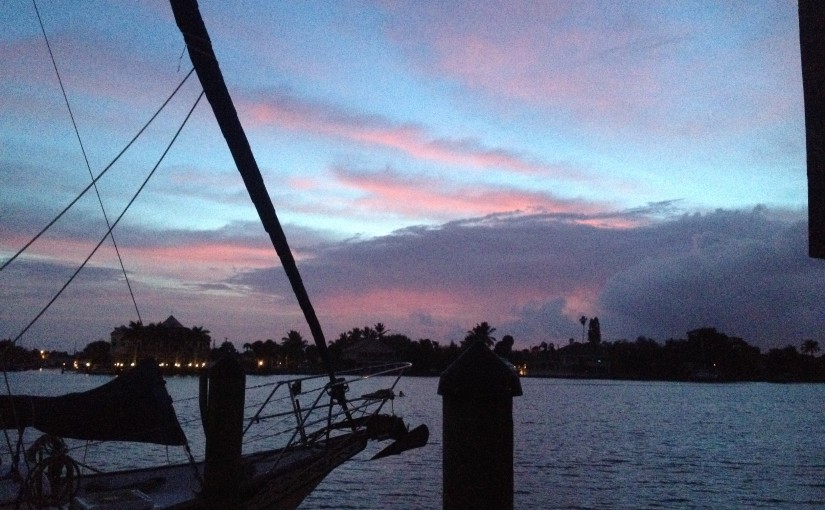
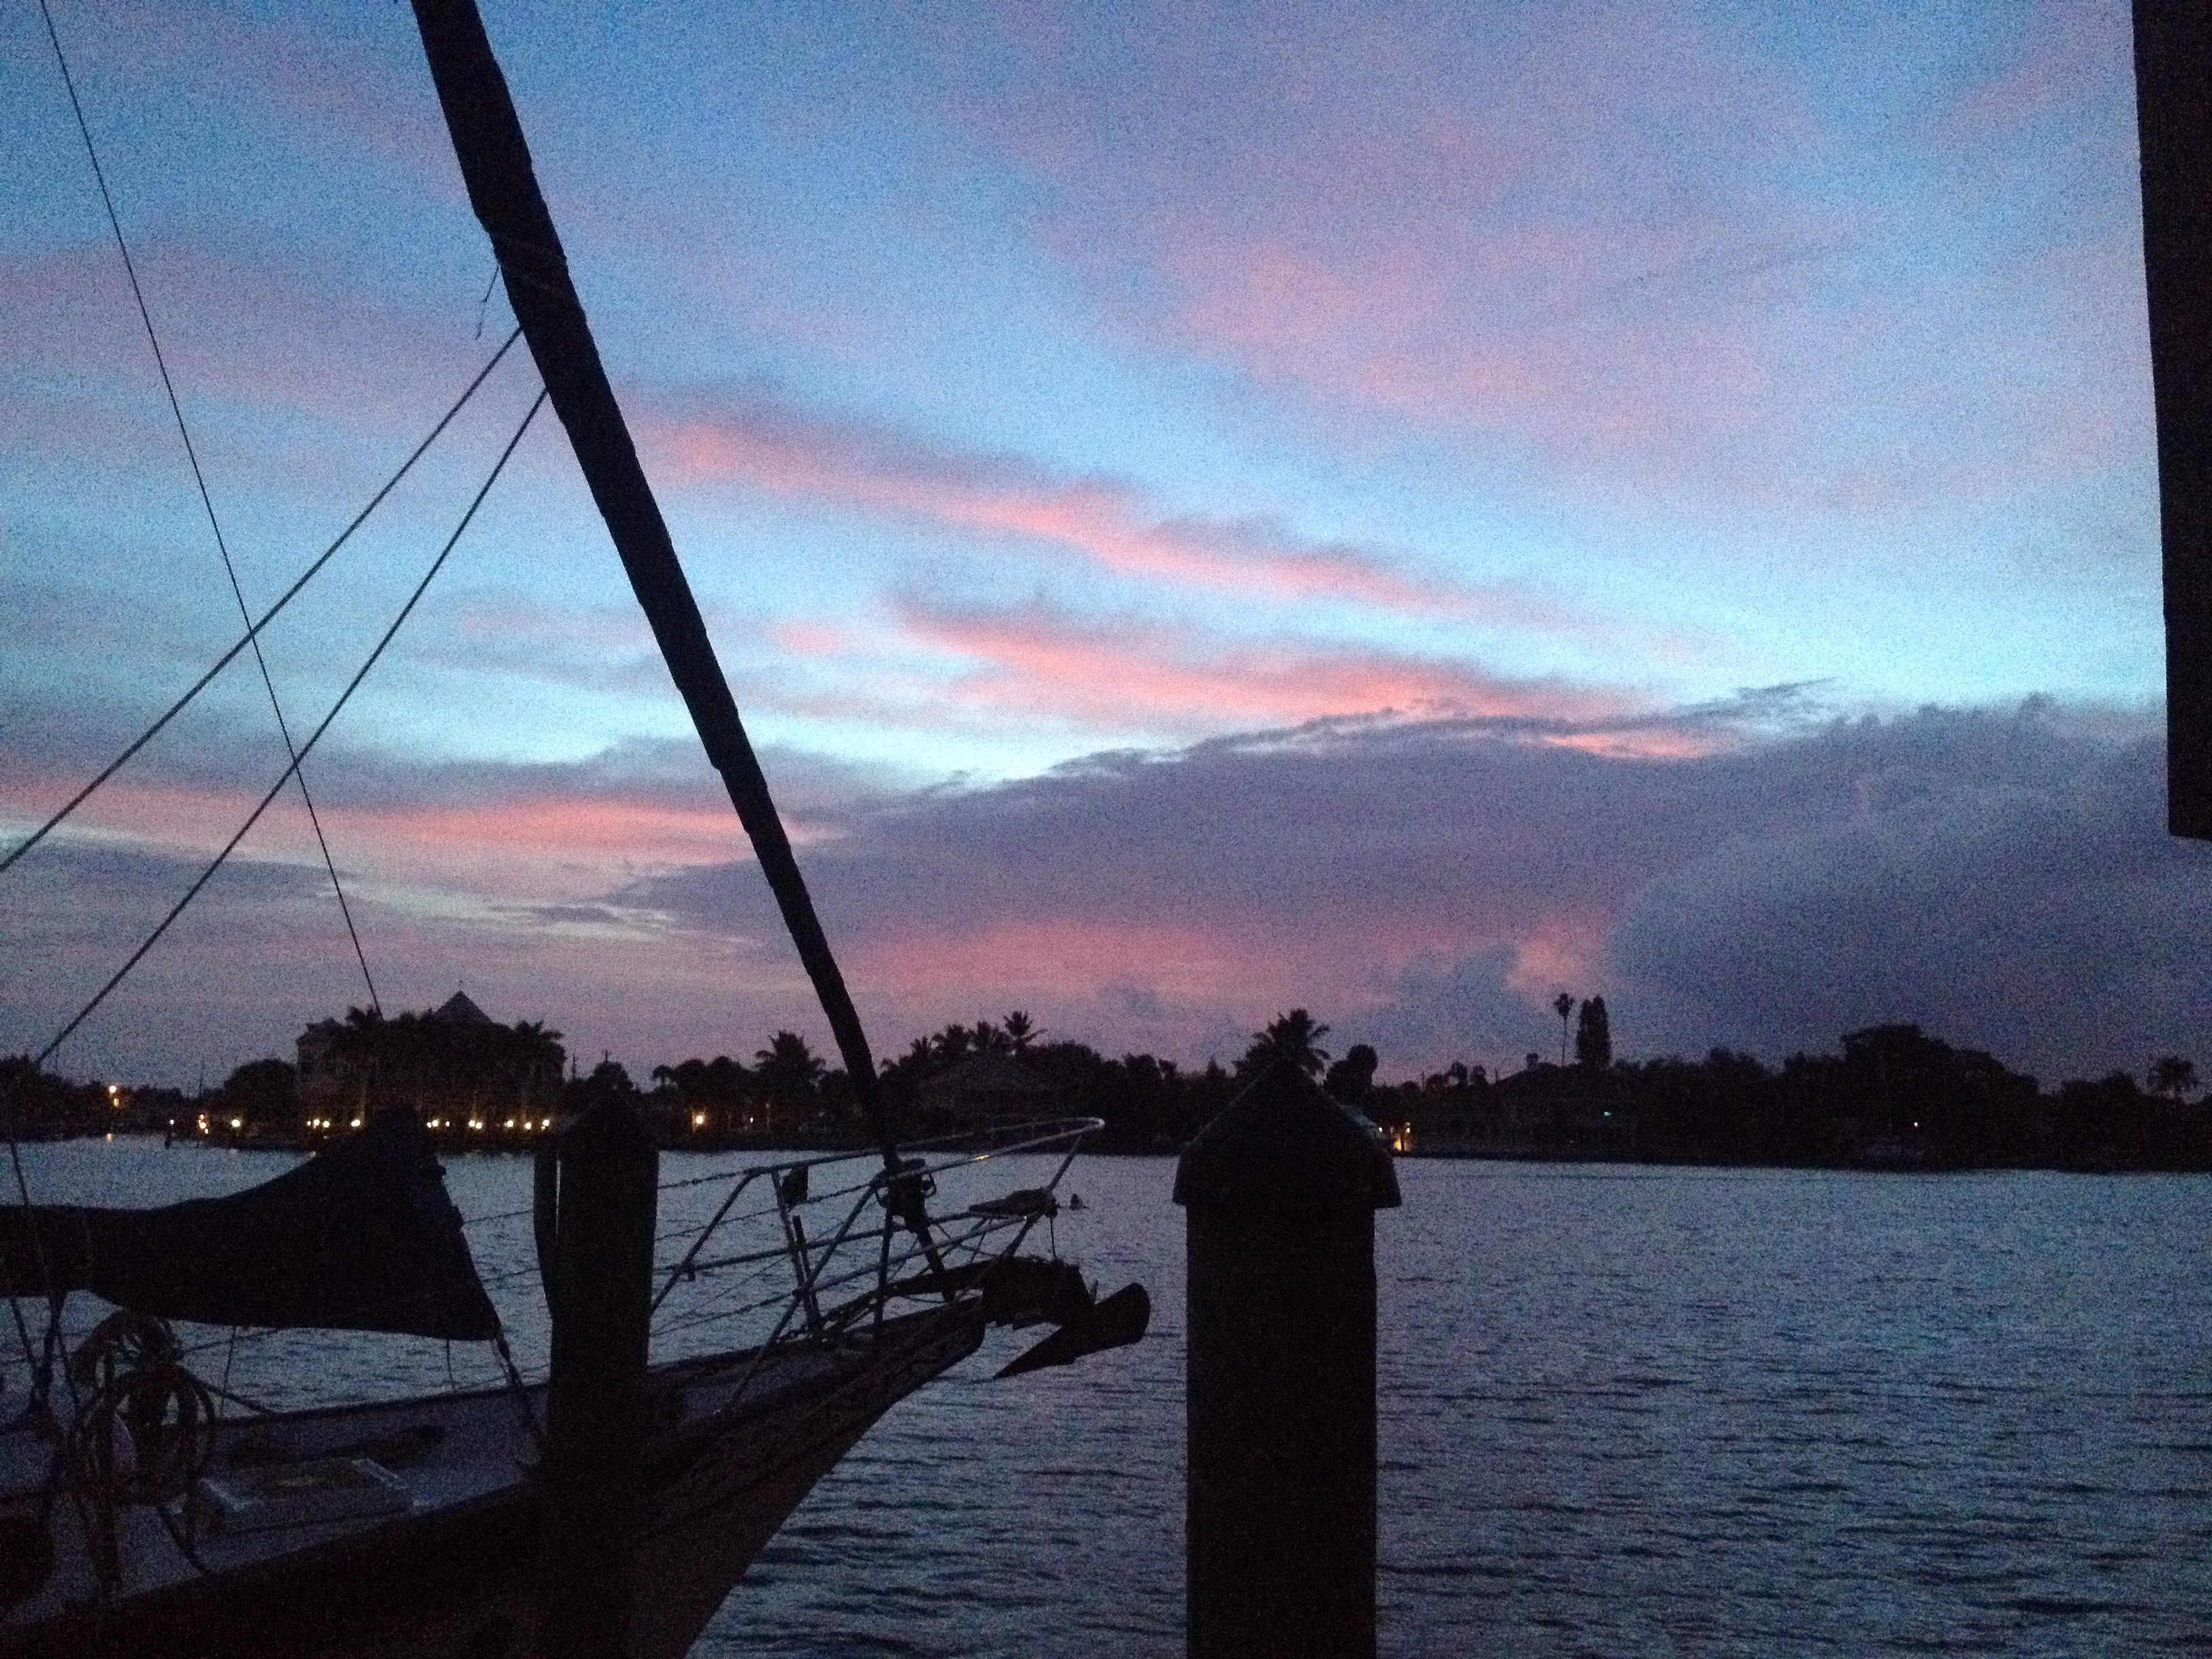
Since Hurricane Irma’s recent swing past the Bahamas you’ll be pleased to know that the islands here were largely untouched. We haven’t heard of any structural damage anywhere in Eleuthera.

blink plus ai plan with monthly auto-renewal
$19.99 (as of July 15, 2026 07:12 GMT +00:00 - More infoProduct prices and availability are accurate as of the date/time indicated and are subject to change. Any price and availability information displayed on [relevant Amazon Site(s), as applicable] at the time of purchase will apply to the purchase of this product.)
blink plus plan with monthly auto-renewal
$11.99 (as of July 15, 2026 07:12 GMT +00:00 - More infoProduct prices and availability are accurate as of the date/time indicated and are subject to change. Any price and availability information displayed on [relevant Amazon Site(s), as applicable] at the time of purchase will apply to the purchase of this product.)
Amazon Fire TV Stick 4K Plus (newest model) with AI-powered Fire TV Search, Wi-Fi 6, stream hundreds of thousands of movies and shows, free & live TV, find shows faster with Alexa+
$49.99 (as of July 15, 2026 07:12 GMT +00:00 - More infoProduct prices and availability are accurate as of the date/time indicated and are subject to change. Any price and availability information displayed on [relevant Amazon Site(s), as applicable] at the time of purchase will apply to the purchase of this product.)
Amazon Physical Gift Card | Birthday
$25.00 (as of July 15, 2026 07:12 GMT +00:00 - More infoProduct prices and availability are accurate as of the date/time indicated and are subject to change. Any price and availability information displayed on [relevant Amazon Site(s), as applicable] at the time of purchase will apply to the purchase of this product.)
Visa Physical Gift Card $100 (plus $5.95 Purchase Fee)
$105.95 (as of July 15, 2026 07:12 GMT +00:00 - More infoProduct prices and availability are accurate as of the date/time indicated and are subject to change. Any price and availability information displayed on [relevant Amazon Site(s), as applicable] at the time of purchase will apply to the purchase of this product.)Auto Amazon Links: No products found.


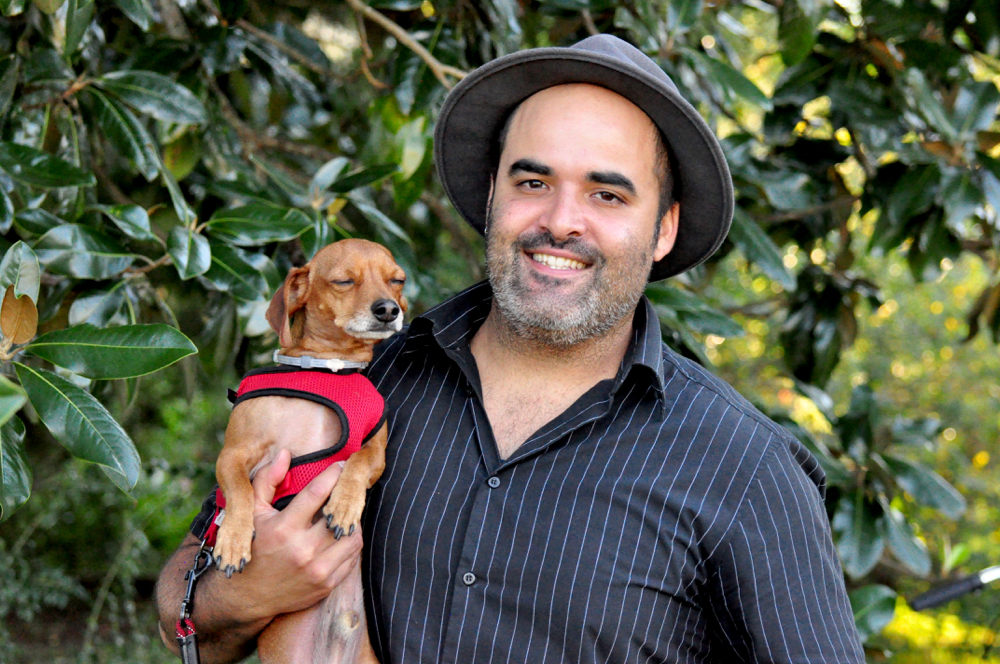 Aaron Carmona and his traveling pooch (photo credit to Towne Dock)


