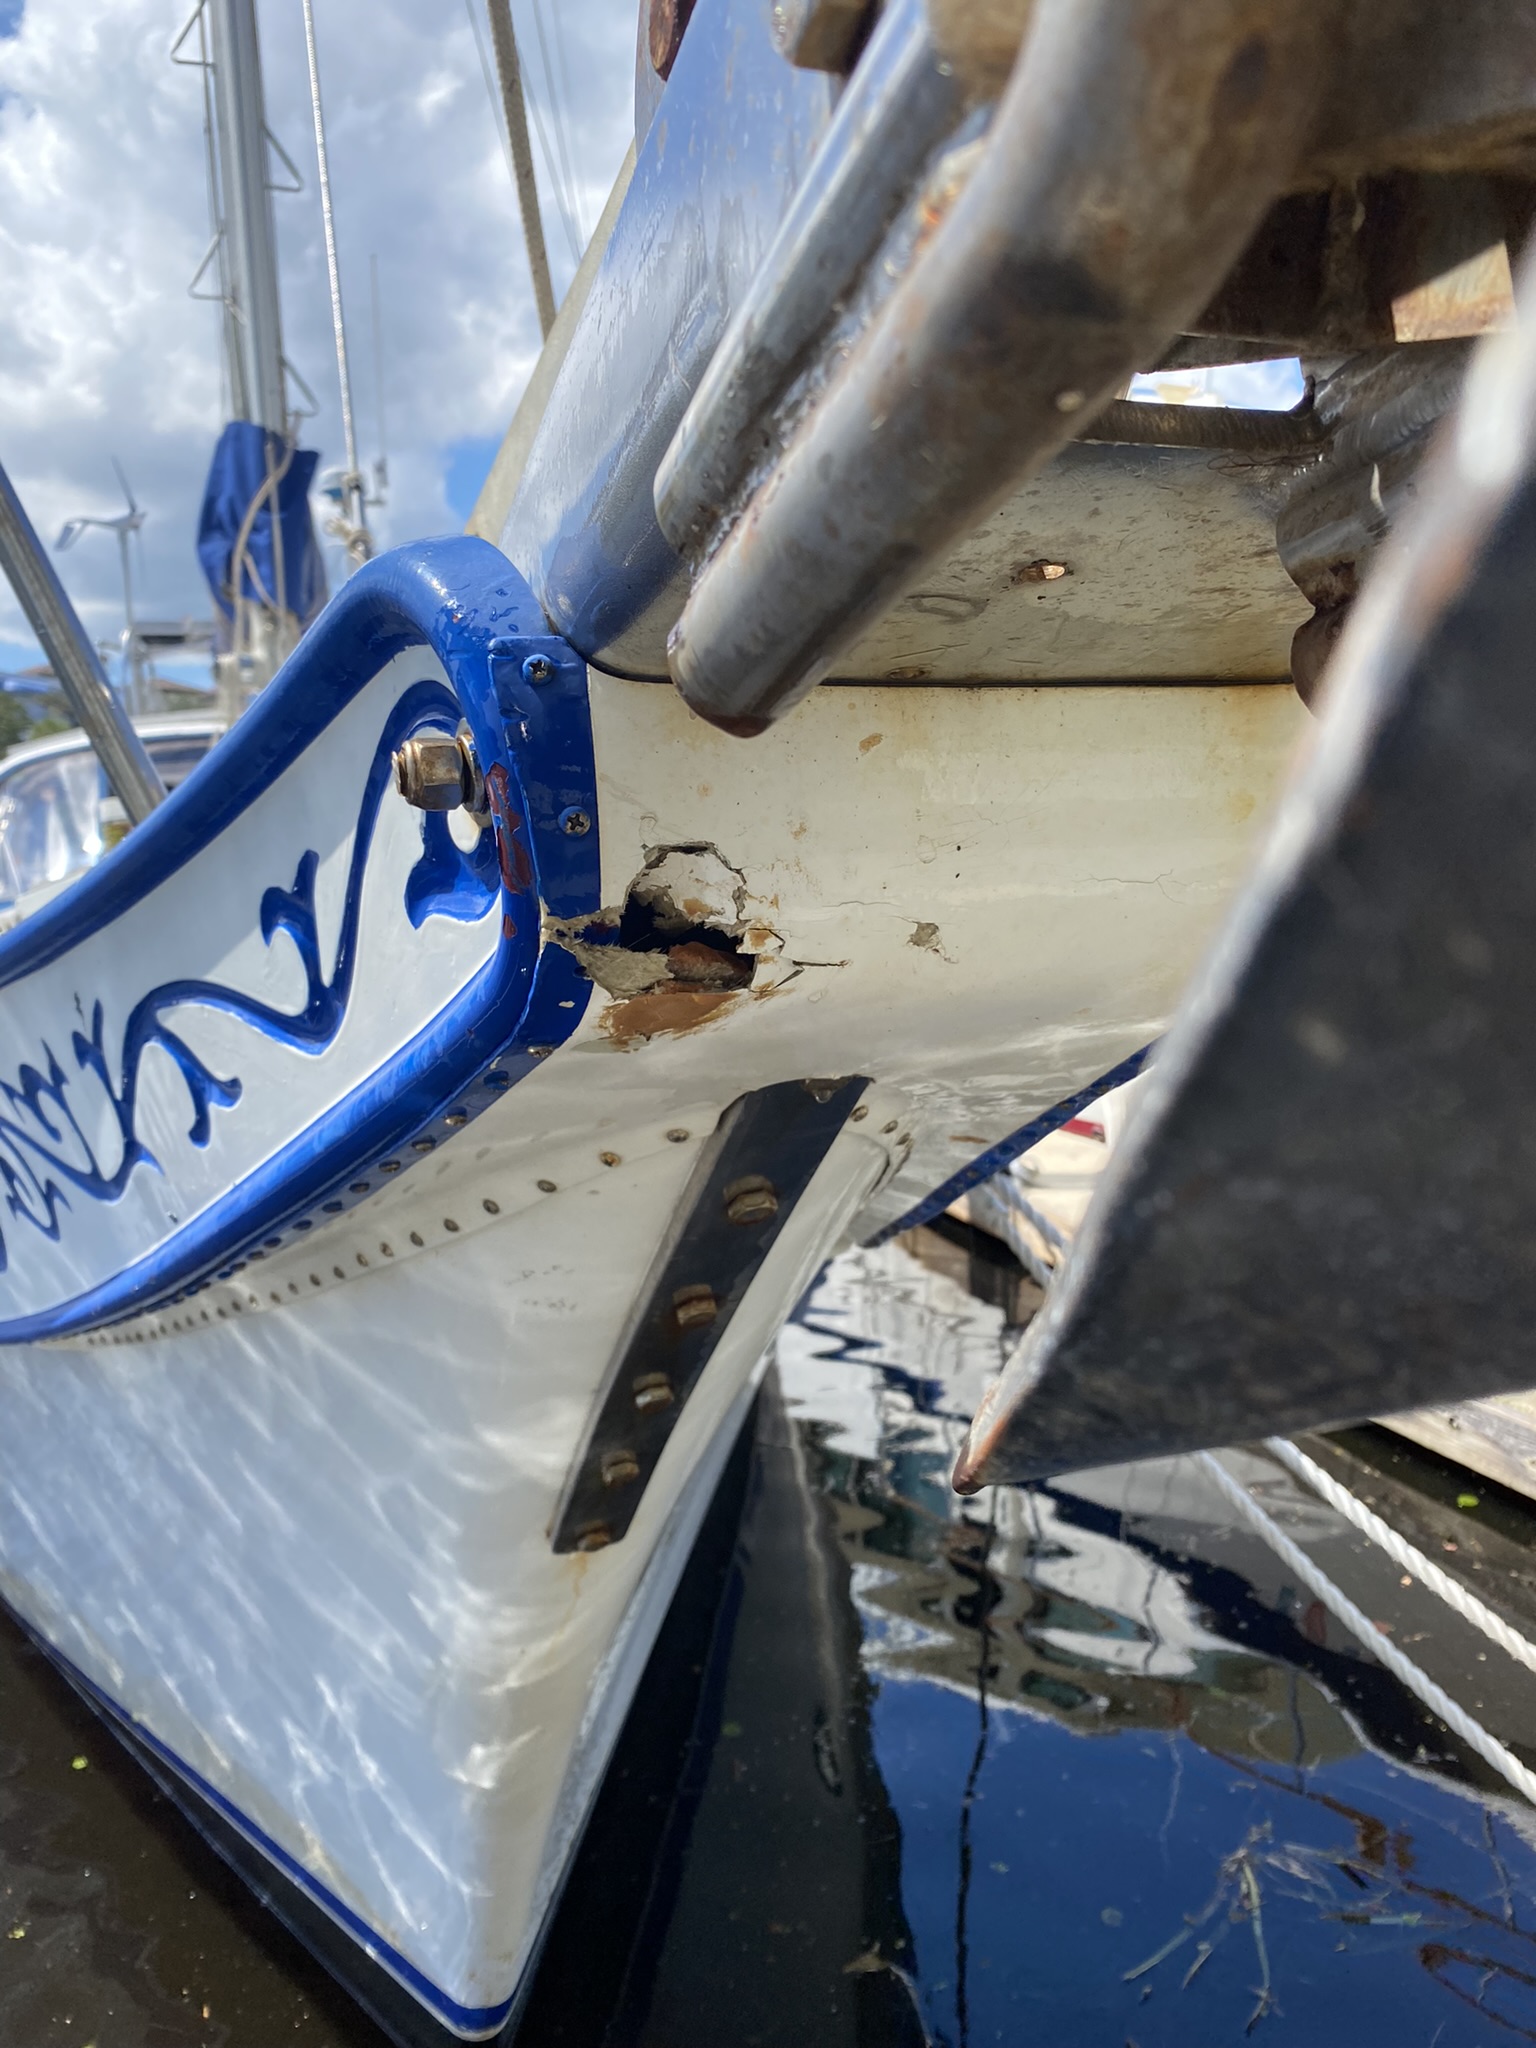
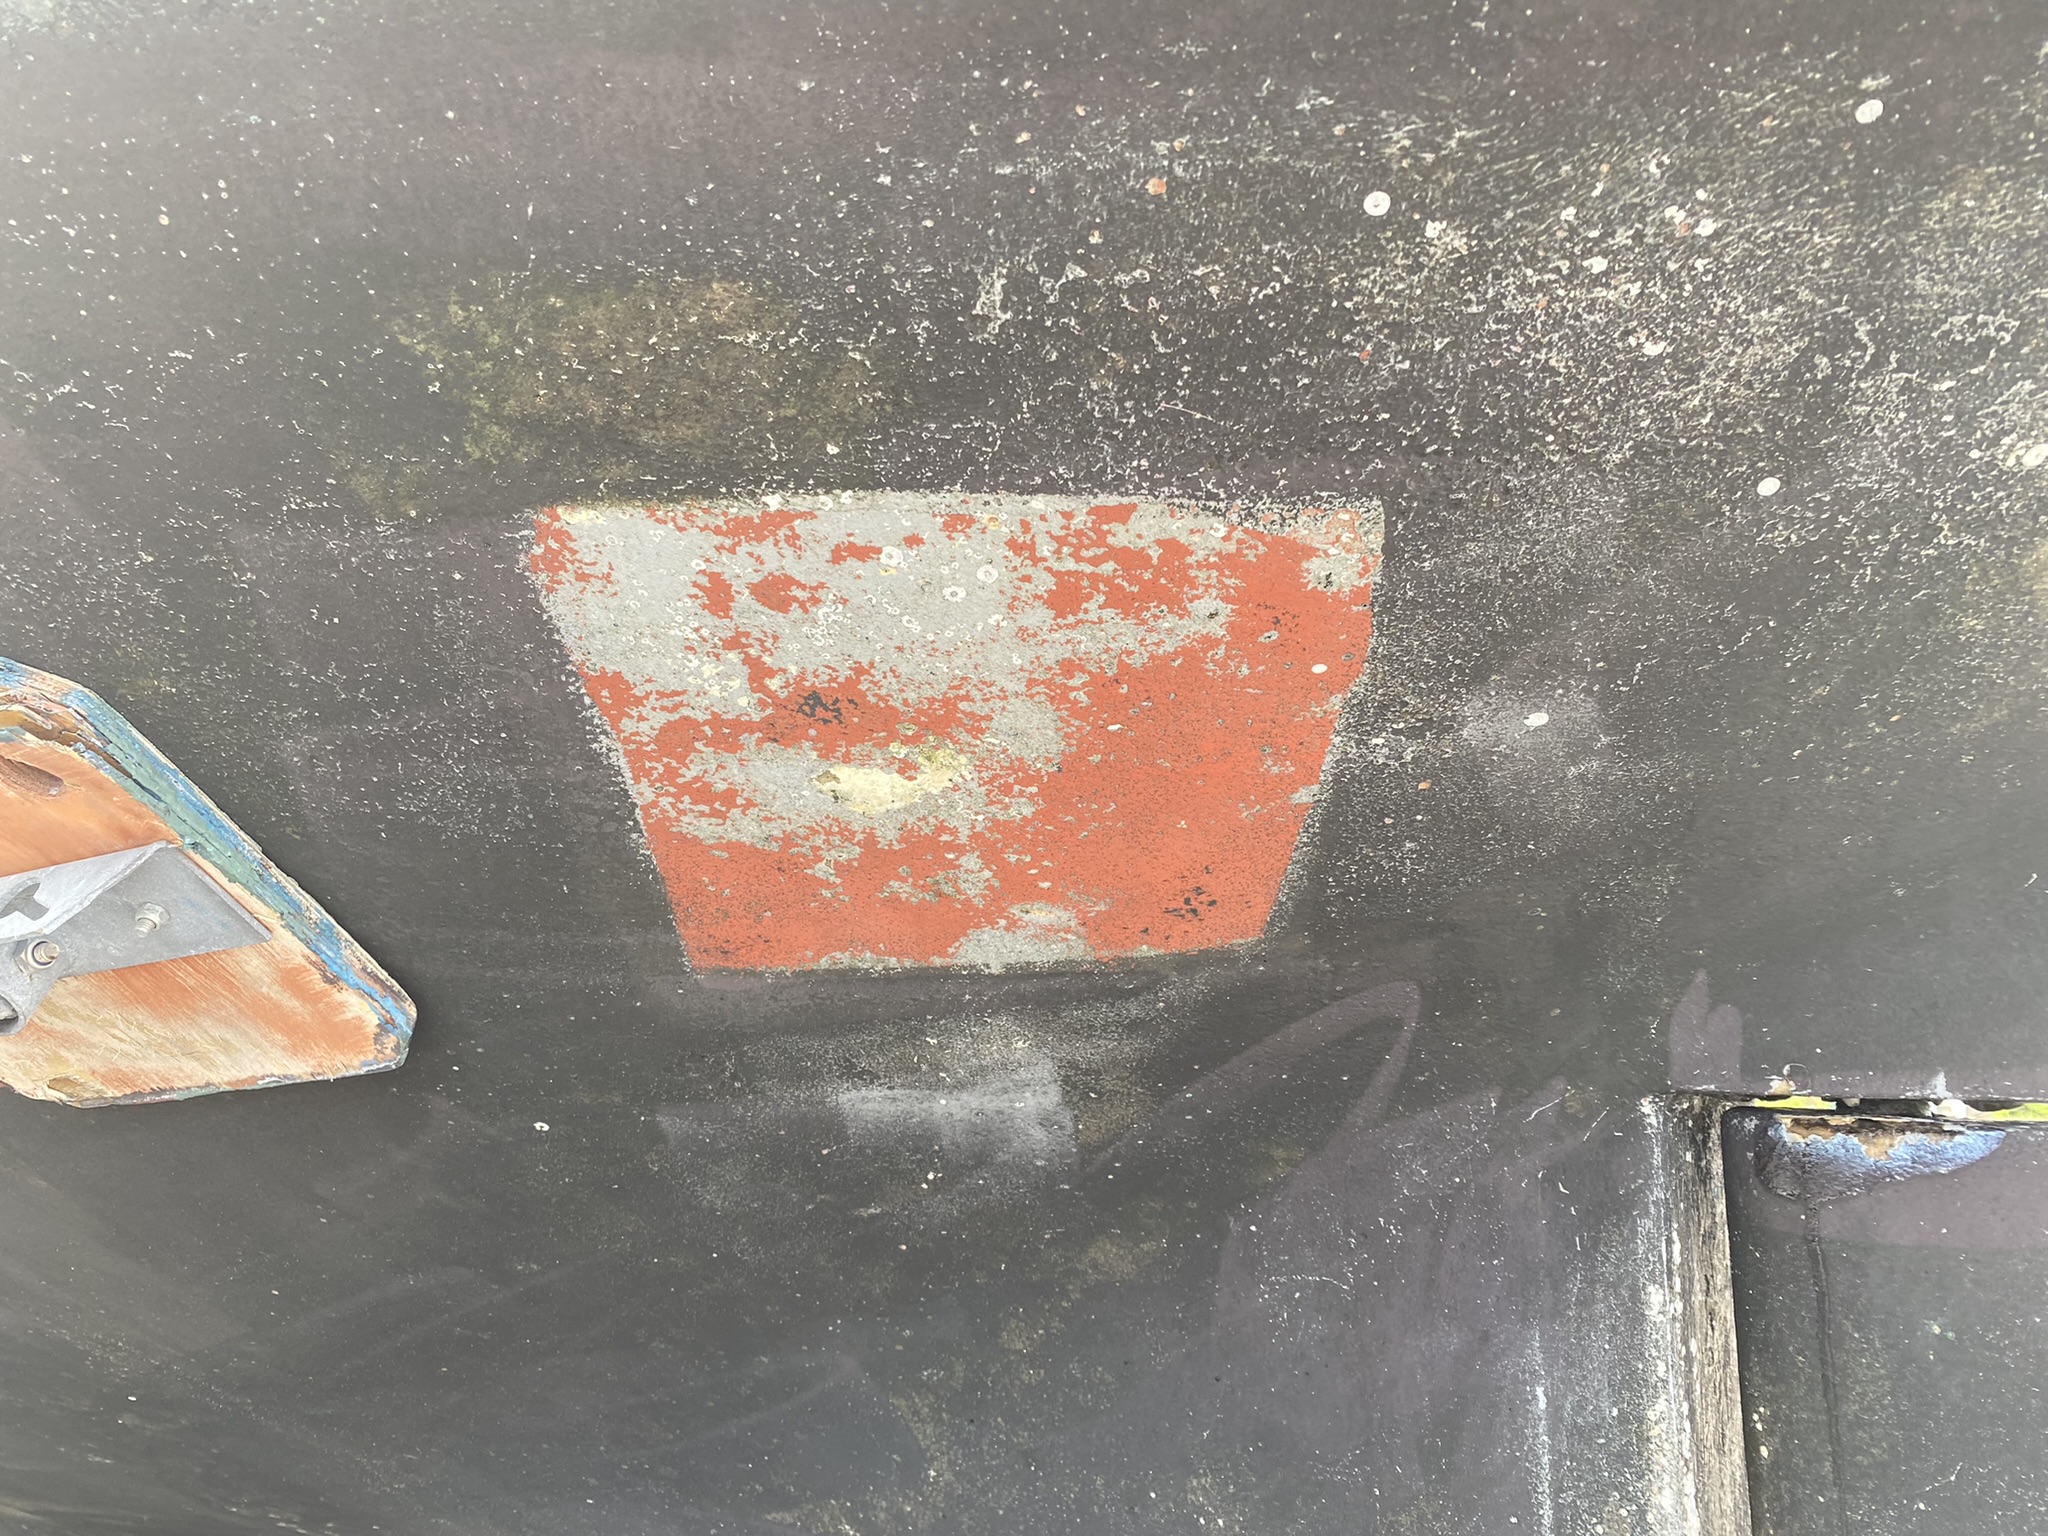
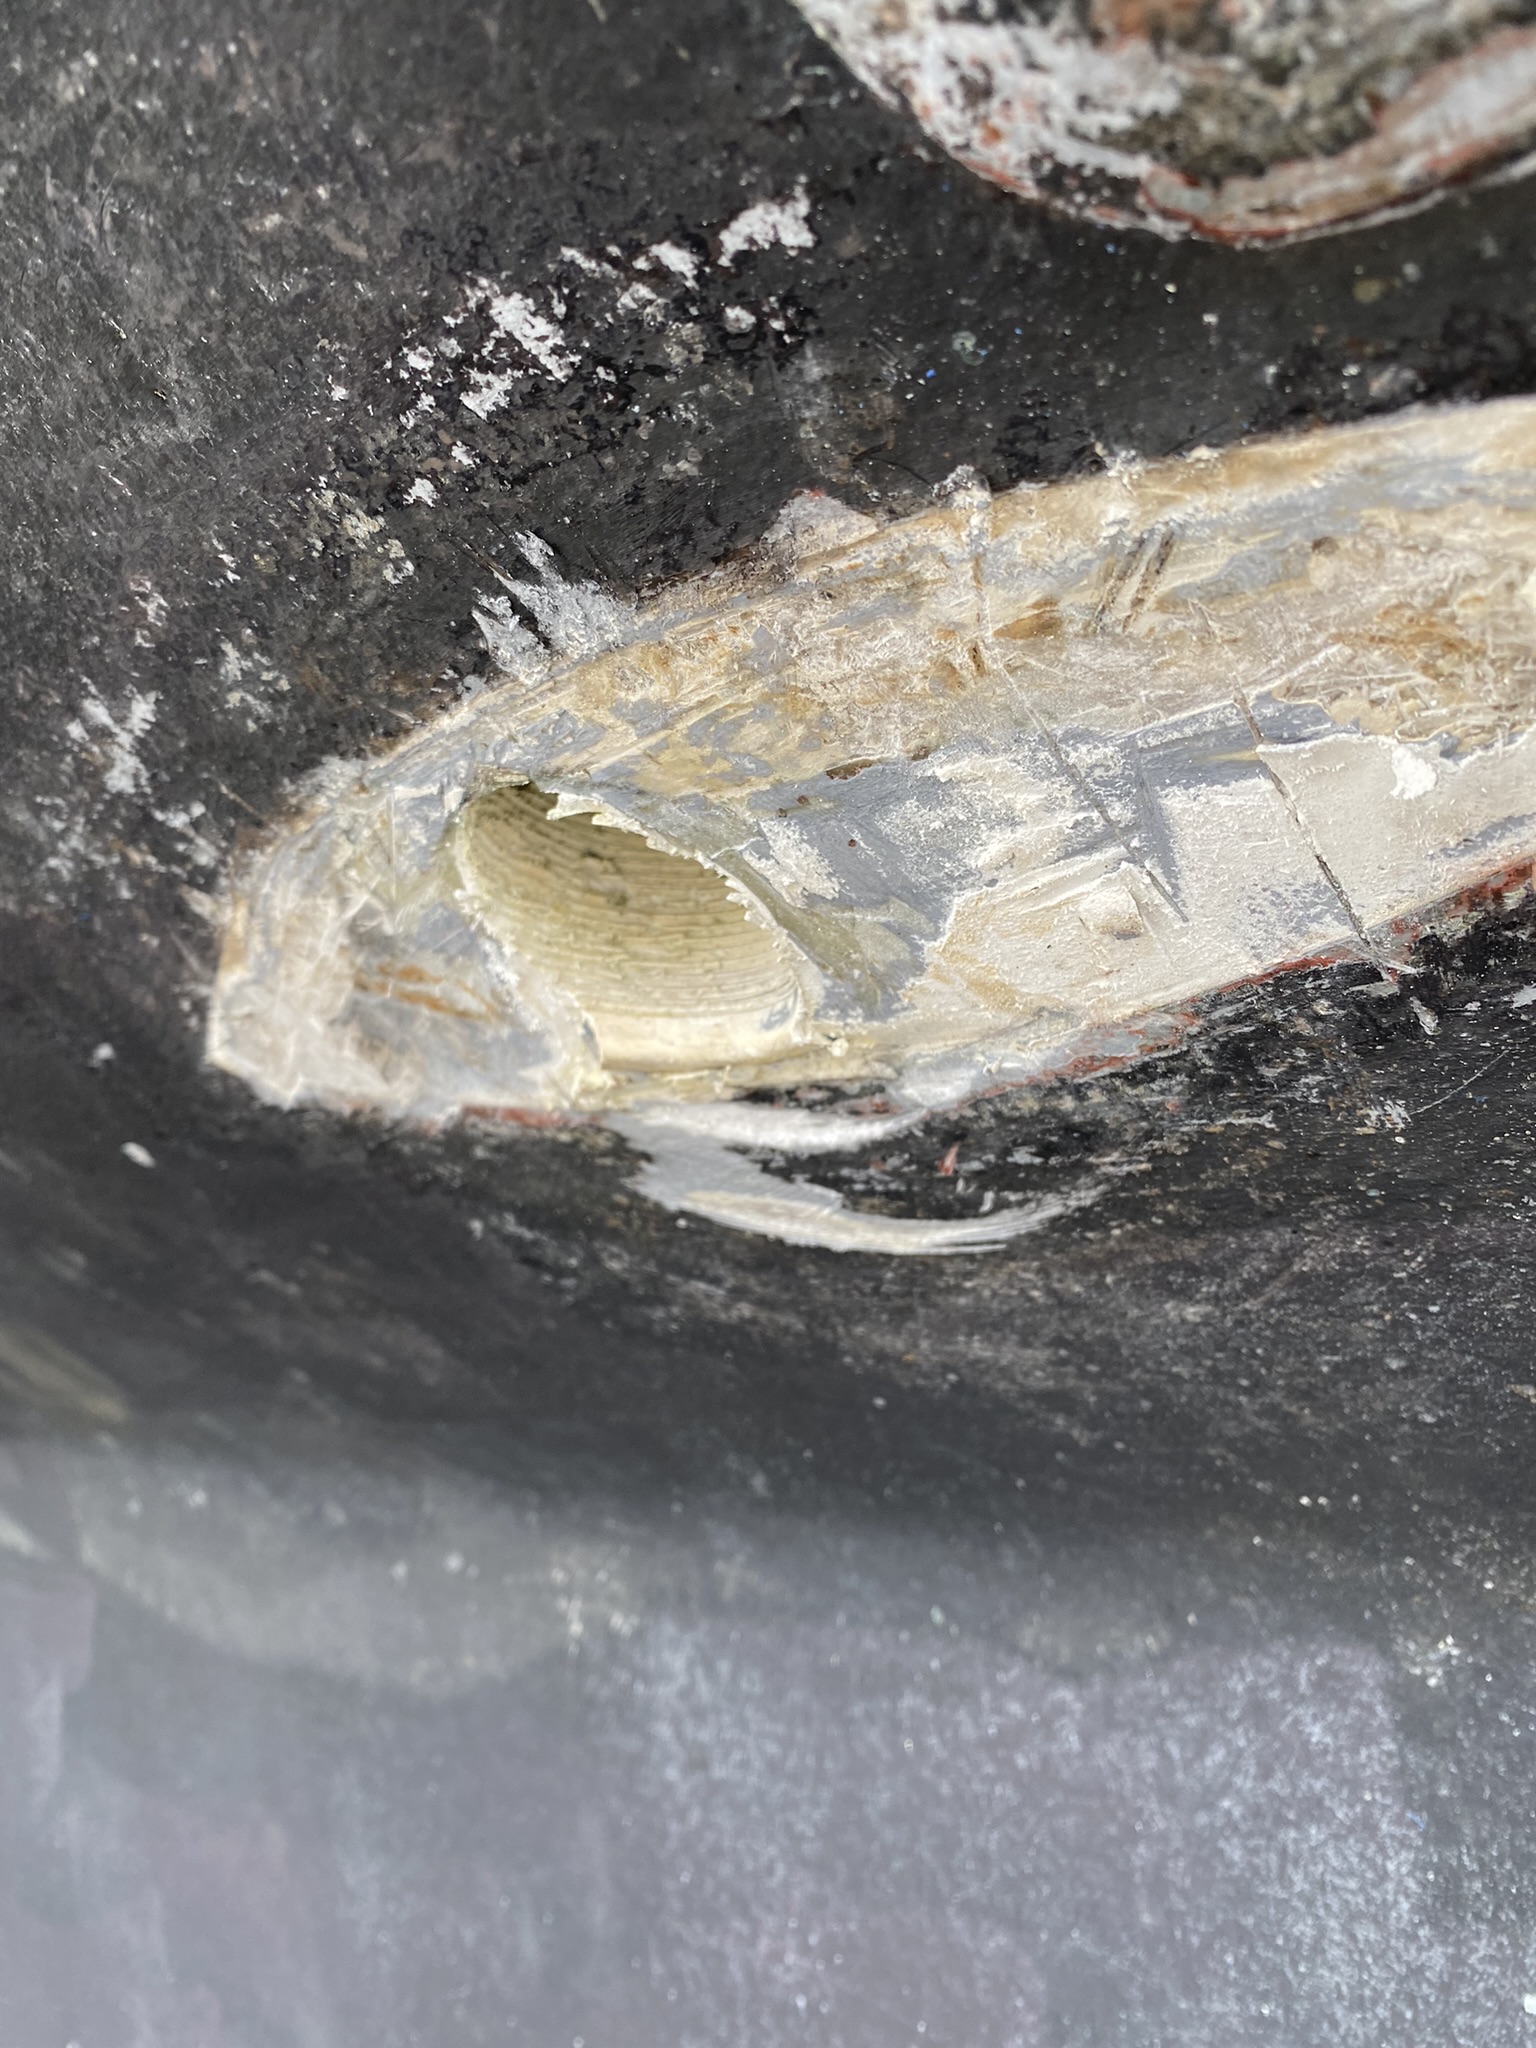
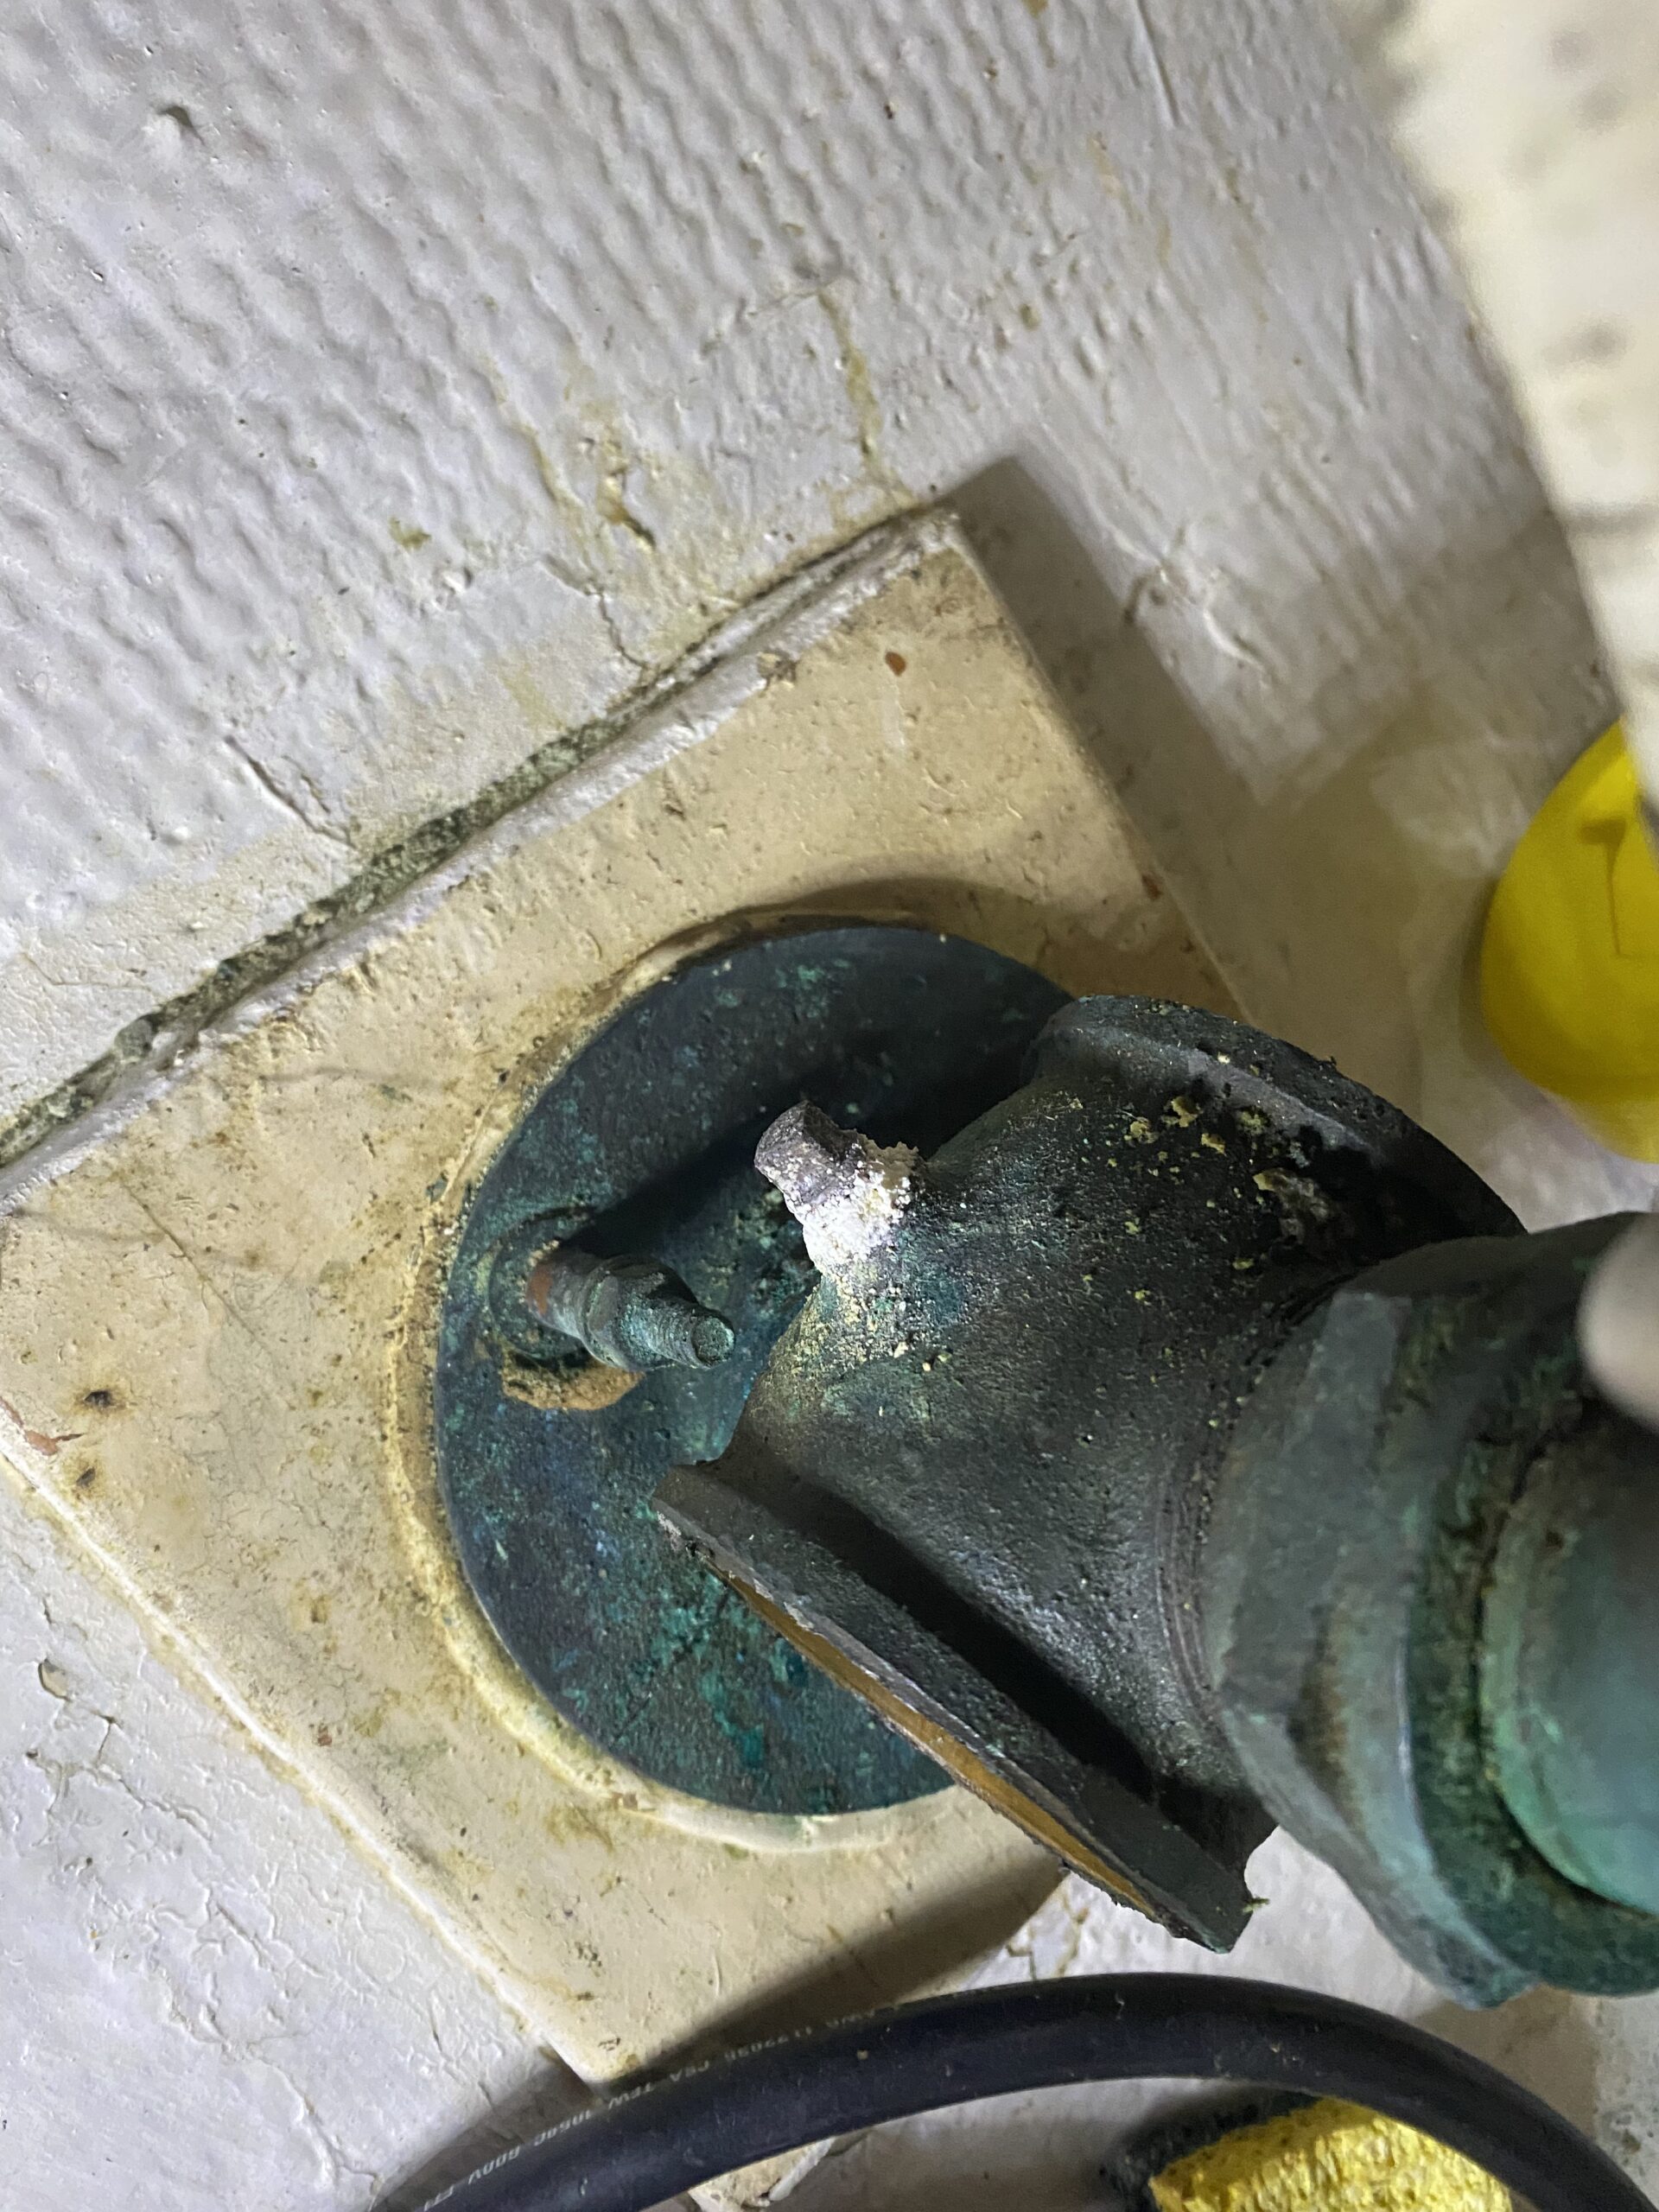
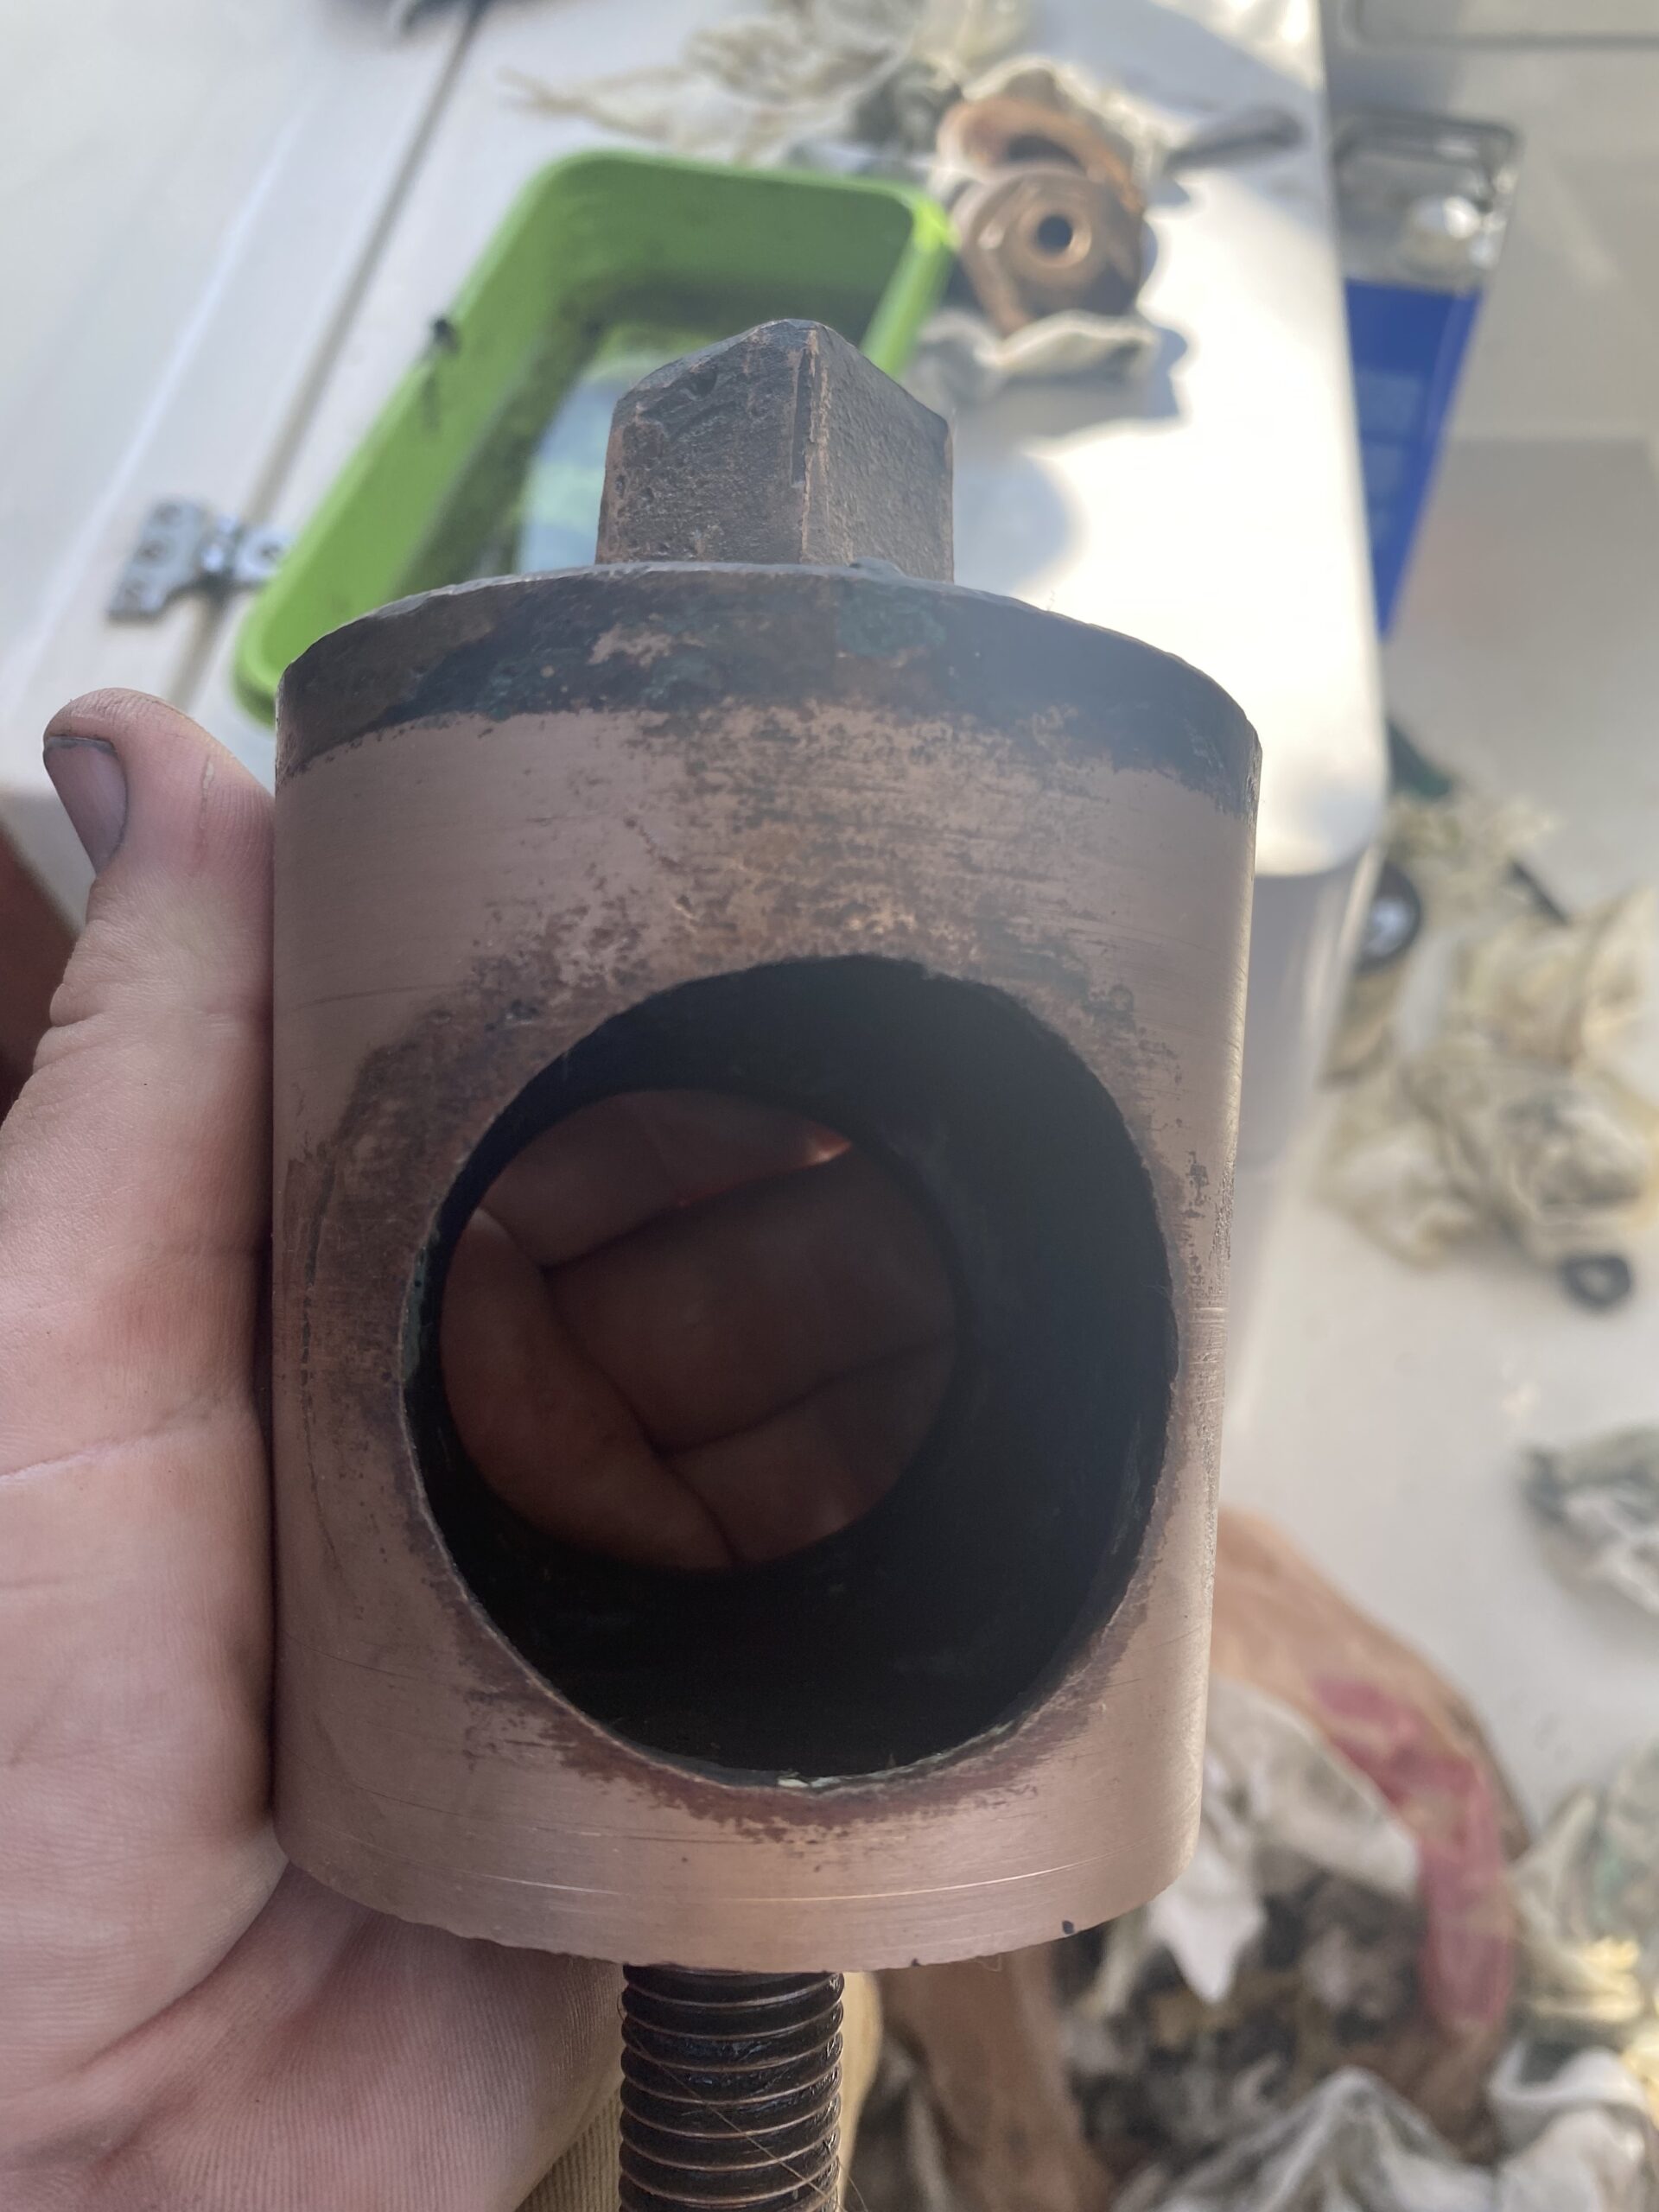
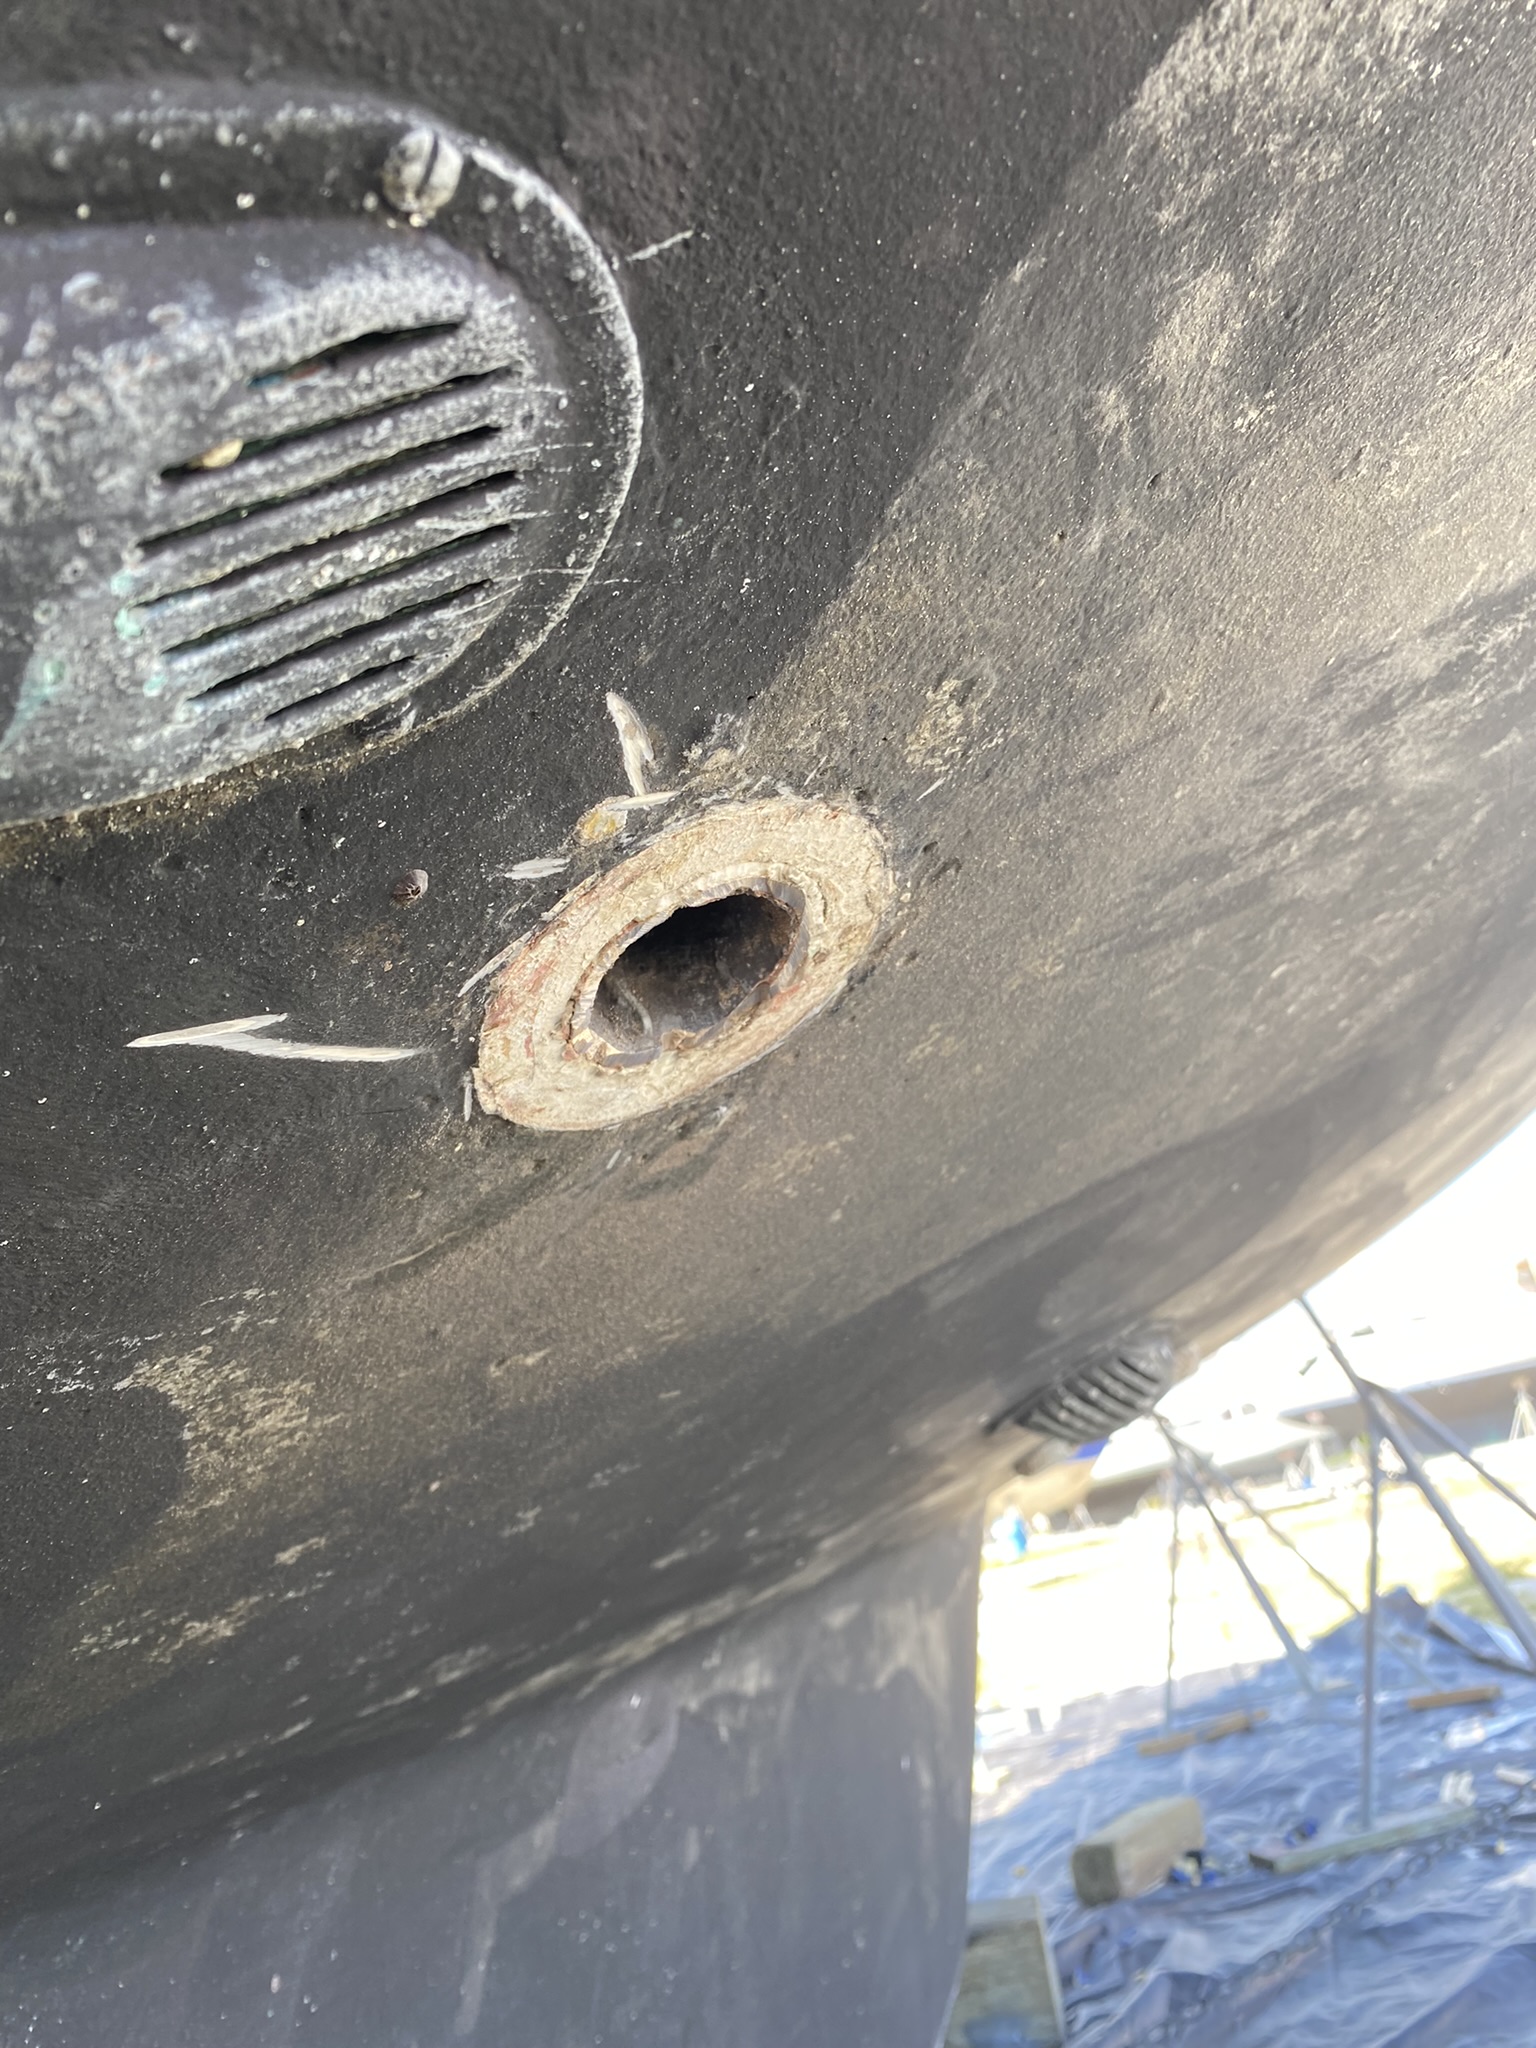
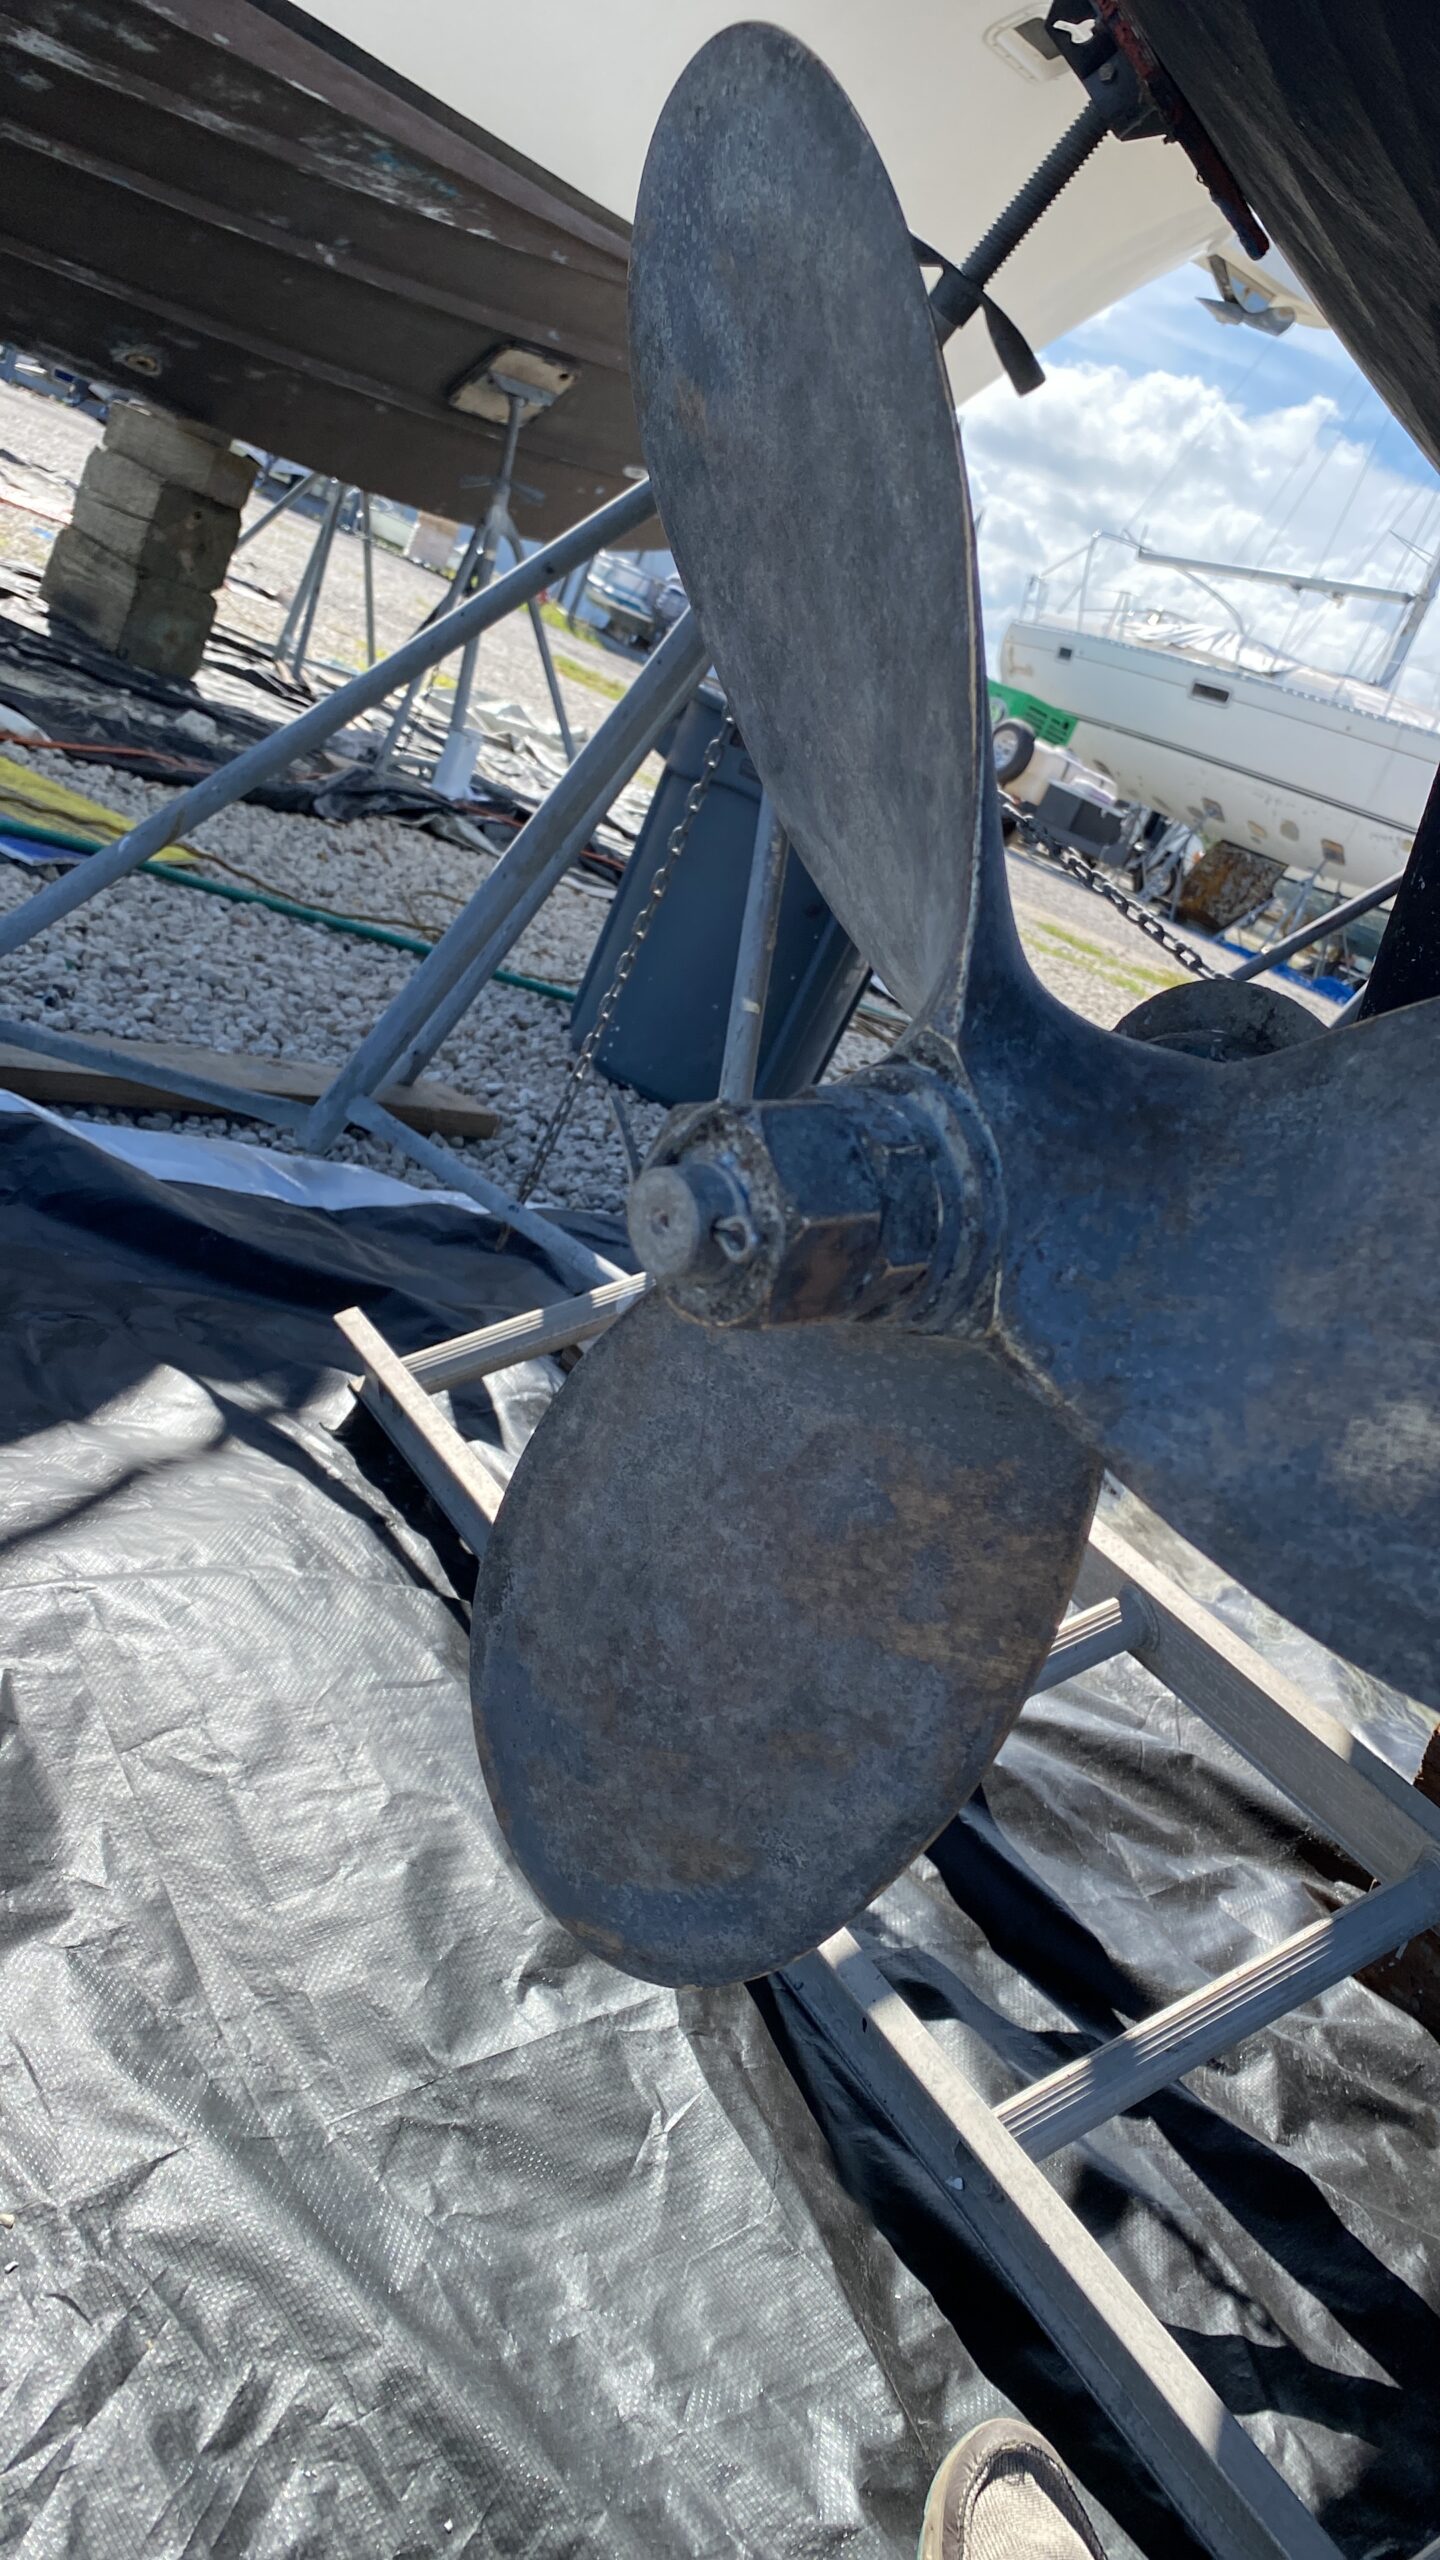
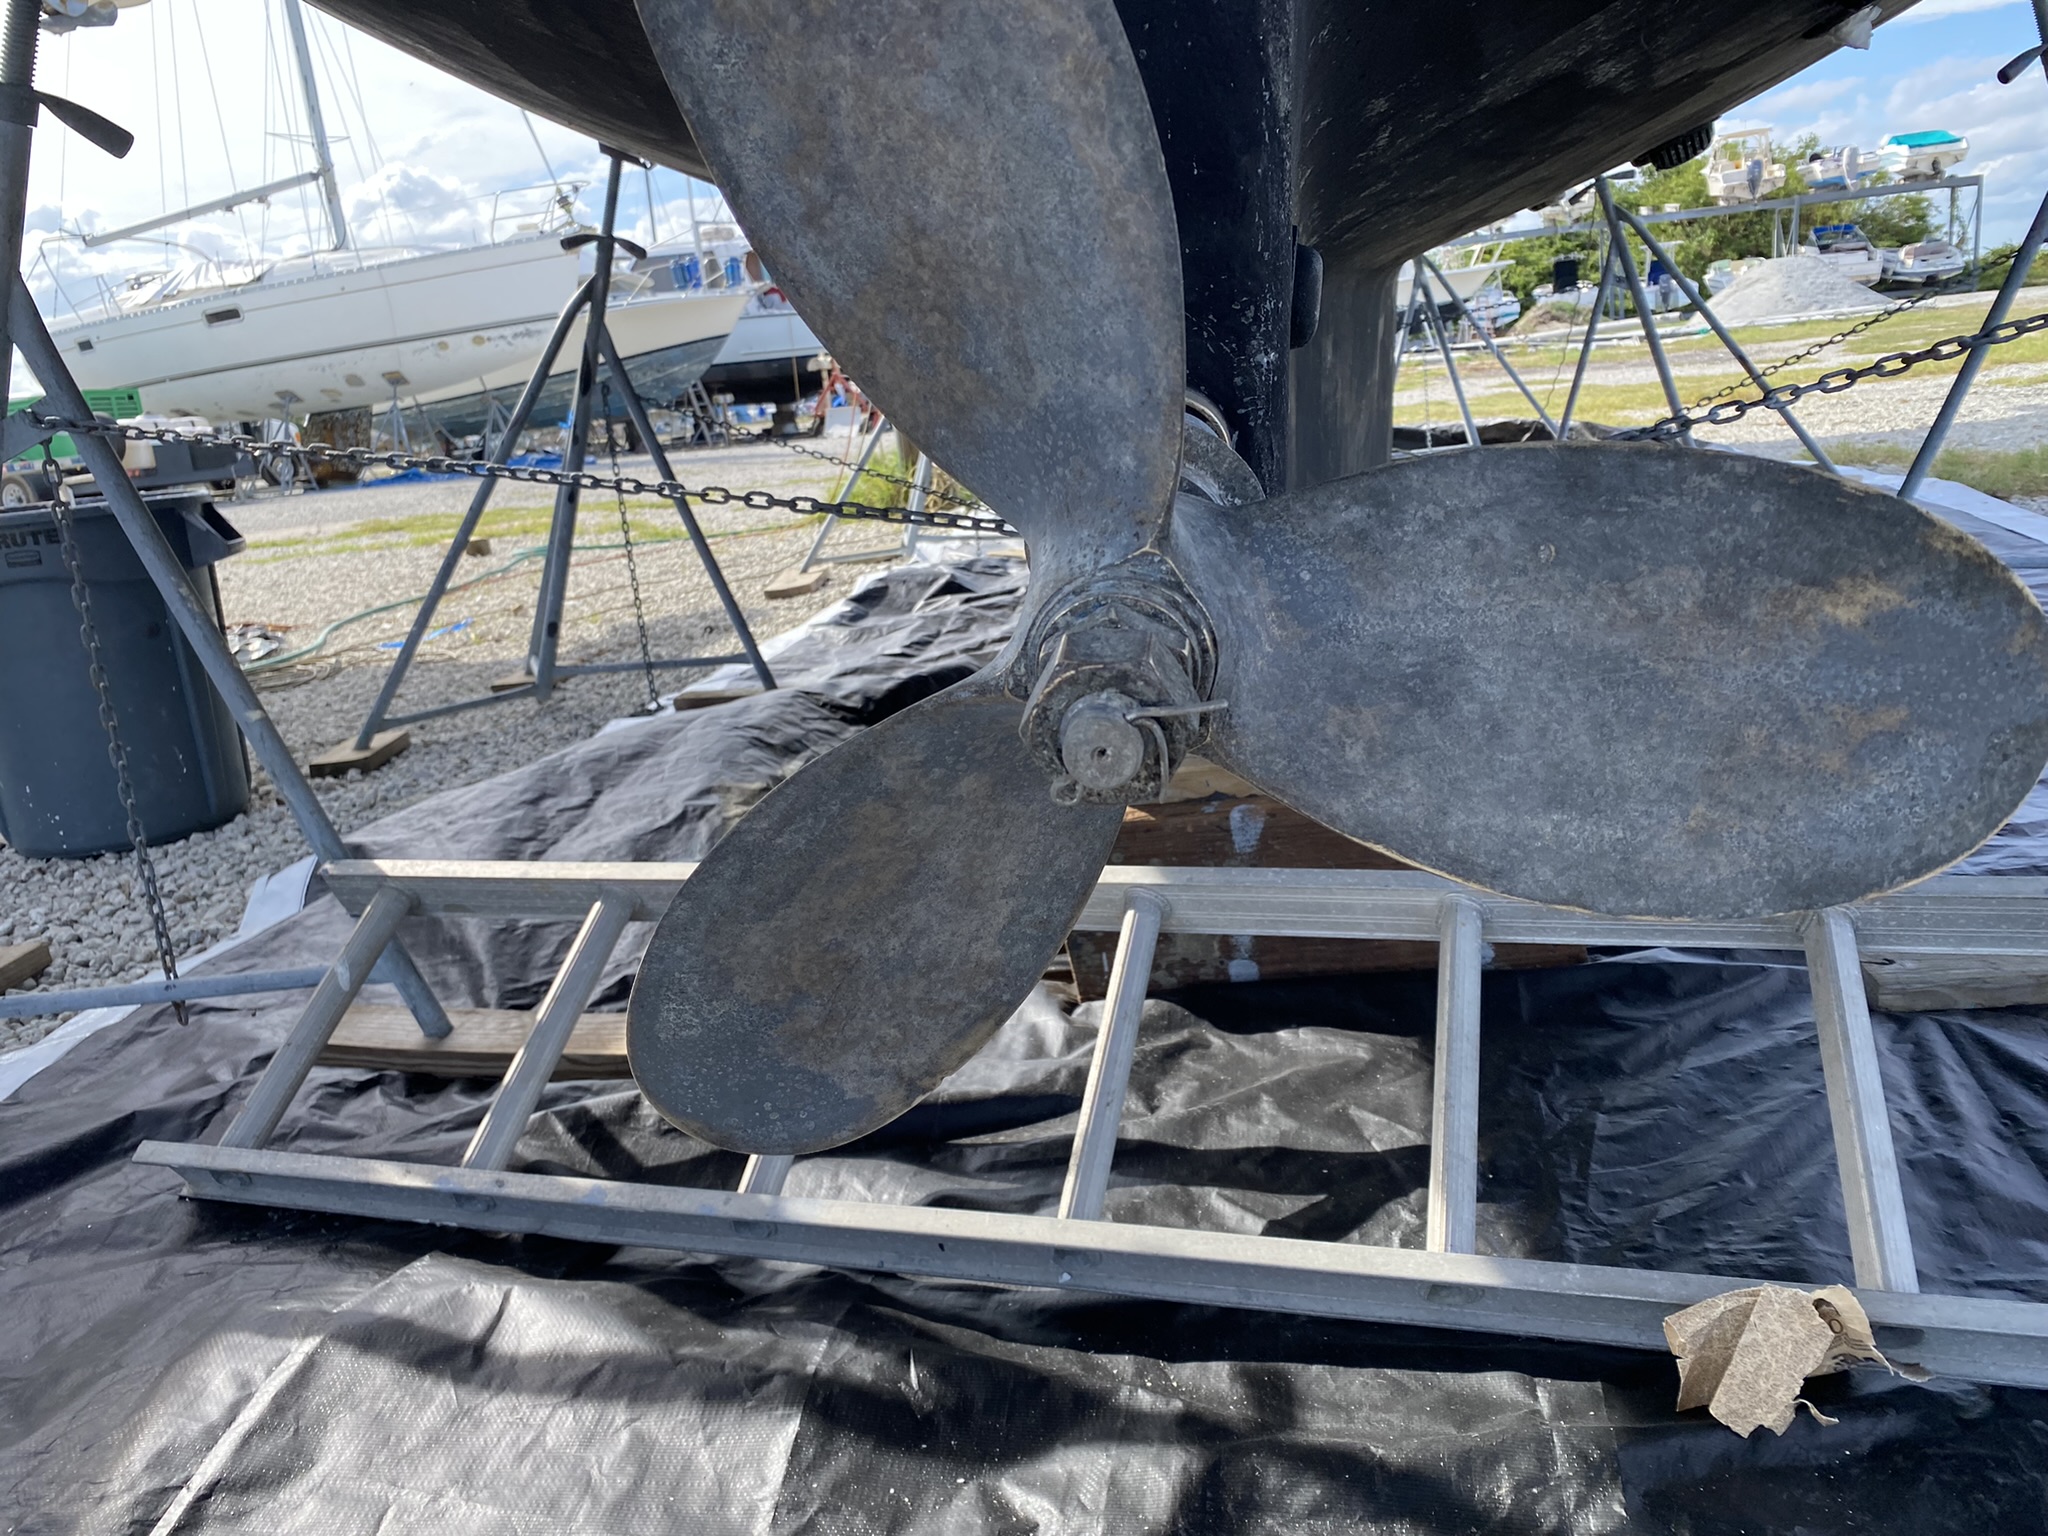
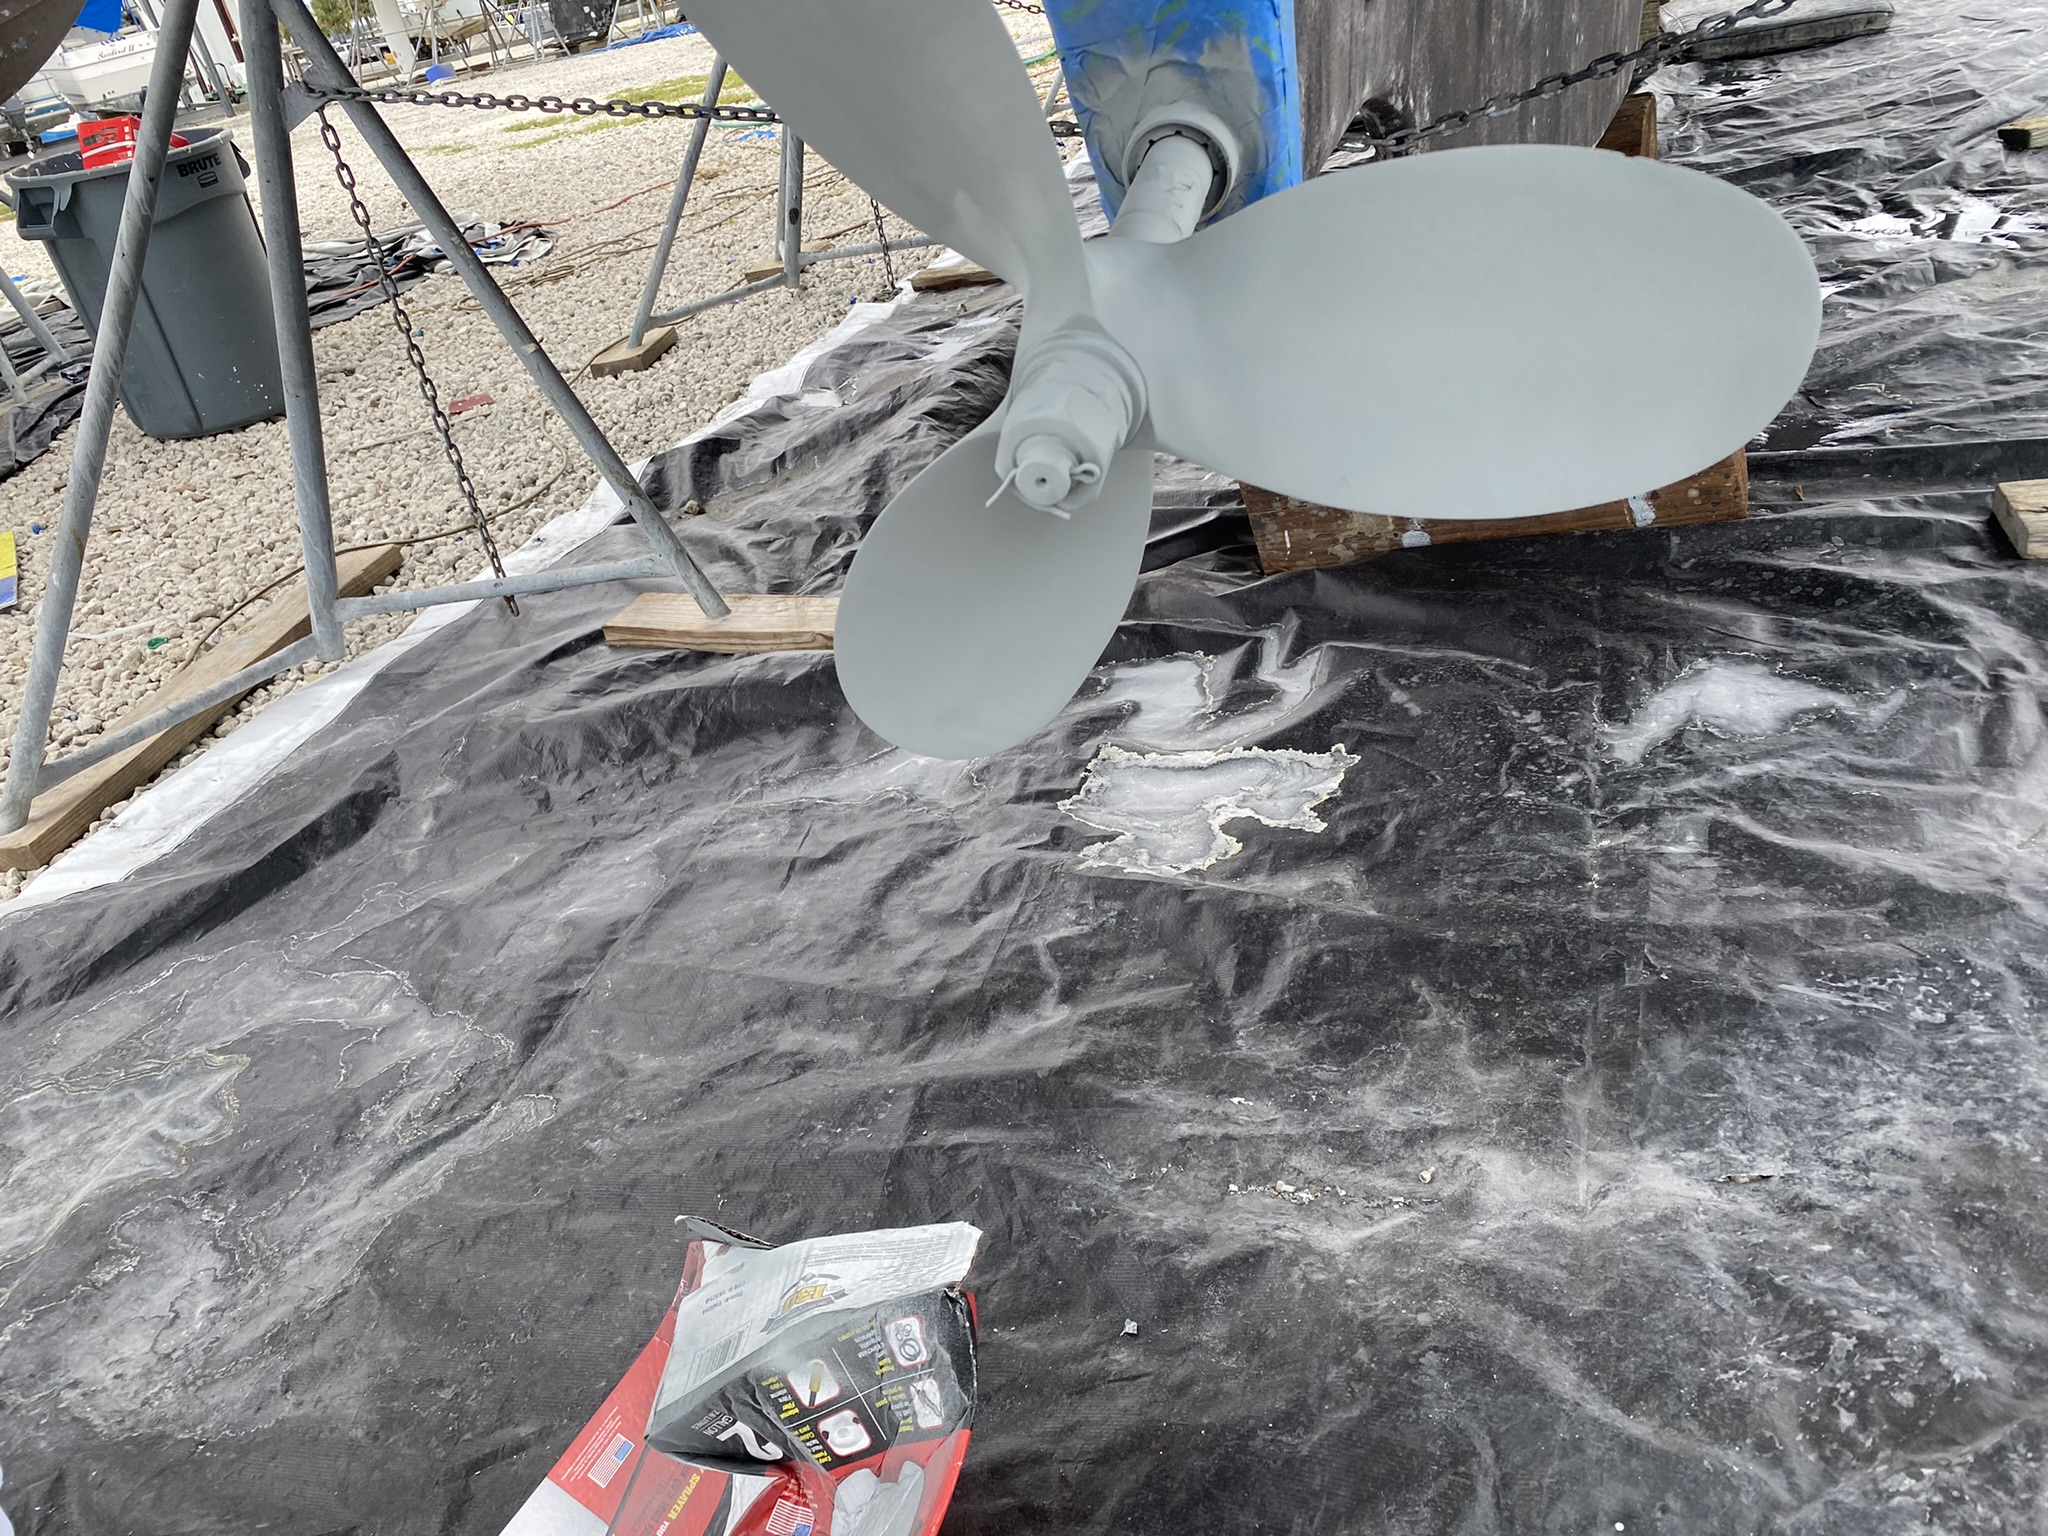
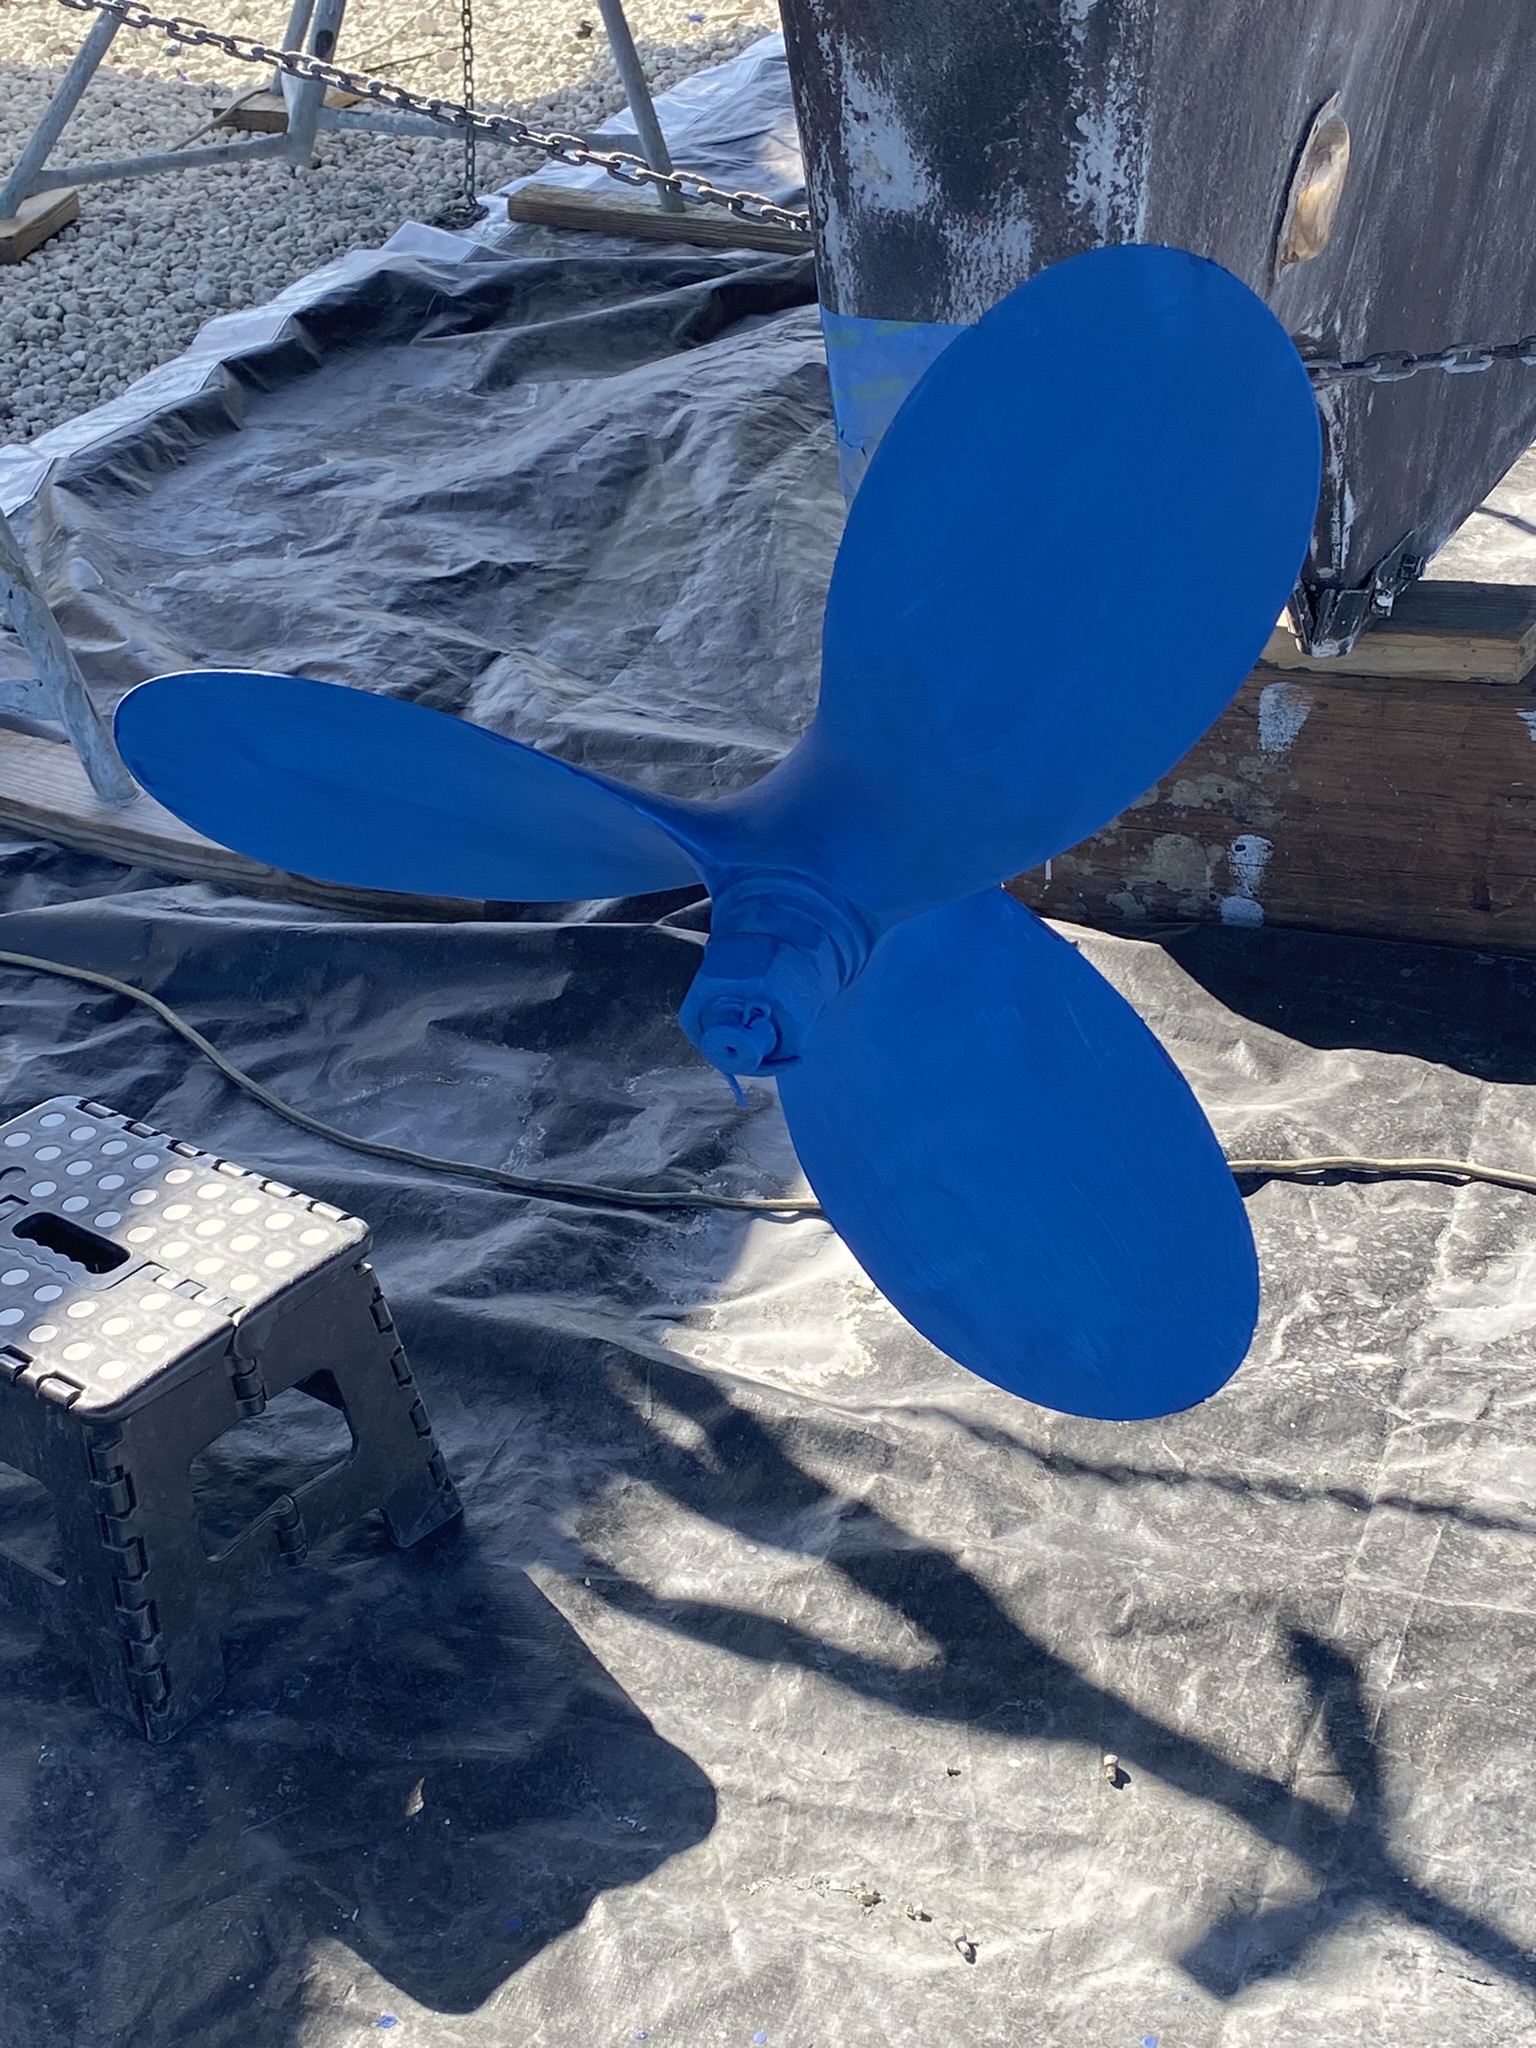
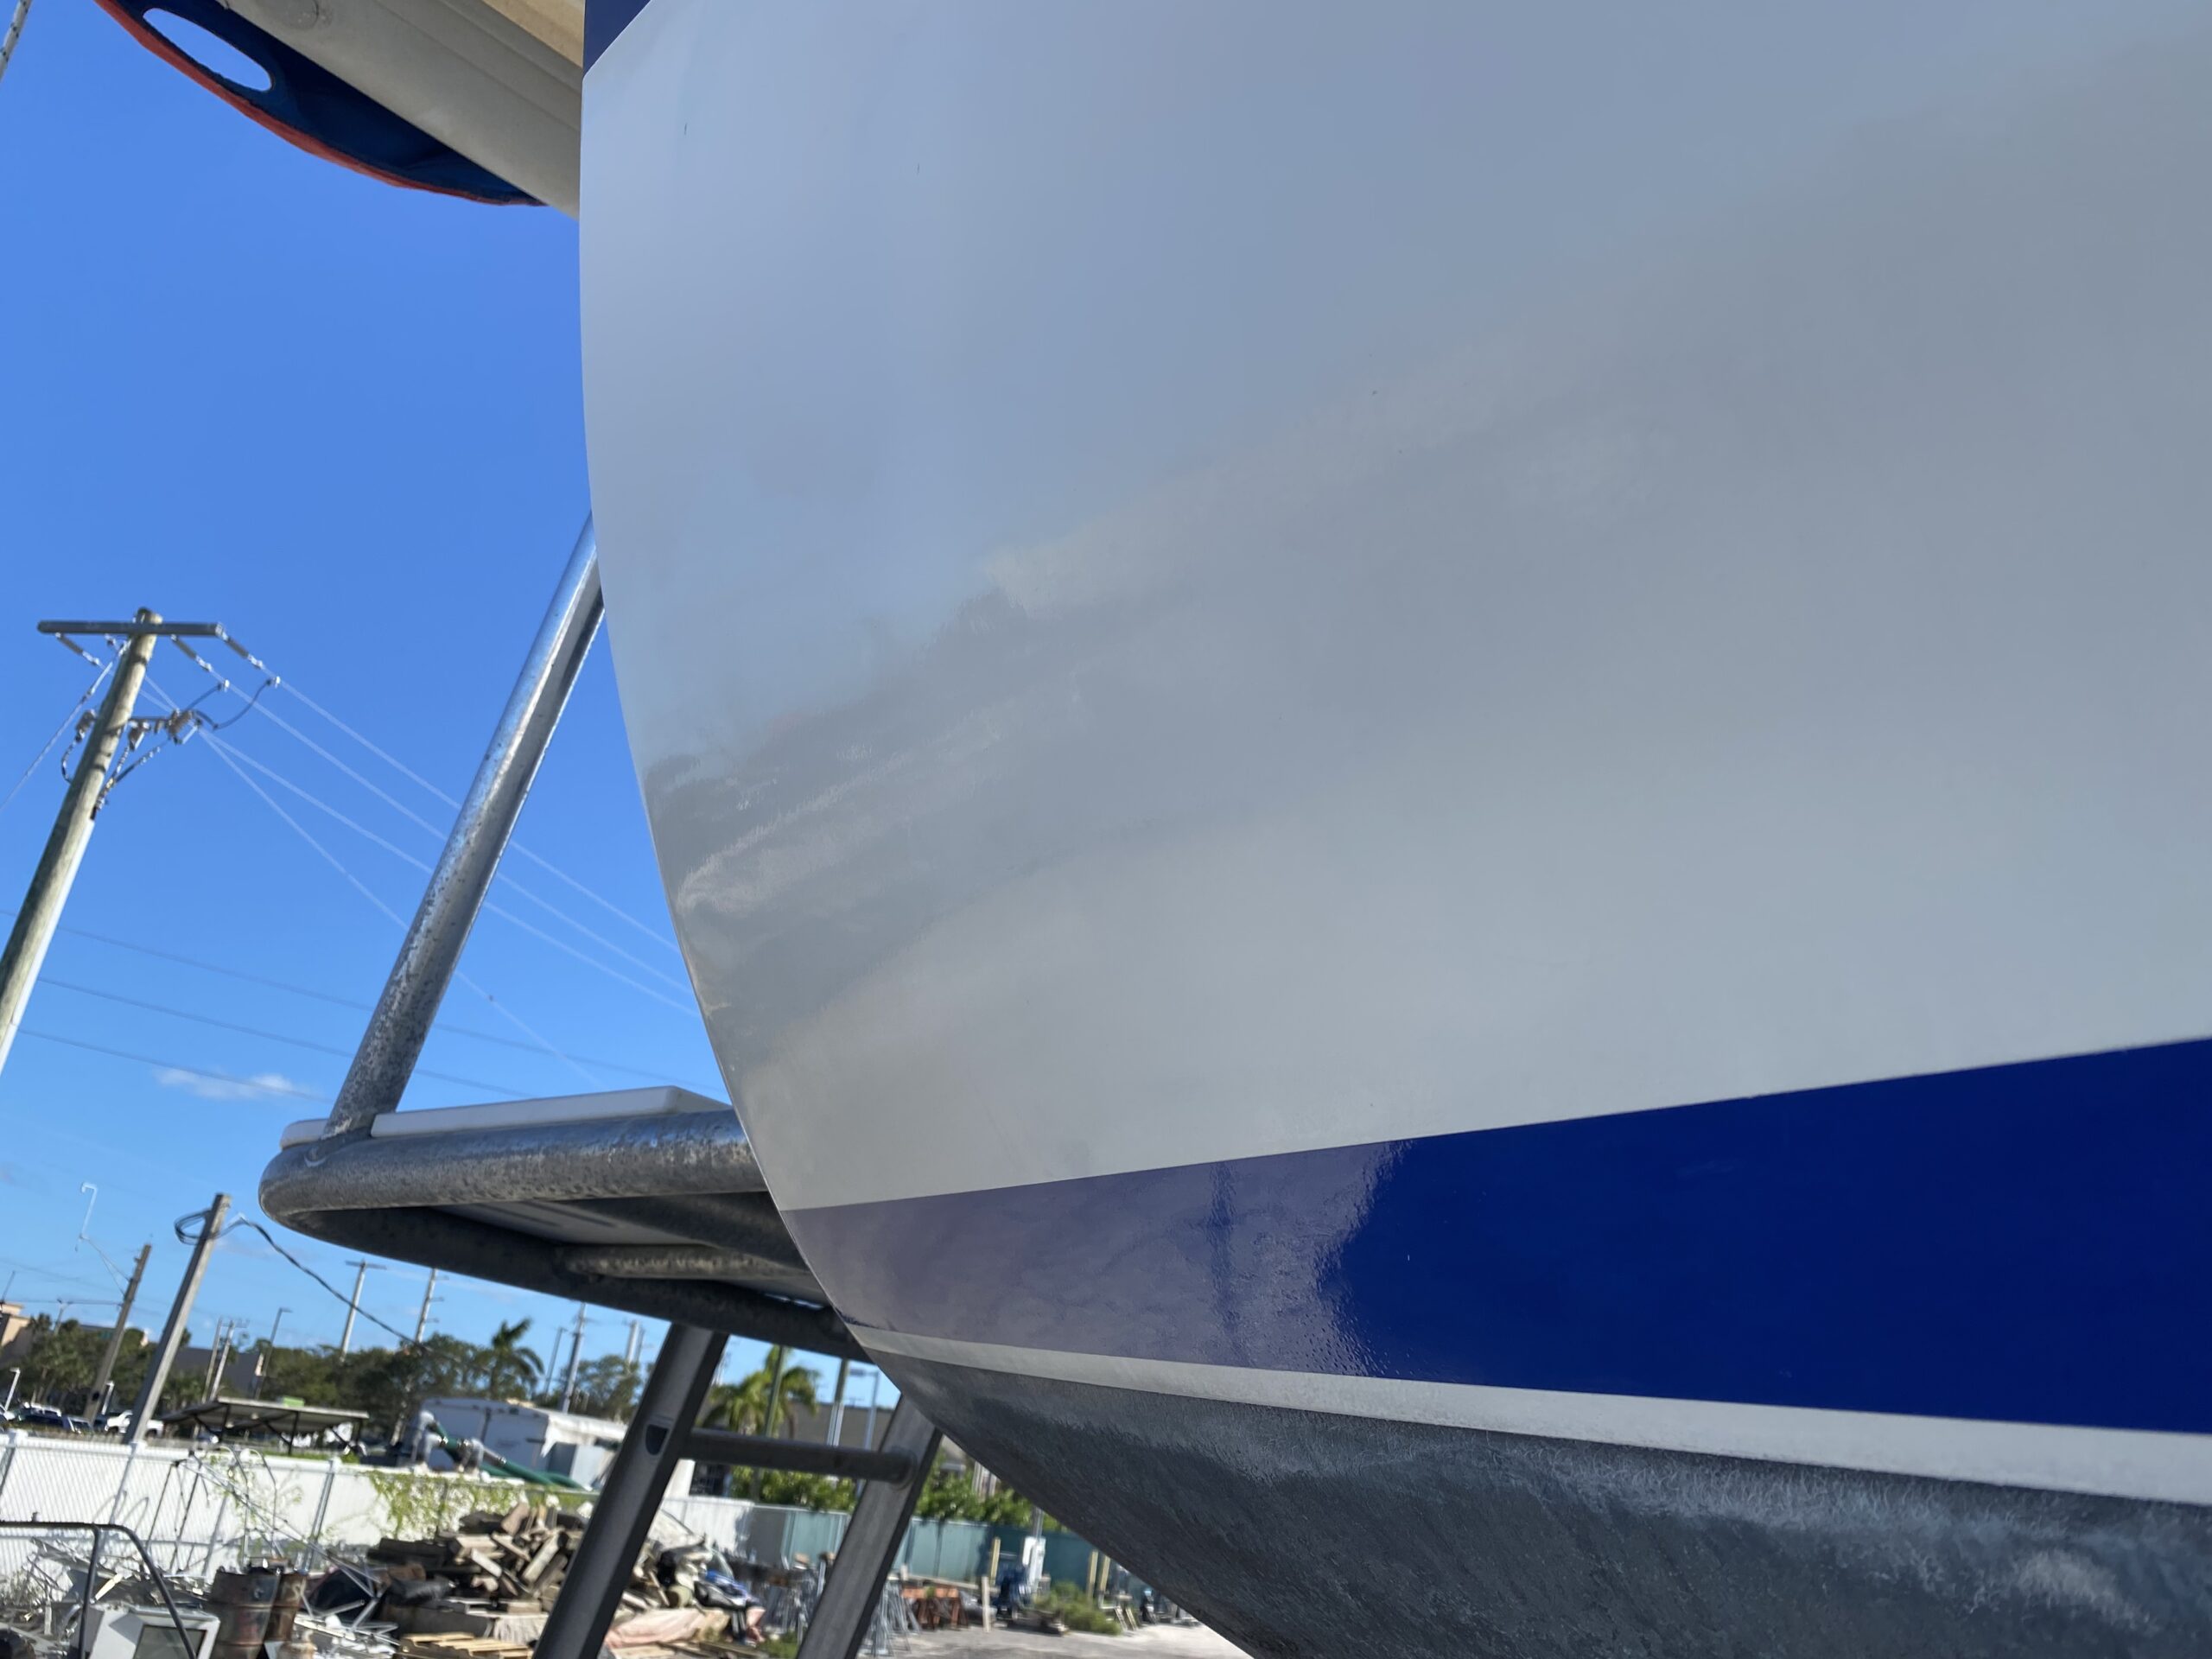
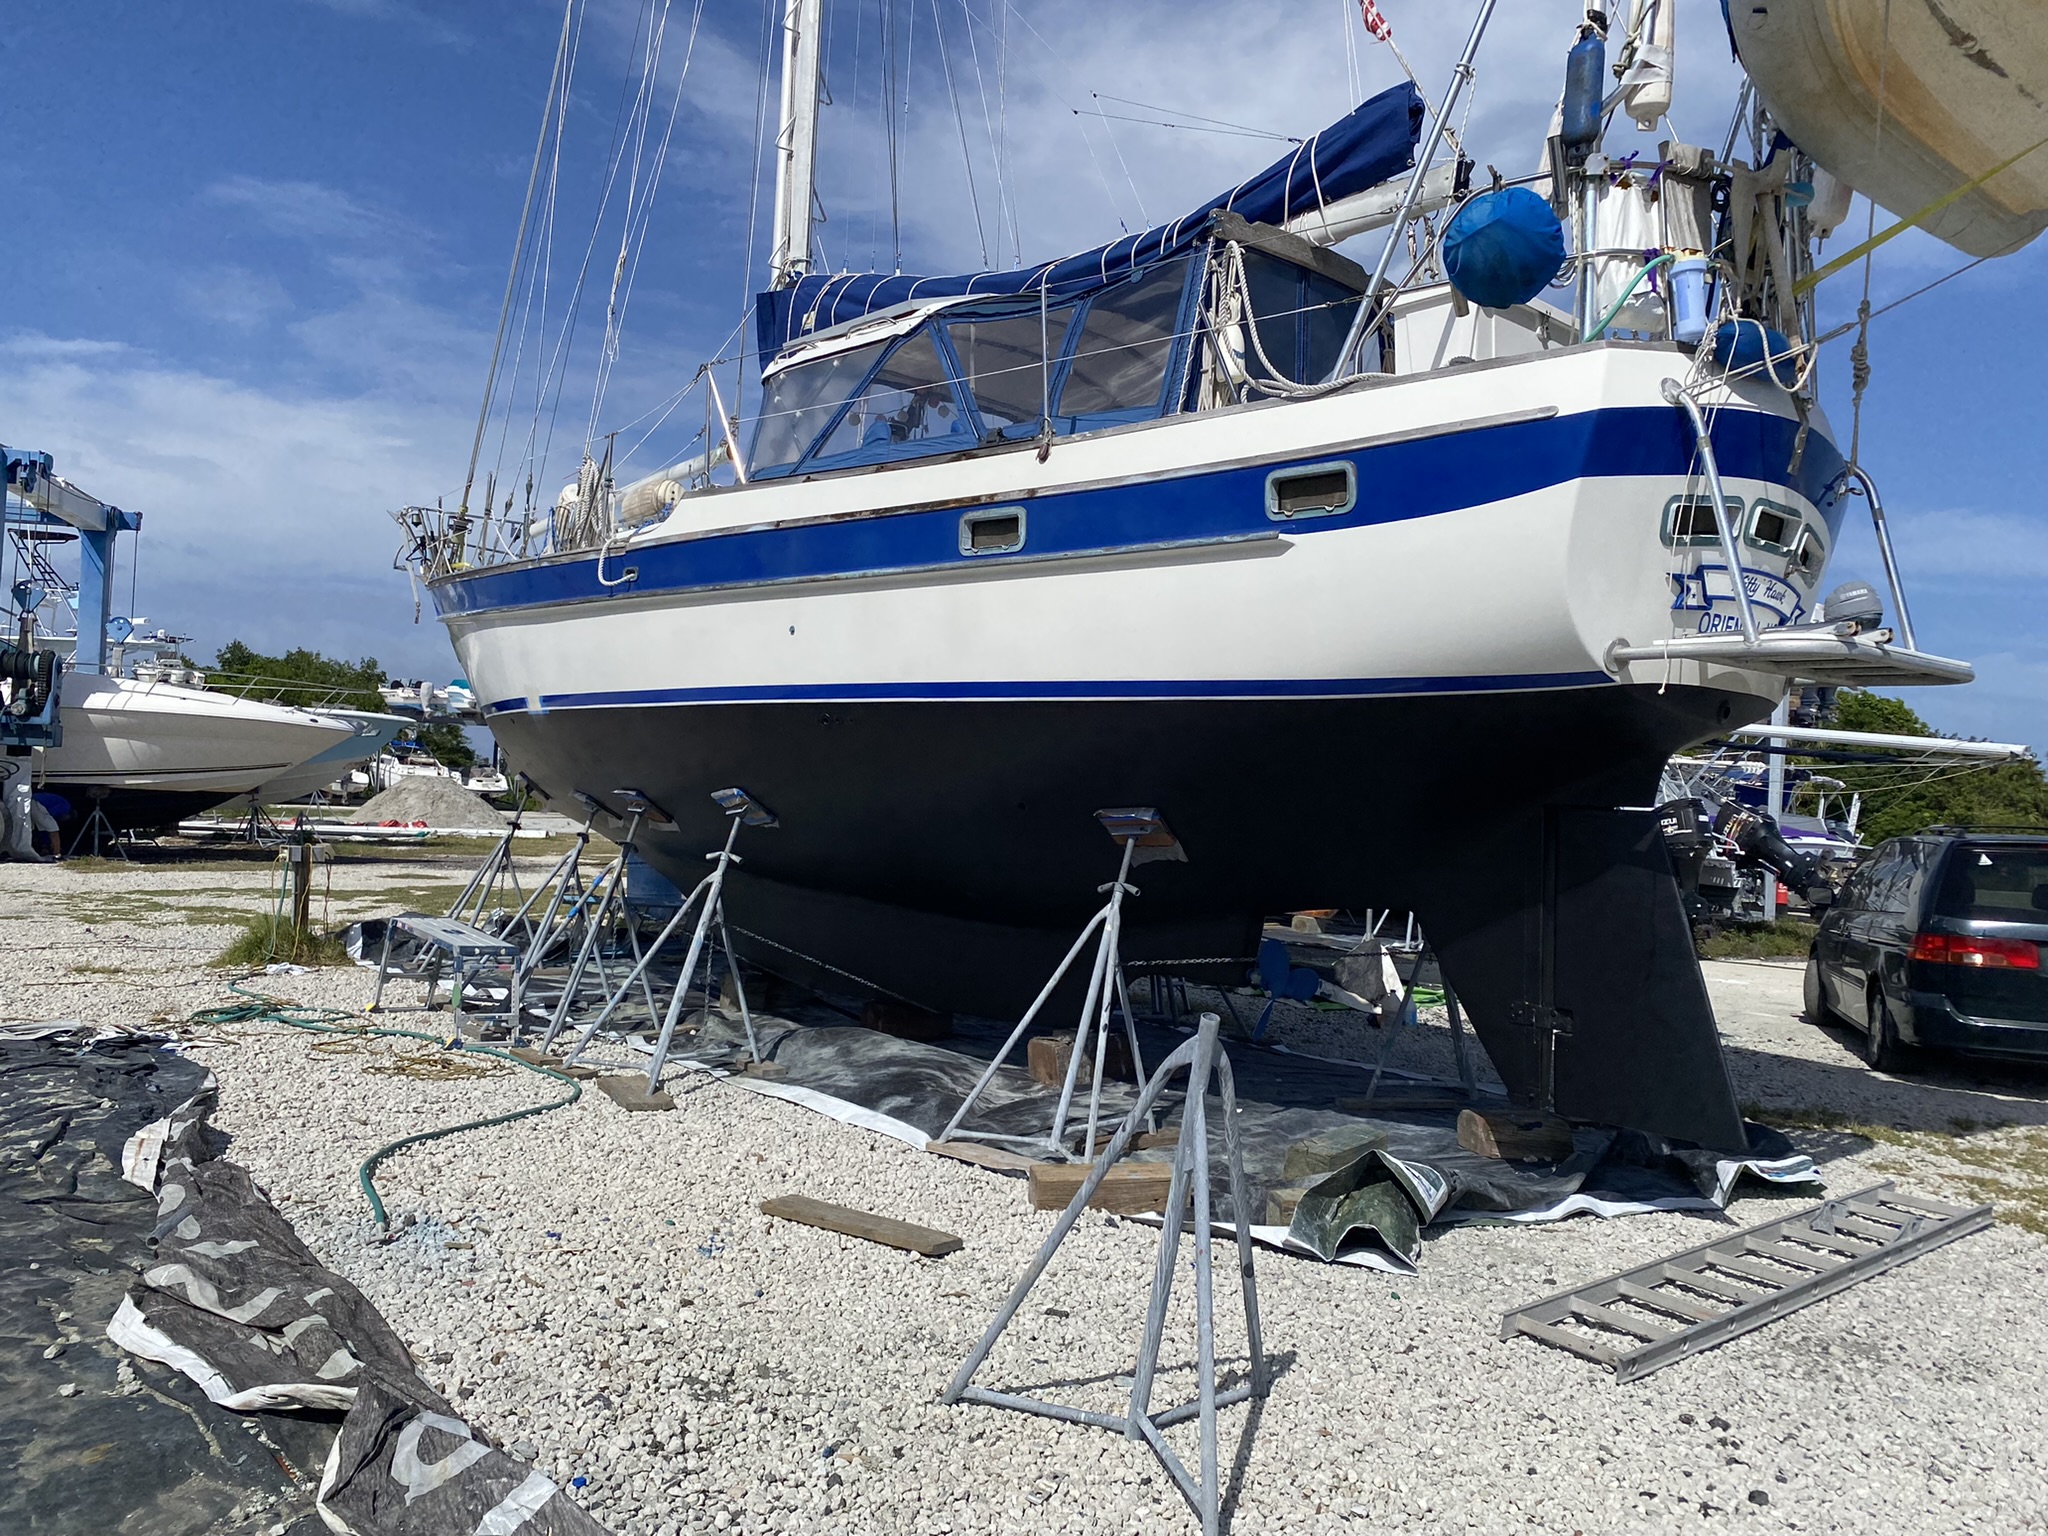
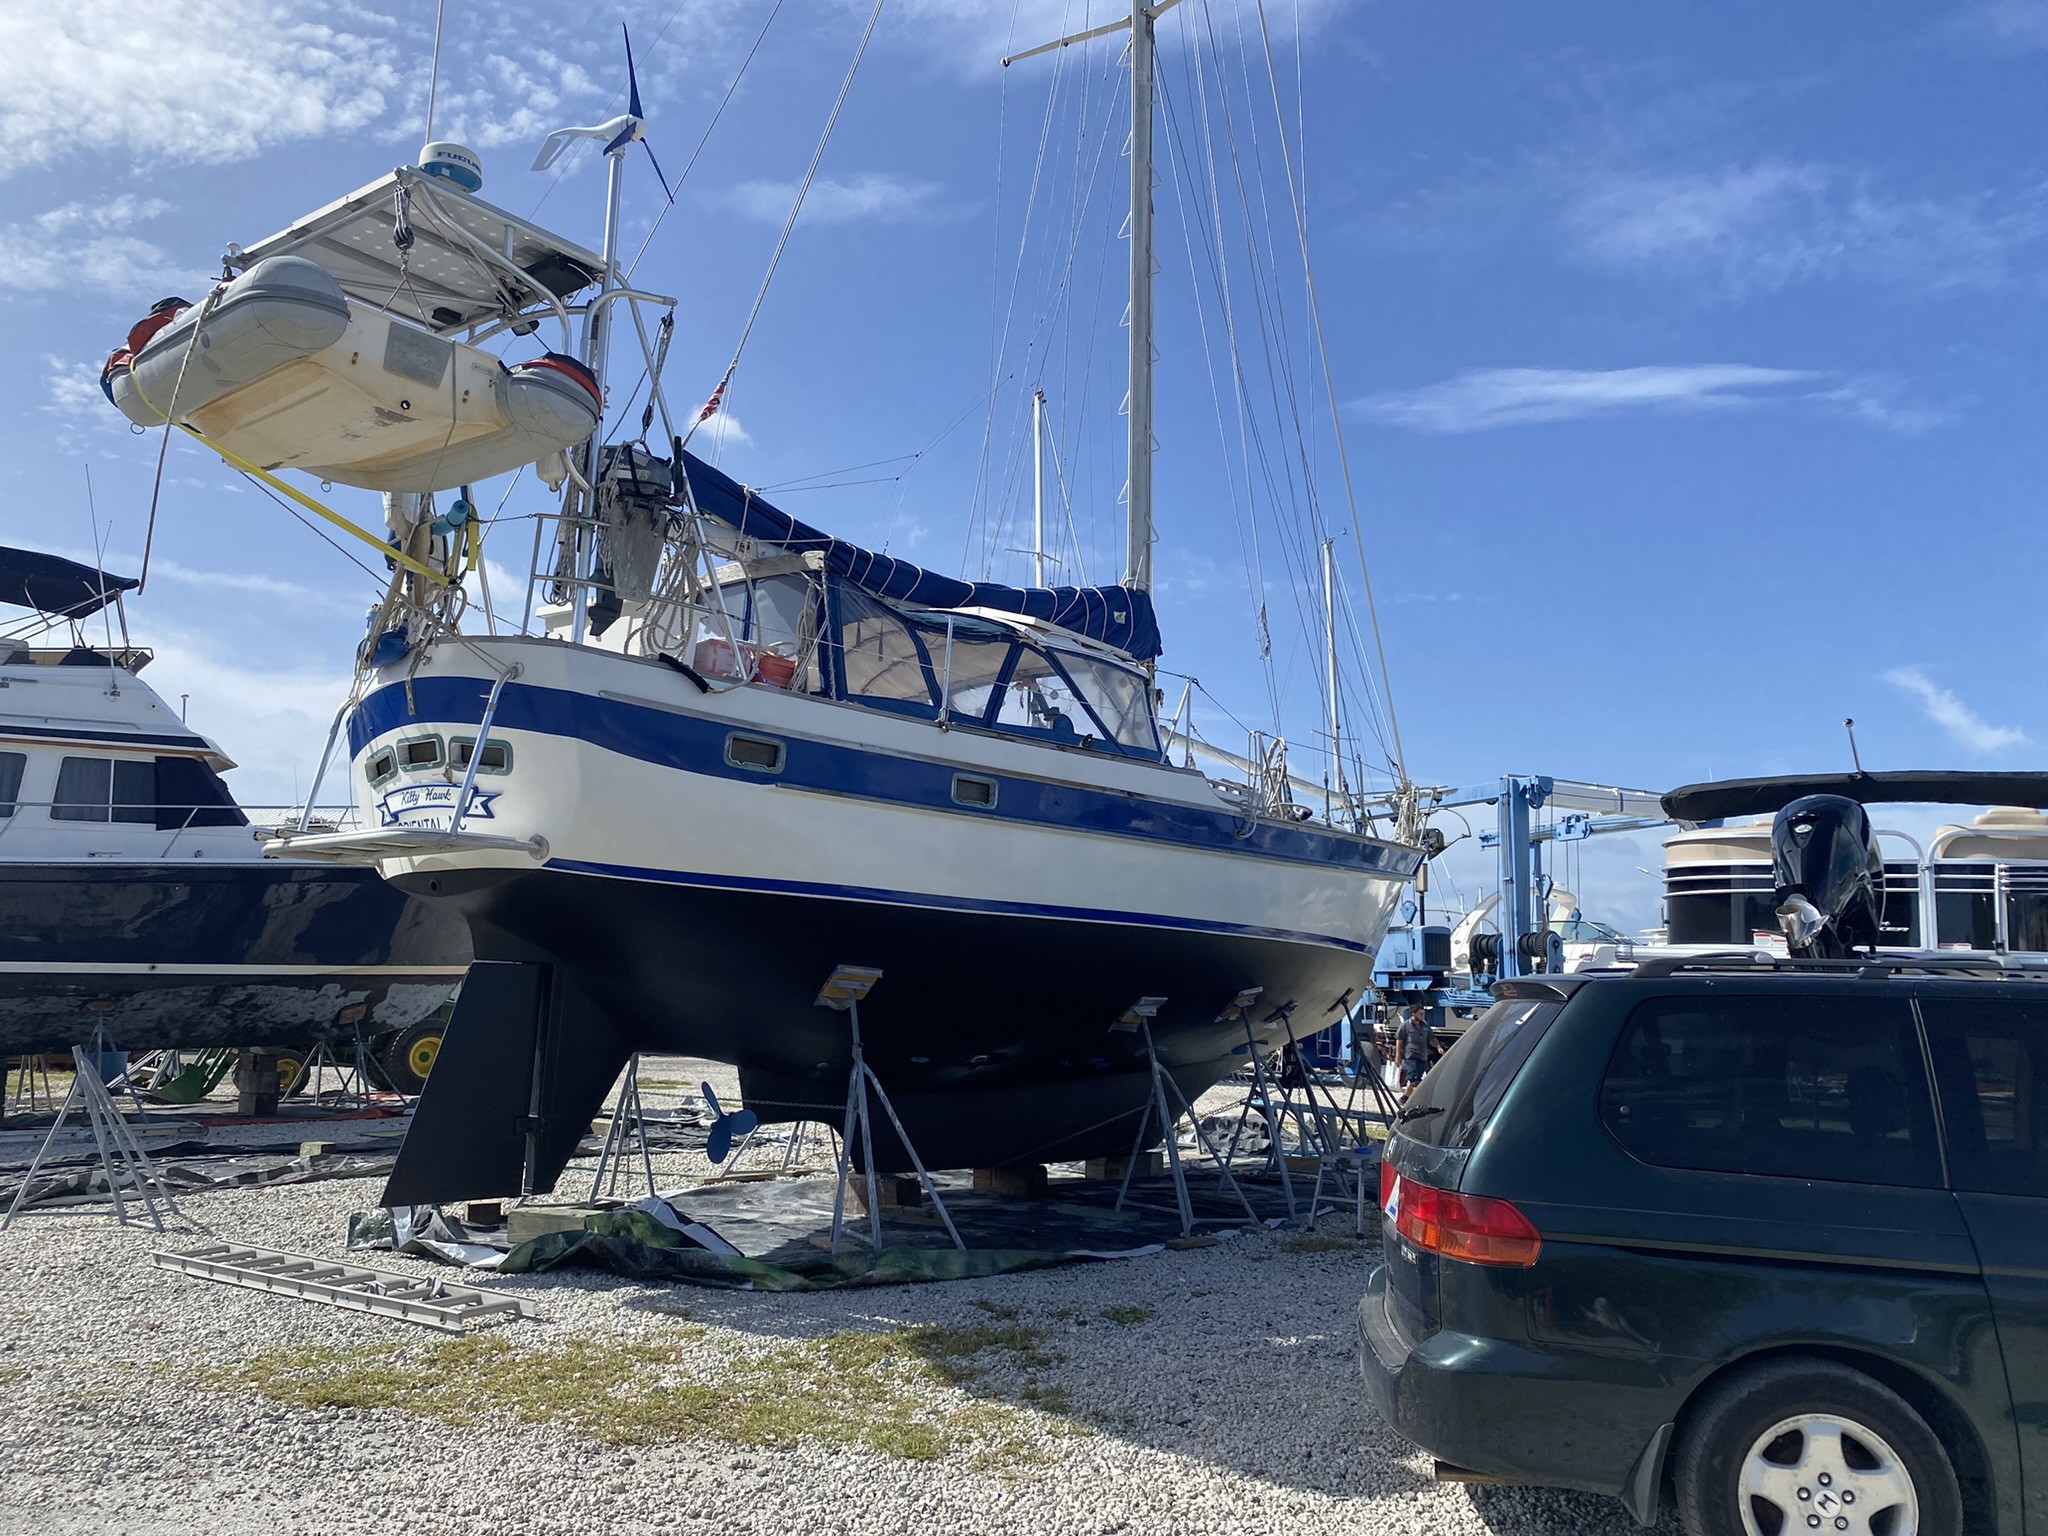
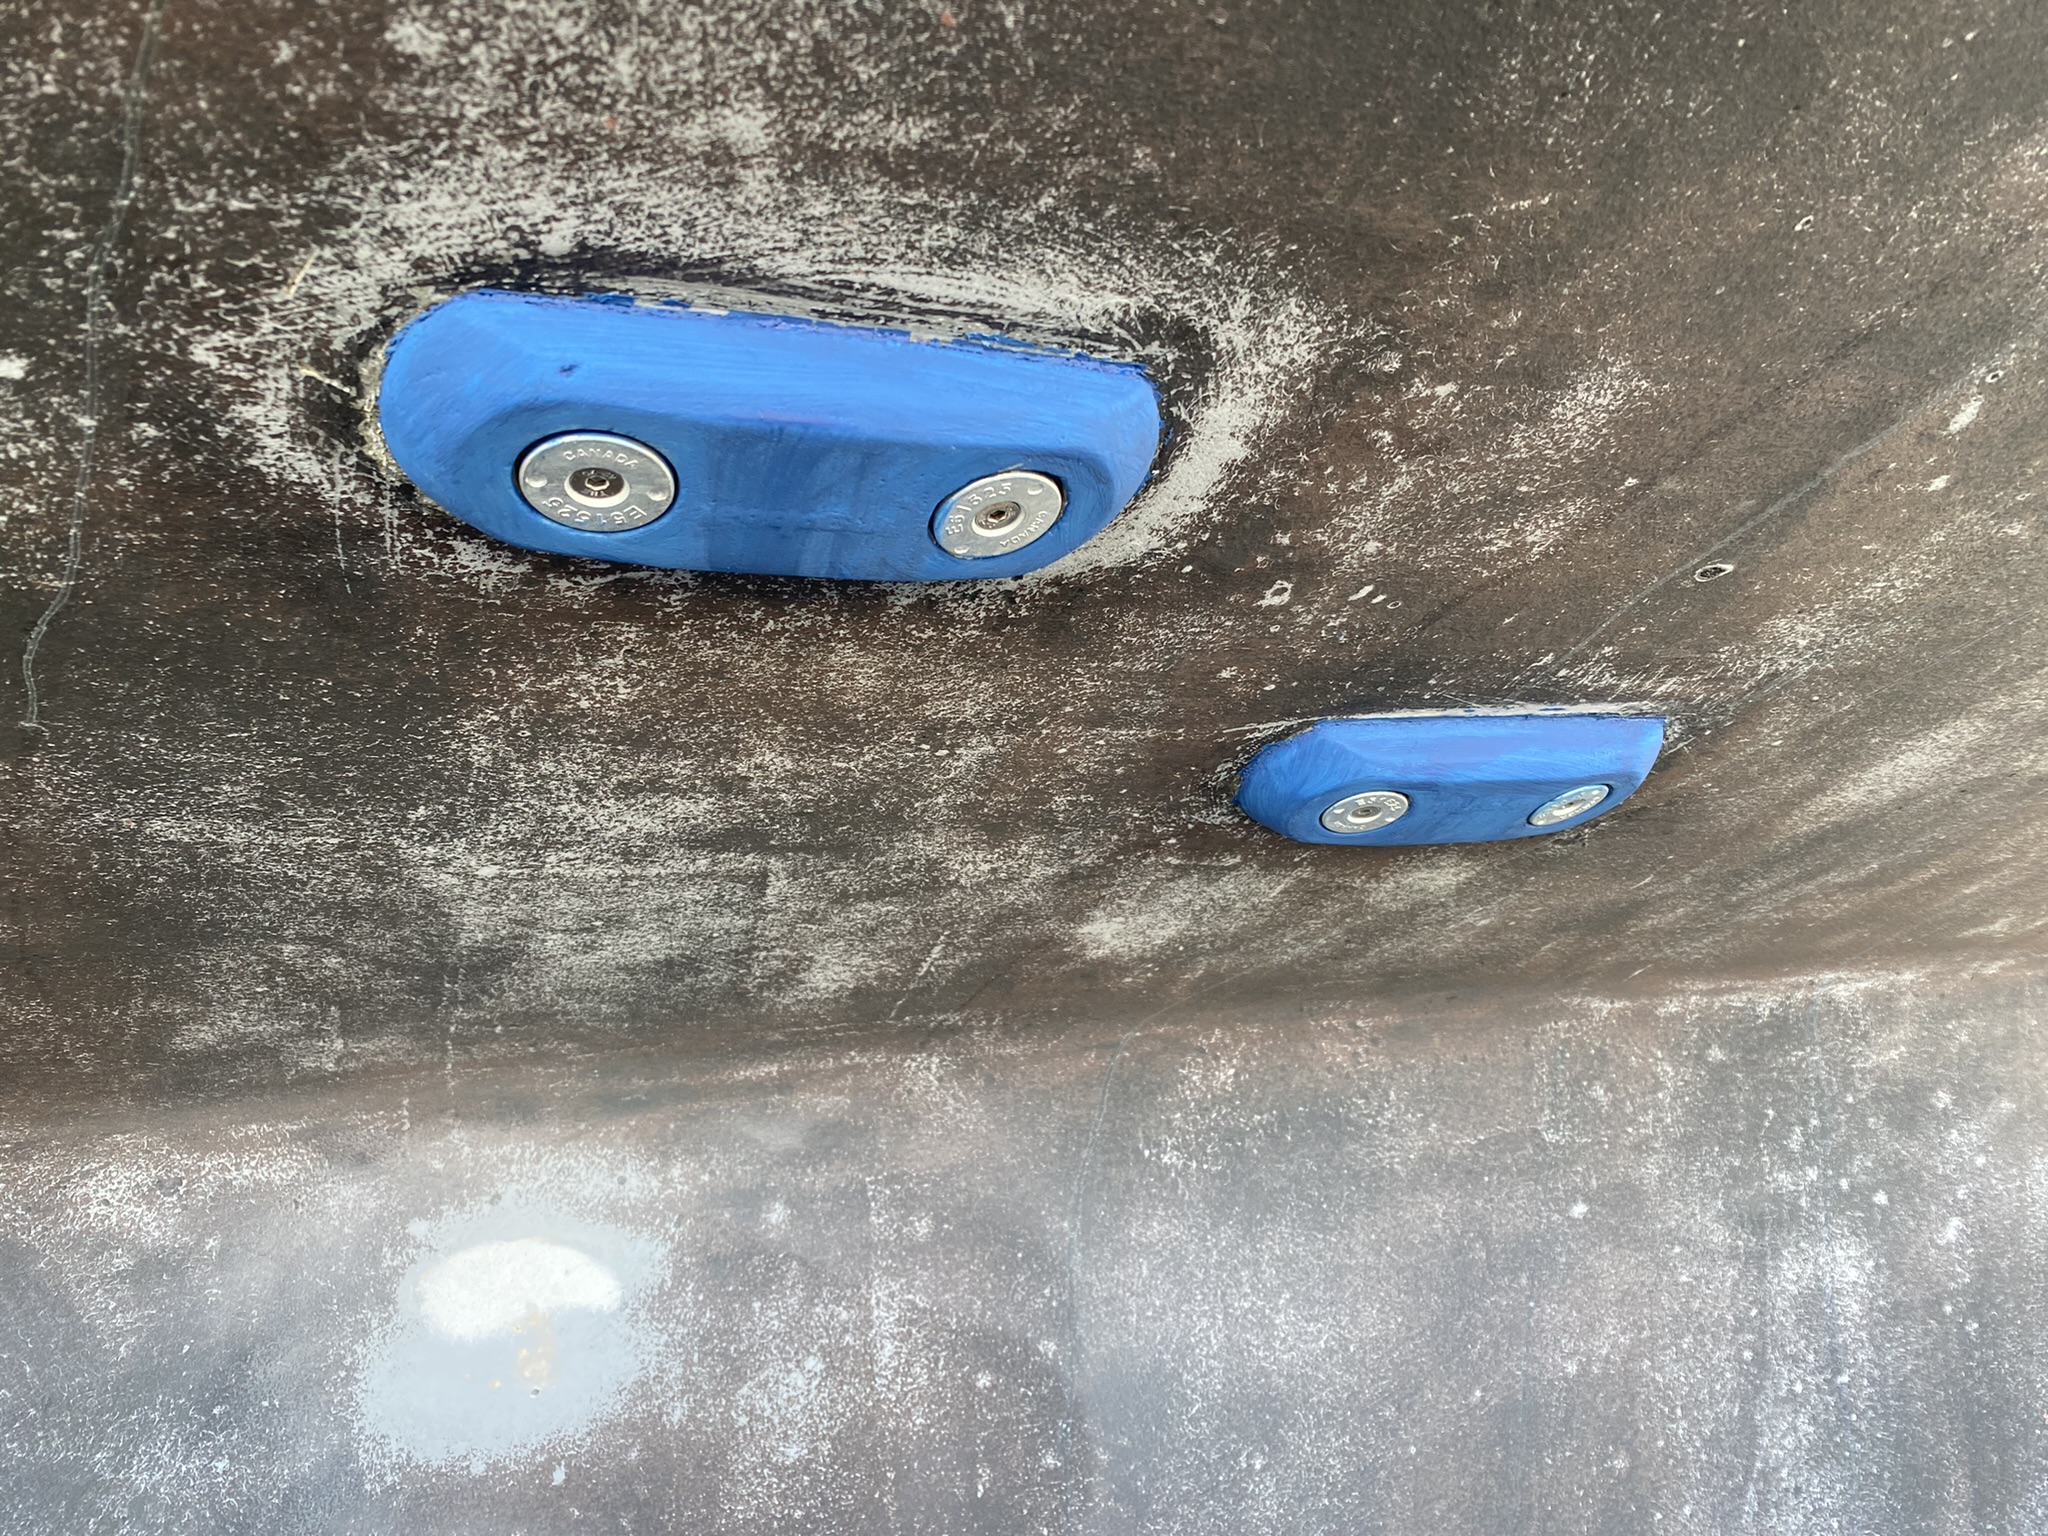
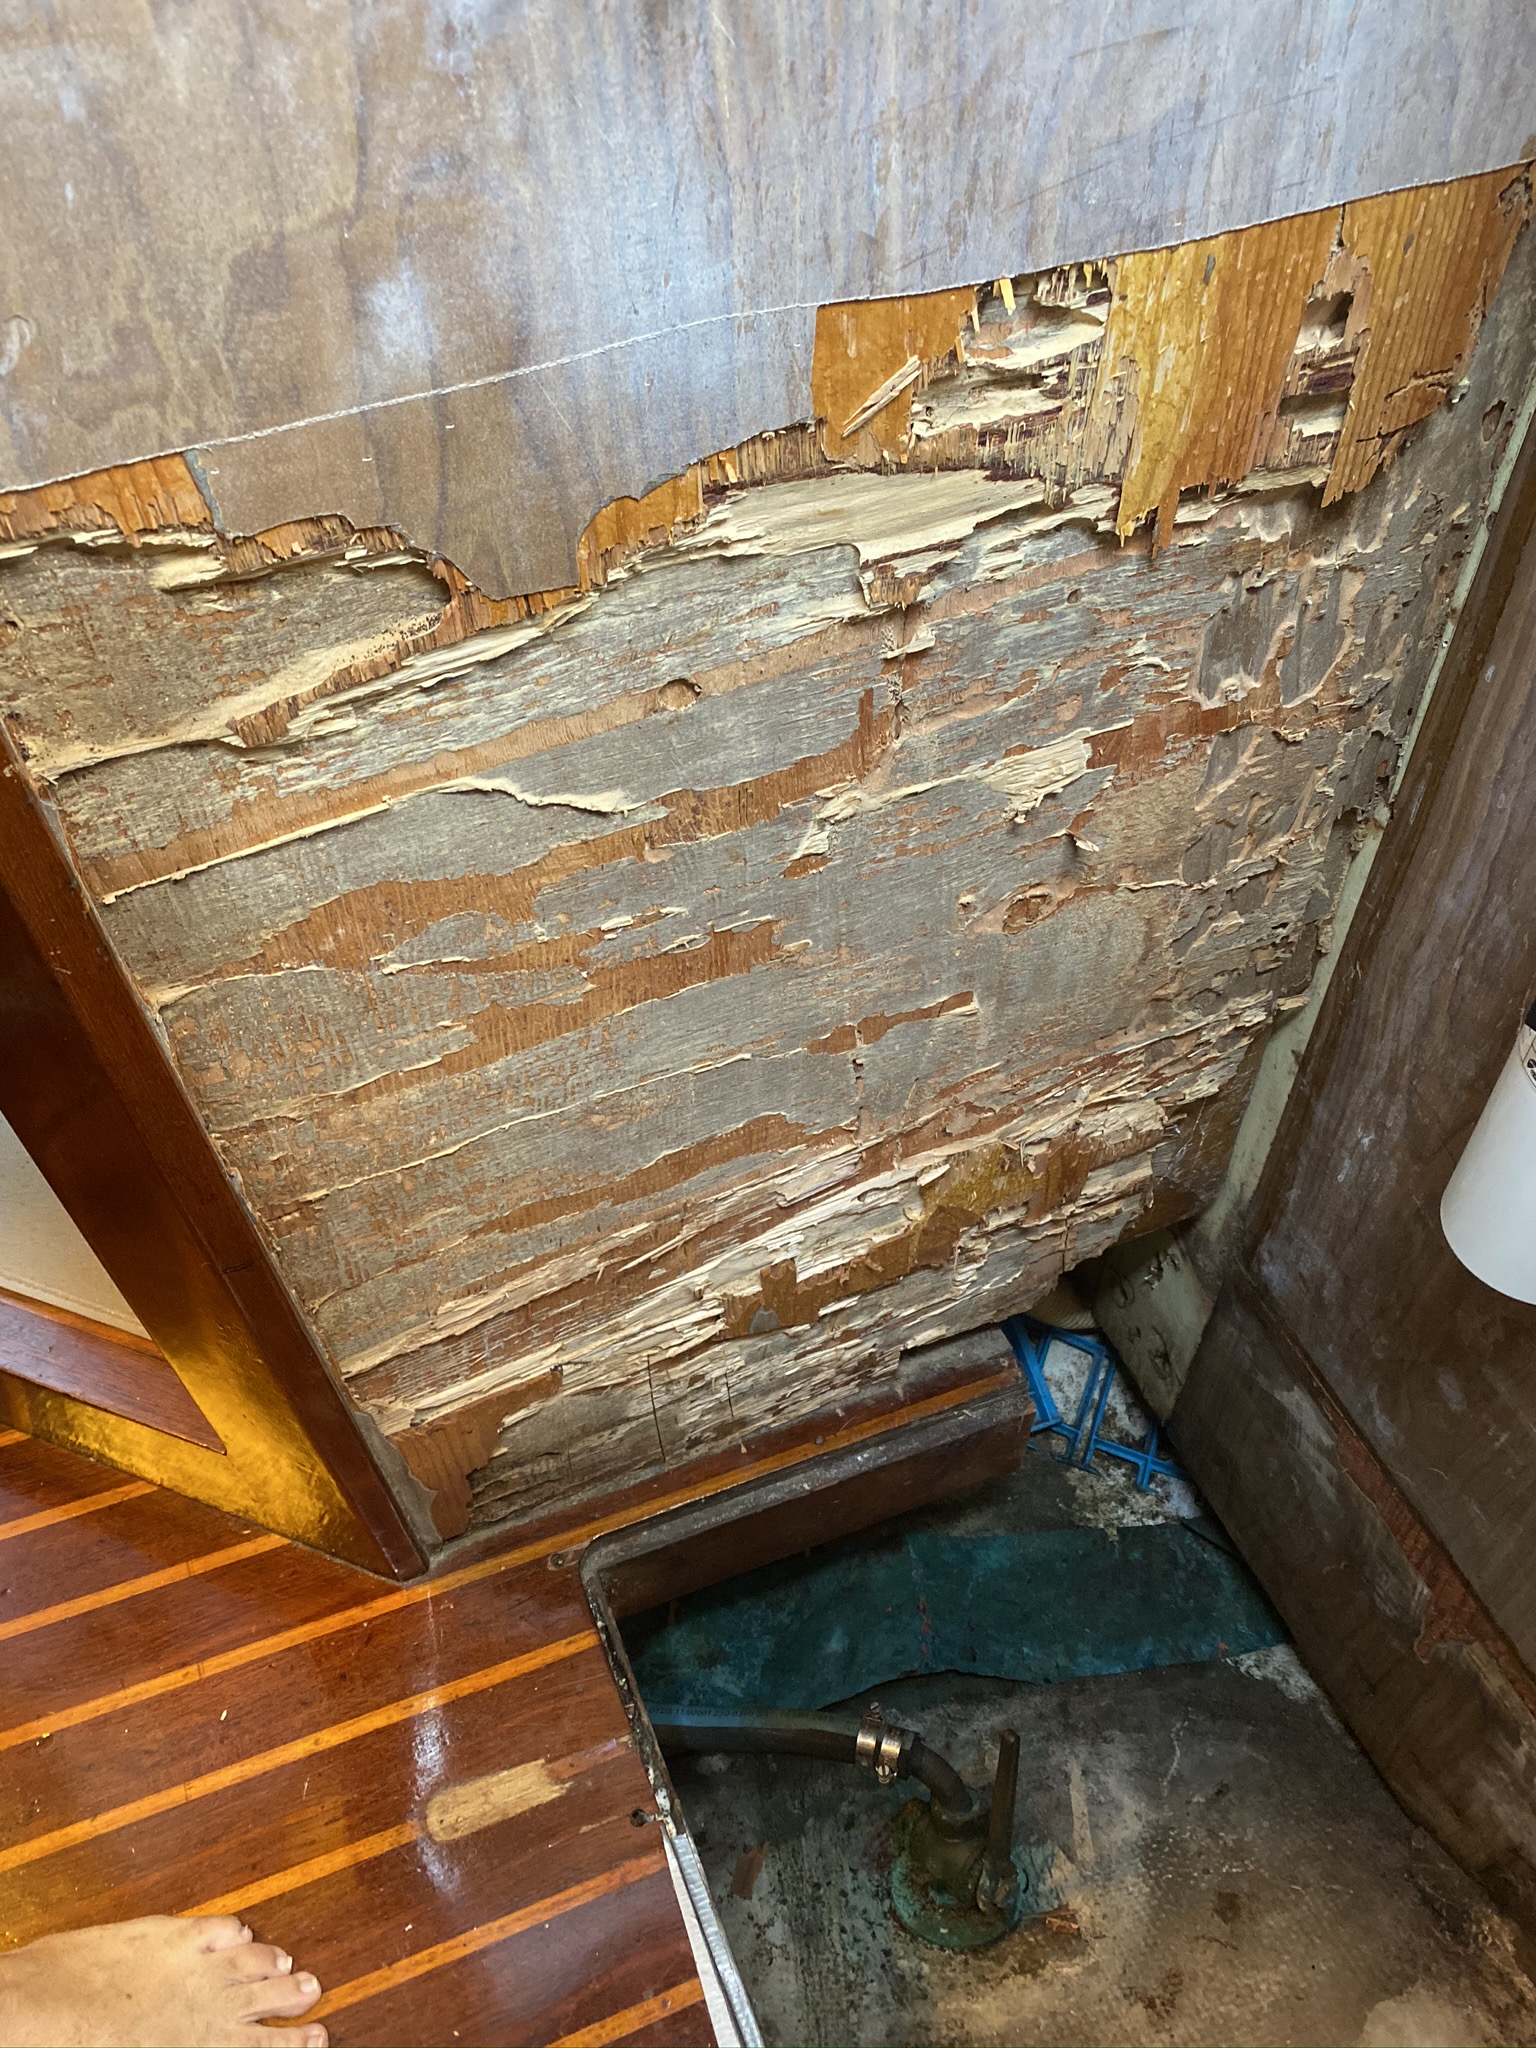
Once upon a time we began experiencing heavy anode wear. It was quite a mystery….anodes are the sacrificial metals you attach to your boat that dissolve and save the important (and expensive) exposed underwater parts that invariably come in contact with either stray current, or current created by the exposure of certain dissimilar metals to saltwater or brackish water. There is normally one on the propshaft and there can be others attached to different underwater metal fittings.
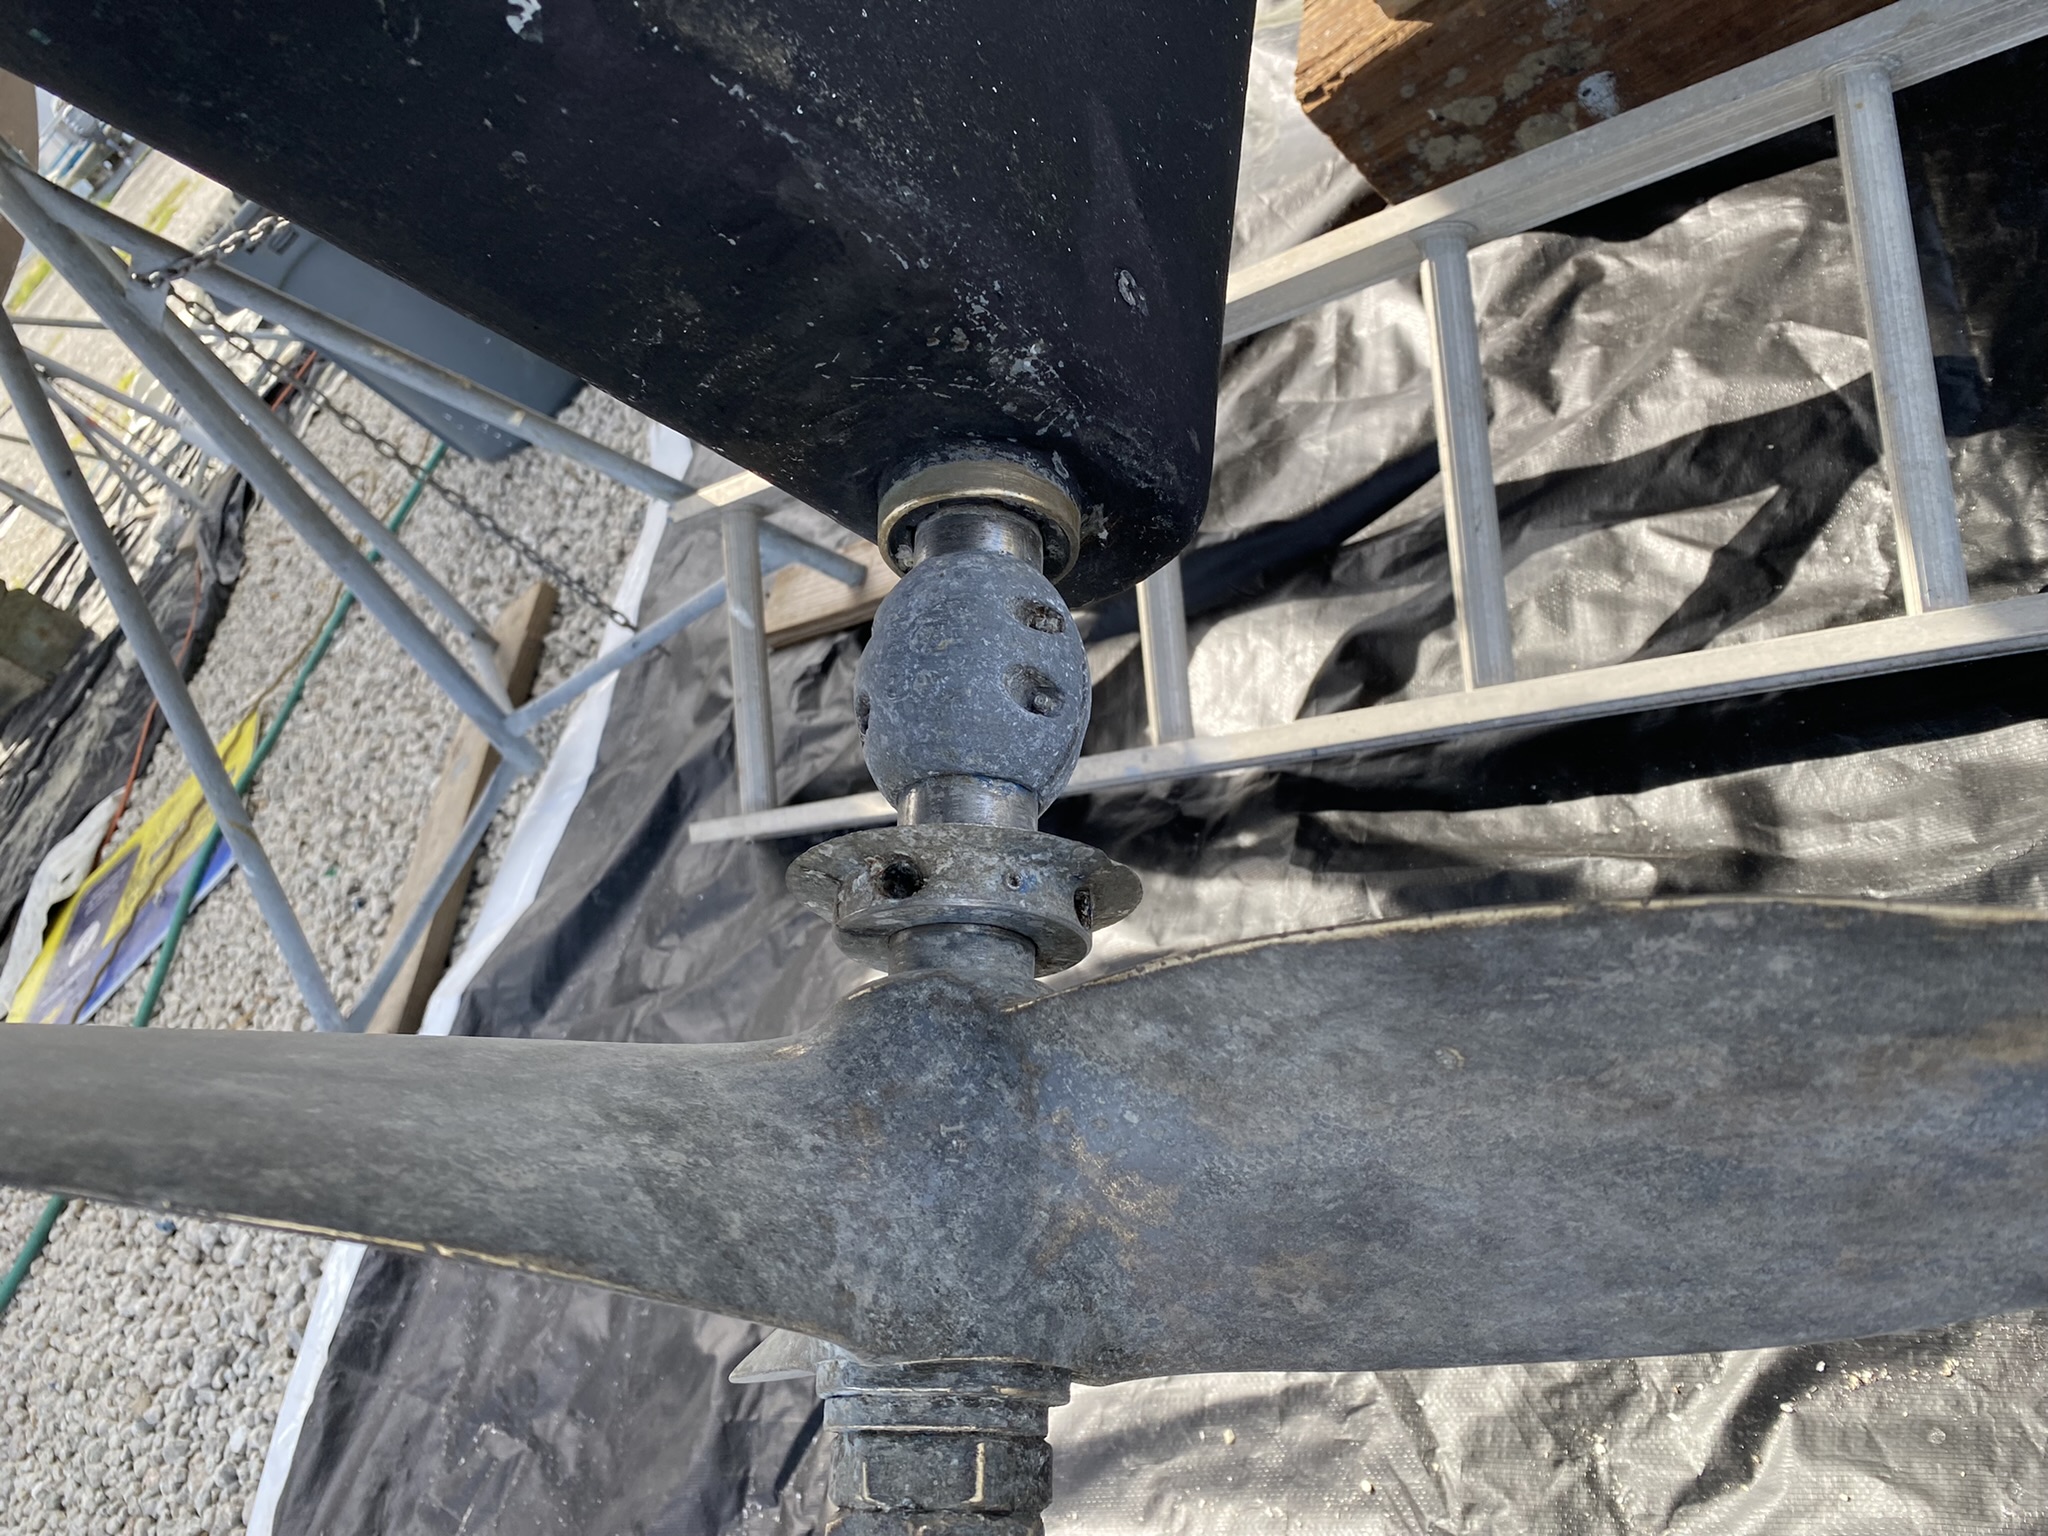
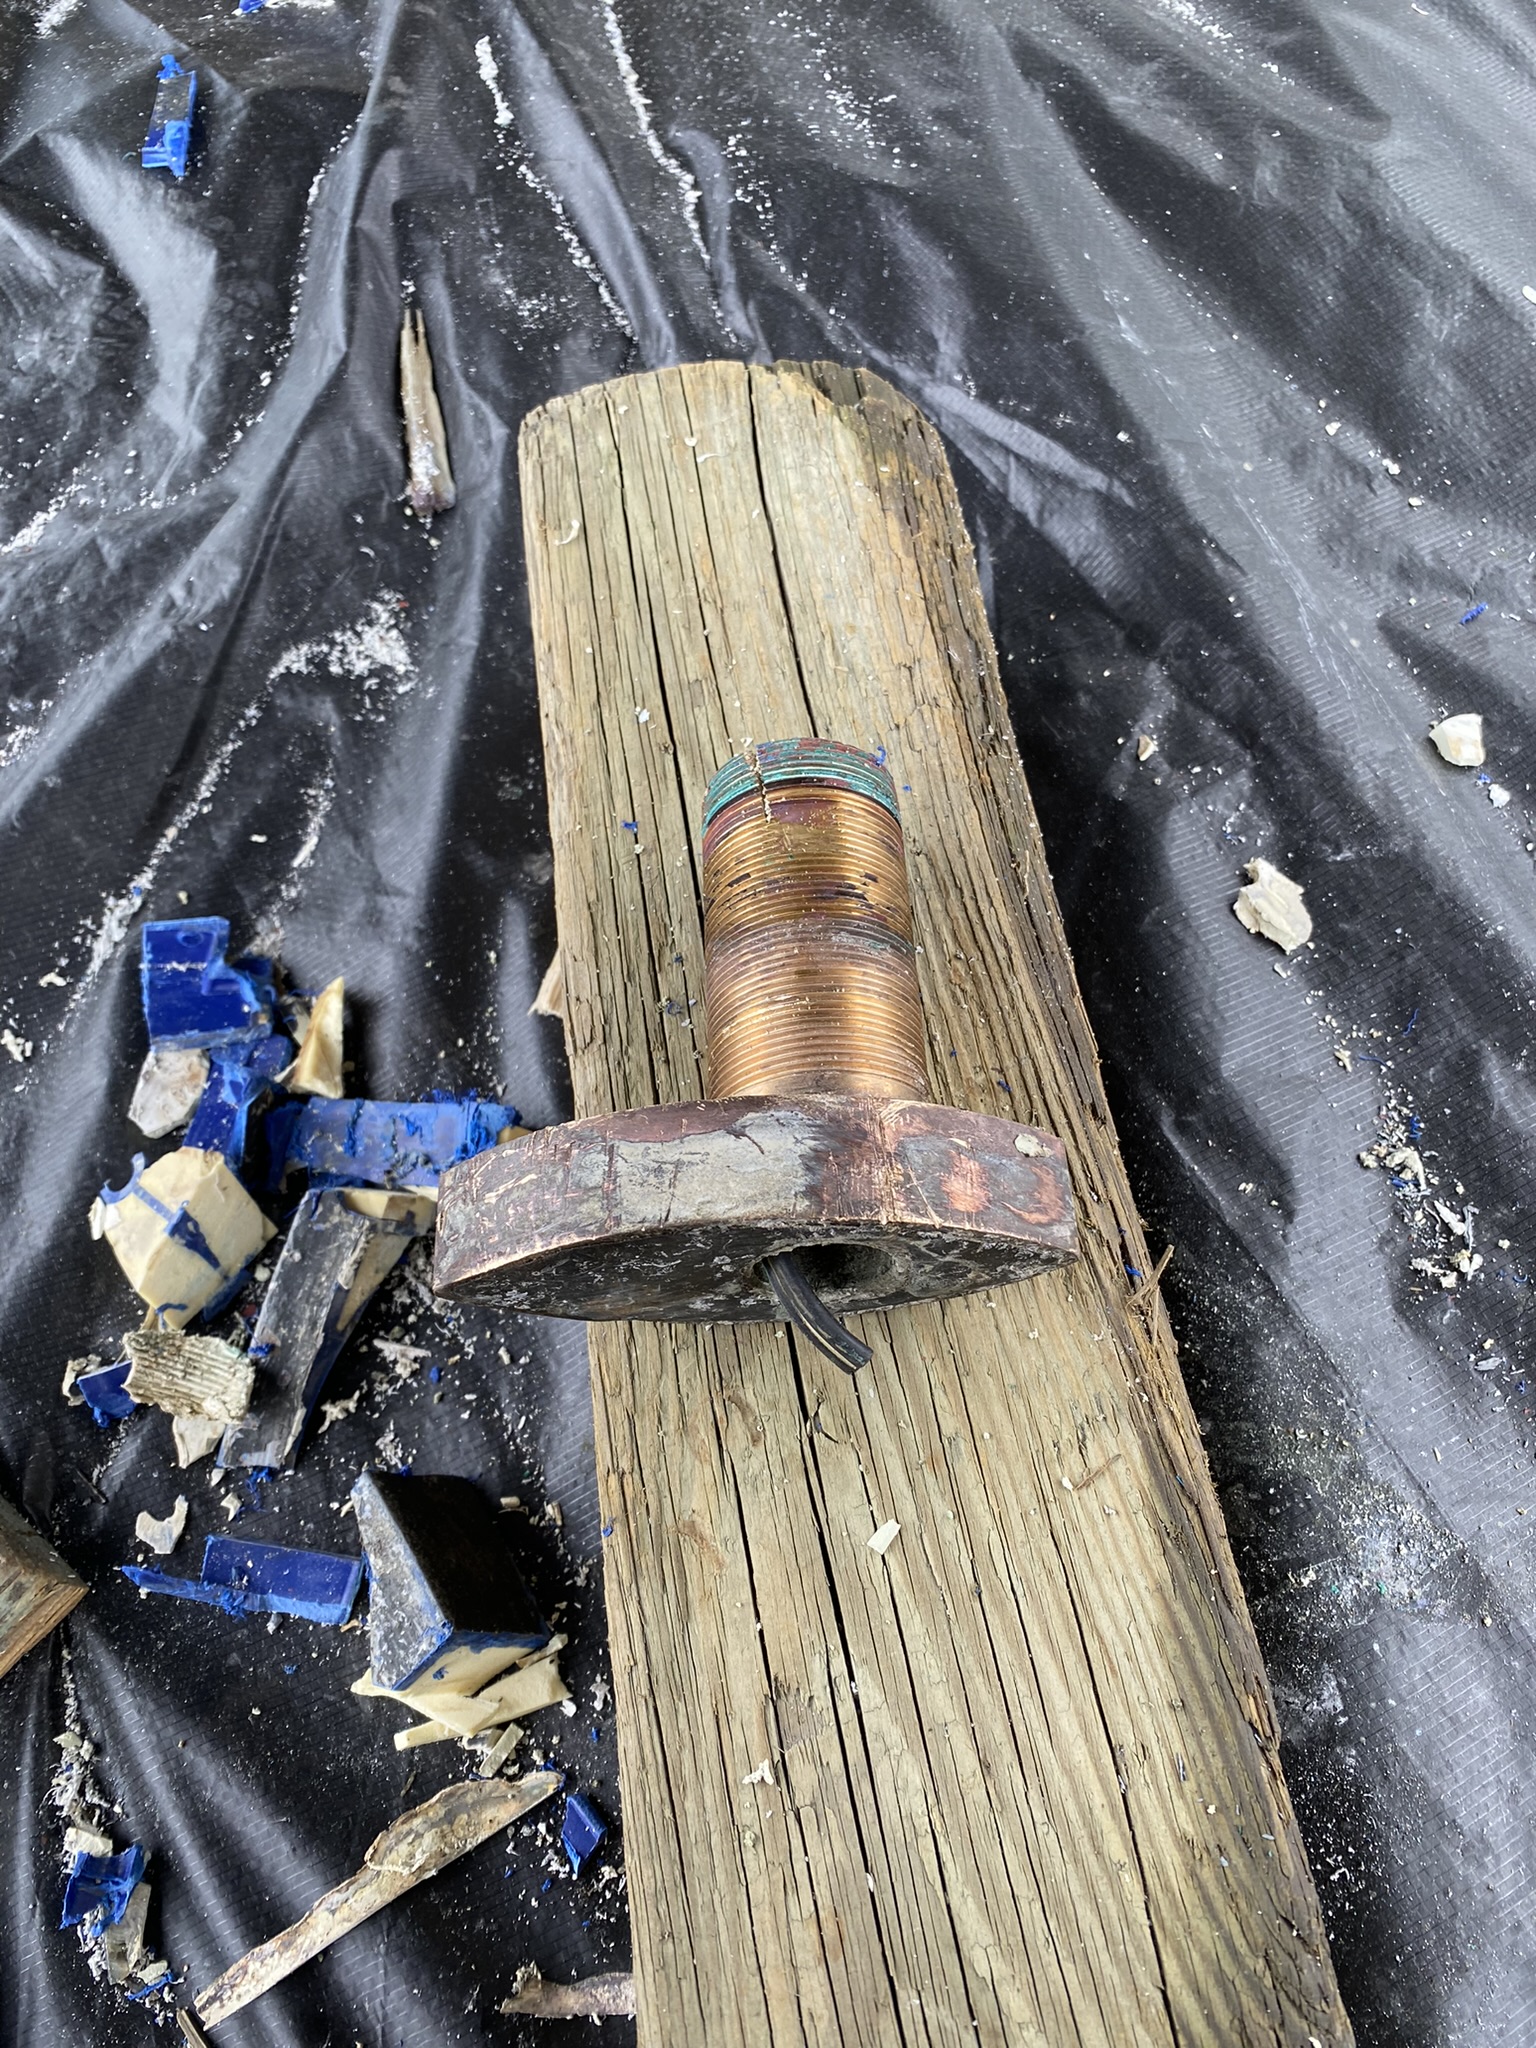
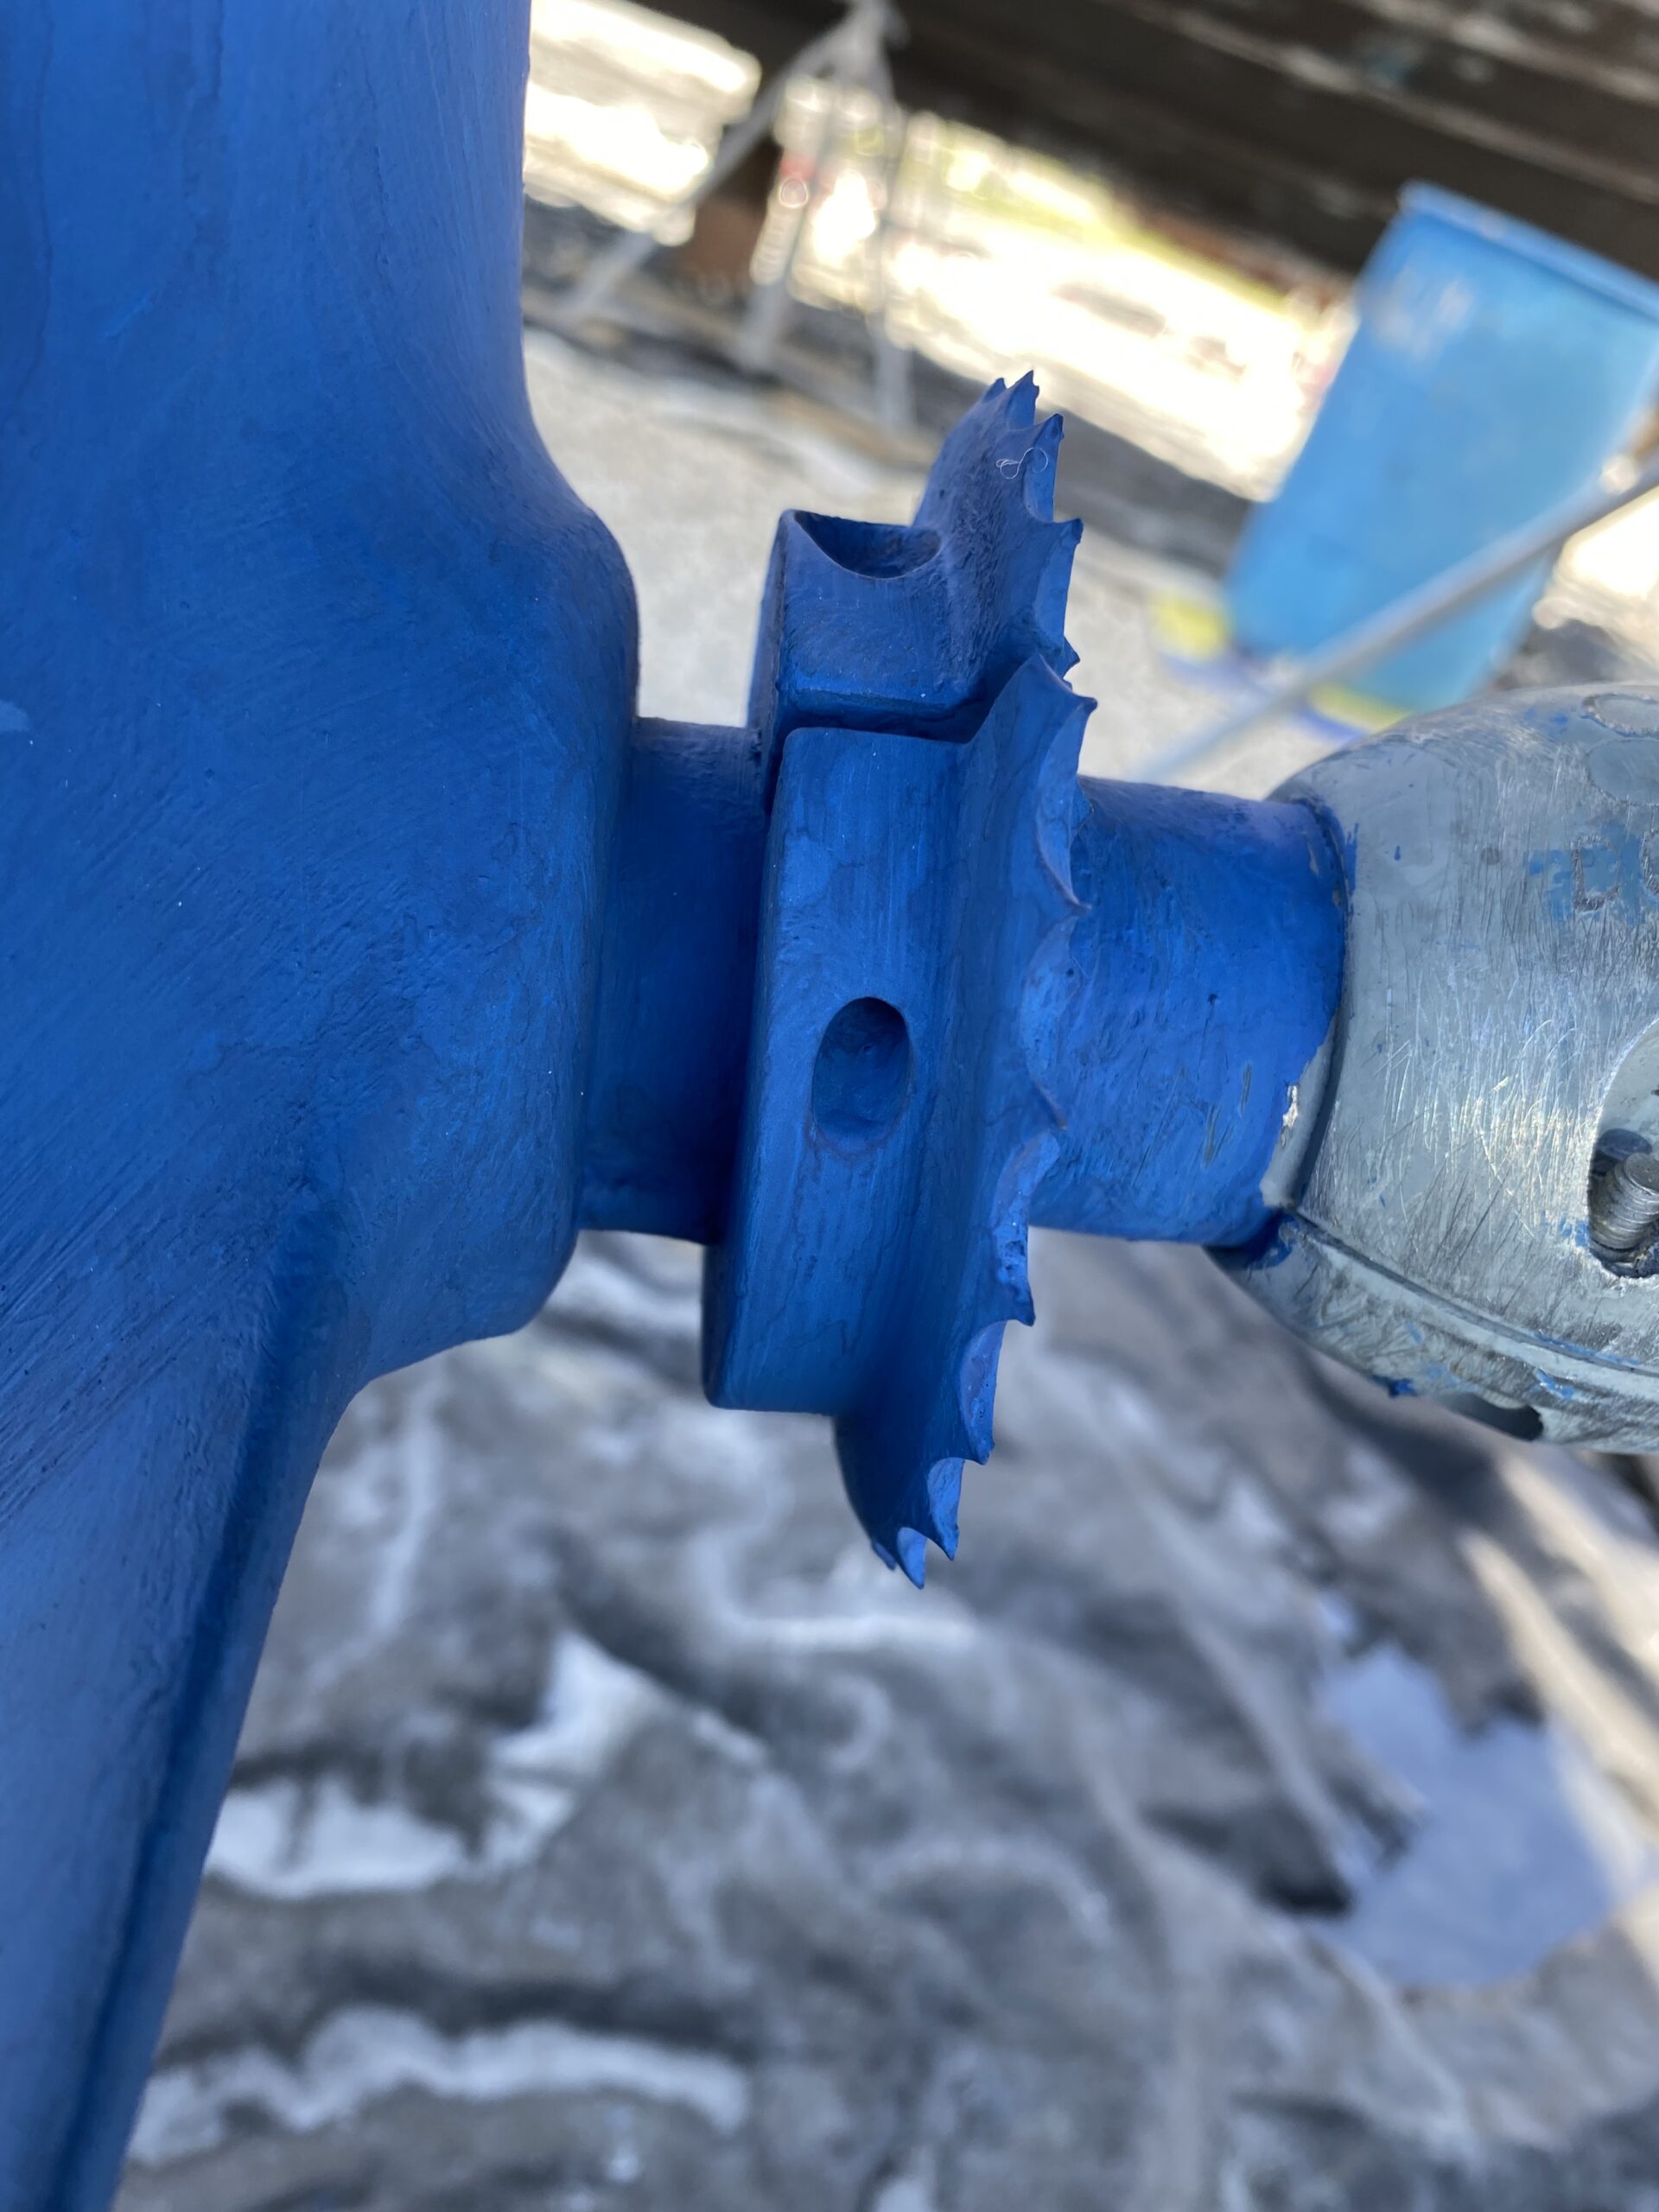
We were at a private dock with no other boats in the area, the shore power and boat shore power systems had been rewired just three years ago. The boat was in brackish water on the higher end of salinity for brackish. We were using prop zinc anodes very slowly until a few months prior when the zincs began to deteriorate faster and we took notice. We began losing about 60%-75% of a 1lb 6oz prop zinc anode in about 4-5 weeks. That works out to a loss of about 4 ounces per week. I didn’t think far enough ahead to weigh the remains of last few, but I will for the next one.
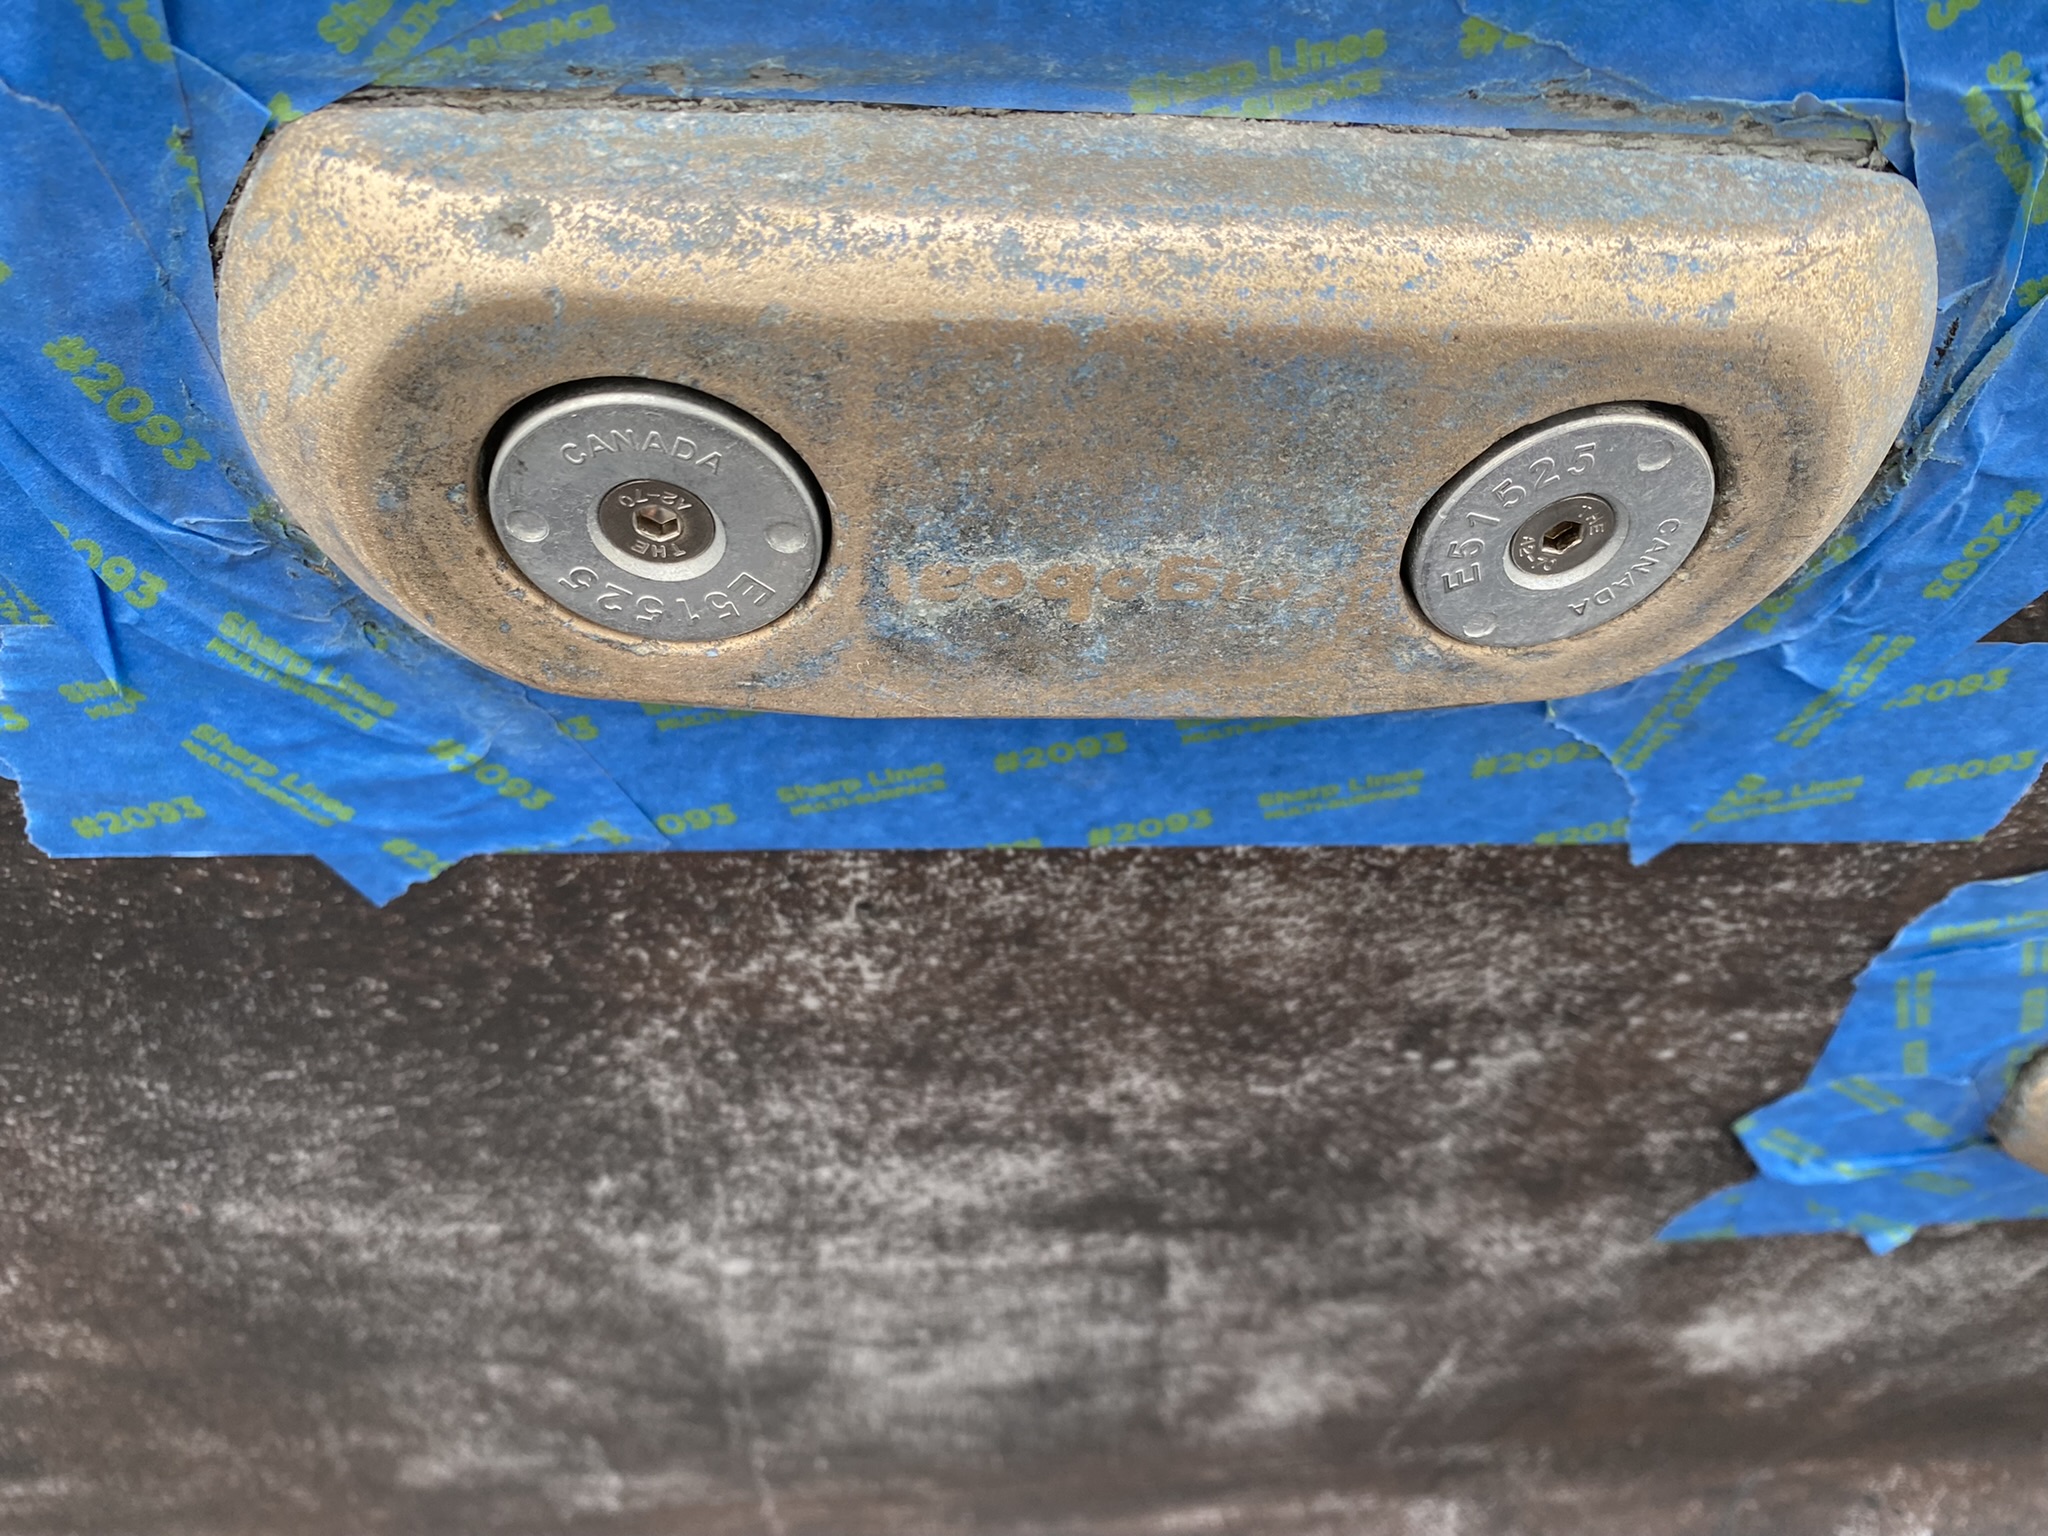
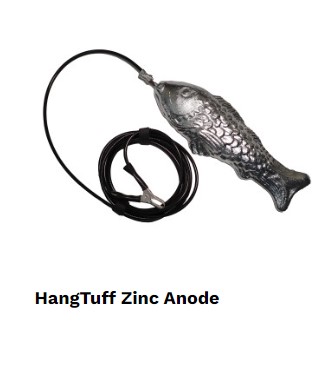
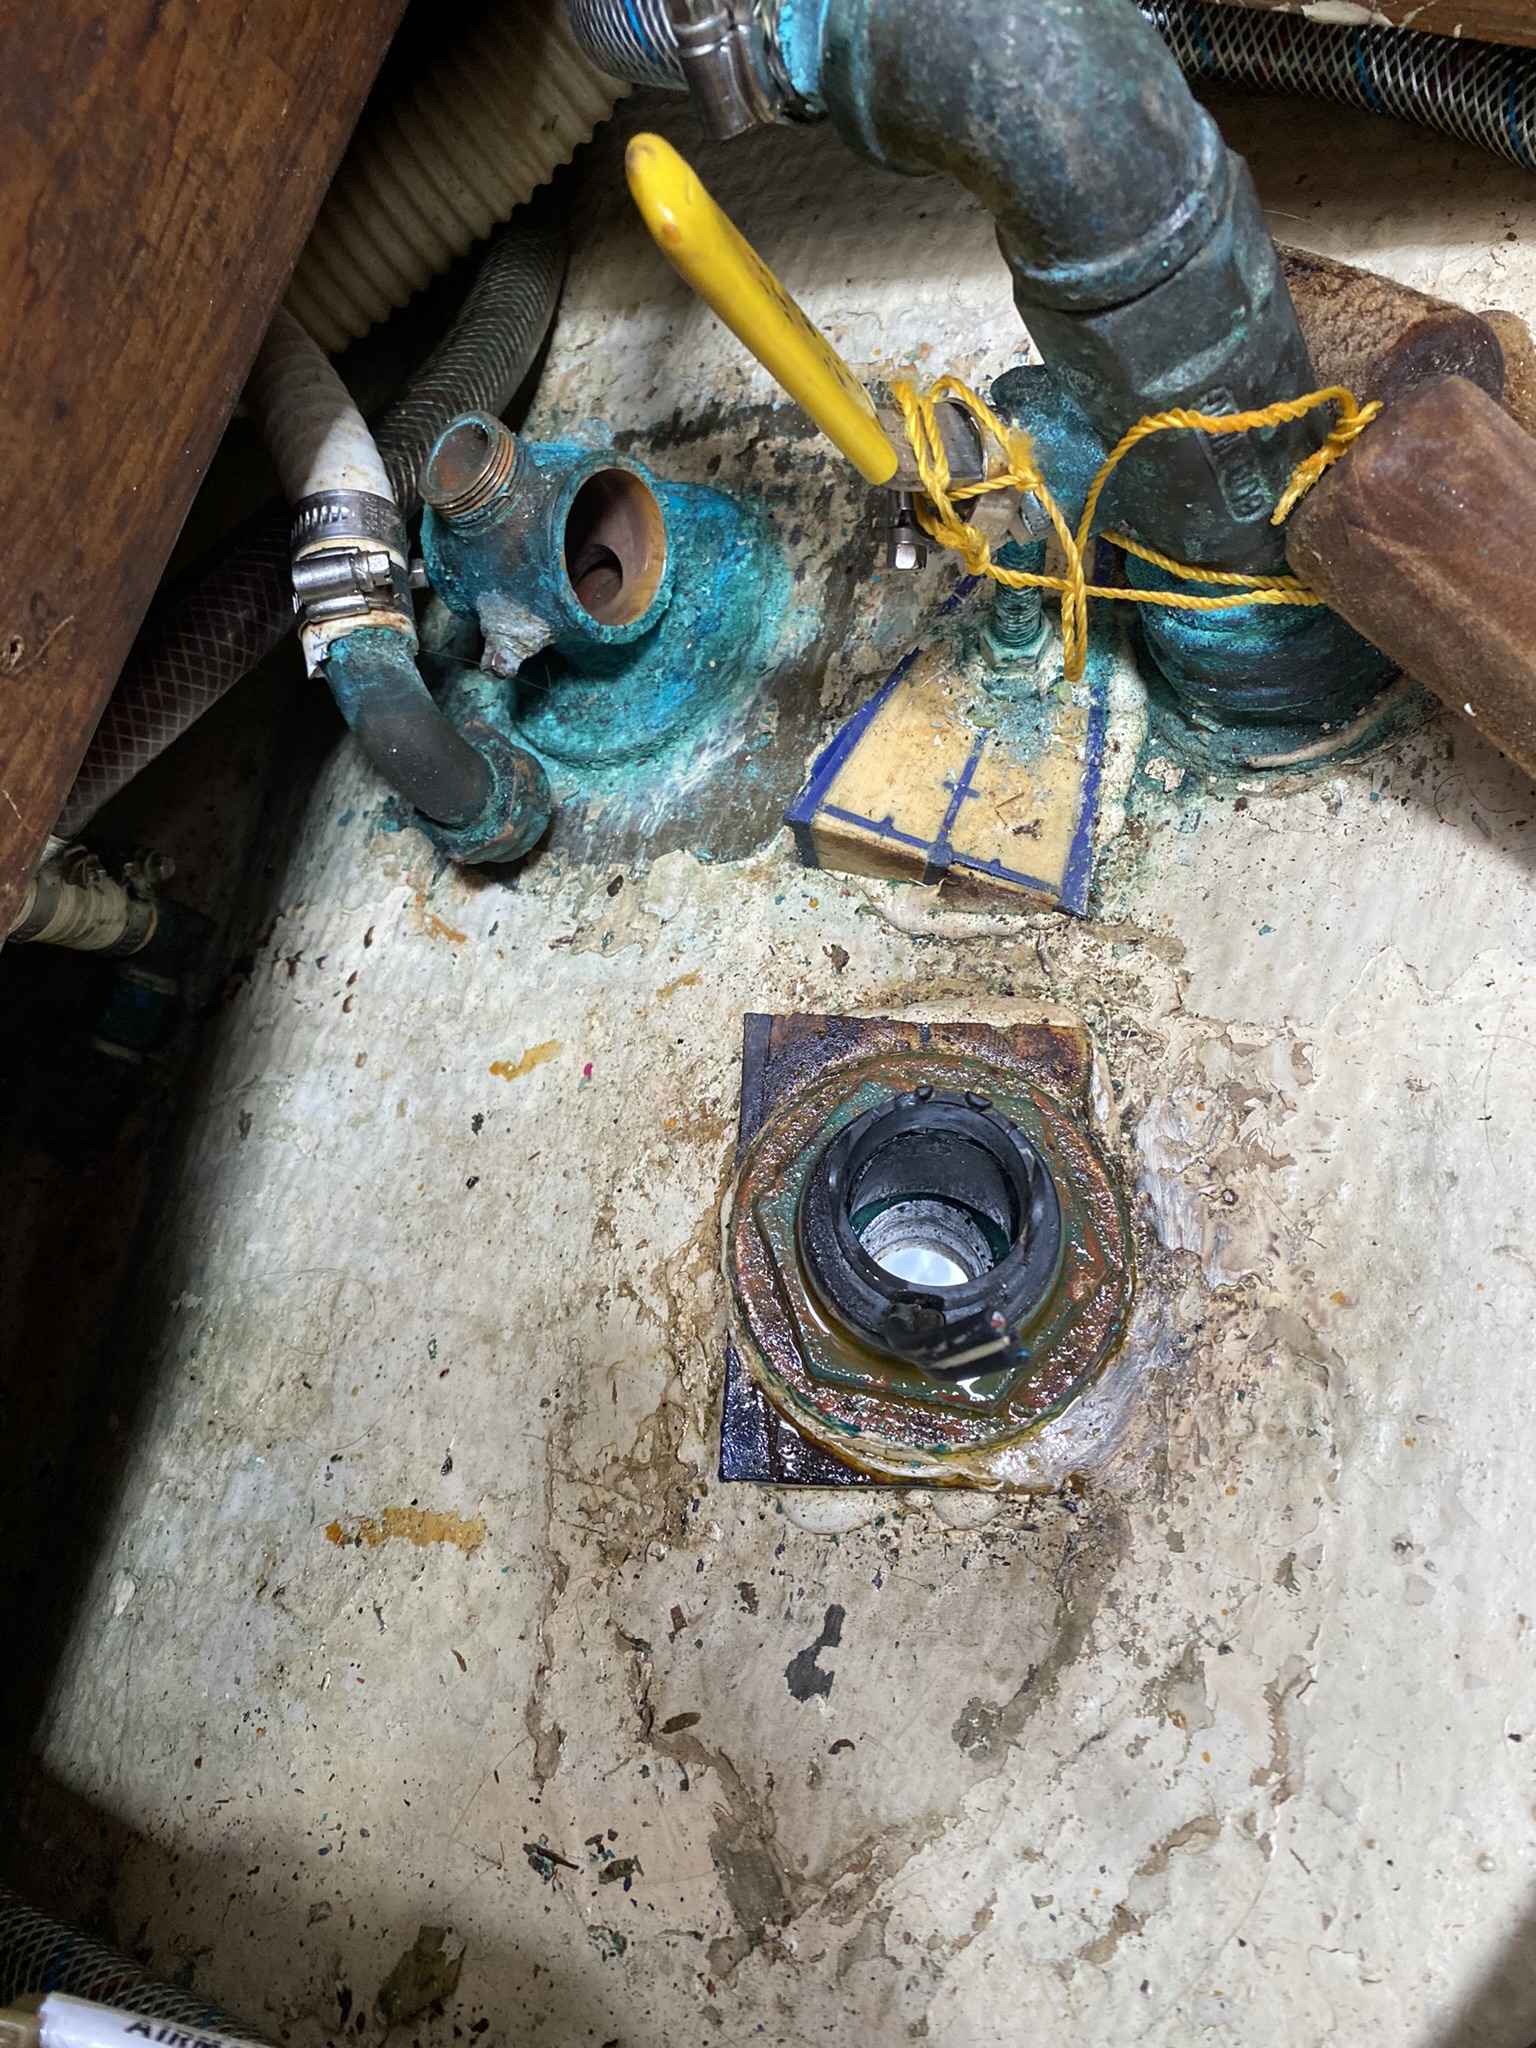
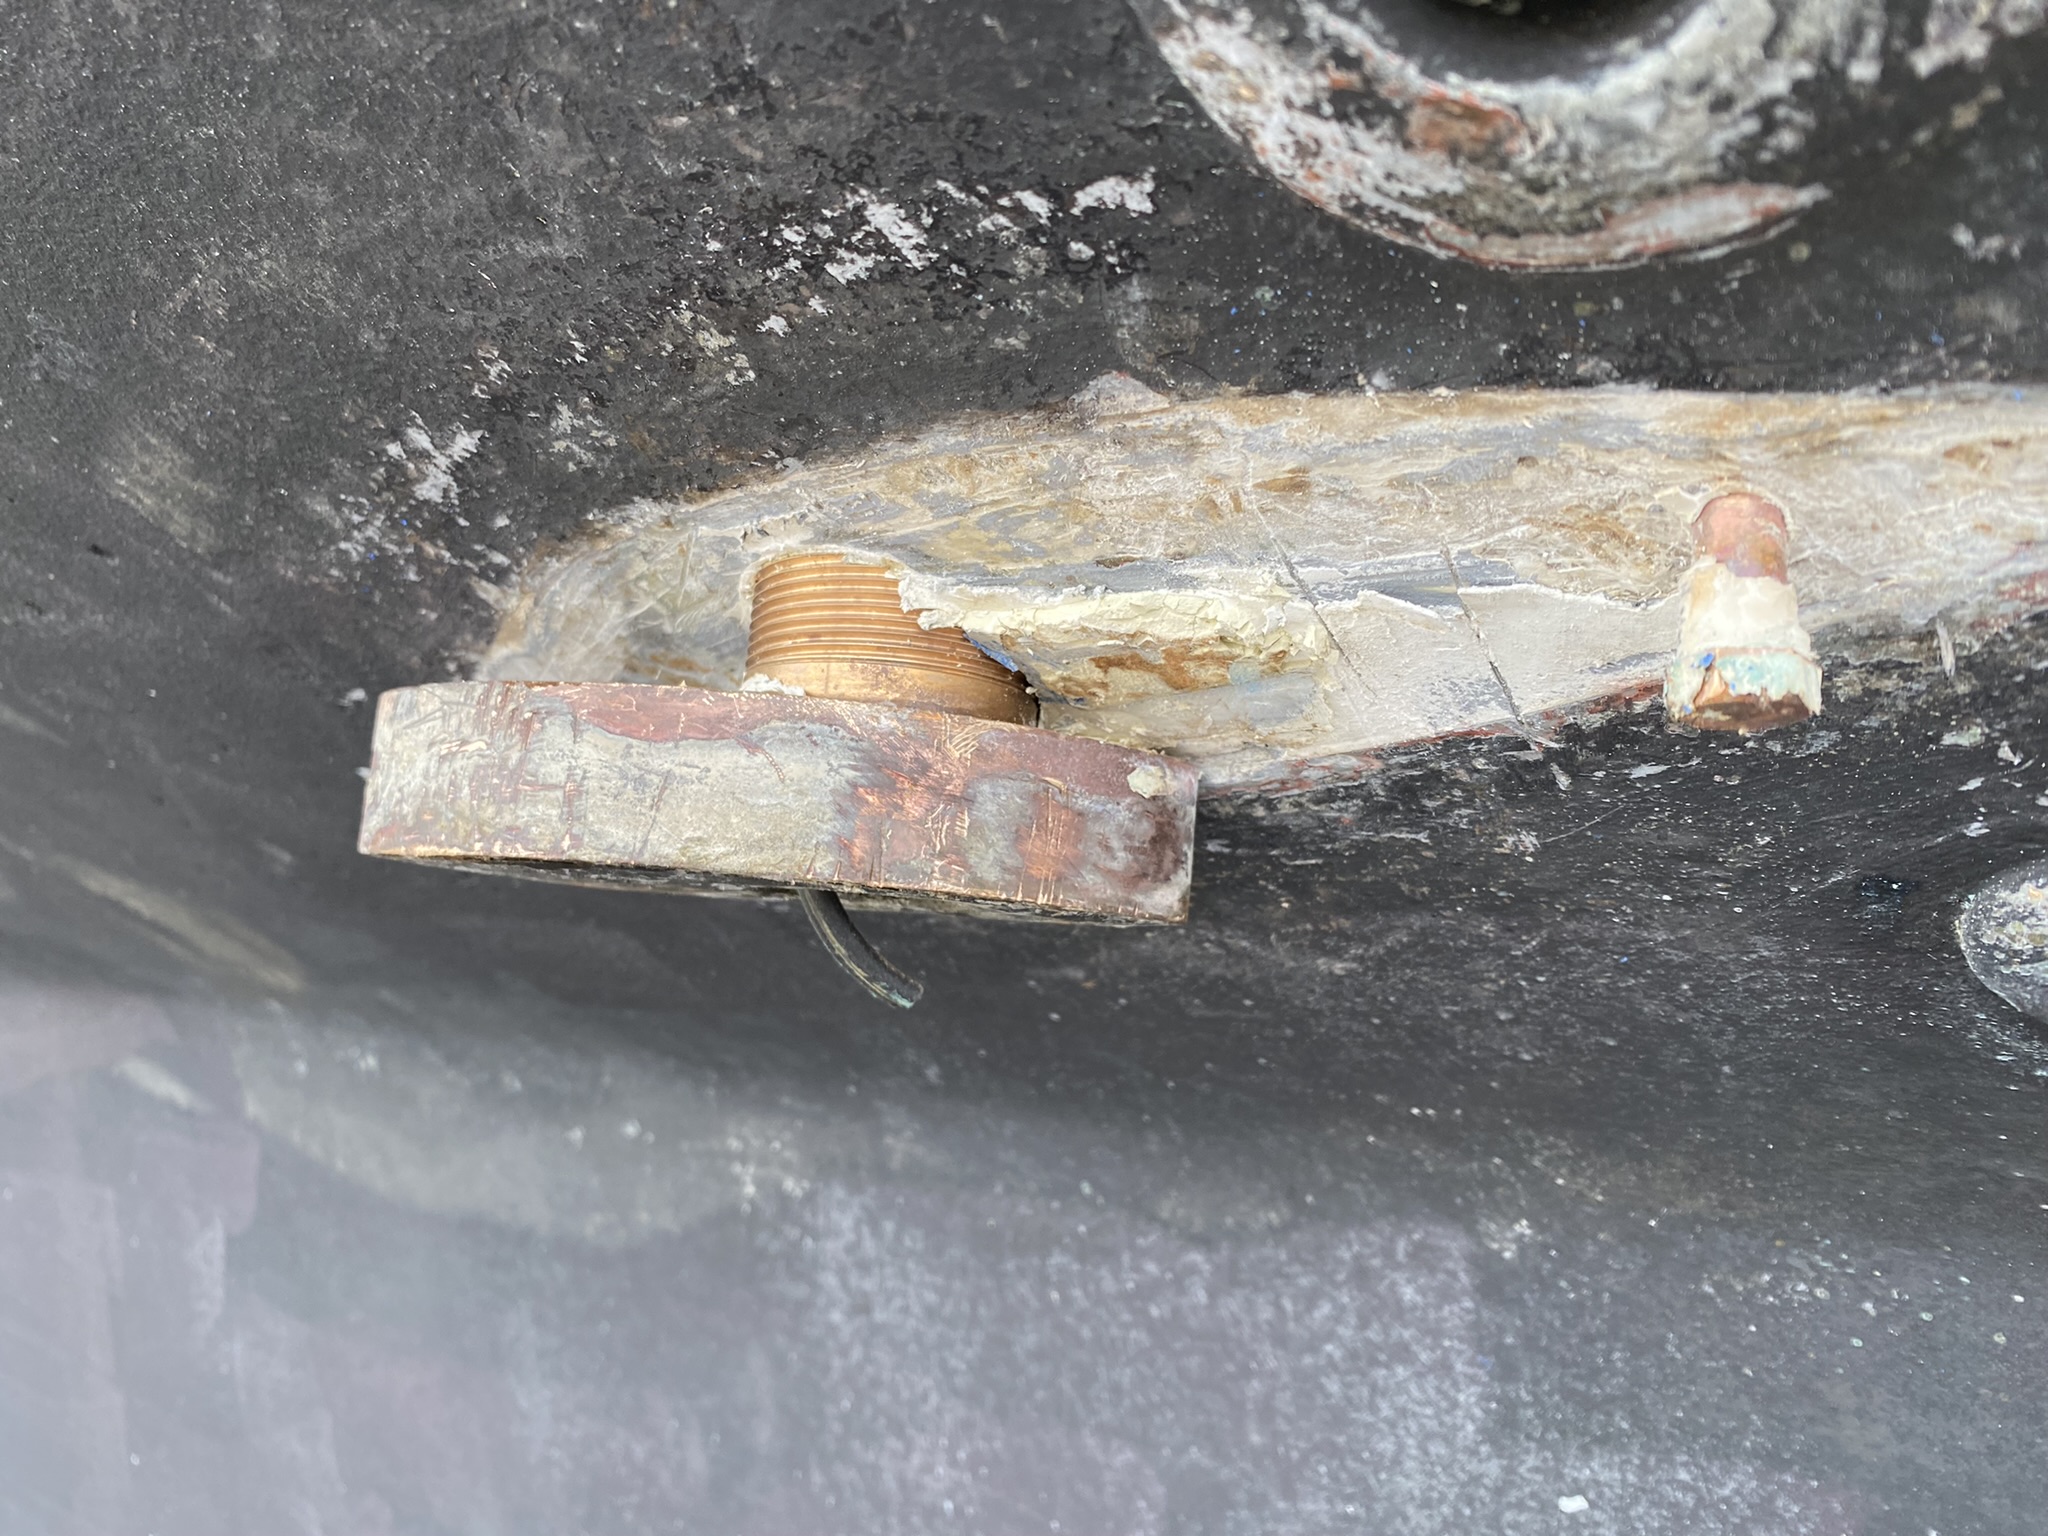
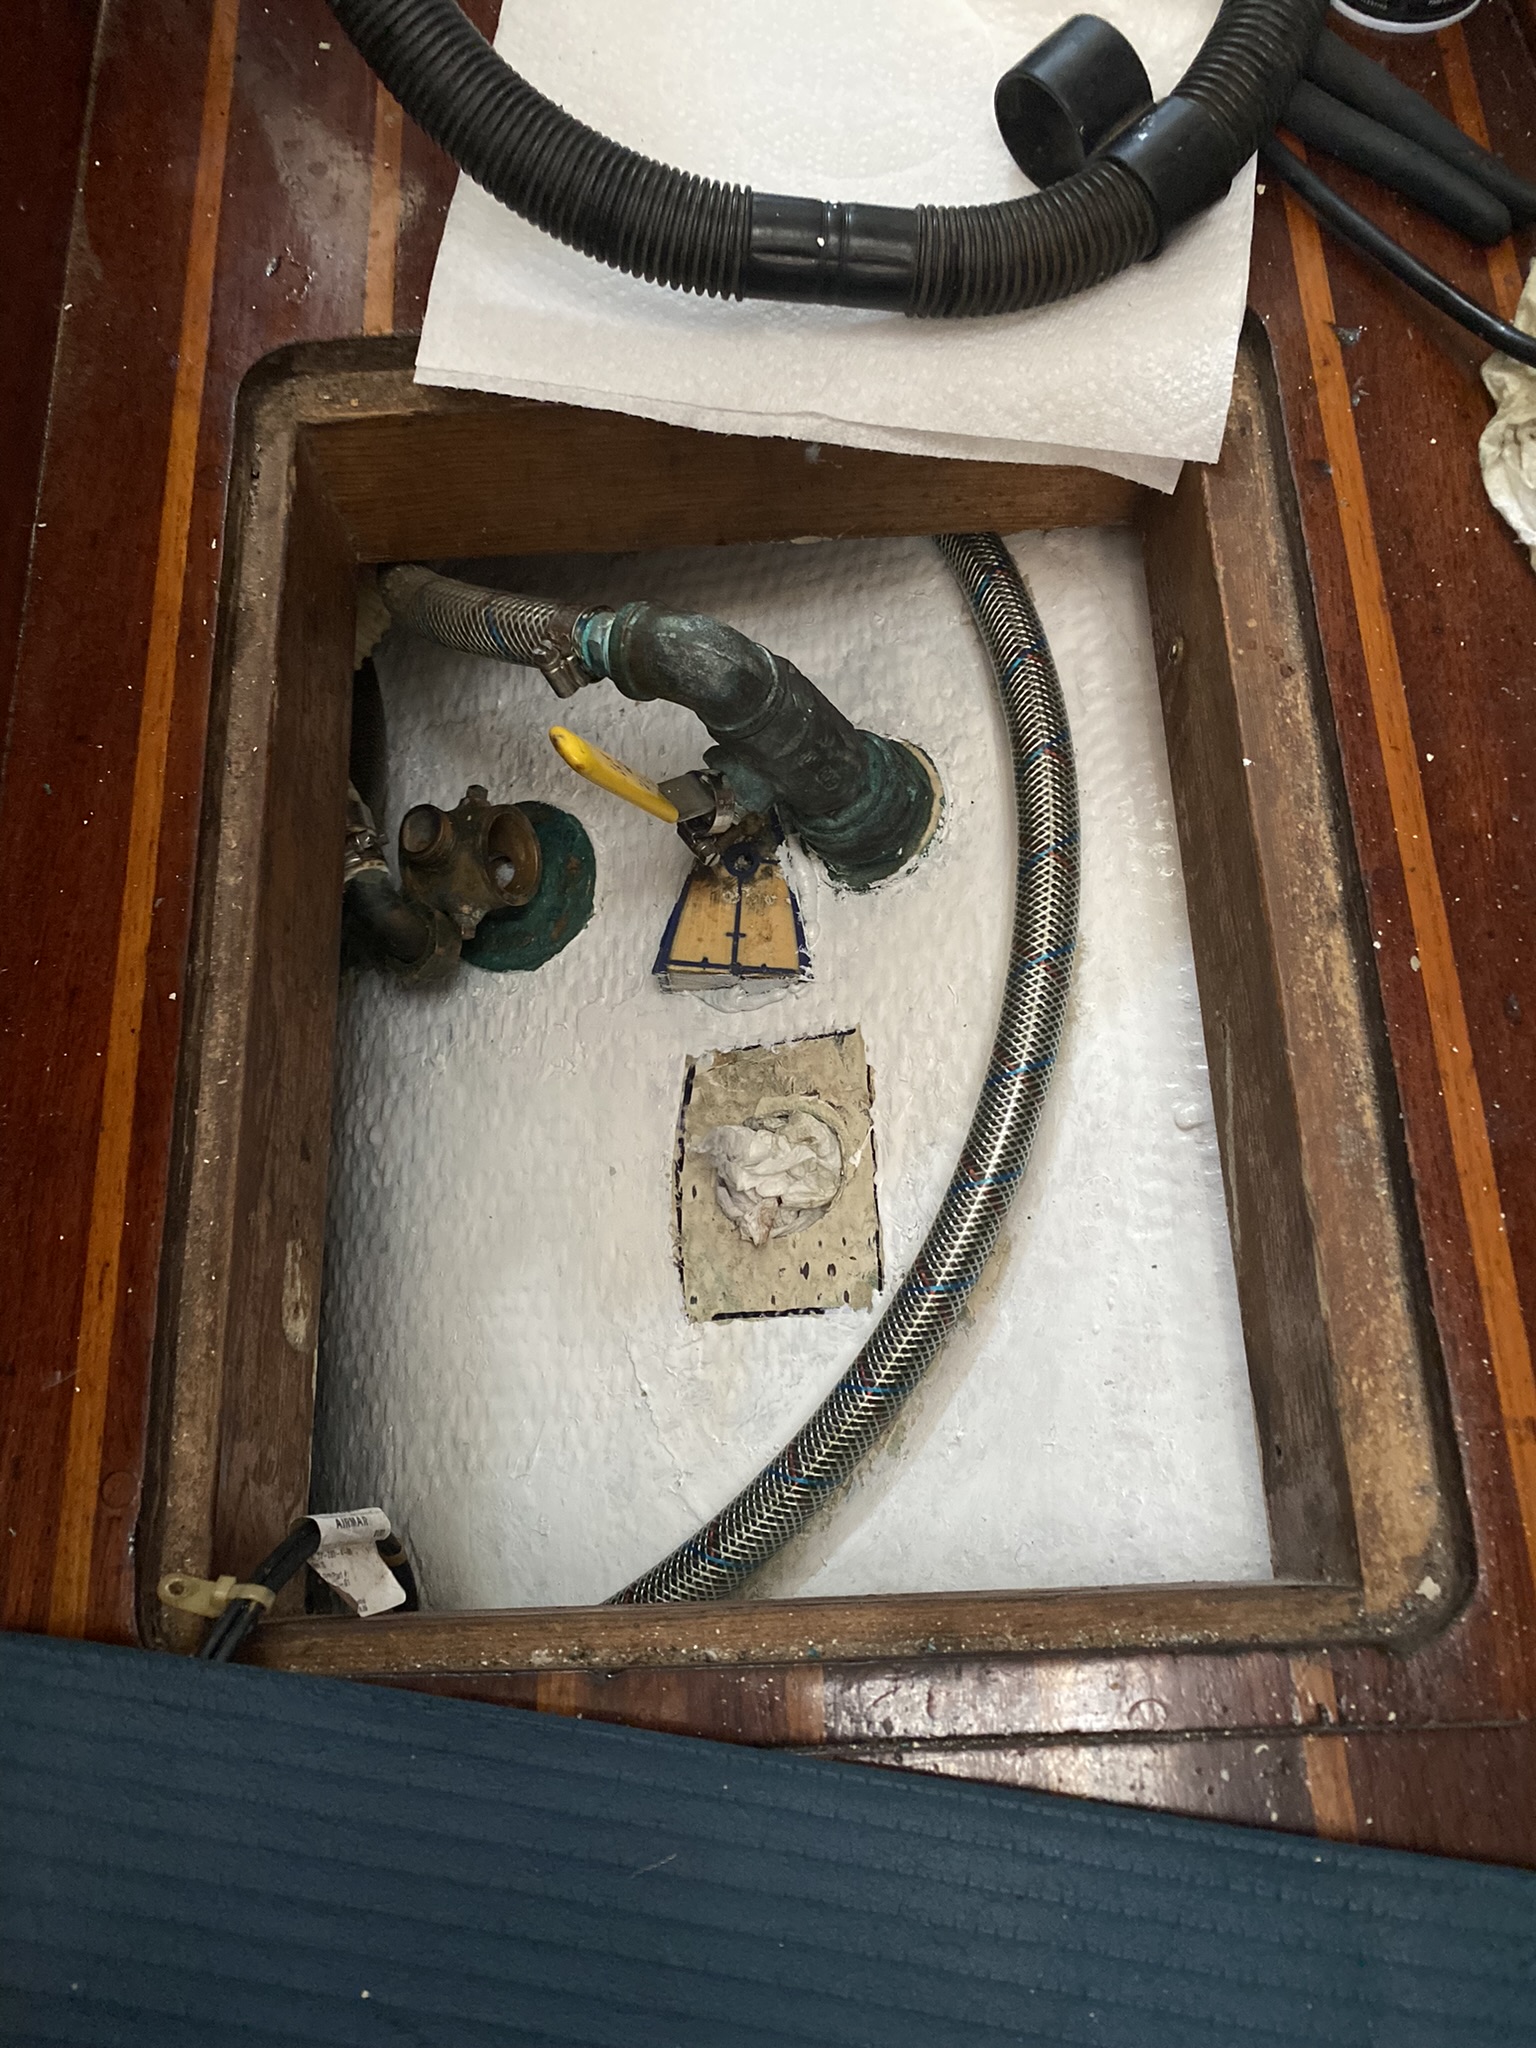
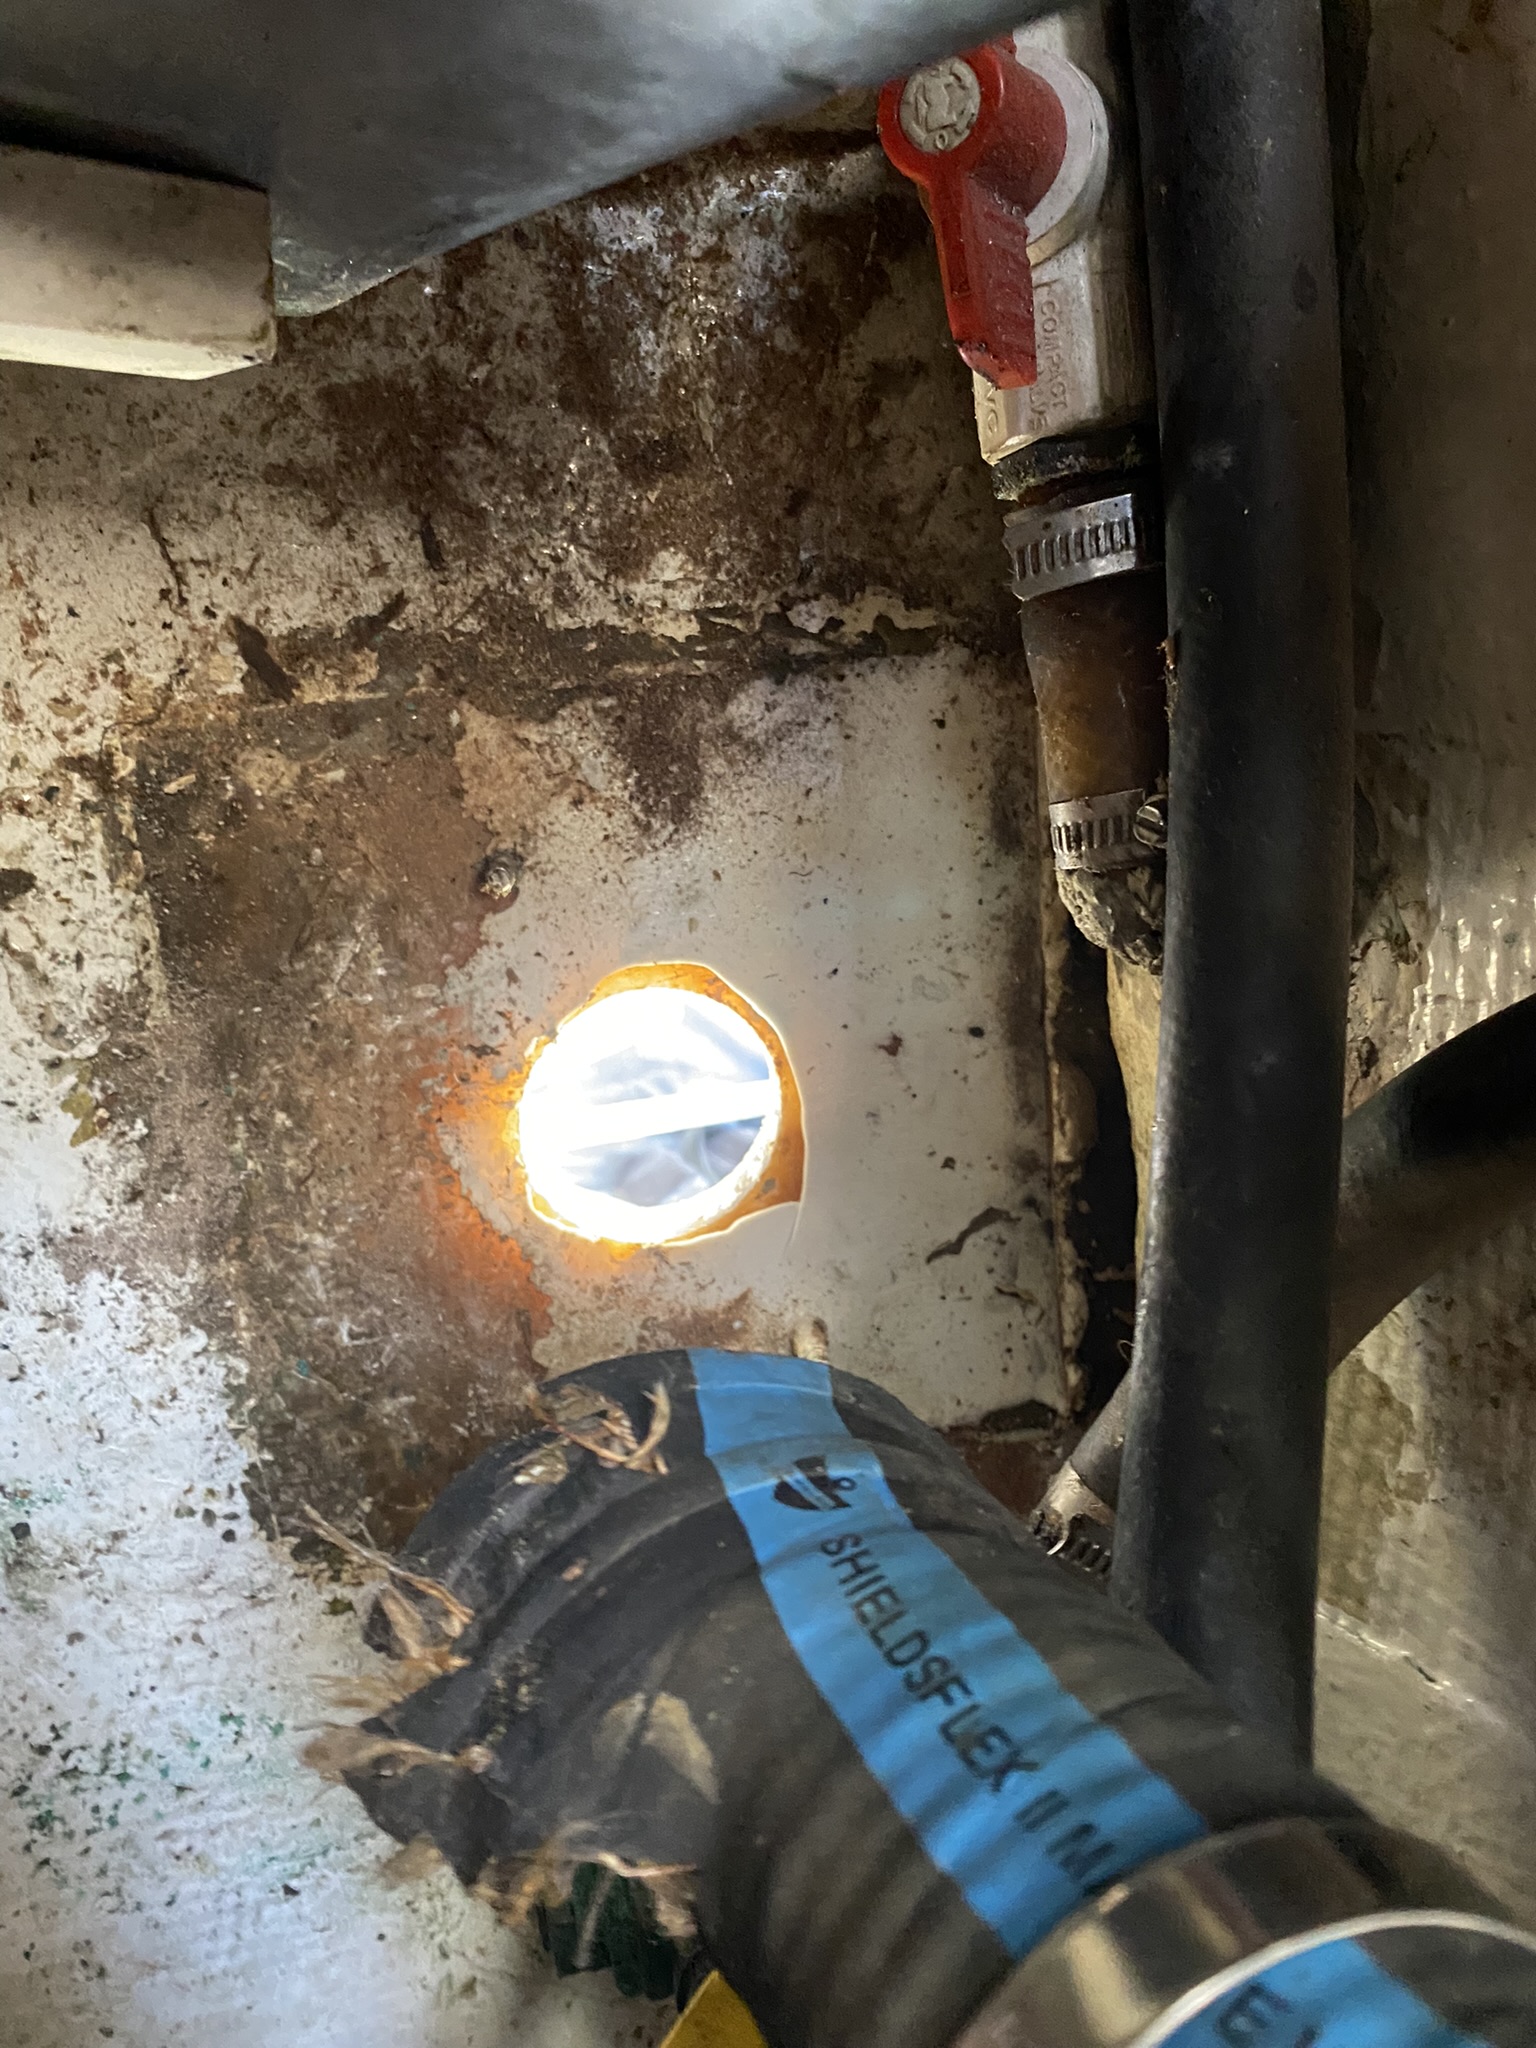
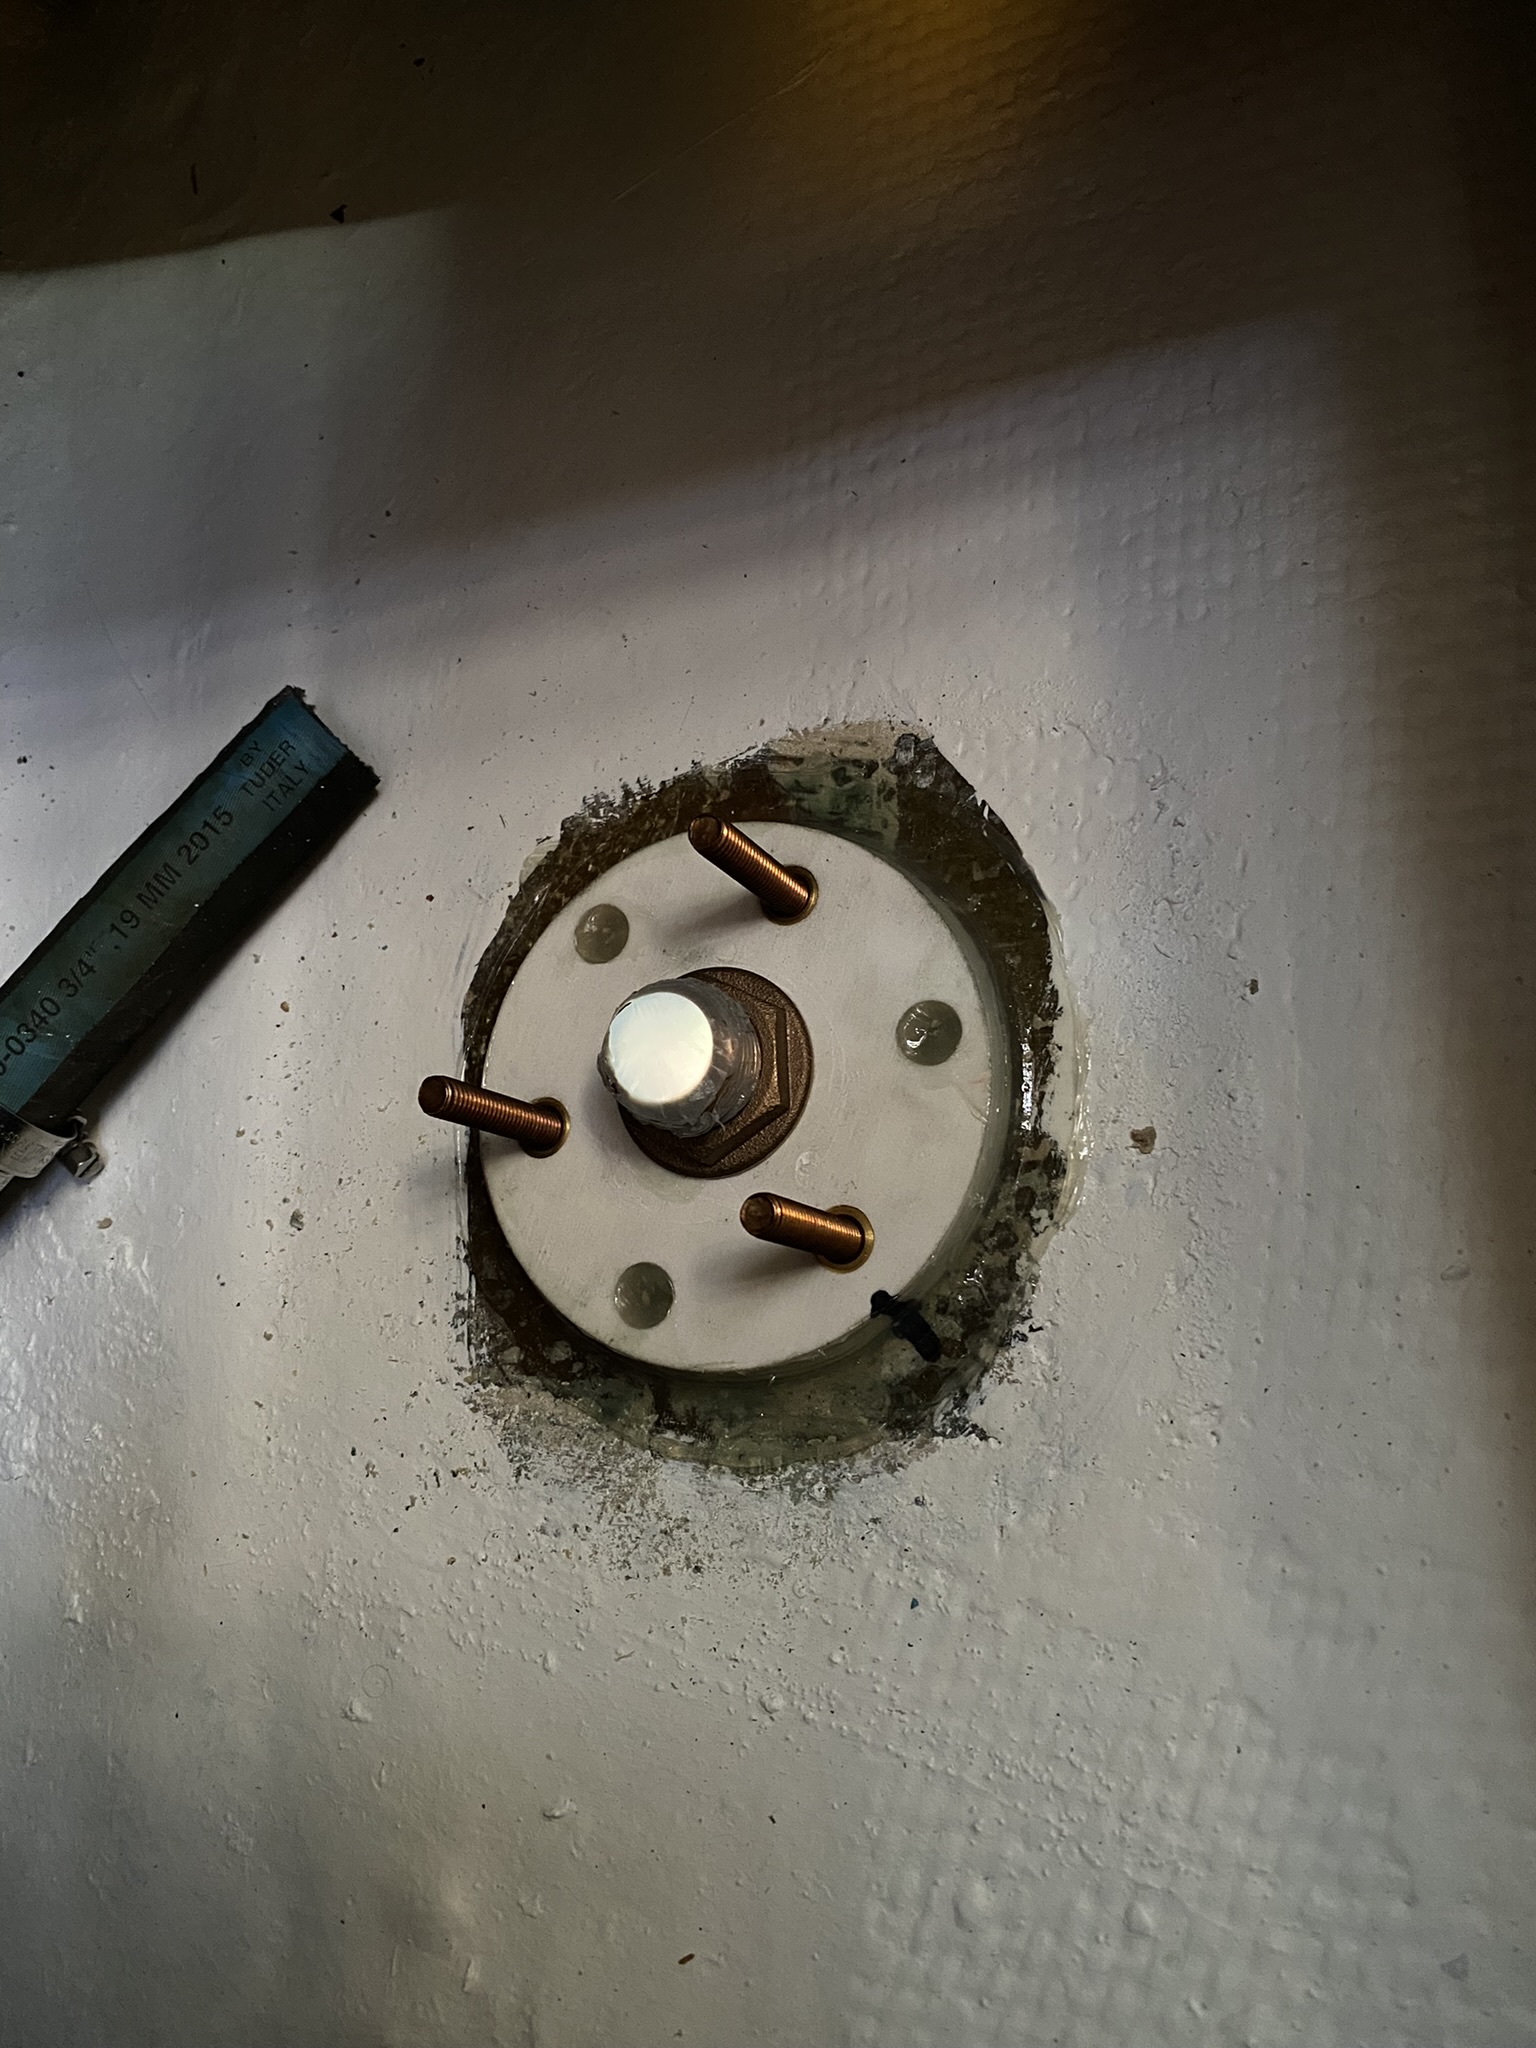
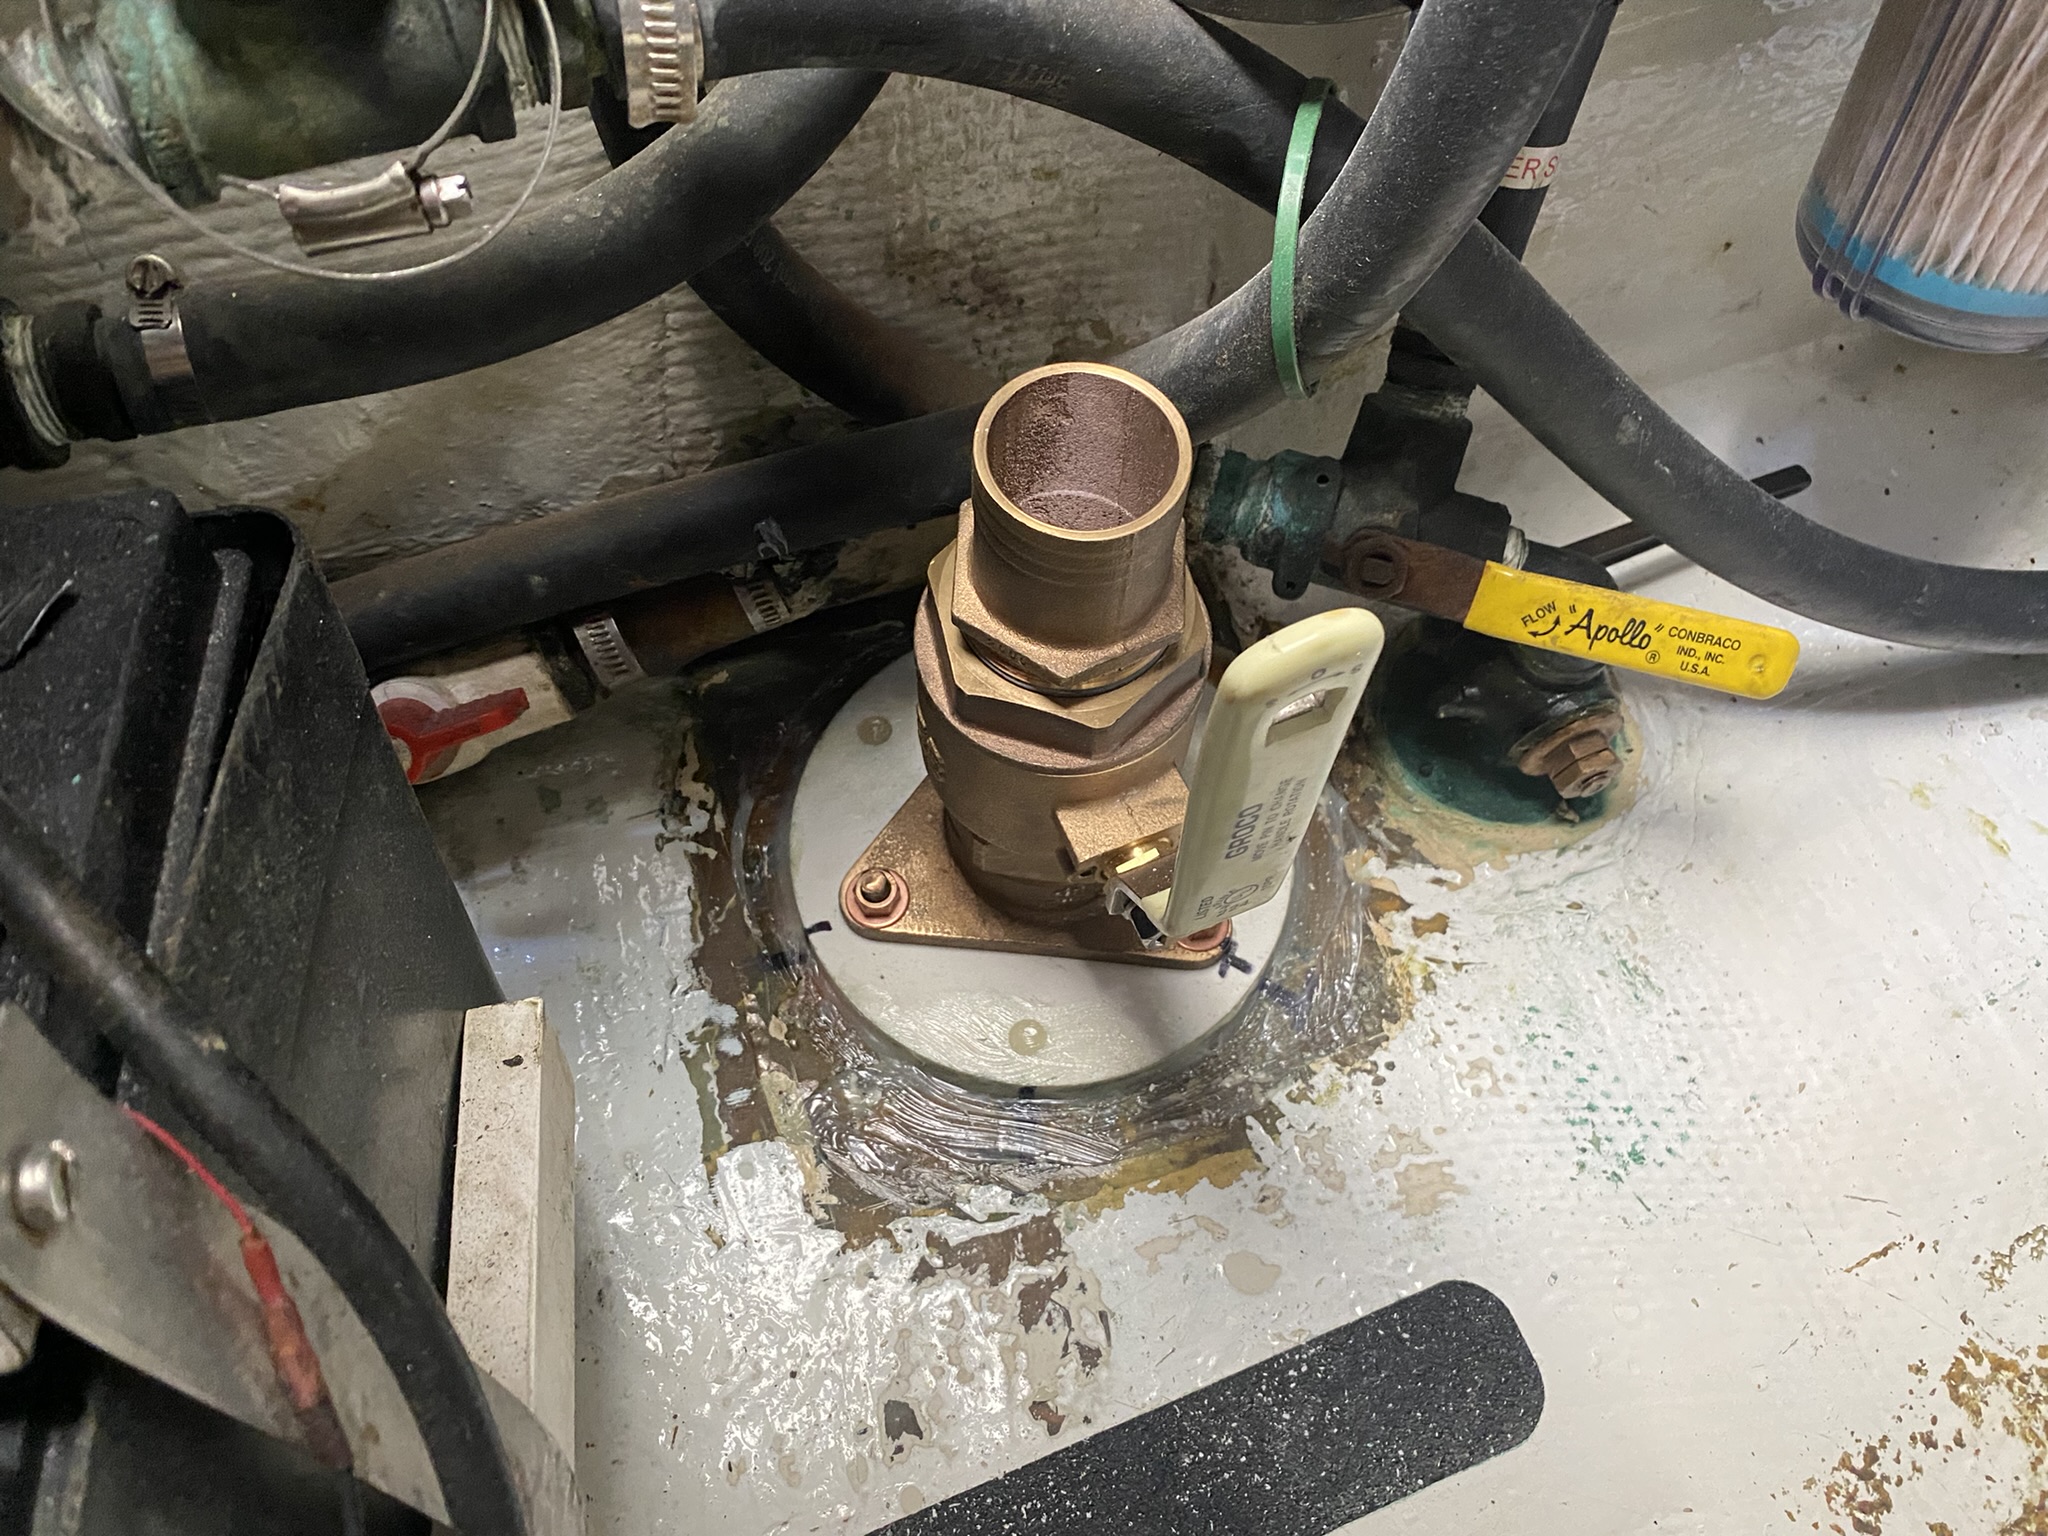
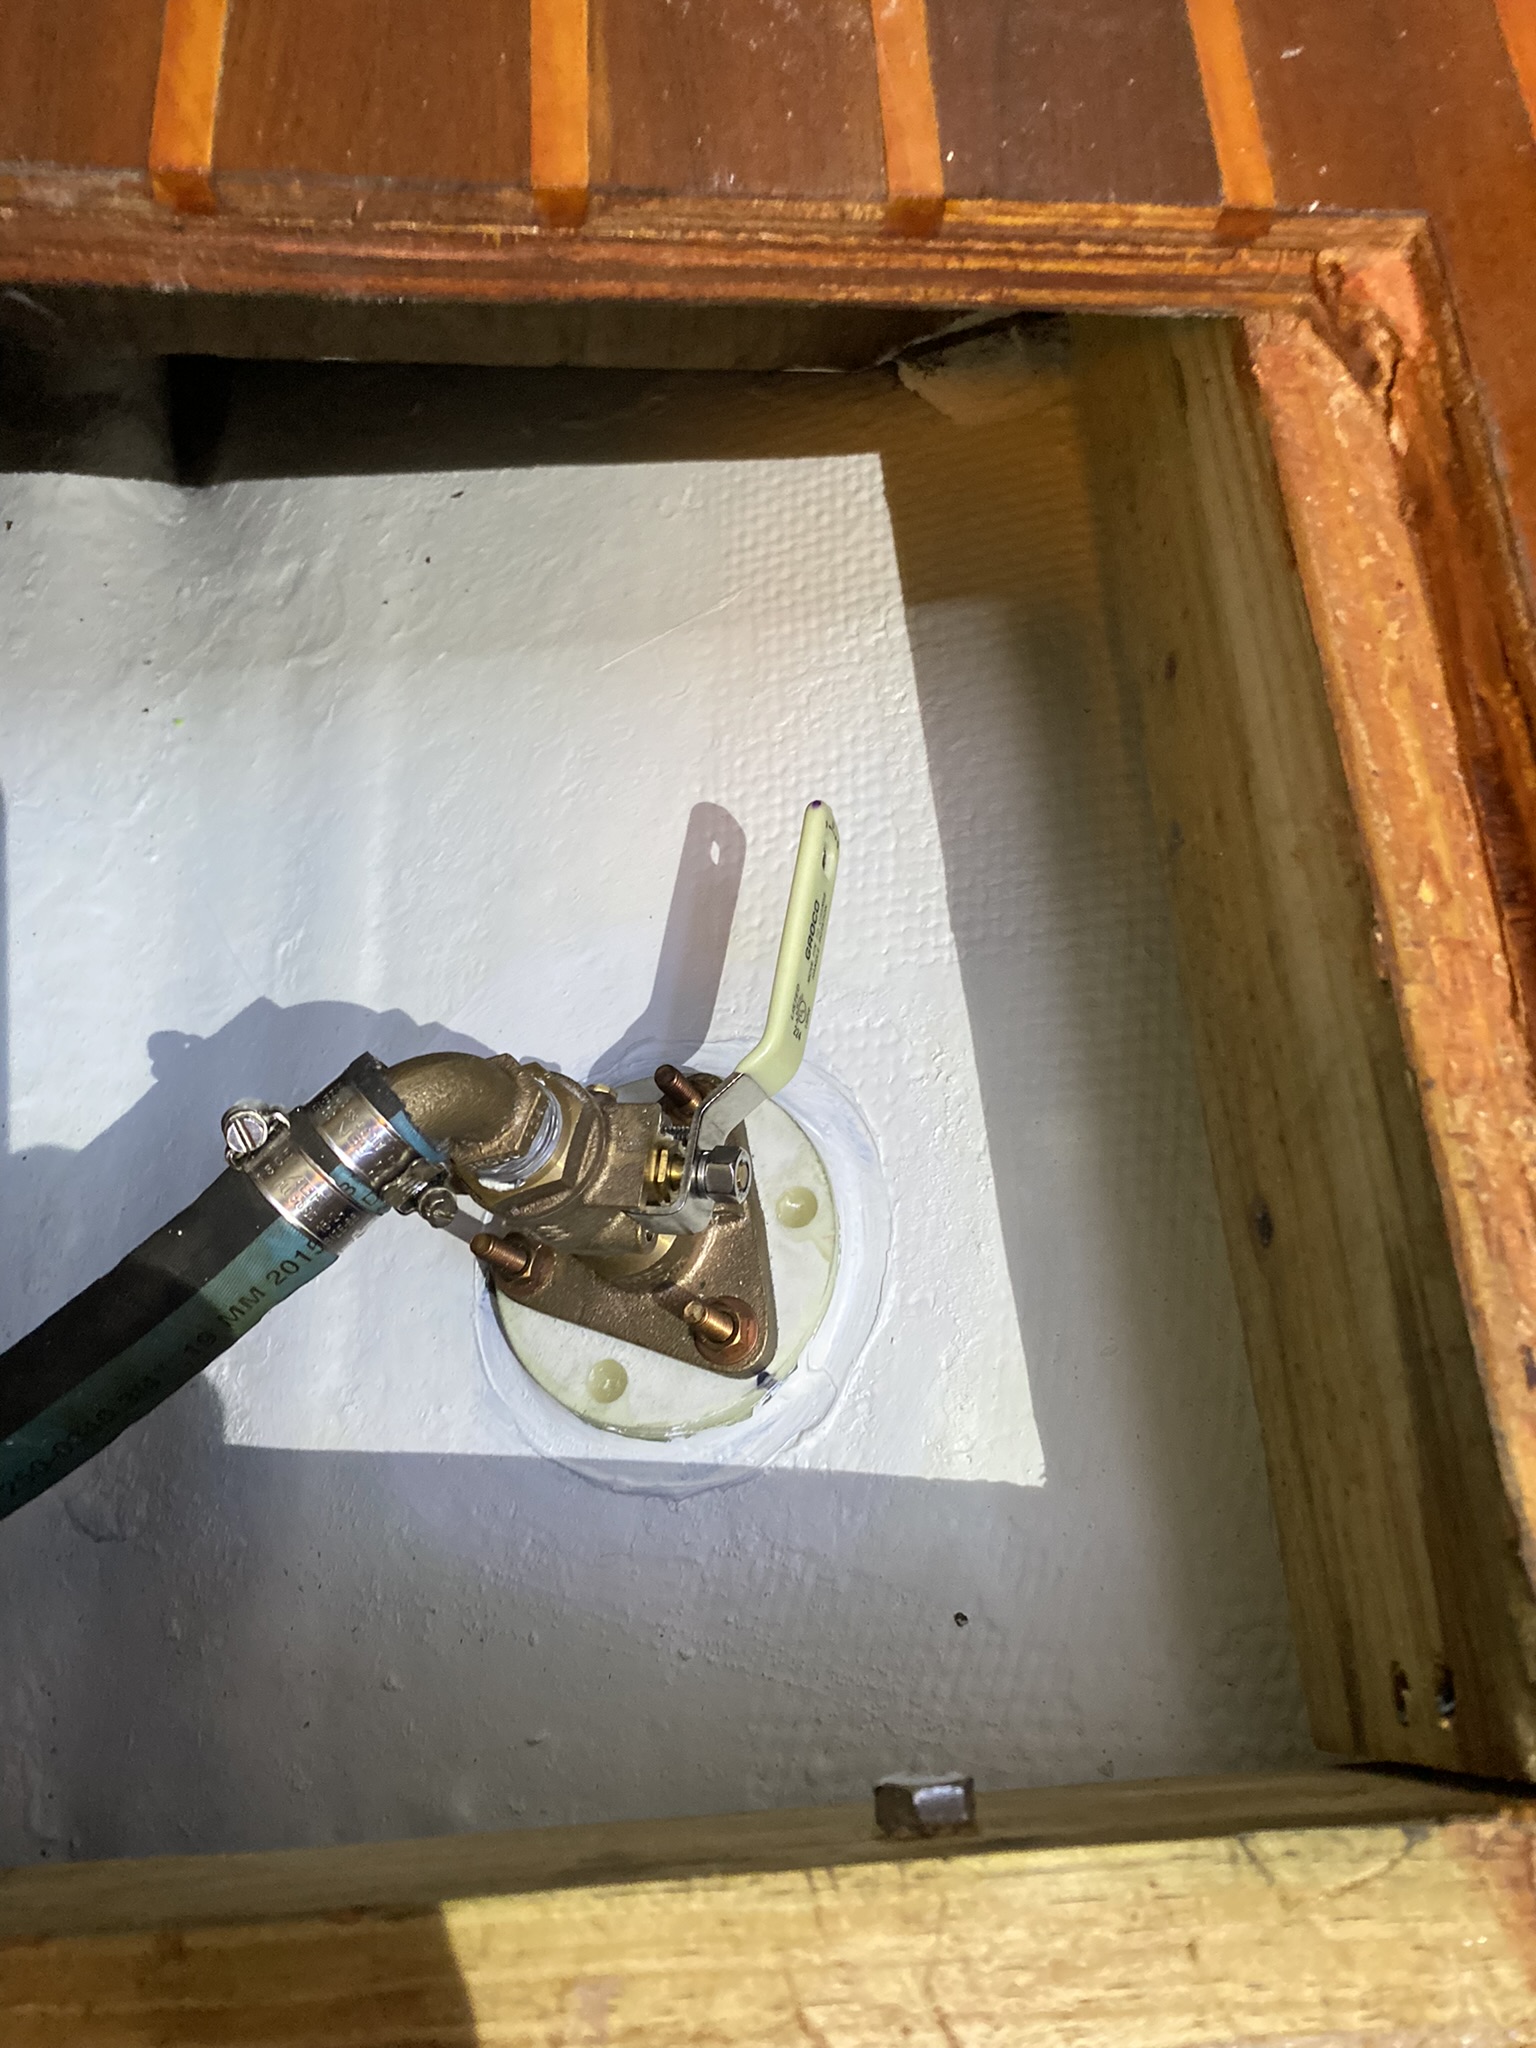
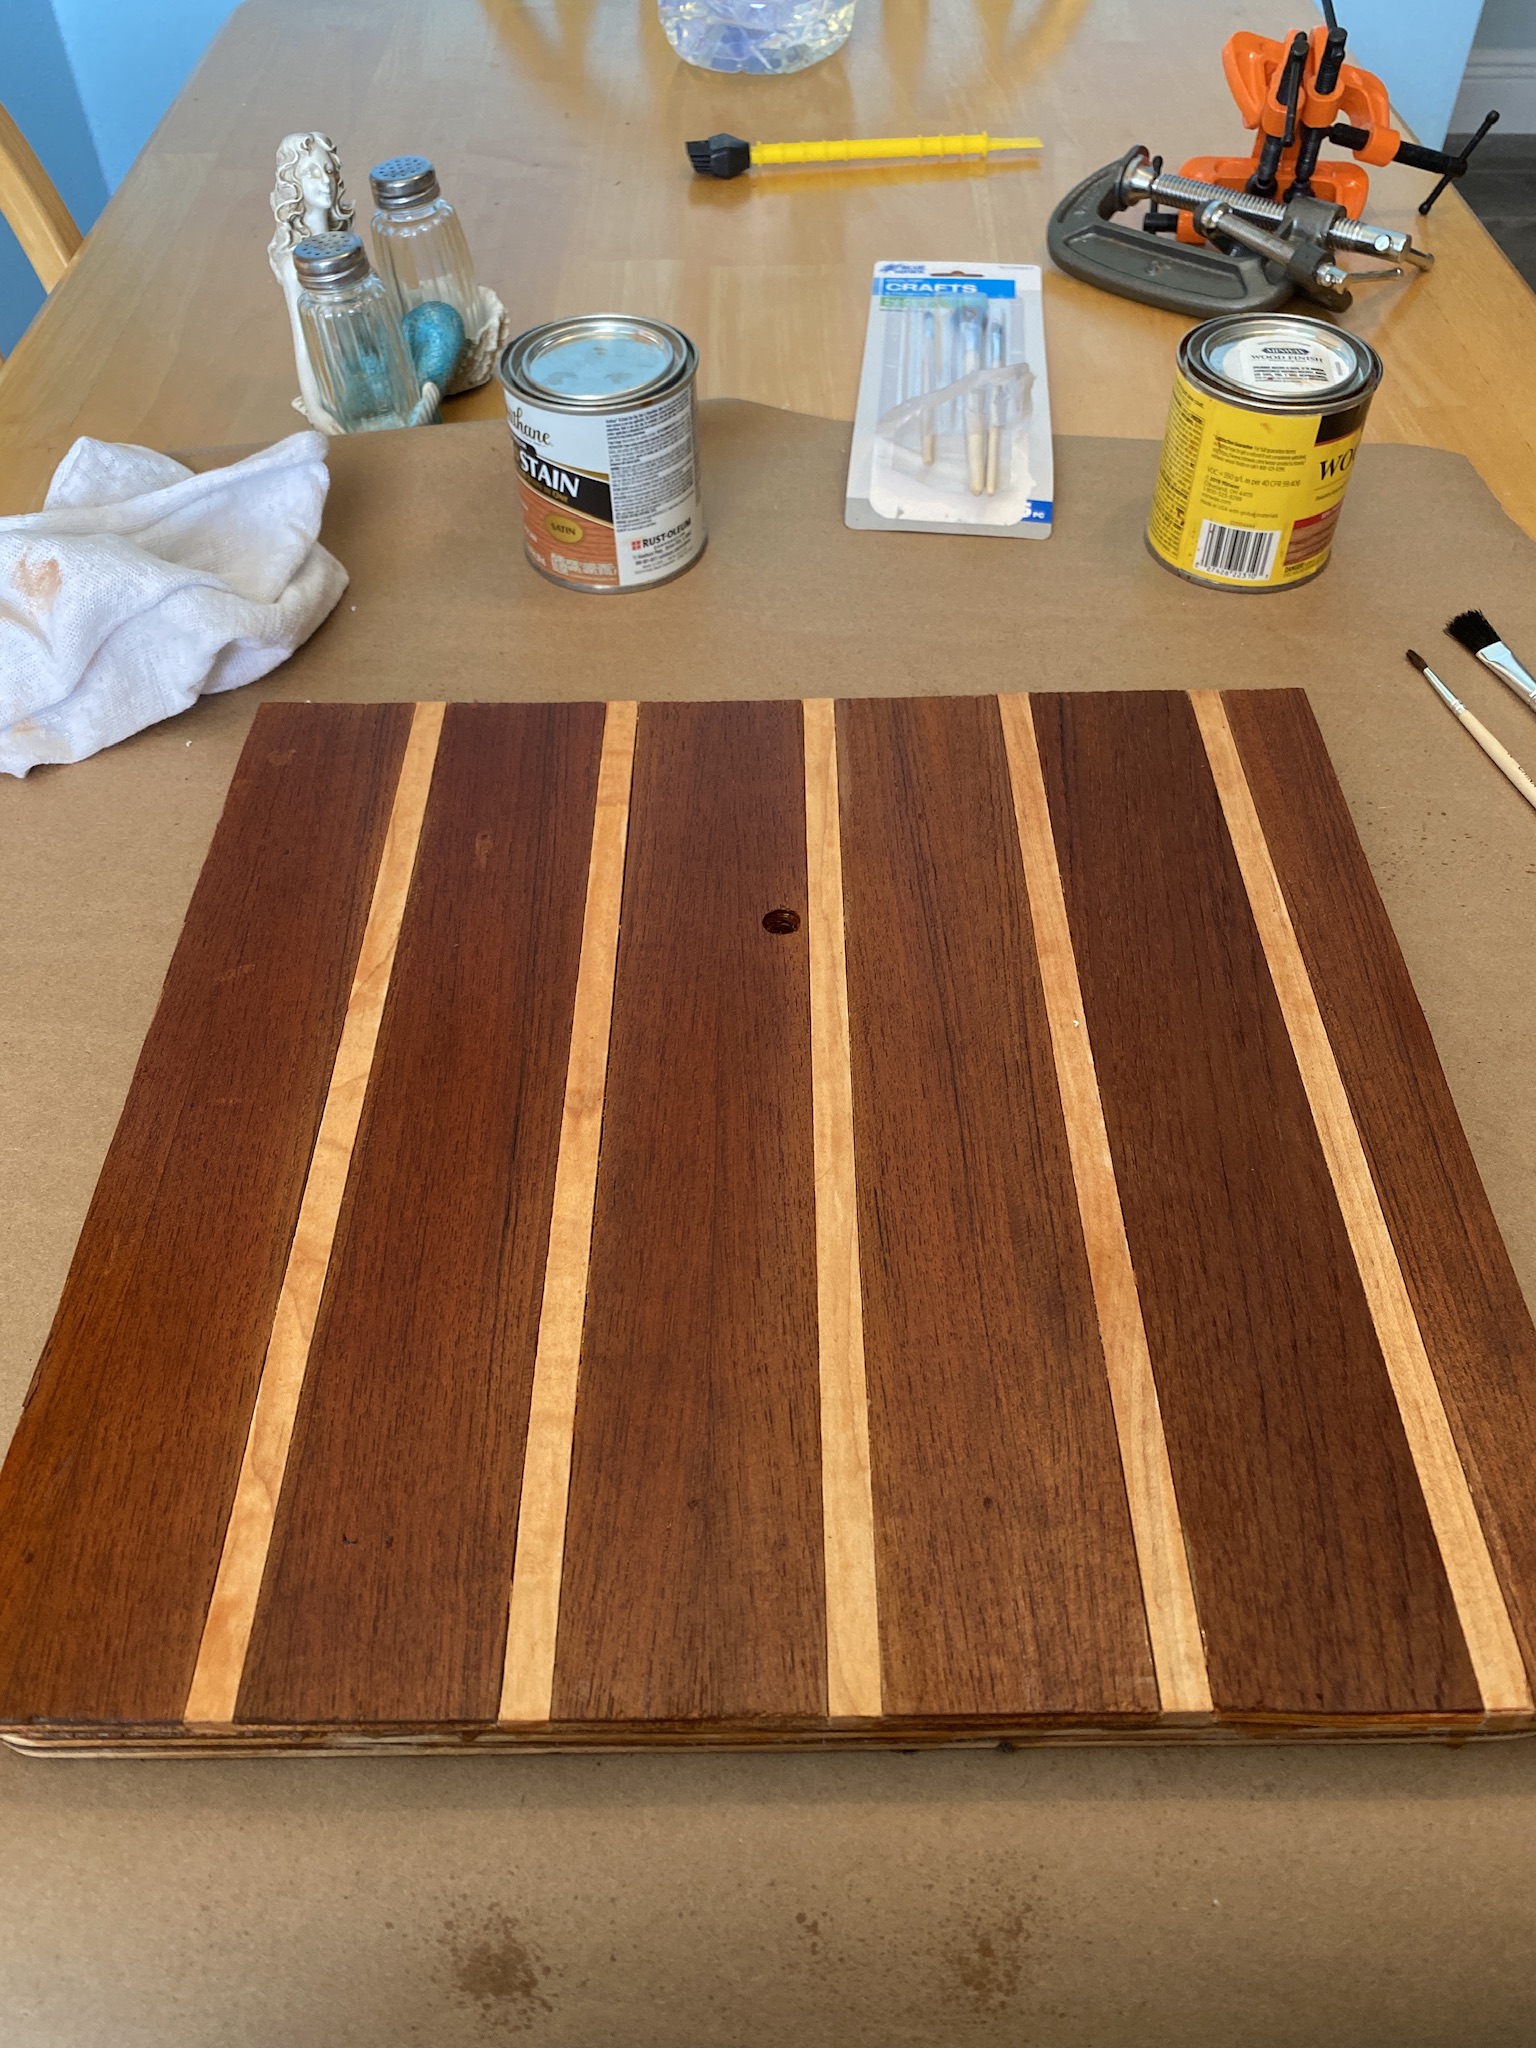
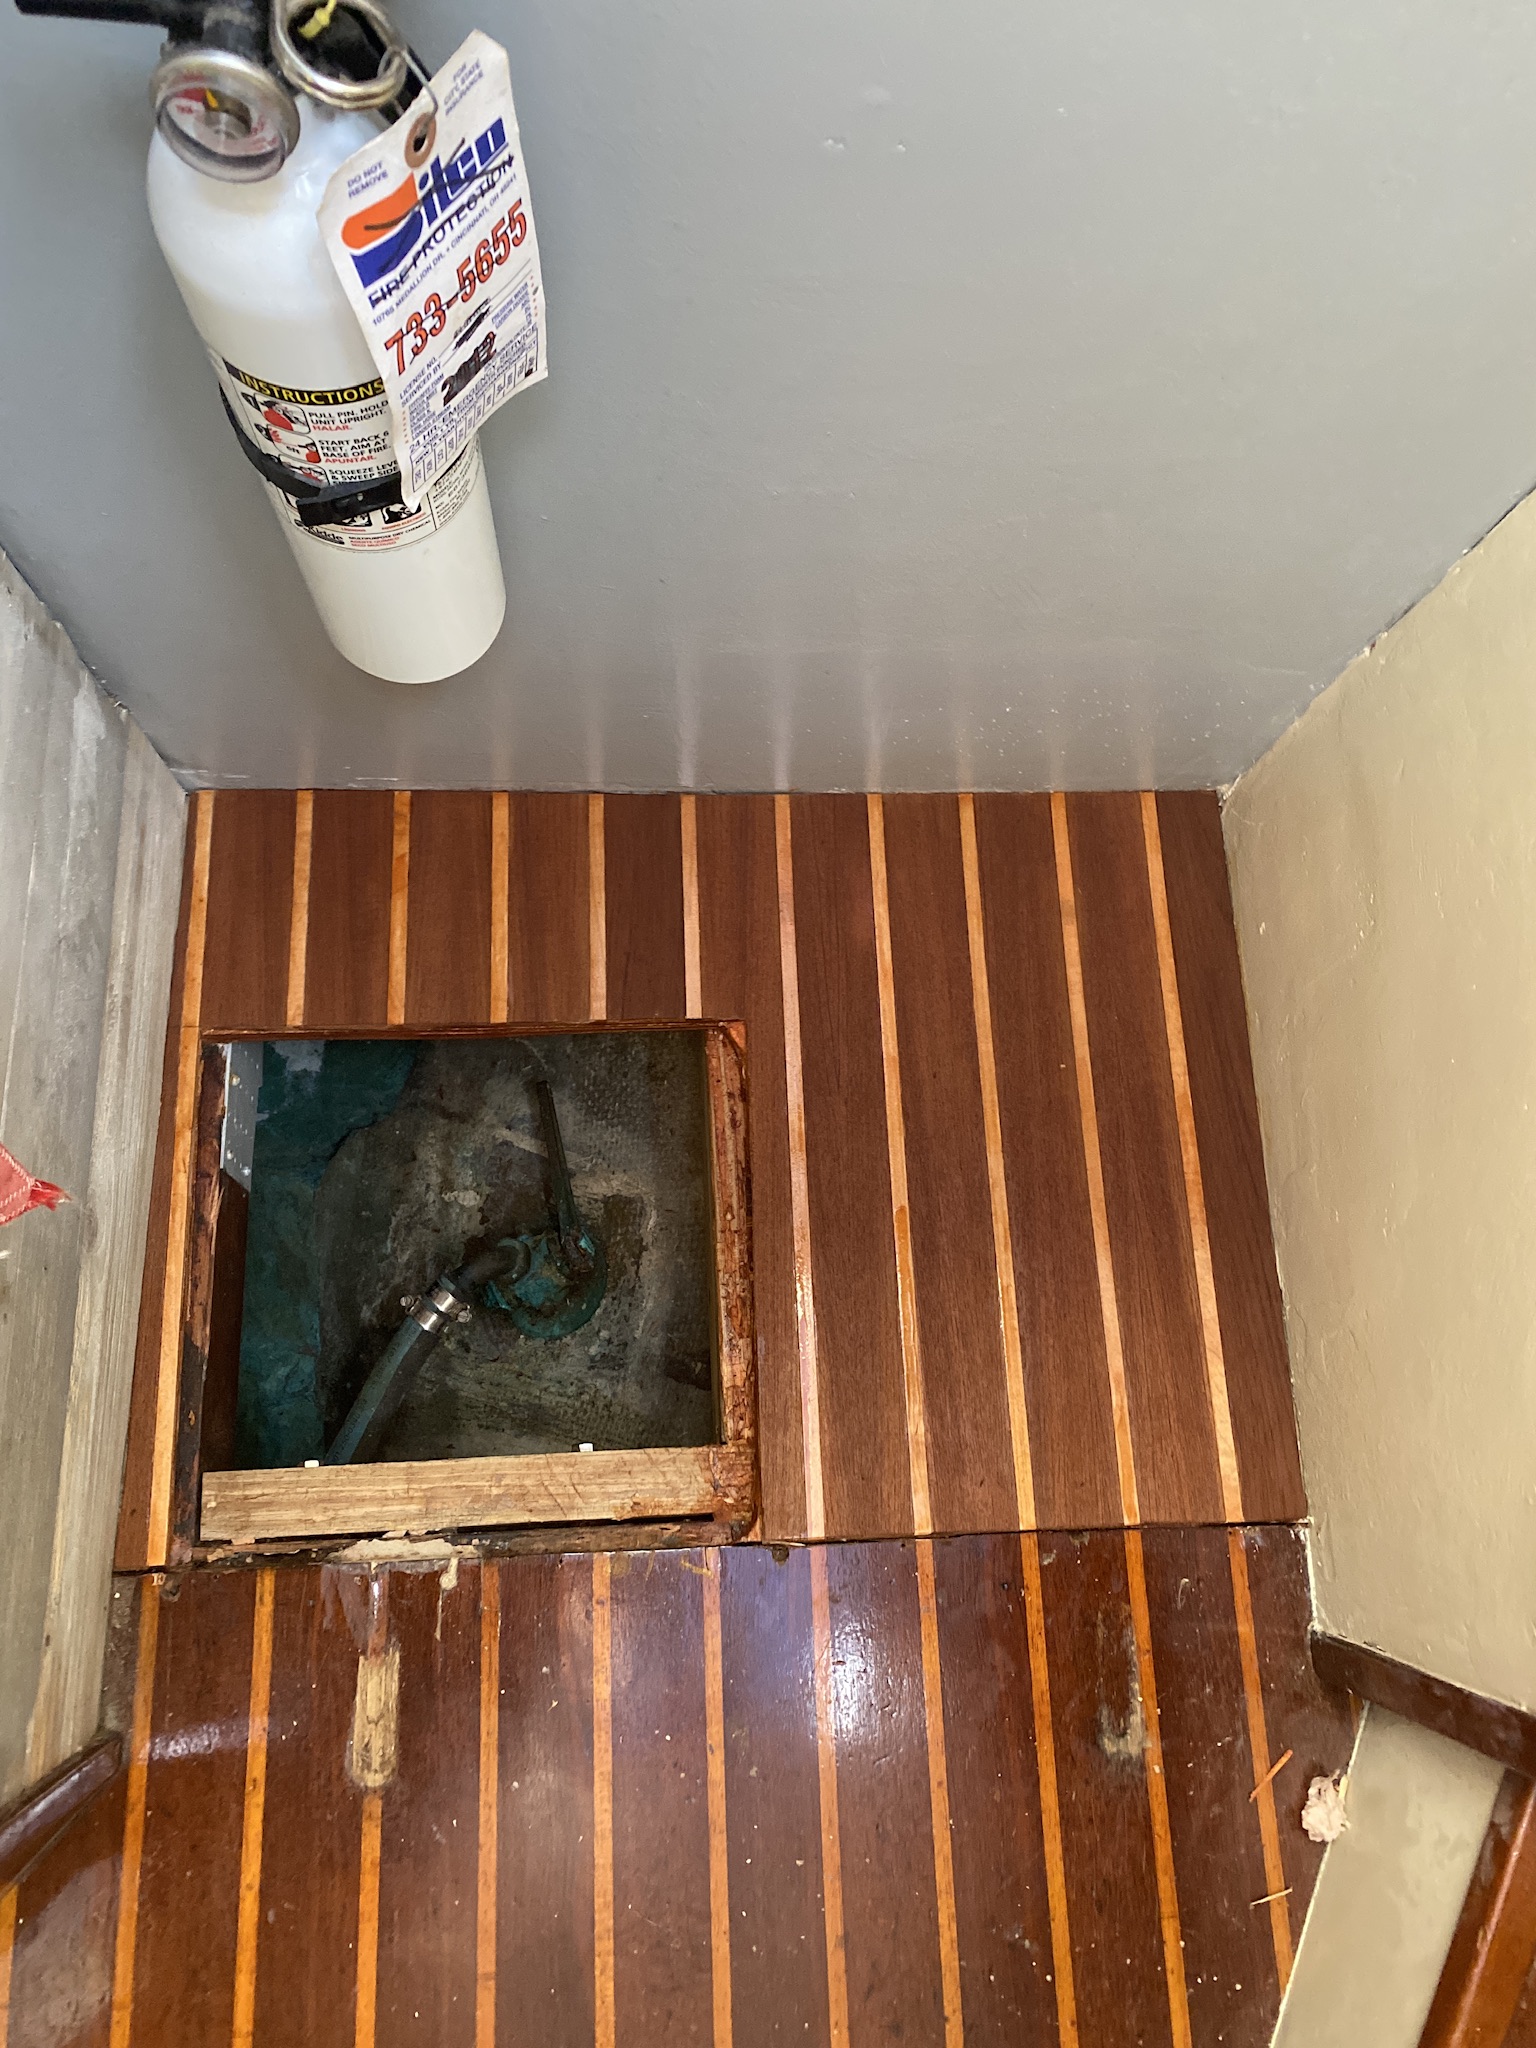
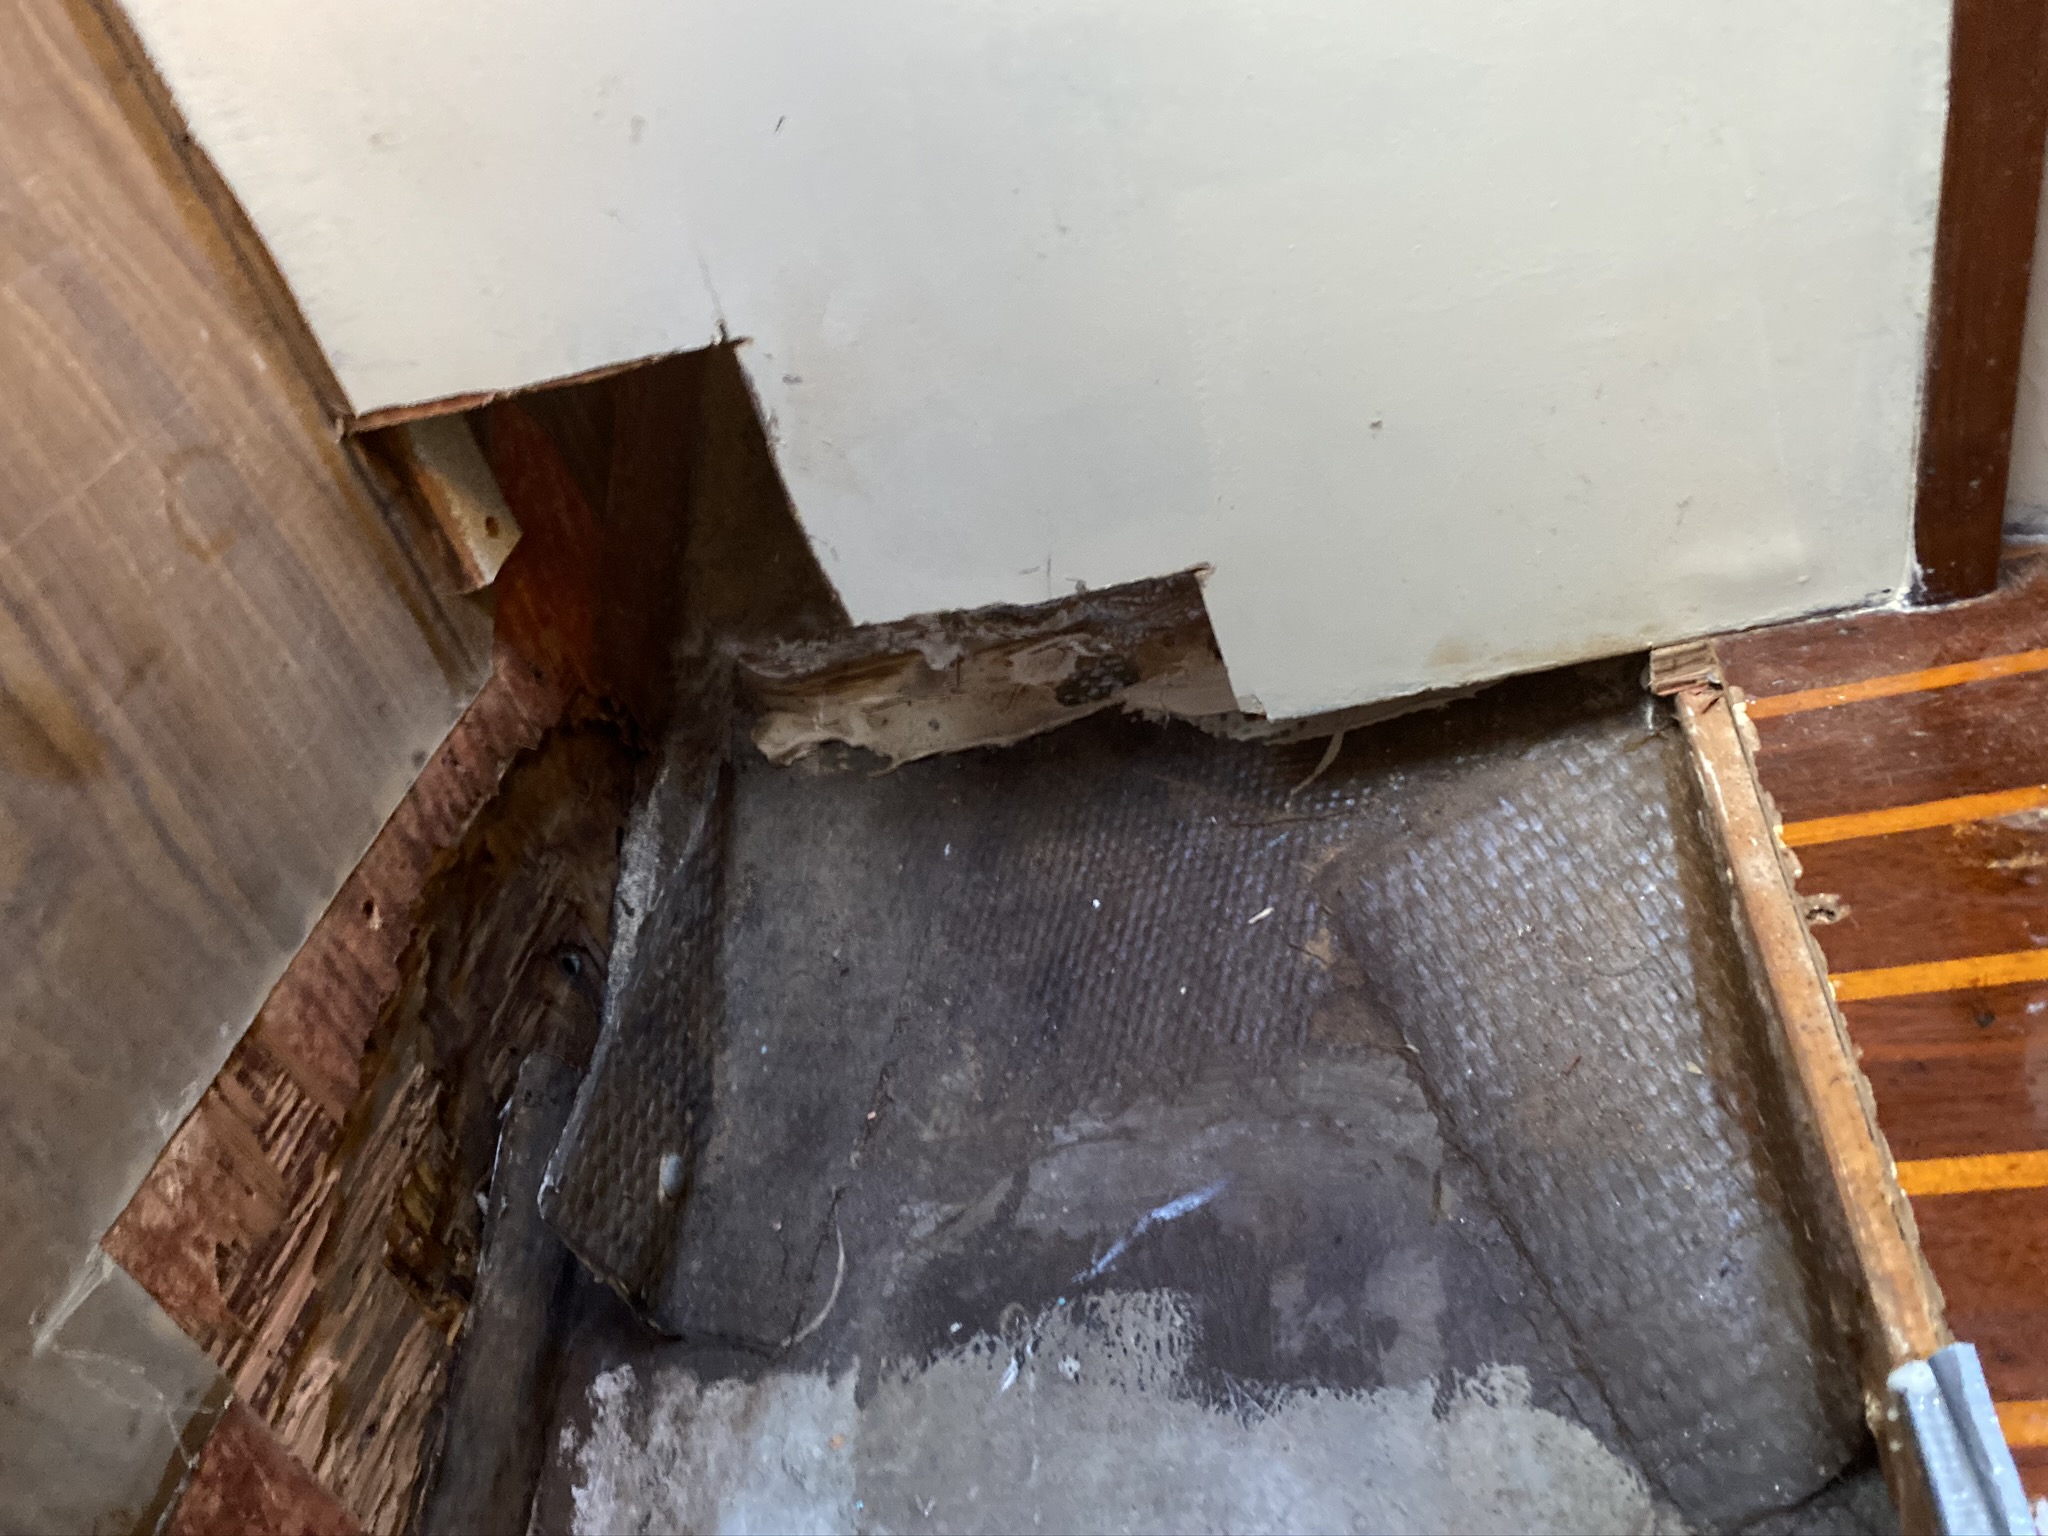
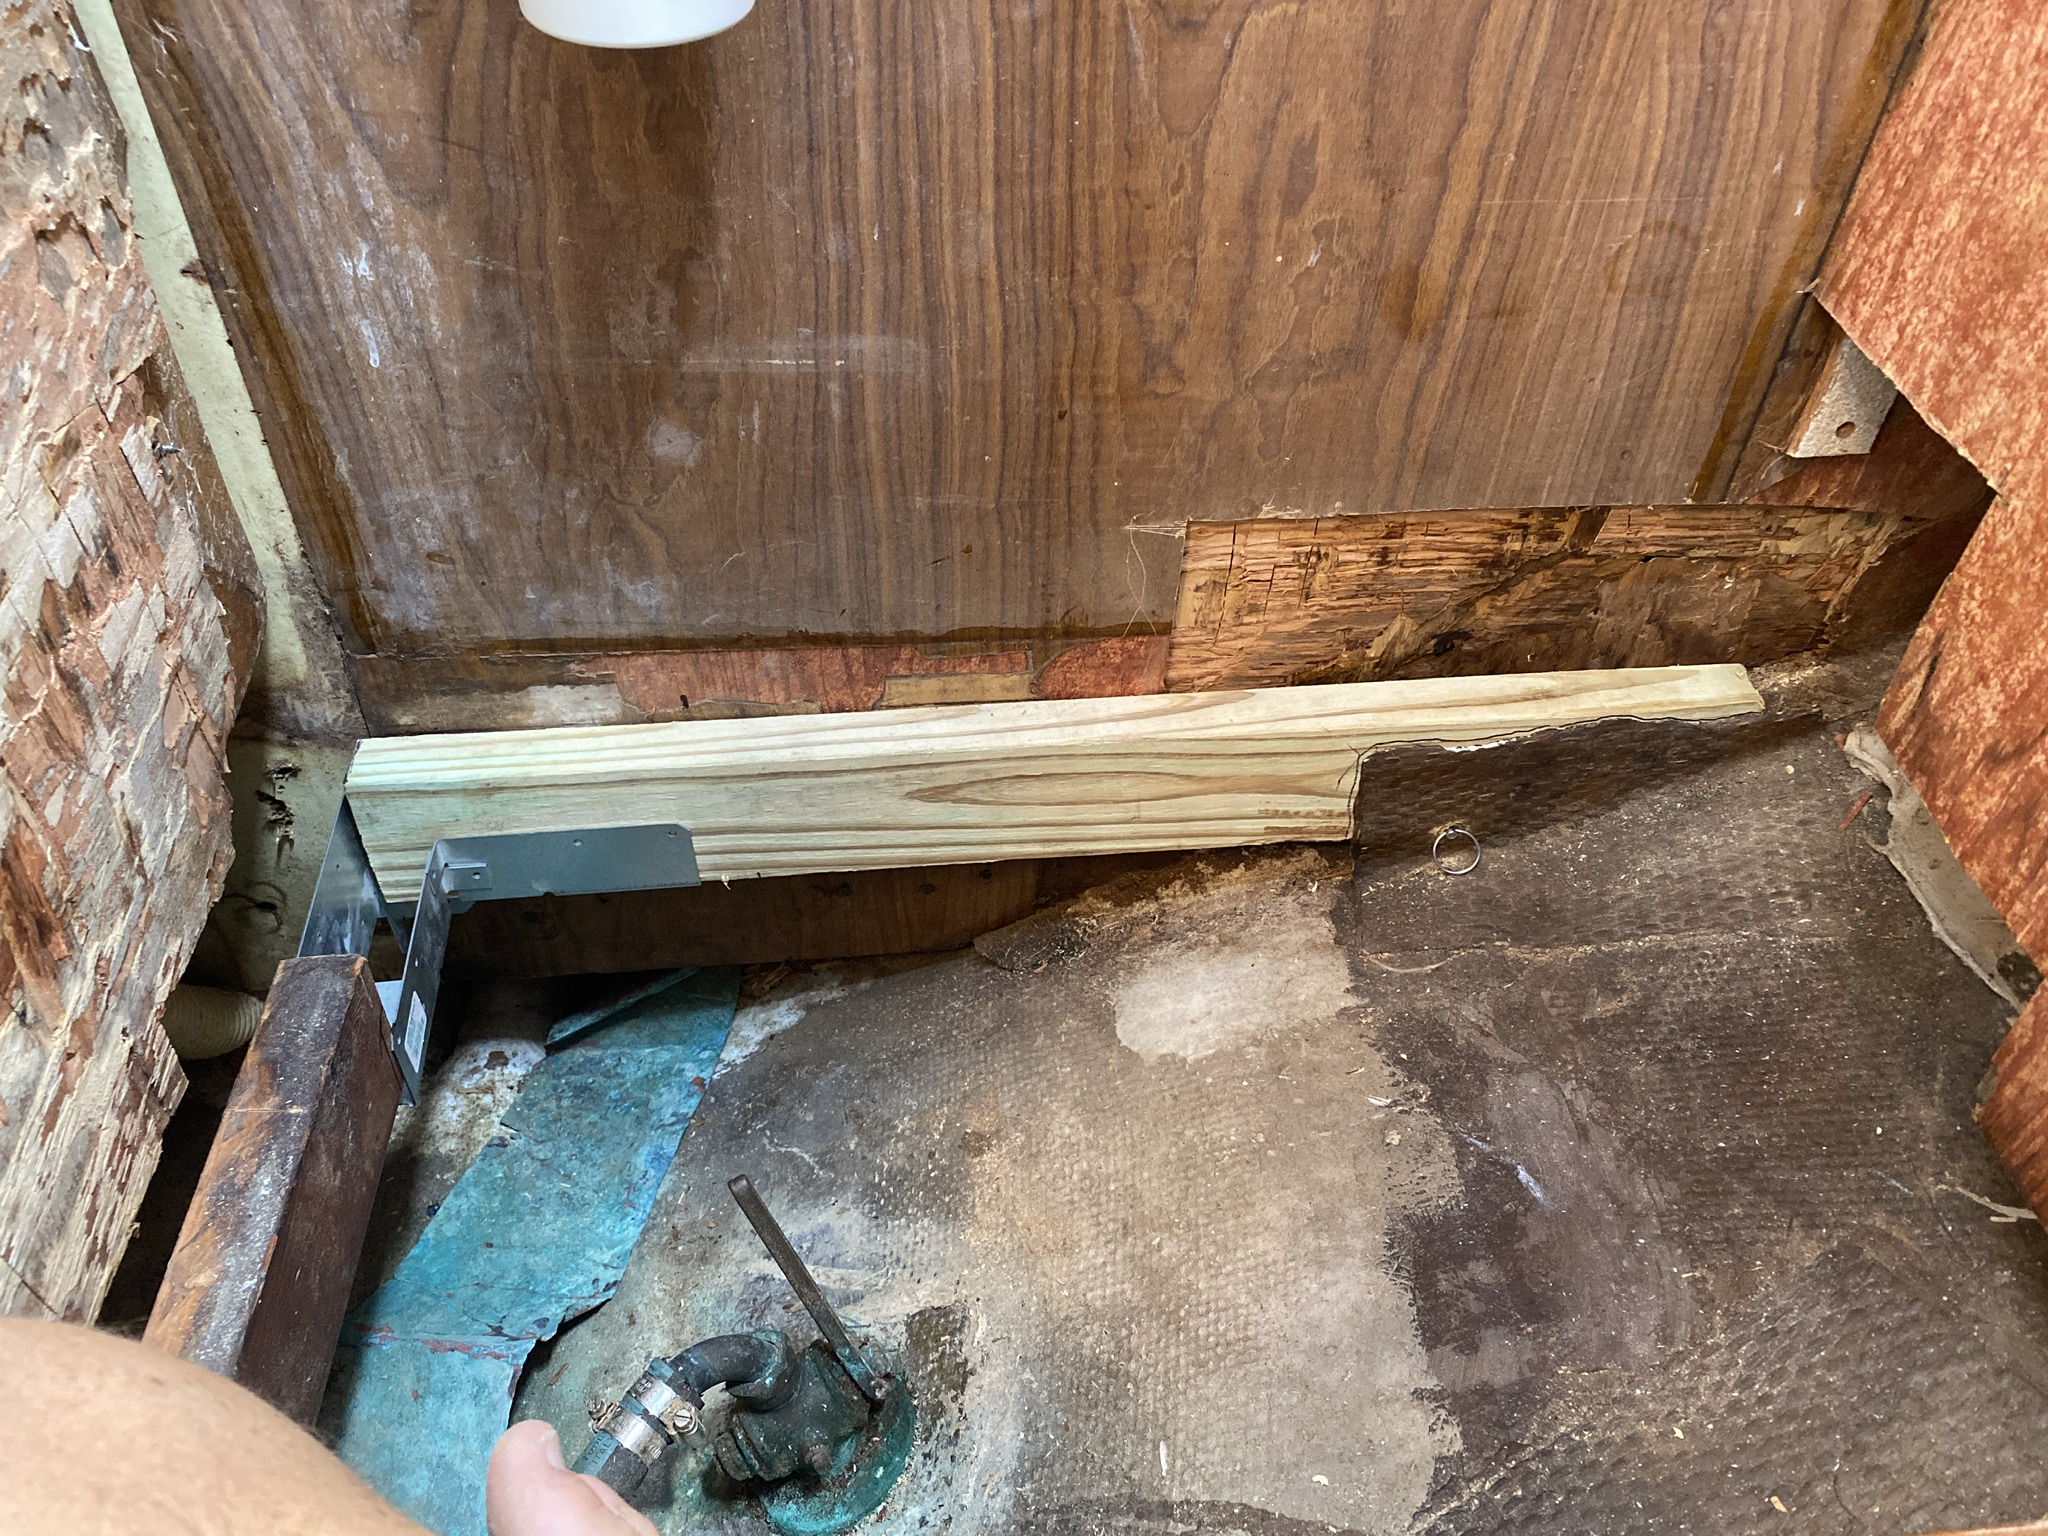
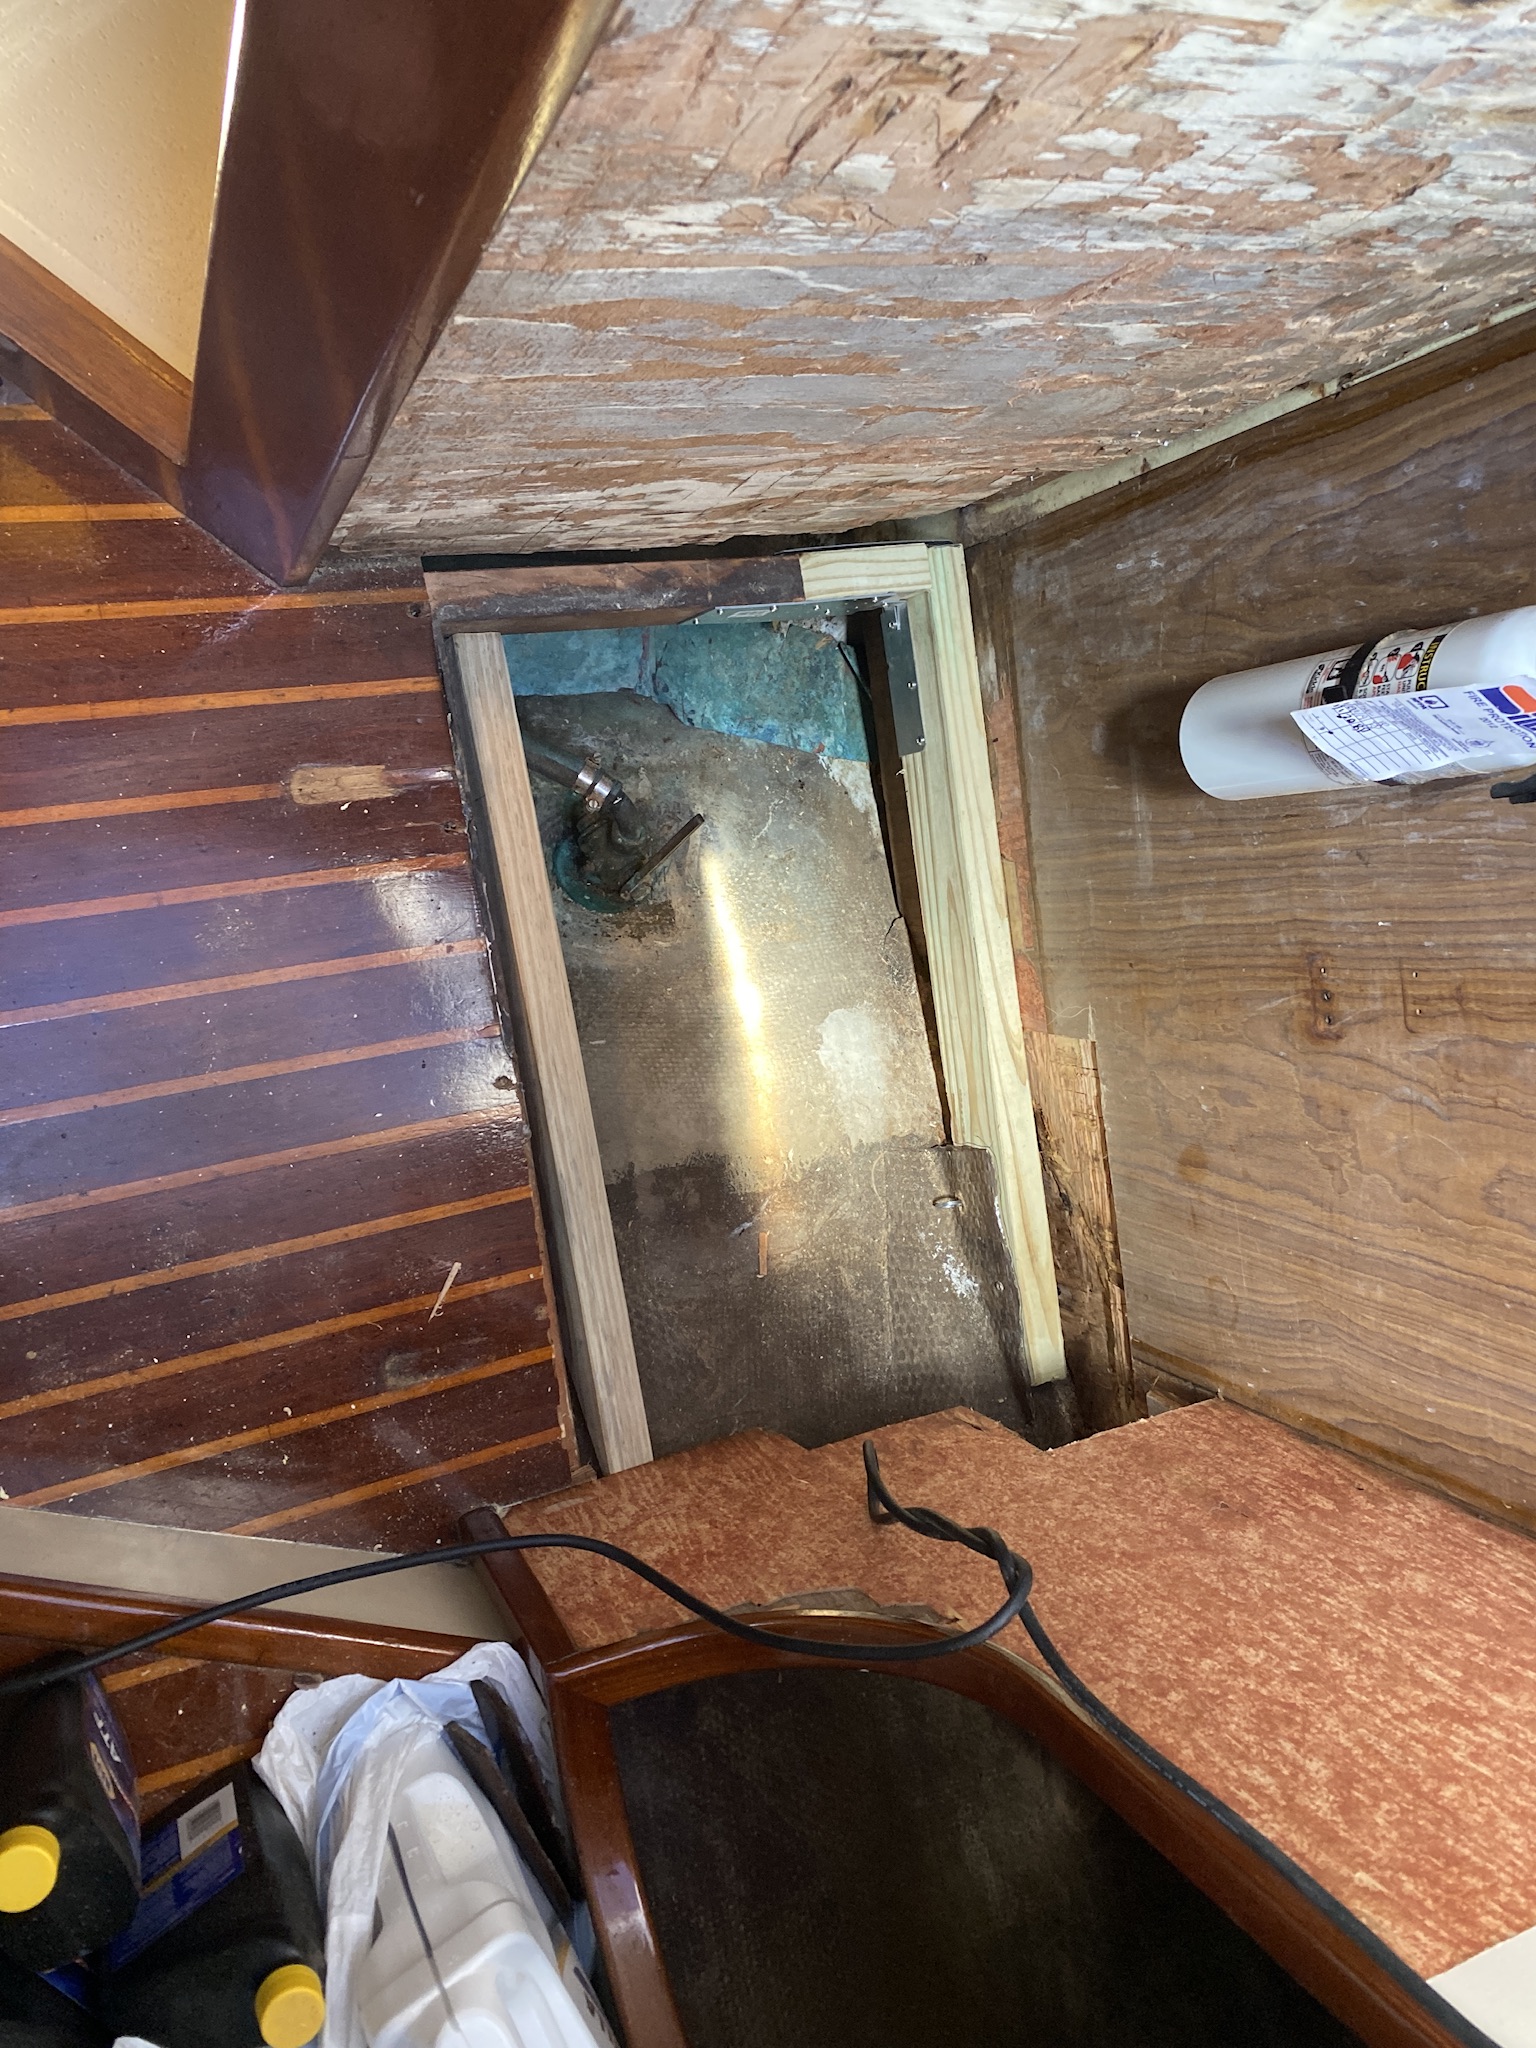
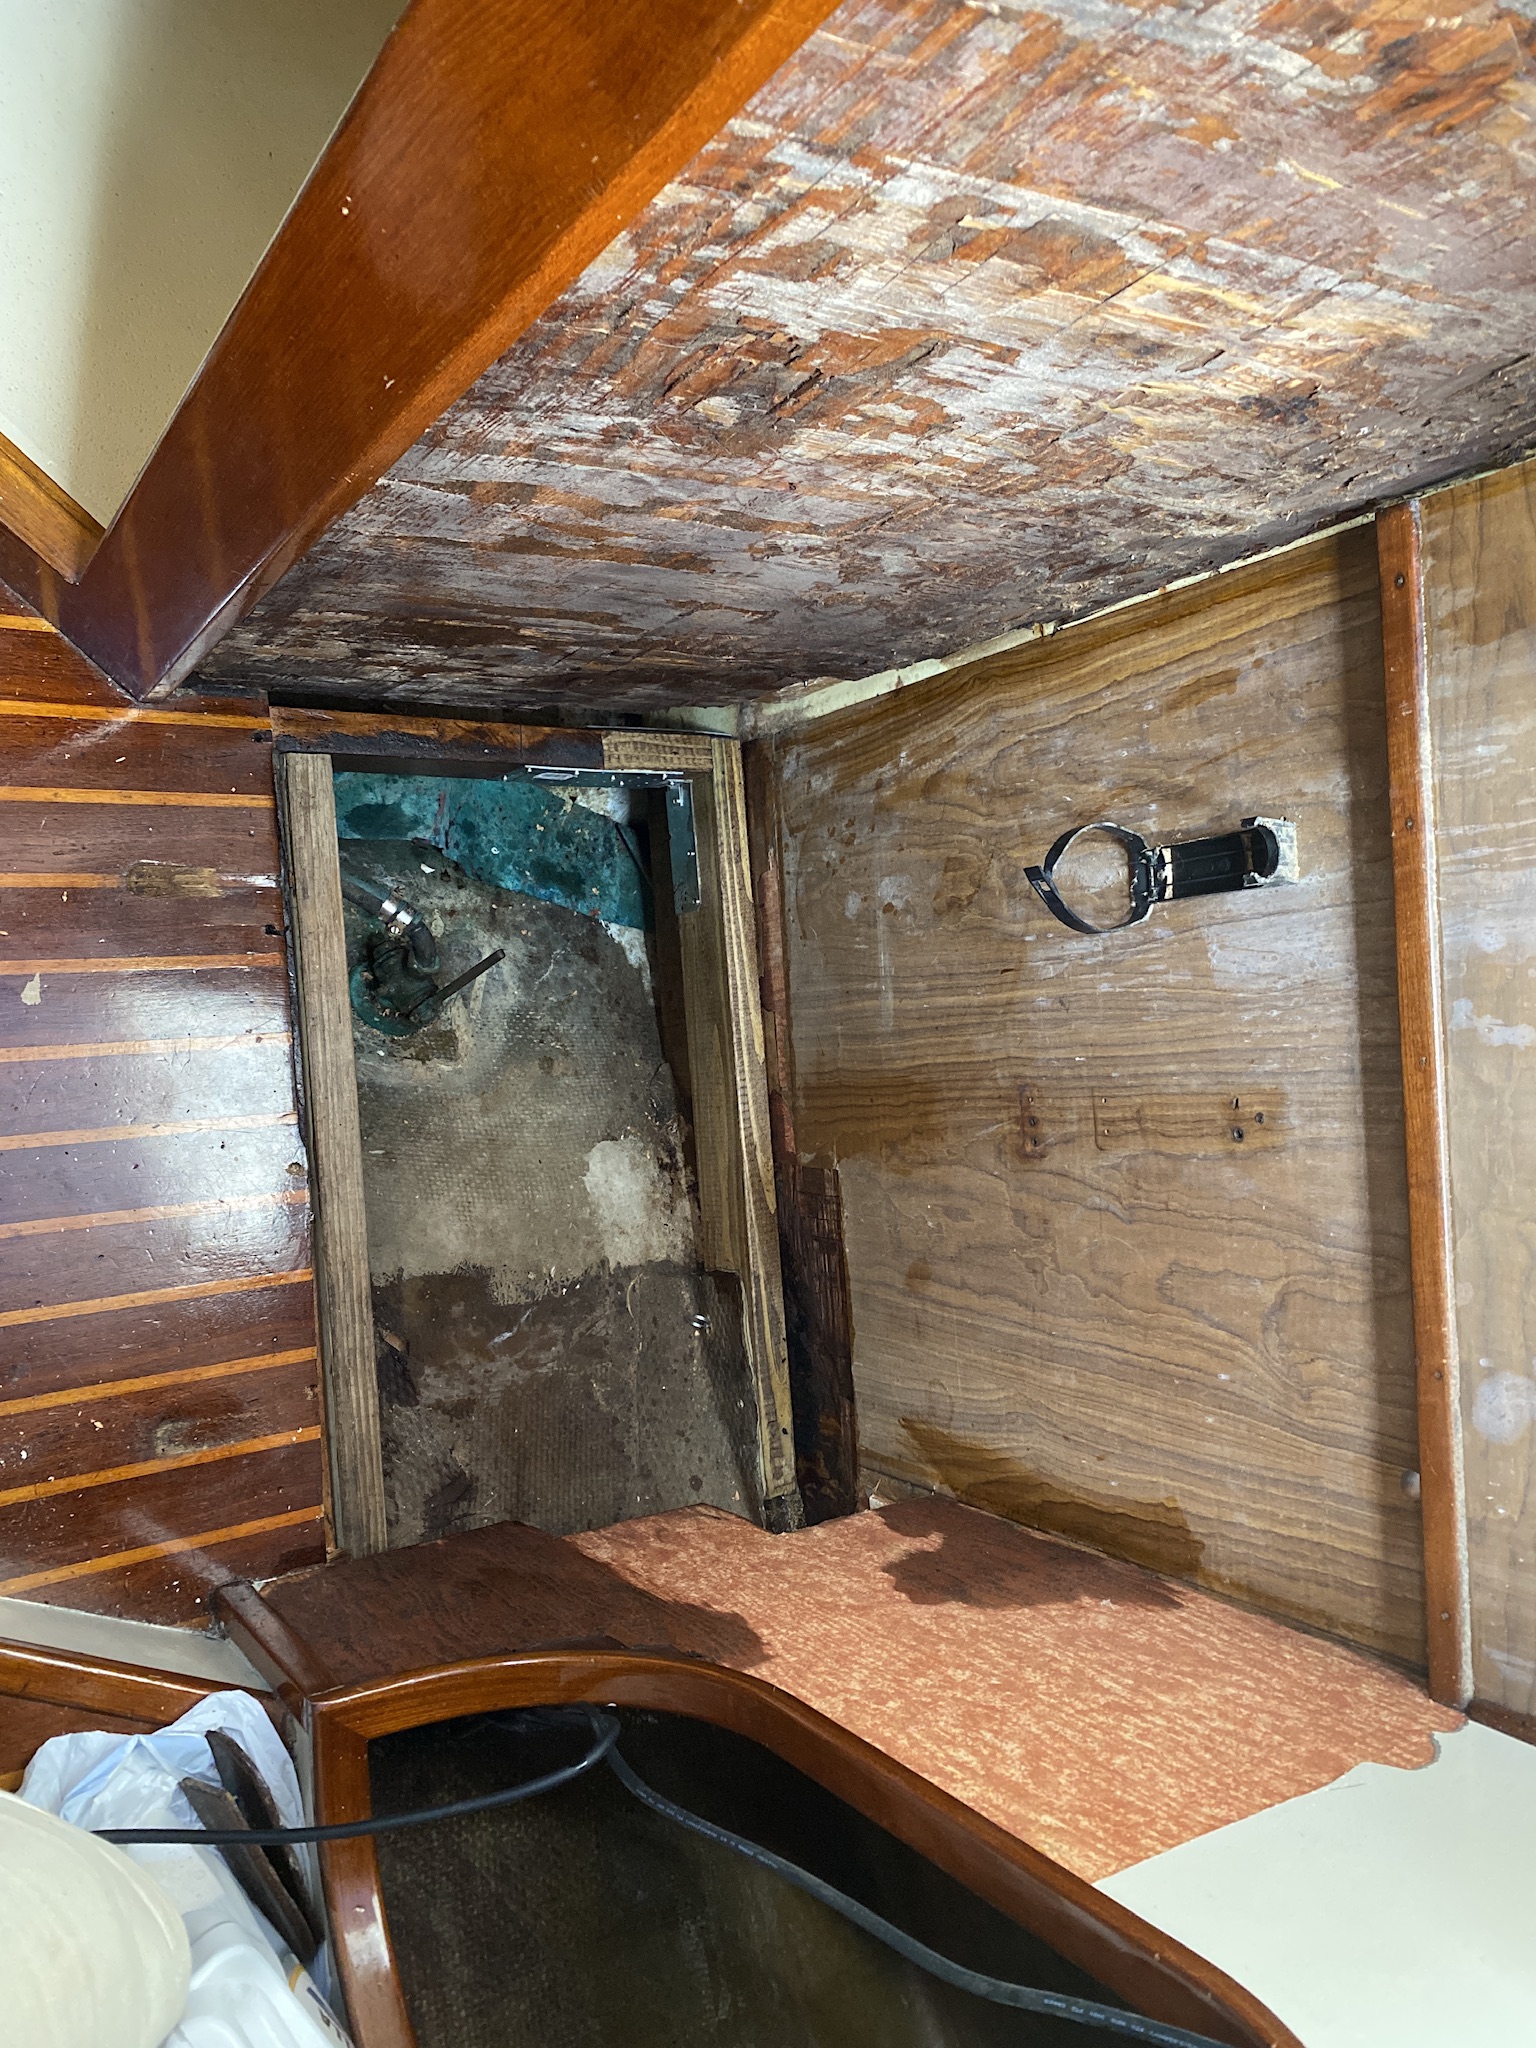
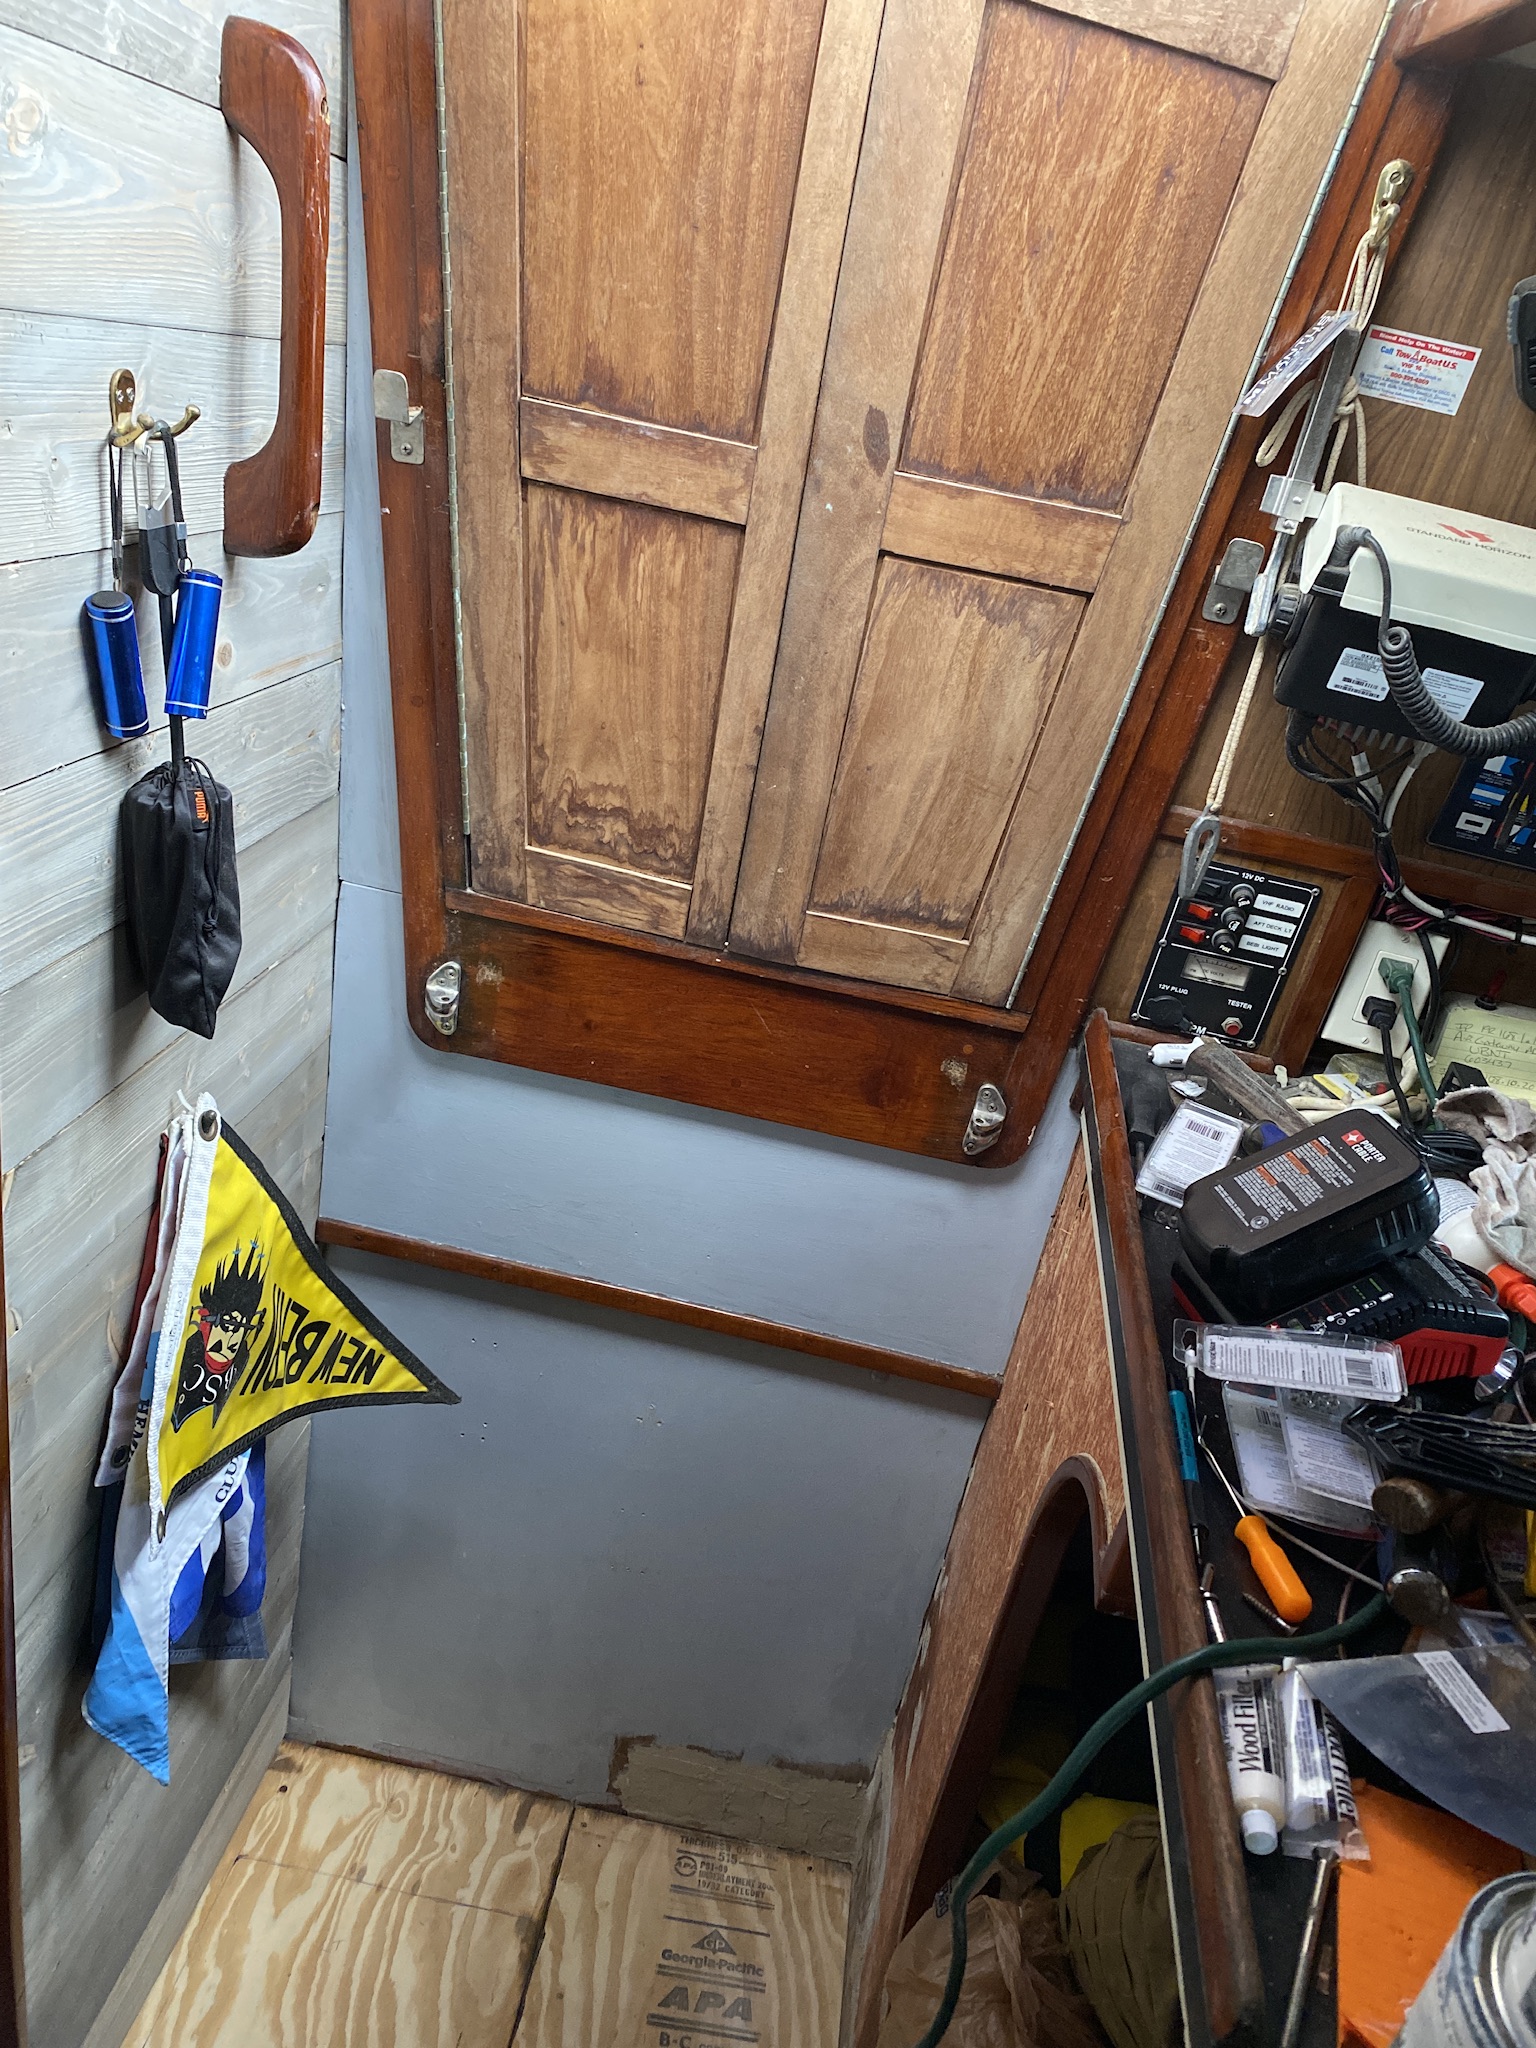
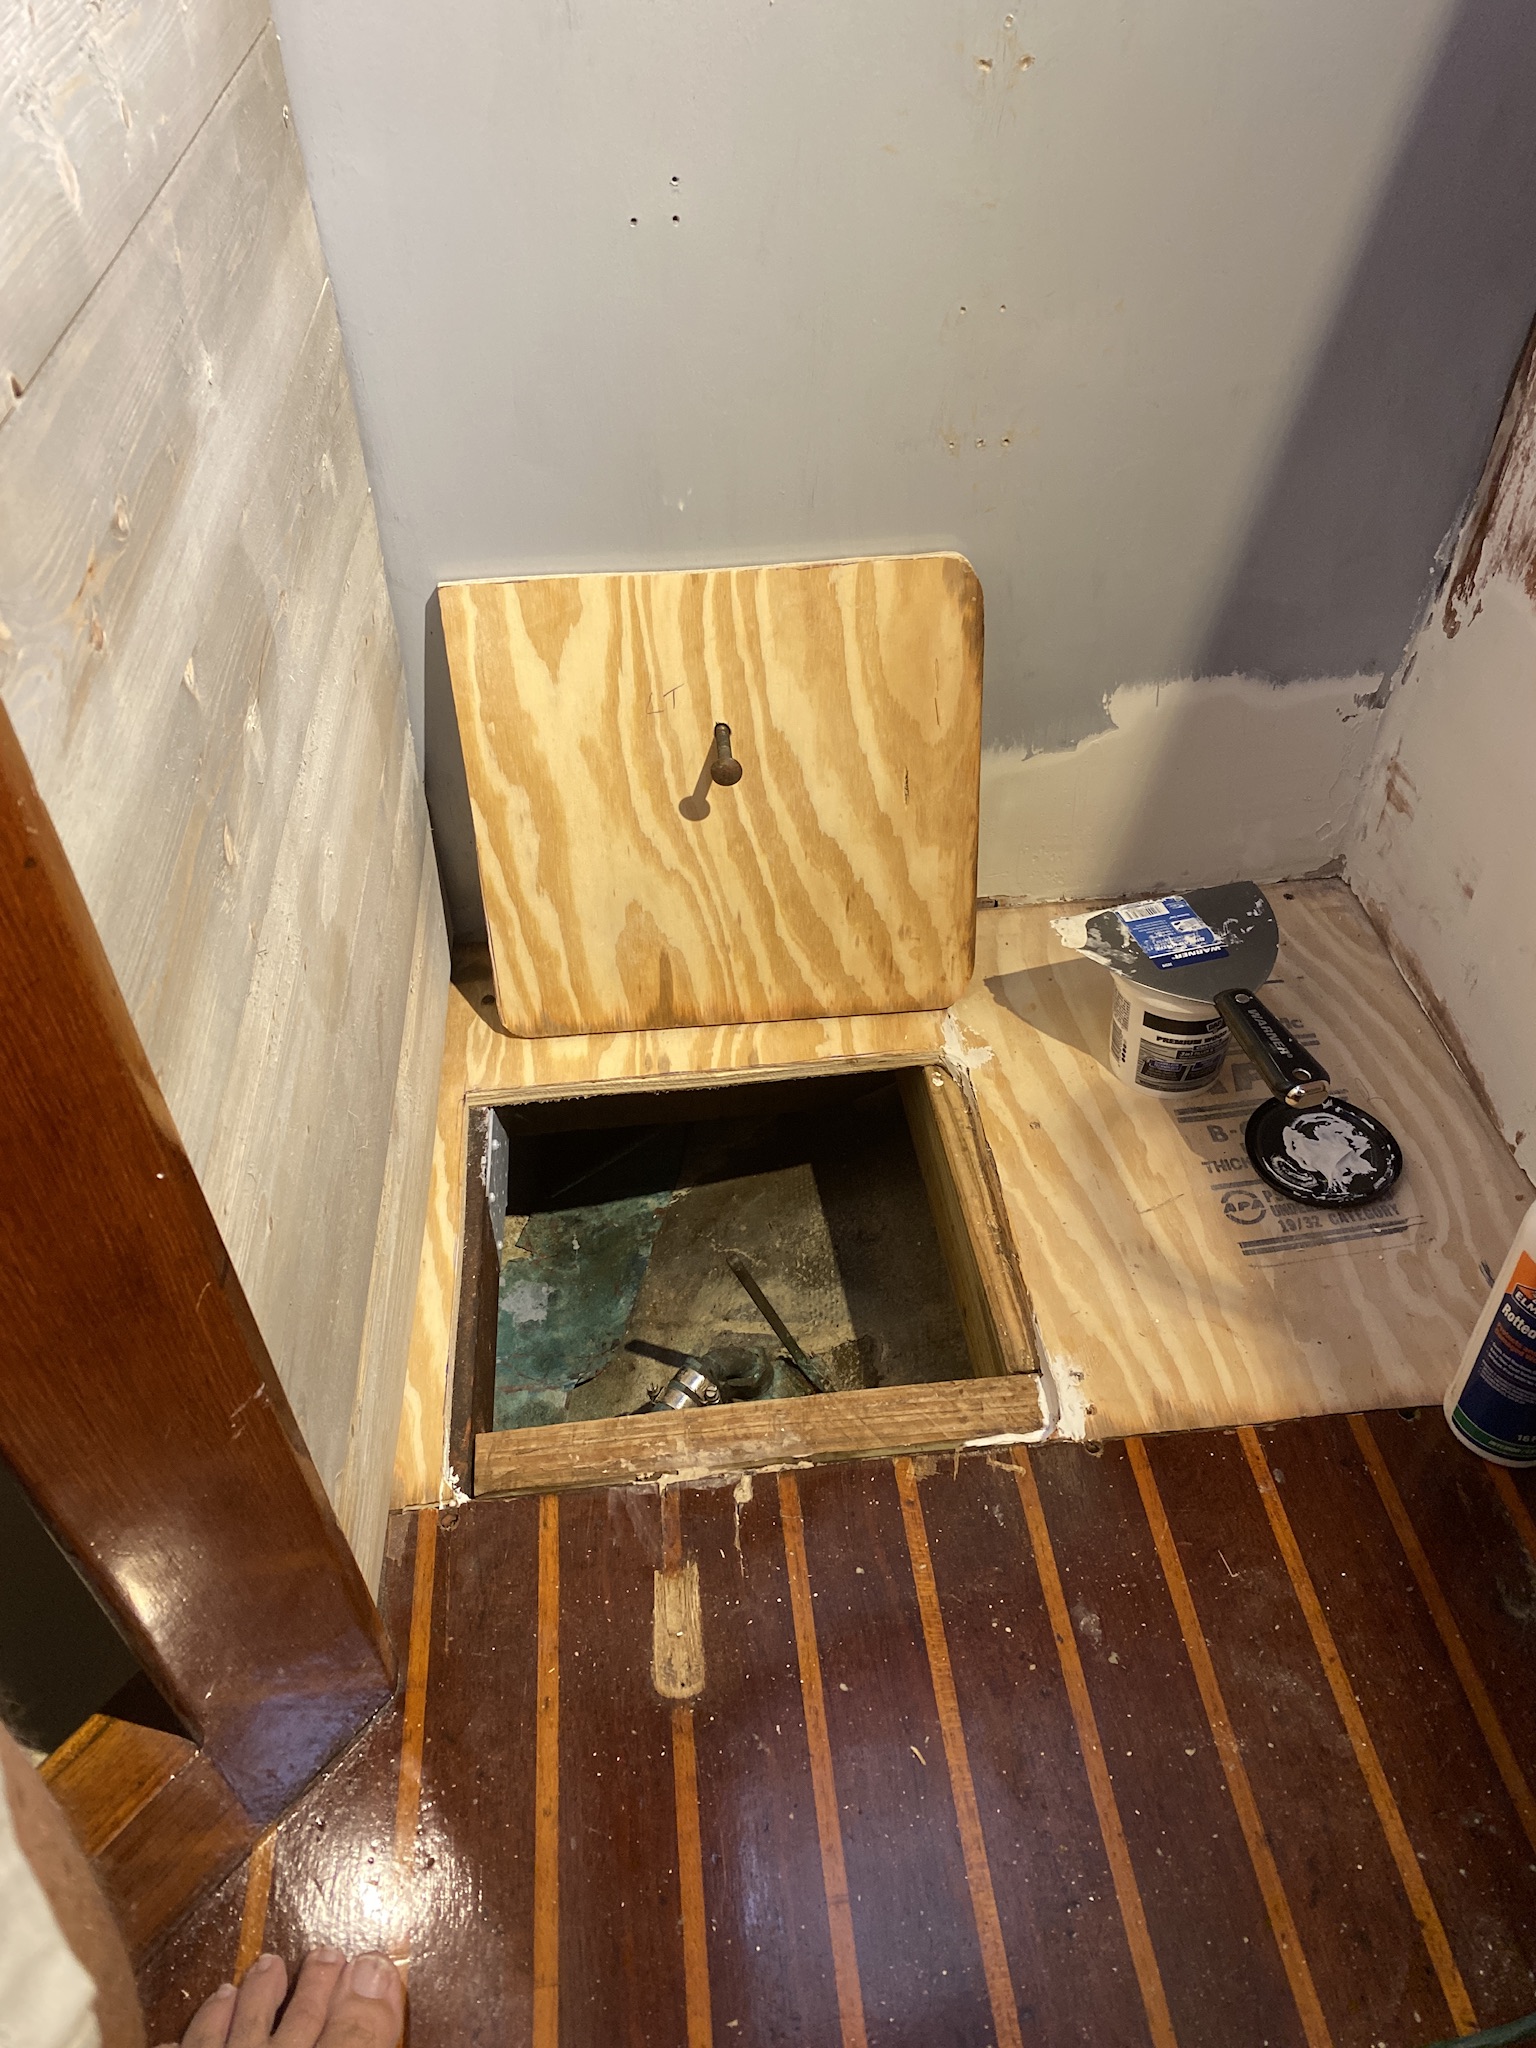
A few after this started I called and spoke with Bob, the corrosion expert with www.Boatzincs.com . Based on his recommendation I ordered a hang tuff hanging anode and installed it. I installed the clamp at the connection to the engine block for the ground wires. Sometimes they are shaped like fish, but the last few have just been cylindrical.
 The starting weight for the new hanging anode was 2lbs 10 ounces. After the first week the weight was 2lbs 9oz apparently that’s a normal loss for an area with moderate stray current. After our first few anodes like this someone local must have had their dock or boat lift rewired because the zince wear diminished to almost zero. But these protected us until that was resolved.
So…be sure and use your zincs….and take your vitamins….

Starbucks eGift Card | Digital Delivery
$15.00 (as of July 18, 2026 07:13 GMT +00:00 - More infoProduct prices and availability are accurate as of the date/time indicated and are subject to change. Any price and availability information displayed on [relevant Amazon Site(s), as applicable] at the time of purchase will apply to the purchase of this product.)
Visa Virtual eGift Card - $25 (plus $3.95 Purchase Fee) | For Online Use Only
$28.95 (as of July 18, 2026 07:13 GMT +00:00 - More infoProduct prices and availability are accurate as of the date/time indicated and are subject to change. Any price and availability information displayed on [relevant Amazon Site(s), as applicable] at the time of purchase will apply to the purchase of this product.)
Amazon eGift Card | Congratulations
$50.00 (as of July 18, 2026 07:13 GMT +00:00 - More infoProduct prices and availability are accurate as of the date/time indicated and are subject to change. Any price and availability information displayed on [relevant Amazon Site(s), as applicable] at the time of purchase will apply to the purchase of this product.)
Visa Virtual eGift Card - $200 (plus $6.95 Purchase Fee) | For Online Use Only
$206.95 (as of July 18, 2026 07:13 GMT +00:00 - More infoProduct prices and availability are accurate as of the date/time indicated and are subject to change. Any price and availability information displayed on [relevant Amazon Site(s), as applicable] at the time of purchase will apply to the purchase of this product.)
Amazon Kindle 16 GB (newest model) - Lightest and most compact Kindle, now with faster page turns, and higher contrast ratio, for an enhanced reading experience - Matcha
$109.99 (as of July 18, 2026 07:14 GMT +00:00 - More infoProduct prices and availability are accurate as of the date/time indicated and are subject to change. Any price and availability information displayed on [relevant Amazon Site(s), as applicable] at the time of purchase will apply to the purchase of this product.)Auto Amazon Links: No products found.


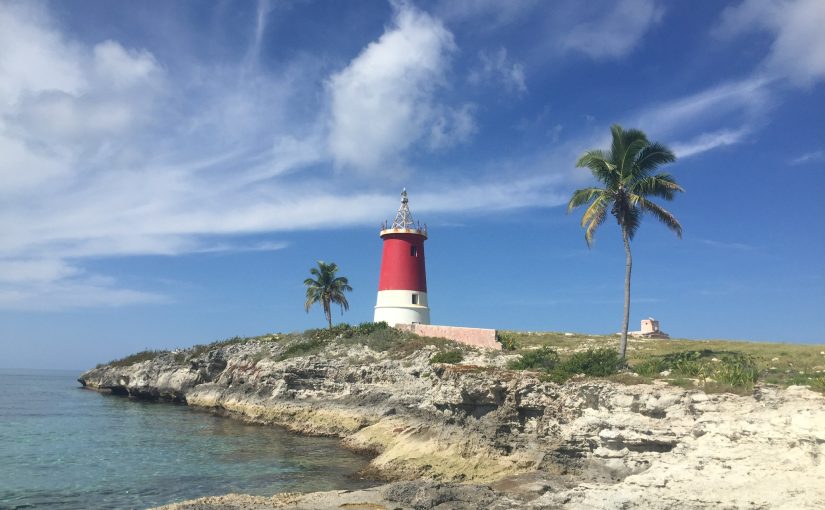
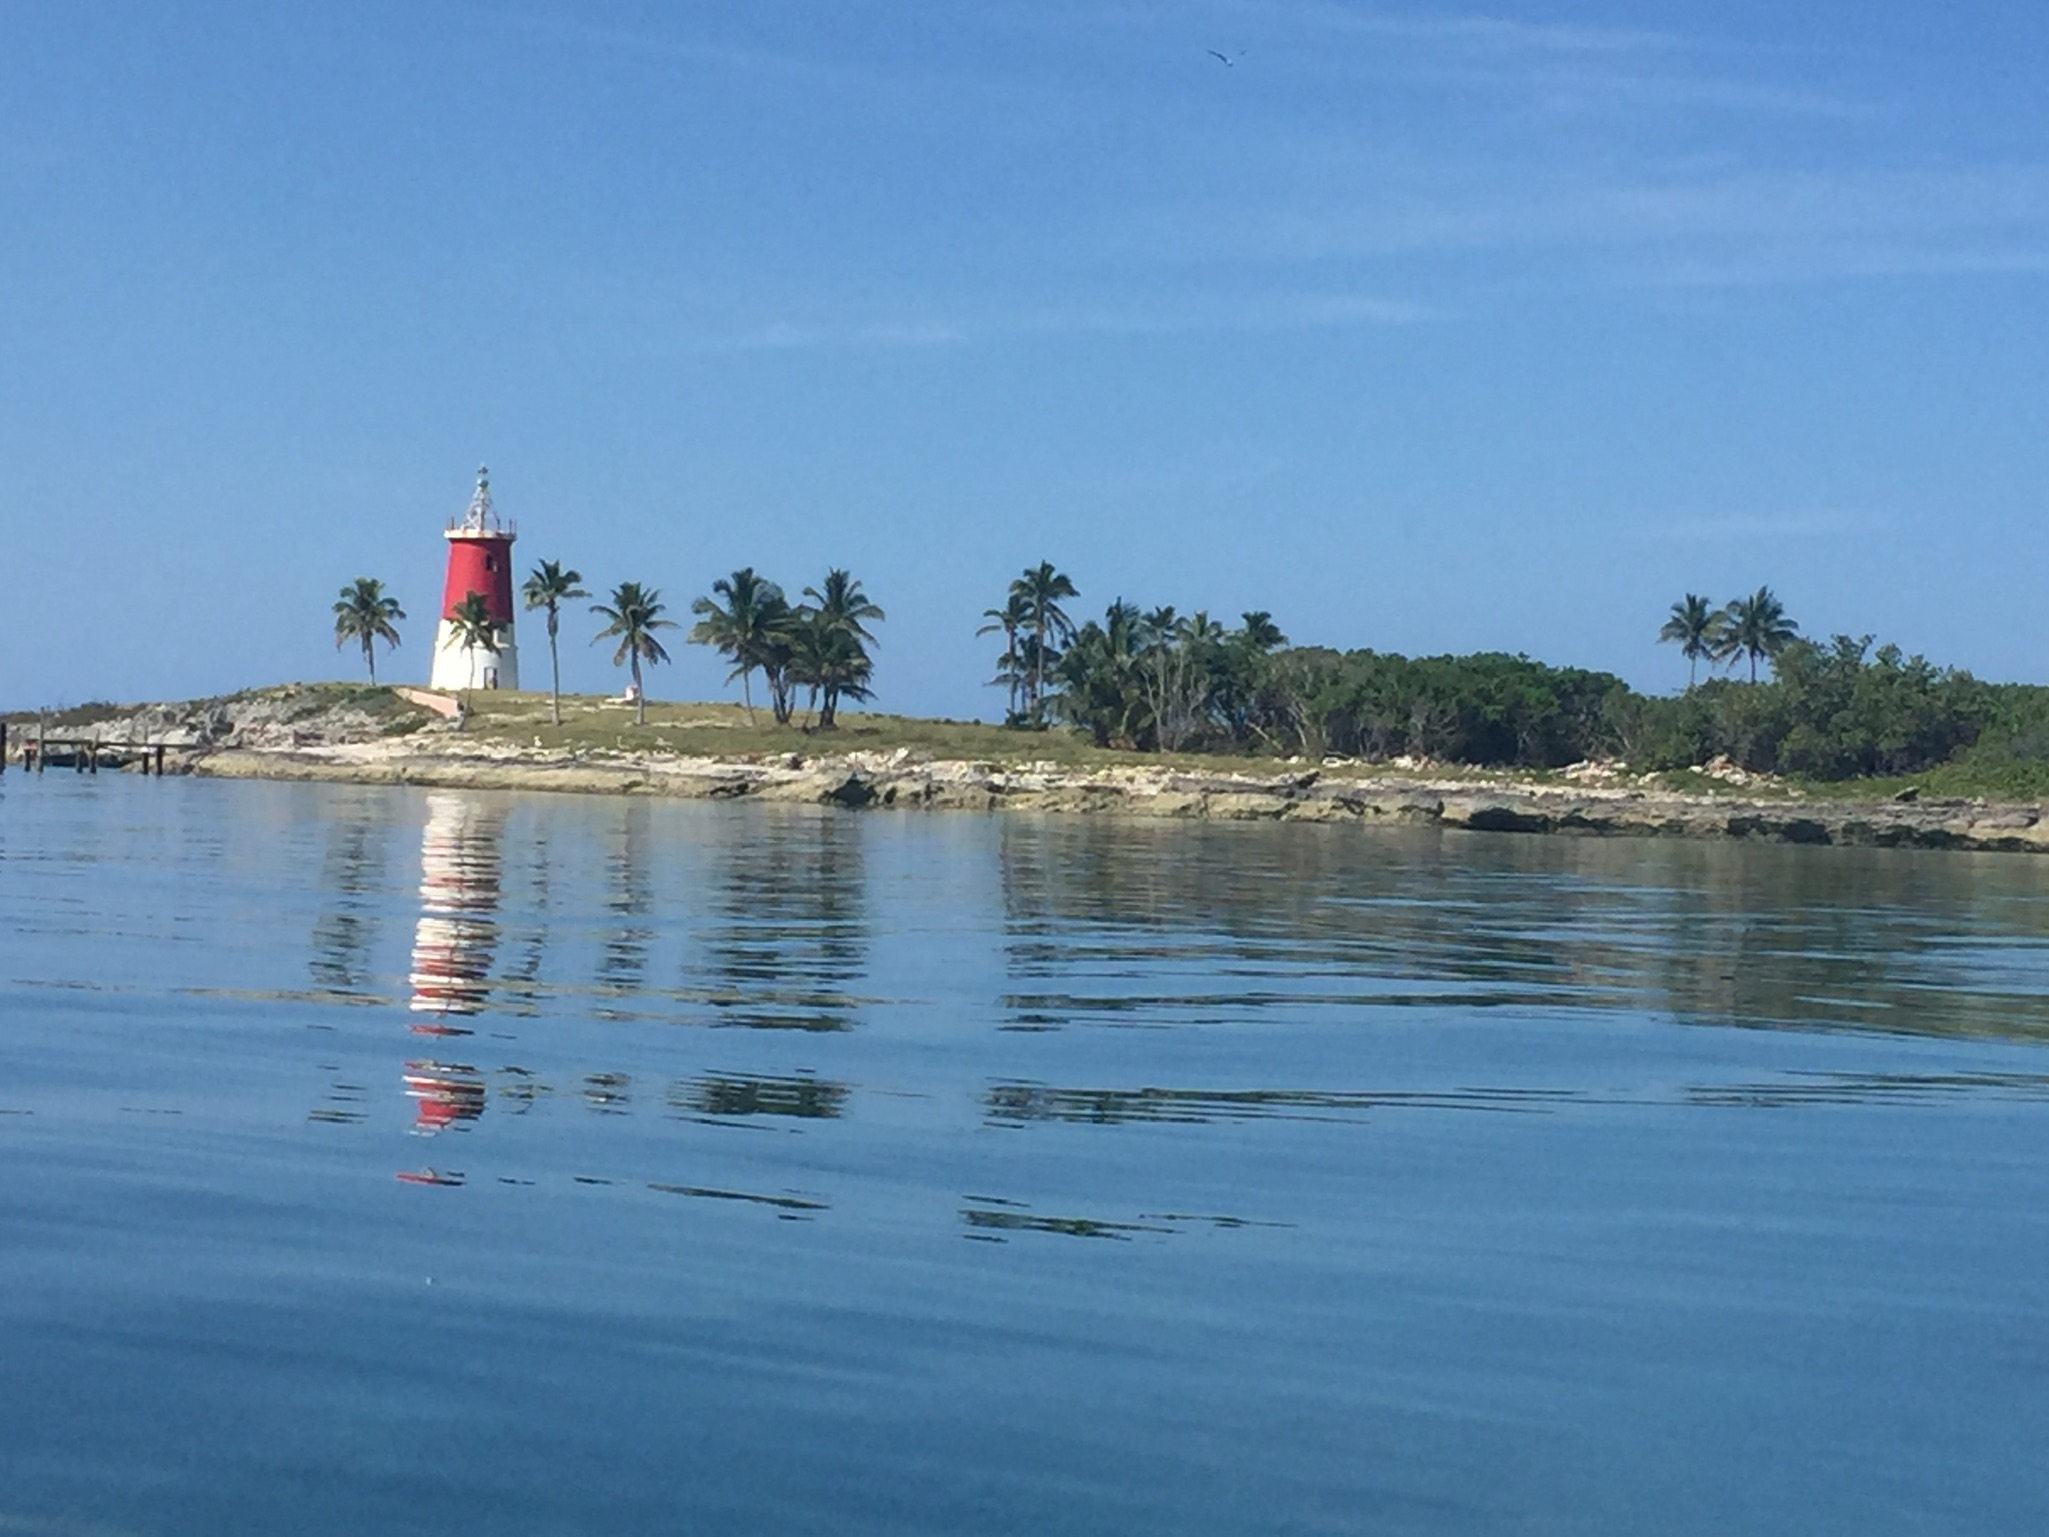
 Gun Cay
 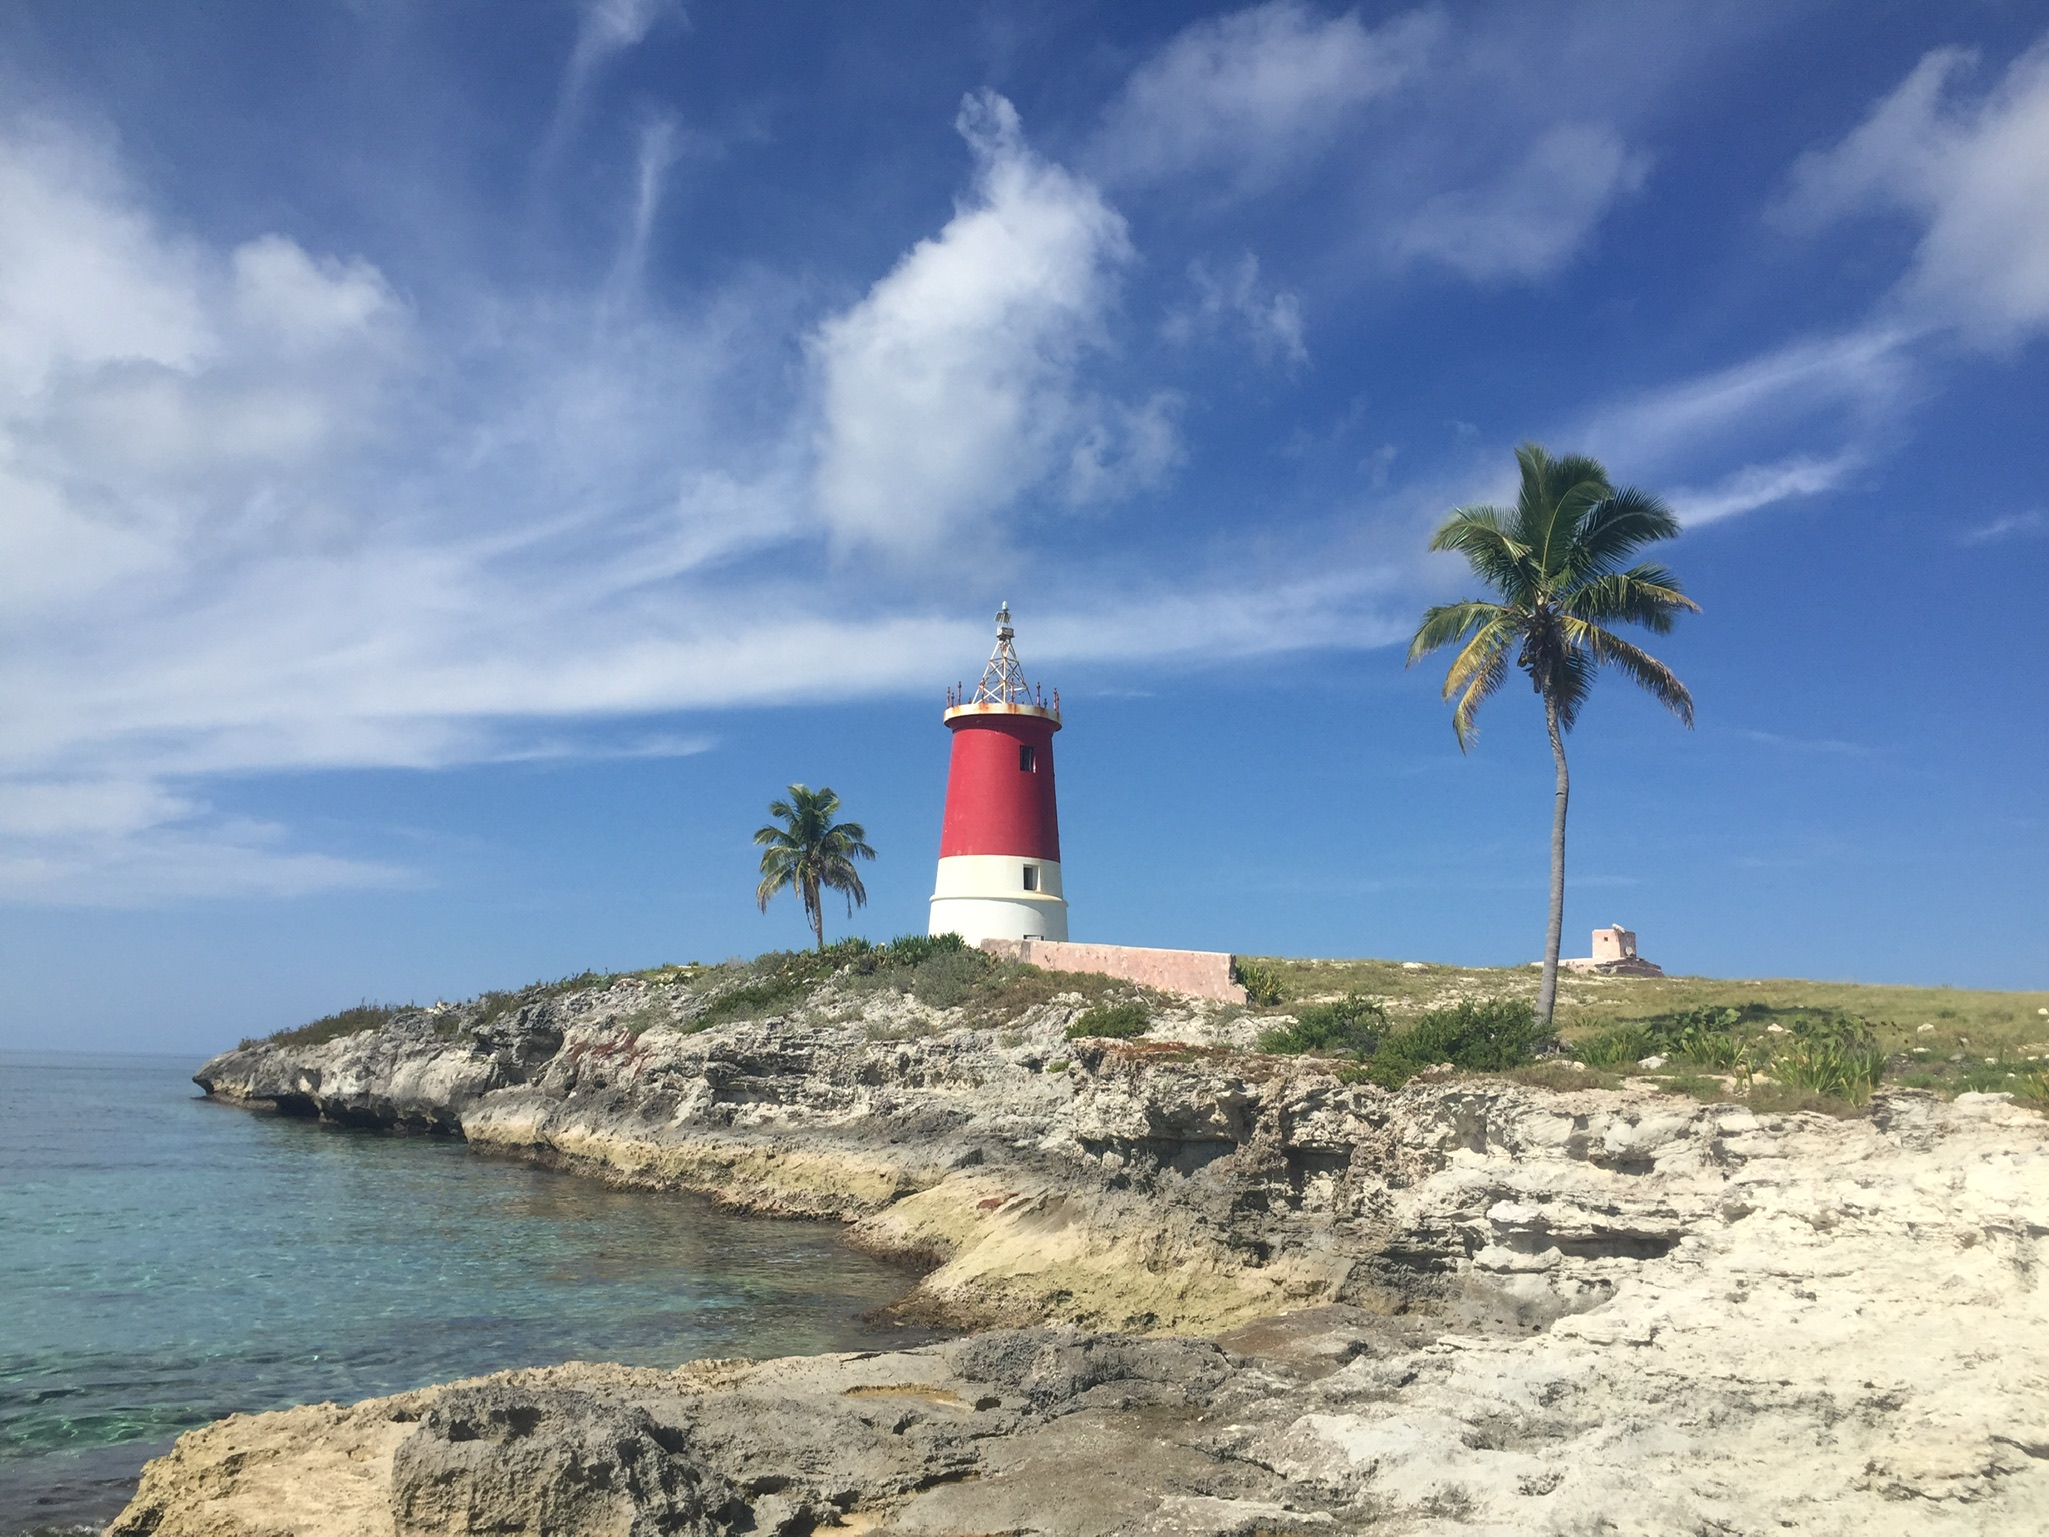 lighthouse at the south end of Gun Cay

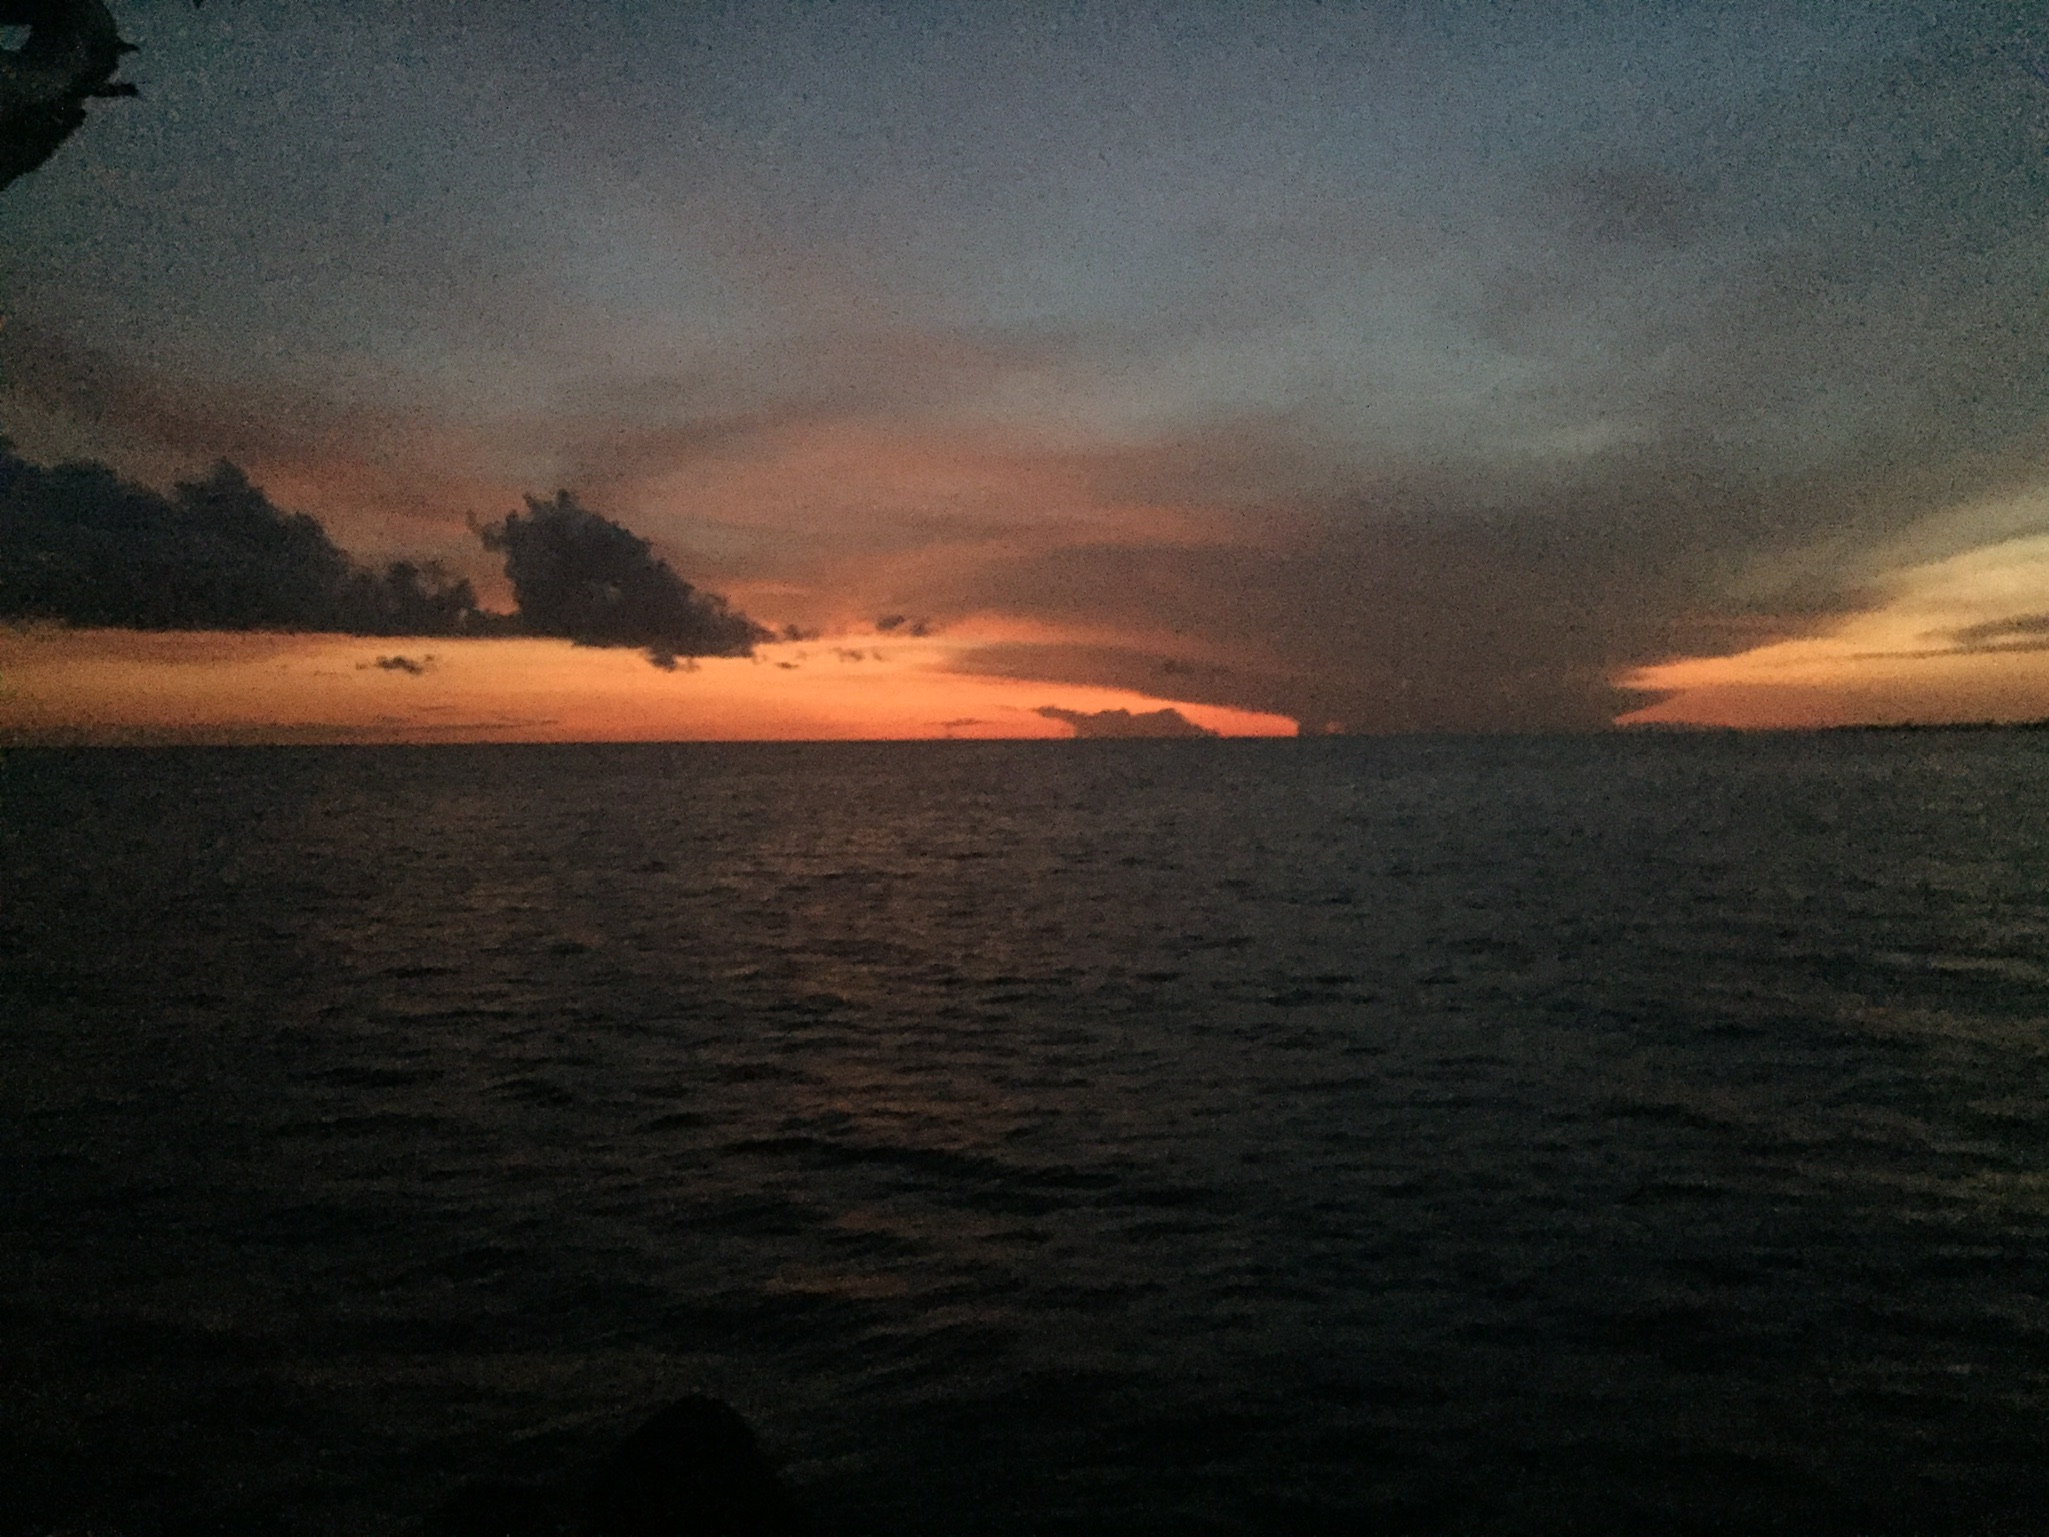
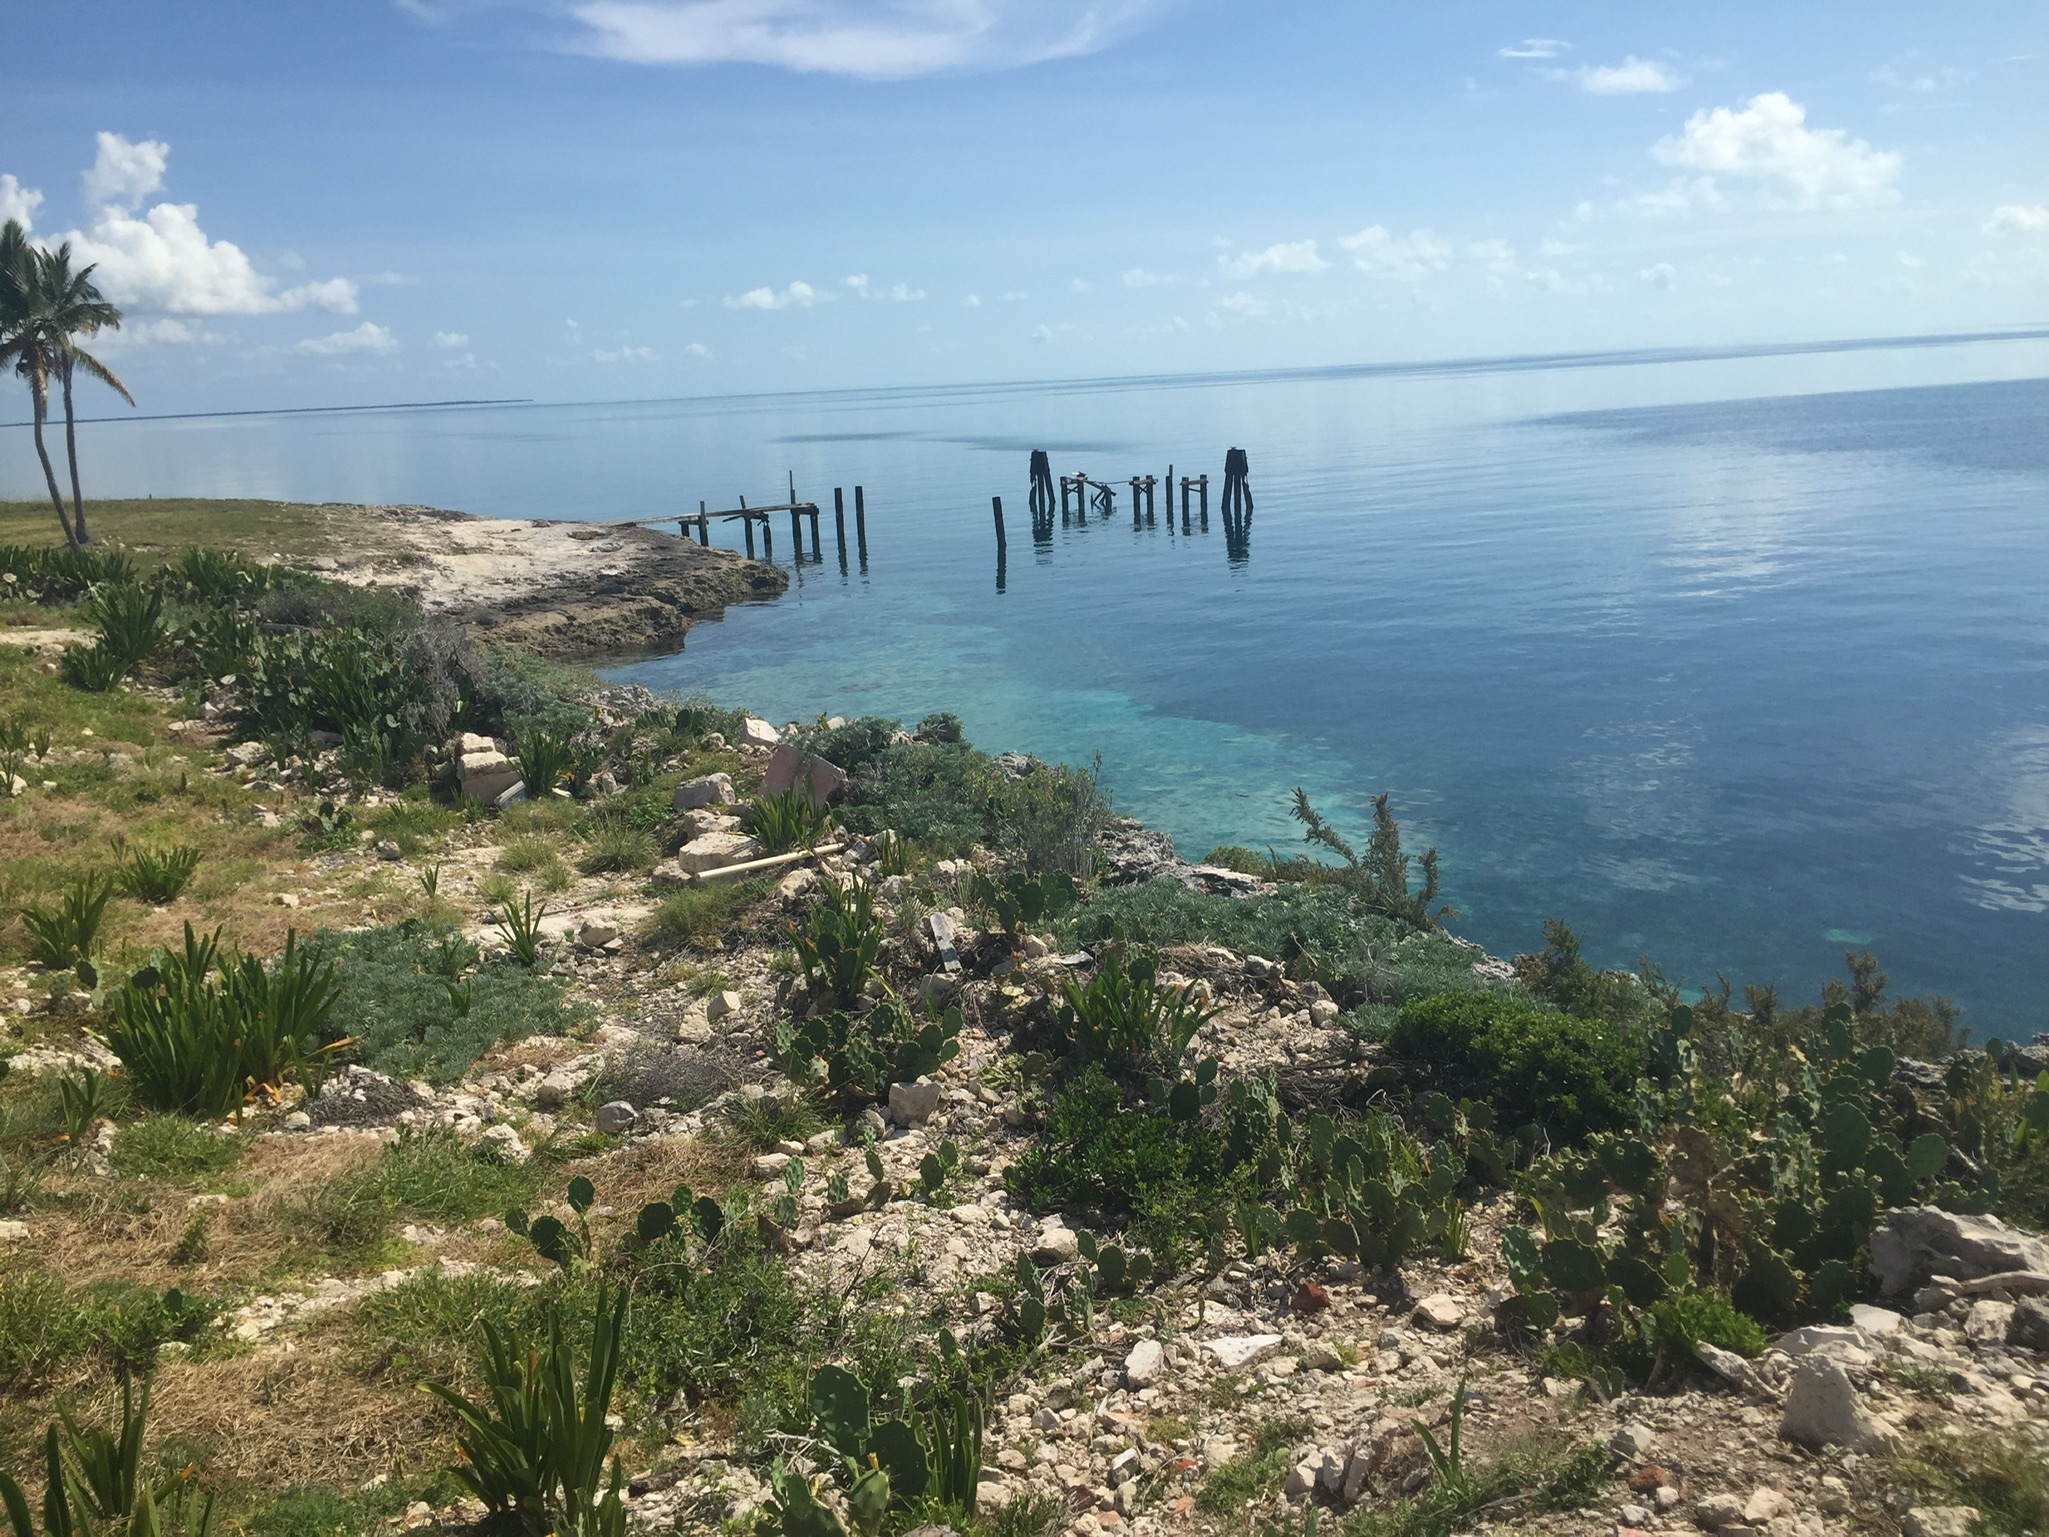
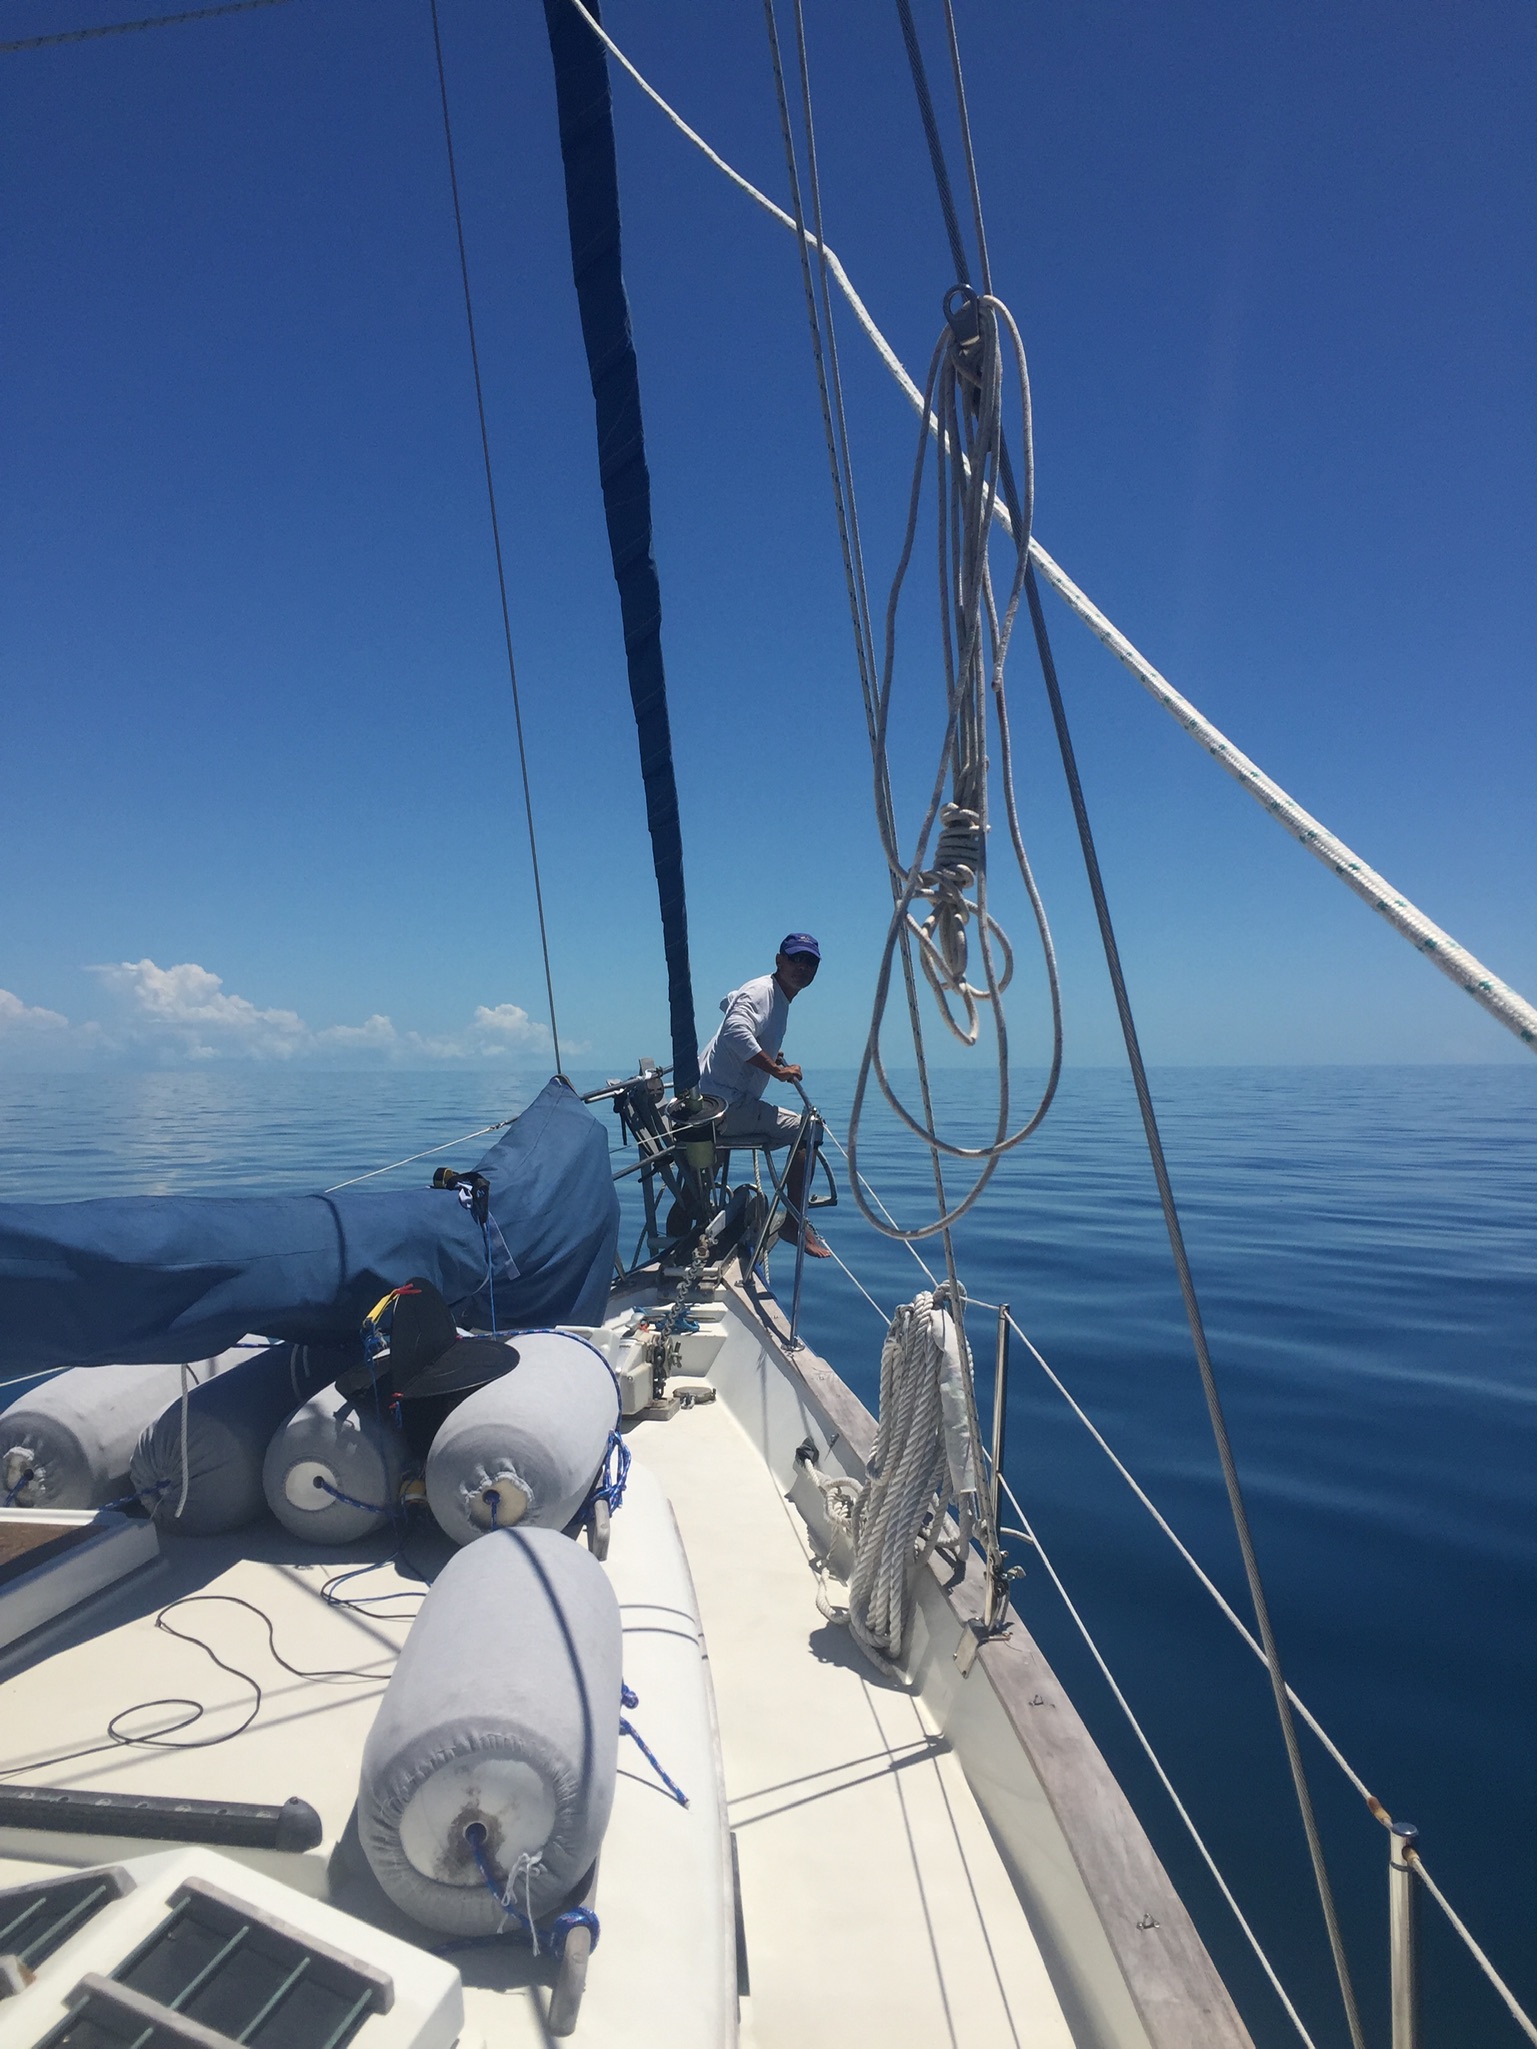
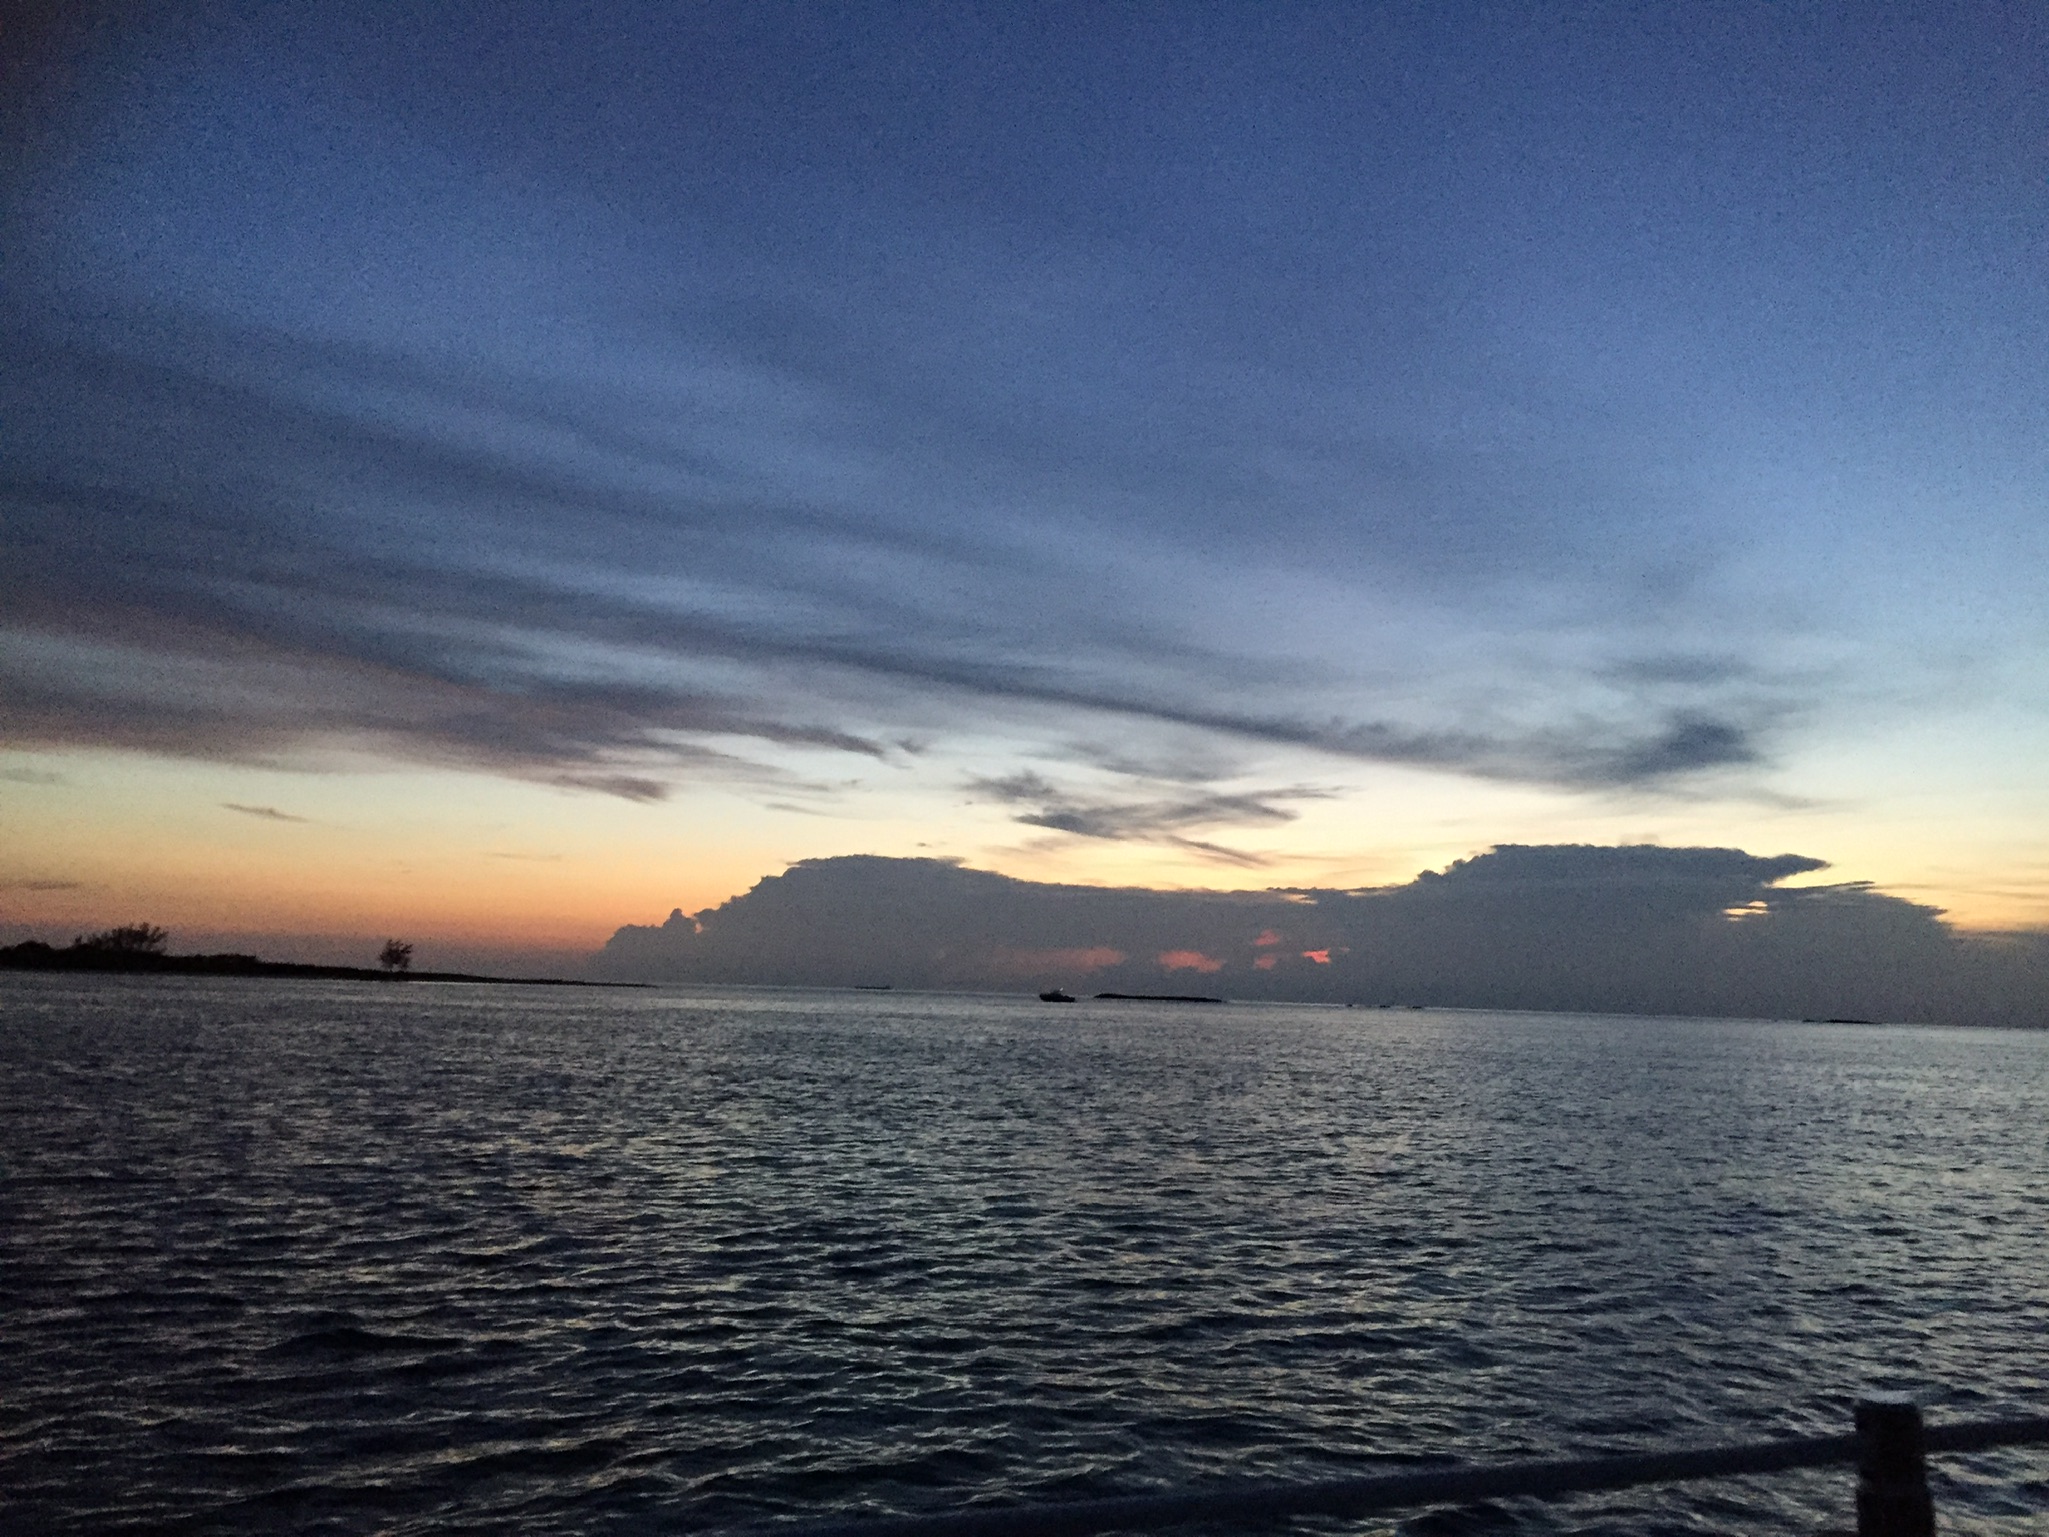 that cloud looks like a giant cruise ship
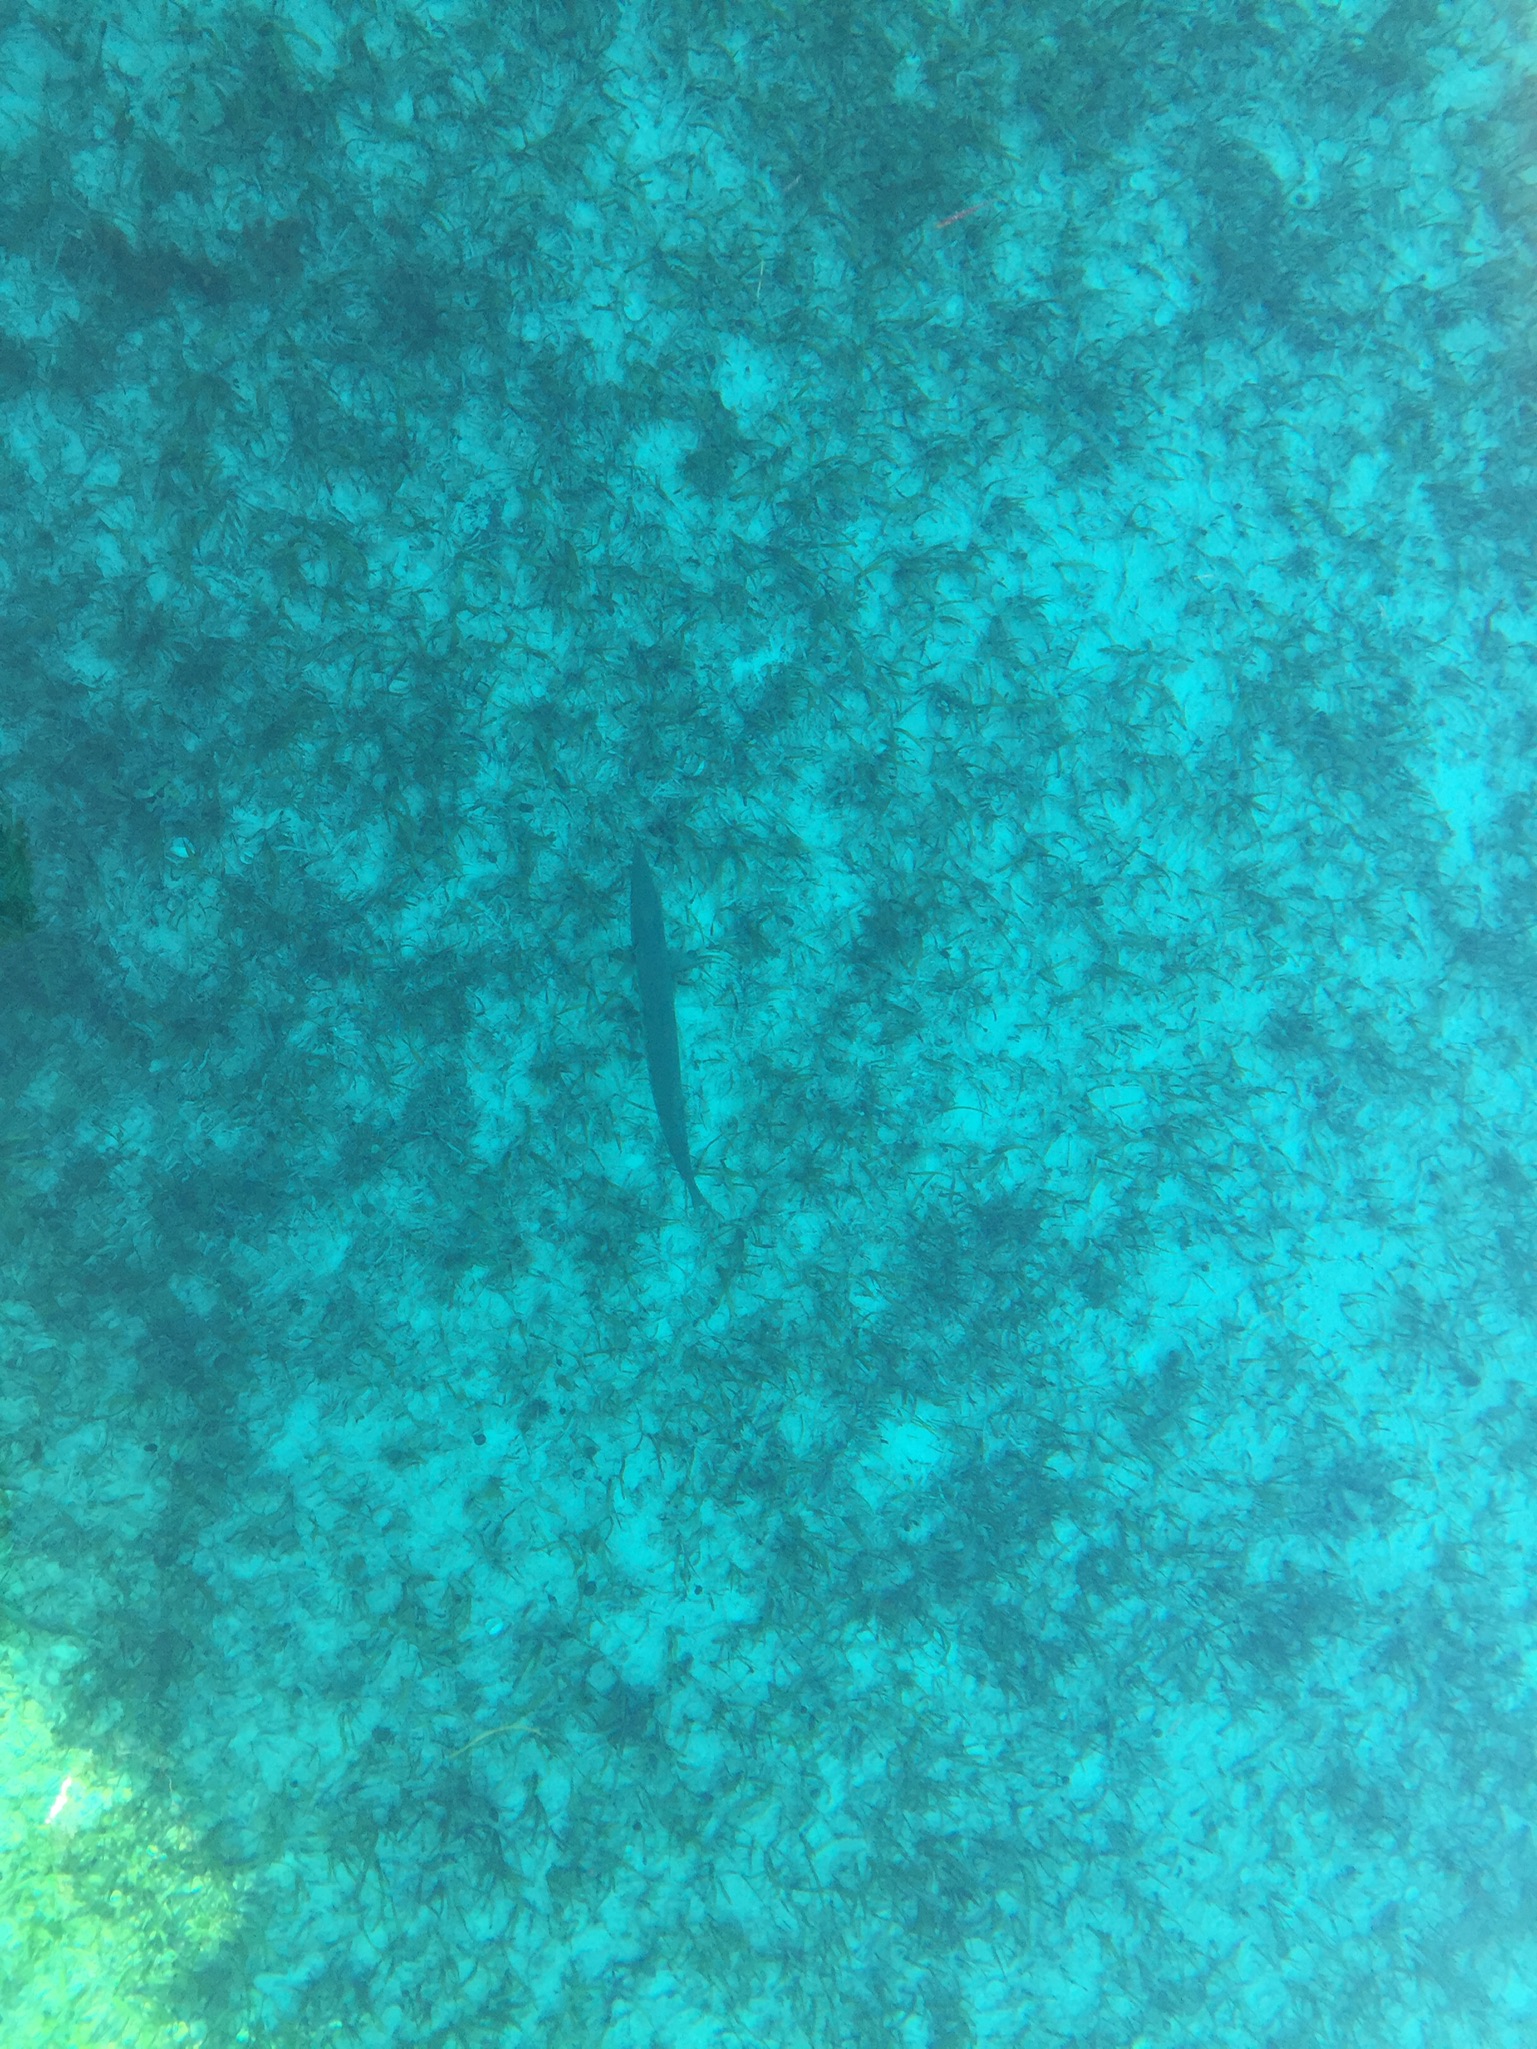 Barry the barracuda
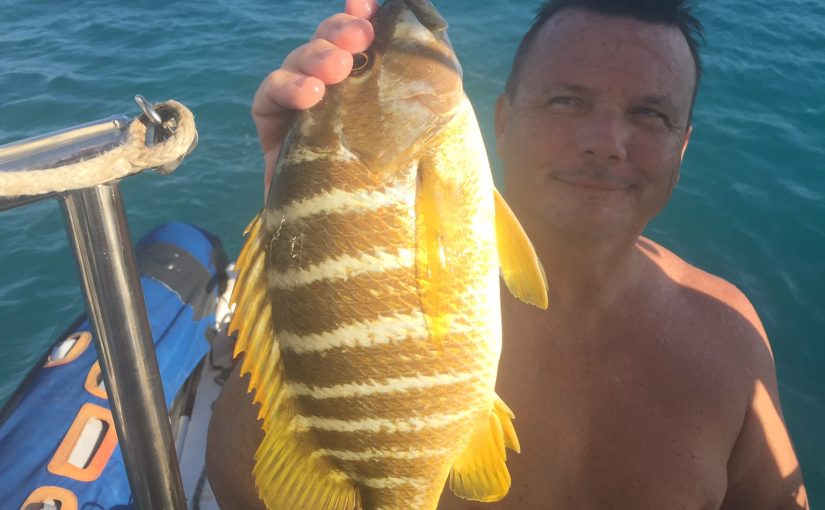


