
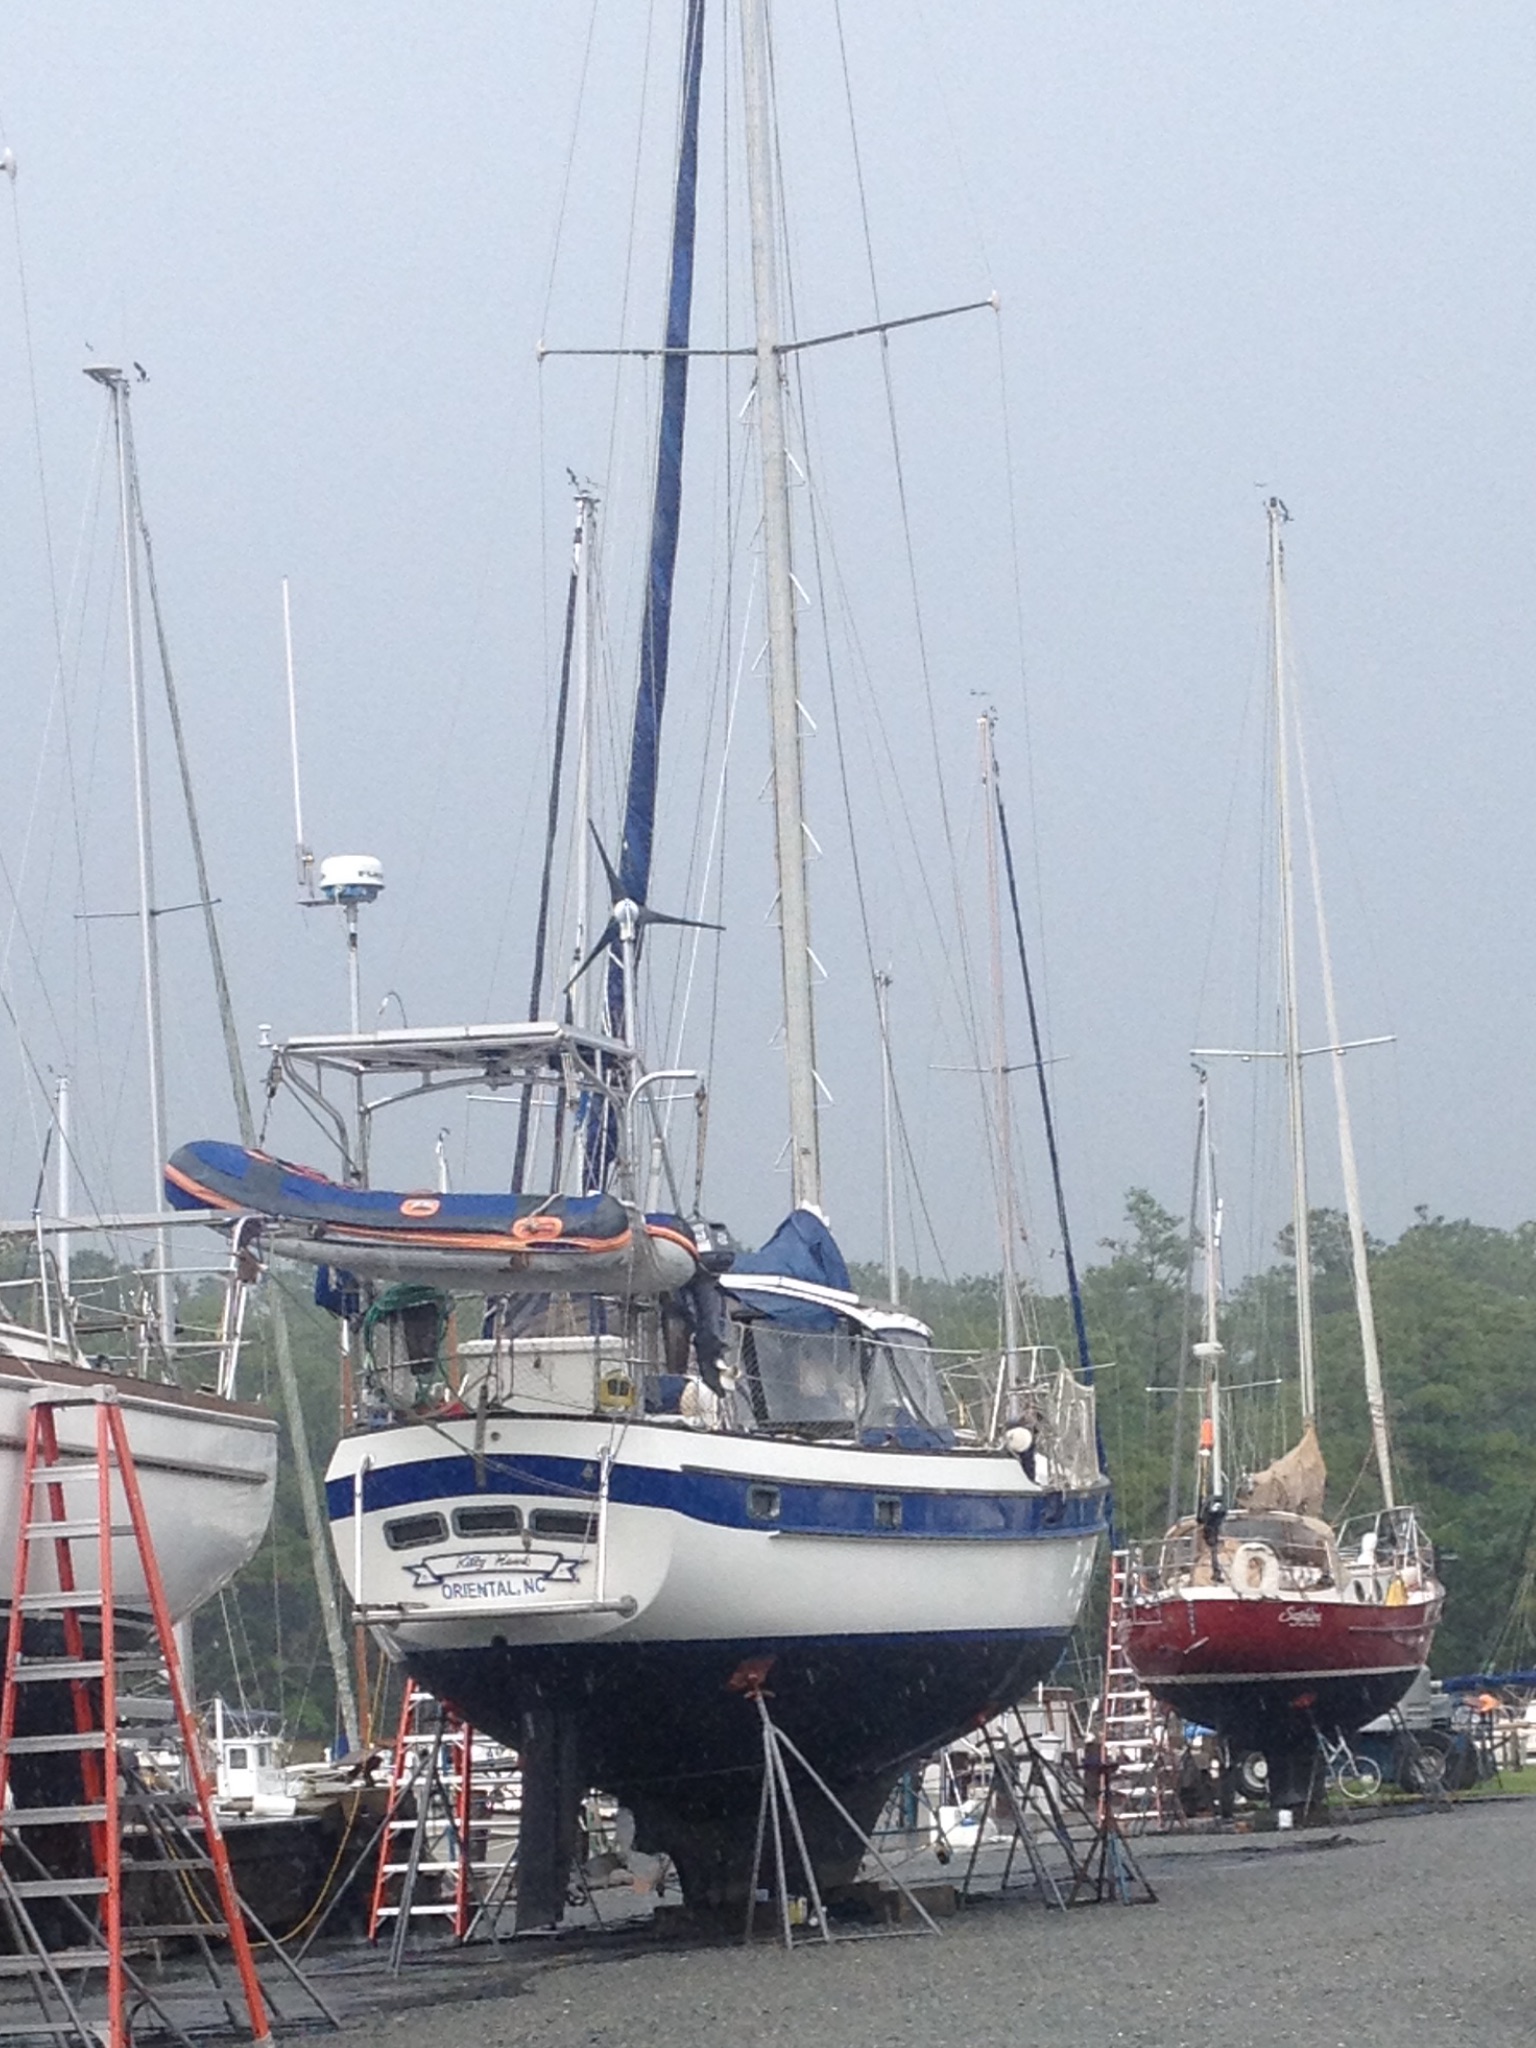
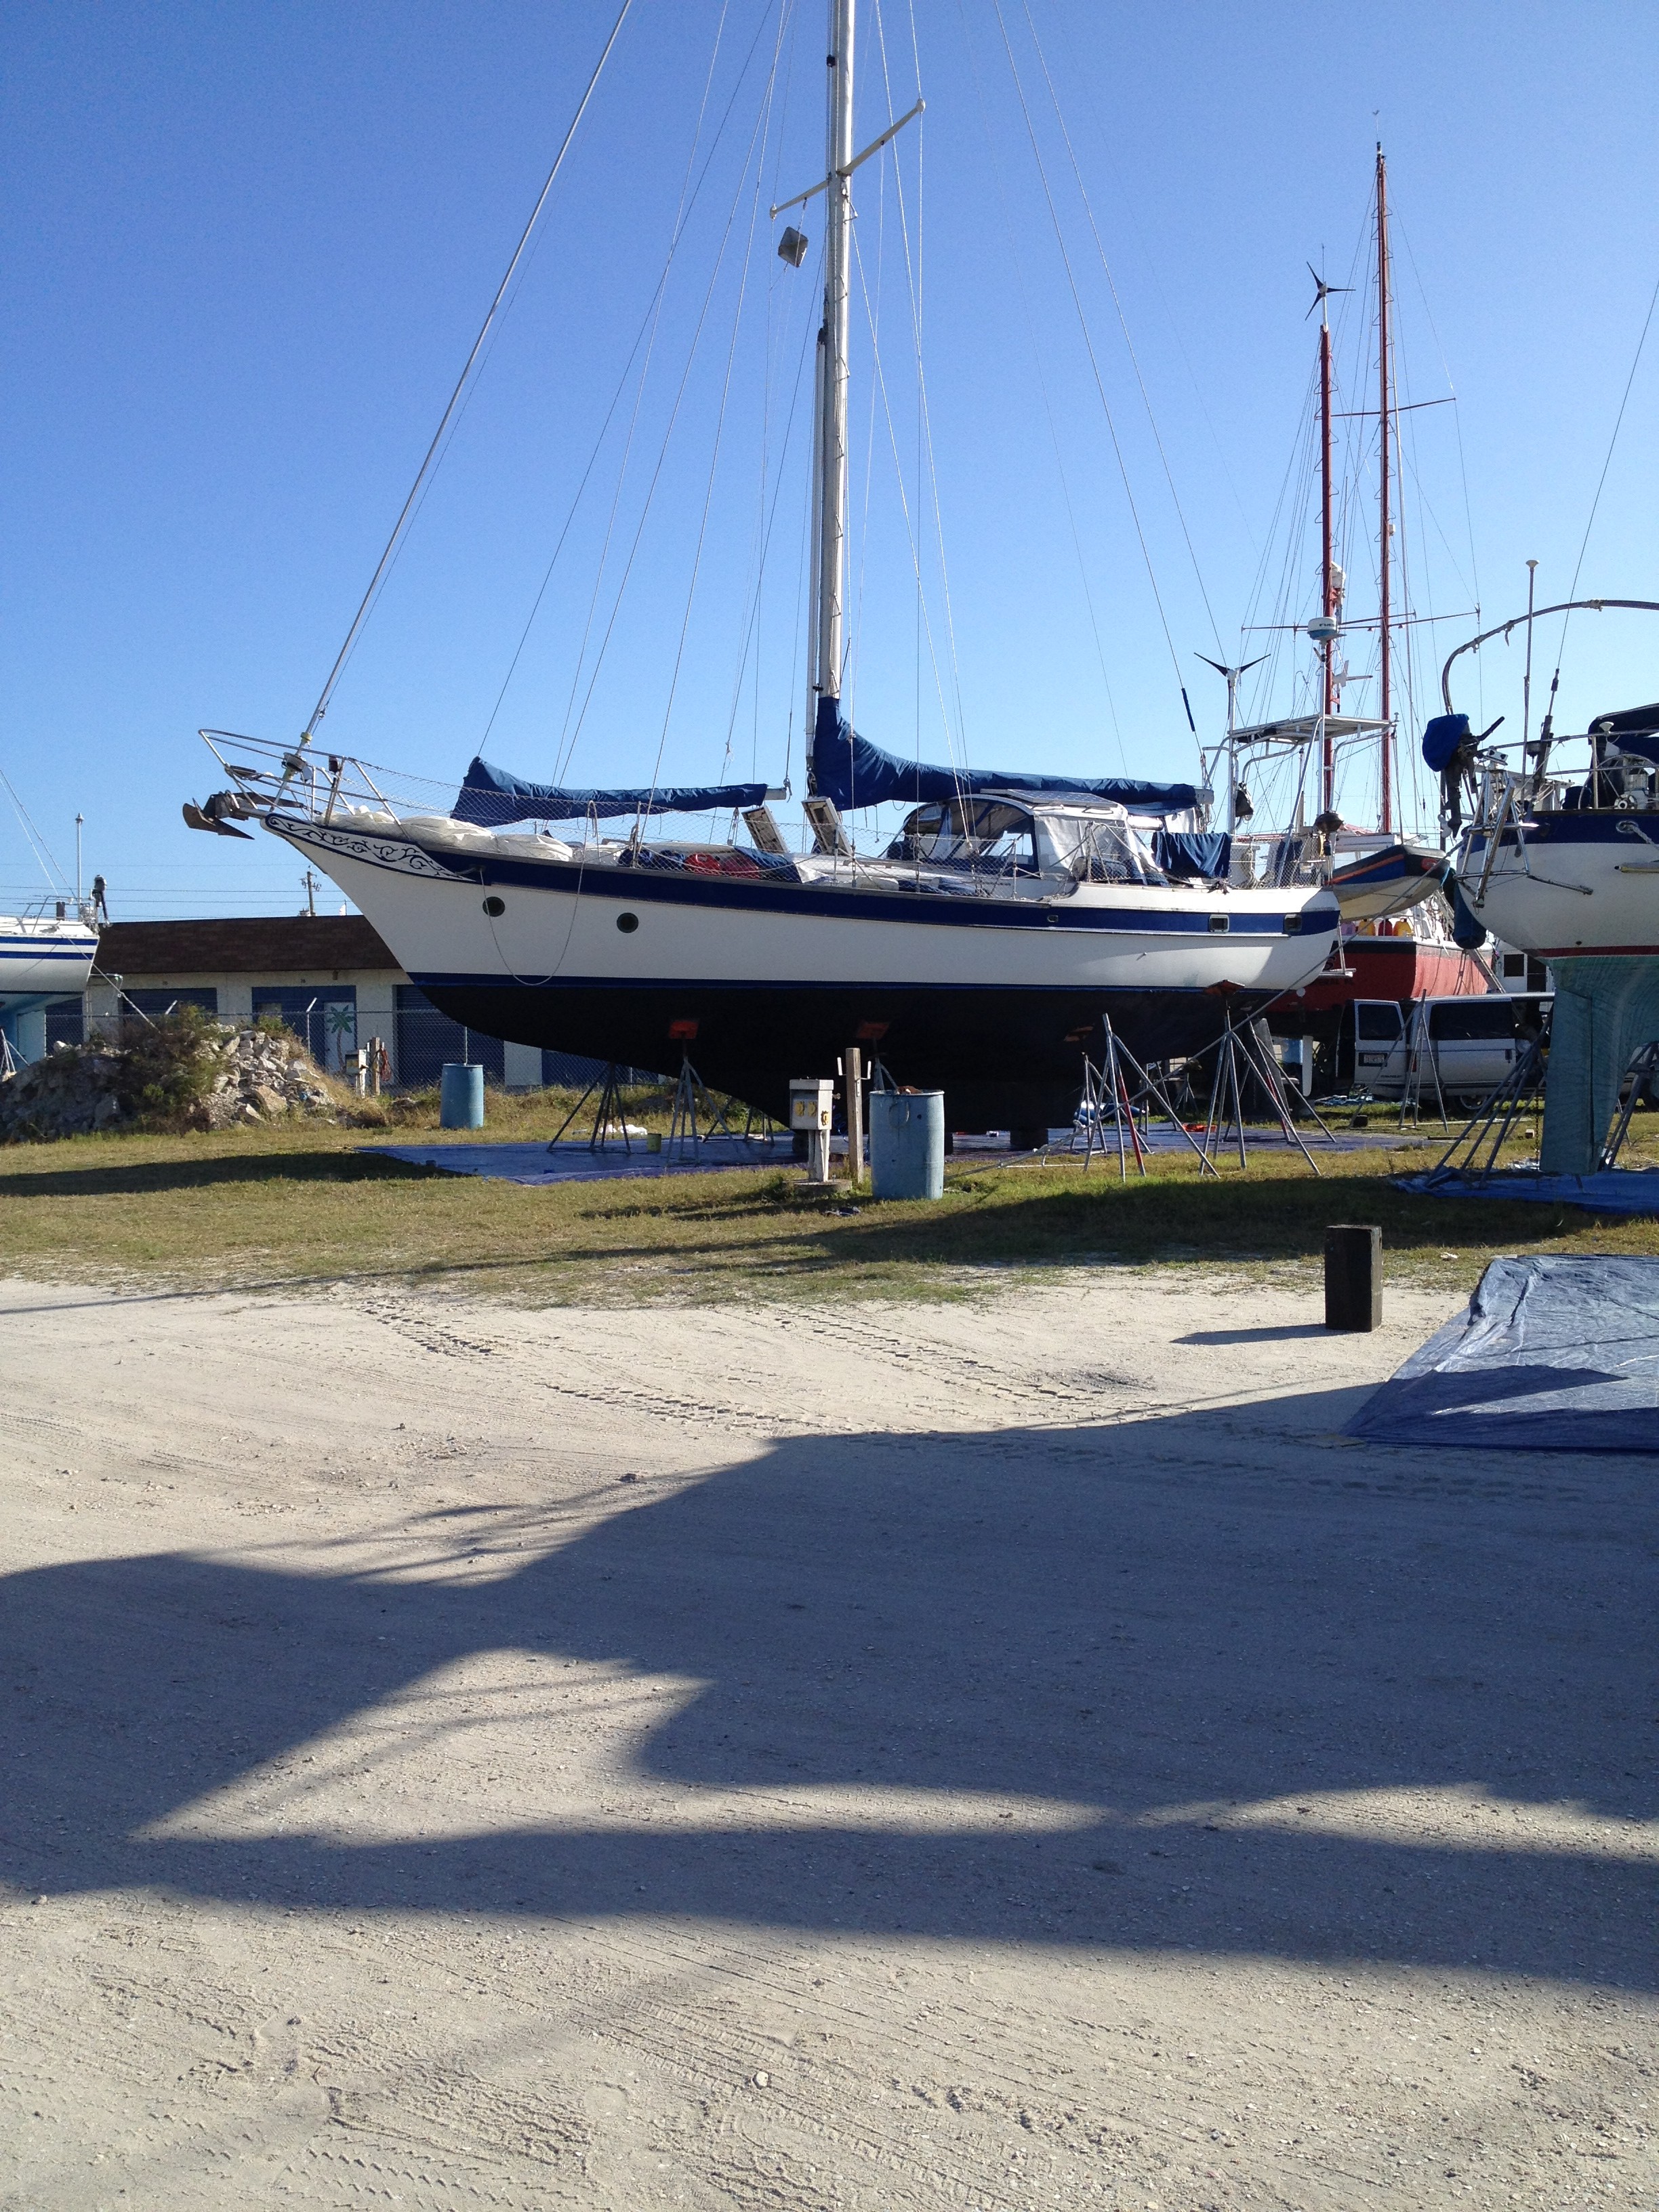
Things we fixed…..(the last few things on this list were more like upgrades)
Both heads (toilets)…..rebuilt the pumps, replaced the intake and output lines, replaced the water intake strainers, siphon breaks..rebuilt the forward head pump multiple times before finally replacing the entire housing…
Diesel—adjusted the Valve lash, oil changes, used high dose diesel cleaning solution treatment four times due to contamination of our injector pump…(this wasn’t an issue we caused, it was caused by a boat yards poor work in NC)
Patch the Genoa Sail sunbrella sacrificial cover
Racor filter / housing rebuild and filter change

Galley Faucet….this began to leak and reached a critical point while moored in Key West…..the faucet was so old that the owner of a plumbing supply warehouse, who was in the family business for 50 years said he hadn’t seen one of these in 35 or 40 years!!!
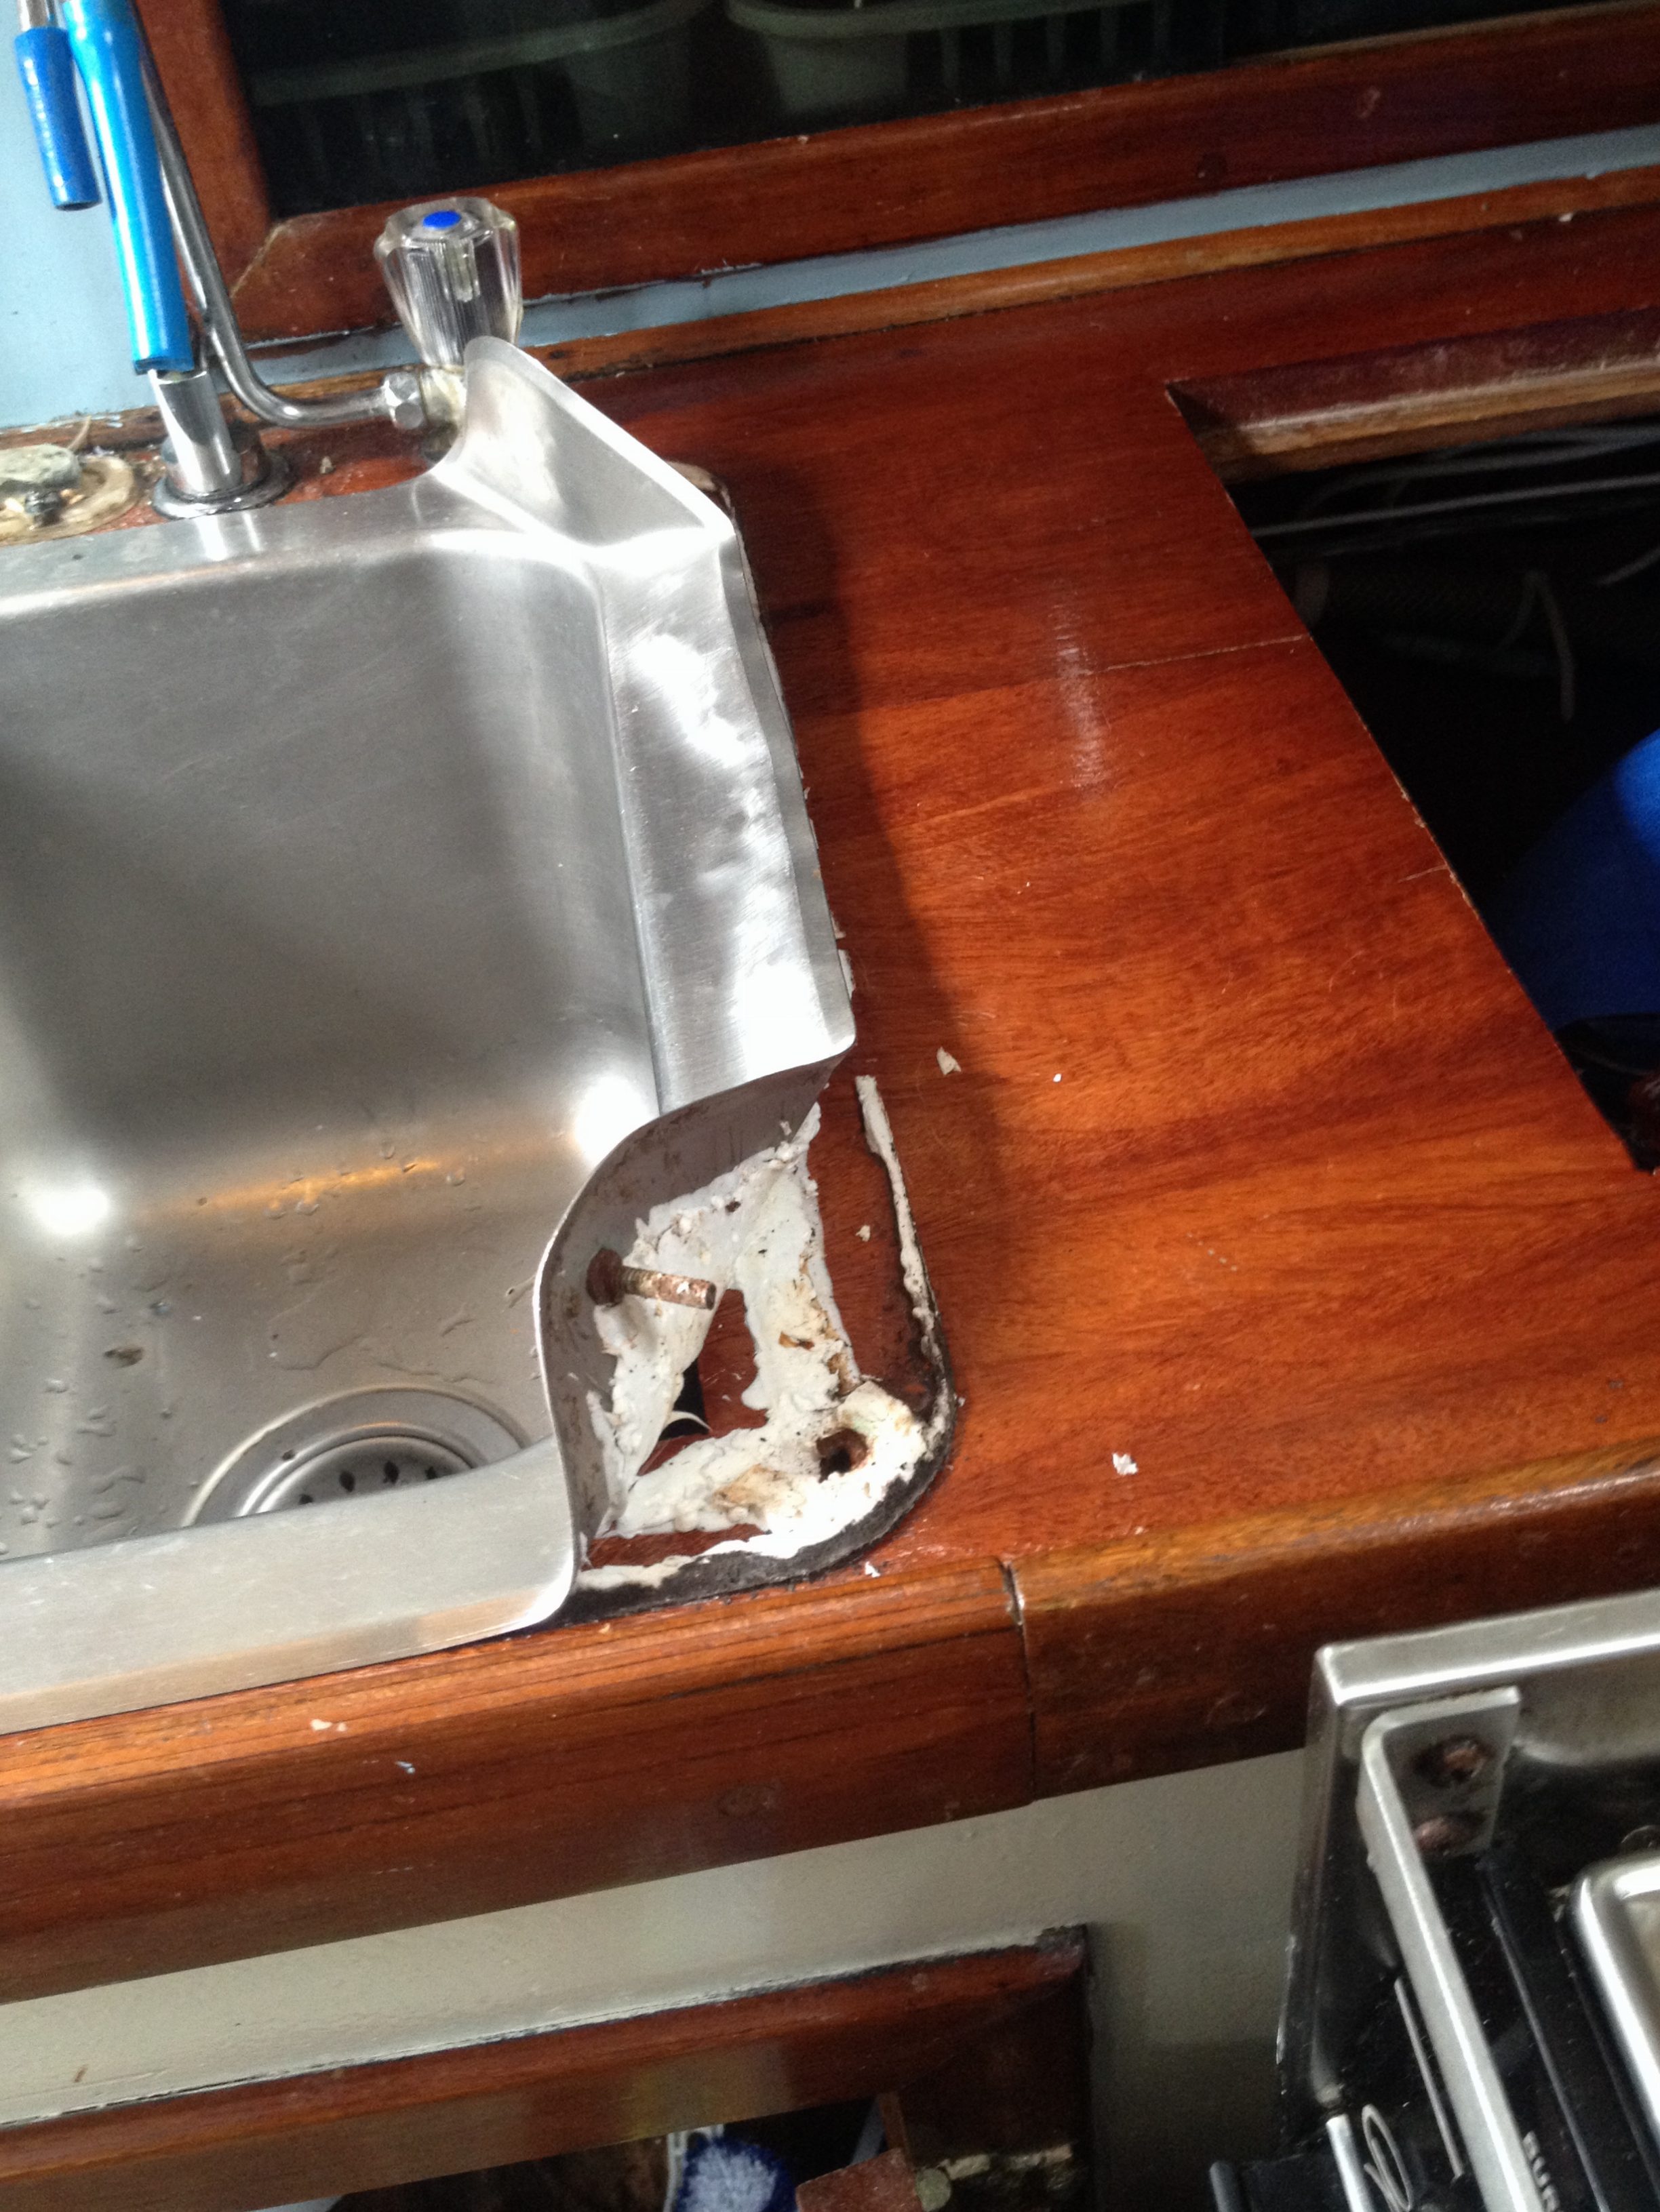
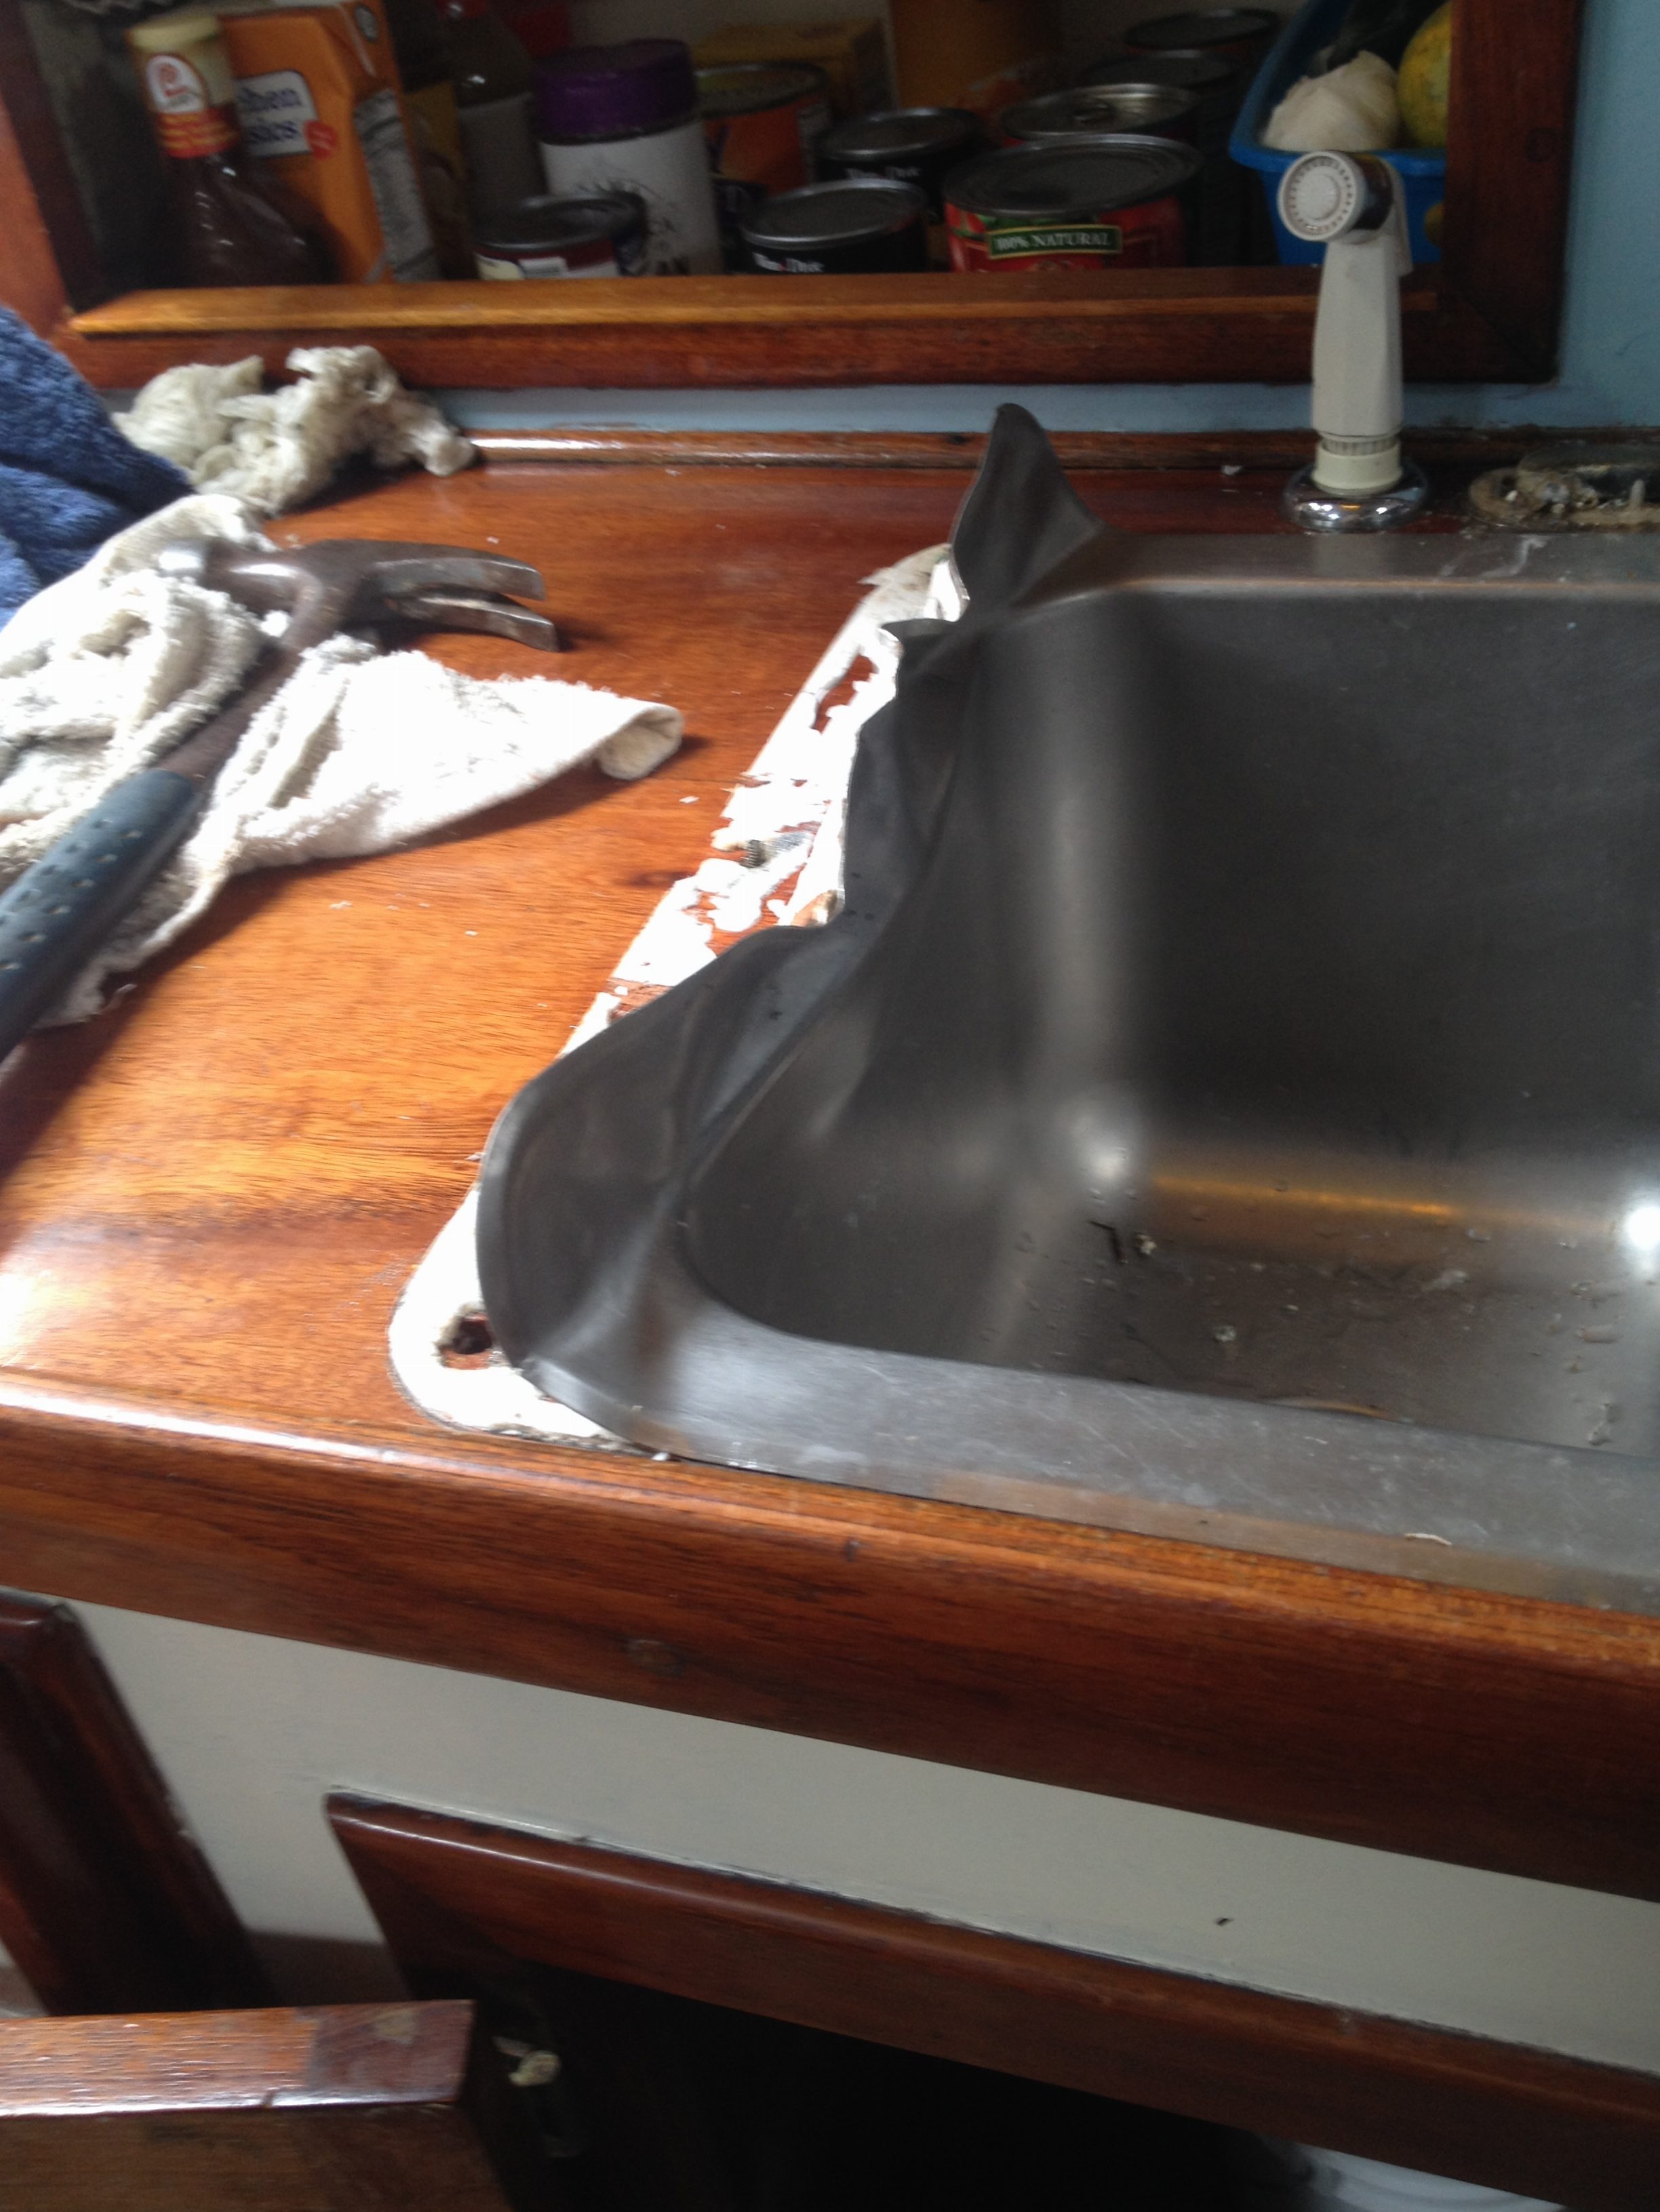
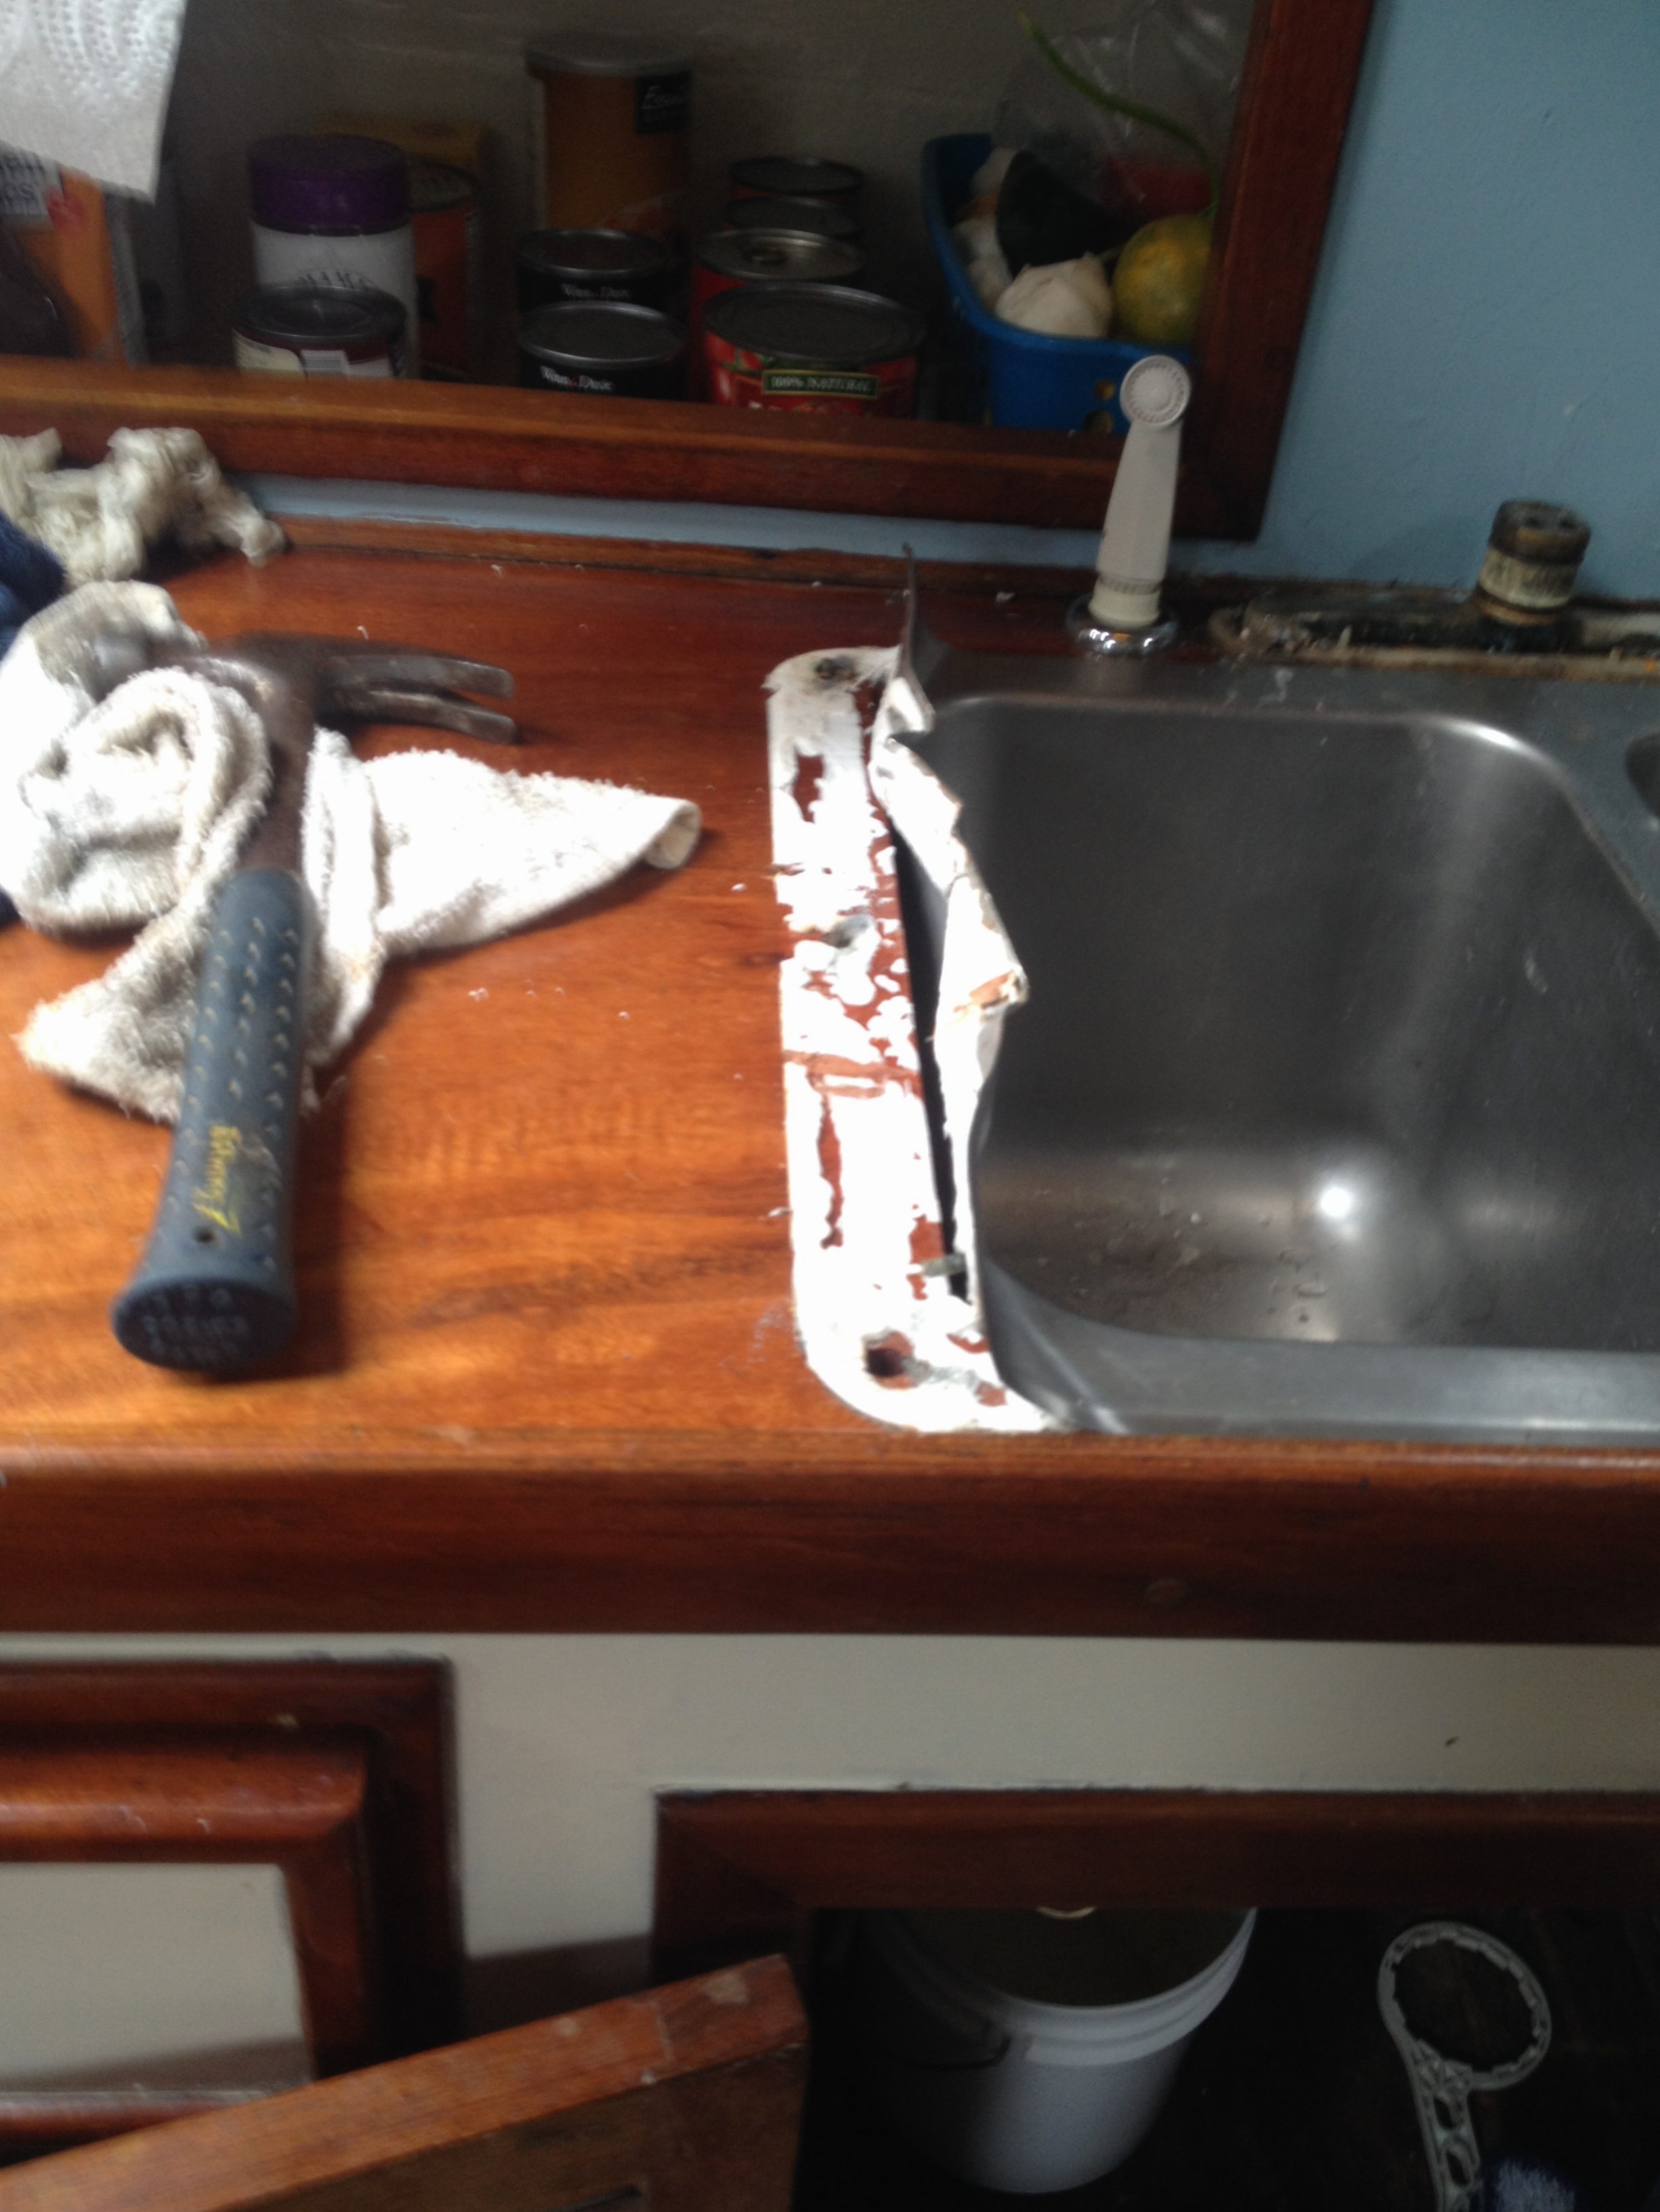
Galley Sink….at some point in our boat’s history….someone (possibly a sadist) used 3M 5200 to seal the sink to the countertop…..for those of you unfamiliar with 5200, it’s a great product for installing things you want to be bulletproof…..it’s not so great for something you might want to remove….ever……even employees at boatyards groan audibly when they learn they have to remove something installed with 5200….it has been nicknamed by some “death paste”. The upside is, since the edge of our sink was so severely damaged during removal, we had a custom single bowl sink fabricated and installed …..if anyone needs such a replacement let us know we have a great source for these sinks !!!
Drinking water inline filters (x3)
Aft head cold water faucet replacement
Power switch for VHF radio….which completely deteriorated and fell apart in my hand when we went to switch on the radio to check the weather in the Dry Tortugas…..
Zinc replacement x2
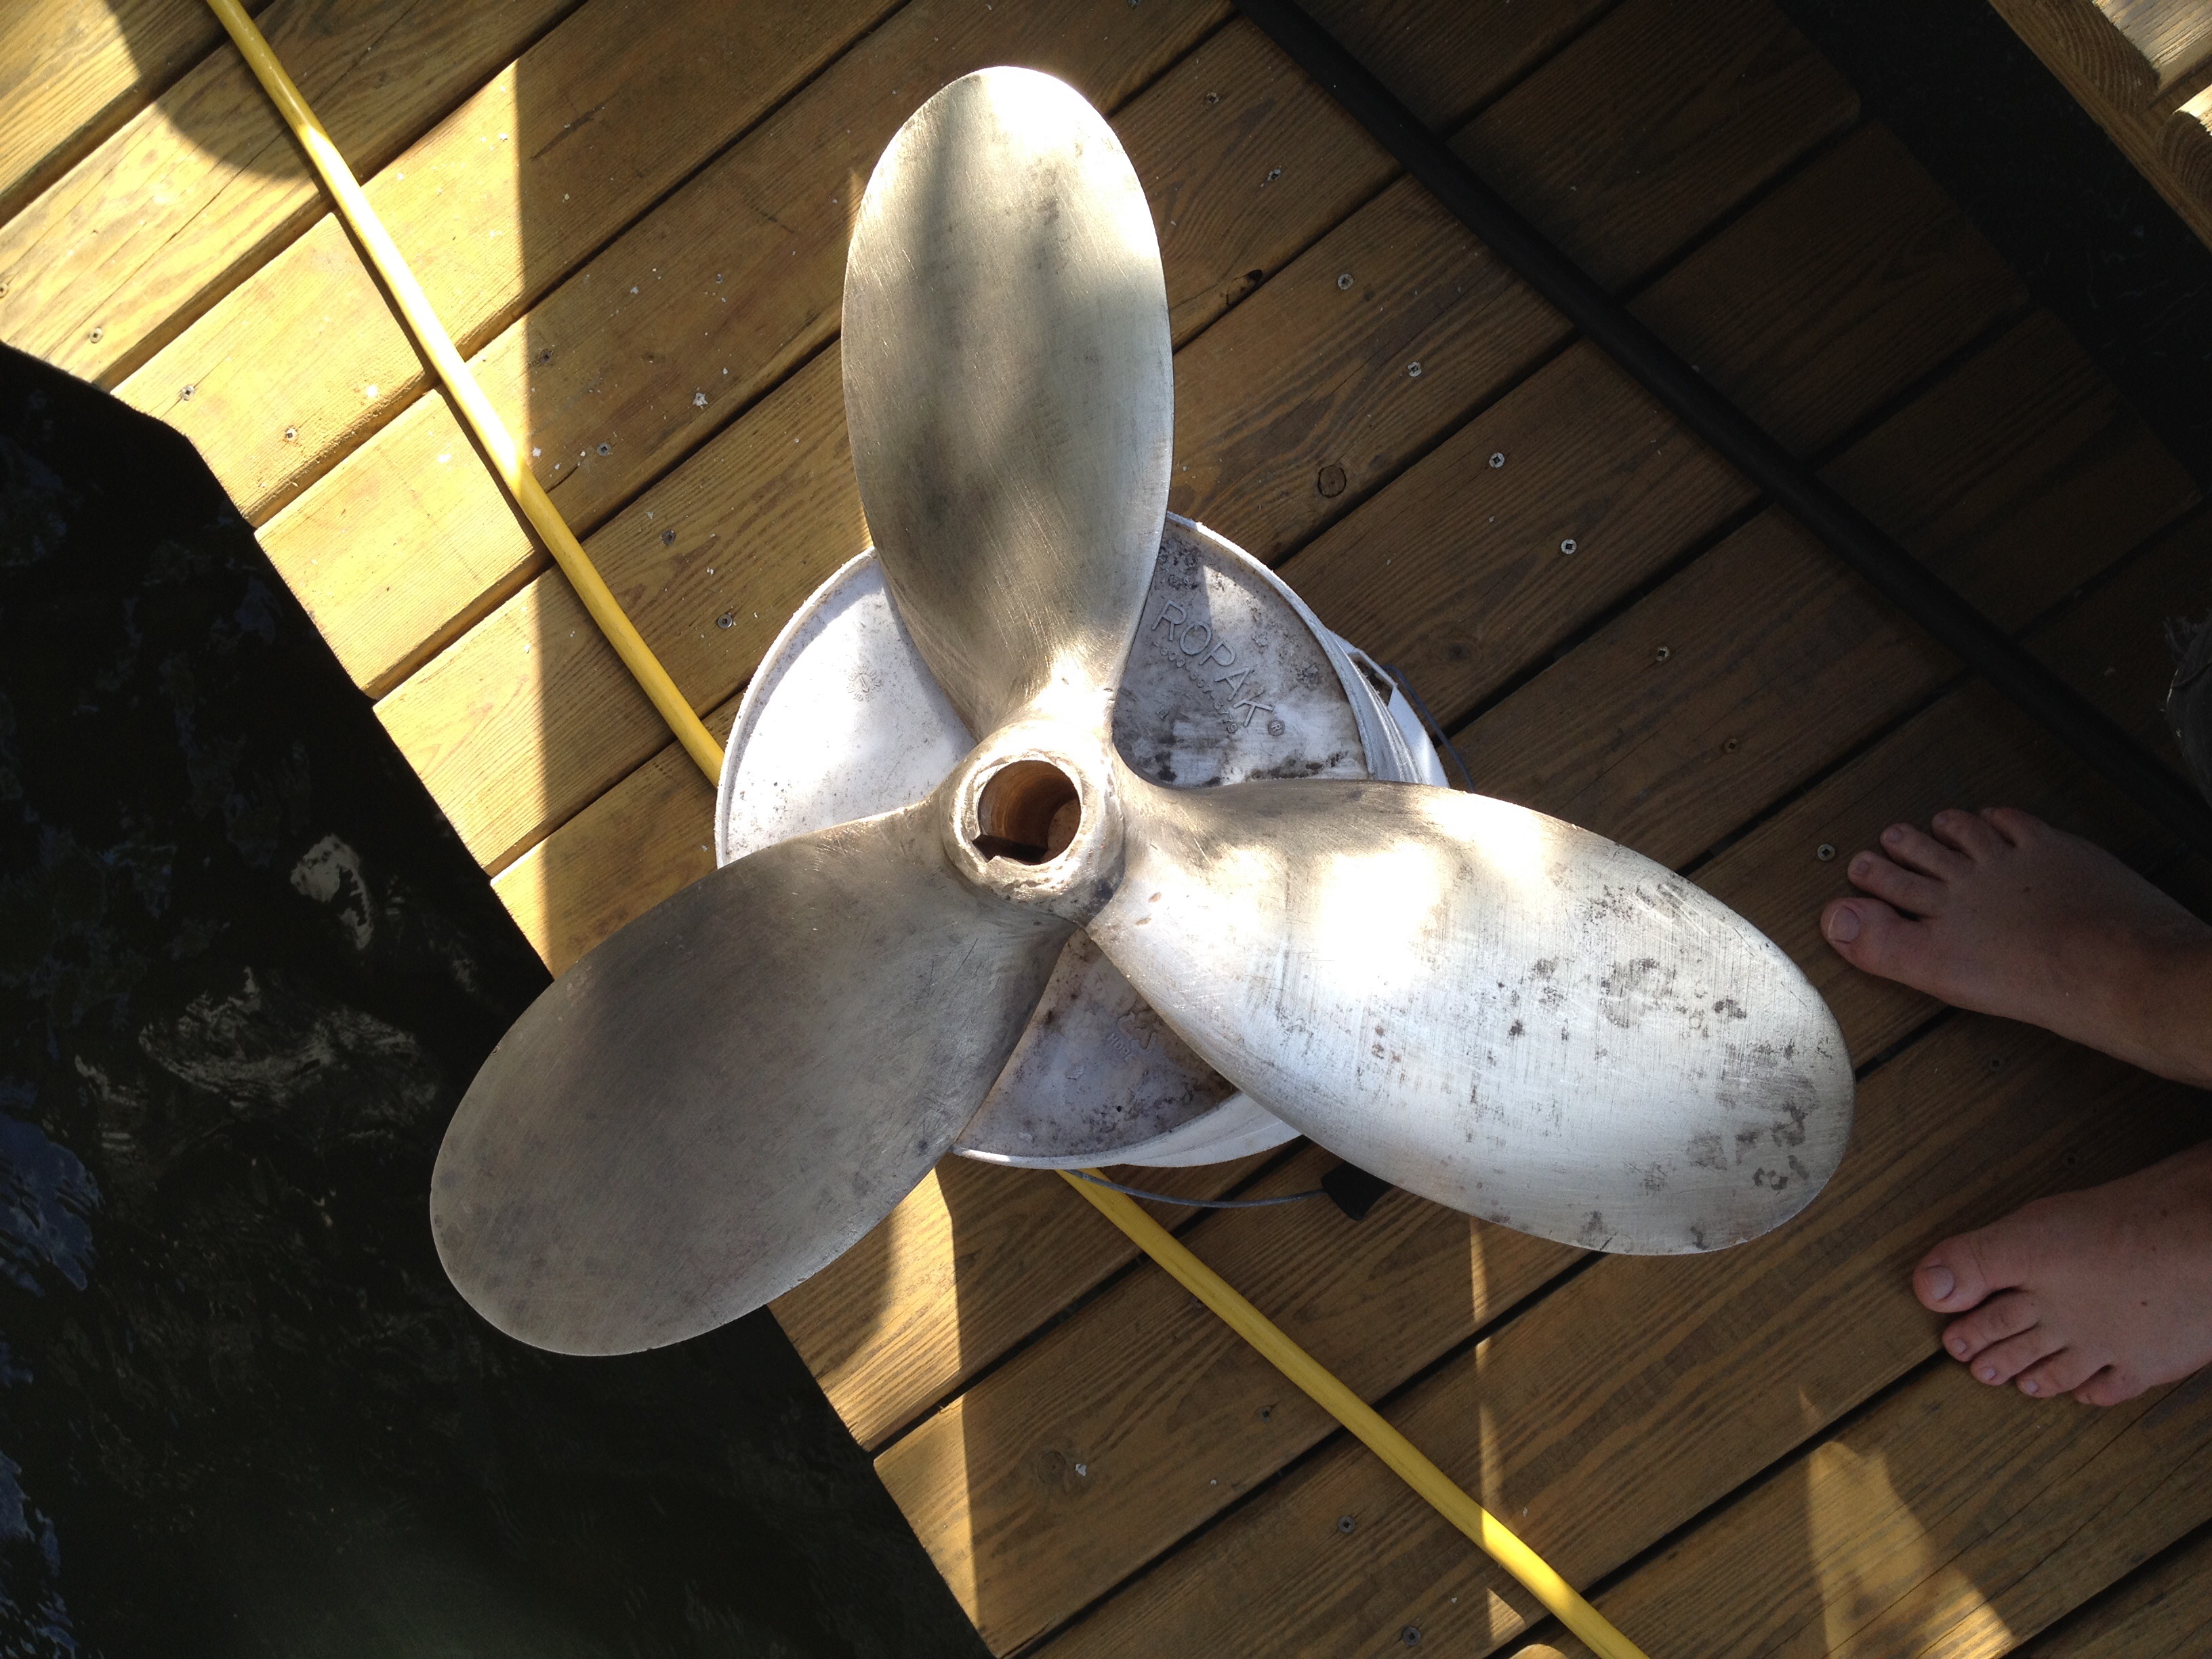
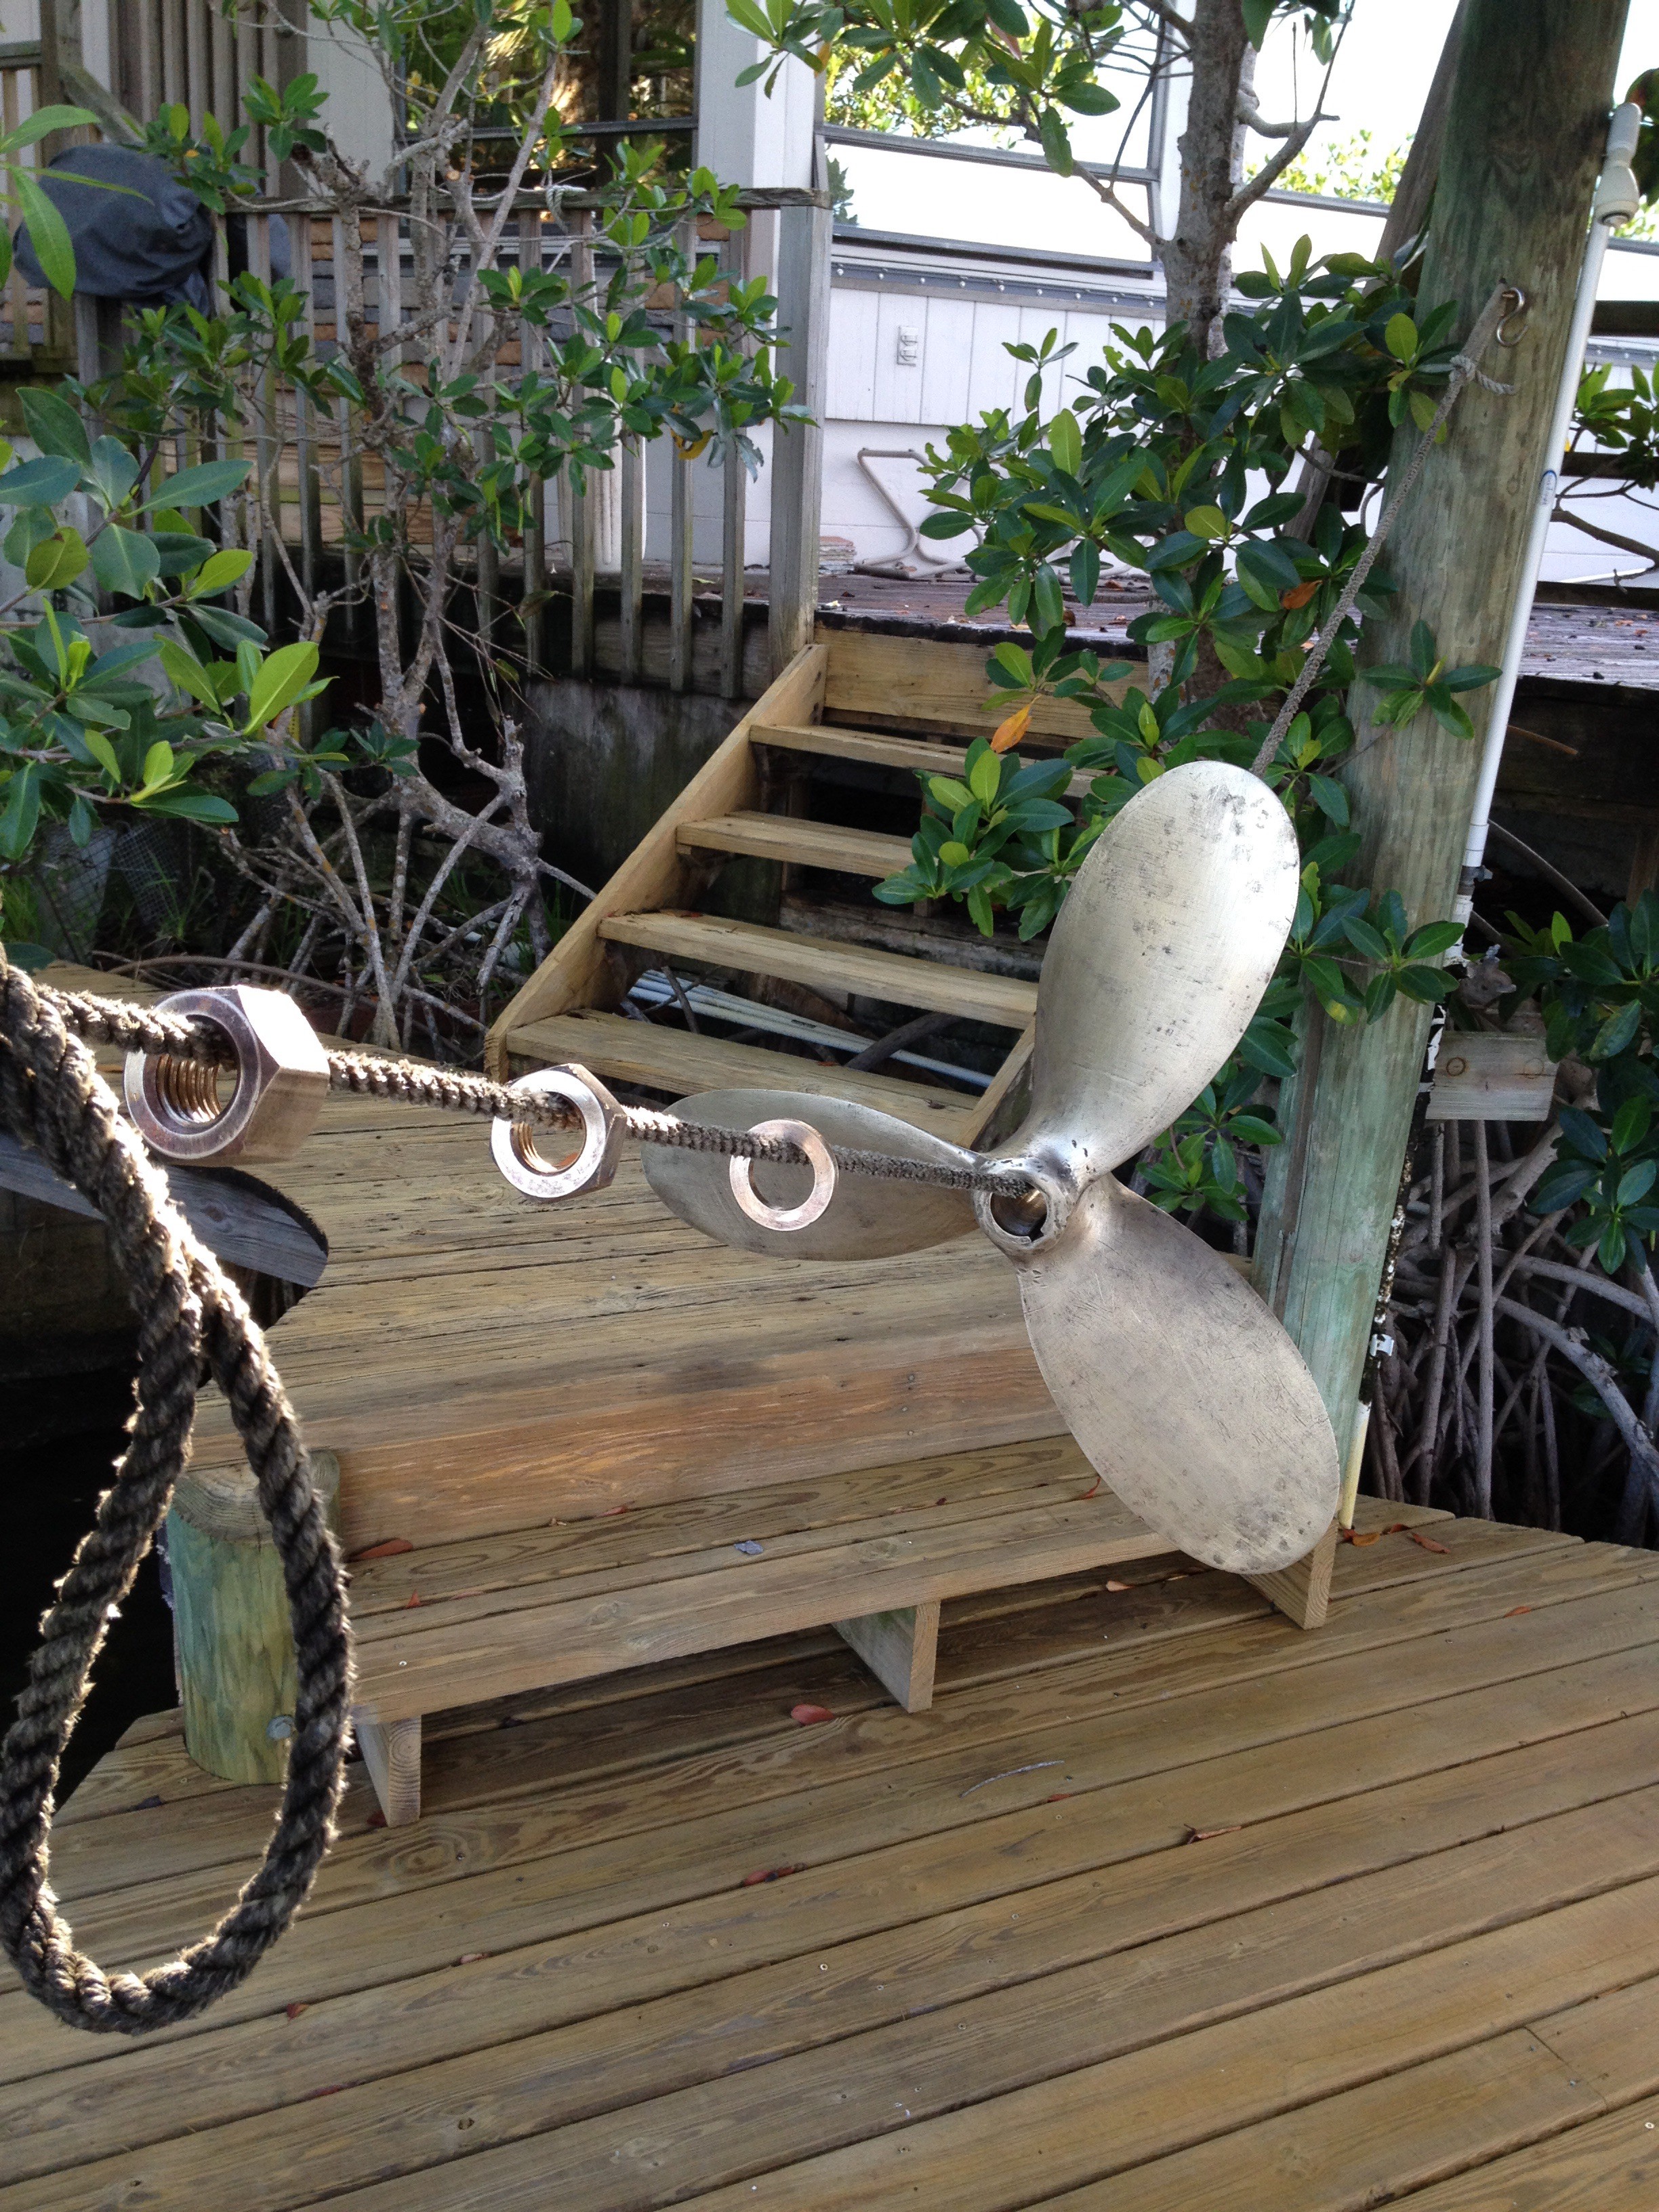
Remove lines from props ….five times….one with a crab trap on it….no bonus crabs though….

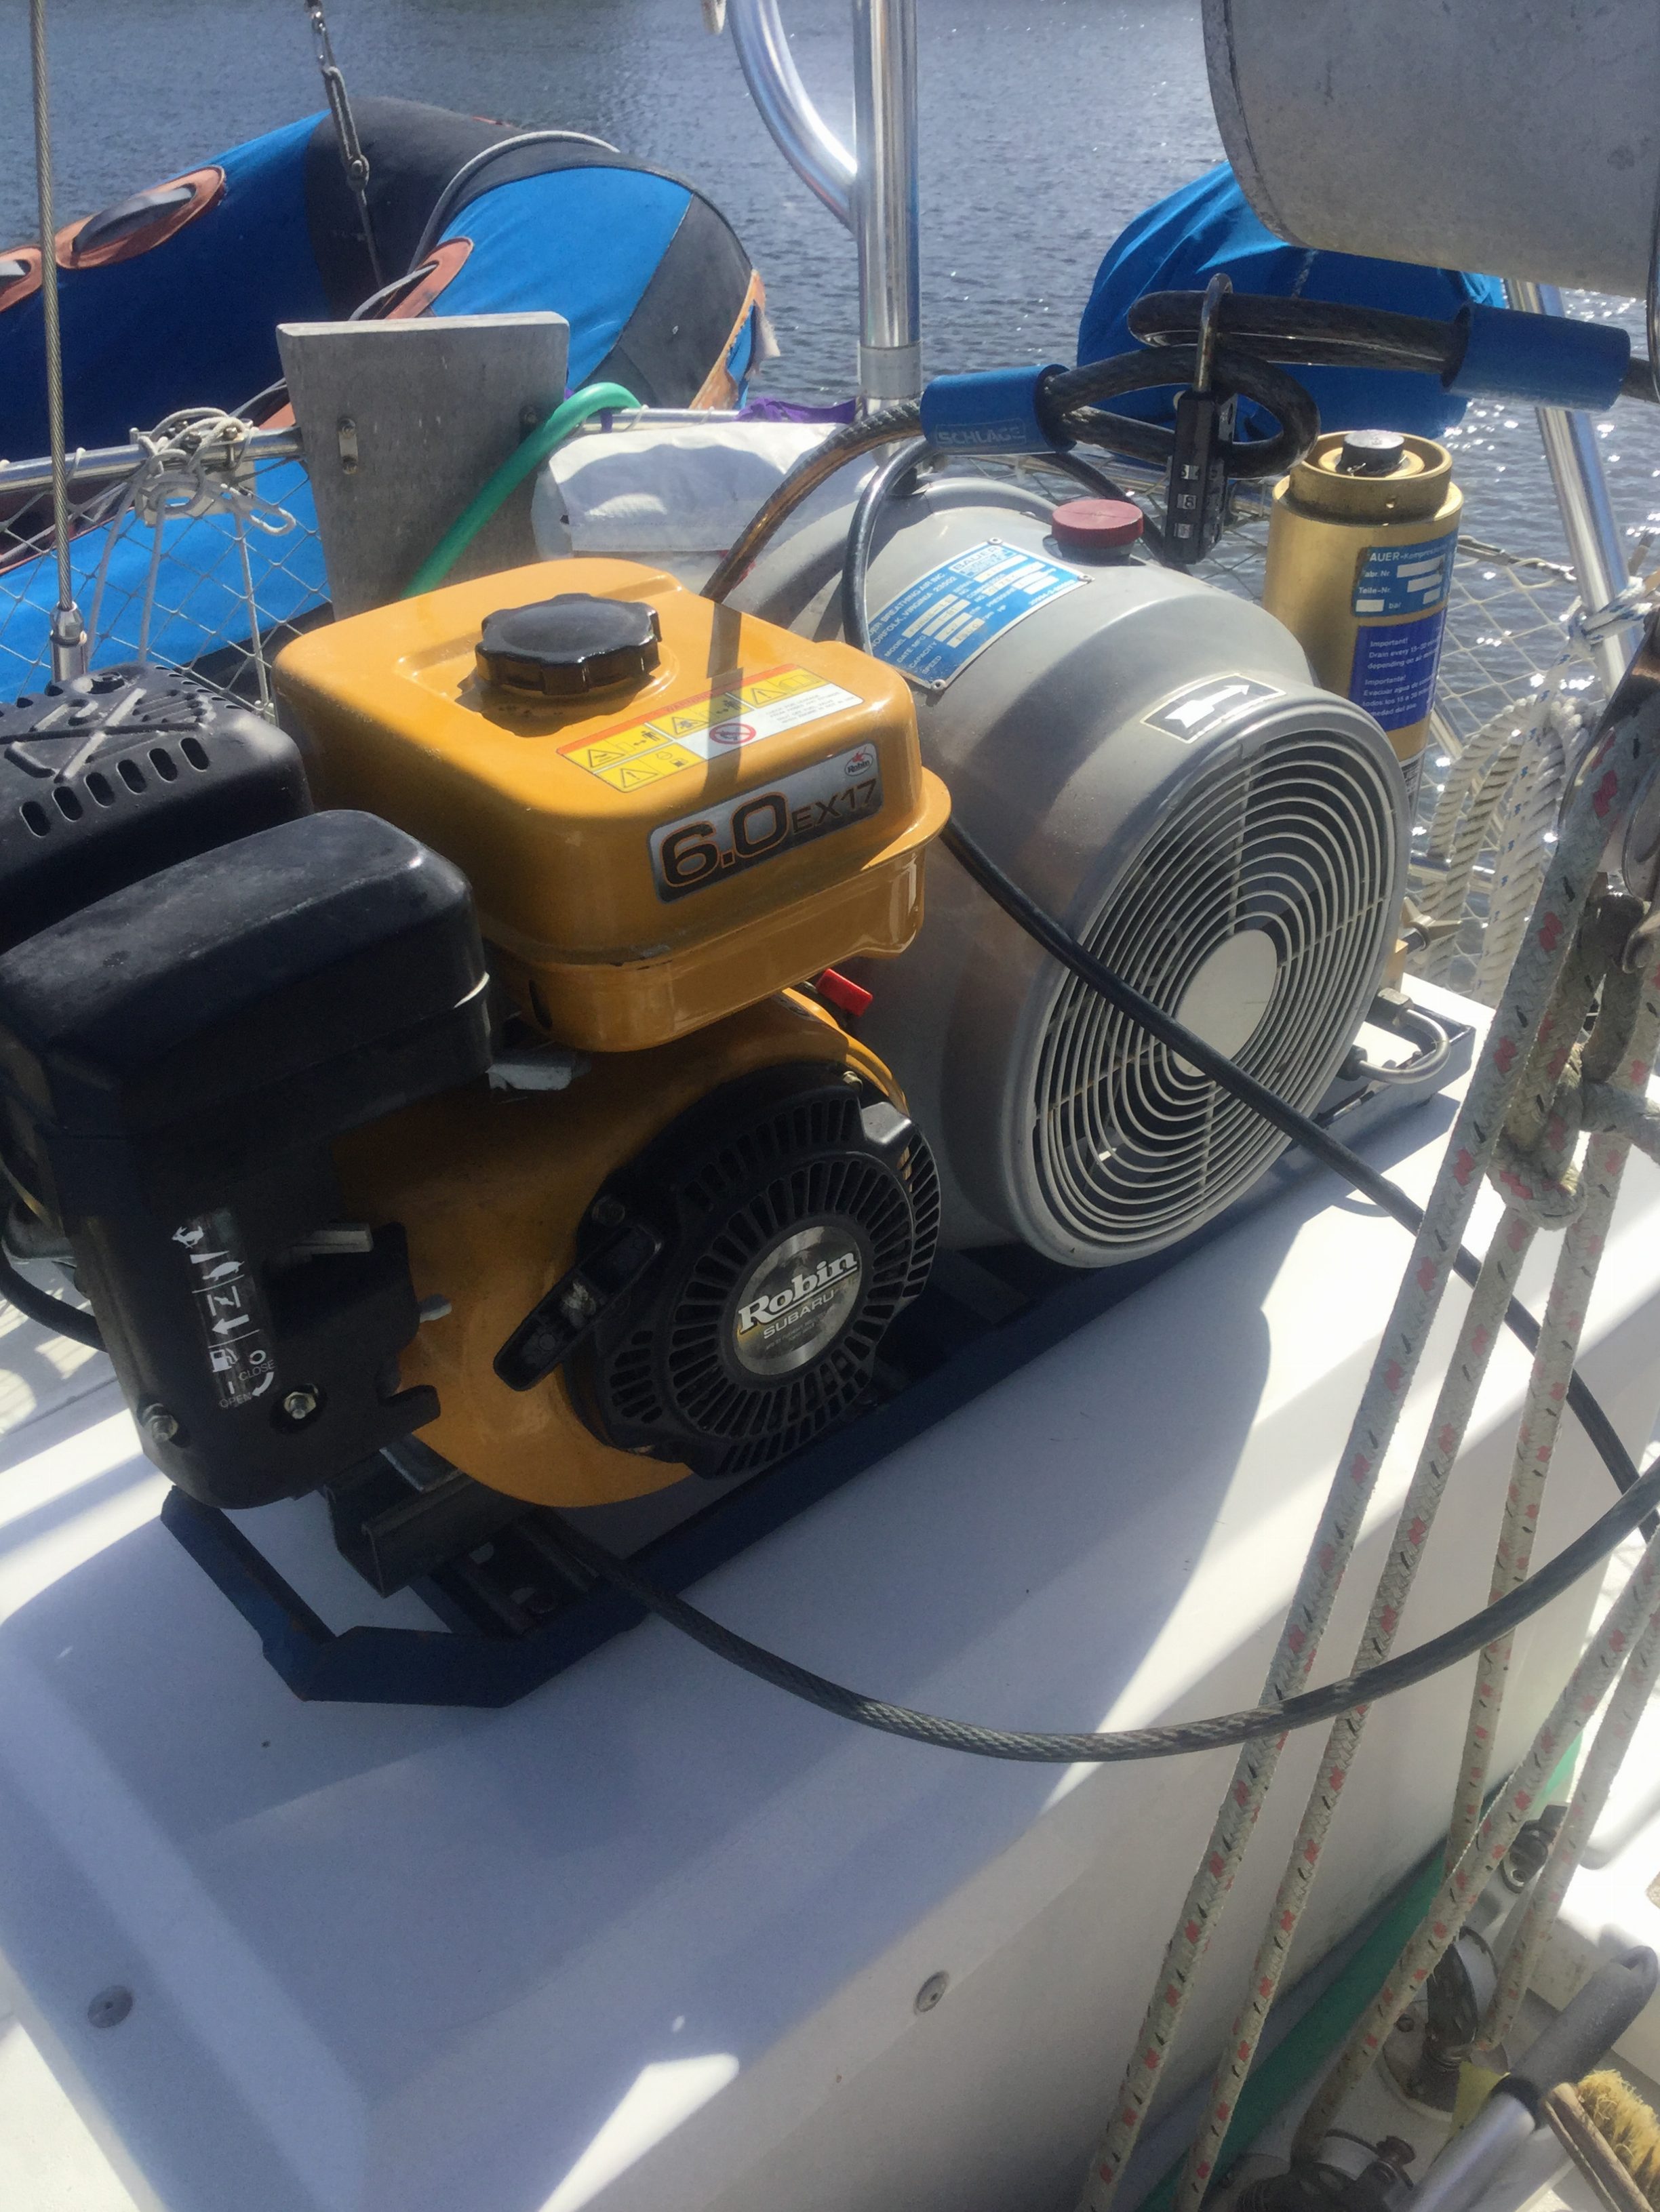
Tune up, recommission the diving air compressor and change the breathing air filter
Replace outboard prop and kill switch
Refrigerator coolant line unclogging
Replace Aft cabin fan….then replace defective blade….then fan died…again…ugh
Unclog Lazarette drains
Unclog sink drain x2
Fix aft head intake leaking seacock
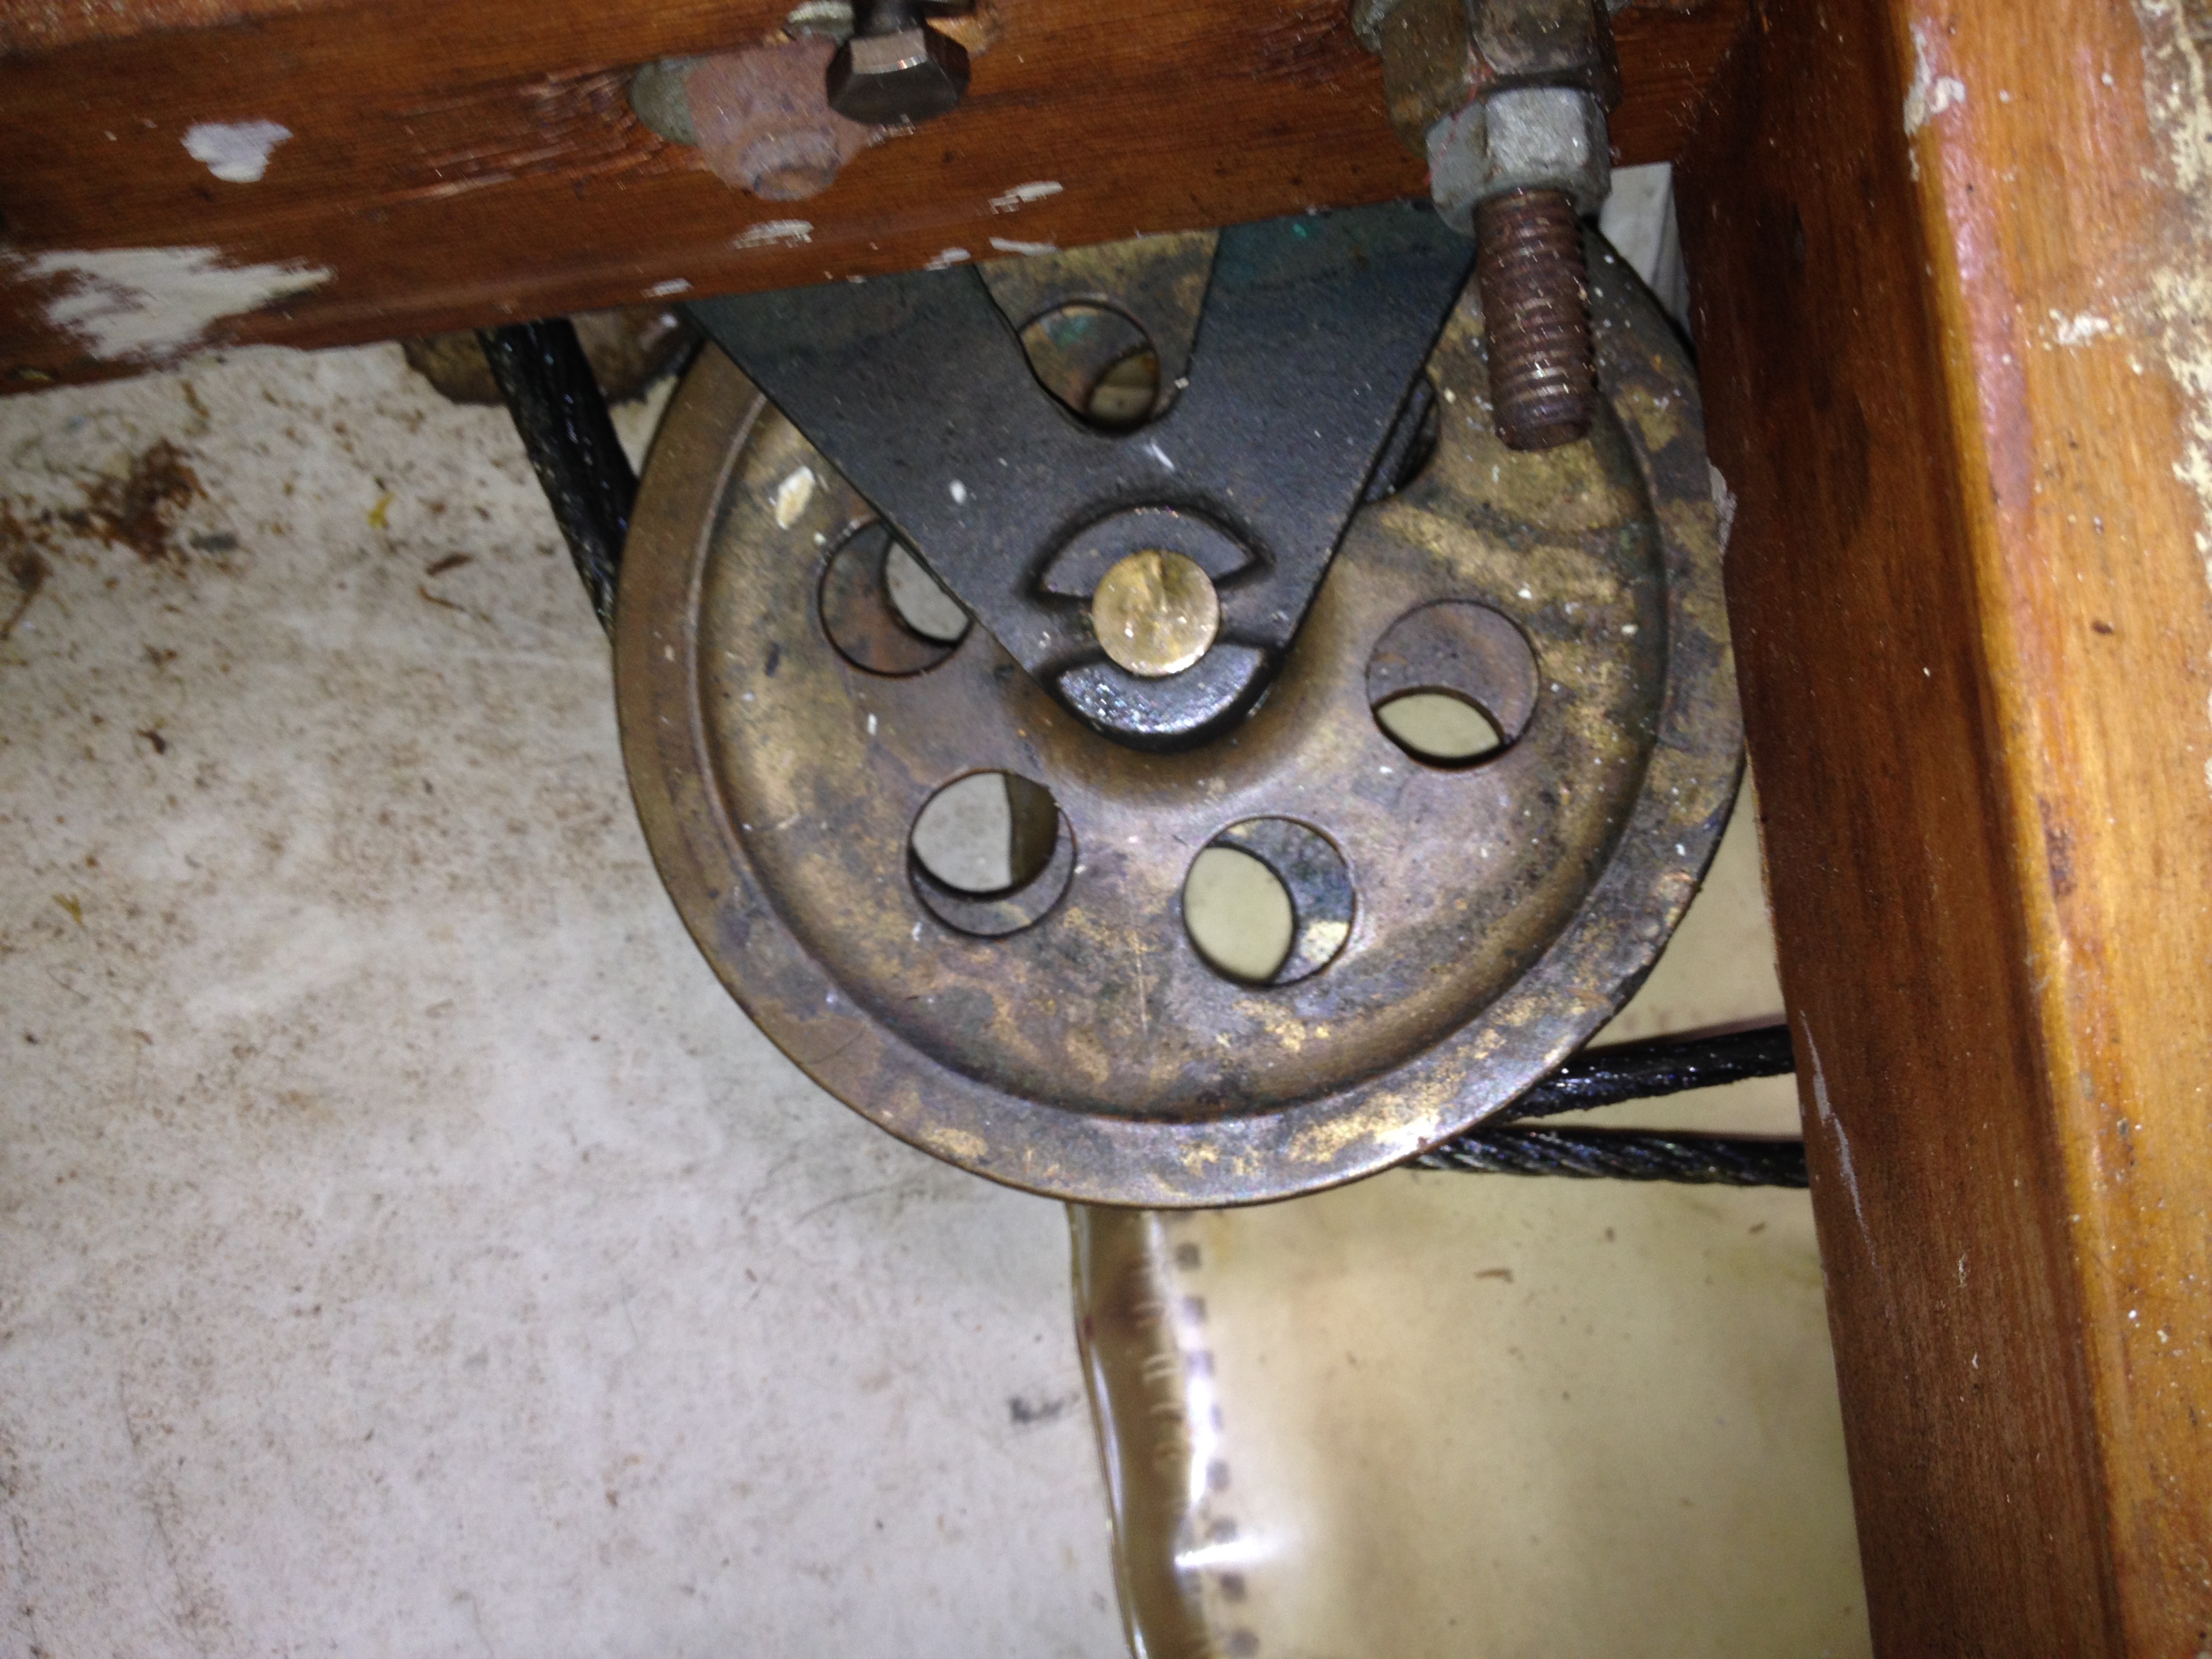
Replace steering sheave and pins
Replace Hatch solar fans
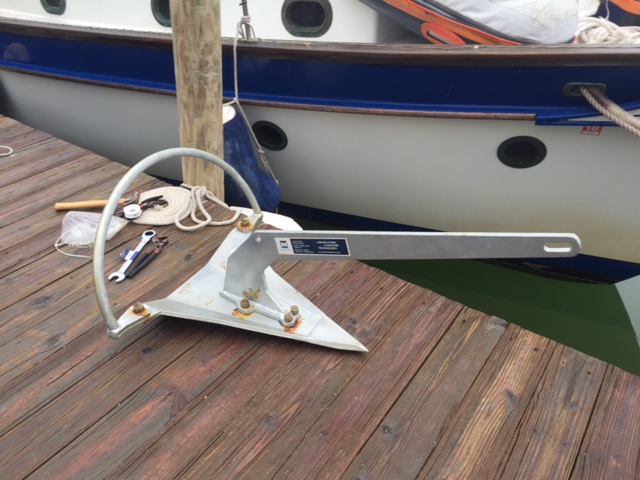
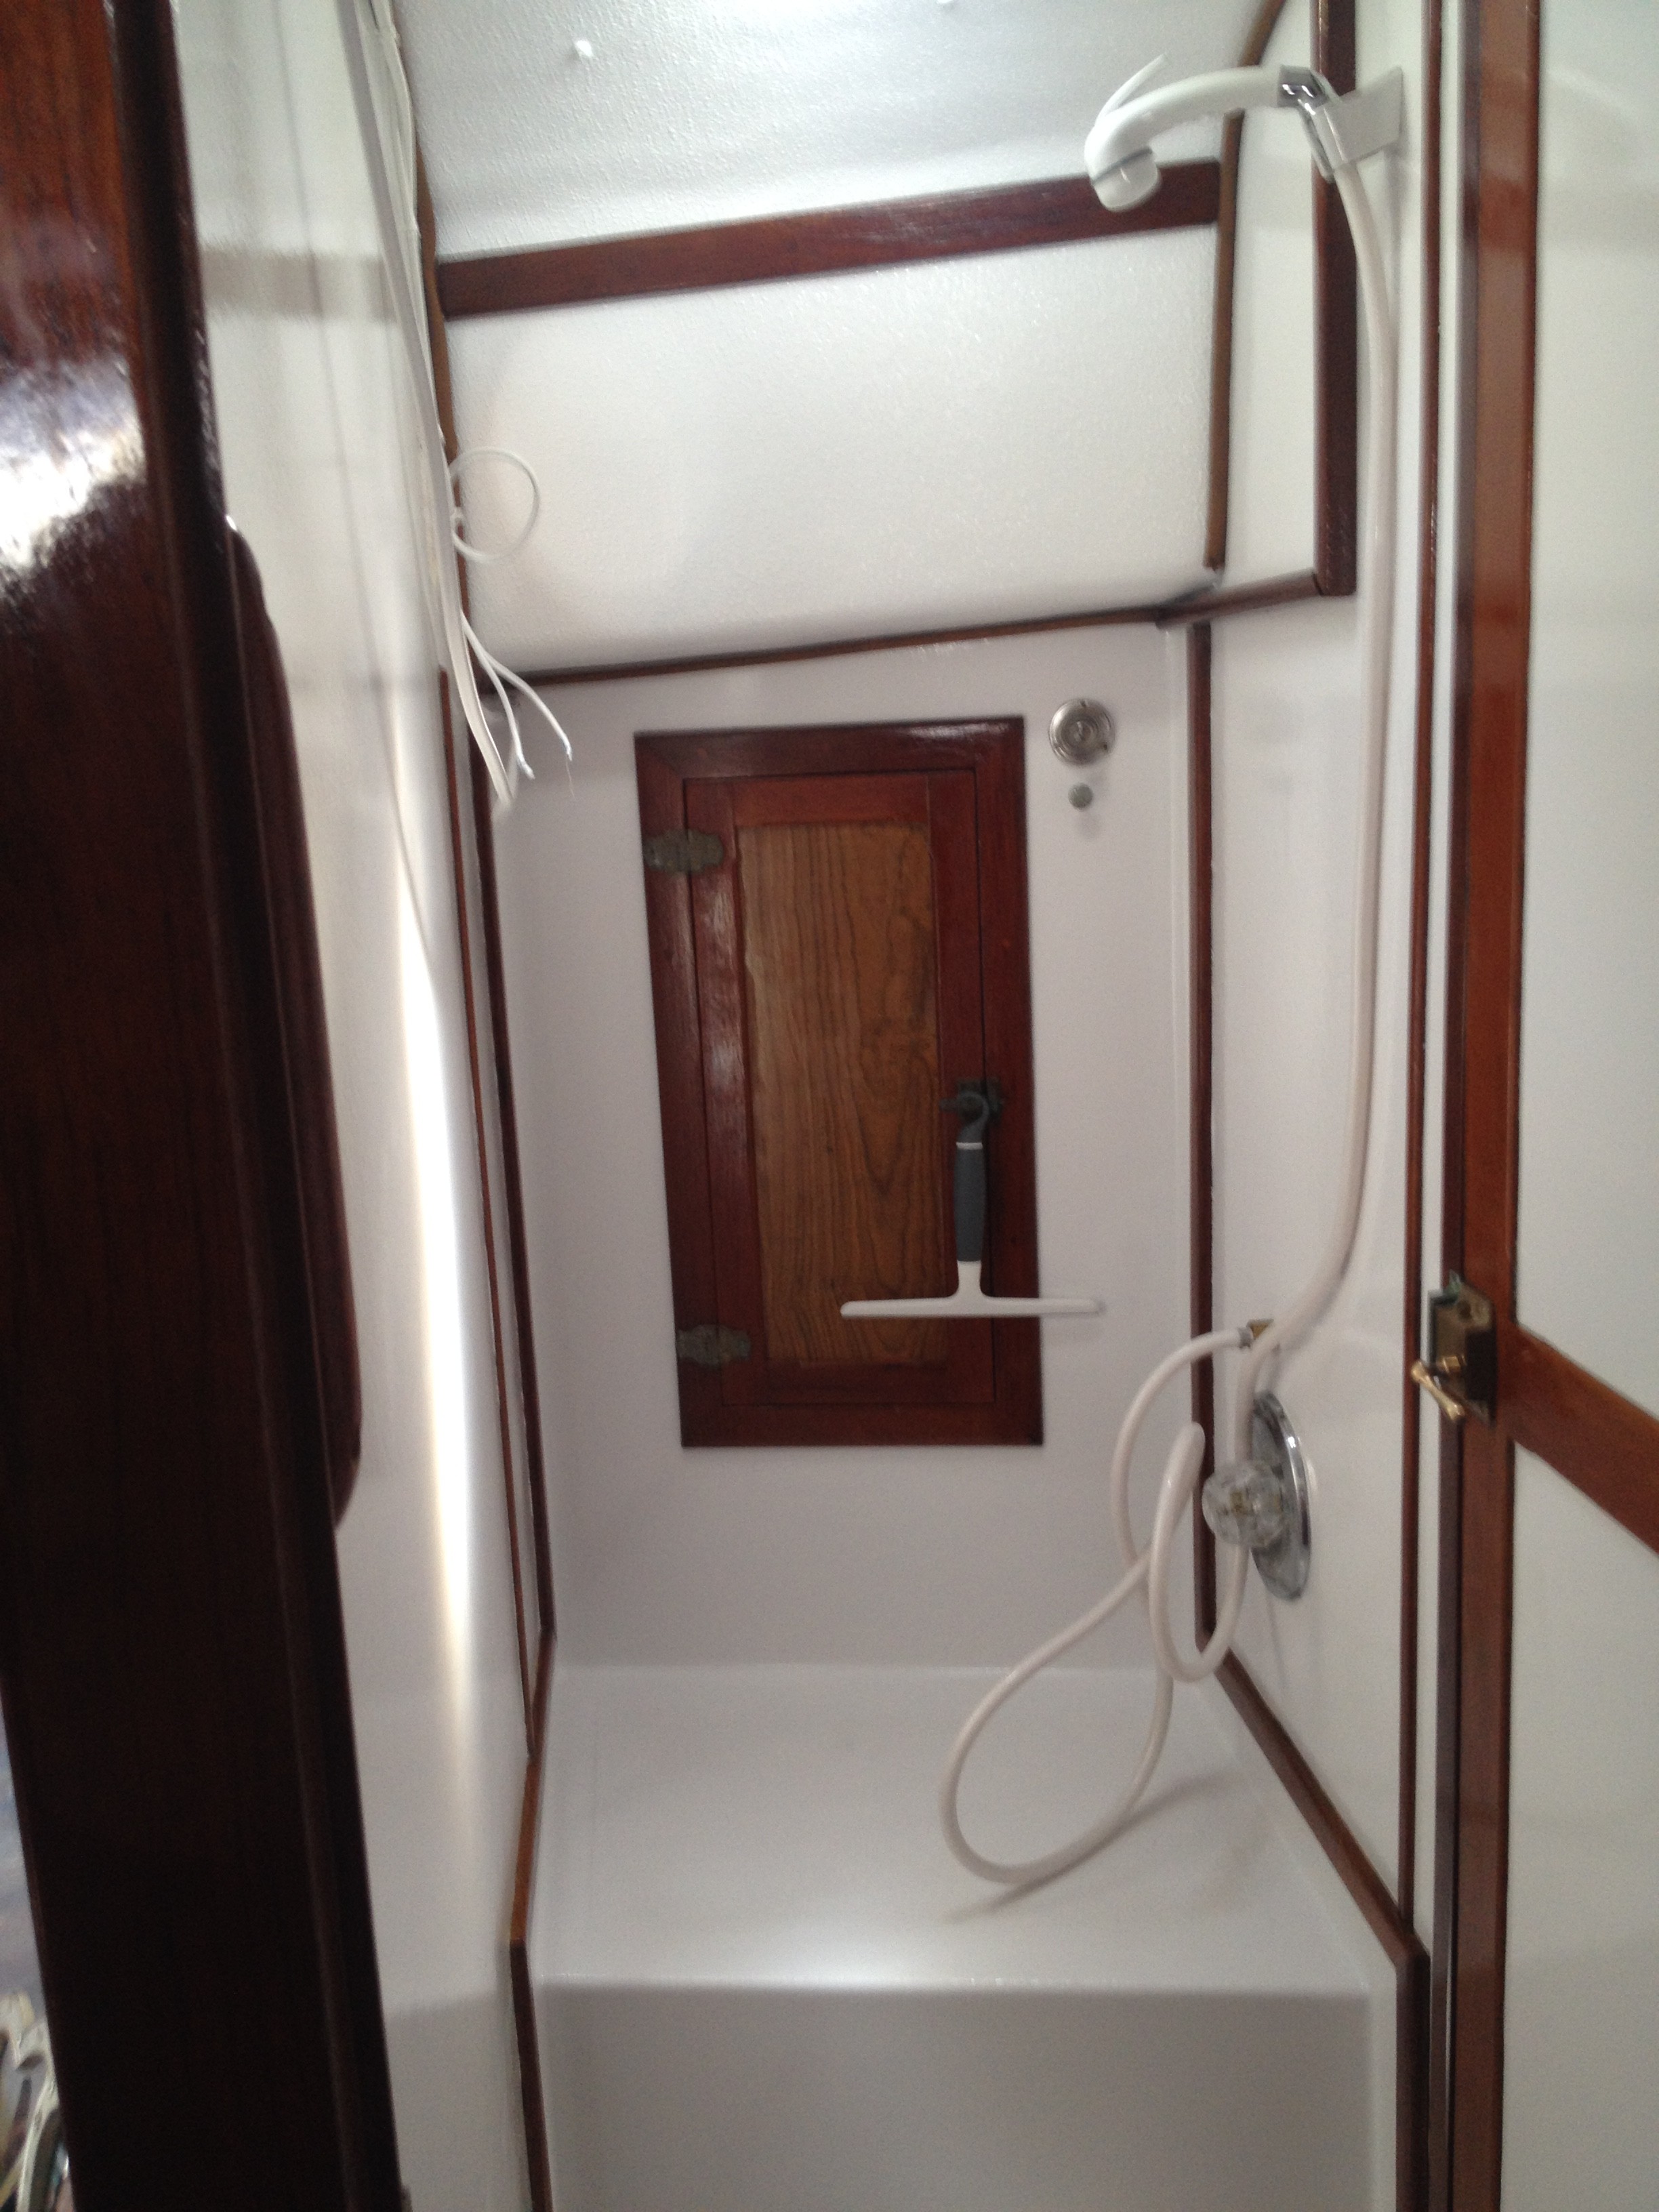
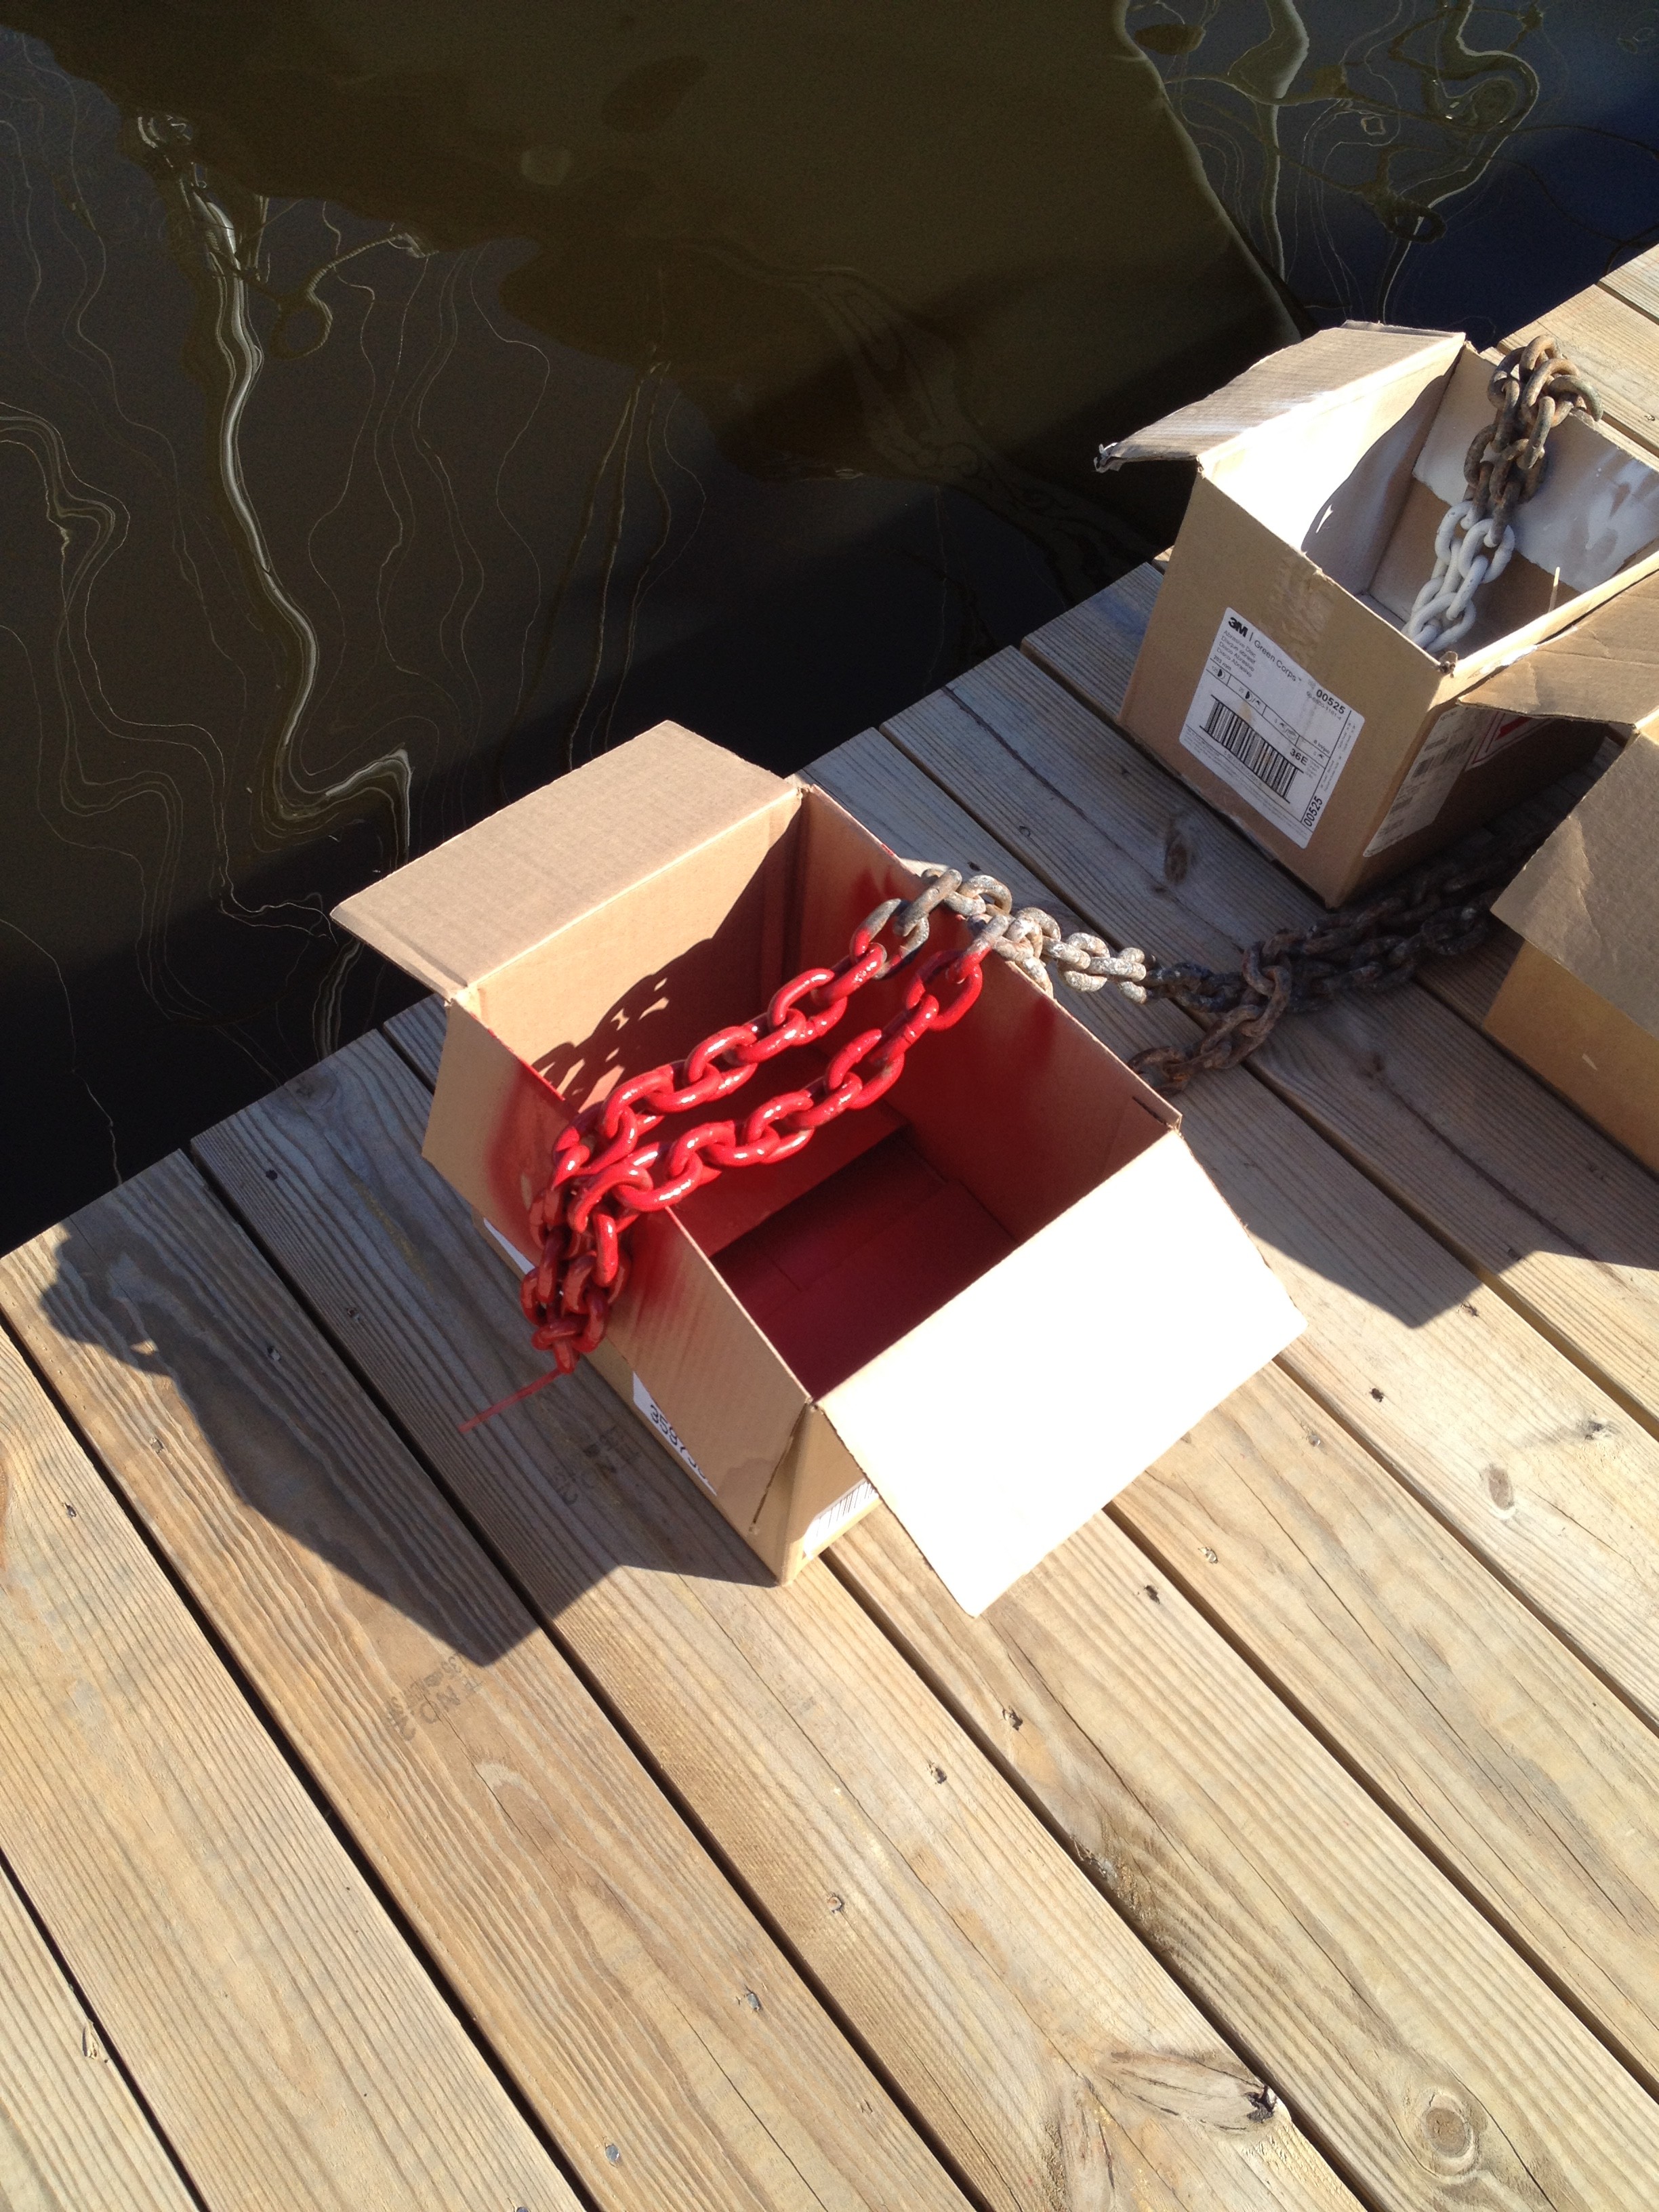
Replace / upgrade anchor to a Mantus 85lb galvanized anchor
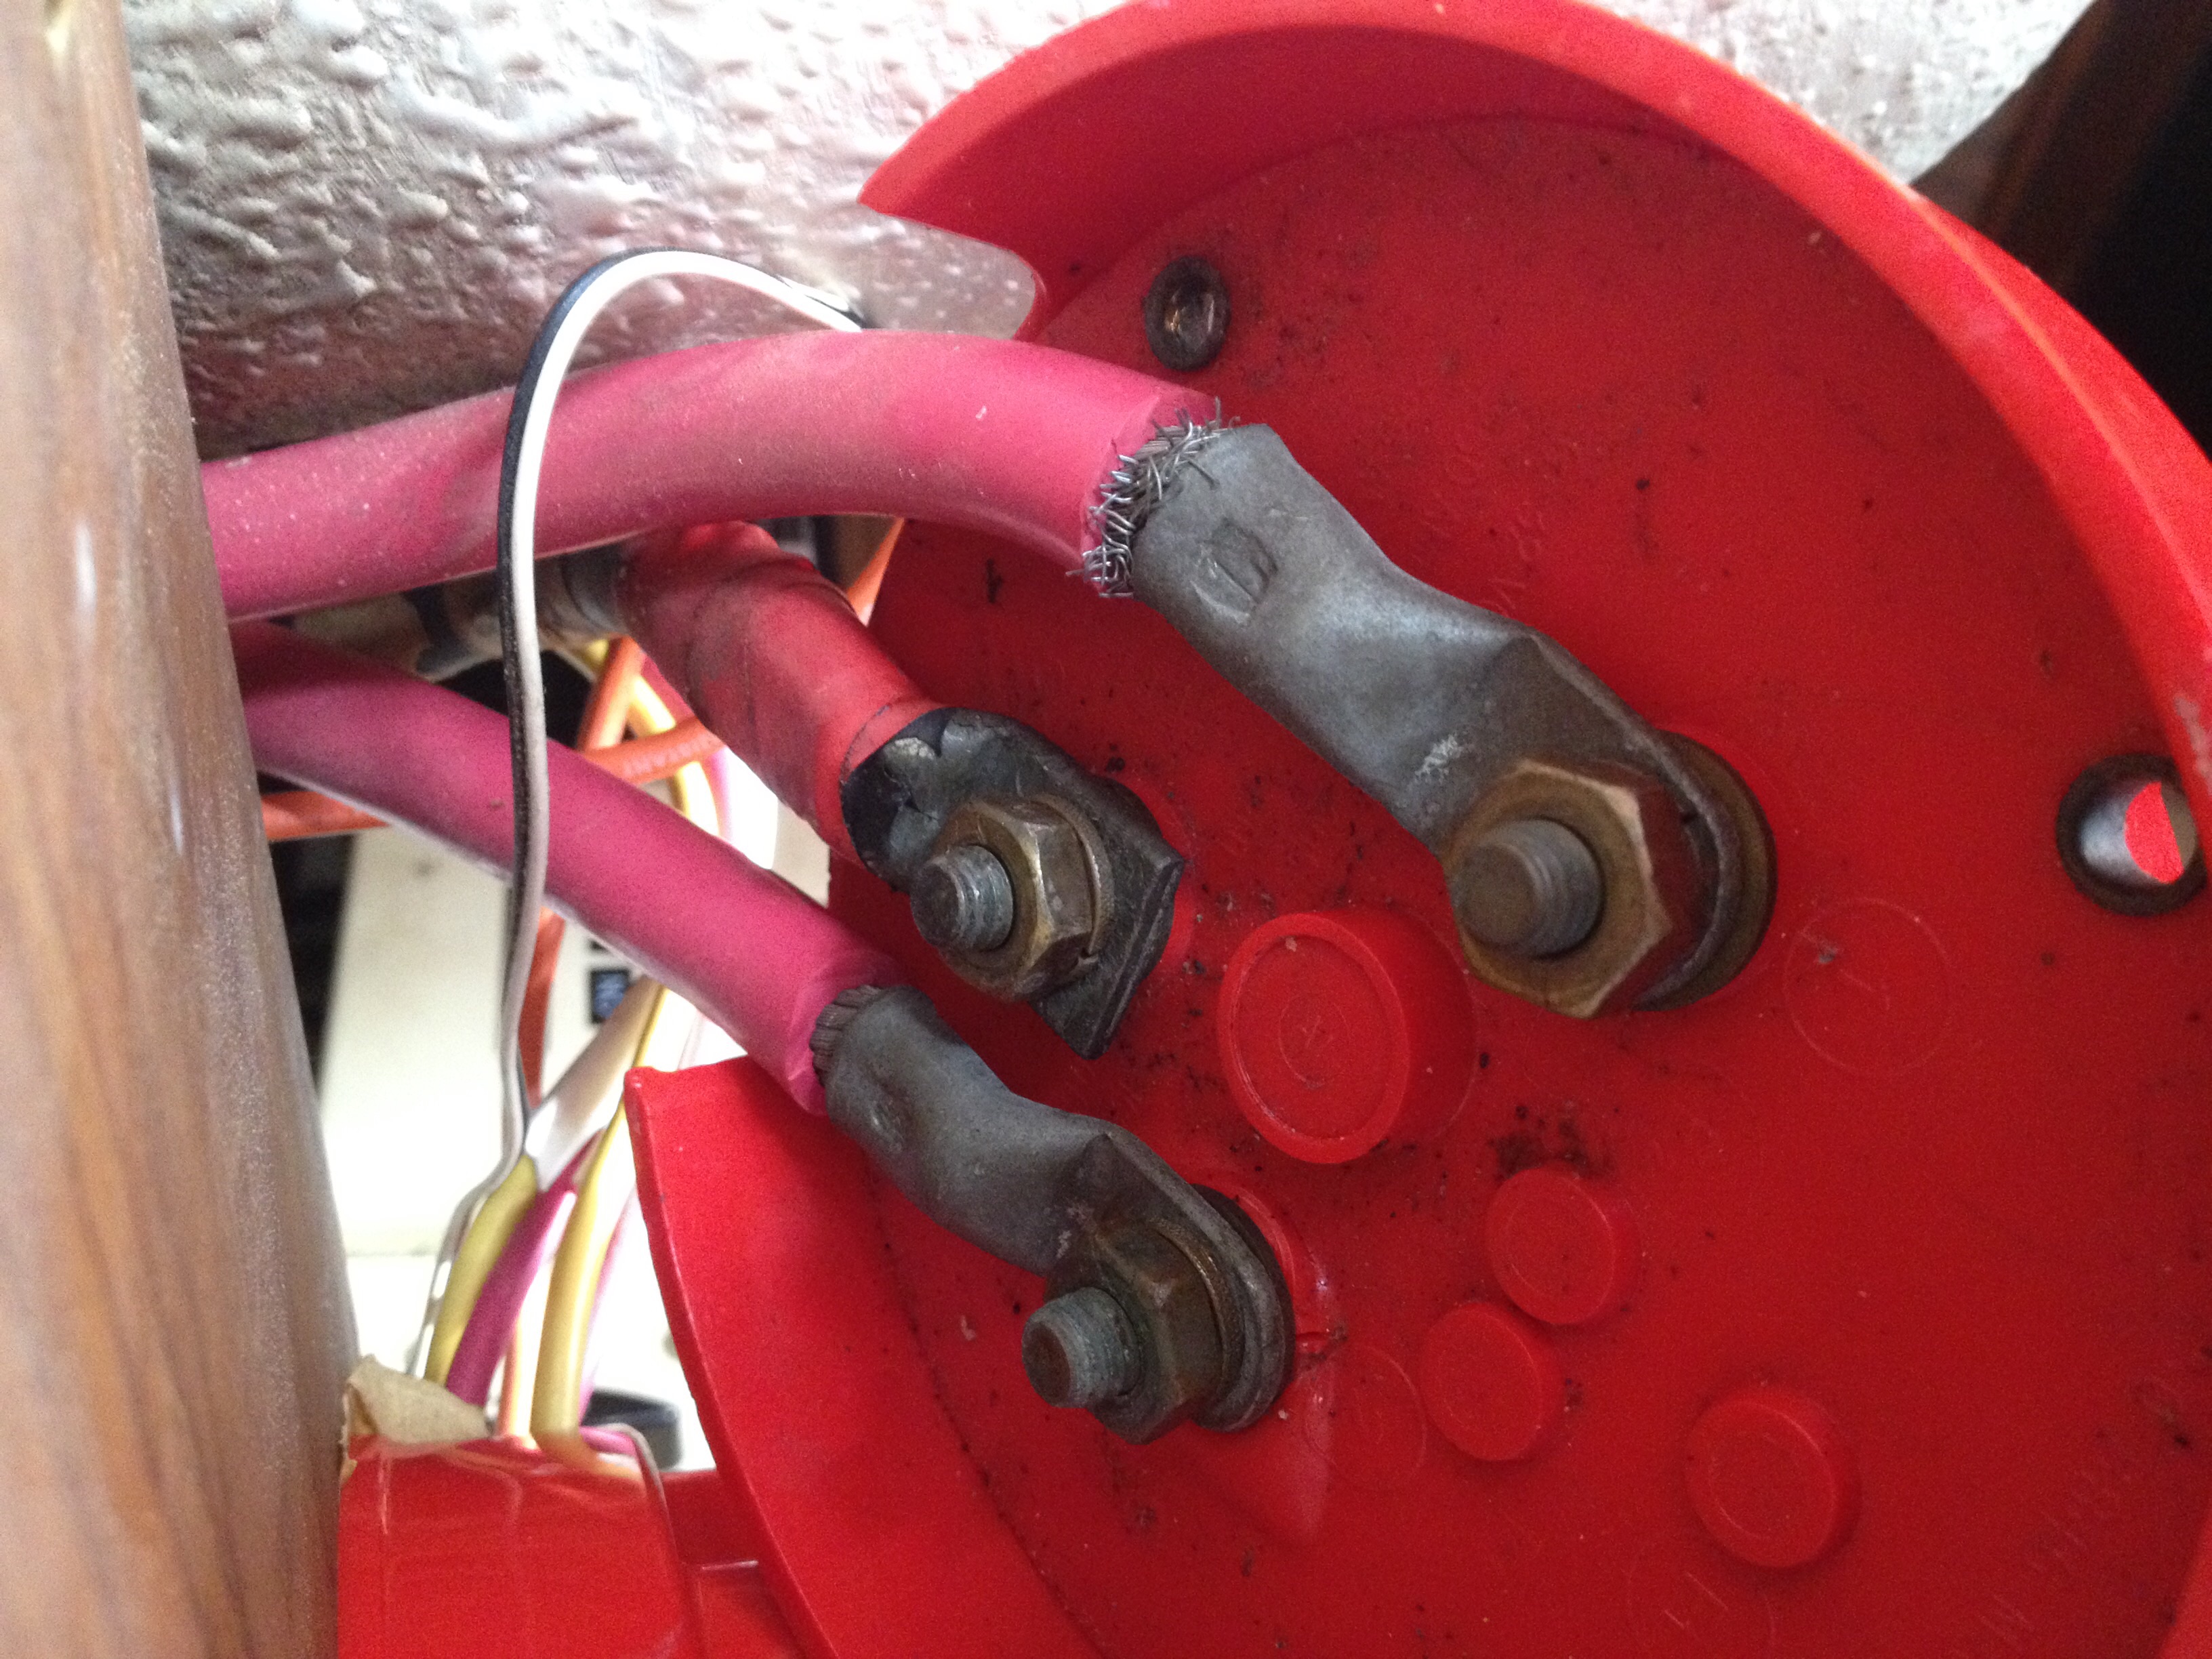
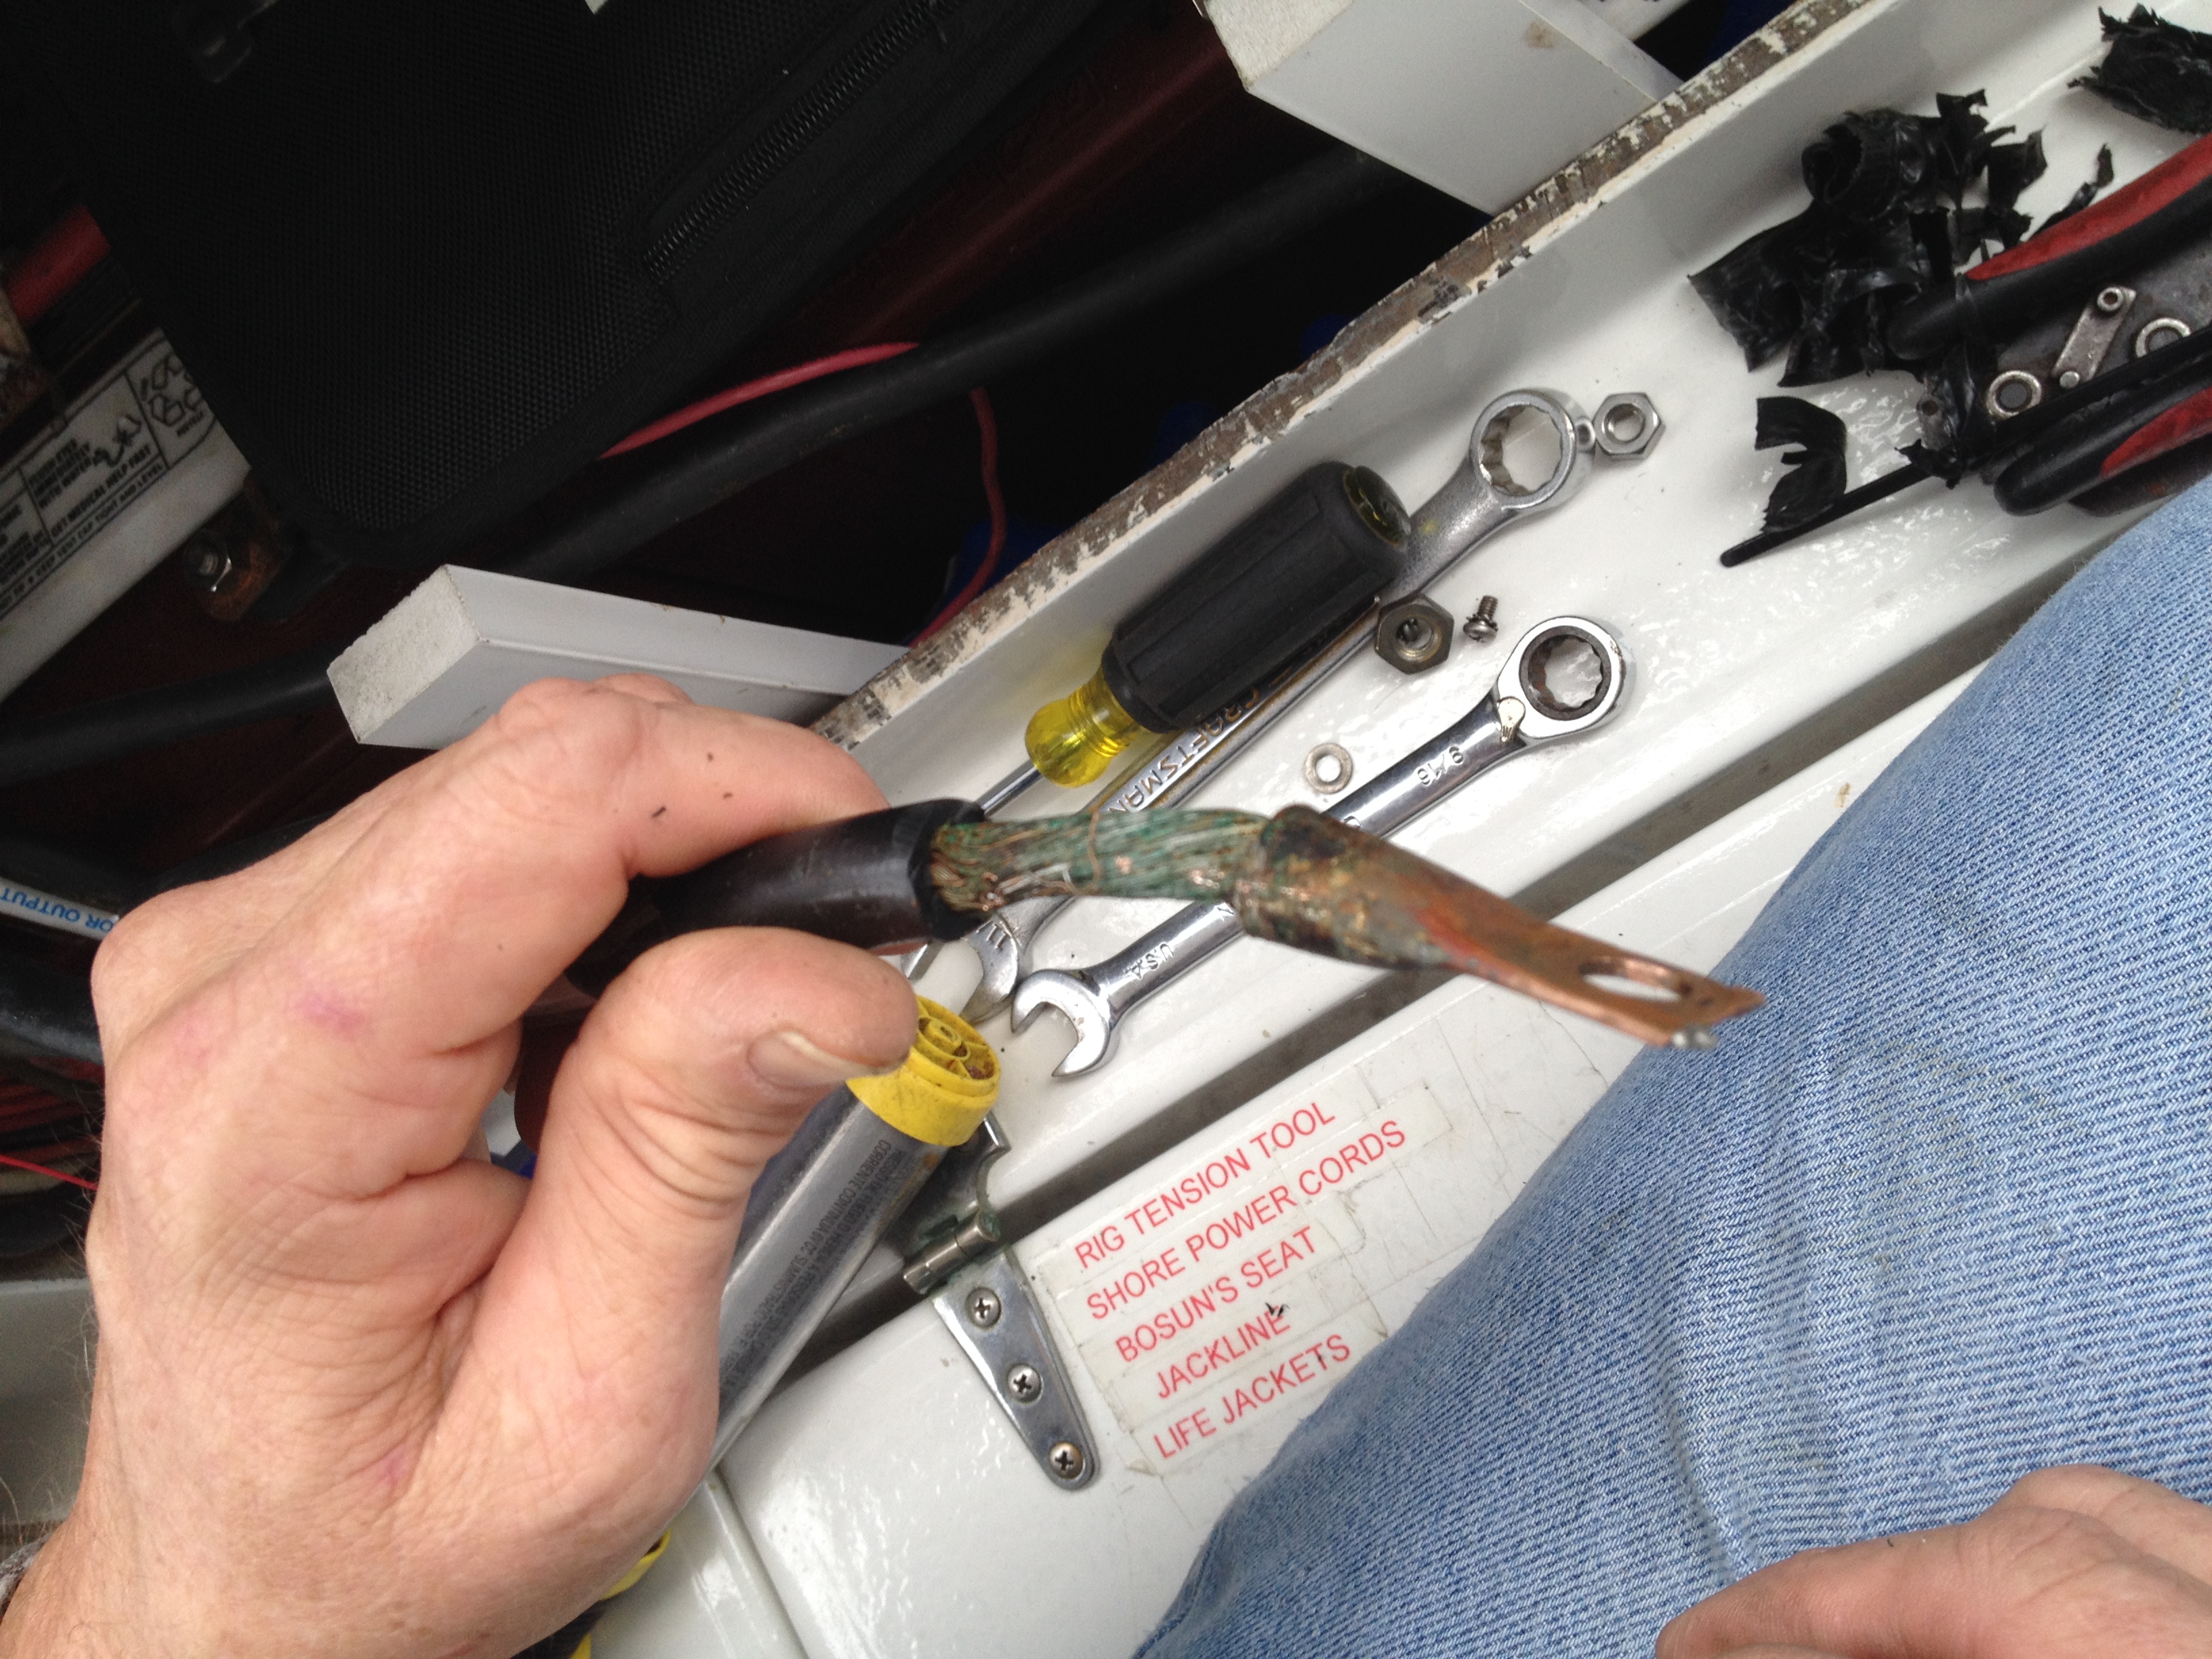
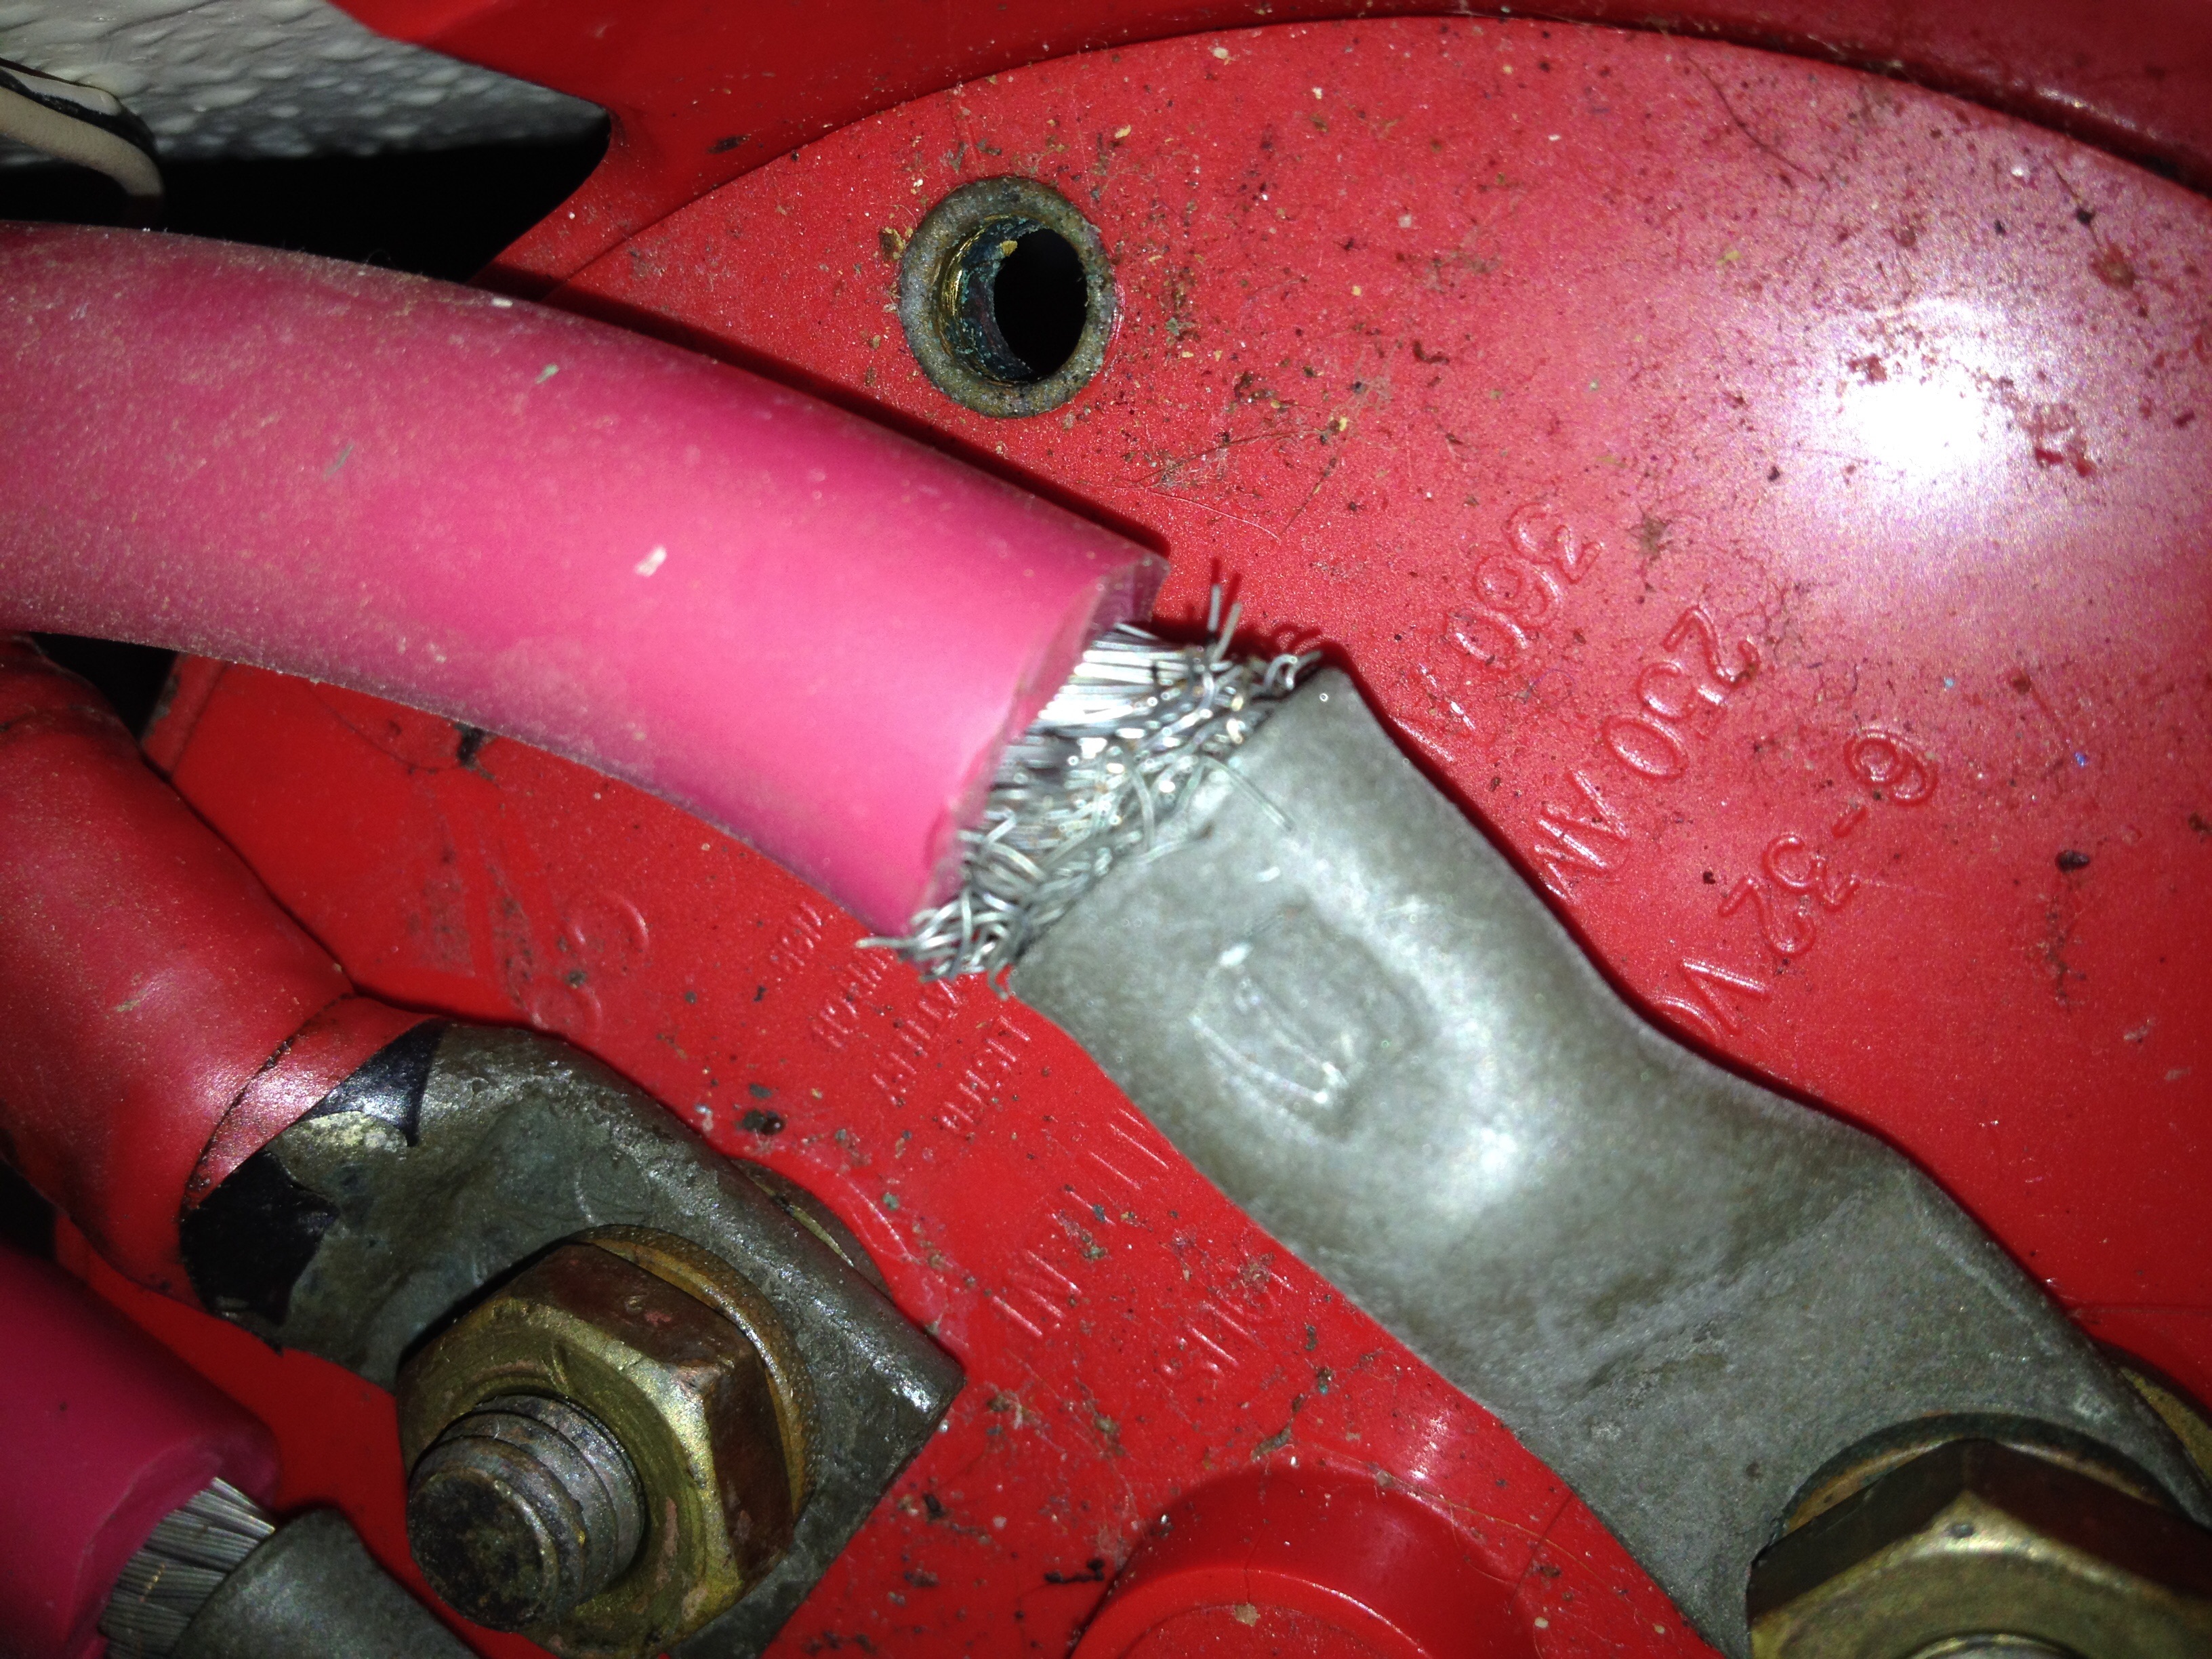
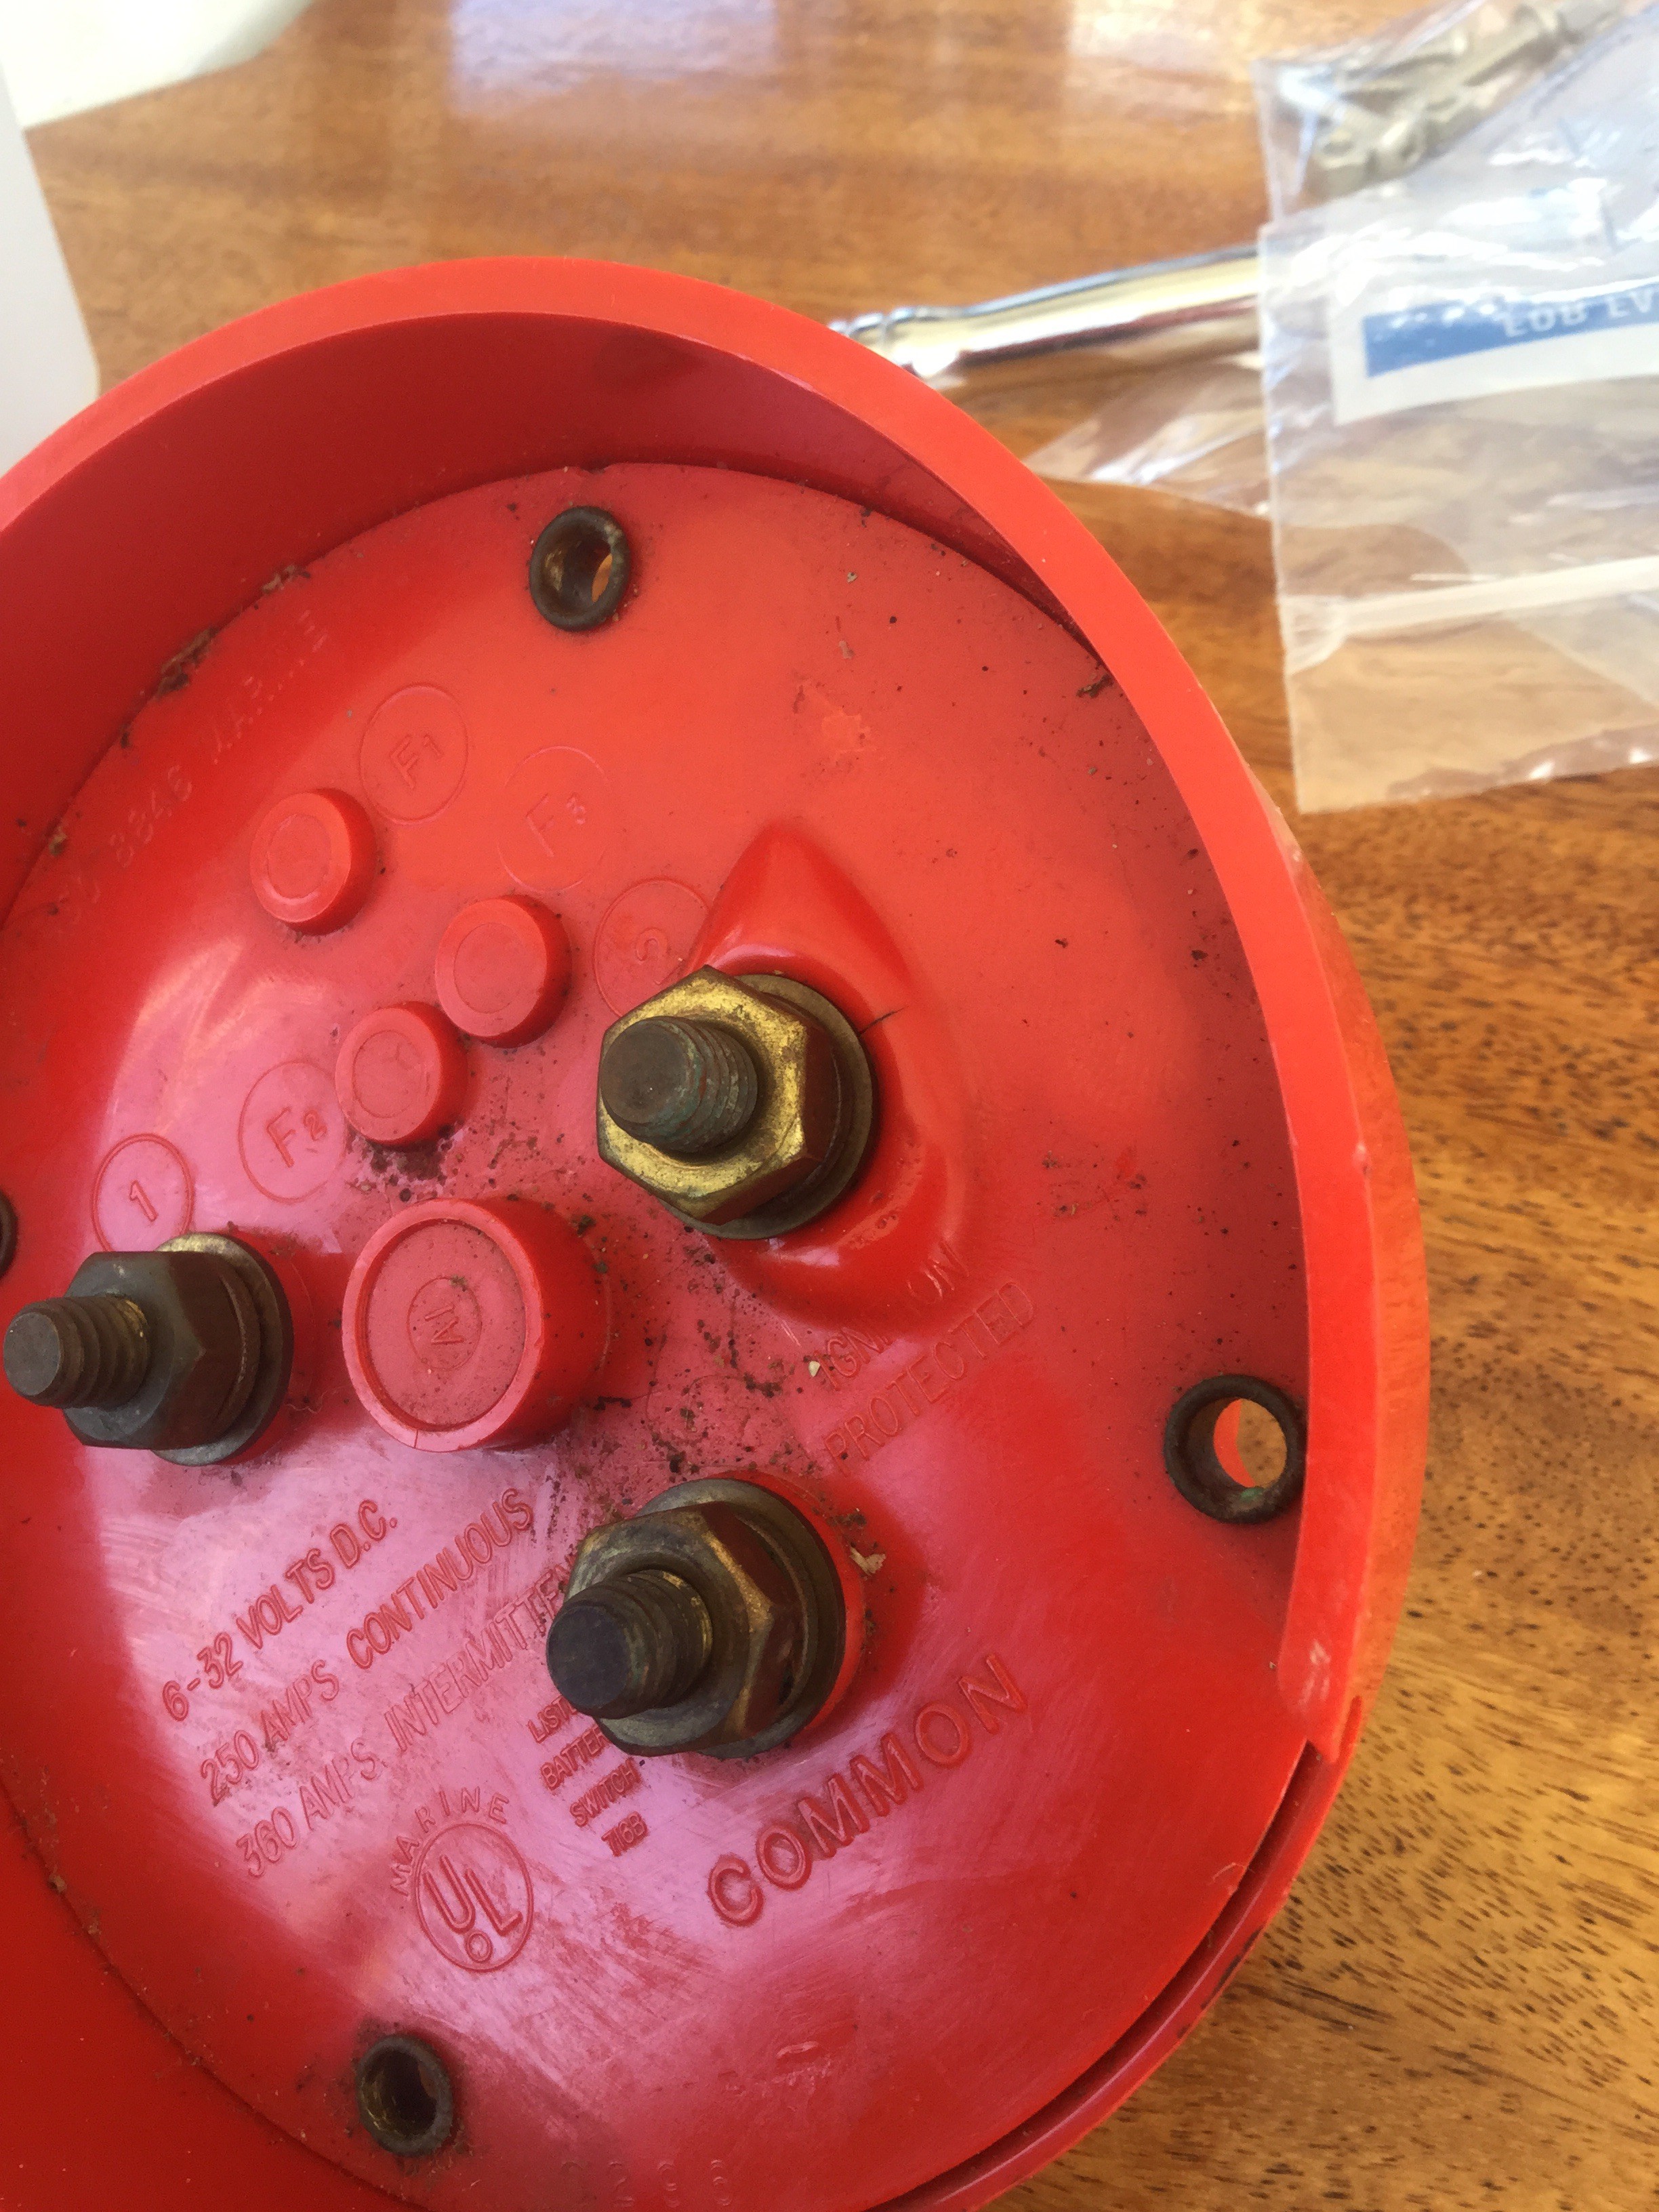
Upgrade Battery cables, install battery bank monitors, replace underrated/melted battery selector switch and install a main fuse for battery banks
Install new Wind instruments and displays
Painted the salon and V-berth interior
Repair salon sole soft spots
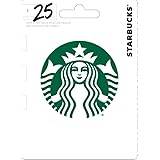
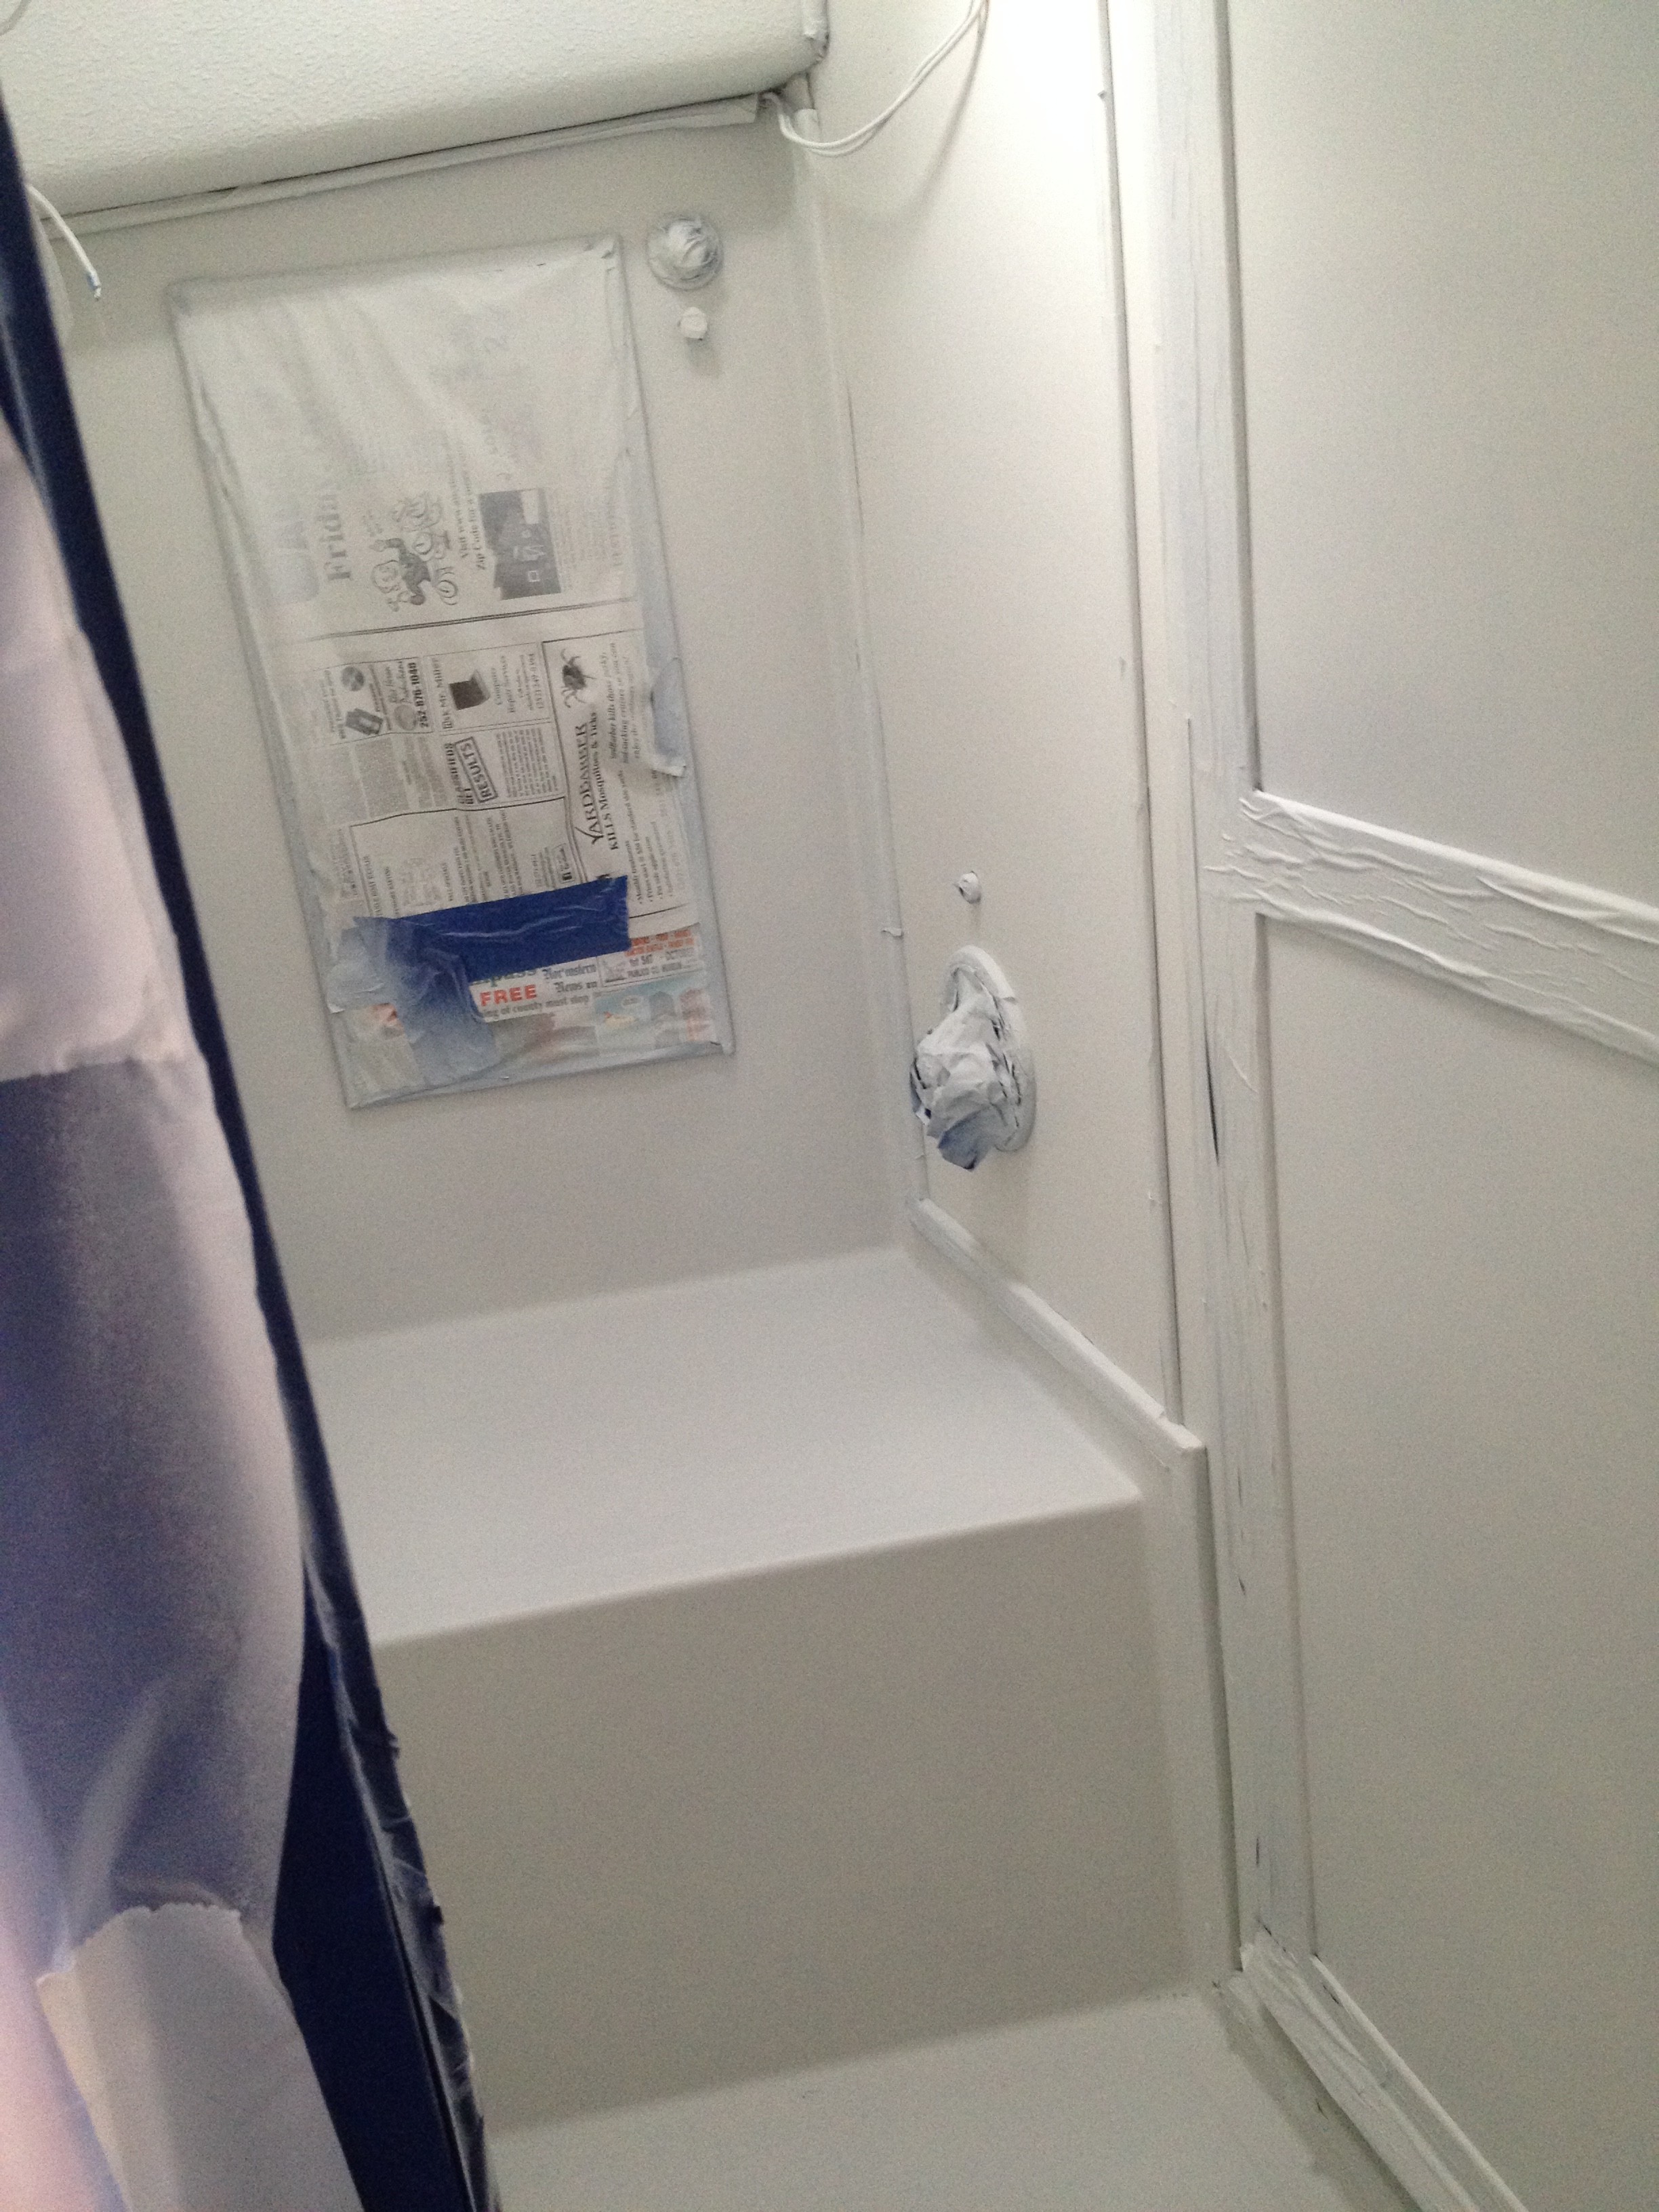
Shower stall refinish……
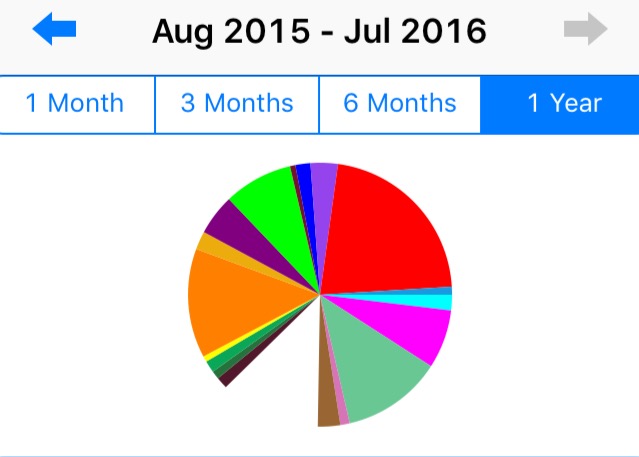
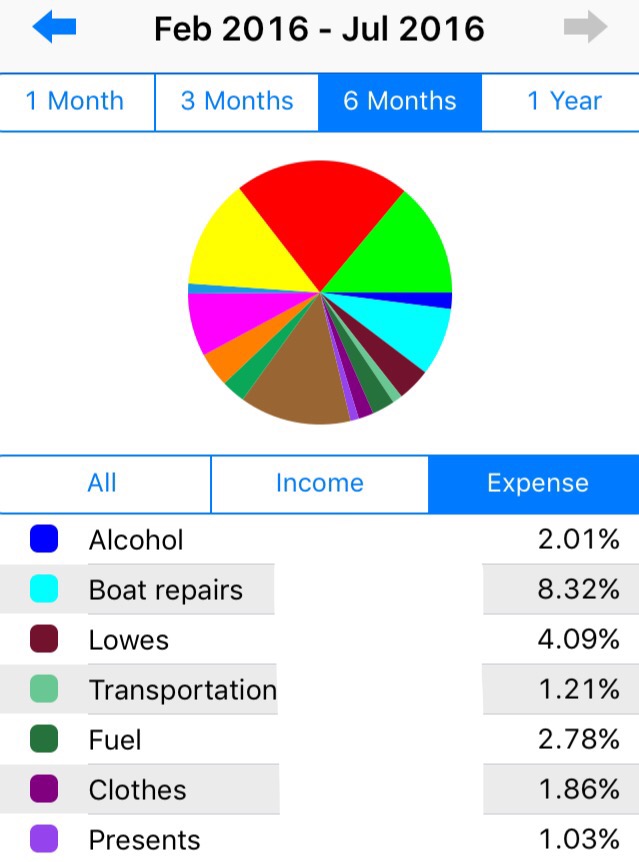
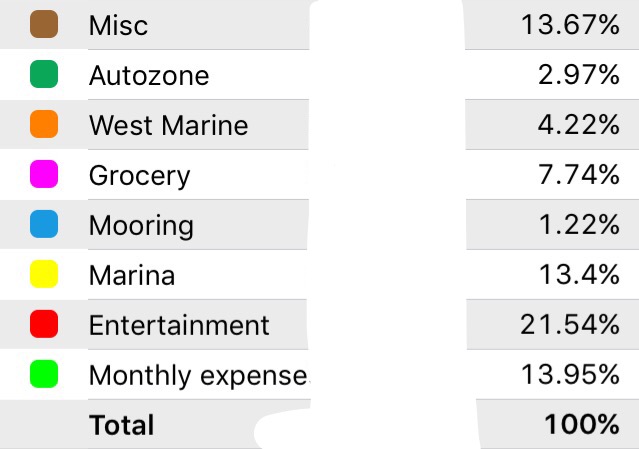
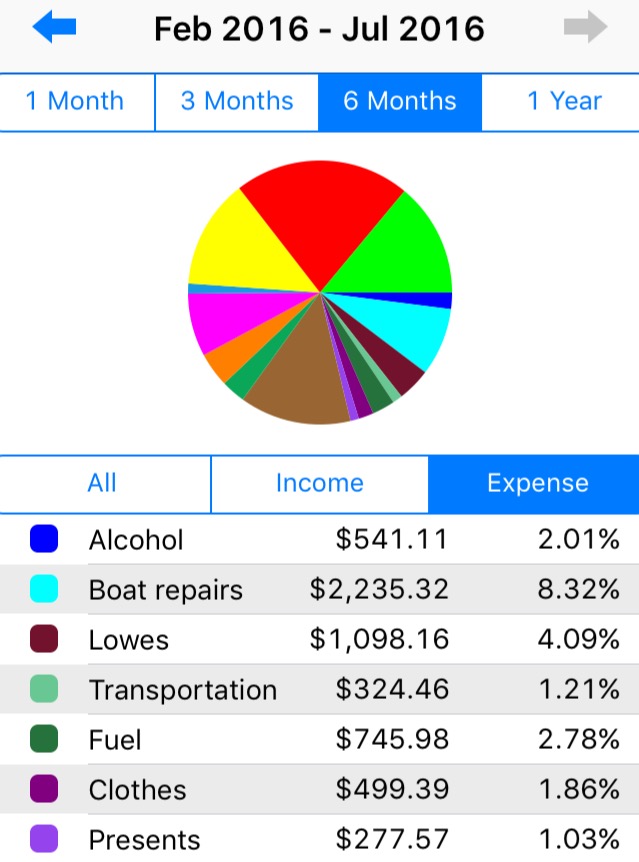
This all added up to about $12k for the year in boat upkeep….they say to anticipate 10% per year of your boat’s value for upkeep so we are a little high but fingers crossed that goes down next year……

Google Play gift code - give the gift of games, apps and more (Email or Text Message Delivery - US Only)
(as of June 22, 2026 06:13 GMT +00:00 - More infoProduct prices and availability are accurate as of the date/time indicated and are subject to change. Any price and availability information displayed on [relevant Amazon Site(s), as applicable] at the time of purchase will apply to the purchase of this product.)
Amazon Printable Gift Card
(as of June 22, 2026 06:13 GMT +00:00 - More infoProduct prices and availability are accurate as of the date/time indicated and are subject to change. Any price and availability information displayed on [relevant Amazon Site(s), as applicable] at the time of purchase will apply to the purchase of this product.)
Blink Outdoor 2K+ (newest model) — Wireless smart security camera, 2K video resolution, enhanced audio, two-year battery. Sync Module Core included — 3 camera system (Black)
(as of June 22, 2026 06:13 GMT +00:00 - More infoProduct prices and availability are accurate as of the date/time indicated and are subject to change. Any price and availability information displayed on [relevant Amazon Site(s), as applicable] at the time of purchase will apply to the purchase of this product.)
Amazon eGift Card | Celebration, Digital Delivery
(as of June 22, 2026 06:13 GMT +00:00 - More infoProduct prices and availability are accurate as of the date/time indicated and are subject to change. Any price and availability information displayed on [relevant Amazon Site(s), as applicable] at the time of purchase will apply to the purchase of this product.)
Amazon Echo Spot (newest model), Great for nightstands, offices and kitchens, Smart alarm clock, Designed for Alexa+, Black
(as of June 22, 2026 06:13 GMT +00:00 - More infoProduct prices and availability are accurate as of the date/time indicated and are subject to change. Any price and availability information displayed on [relevant Amazon Site(s), as applicable] at the time of purchase will apply to the purchase of this product.)Auto Amazon Links: No products found.


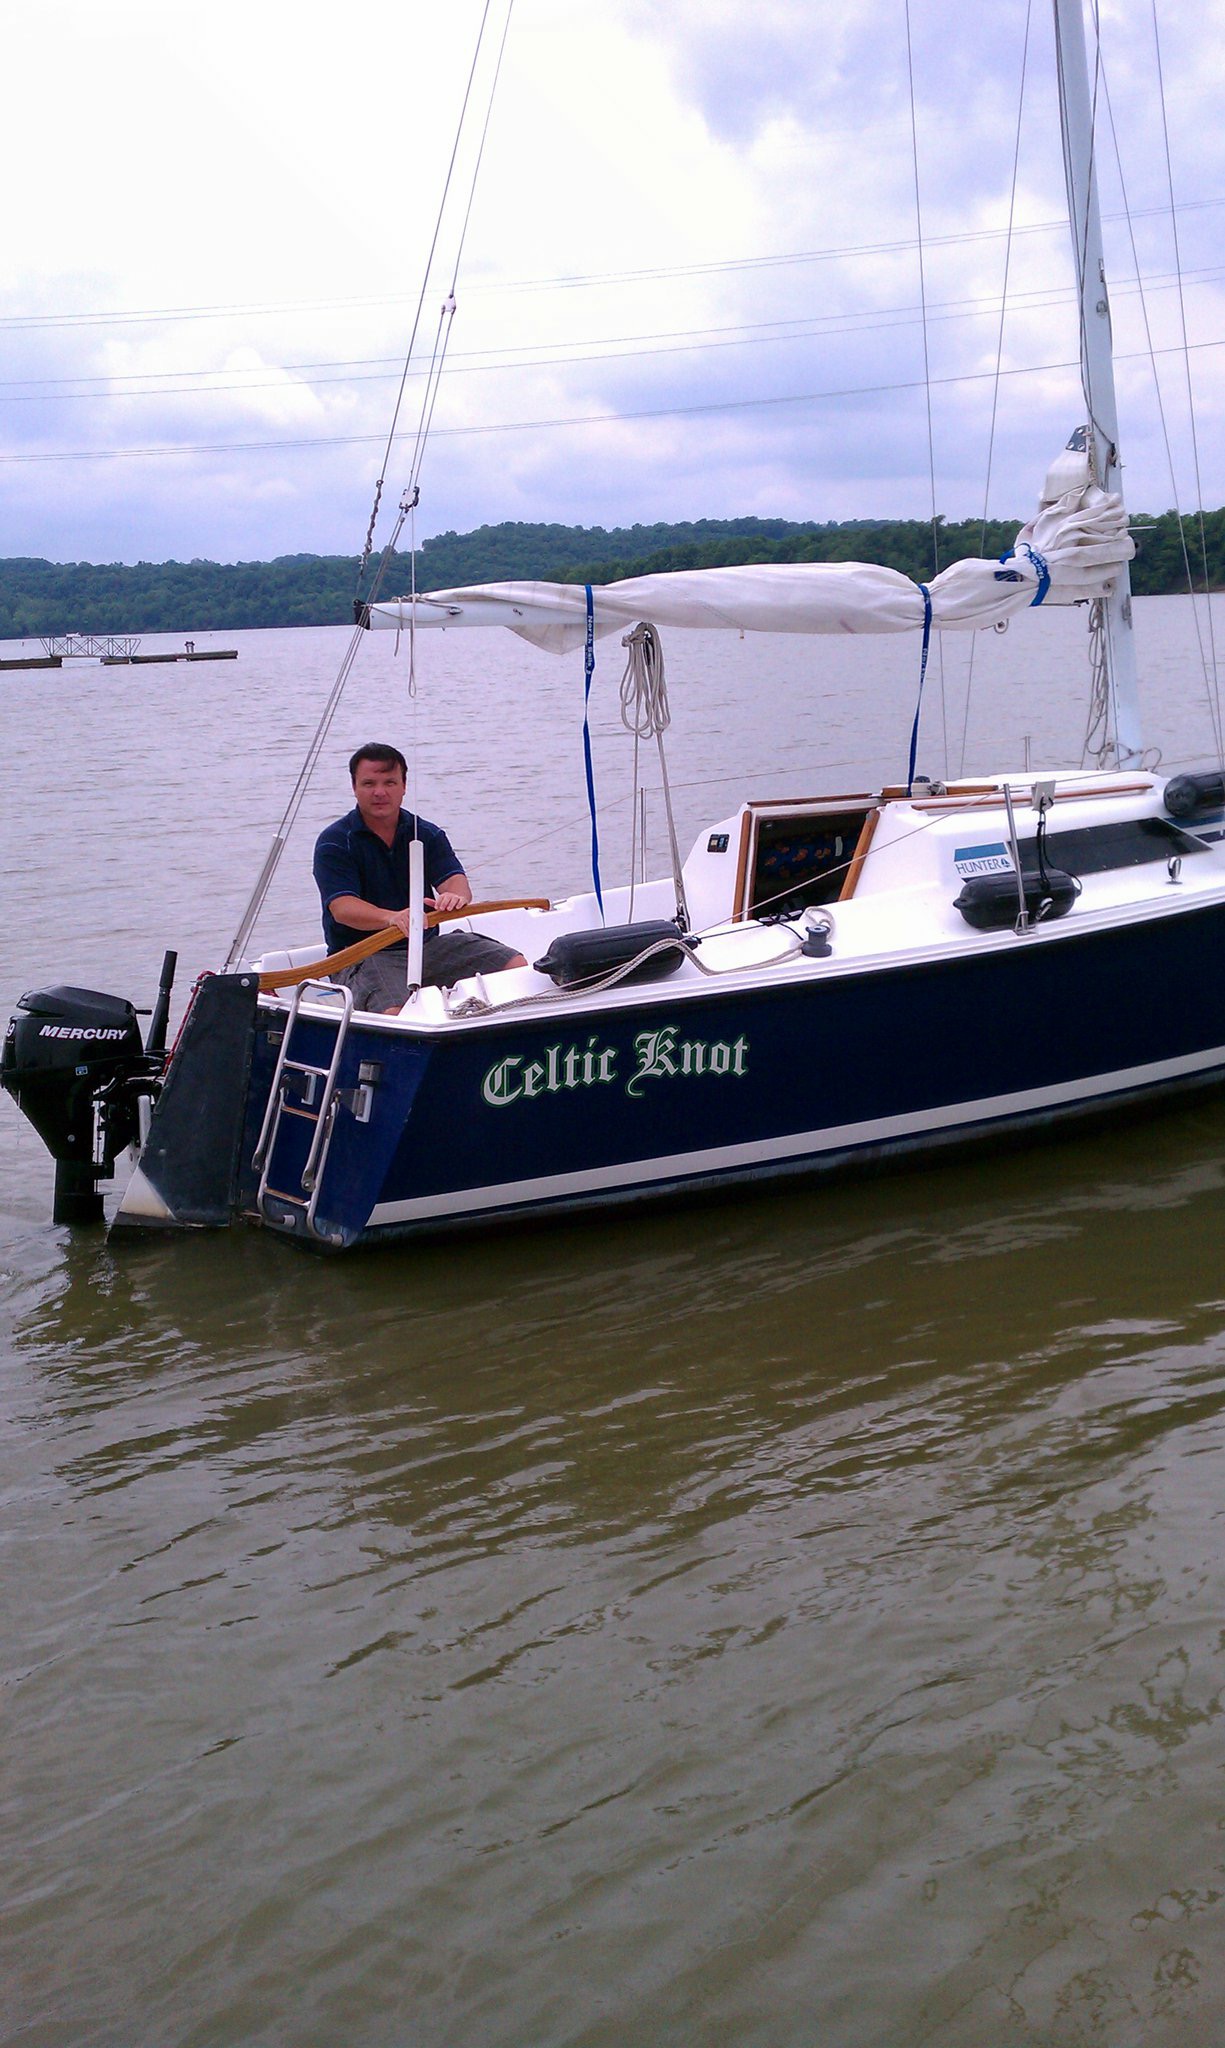
 Aaron Carmona and his traveling pooch (photo credit to Towne Dock)


