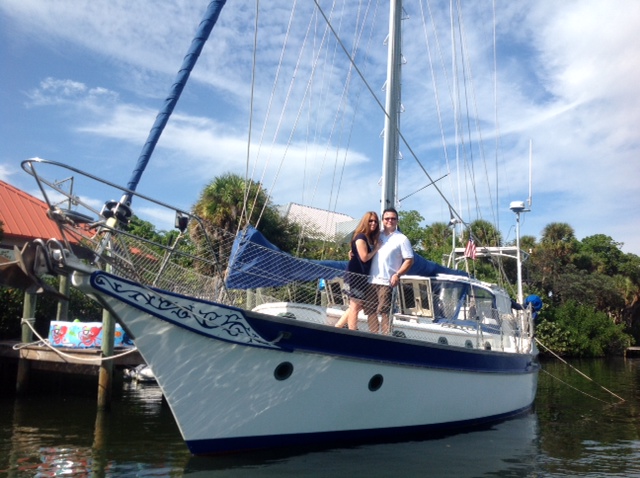
As we left things in the last post…..we were still at the Florida dock making repairs to the boat. We were hoping to have the month of June to spend in the Bahamas and time was ticking down.
One of the issues we had as we were leaving the Bahamas last June, was that our refrigerator stopped cooling. Thankfully, I had refrigeration gauges (thank you John Nihiser!!!) and a leak detector on board. We found the source of the issue which was a leak in the copper tubing that leads from the compressor to the evaporator plate near the plate. Our fridge box is heavily insulated, so we were able to put five blocks of ice in it and keep it at 40 degrees until we returned to Florida the following week. Quick tip…. If you want to save a lot of money on refrigeration diagnosis and repair in the long run, I strongly suggest getting the gauges and leak detector, learn how to use them and how to charge your system.
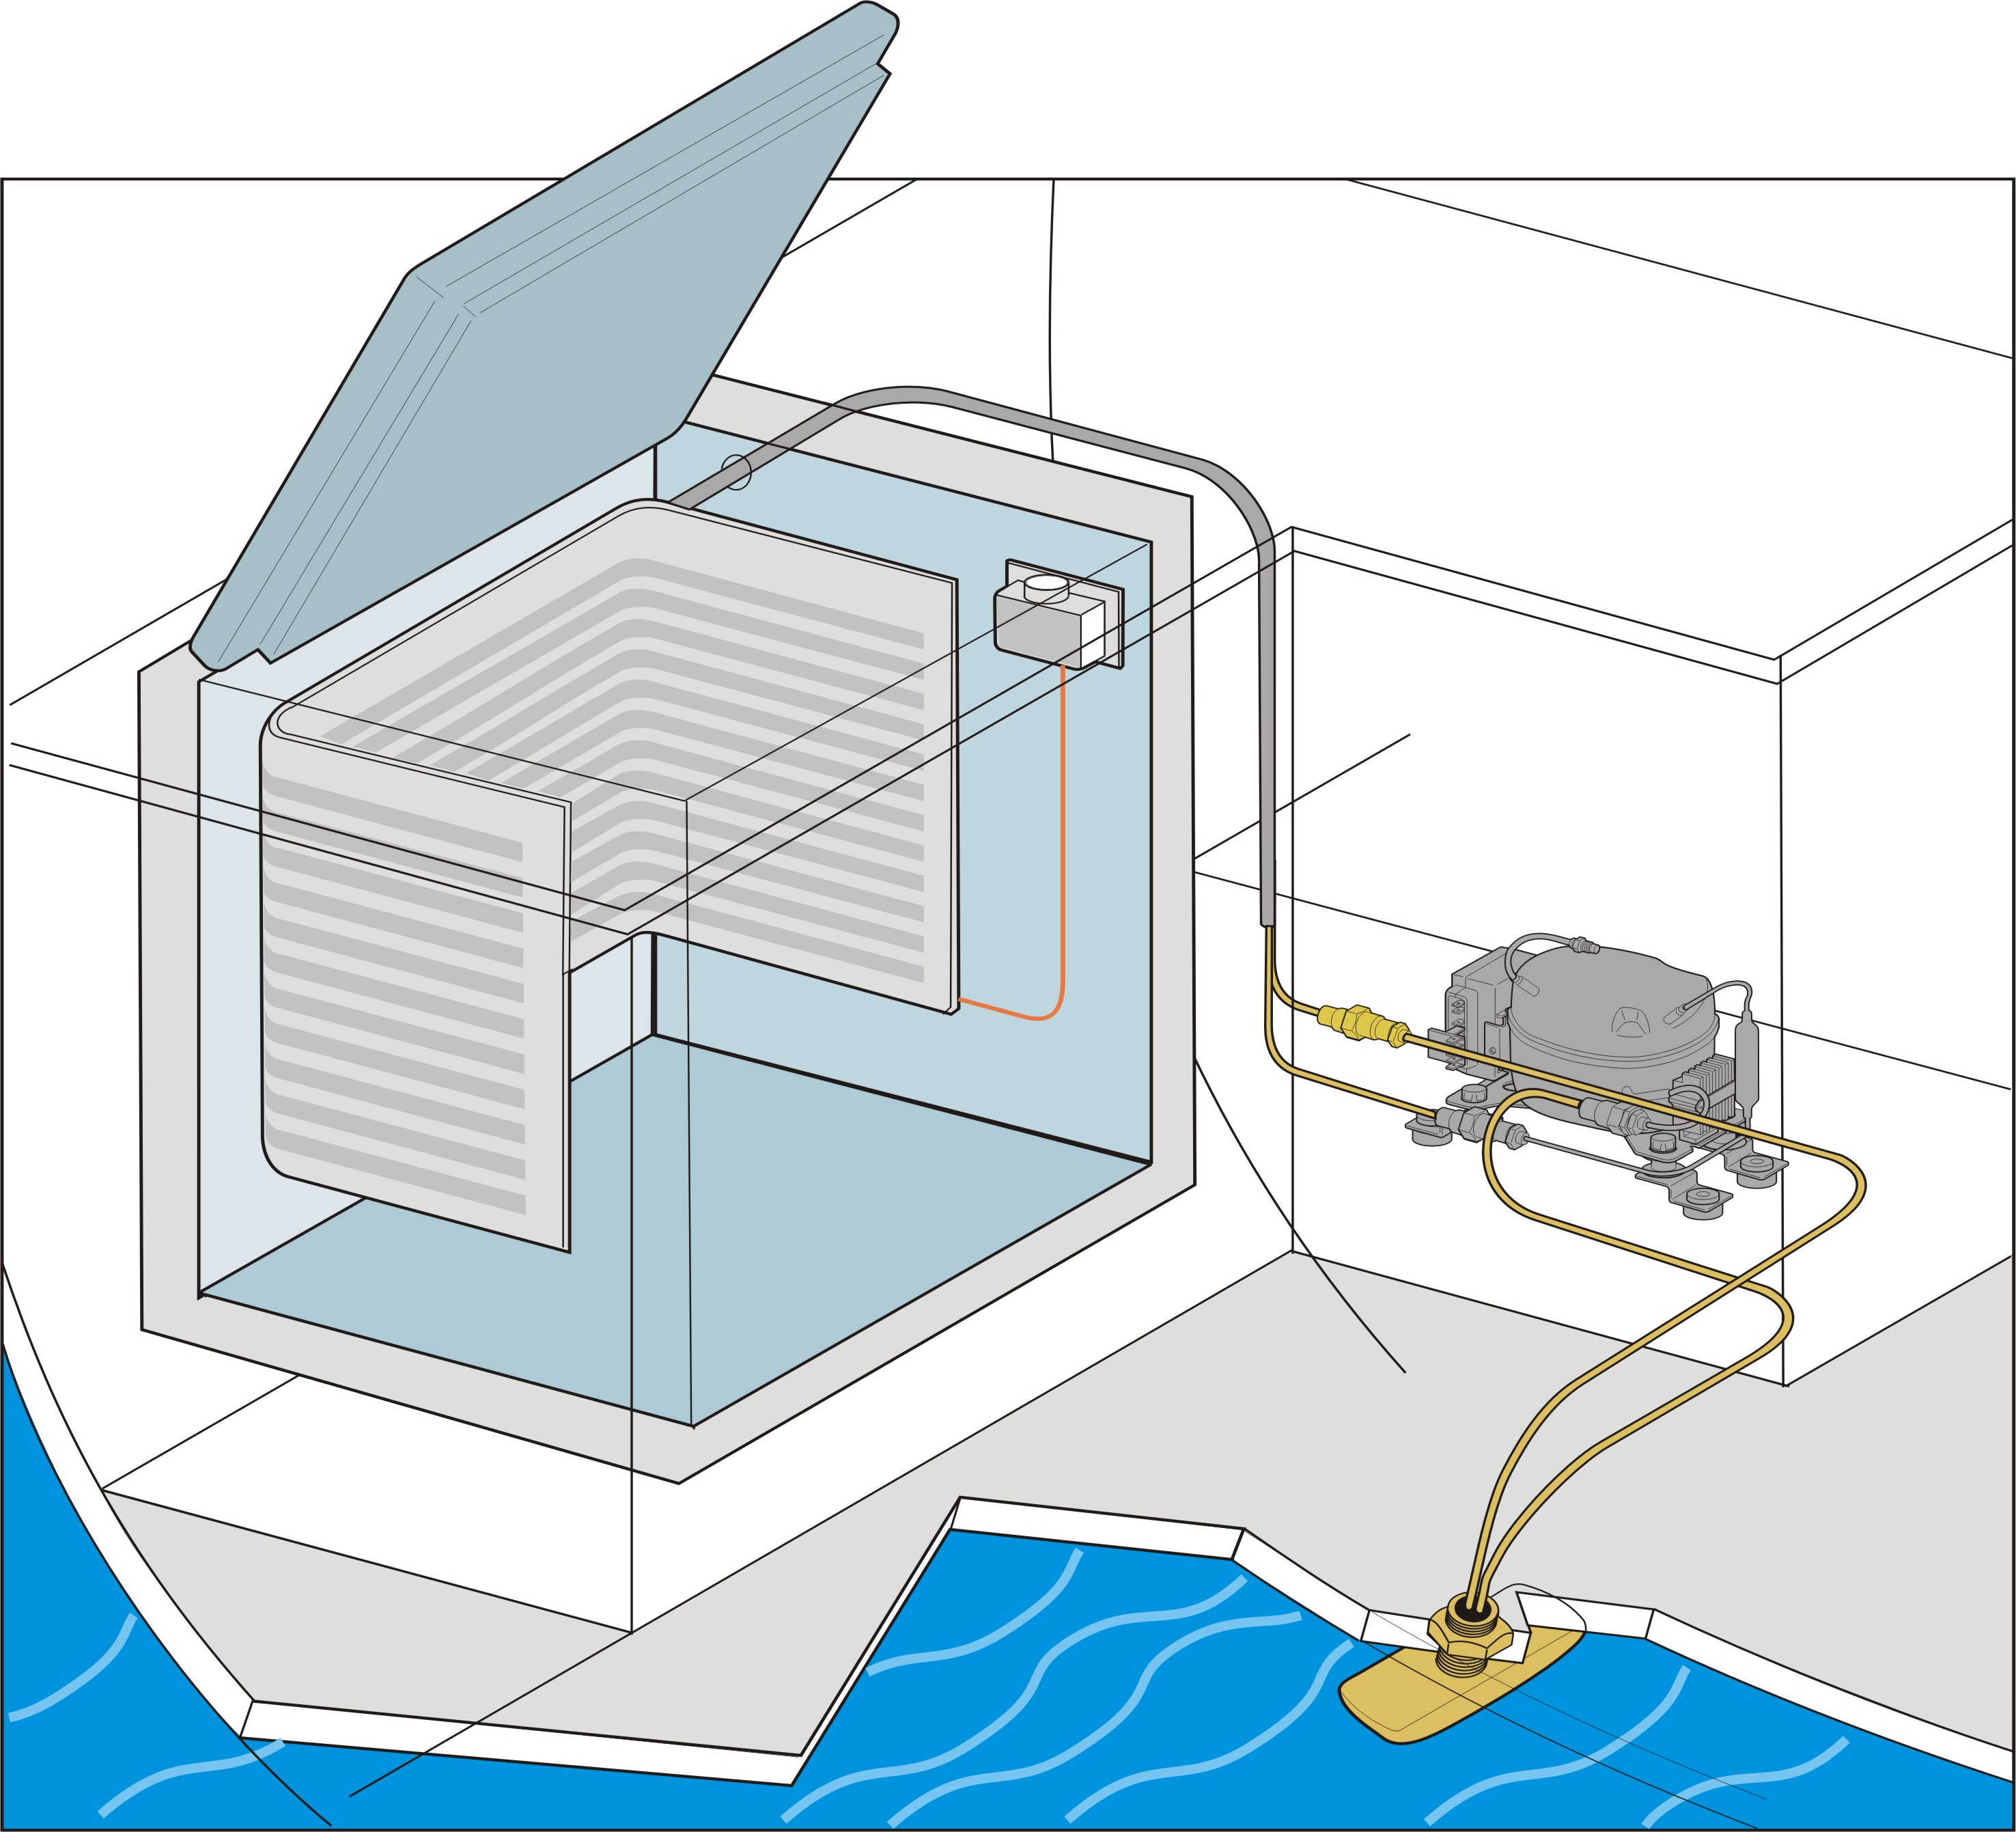
Below is a simple diagram of how refrigeration systems are laid out. Our system runs on R-134a gas which is a commonly available coolant used in automotive air conditioning. The compressor pressurizes the R-134a, and it becomes a liquid under this pressure and is pumped to the evaporator plate (which is the grey three sided lining inside the blue box). Once the liquid reaches a place it can expand, in this case, inside the plate it “boils” converting back to a gas. The boiling process allows the gas to rapidly absorb heat, in some cases lowering the temperature of the plate to around one degree Fahrenheit. The gas is then recirculated to the keel cooler ( the gold line and plate on the outside of the hull) and then back to the compressor where the process begins again.
Our system had a leak in the line at the evaporator plate. These plates come with the tubing factory installed, so the plate and line had to be replaced as one piece. The plates and tubing are about $495. Fortunately, I was able to remove the old unit and replace it without professional assistance. I did hire a local refrigeration tech to install a filter dryer and solder the lines where that filter was installed. That only cost about $80.
Next on the list was the issue with our alternator. The alternator had begun to generate a lot of dust over the last few years. It had also been performing oddly during our last month in the Bahamas. I had replaced the belts but it seemed that the dust situation never got any better. I began to suspect it was an alignment issue between the alternator pulley and the main engine pulley. It turned out that I was right and our alternator was severely out of line with the main engine pulley.
First, I pulled the alternator and took it to a local shop for a complete rebuild. That ran about $180. Once it was back, I bought some chromed alternator spacers that could be cut to length from Autozone and began the reinstallation process. The alternator was set about 1.5″ too far back and it took a few trial fittings to get it right, along with replacing the mounting bolt.
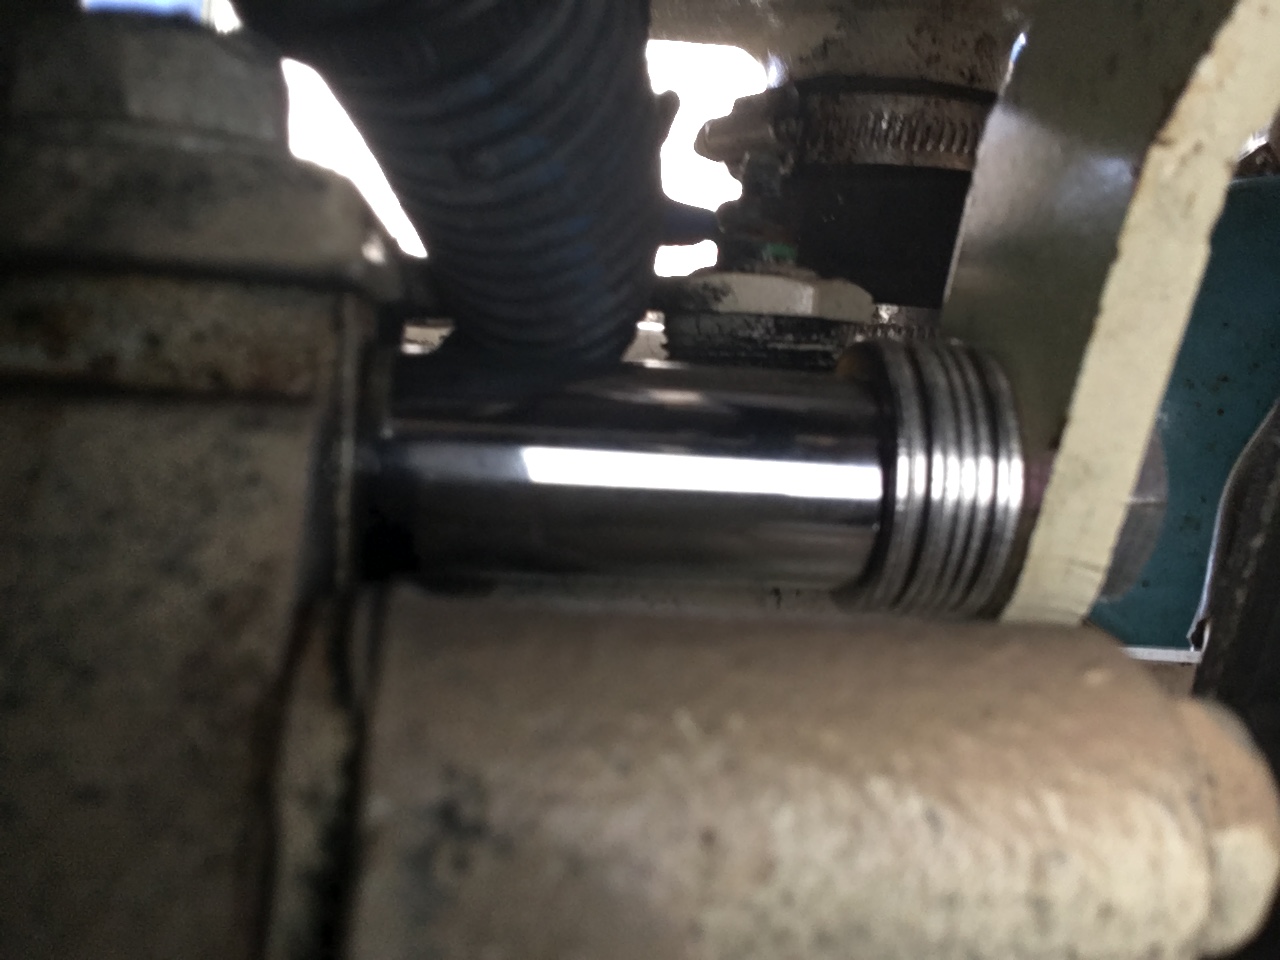
The new alternator foot spacer….on the bottom of the alternator mount …..

The new alternator head spacer…..at the top mount with a longer mounting bolt.
While I had all the belts off I also realigned the high pressure pump for our watermaker so it was ready for test and usage in the Bahamas.
Last on our list was an issue with our wind instruments. They were failing to display the wind speed and direction on the screen where a combination of data is usually available (water depth, windspeed, wind direction, and speed through the water) I was concerned that our sensors at the masthead had been damaged by the Ospreys that love to sit up there every chance they get. On the day I was certain I would have to go up the mast, I decided to experiment with the display for a little while first. To my relief and surprise, there were just some display settings that had somehow become changed and once adjusted the unit began working again…..that only took two hours of experimentation.
The I-70 display…..

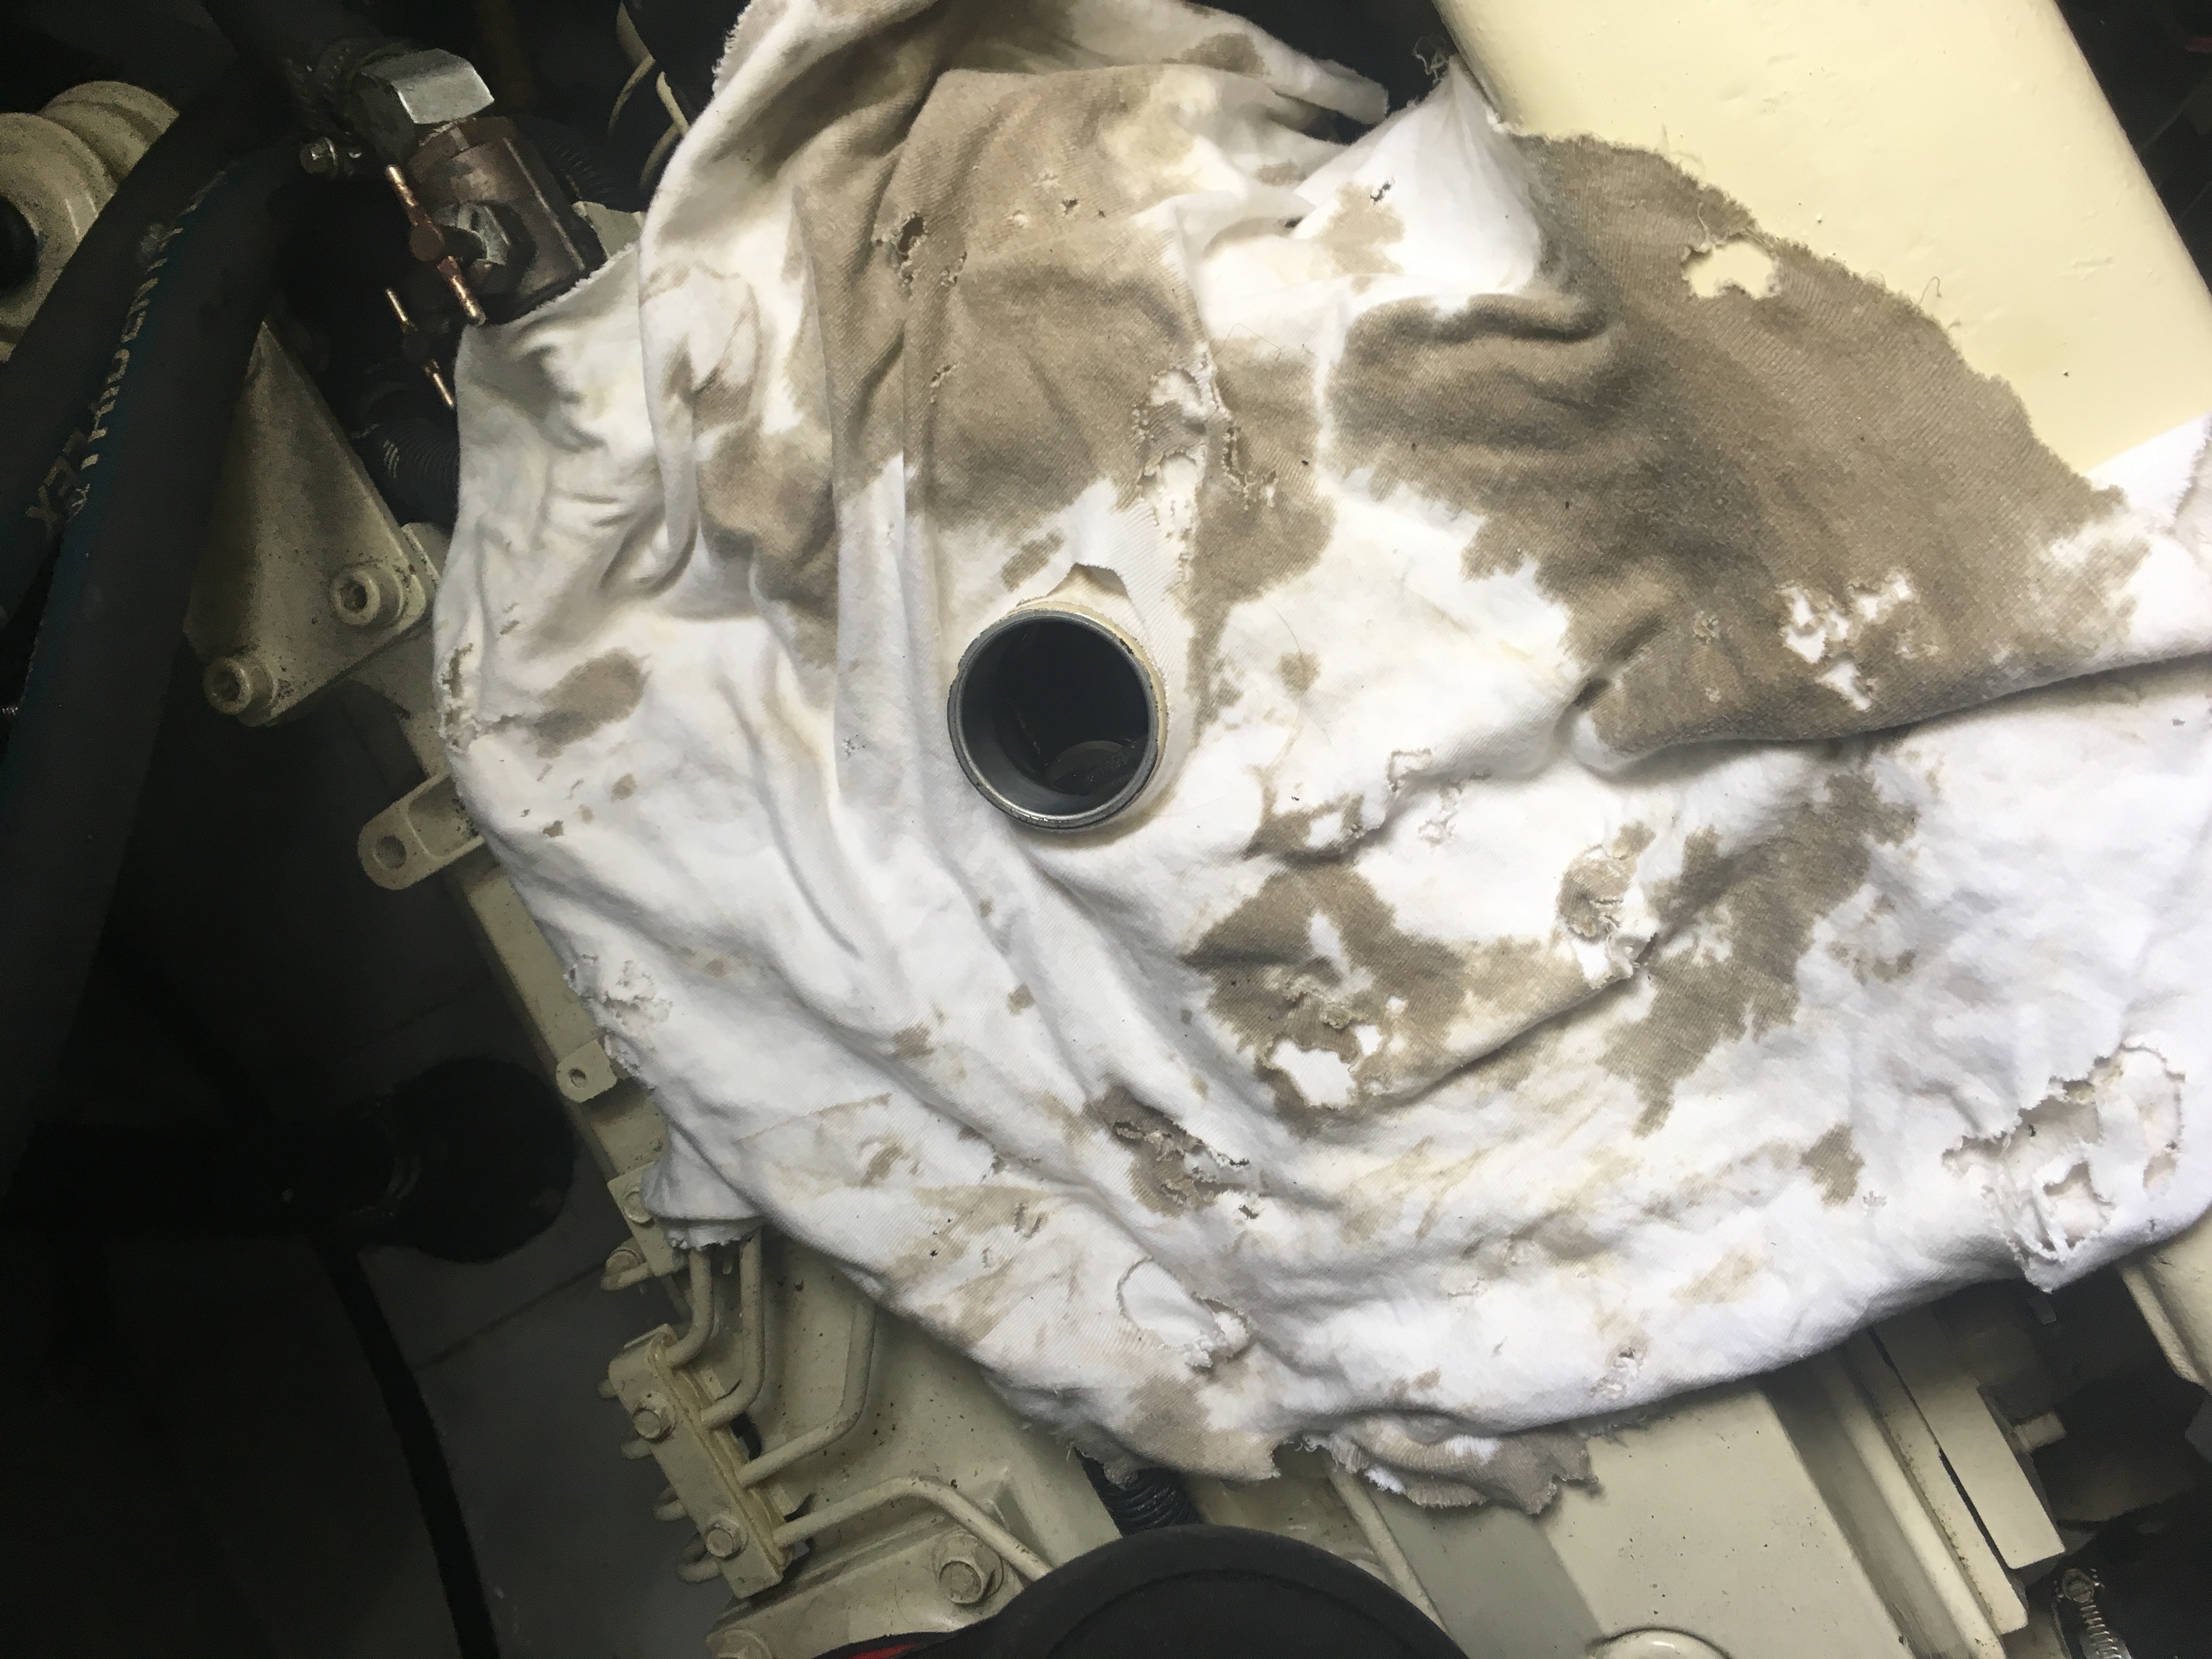
I also changed our oil and filter and since I usually spill a few drops on the engine block I made this apron for the filler opening…..

Next time….we make it back to the Bahamas …..

Amazon eGift Card | Seasonal, Digital Delivery
$50.00 (as of April 27, 2026 01:46 GMT +00:00 - More infoProduct prices and availability are accurate as of the date/time indicated and are subject to change. Any price and availability information displayed on [relevant Amazon Site(s), as applicable] at the time of purchase will apply to the purchase of this product.)
Google Play gift code - give the gift of games, apps and more (Email or Text Message Delivery - US Only)
$25.00 (as of April 27, 2026 01:46 GMT +00:00 - More infoProduct prices and availability are accurate as of the date/time indicated and are subject to change. Any price and availability information displayed on [relevant Amazon Site(s), as applicable] at the time of purchase will apply to the purchase of this product.)
Ring Floodlight Cam Wired Plus (newest model), Outdoor home or business security with motion-activated 1080p HD video and floodlights, White
$119.99 (as of April 27, 2026 01:46 GMT +00:00 - More infoProduct prices and availability are accurate as of the date/time indicated and are subject to change. Any price and availability information displayed on [relevant Amazon Site(s), as applicable] at the time of purchase will apply to the purchase of this product.)
blink plus ai plan with monthly auto-renewal
$19.99 (as of April 27, 2026 01:46 GMT +00:00 - More infoProduct prices and availability are accurate as of the date/time indicated and are subject to change. Any price and availability information displayed on [relevant Amazon Site(s), as applicable] at the time of purchase will apply to the purchase of this product.)
Amazon Physical Gift Card
$10.00 (as of April 27, 2026 01:46 GMT +00:00 - More infoProduct prices and availability are accurate as of the date/time indicated and are subject to change. Any price and availability information displayed on [relevant Amazon Site(s), as applicable] at the time of purchase will apply to the purchase of this product.)Auto Amazon Links: No products found.
Great hearing from you guys. Glad things are going well.
GREAT pictures !! and nice explanation of the reefer system ! Nice job !!