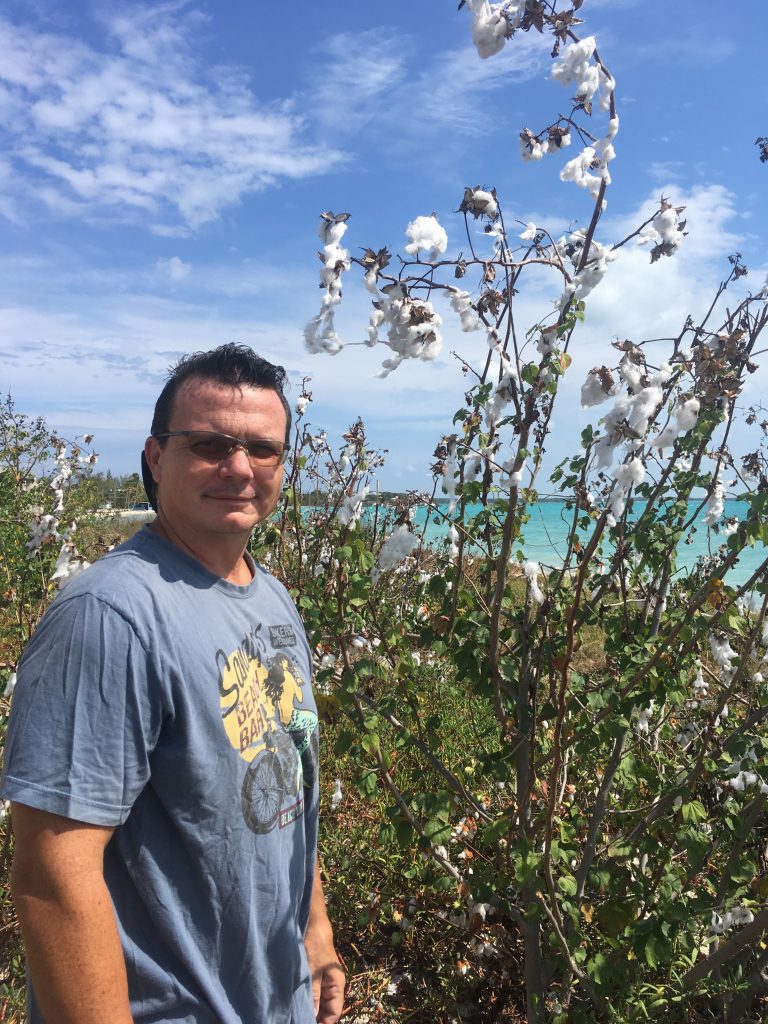
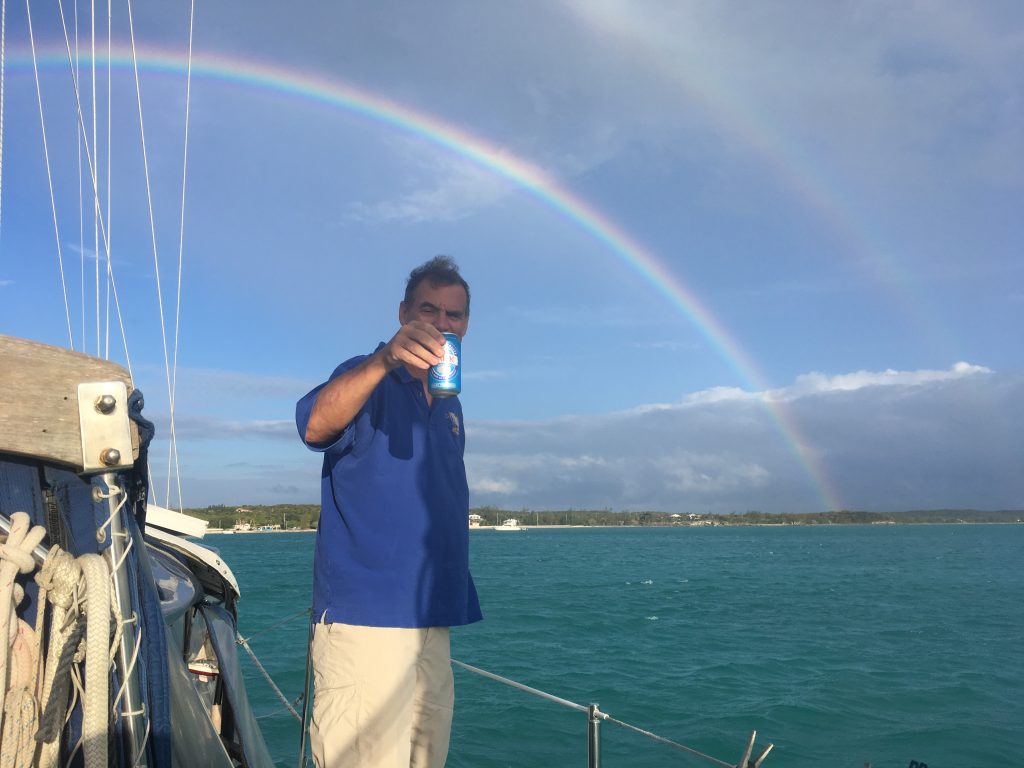
Winner winner ….Kalik beer fishing shirt….(I’m a terrible poet)

Congratulations to our most recent prize winner….and long time subscriber, Dave Uhles !!!!! Dave is an extraordinary pilot and was the best sailing student I’ve ever had the privilege to teach….what a natural !!!  He piloted the boat all day on Brookville Lake while I drank beer…..Dave likes to fly fish so I hope this shirt saves his skin from any unwanted sunburns……

Dave won this prize for correctly identifying the corresponding crew member based on our Jaws themed monogrammed custom napkins quiz on Facebook this last June.

Don’t forget to encourage friends to subscribe….any month we add ten or more subscribers we have a random prize giveaway…..it’s like automatically increasing your chances to win !!! And your odds are MUCH better than with the powerball.

On an unrelated note……Christmas is coming…..a lot of people use online shopping these days for that……I received a few questions on how the program we advertise in posts works …… if you use our links to access their site and you order anything or buy a video or music, or sign up for a prime or kindle trial we get a small commission and that doesn’t increase your cost at all…..I hope that helps answer any questions…..thanks !!!

AND ……

Congratulations Dave !!!!


Let’s see who knows about Anodes….

Where should we go ?


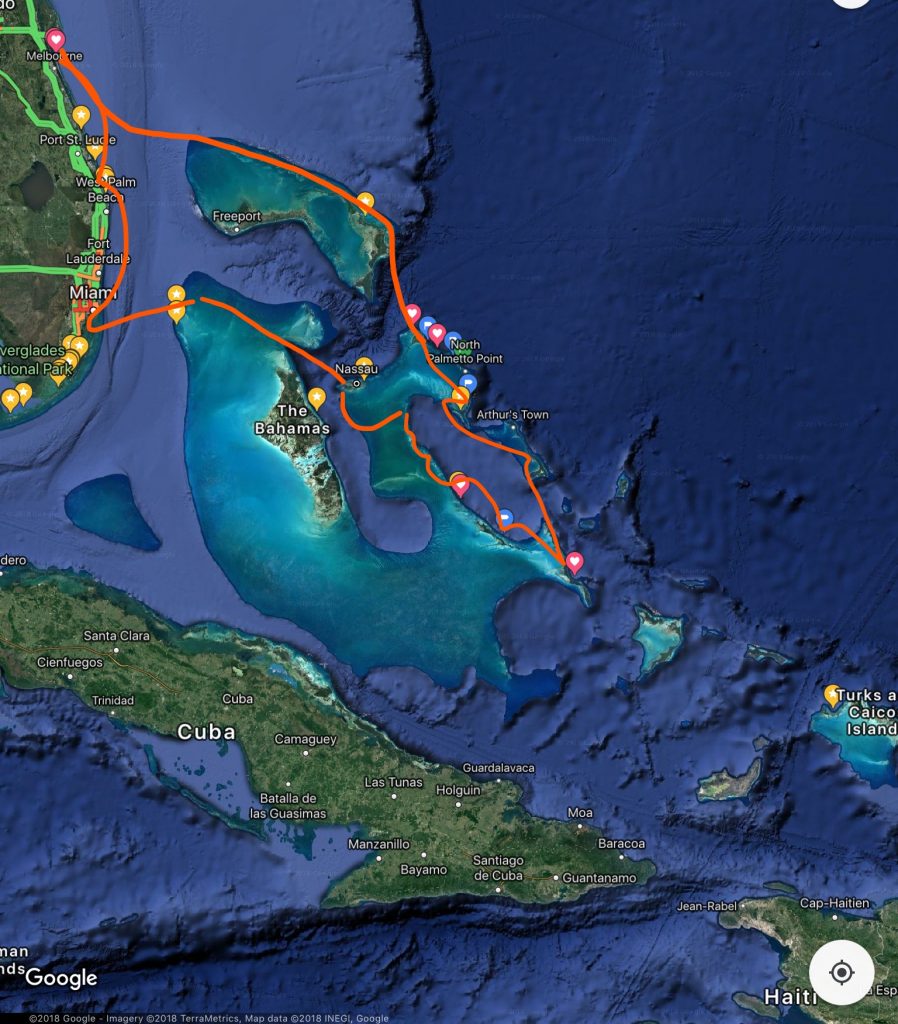
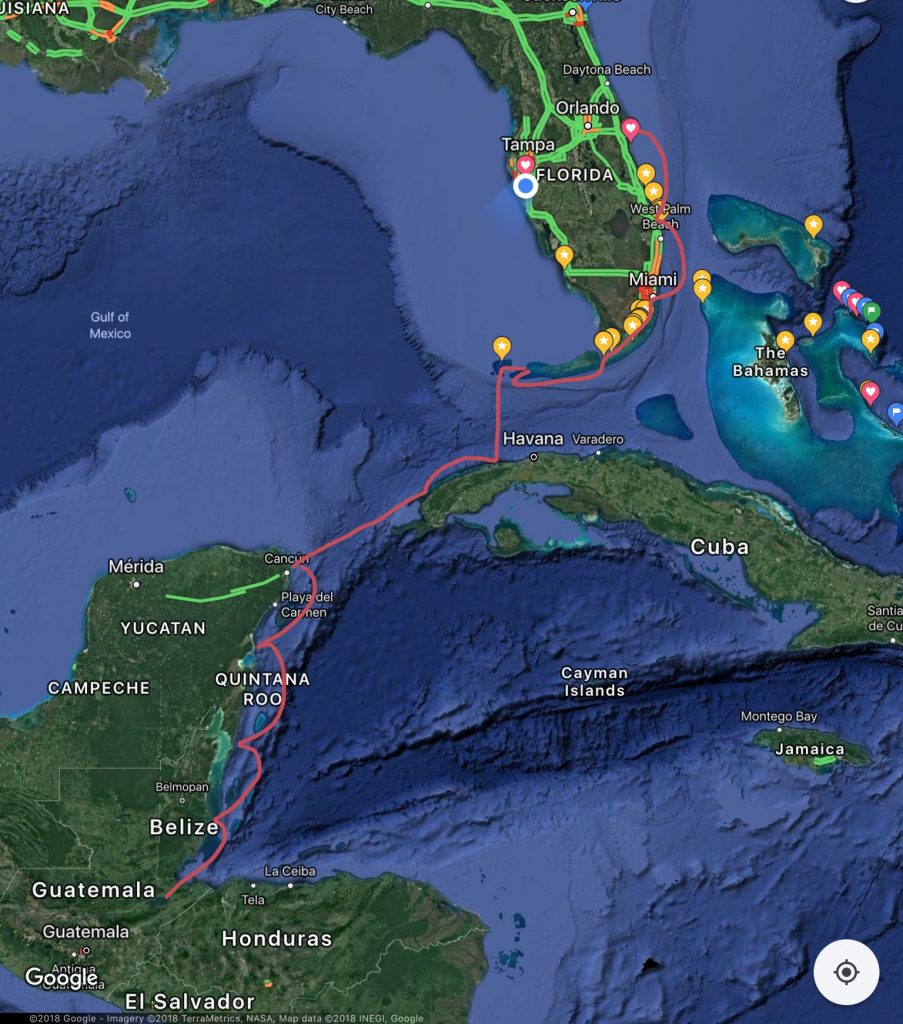
So…we find ourselves nearing the time when we need to decide where we will go during this next cruising season.  We have a couple of choices and thought it might be fun to see what our readers thought. Keep in mind these aren’t actual navigation routes…..just general areas we would depart and arrive…..

This first route is what we did in 2016-2017…..it covers about 1,000 nautical miles (nm) and while we didn’t hit every Island we hit quite a few…..

This second, partially new, route covers what we did in 2015-2016 (Florida Keys and Dry Tortugas) plus adds Cuba, Isla Mujeres, and some hops down that coast that would end in Guatemala. Which is also a good place to be for hurricane season next year.

Courtesy of Google Maps

So….let us know what you think by voting below !!!! Feel free to leave some comments too !!!


A Season at the Dock ……Part 2

As we left things in the last post…..we were still at the Florida dock making repairs to the boat.  We were hoping to have the month of June to spend in the Bahamas and time was ticking down.

One of the issues we had as we were leaving the Bahamas last June, was that our refrigerator stopped cooling.  Thankfully, I had refrigeration gauges (thank you John Nihiser!!!) and a leak detector on board.  We found the source of the issue which was a leak in the copper tubing that leads from the compressor to the evaporator plate near the plate.  Our fridge box is heavily insulated, so we were able to put five blocks of ice in it and keep it at 40 degrees until we returned to Florida the following week. Quick tip…. If you want to save a lot of money on refrigeration diagnosis and repair in the long run, I strongly suggest getting the gauges and leak detector, learn how to use them and how to charge your system.


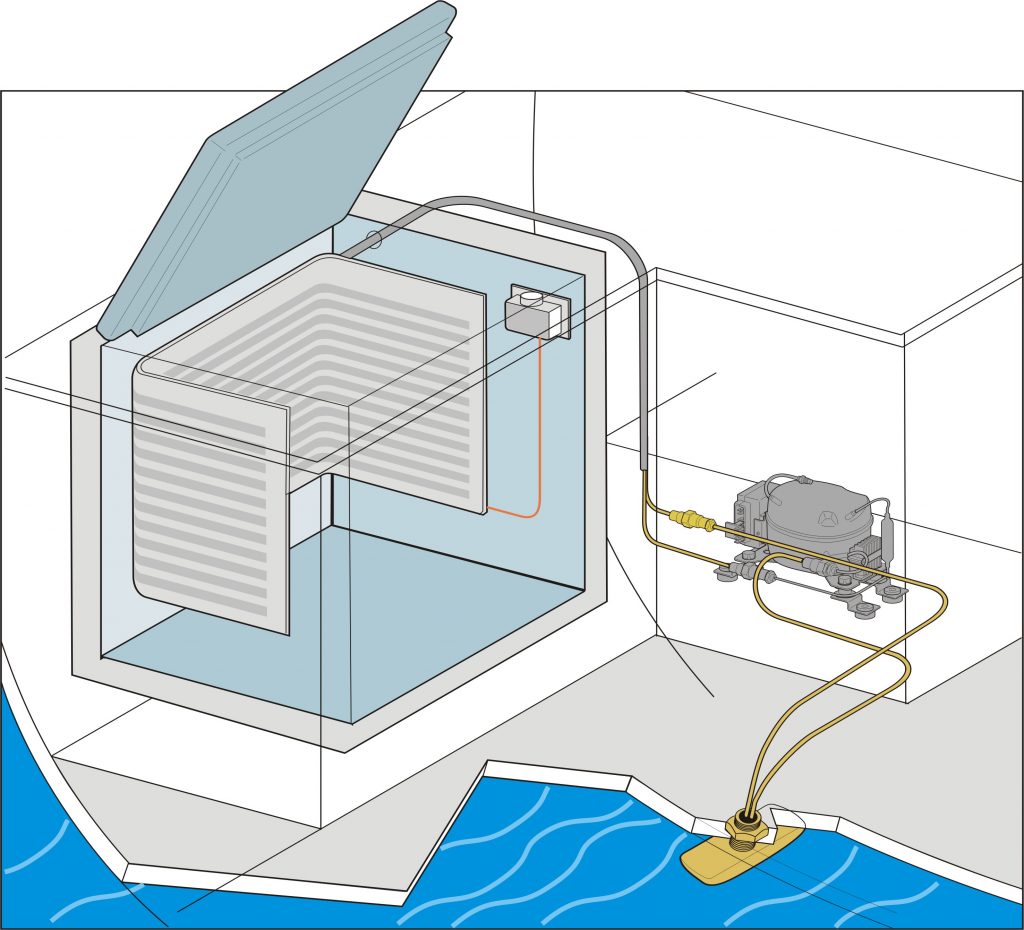
Below is a simple diagram of how refrigeration systems are laid out.  Our system runs on R-134a gas which is a commonly available coolant used in automotive air conditioning.  The compressor pressurizes the R-134a, and it becomes a liquid under this pressure and is pumped to the evaporator plate (which is the grey three sided lining inside the blue box).  Once the liquid reaches a place it can expand, in this case, inside the plate it “boils” converting back to a gas.  The boiling process allows the gas to rapidly absorb heat, in some cases lowering the temperature of the plate to around one degree Fahrenheit. The gas is then recirculated to the keel cooler ( the gold line and plate on the outside of the hull) and then back to the compressor where the process begins again.


Our system had a leak in the line at the evaporator plate.  These plates come with the tubing factory installed, so the plate and line had to be replaced as one piece.  The plates and tubing are about $495.  Fortunately, I was able to remove the old unit and replace it without professional assistance.  I did hire a local refrigeration tech to install a filter dryer and solder the lines where that filter was installed. That only cost about $80.

Next on the list was the issue with our alternator.  The alternator had begun to generate a lot of dust over the last few years.  It had also been performing oddly during our last month in the Bahamas. I had replaced the belts but it seemed that the dust situation never got any better.  I began to suspect it was an alignment issue between the alternator pulley and the main engine pulley.  It turned out that I was right and our alternator was severely out of line with the main engine pulley.

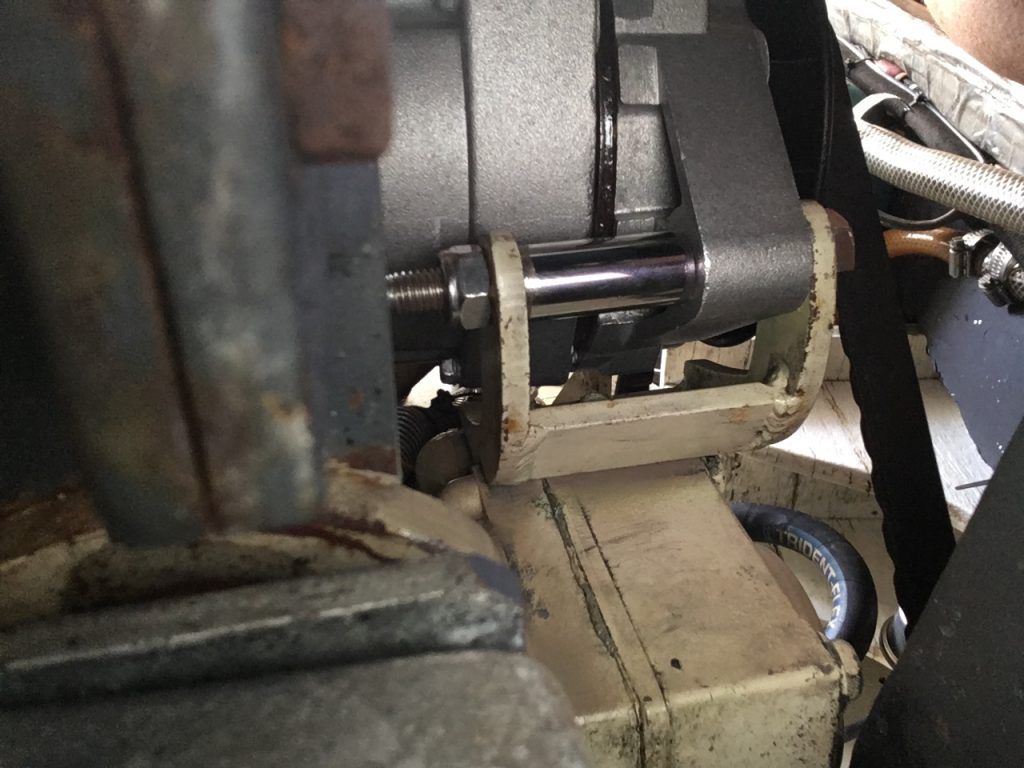
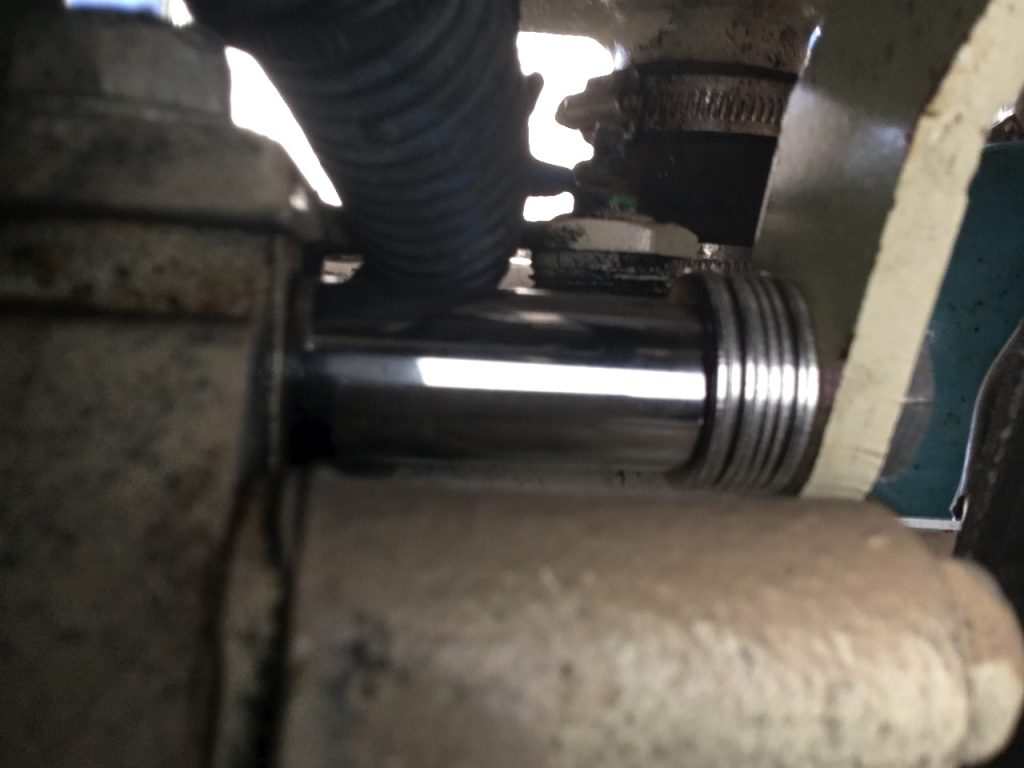
First, I pulled the alternator and took it to a local shop for a complete rebuild.  That ran about $180.  Once it was back, I bought some chromed alternator spacers that could be cut to length from Autozone and began the reinstallation process.  The alternator was set about 1.5″ too far back and it took a few trial fittings to get it right, along with replacing the mounting bolt.

The new alternator foot spacer….on the bottom of the alternator mount …..


The new alternator head spacer…..at the top mount with a longer mounting bolt.

While I had all the belts off I also realigned the high pressure pump for our watermaker so it was ready for test and usage in the Bahamas.

Last on our list was an issue with our wind instruments.  They were failing to display the wind speed and direction on the screen where a combination of data is usually available (water depth, windspeed, wind direction, and speed through the water) I was concerned that our sensors at the masthead had been damaged by the Ospreys that love to sit up there every chance they get.  On the day I was certain I would have to go up the mast, I decided to experiment with the display for a little while first.  To my relief and surprise, there were just some display settings that had somehow become changed and once adjusted the unit began working again…..that only took two hours of experimentation.

The I-70 display…..

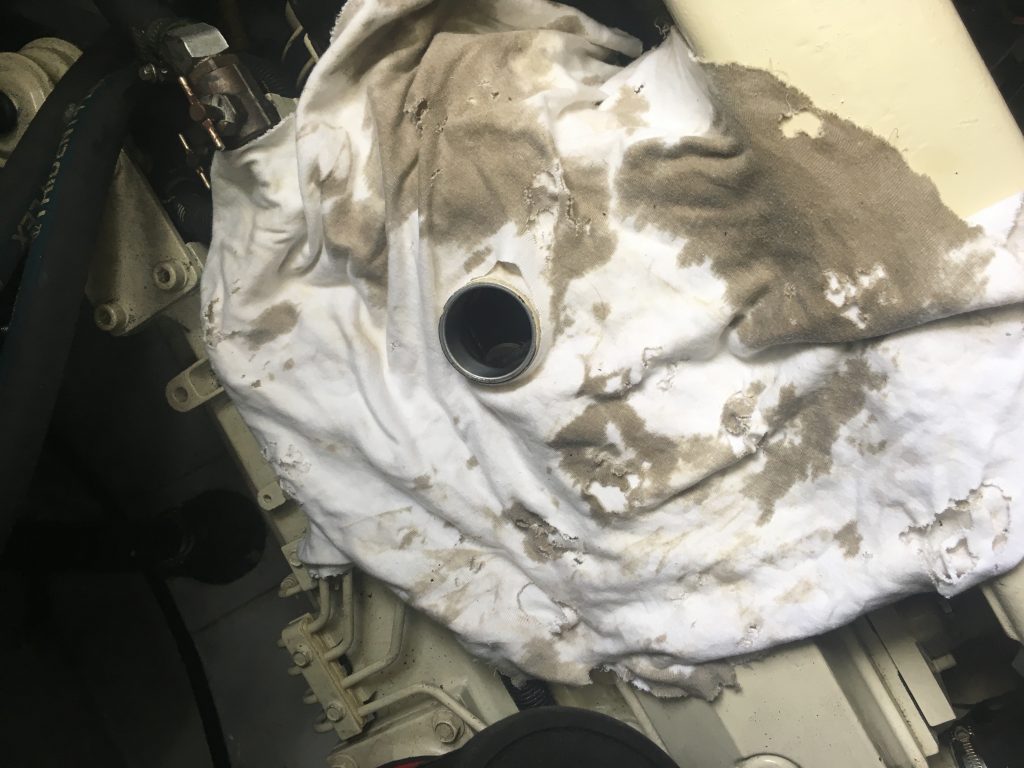
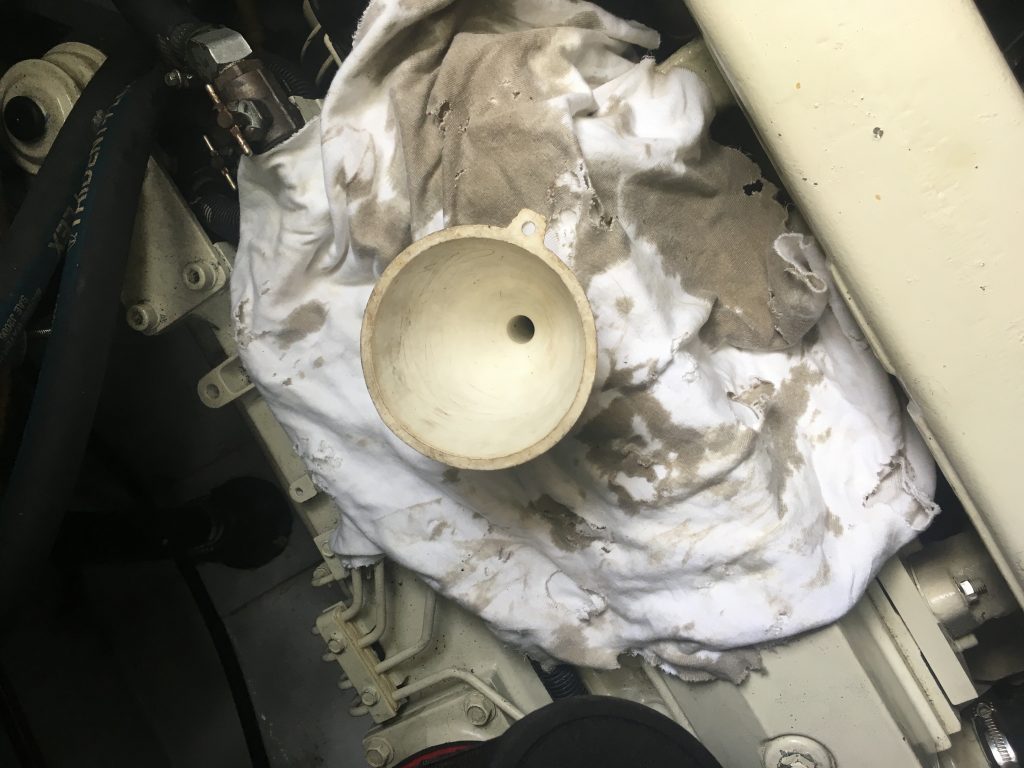
I also changed our oil and filter and since I usually spill a few drops on the engine block I made this apron for the filler opening…..


Next time….we make it back to the Bahamas …..

A season at the dock…..Part I

We were hoping to make a late December getaway to the Bahamas since November was preempted by some return trips to visit and support family,  but on December 26th I was paid a visit by the kidney stone fairy.  I’m very glad we weren’t in the Bahamas as this was my first time dealing with one of these.  On the pain scale of one to ten I’d give that experience a 12…..I was told by the doctor that I had two more waiting in the wings so we thought it might be a good idea to take this opportunity to fix some things that we had been putting off while we were staying put for a while.

We had a few projects……..Our watermaker had stopped working in the Bahamas, and that required diagnosis and repair…..we had some wood work that needed repair from some very old water damage,……our alternator needed a rebuild and realignment……the adjacent engine driven, high pressure watermaker pump also needed to be realigned……our refrigerator and freezer compressor had originally been wired in the same circuit which I thought was interfering with the performance when both units tried to start up at the same time,….. our wifi range extender was on the fritz,…… our new outboard was due for it’s ten hour service and our backup, new to us, outboard needed some work as well, and our masthead wind instruments (which supply the wind speed and direction to our instruments) stopped sending data to our cockpit display for some reason and finally our refrigerator evaporator plate needed to be replaced. Keep in mind these projects were tempered by trips to the beach, happy hours and visiting friends !!!!

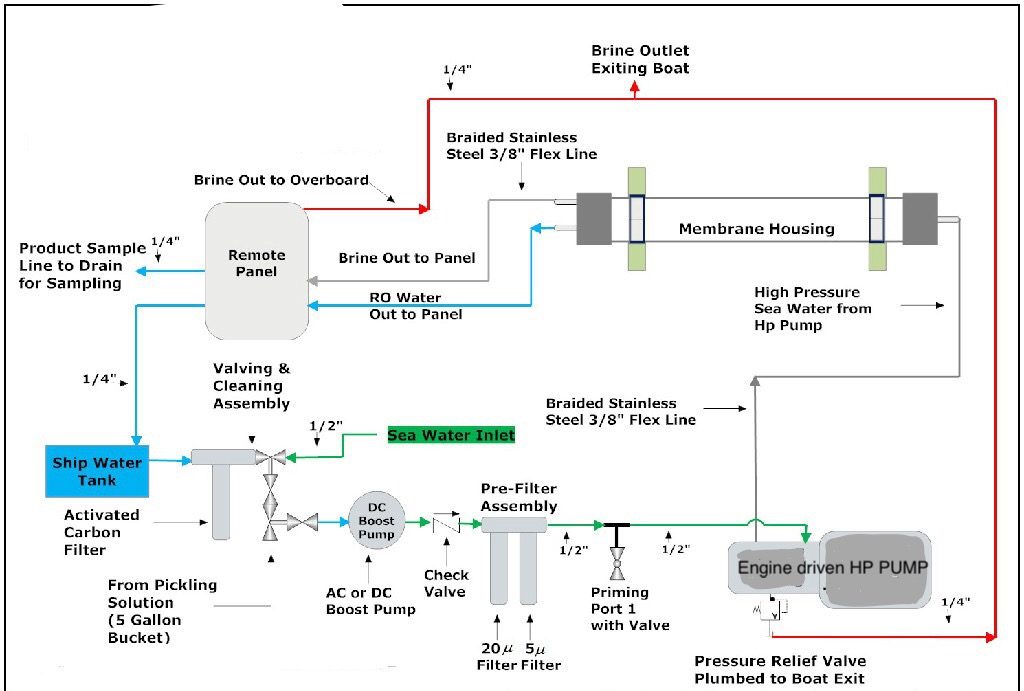
First a quick tutorial on watermaker function.  We take in seawater and filter it to remove any large contaminants.  Then the water is pressurized using a “low pressure” pump at about 17psi.  That pump maintains the pressure to the high pressure pump which operates at hundreds of pounds of pressure.  The water then travels through two tubular membranes (filters).  The seawater is highly pressurized and travels along the outside of the membrane and the freshwater is pushed through to the inside of the membrane “cylinder”.  That freshwater goes to our tanks and the remaining briny seawater goes overboard. Sounds simple right ? Here’s a diagram ……

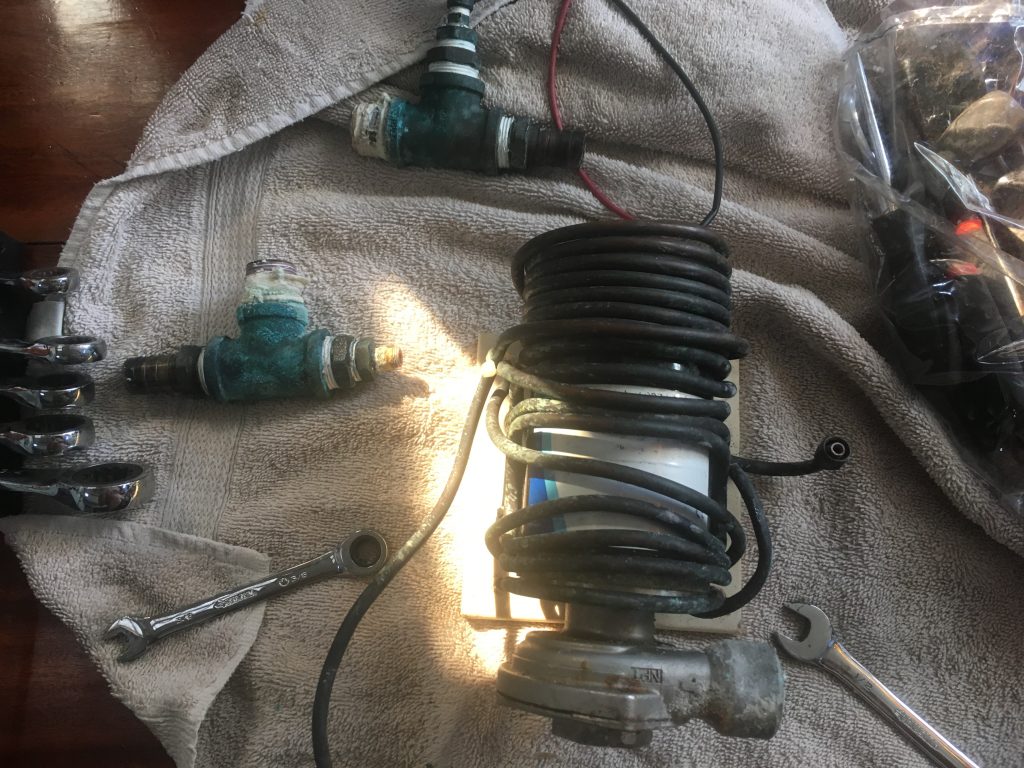
Our watermaker was a two fold issue.  Our low pressure pump, which feeds the high pressure pump wasn’t moving any water.  It is an intermittent duty (i.e. 30 minutes on and 30 minutes off) pump and required a cooling coil to keep the temperature down and extend the duty cycle.  Unfortunately, the cooling coil couldn’t make 100% contact with the motor so it suffered from some efficiency issues.

I had initially assumed that the motor was burned up.  I removed the pump and was about to order a new one.  I had hoped there had been some advancement in  pump design and we could get a continuous duty pump, but apparently there haven’t been any advancements in this type of pump design.  I thought we were destined to replace the pump for $395.  As I was taking the pump to the trash, I decided to try something and I attached the leads to the battery in our van and the pump ran !! So, I found a local pump repair shop and got it rebuilt for $65…although, it took over two weeks to get the parts.

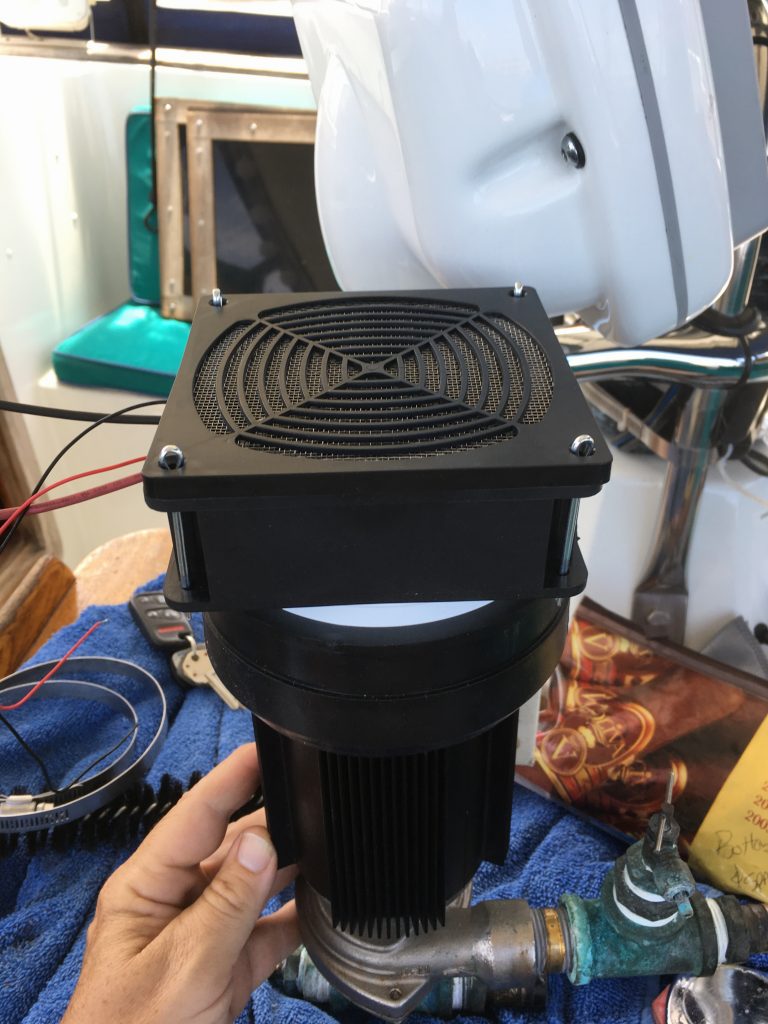
Once the pump was rebuilt I began to investigate other ways to cool the pump and extend the duty cycle.  I discovered that Shur Flo pumps makes a 5″ heat sink that fits the motors on a variety of other manufacturers pumps.  I get the feeling the motors are all made by the same company and relabeled for the “manufacturers”.  I consulted with a friend who was an aerospace engineer for ideas in cooling the pump motor and he recommended “Thermal Grease” under the heat sink.  This makes the contact between the sink and the motor housing 100% by removing air gaps and the grease has metal particles in it to transmit heat more efficiently.

http://www.steam-brite.com/shurflo-34007-heat-sink-cover-inch-continuous-pump-longer-life-cool-clip-p-11287.html

I added a 138cfm cooling fan like you’d have on a large computer and fabricated a support from a PVC bus hub and a rubber reducer coupling and ended up with this …..we flushed the system and the motor was as cool as a cucumber !!!


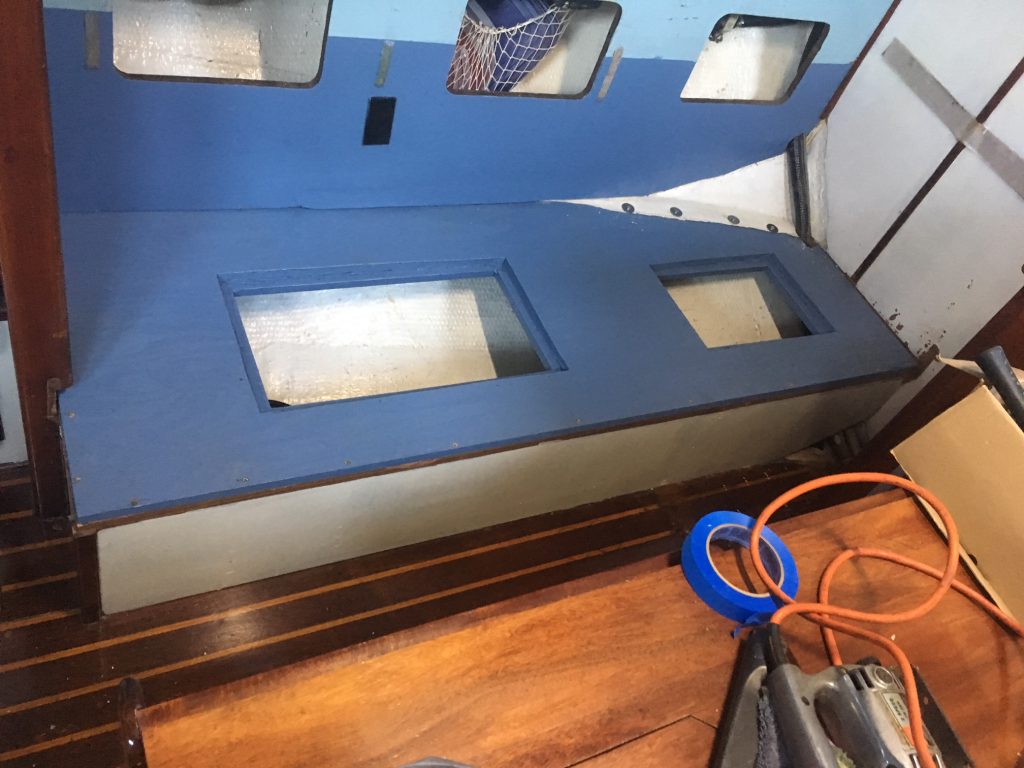
The “woodwork” turned into tearing out 60% of our port settee and replacing the entire seat and a small section of the outboard bulkhead that separates the storage area.  I used marine grade plywood and treated it with Copper Coat which is a 9% copper solution that prevents future mold, mildew, rot and insect infestation.  I also increased the size of the access hatches so we can store dive tanks under the settee.  The biggest challenge was matching the shape of the board that was glassed into that area which would not come out in one piece…or even six !!  A lot of the outer edge had to be ground out of the fiberglass.  I took this opportunity to run some extra 0 gauge wire forward for the addition of some  electrical items down the road. I was tempted to remove the washing machine during this process, but decided we could do that later.

Next time…alternator….masthead instruments…..pump alignment….fridge/freezer…..etc….etc….etc

An interesting new product we discovered….”Sugru”

On our boat we have a lot of essential electronic equipment.  Some of these devices have remote handsets you can use to control and/or monitor the device like the Autopilot, VHF radio or windlass.  These handsets have coiled, rubber coated cables that run from the control head to the plug.

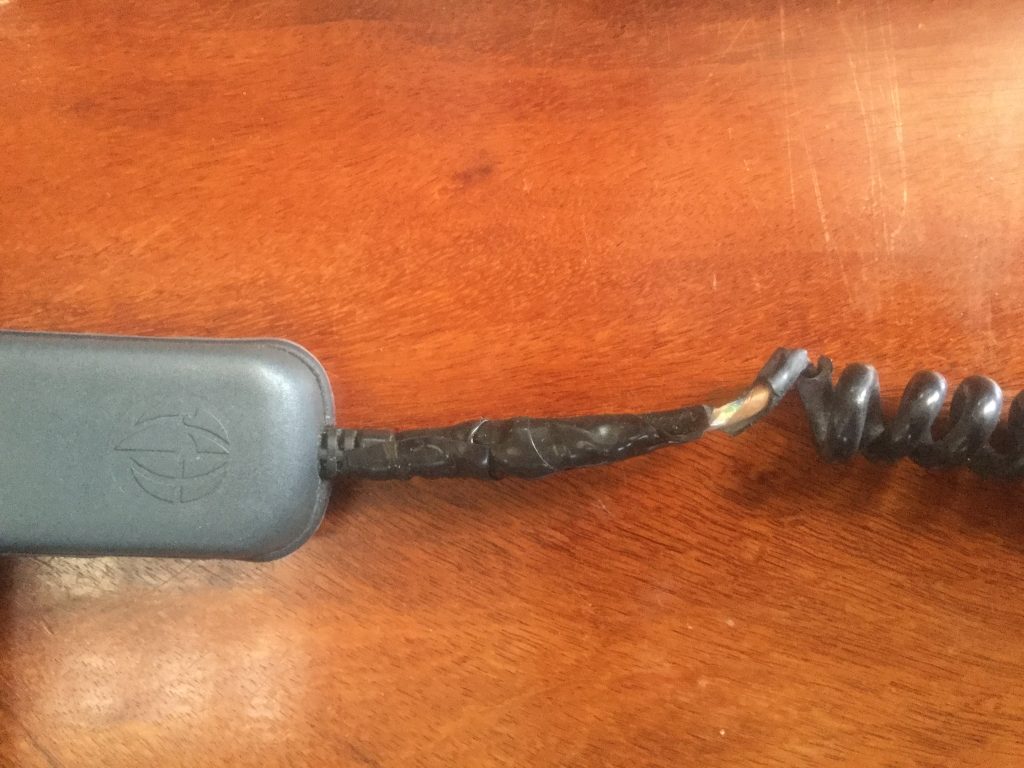
Recently, our autopilot control head cable began to deteriorate.  This was pretty concerning since our autopilot was manufactured by a European company called “Cetrek” and they have been out of business for a few years.  Since a new autopilot would be around $1500 for just the equipment, we were tying to come up with a way to repair this, and future, cables.

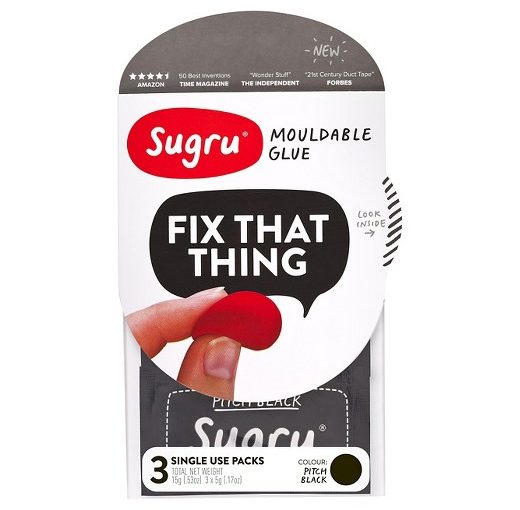
I found a product online called “Sugru” and it is described as a “moldable glue”.  It is billed as being waterproof (including salt water), UV resistant, flexible, electrically insulating, heat/cold resistant and shock / vibration resistant.  This was readily available on Amazon so I ordered a multi pack.  It comes in various colors but for our purposes black matches our cords.


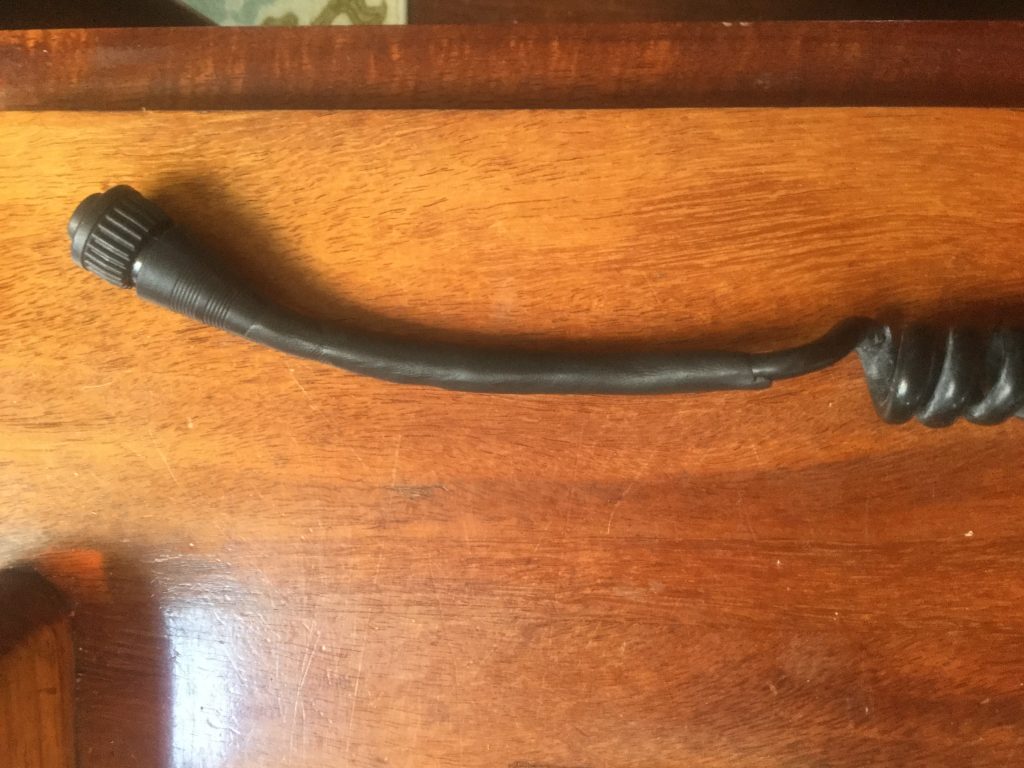
I applied the first section as a test and in 24 hours it was fully cured and seemed to live up to it’s sales pitch.  I plan to cover the rest of the deteriorating cord and we will post an update in a few months when we can fully evaluate the wear it stands up to during our travels. I also suspect that Sugru will be a good replacement for caulking around spaces like those around our chainplate through hull openings on the deck combing which need to be recaulked every few years or they leak.  This may be a permanent fix for that issue!!!  It was a great improvement over the electrical tape wrapping I was trying to use on the cord. It was easy to use and not messy at all.

The new Sugru wrapping …..

The old, ugly, sticky tape wrapping ……

You can get some Sugru for yourself right here using this link !!!


Dolphins !!!….and we’re back up and running !!! Just in time for NYE !!!

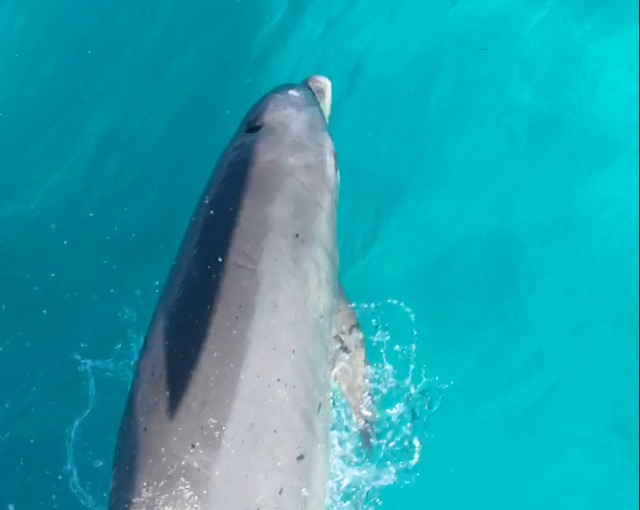
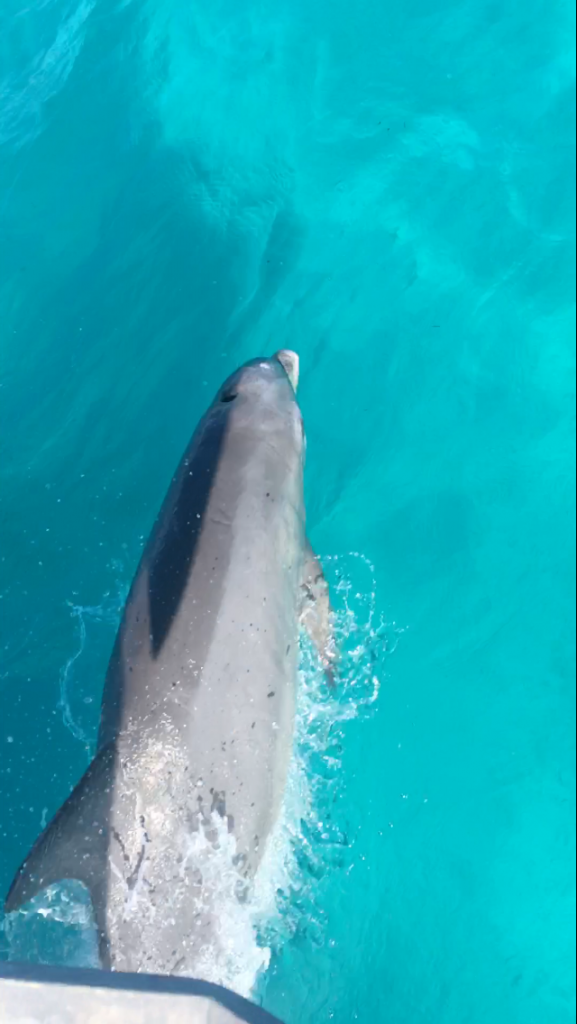
I started this post in the Bahamas and just realized I never finished it……I had intended to make a folder of dolphin pics but this seems to be the only one I saved…..


Here’s a Dolphin in our bow wake as we were leaving Bimini……he’s so close that the shadow of our anchor in on his back…..


Eleuthera…spiders and seaglass….and breaking stuff

After our harrowing experience at Little San Salvador we made our way to Rock Sound, Eleuthera later that day and anchored for a few weeks….it ended up being longer then anticipated due to some clumsiness on my part.

I had decided that we were due for an oil change.  We were way under on engine hours but over on the time frame for an oil change, so I decided to change the oil and filter while we were here.  Well, long story short, I pumped out the used oil, without spilling a drop (which I should have known was a bad sign) but couldn’t find my slimline strap wrench to remove the filter.  So, I went to the local NAPA and bought a slightly larger wrench that I hoped would work.  Unfortunately, the width of the new wrench snagged the oil cooler line and ruptured it….uh-oh…..bad weather was forecast for the upcoming weekend and after the Little San Salvador incident this was almost too much to deal with….essentially we were going to be without an engine until we received a new line….which in the Bahamas could take weeks……and it did…..we spent about three and a half weeks total and it turned out to be a good thing because we had time to see things and visit our favorite spots again and again.

Part of the moral to this story is ….take plenty of spare parts when you venture away from the U.S.  We have a cruiser’s kit onboard but it doesn’t include oil cooler lines.  I won’t make that mistake again……


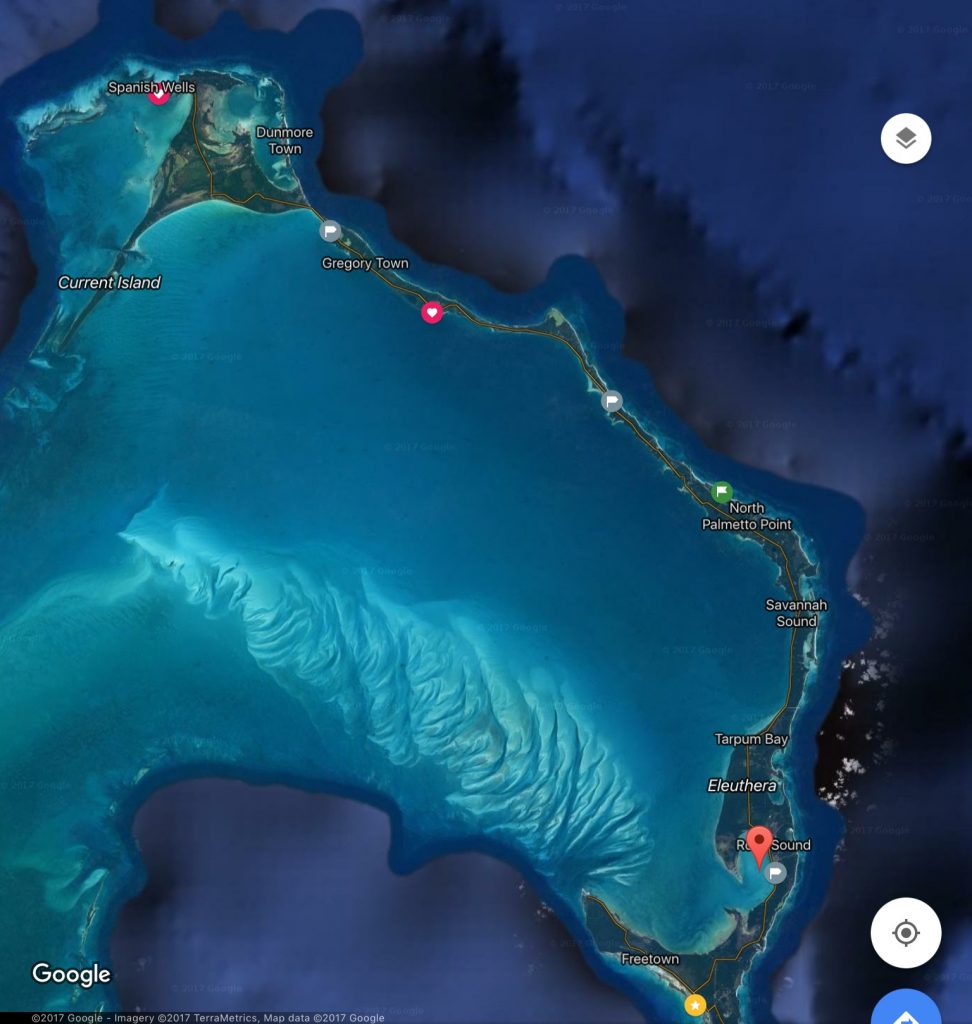
here’s a satellite image of Eleuthera.  The pin is Rock Sound. The Glass Window Bridge is in the skinny part of the island just north of Gregory Town.
Image courtesy of Google Maps

We considered renting a car, but ran into the insurance issue again, so we hired a driver (Lyle) to give us a tour of the island.  He was a super nice guy and was full of knowledge about spots on the island.  The price wasn’t bad, eight hours for $125 plus he knew a great place for lunch.

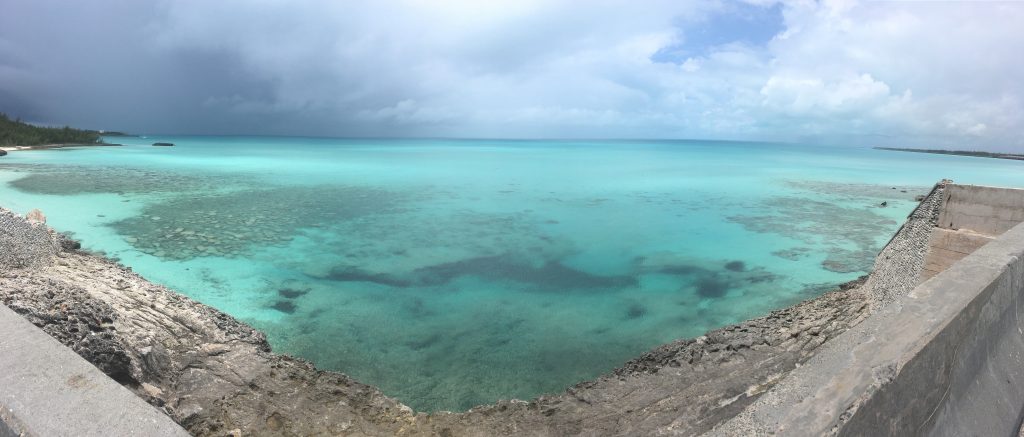
The Glass Window bridge is in northern Eleuthera and is one of the few places you can see the Atlantic and the banks side of the ocean at the same time.  It’s more impressive when the weather is unsettled but still pretty cool.

The east side of the “glass window bridge” on the east side of Eleuthera see the video on my Facebook page….


the west side of the Glass Window….


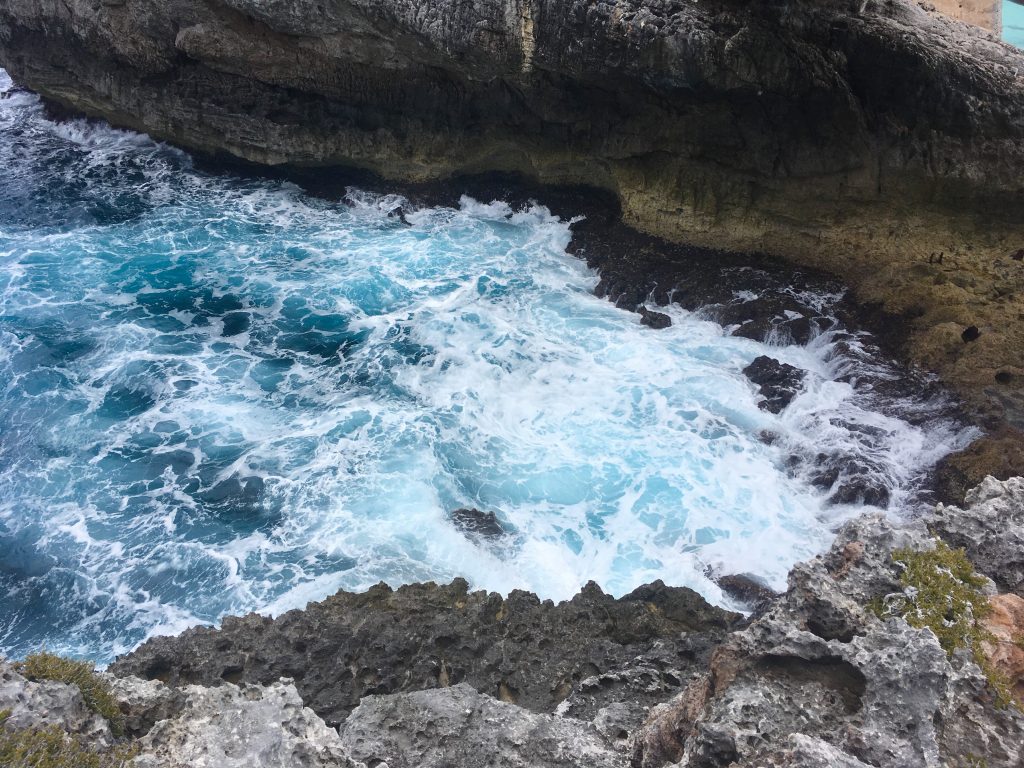
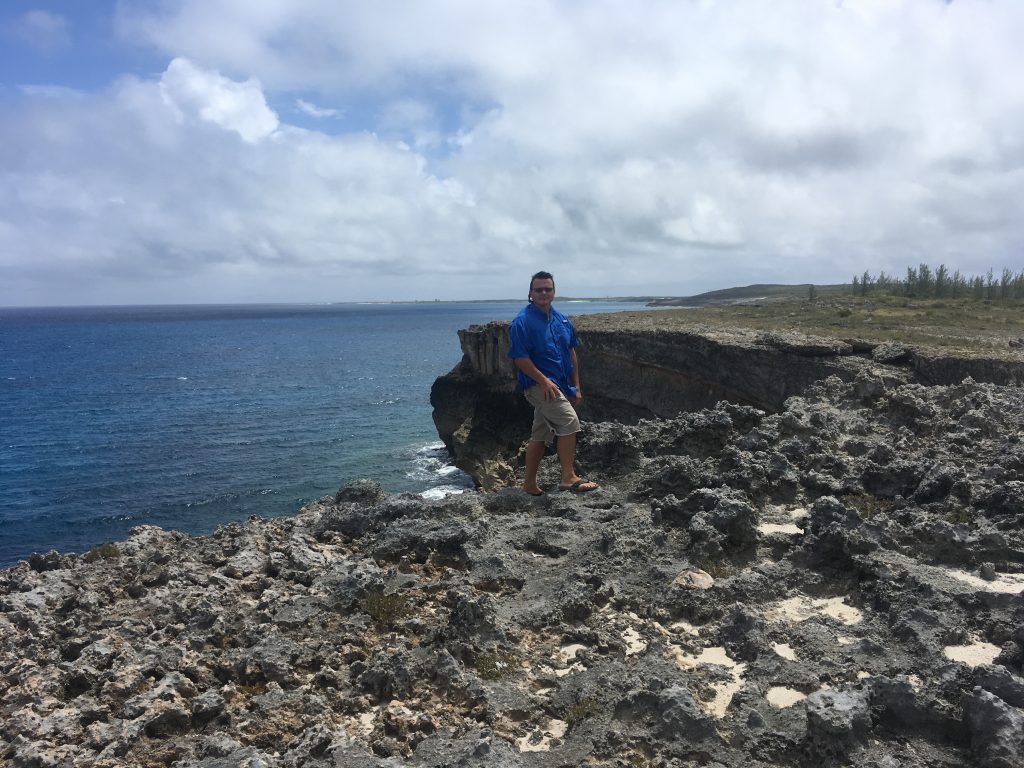
Me at the cliffs….east side of northern Eleuthera


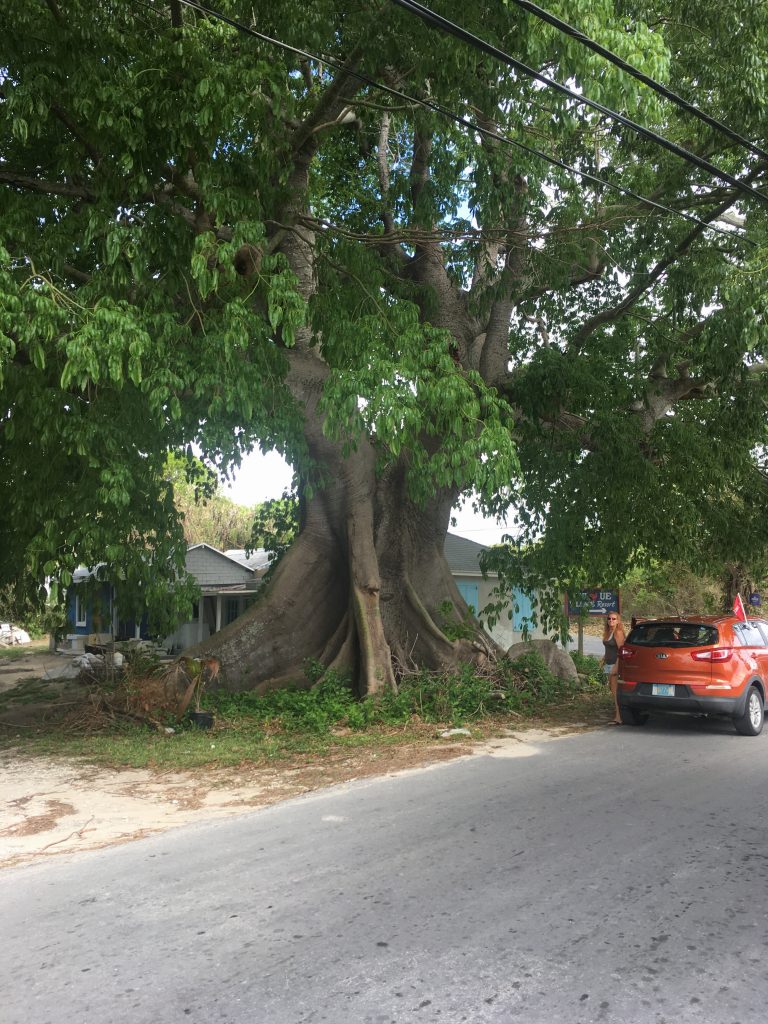
Long view of the Cotton(Ceiba) Silk Tree


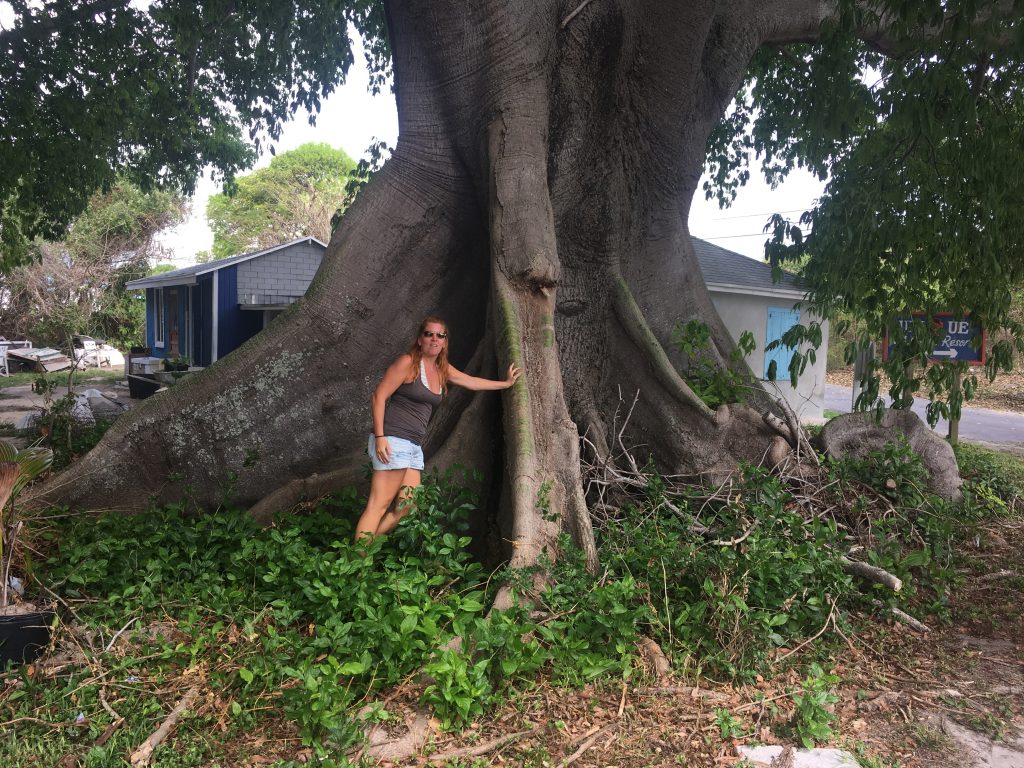
A Cotton Silk or Ceiba tree


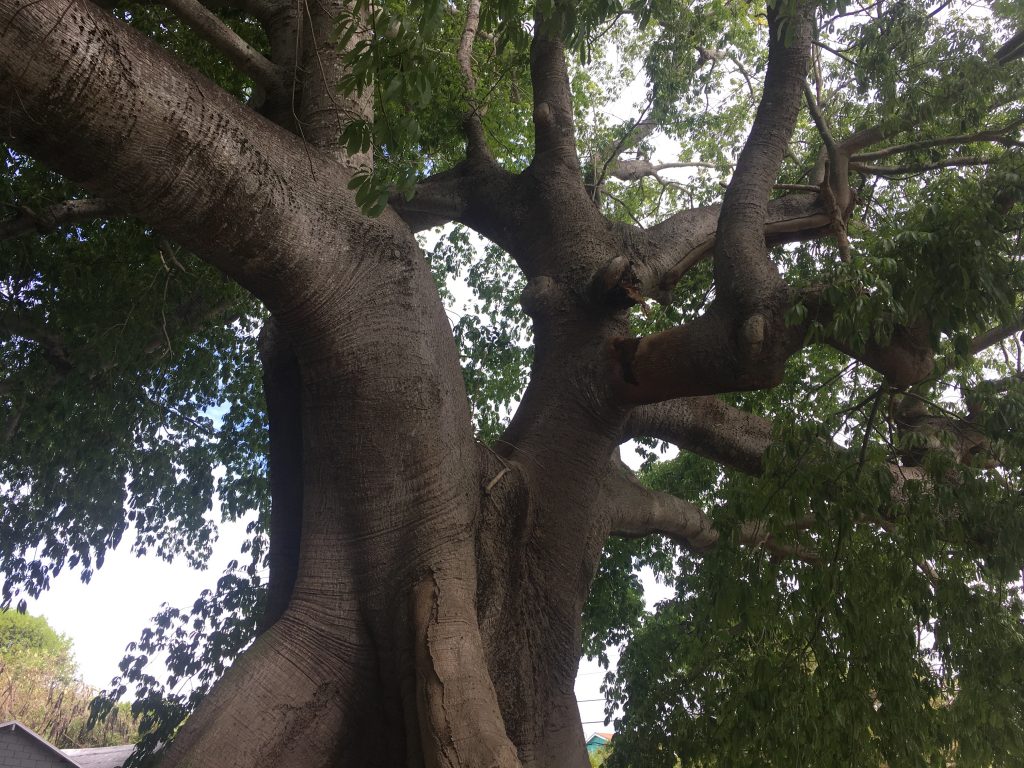
Cotton Silk Tree…upview


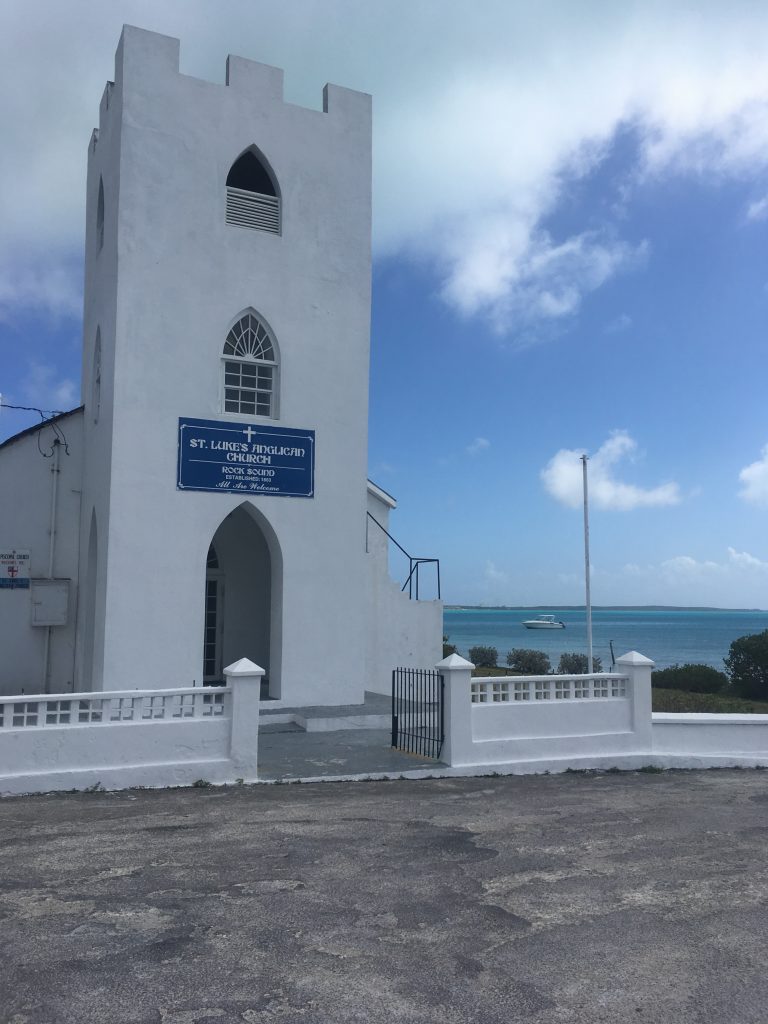
Beautiful beachfront church in Rock Sound


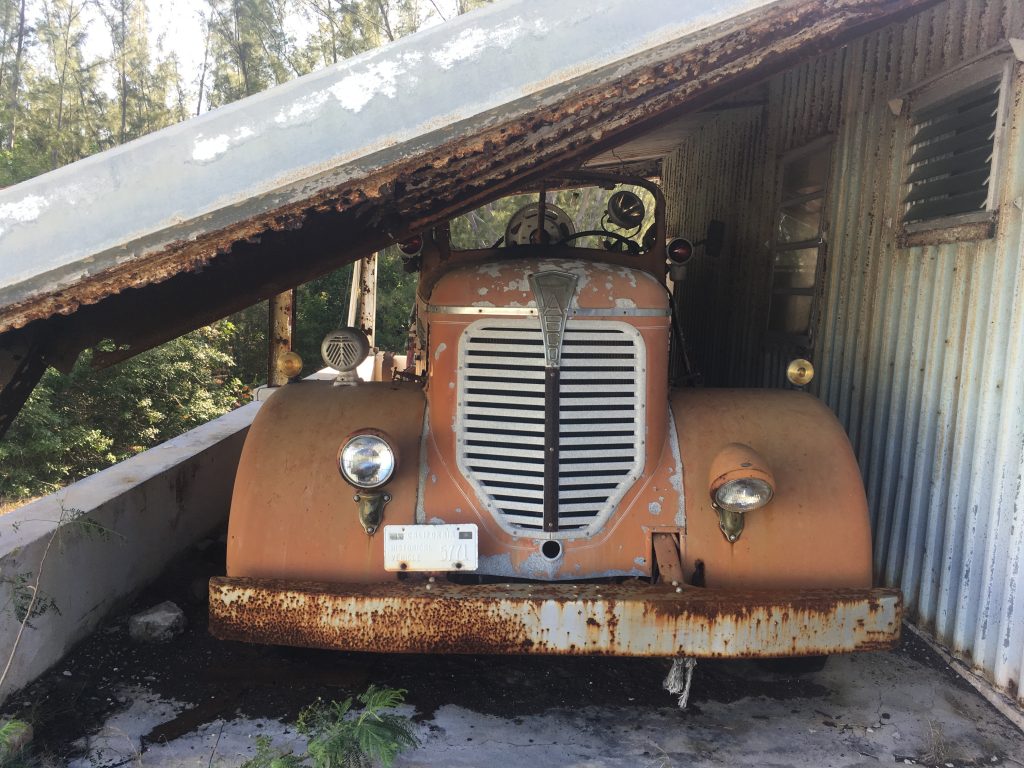
An abandoned 1950’s fire truck stored behind a Kalik beer warehouse….


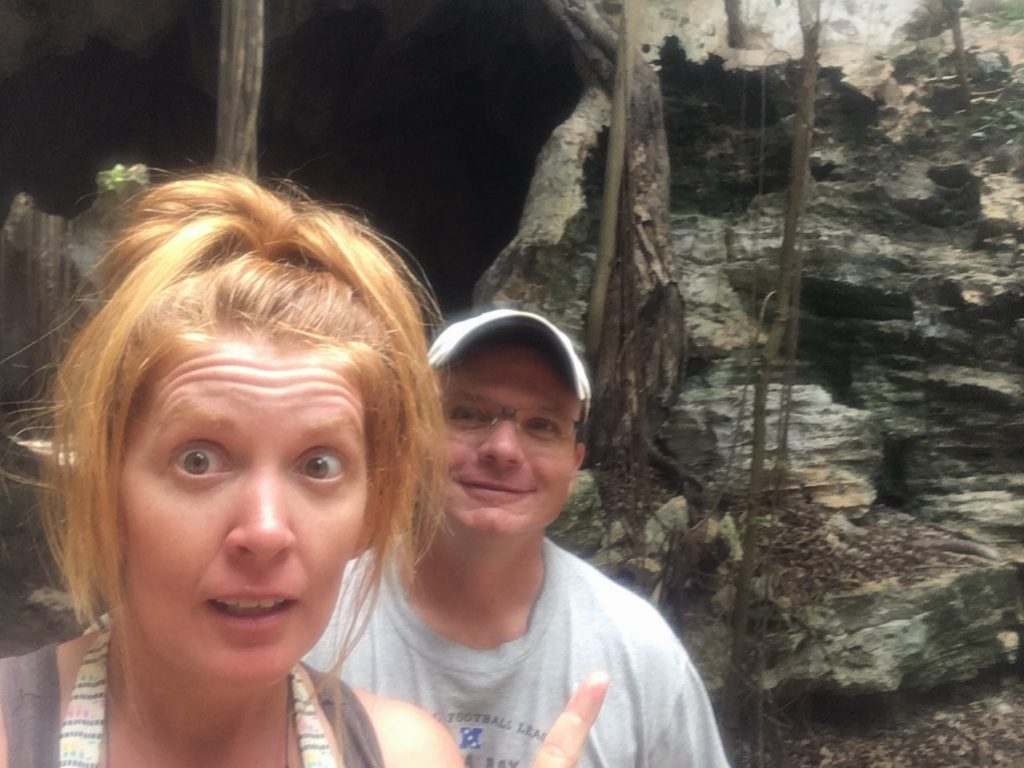
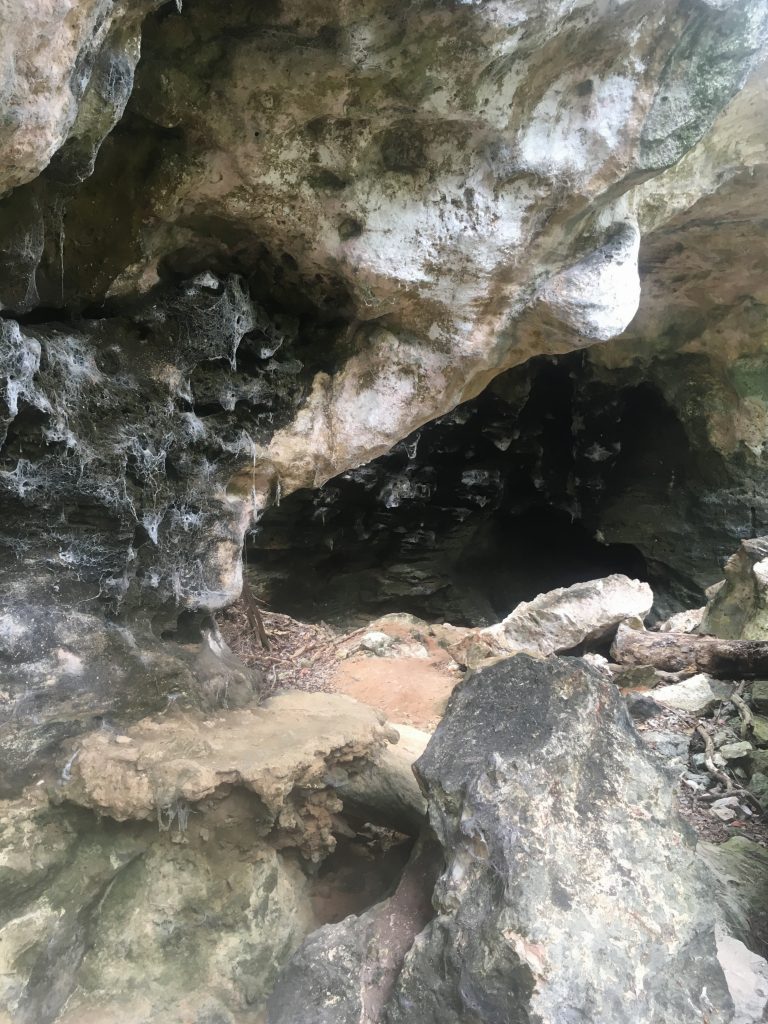
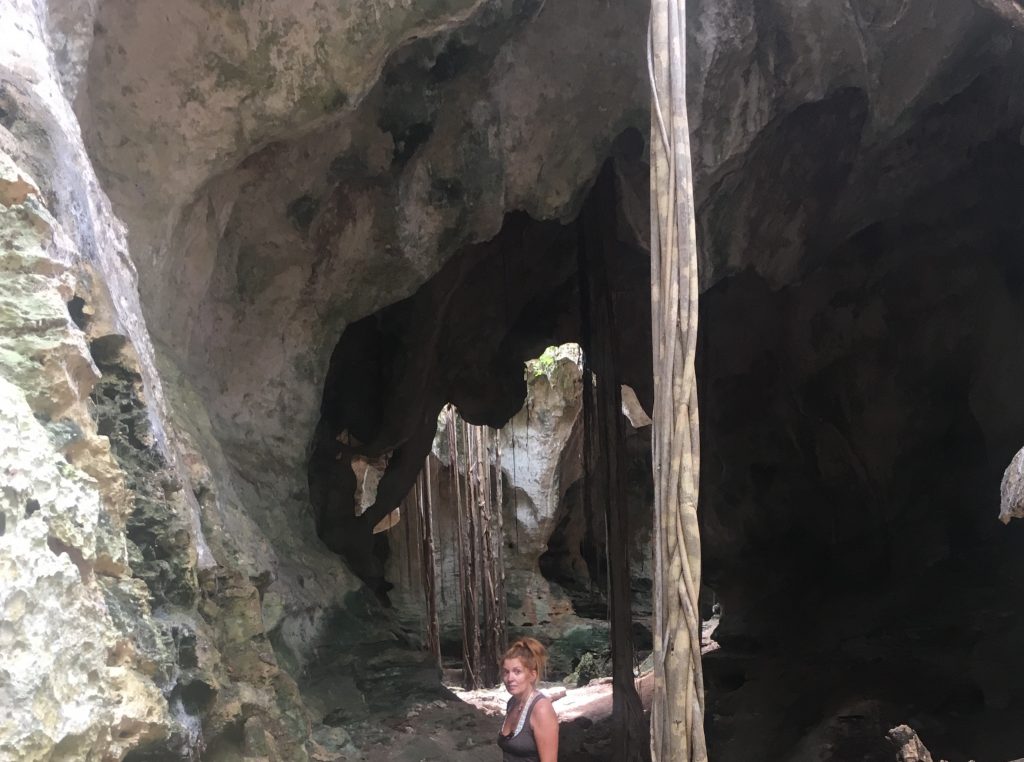
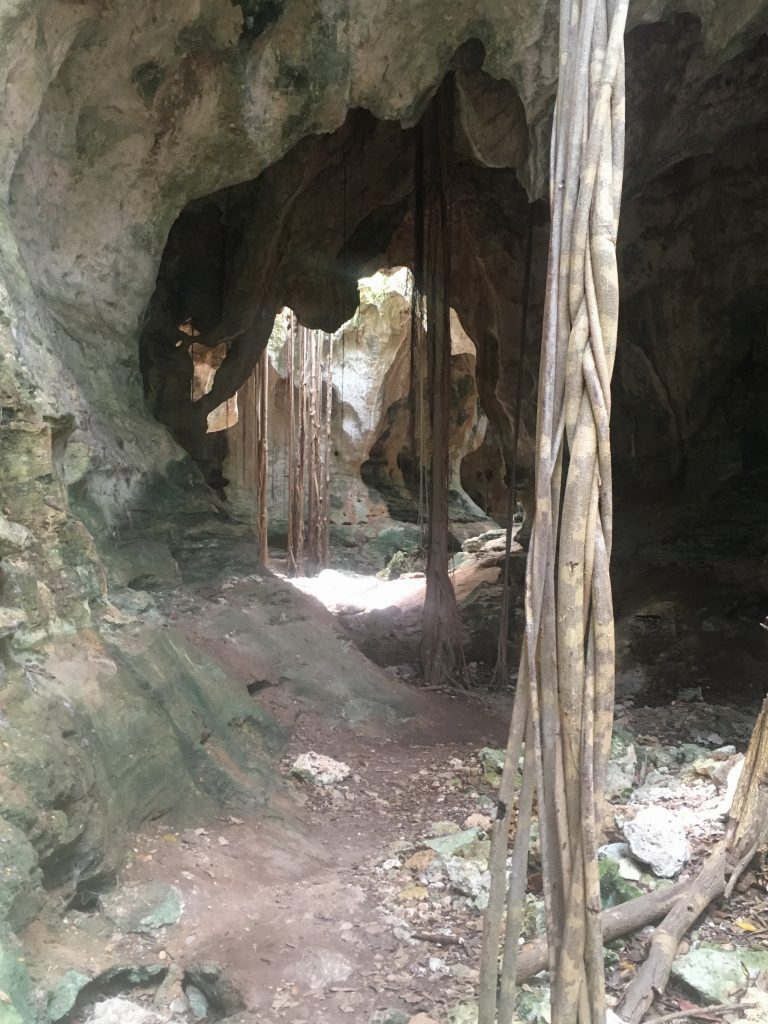
In the spider cave….Kim doesn’t look worried at all….


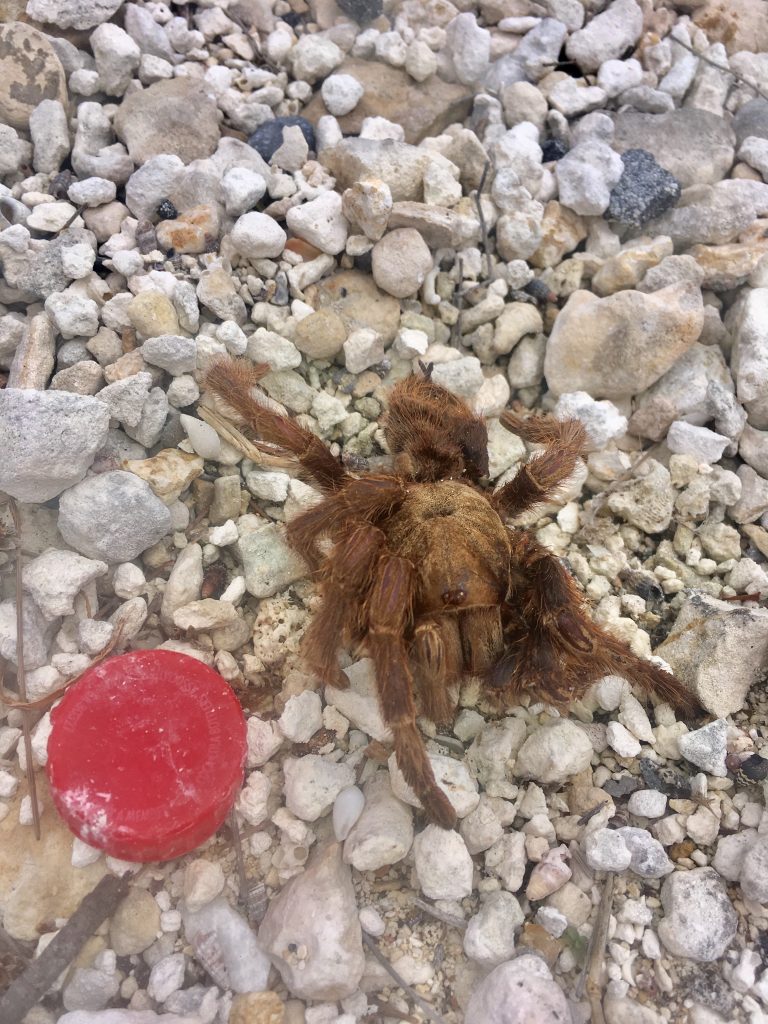
We found this little guy dead on the side of the road….that’s about a 2″ Gatorade lid for scale…..maybe he was hit by a car…..I wonder how badly the car was damaged?


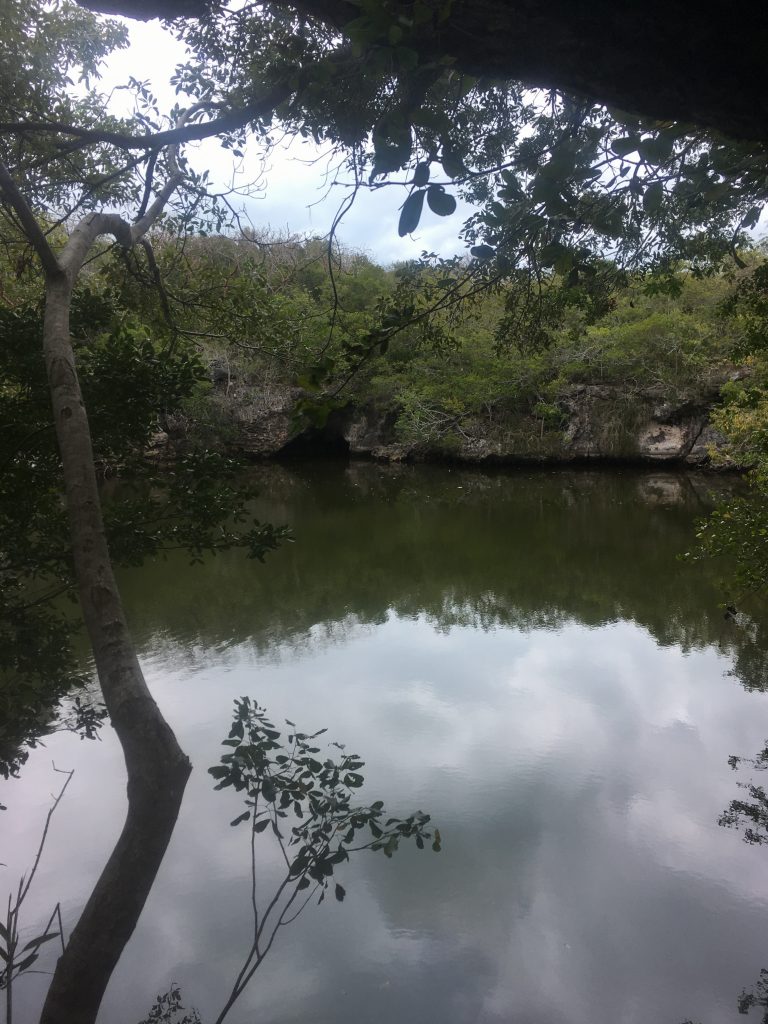
The “Boiling Hole” near the Spider Cave

The “boiling hole” is essentially a blue hole or a cave that is connected to the ocean.  At times, if the tide rises or falls rapidly, the water will churn and bubble. Many of the early residents believed these holes were homes to sea monsters.  Animal and fish carcasses would occasionally surface in these holes after hurricanes which only reinforced that belief.

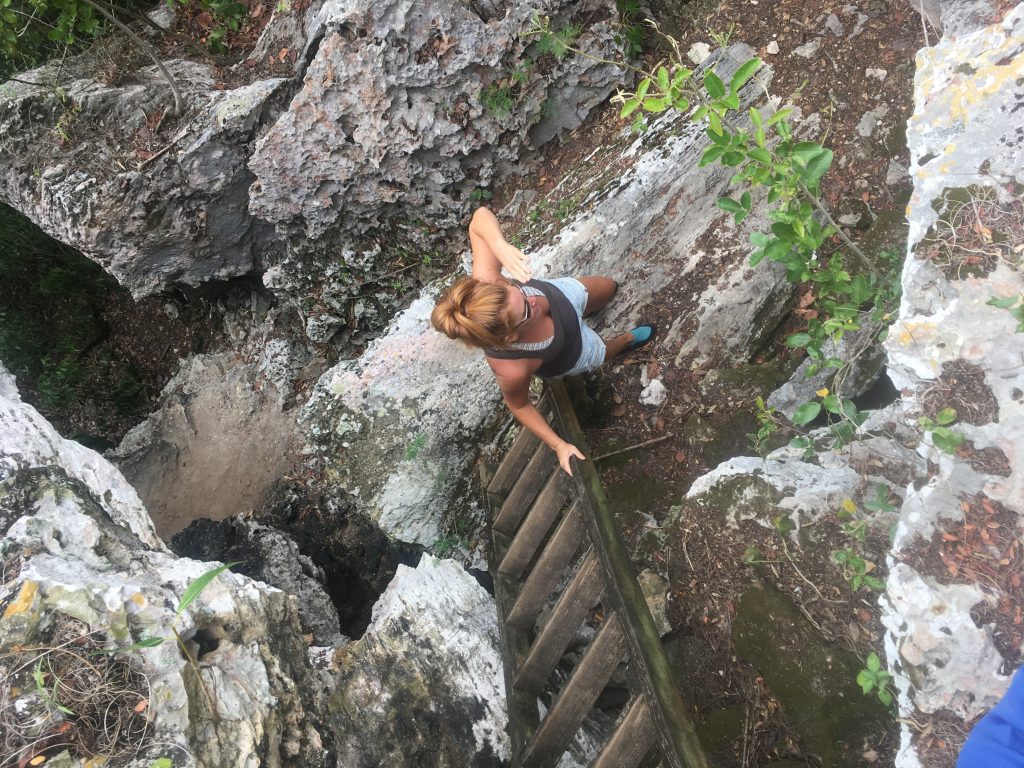
Kim descends to her spidery doom….
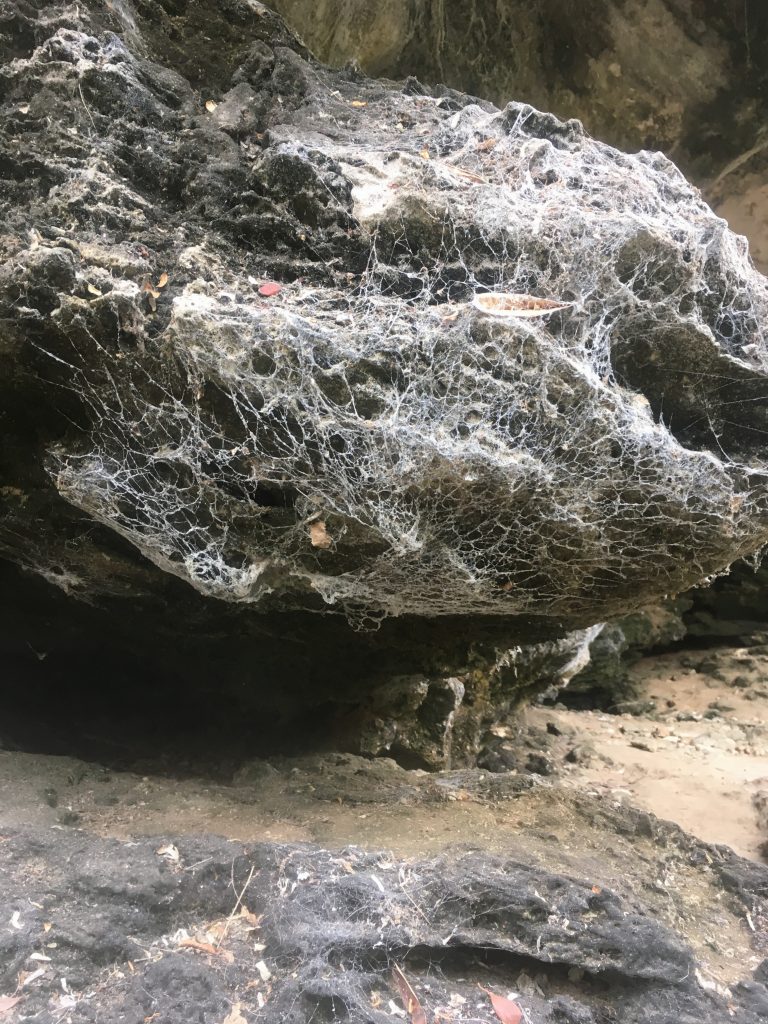
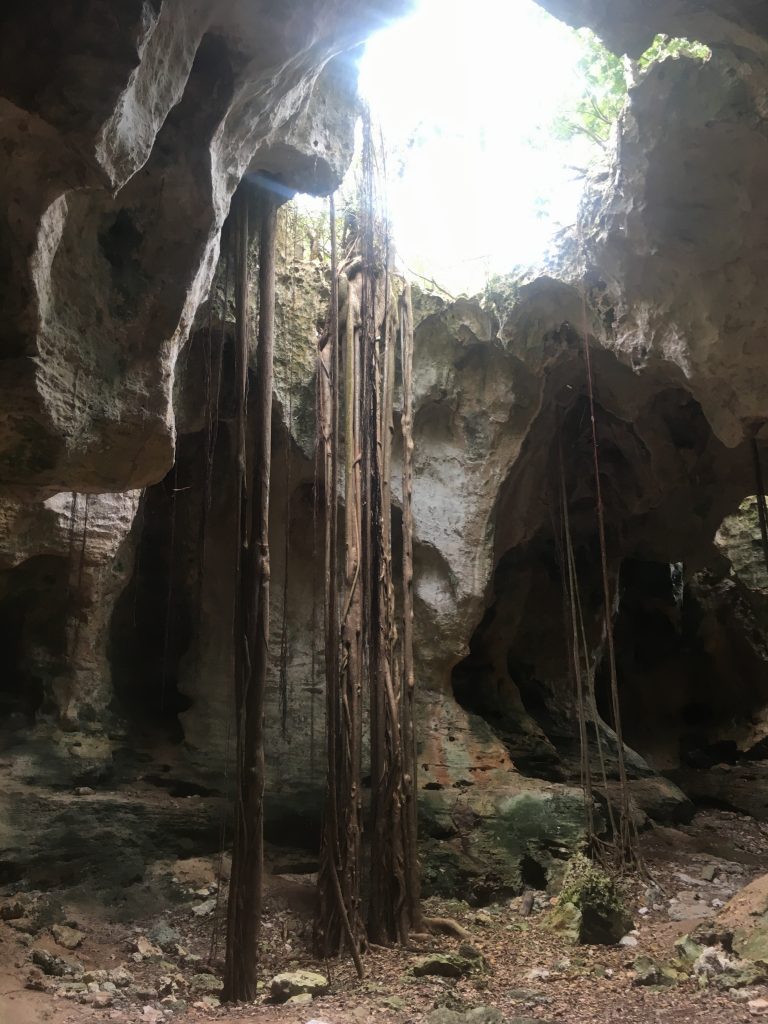
The spiders are here !!!

Kim looks apprehensive …..

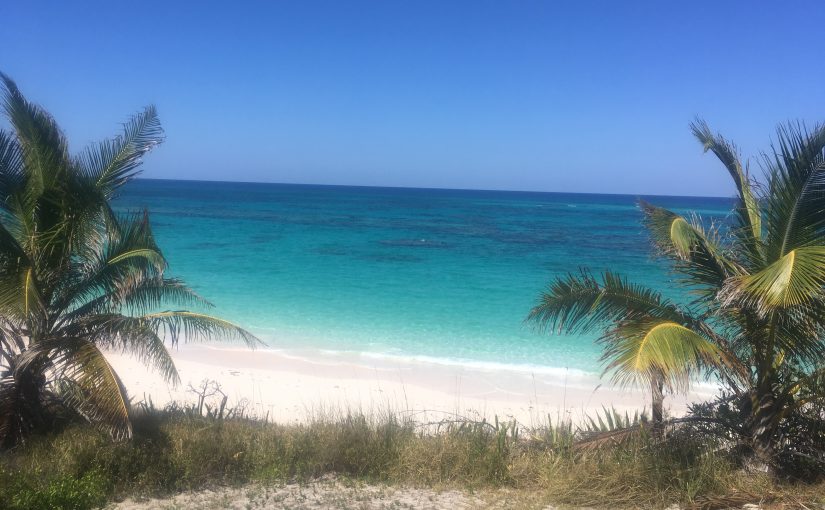
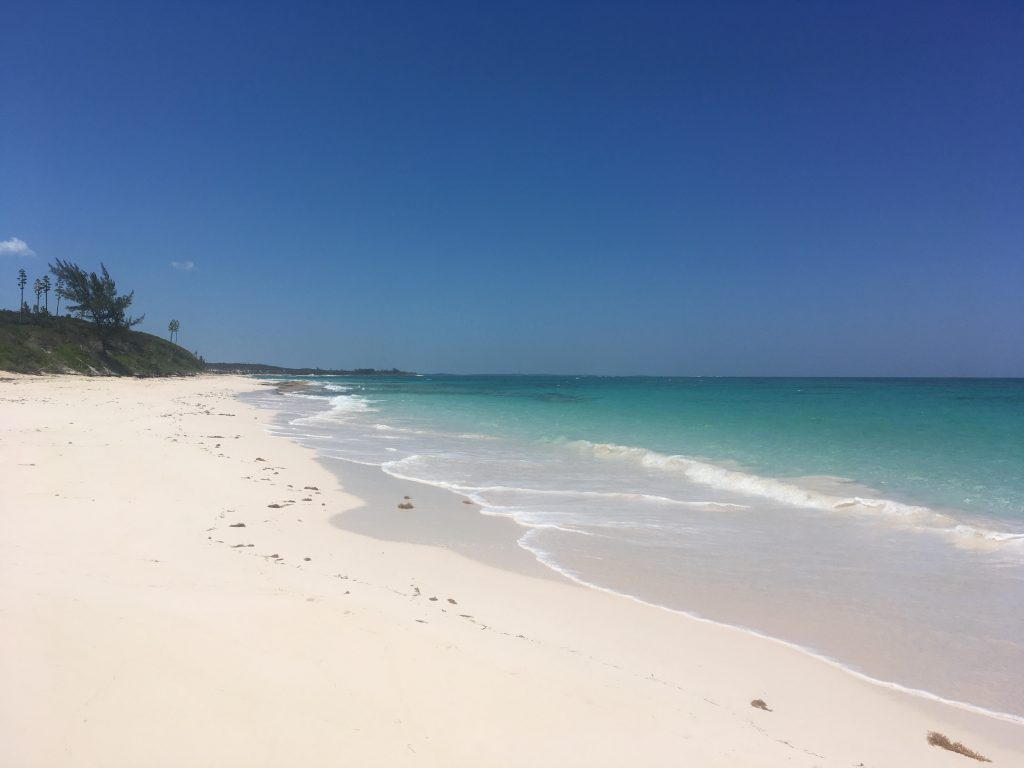
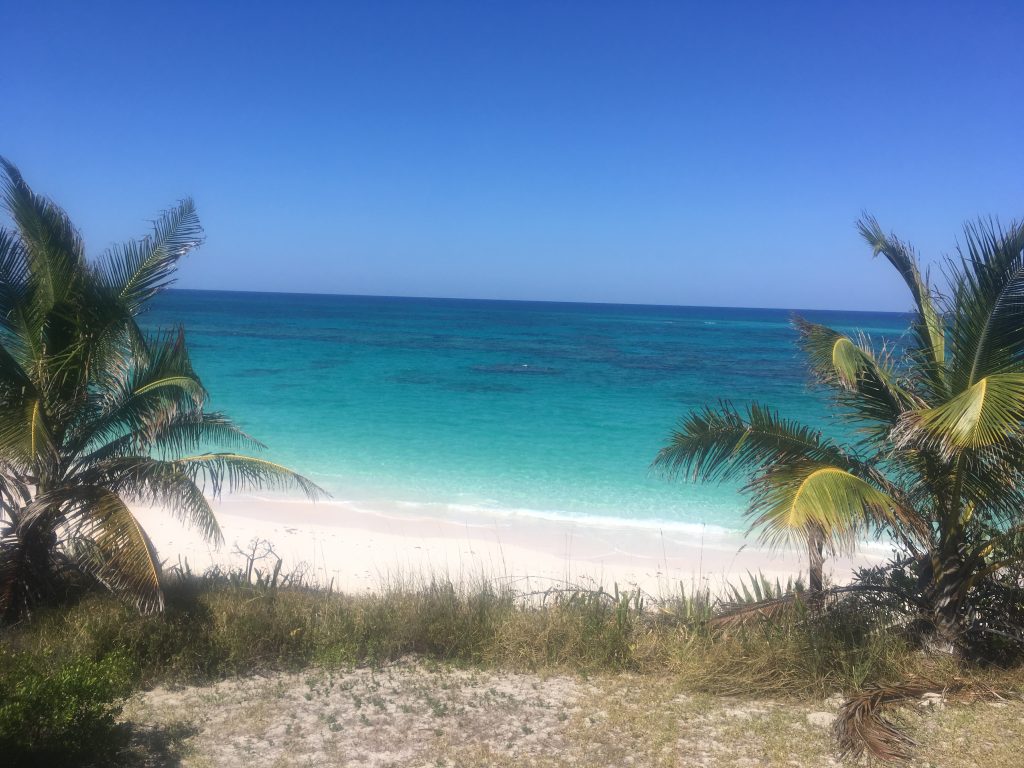
The beaches on the east side of Eleuthera were among some of the most beautiful and isolated….there was also a TON of seaglass…..


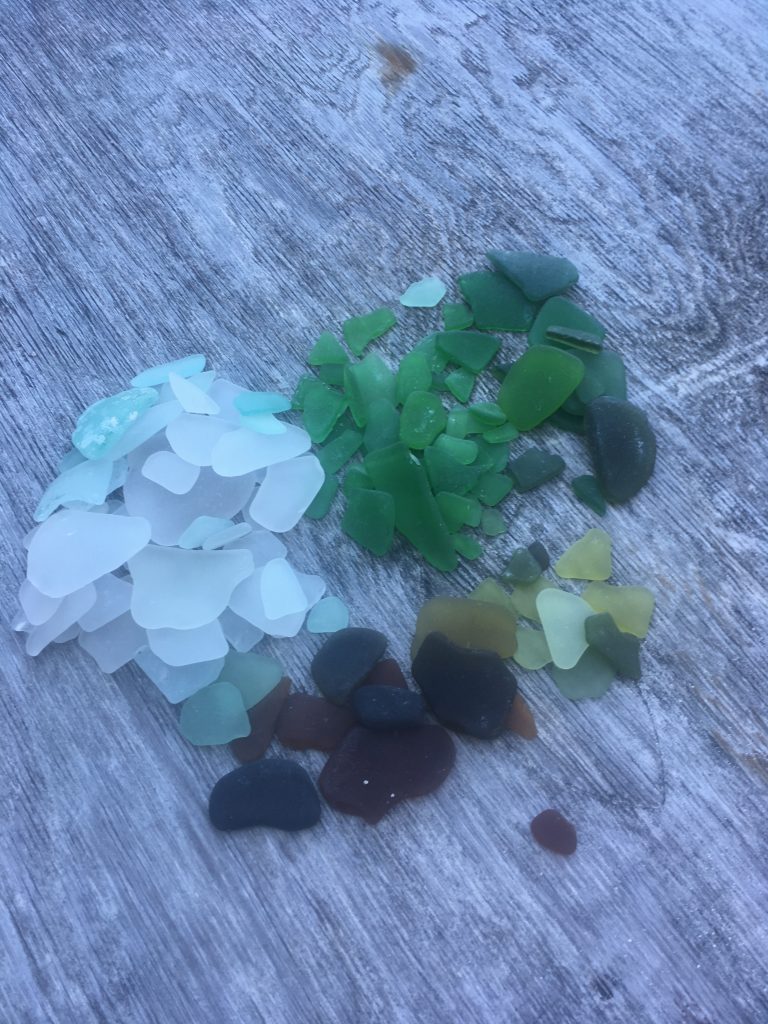
The spoils of a couple of hours of seaglass hunting…we found a few black pieces which are the third most rare ….
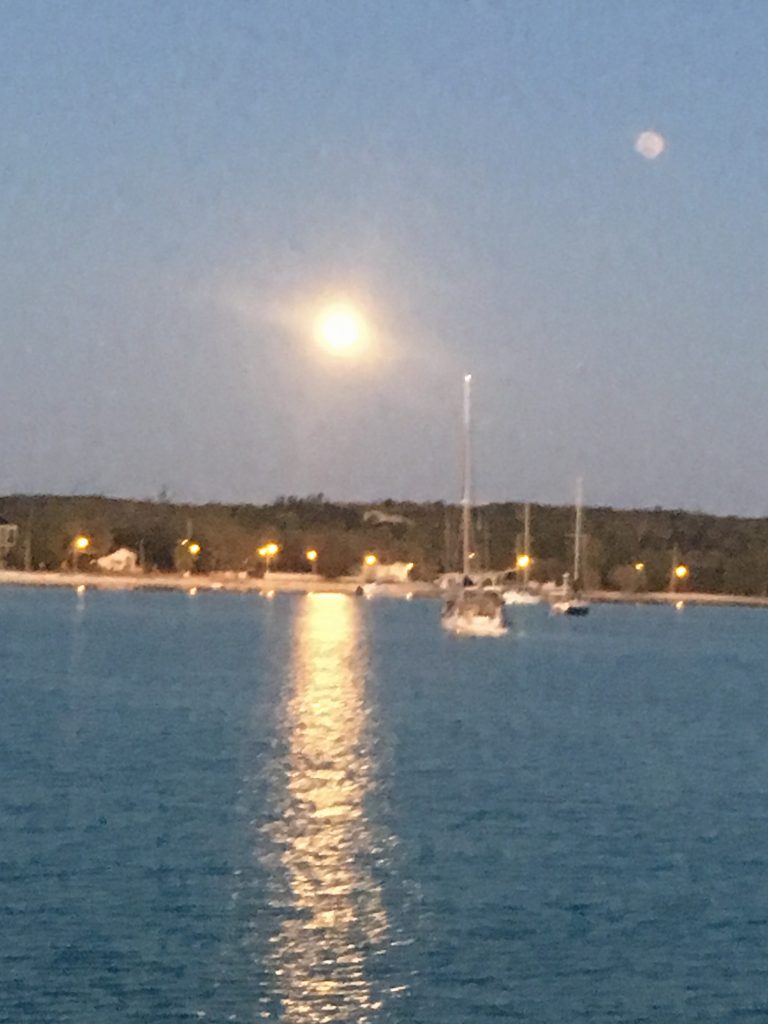
Believe it or not….that’s the moon


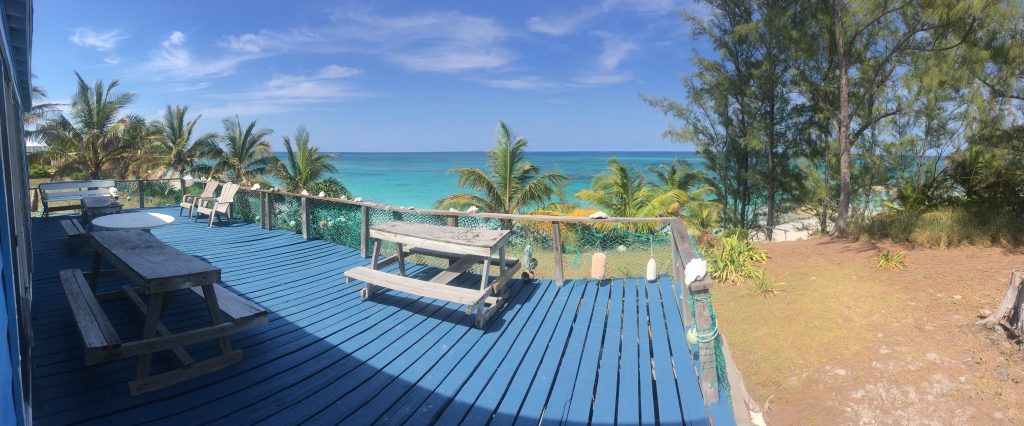
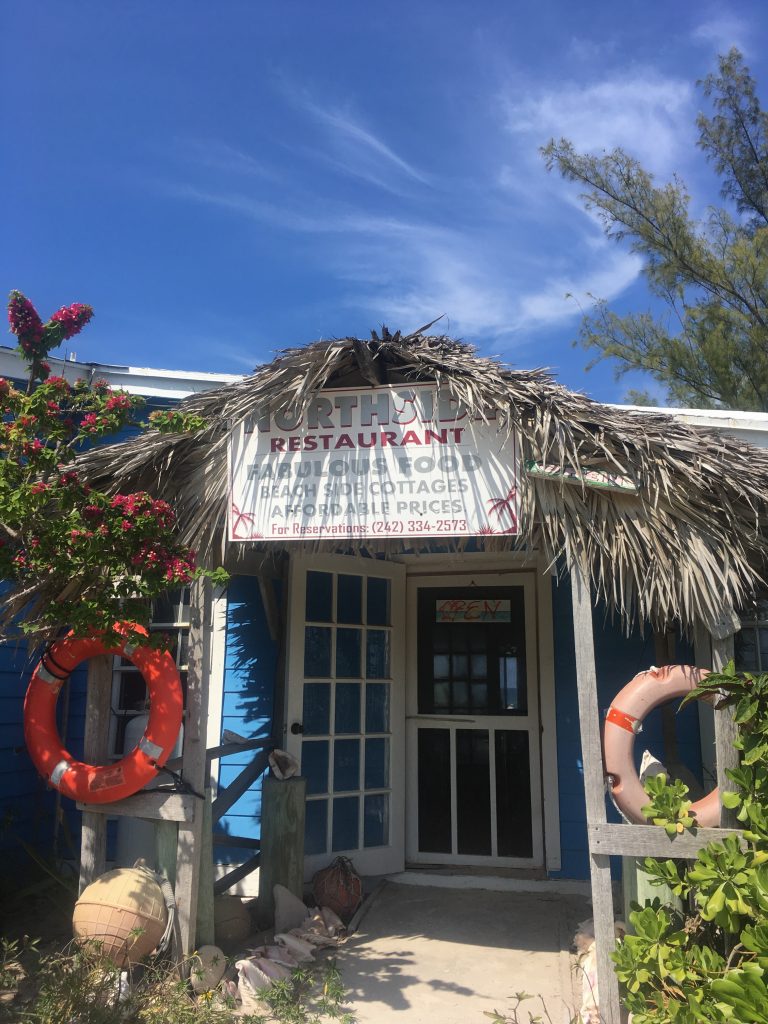
We found a great little restaurant and resort on the east side of Eleuthera across from Rock Sound.  It was owned by a wonderful lady named Rose Gibson. She was super friendly, would pick us up when she saw us walking around town, took us for an impromptu island tour one day while fish shopping and was a great cook !!! There are five cabins on her property that are on a hillside overlooking the ocean…..

Here’s a link to her website…..if you go tell her Brett and Kim sent you !!!

http://www.northsideinneleuthera.com


Remnants of the former Cotton growing industry spring up all over the island ……

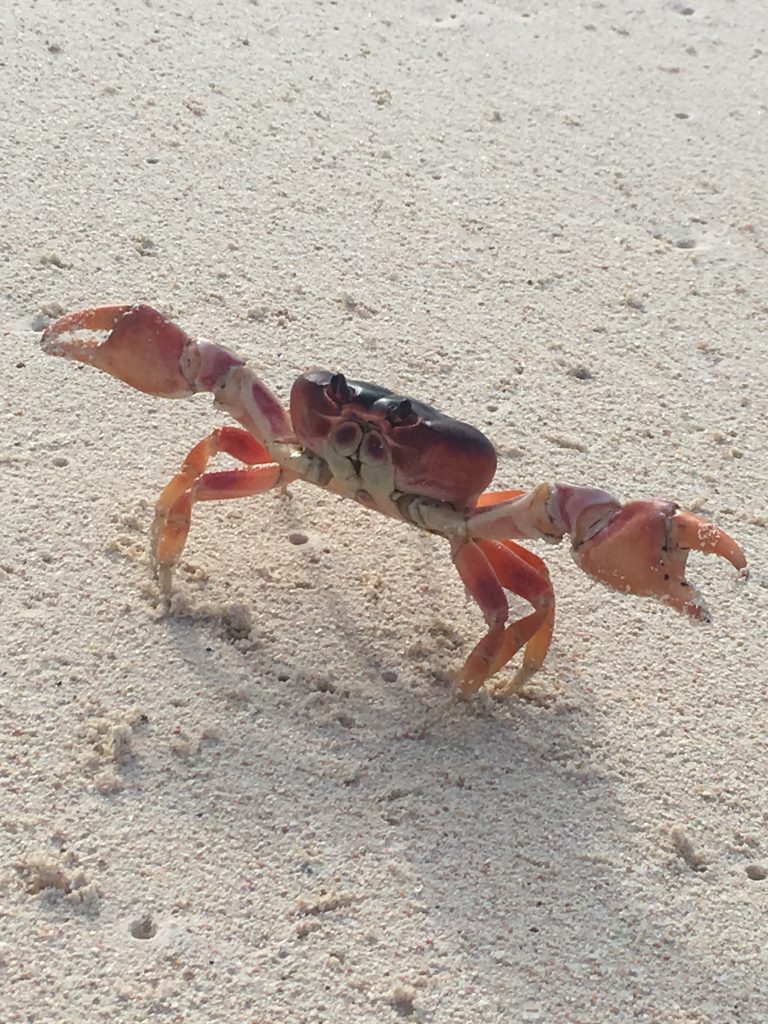
There were thousands of these little land crabs running back and forth between the foliage and the surf….dropping off their eggs


A cropped version of this photo of Kim was used in Cruising Outpost Magazine’s weekly online photo collection….

Mike arrives and brings a double rainbow….and has a Kalik !!

Since Hurricane Irma’s recent swing past the Bahamas you’ll be pleased to know that the islands here were largely untouched. We haven’t heard of any structural damage anywhere in Eleuthera.

10 things

Someone (Jan) suggested writing a list of ten things our friends wouldn’t think were true about living on a sailboat……it was a little difficult because our blog followers cover the spectrum of experience when it comes to sailboats …..but here’s my attempt……

1. The Sailing part is easier than you think (except for raising the mainsail…that sucks)

2. Maintenance is a harder and bigger part than you might think

3. Our boat can store six months of food (plus) and you wouldn’t know it because it doesn’t look cluttered

4. Fresh water can be considered a luxury

5. When anchored out, shore access is easier/more frequent than people think and anchoring out is WAY better than being in a marina.

6. Also, when anchored, If the weather is bad we spend 2-3 days (or more) at a time on the boat…we play a lot of Yahtzee and Farkle (thanks Barb and Doug for that introduction !)

7. You can read 30+ books during six months in the Bahamas during your down time

8. Less than 500 square feet (maybe closer to 400) can be a comfortable living space for two adults plus occasional guests and they won’t kill each other.

9. Official showering is really only necessary once a week or so…..we spend a lot of time in the water and you have to rinse off on the swim platform anyway (Kim’s personal record is ten days before you knew it)

10. The weather runs your life….good, bad or ugly, you check it twice a day at a minimum and it decides when you go, when you stay, and other precautions/preparations you take.

that’s it for this month……hope this one wasn’t too boring…..Jan let me know what you thought……

P.S.

I’m adding this line because a certain someone gives me grief about never mentioning him…..Gary Lee Peace …..there ….done…ya’ happy now? Hahaha


Shop Amazon Devices- Fire Tablet Starting at $39.99


Little San Salvador….Oh the horror !!!

Here’s a post that is three things…..

1) A big hats off to Mantus Anchors….

order yours here…..


2) A reminder to not skimp on ground tackle

3) and that preparation is the key to safety and a modicum of peace of mind when the fecal matter hits the air moving device….
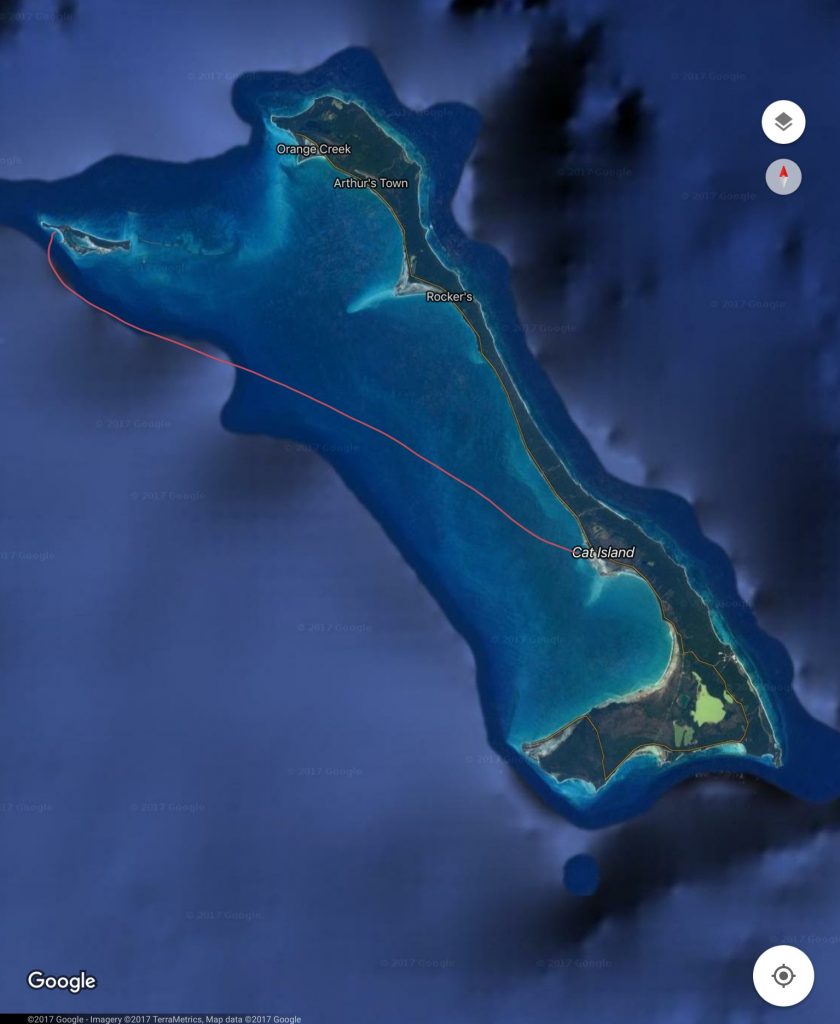
 

Image courtesy of Google Maps

We departed Fernandez Bay and made our way to Half Moon Harbor at Little San Salvador, which is also known as Half Moon Cay.  Little San Salvador is a private Island owned by Carnival Cruise Line.  As such, it has a fake beachside village, what appaeared to be a fake pirate ship, a real water park, and one or two cruise ship priced restaurants. As a cruising boat, you can visit the island once the cruise ship has departed, as long as you radio ahead and get clearance from the island manager. Some reviews also mention visiting the bar if you get in before the staff leaves.  They  bring the staffing in every morning from Eleuthera and take all but the resident employees home every evening.

We had researched the cruise ship schedule and we knew that a cruise ship was leaving around 3:30pm on the day we arrived and that another would be arriving around 9am the next day.  This wasn’t going to be an issue since we were planning to be underway at 6:30am.  We had a very smooth trip to LSS and the cruise ship departed just as we were approaching the anchorage. We had seen some forecast chatter about scattered squalls, but in the Bahamas it seems like if you let that stop you, you’ll never go anywhere.

In the below image you can see a closeup of the anchorage and the pin is approximately where we were anchored, about 300′ off the beach in 12′ of water. When we are in an uncrowded anchorage, or alone in one,  we always put out 10 or even 15:1 scope (that’s the length of chain in relation to the depth of the water in which you are anchored.)  Thank goodness for that habit….we have 300′ of 3/8″ G43 chain on our primary Mantus 85 pound anchor……we went a couple of sizes over what’s recommended on the anchor and thank God we did.
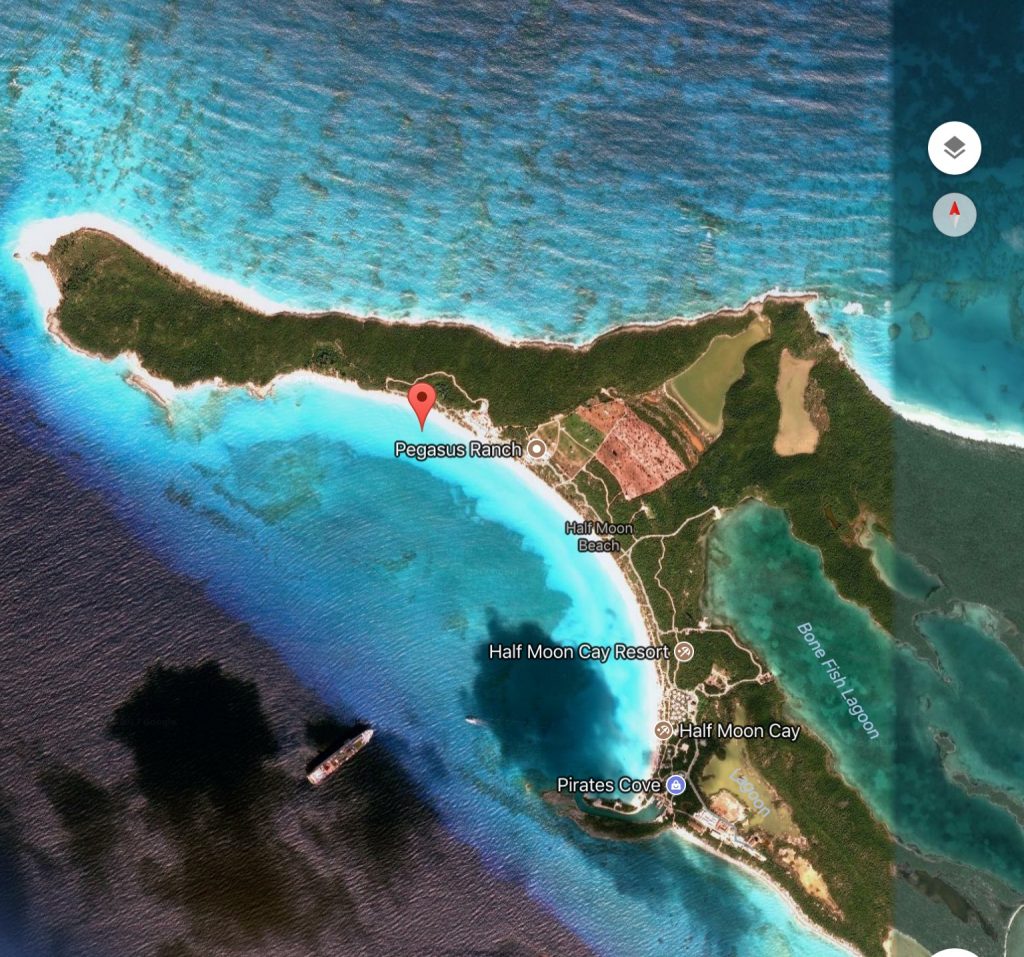
 

image courtesy of Google Maps

It was a little bouncy overnight as the actual wind was more southerly than the forecast wind was anticipated to be, so the wave action was a little choppier than what is comfortable.

Around 5:30am I was awakened by some thunder and the feeling of the wind rising.  At about 6:30 the wind was rapidly increasing, rain began to fall, and the wind had reached about 40 knots and was gusting to just above 45kts.  This was NOT going to be fun…..

The wind was coming out of the West-Southwest so there was nothing to reduce the wave action being generated by the wind.  We usually count on an island, shoal, reef or other shallow feature to diminish the waves.  There seemed to be two cells moving southeast and we were catching the edge of the first one and we got the brunt of the second one as it passed.

After the first hour, I had sent out a few text messages to let people know we were in a potentially bad circumstance.  In the second hour, I knew we were in a bad spot but I wasn’t sure how bad it was going to be.  We began taking 10-12′ waves and some of them were breaking over the bow of the boat.  We were riding up 10-12′ waves and then crashing into the trough behind the wave, then taking the ride up the next wave which would drive the swim platform down into the back of the passing wave and it hit hard, sounding like a bomb every 10-15 seconds.  Kim was motion sick and in the aft cabin.  I was sitting in the cockpit waiting for the anchor to drag and to be forced to decide if we were going to hope it reset before we grounded on the beach, or fire up the diesel and try to power beyond the waves and into deeper water pulling up the anchor as we went and maybe get broached by an incoming wave and still end up on the beach. Either choice had its risks.  Even if the anchor held, we had to be worried about an unusually deep wave trough slamming the keel on the bottom and possibly damaging the rudder. We had anchored in 12′ feet of water but didn’t anticipate 10-12′ waves which could have included troughs deep enough to make our rudder reach the bottom.  We were lucky that didn’t happen.

We had recently purchased a new 15hp outboard in George Town ($2500) and since it had been very calm the prior day and evening we towed the dinghy with the outboard still attached.  That proved to be a slight error in judgement.  I’ve read many stories about people who have towed their dinghies with outboards around the world with no issues….just our luck we wouldn’t make it through one season in the Bahamas towing ours.

Around 8:30am, during a few particularly violent and shifting waves, our dinghy flipped over……our dinghy anchor, one oar, a dinghy pump were adrift and our dinghy chaps (material coverings designed to reduce the UV damage to the inflatable tubes), were ripped.

Around 9:30 the second of the cells moved off a little to the southeast.  Kim rallied and we managed to go out onto the swim platform and flip the dinghy over.  It was a momentous piece of teamwork.  I donned my snorkel gear and recovered our anchor, but the pump and the oar were long gone.

Shortly after that, the waves subsided and we were in the lee of the arriving cruise ship.  We started the diesel, raised the anchor and motored out of the anchorage and were on our way to Eleuthera after about four hours of the worst time on a boat that we have ever experienced…….wondering “why, exactly, are we doing this?”