First and foremost…..Merry Christmas from the crew of Kitty Hawk……
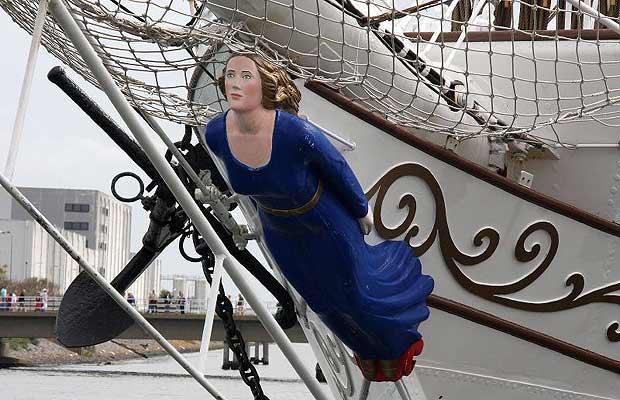
The casting net Christmas Tree ….an ingenious design by our friend Joan….

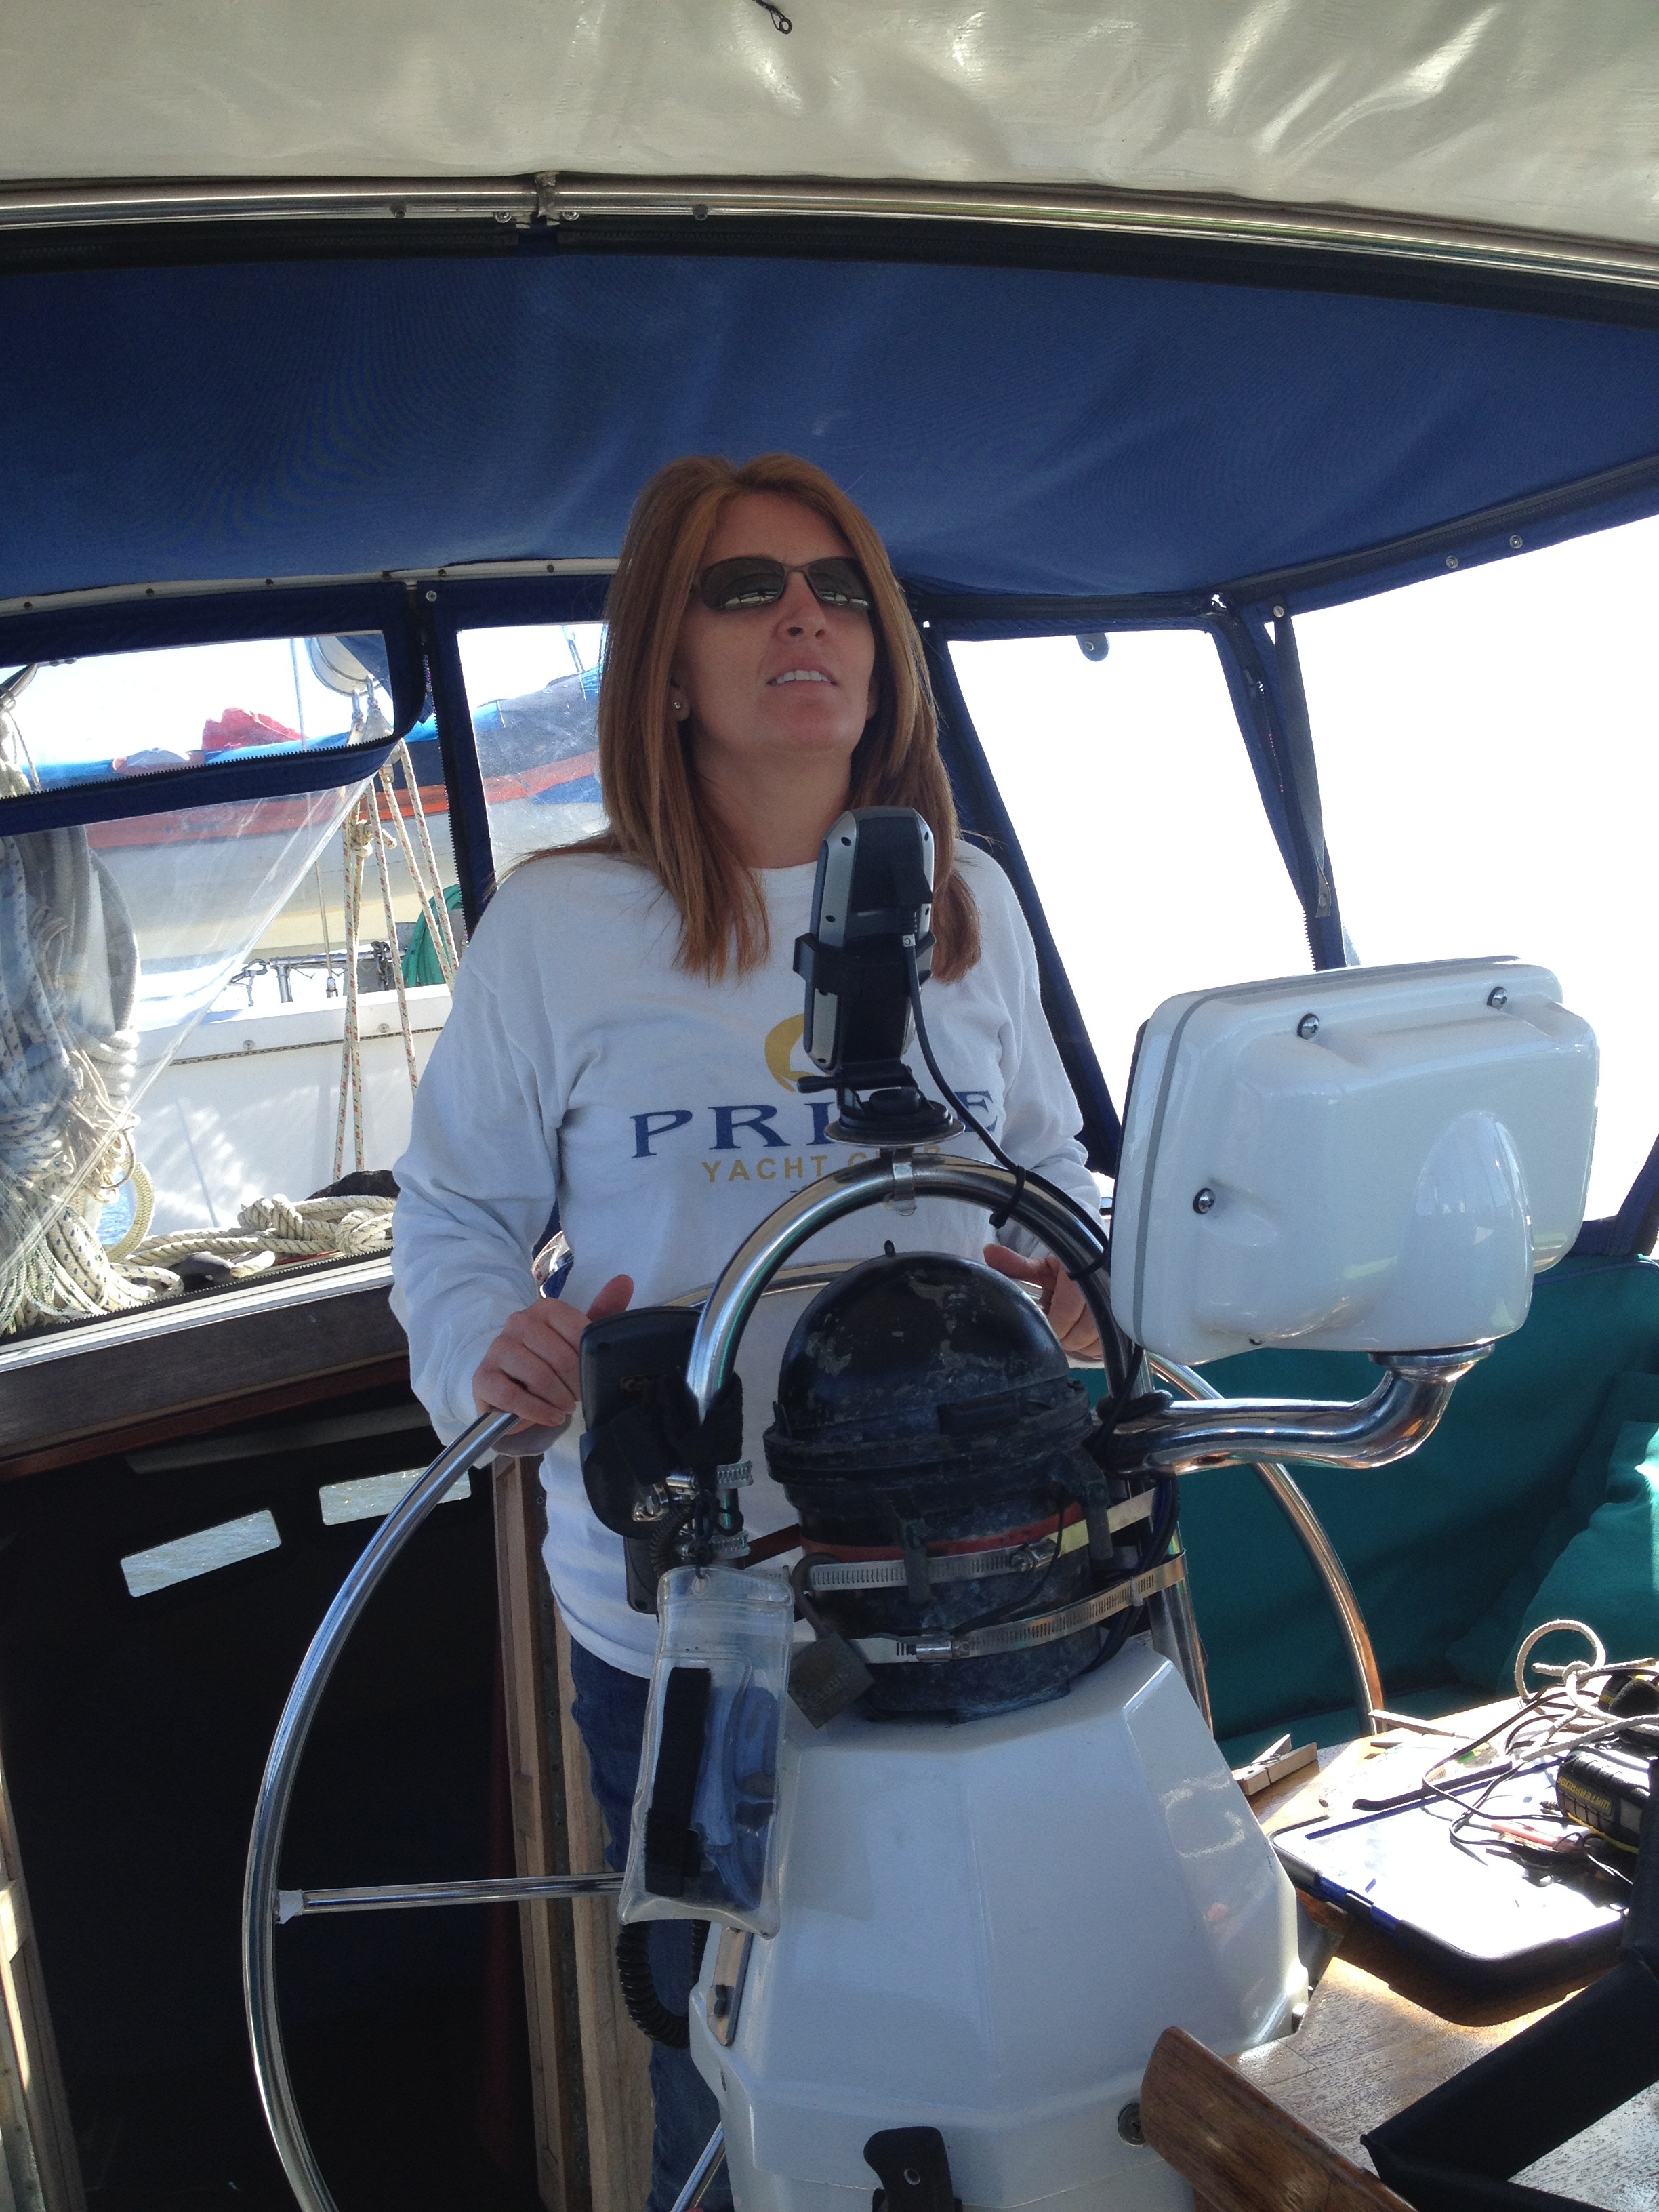
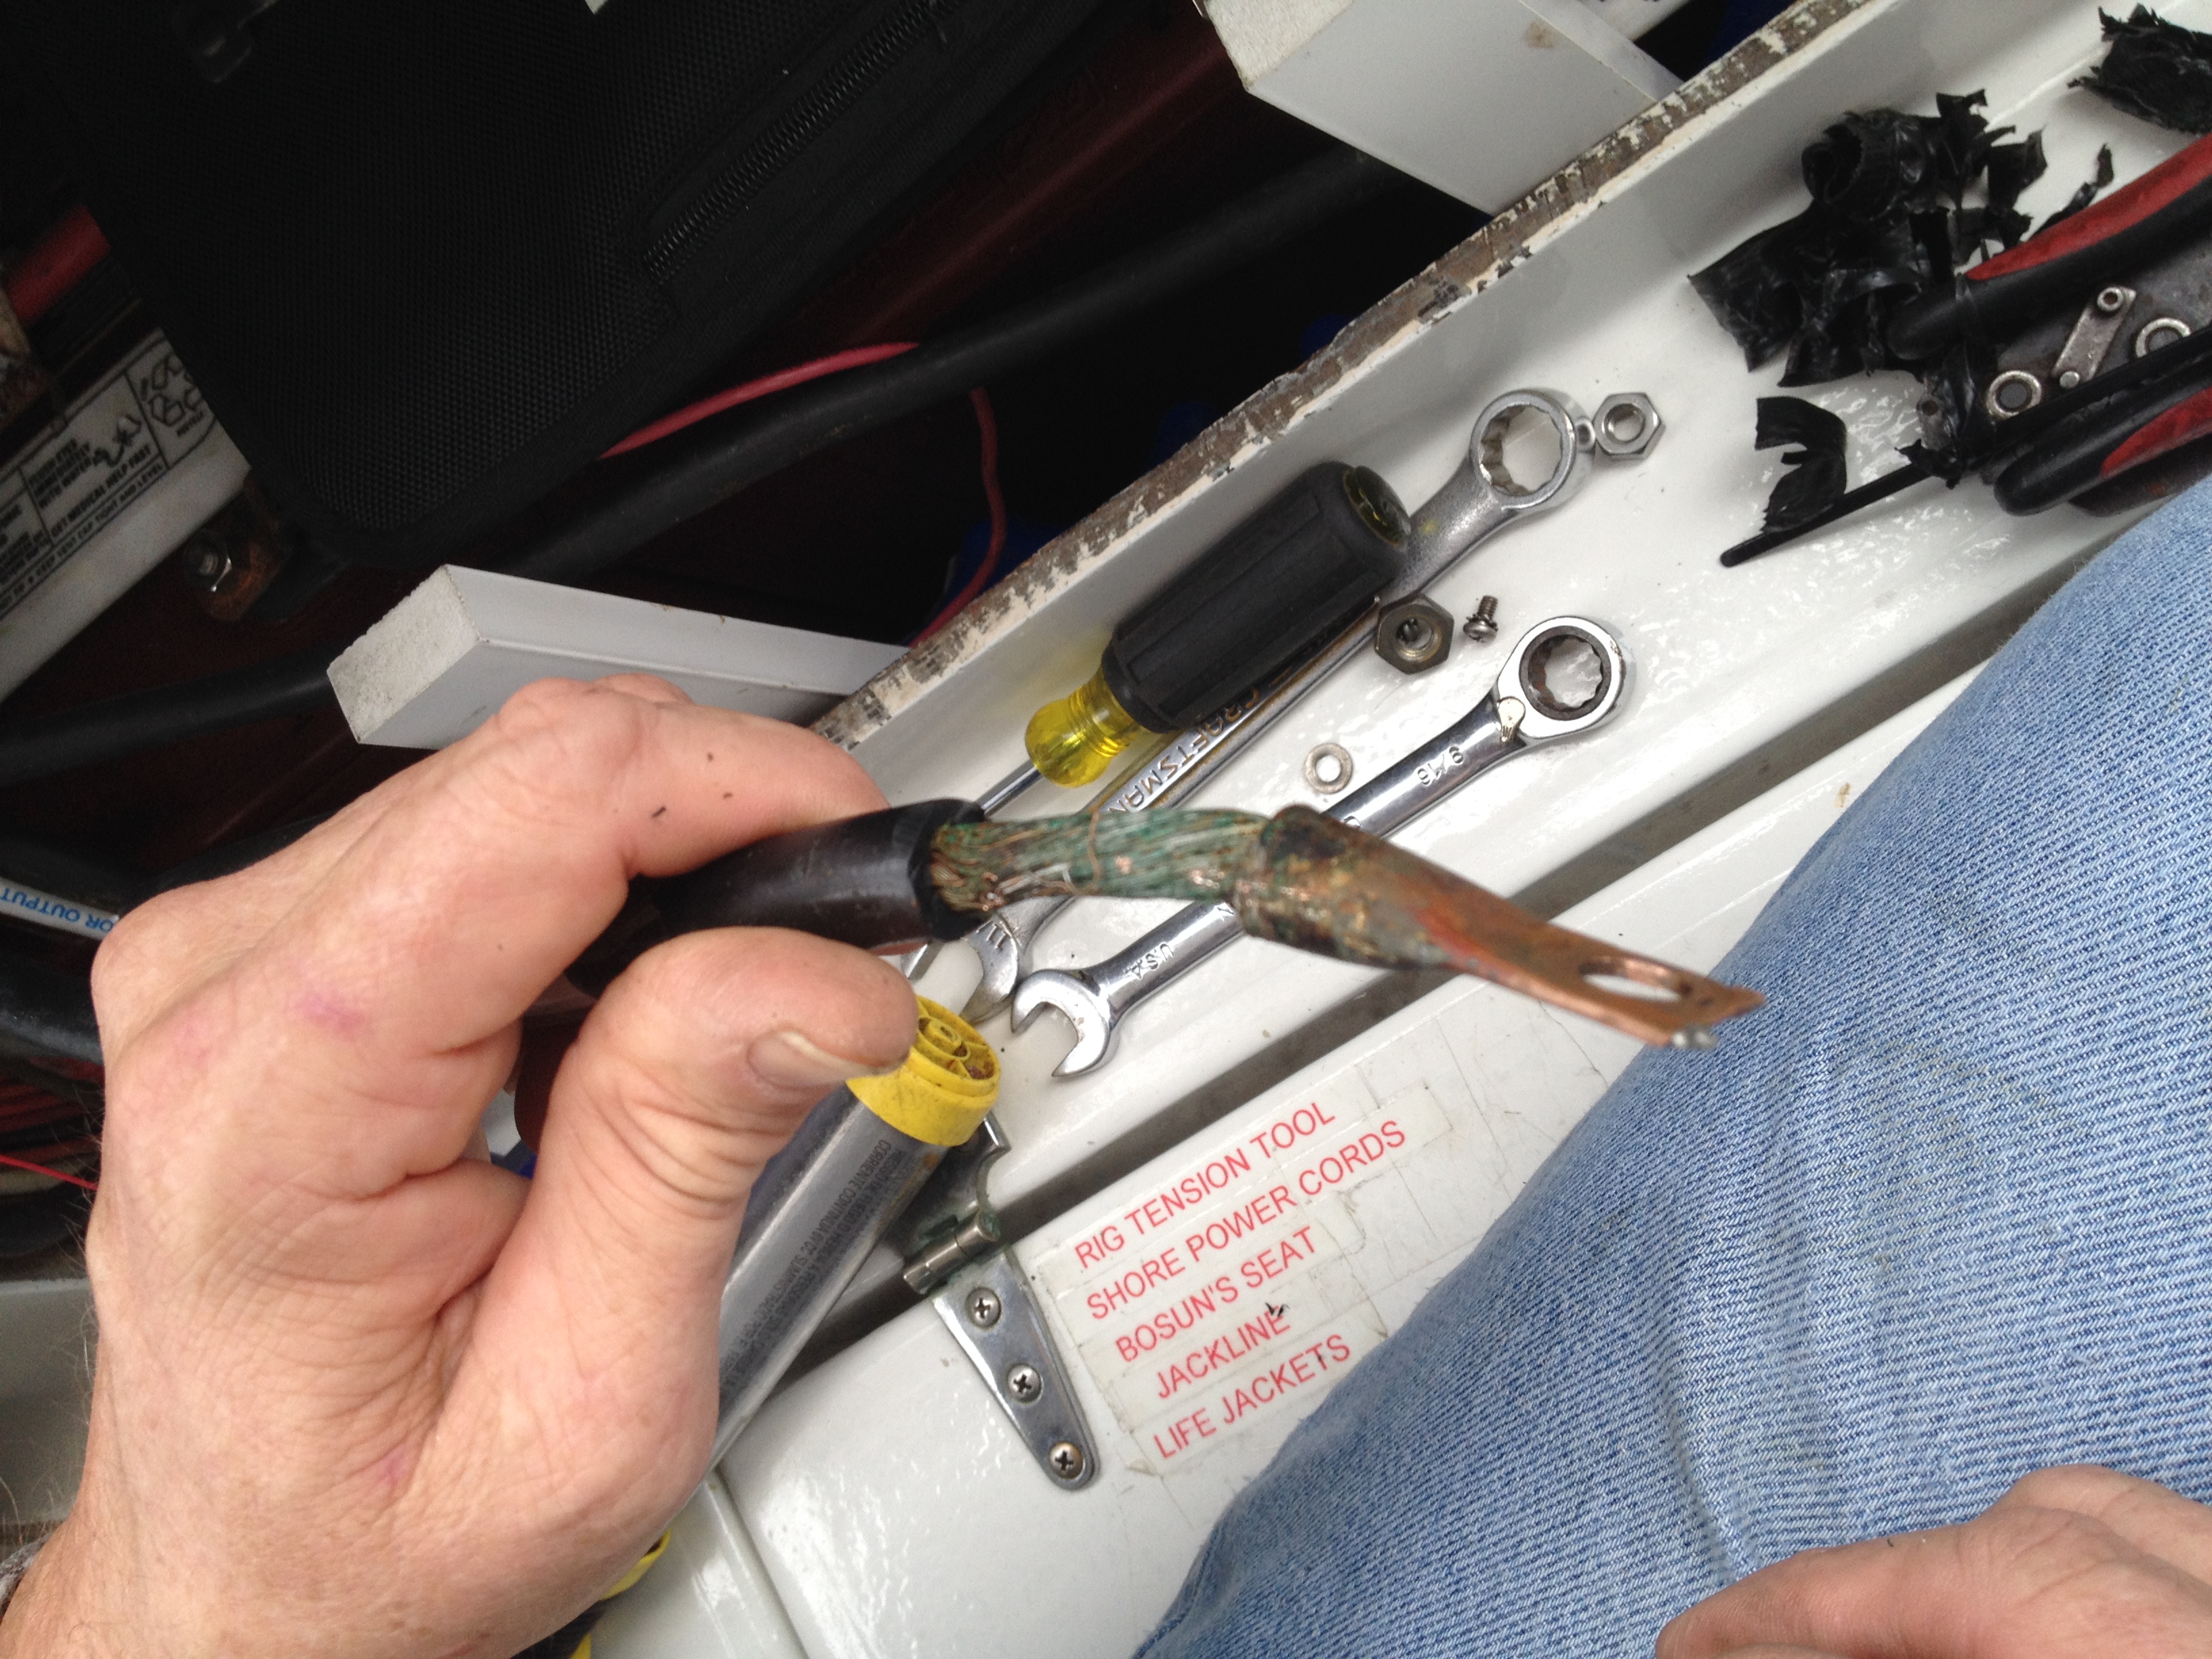
Well….this month has been a busy one….we’ve had a total of seven visitors on board Kitty Hawk and have two more on the way. We’ve done a lot of work to Kitty Hawk to get her ready for the next leg of our journey. Like any aspect of life on board, using any system can and eventually will, expose any deficiencies or lack of maintenance.
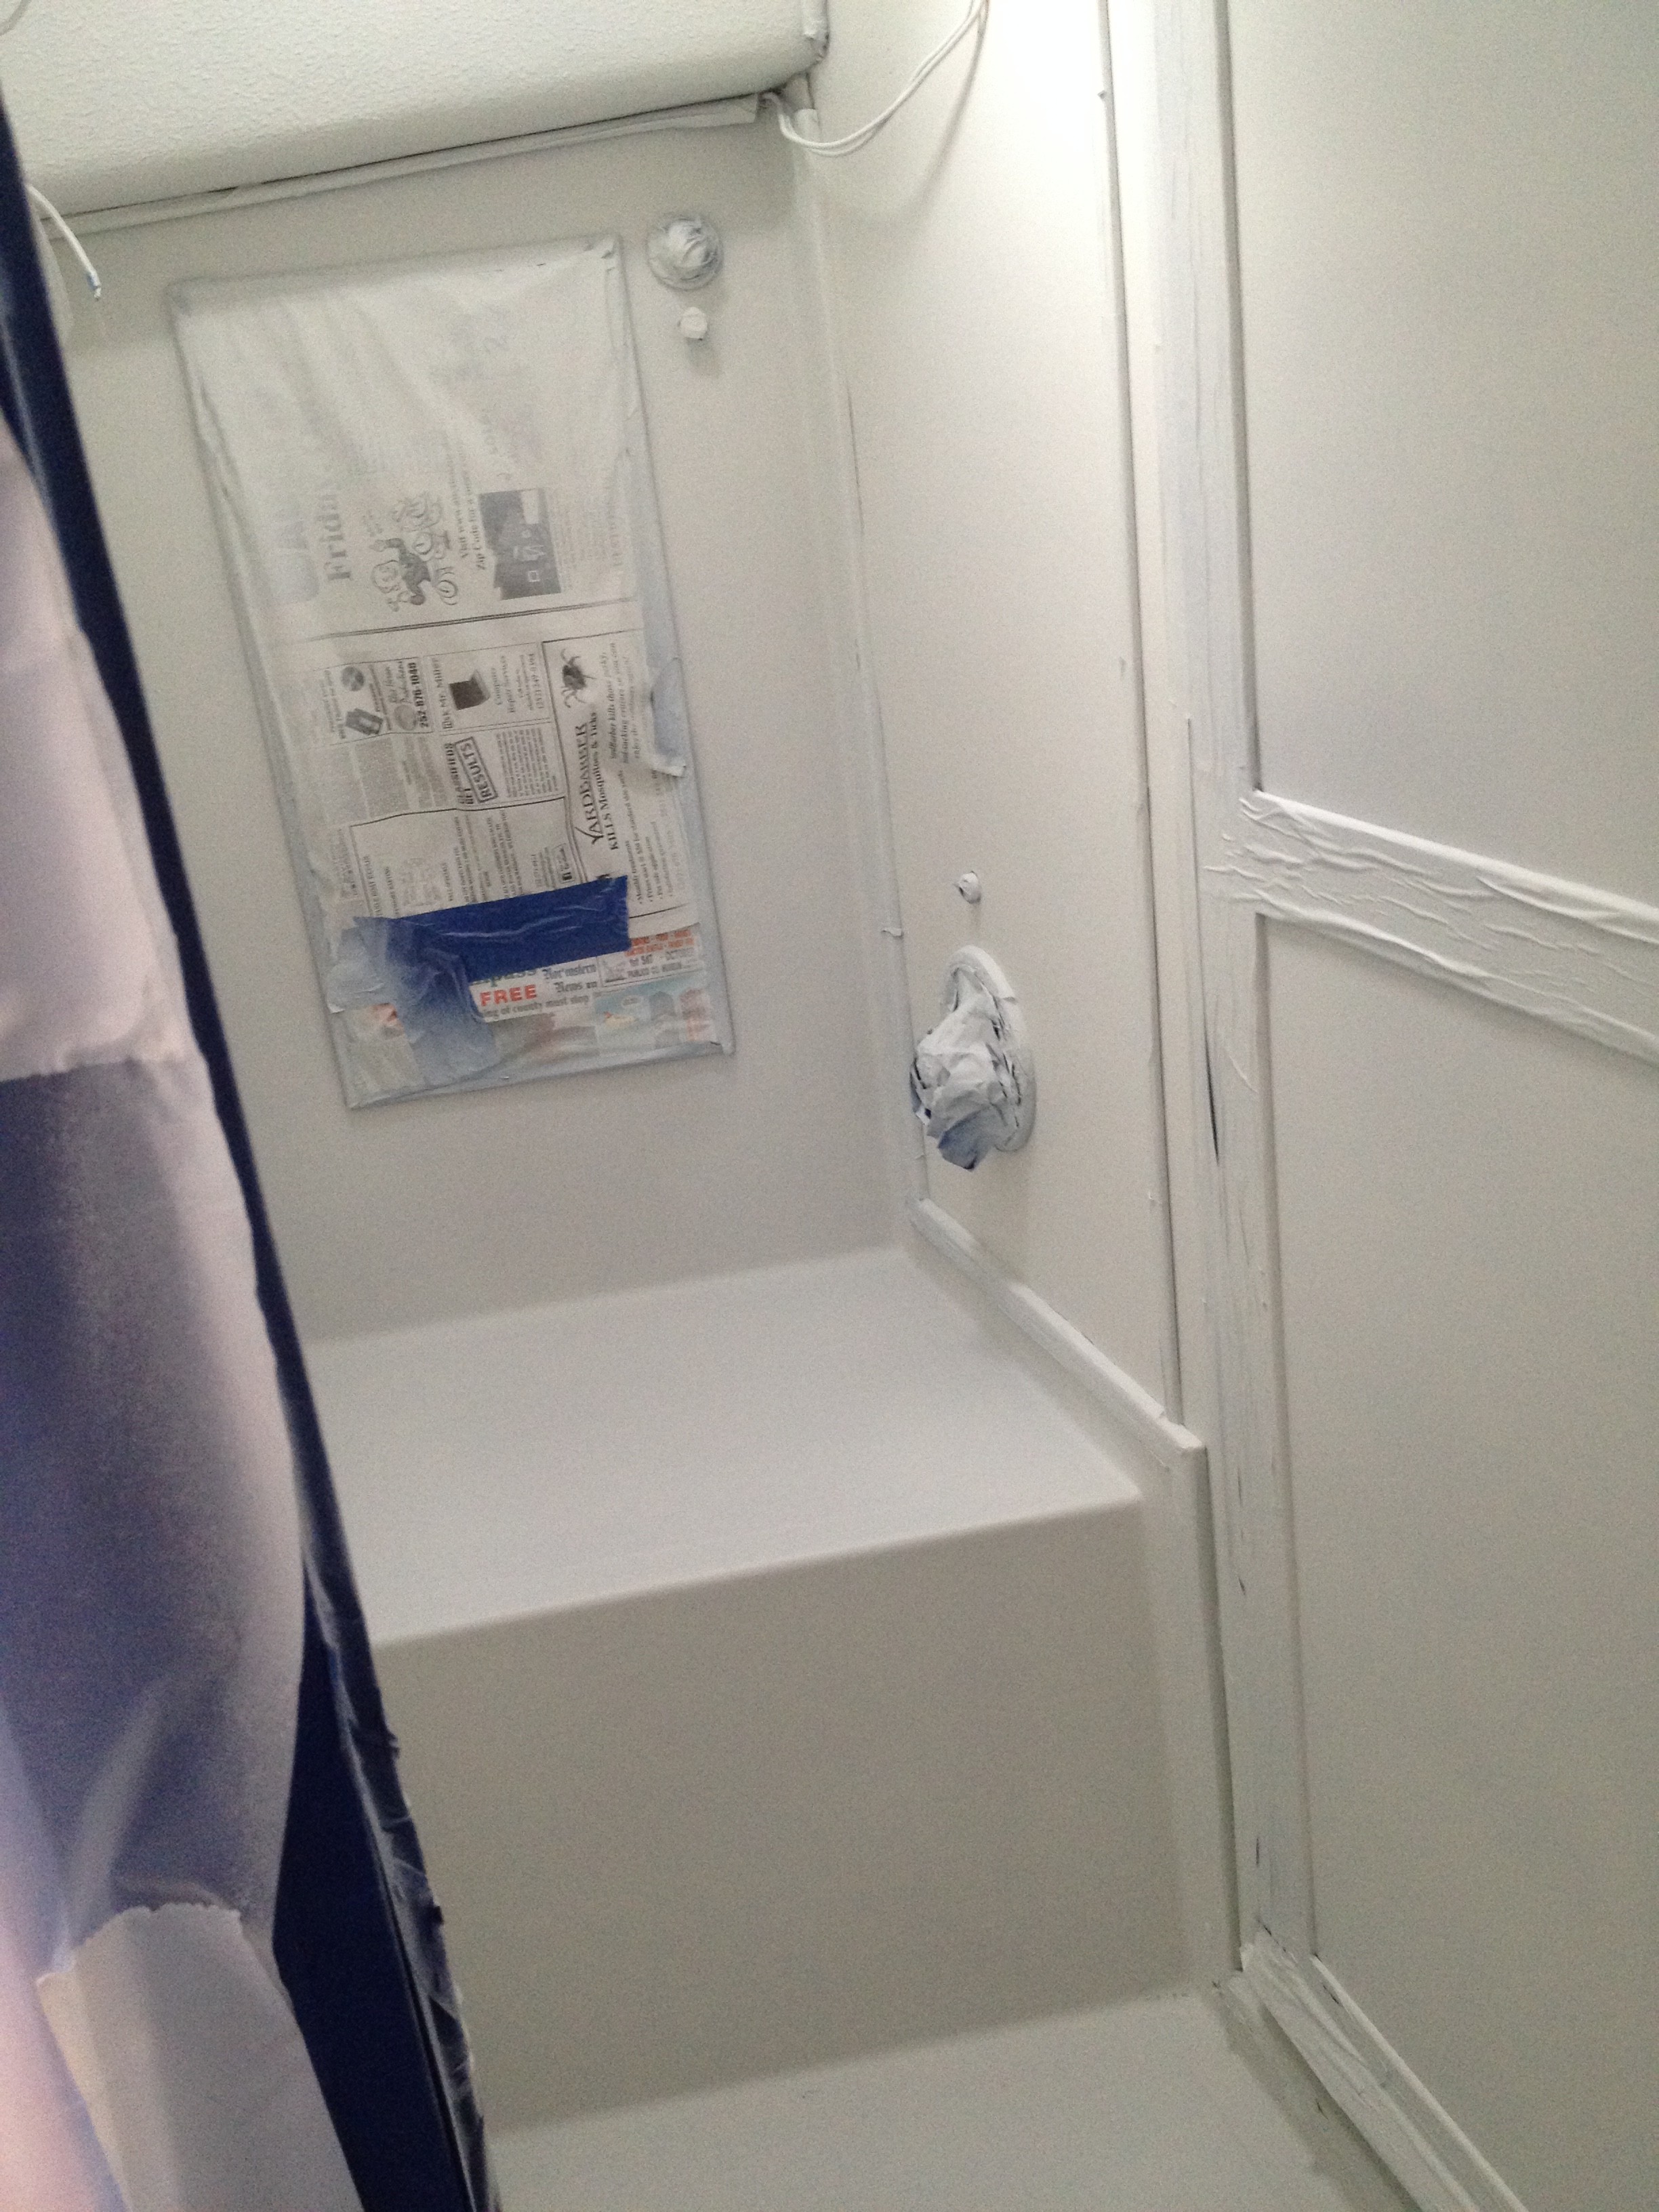
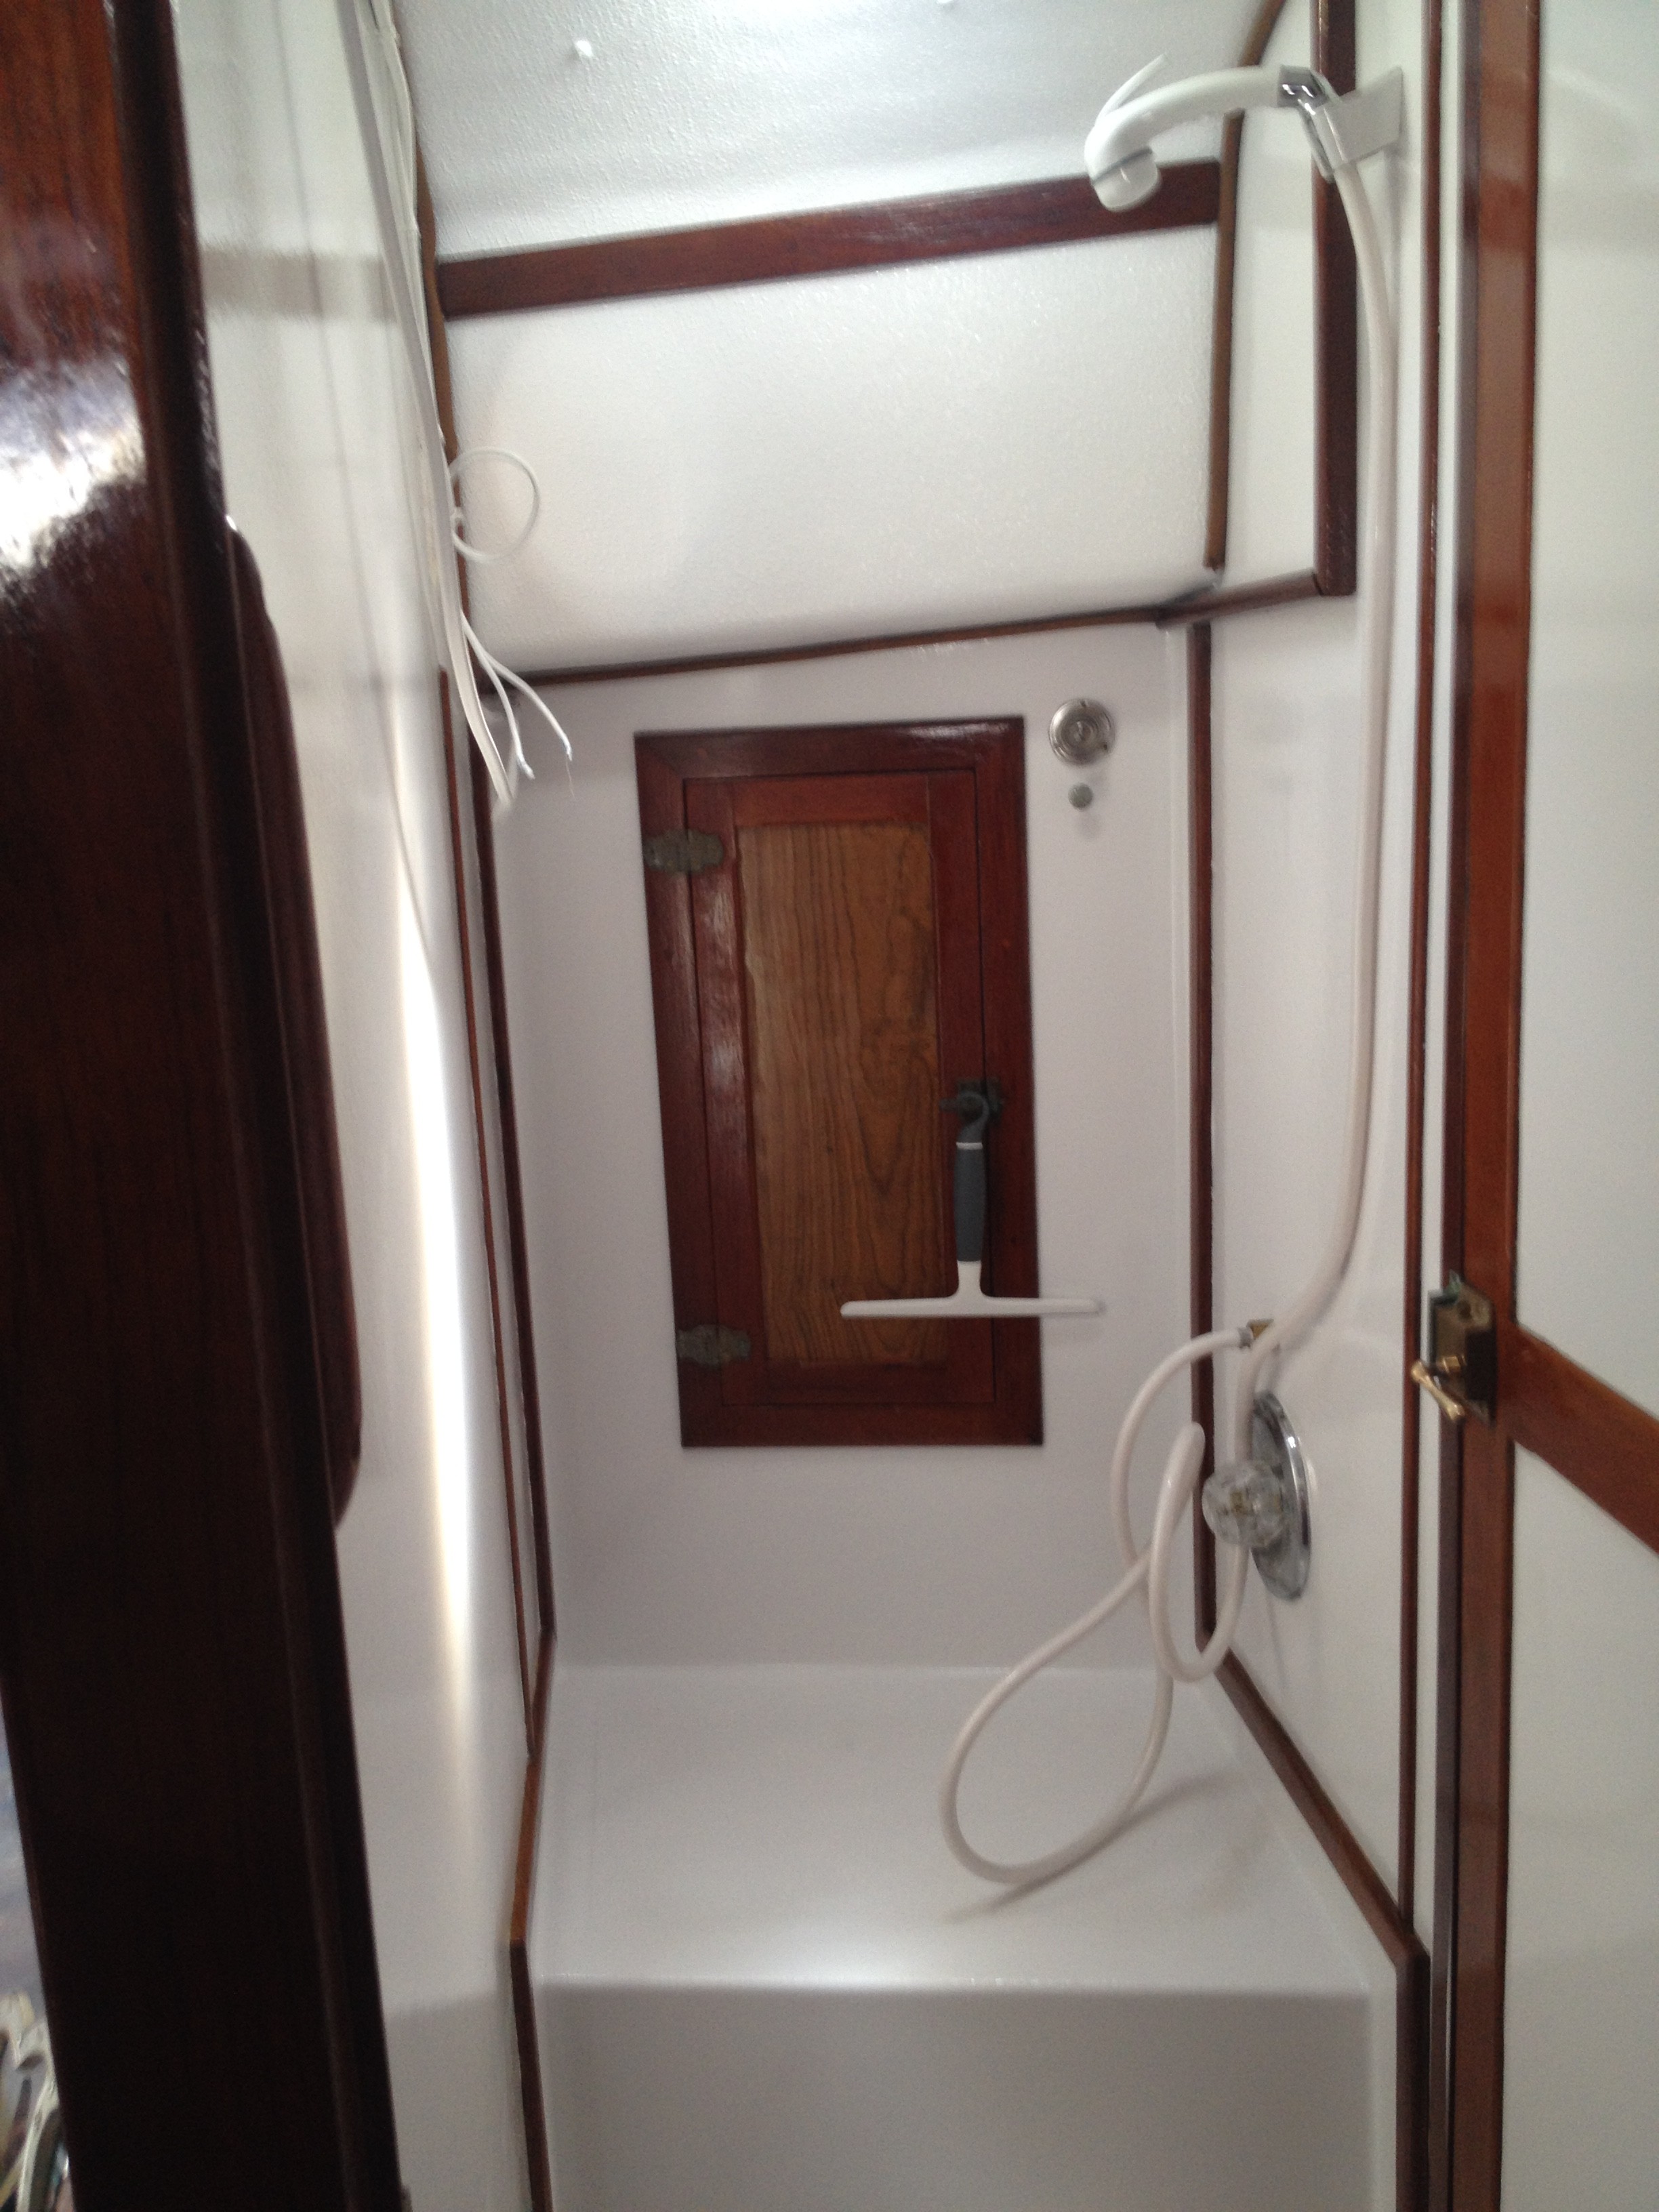
During this month, we rebuilt both pump assemblies of our forward and aft heads. For those not up to speed on nautical terminology, a head is a bathroom and also the name of the actual on board toilet. So if you say “I’m going to the head” you just mean you’re going to the restroom. If you say “the head is clogged” you mean that the toilet has failed to deliver whatever was deposited in it to the intended destination, decided to stop the flow of other materials in the future and by extension, ruined the Captain’s day.
Now, you may ask yourself, “Why call it a head?”….good question. In the old days when ships could generally only sail downwind, the placement of the head was in the very forward most area of the ship. Also, near the figurehead that many ships of that day sported for numerous superstitious, decorative or identification reasons. The natural wave action of the boat moving through the sea provided a “flushing out” as the seawater moved into and out of that space through openings in the hull just above the waterline. Also, since the vessel was sailing downwind the smell was being carried away from the rest of the boat.
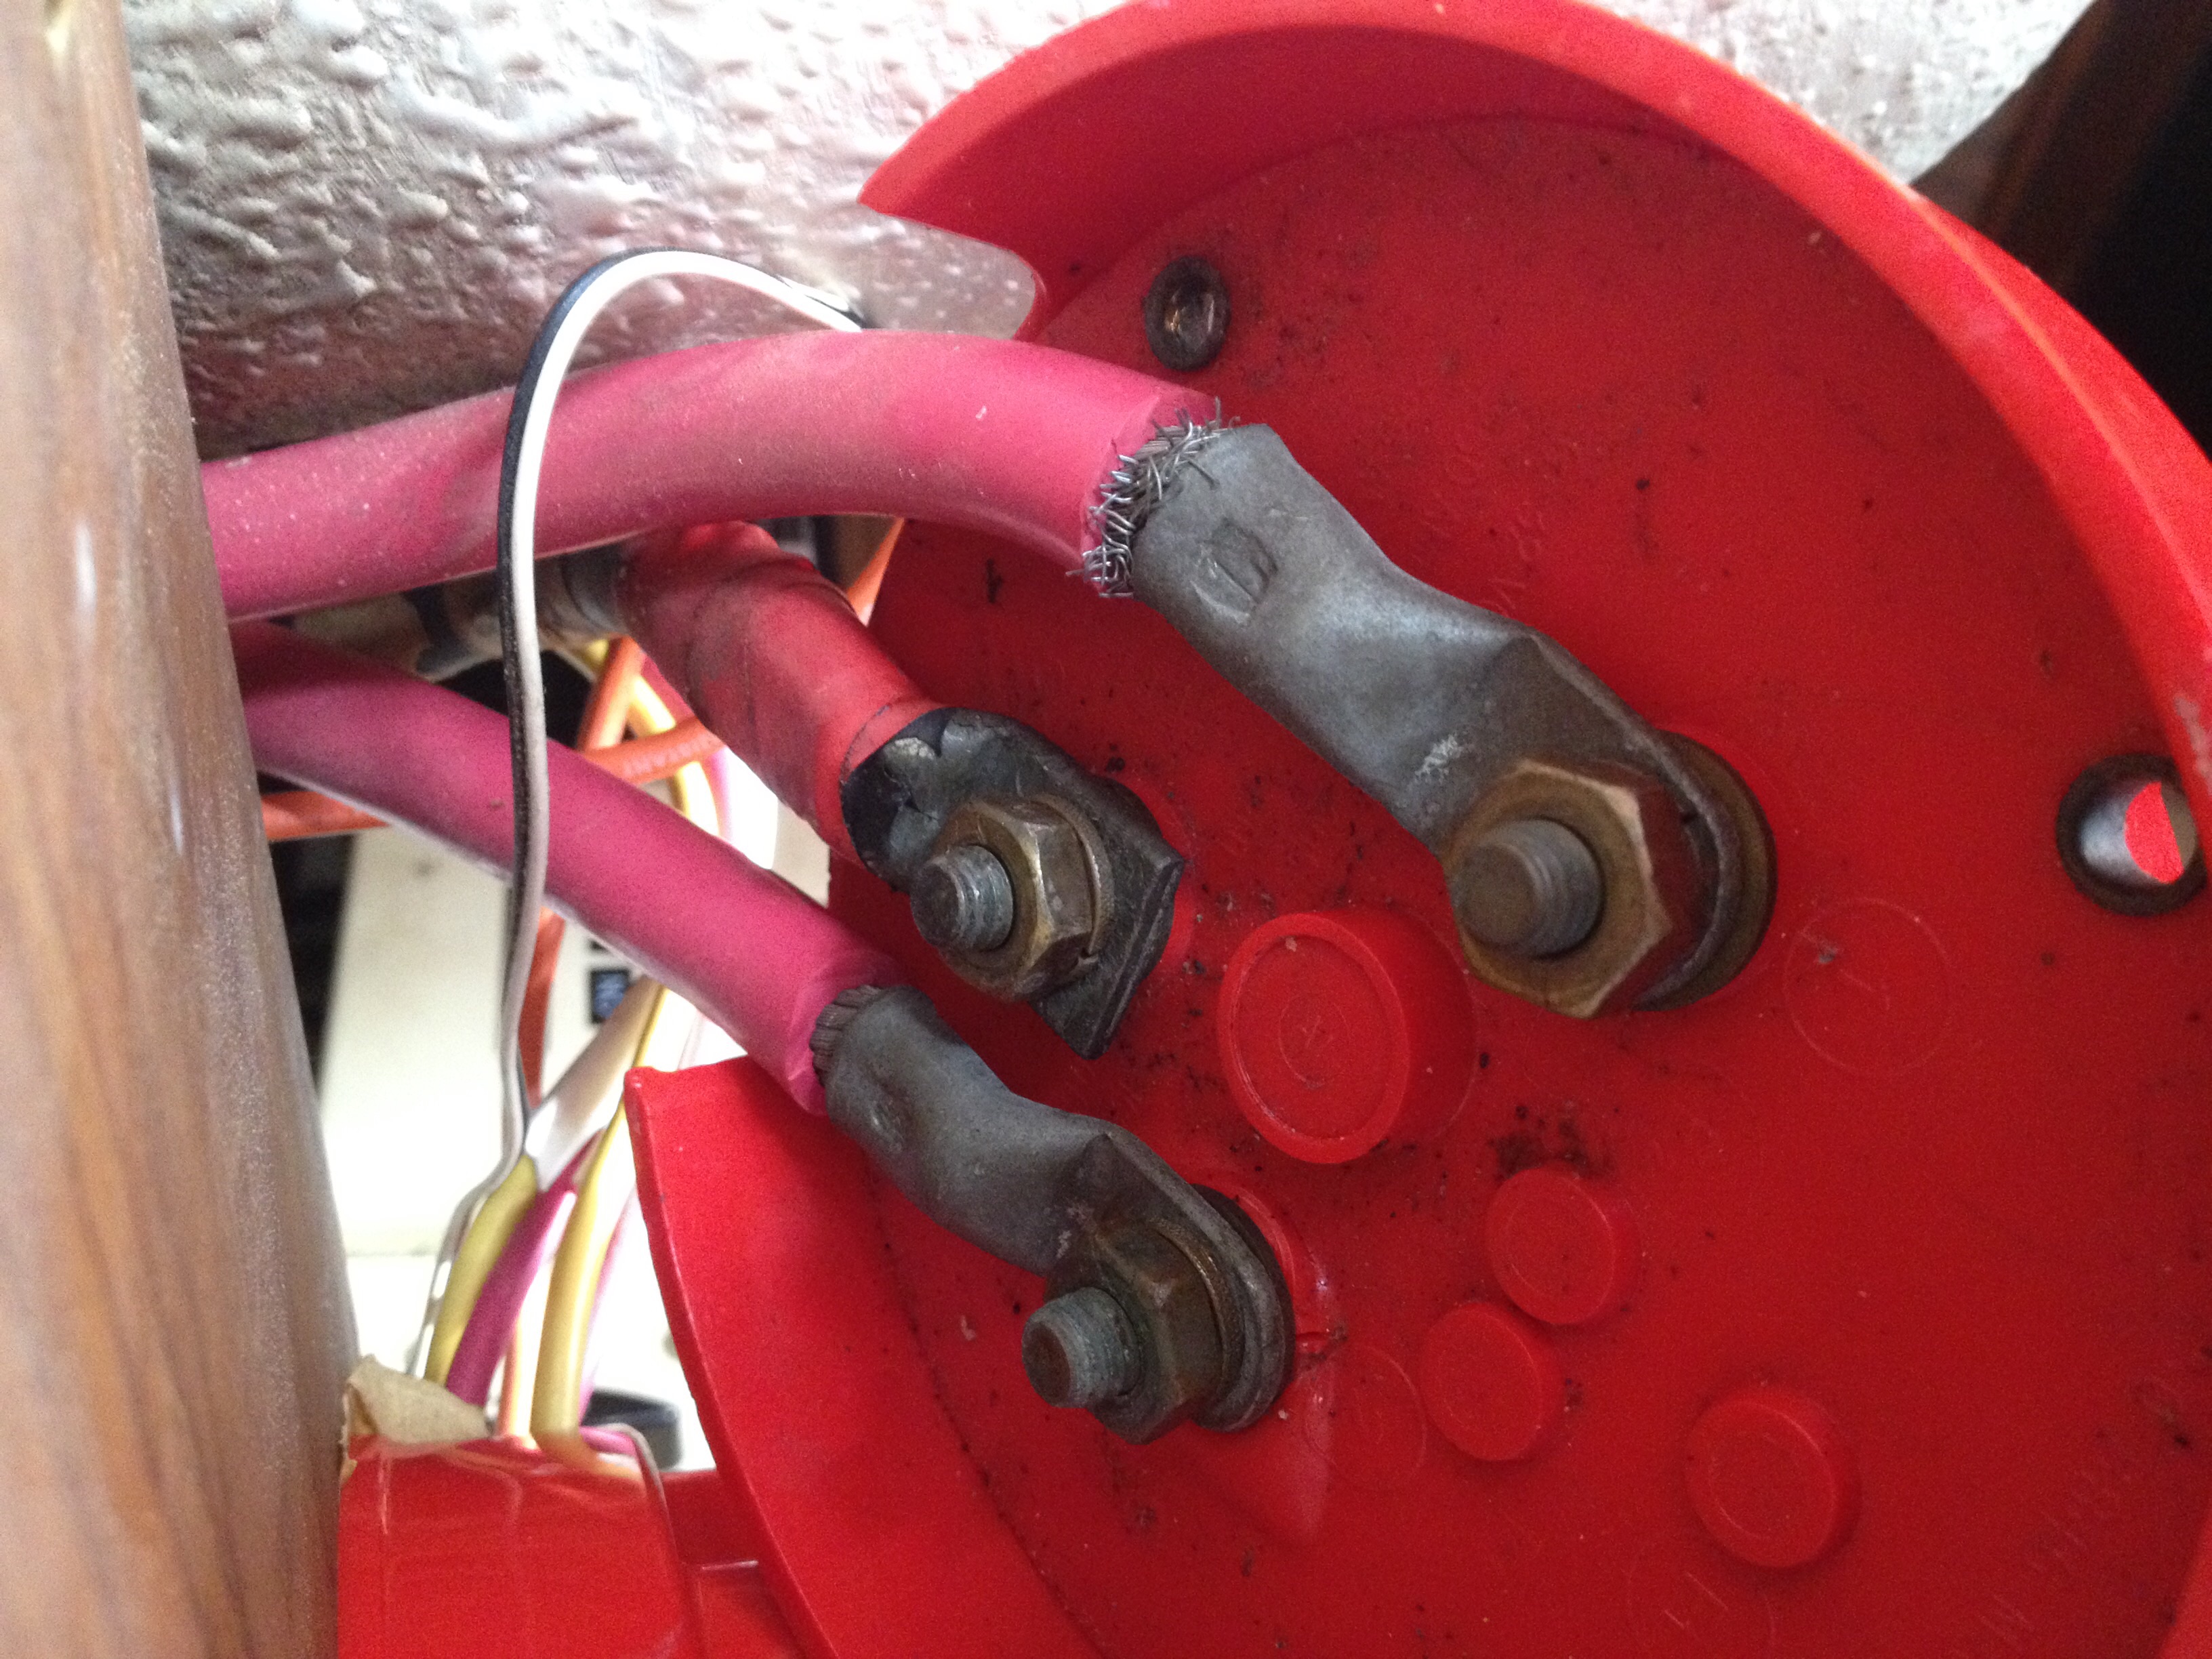
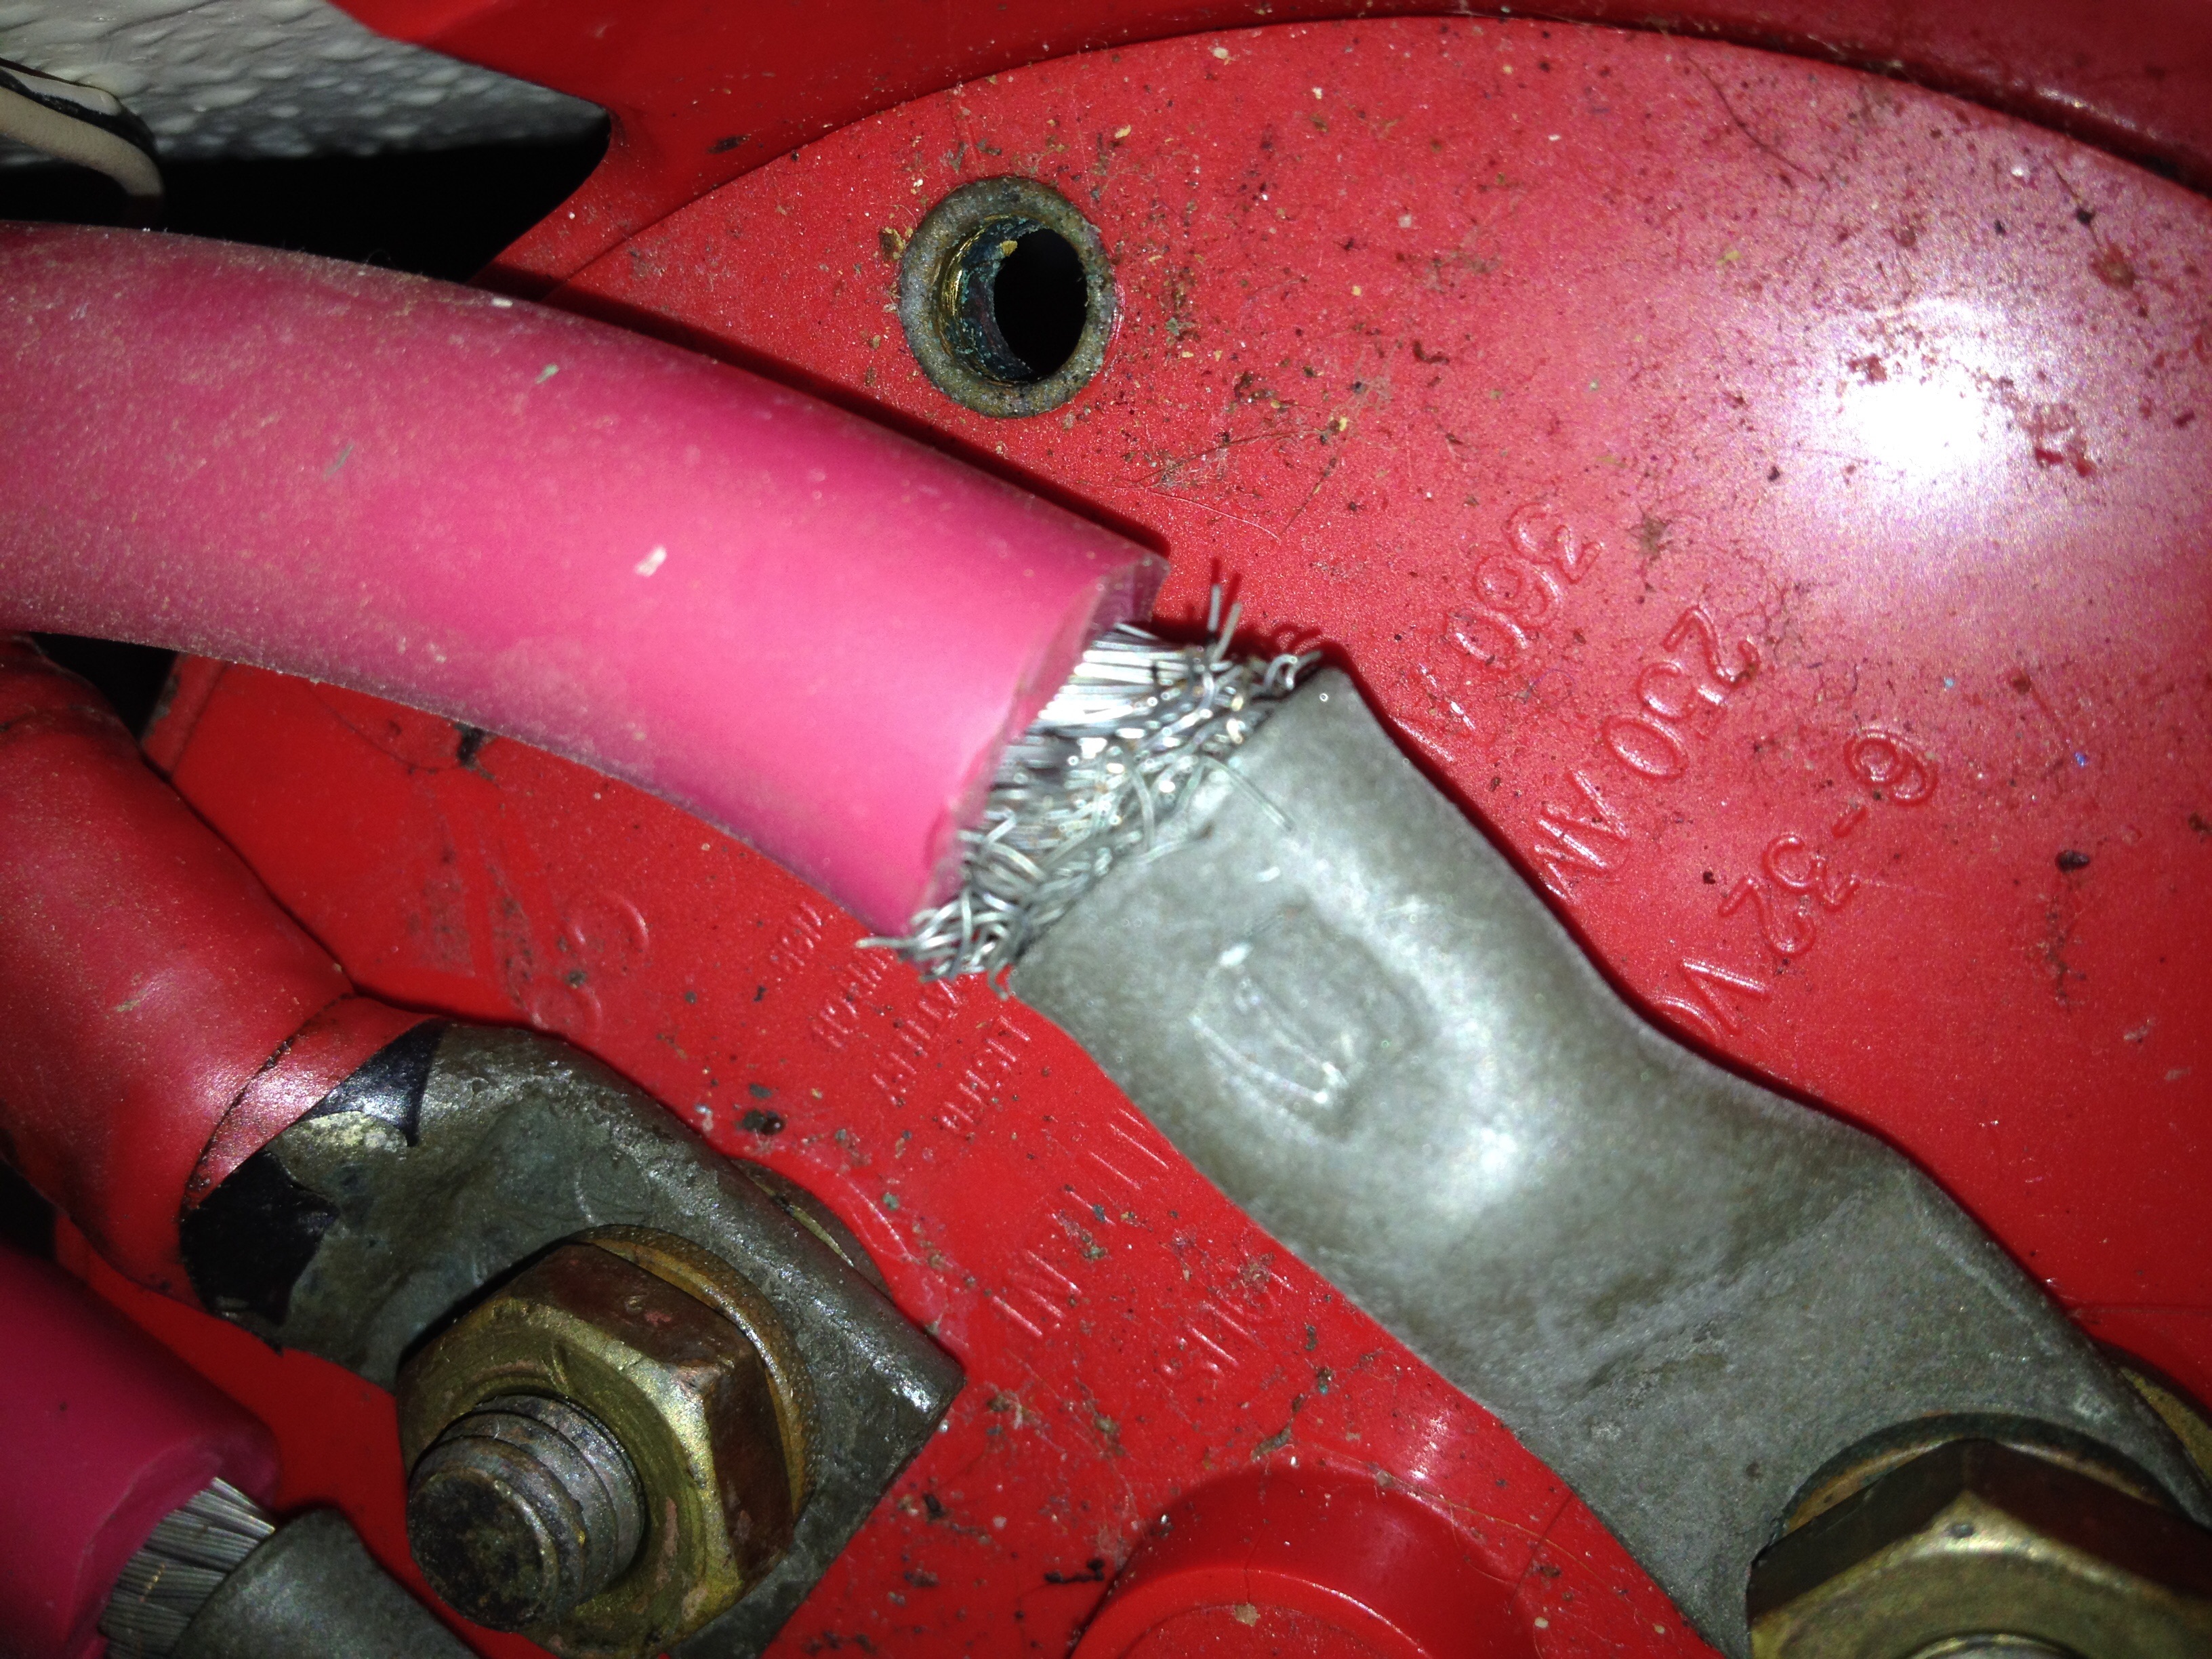
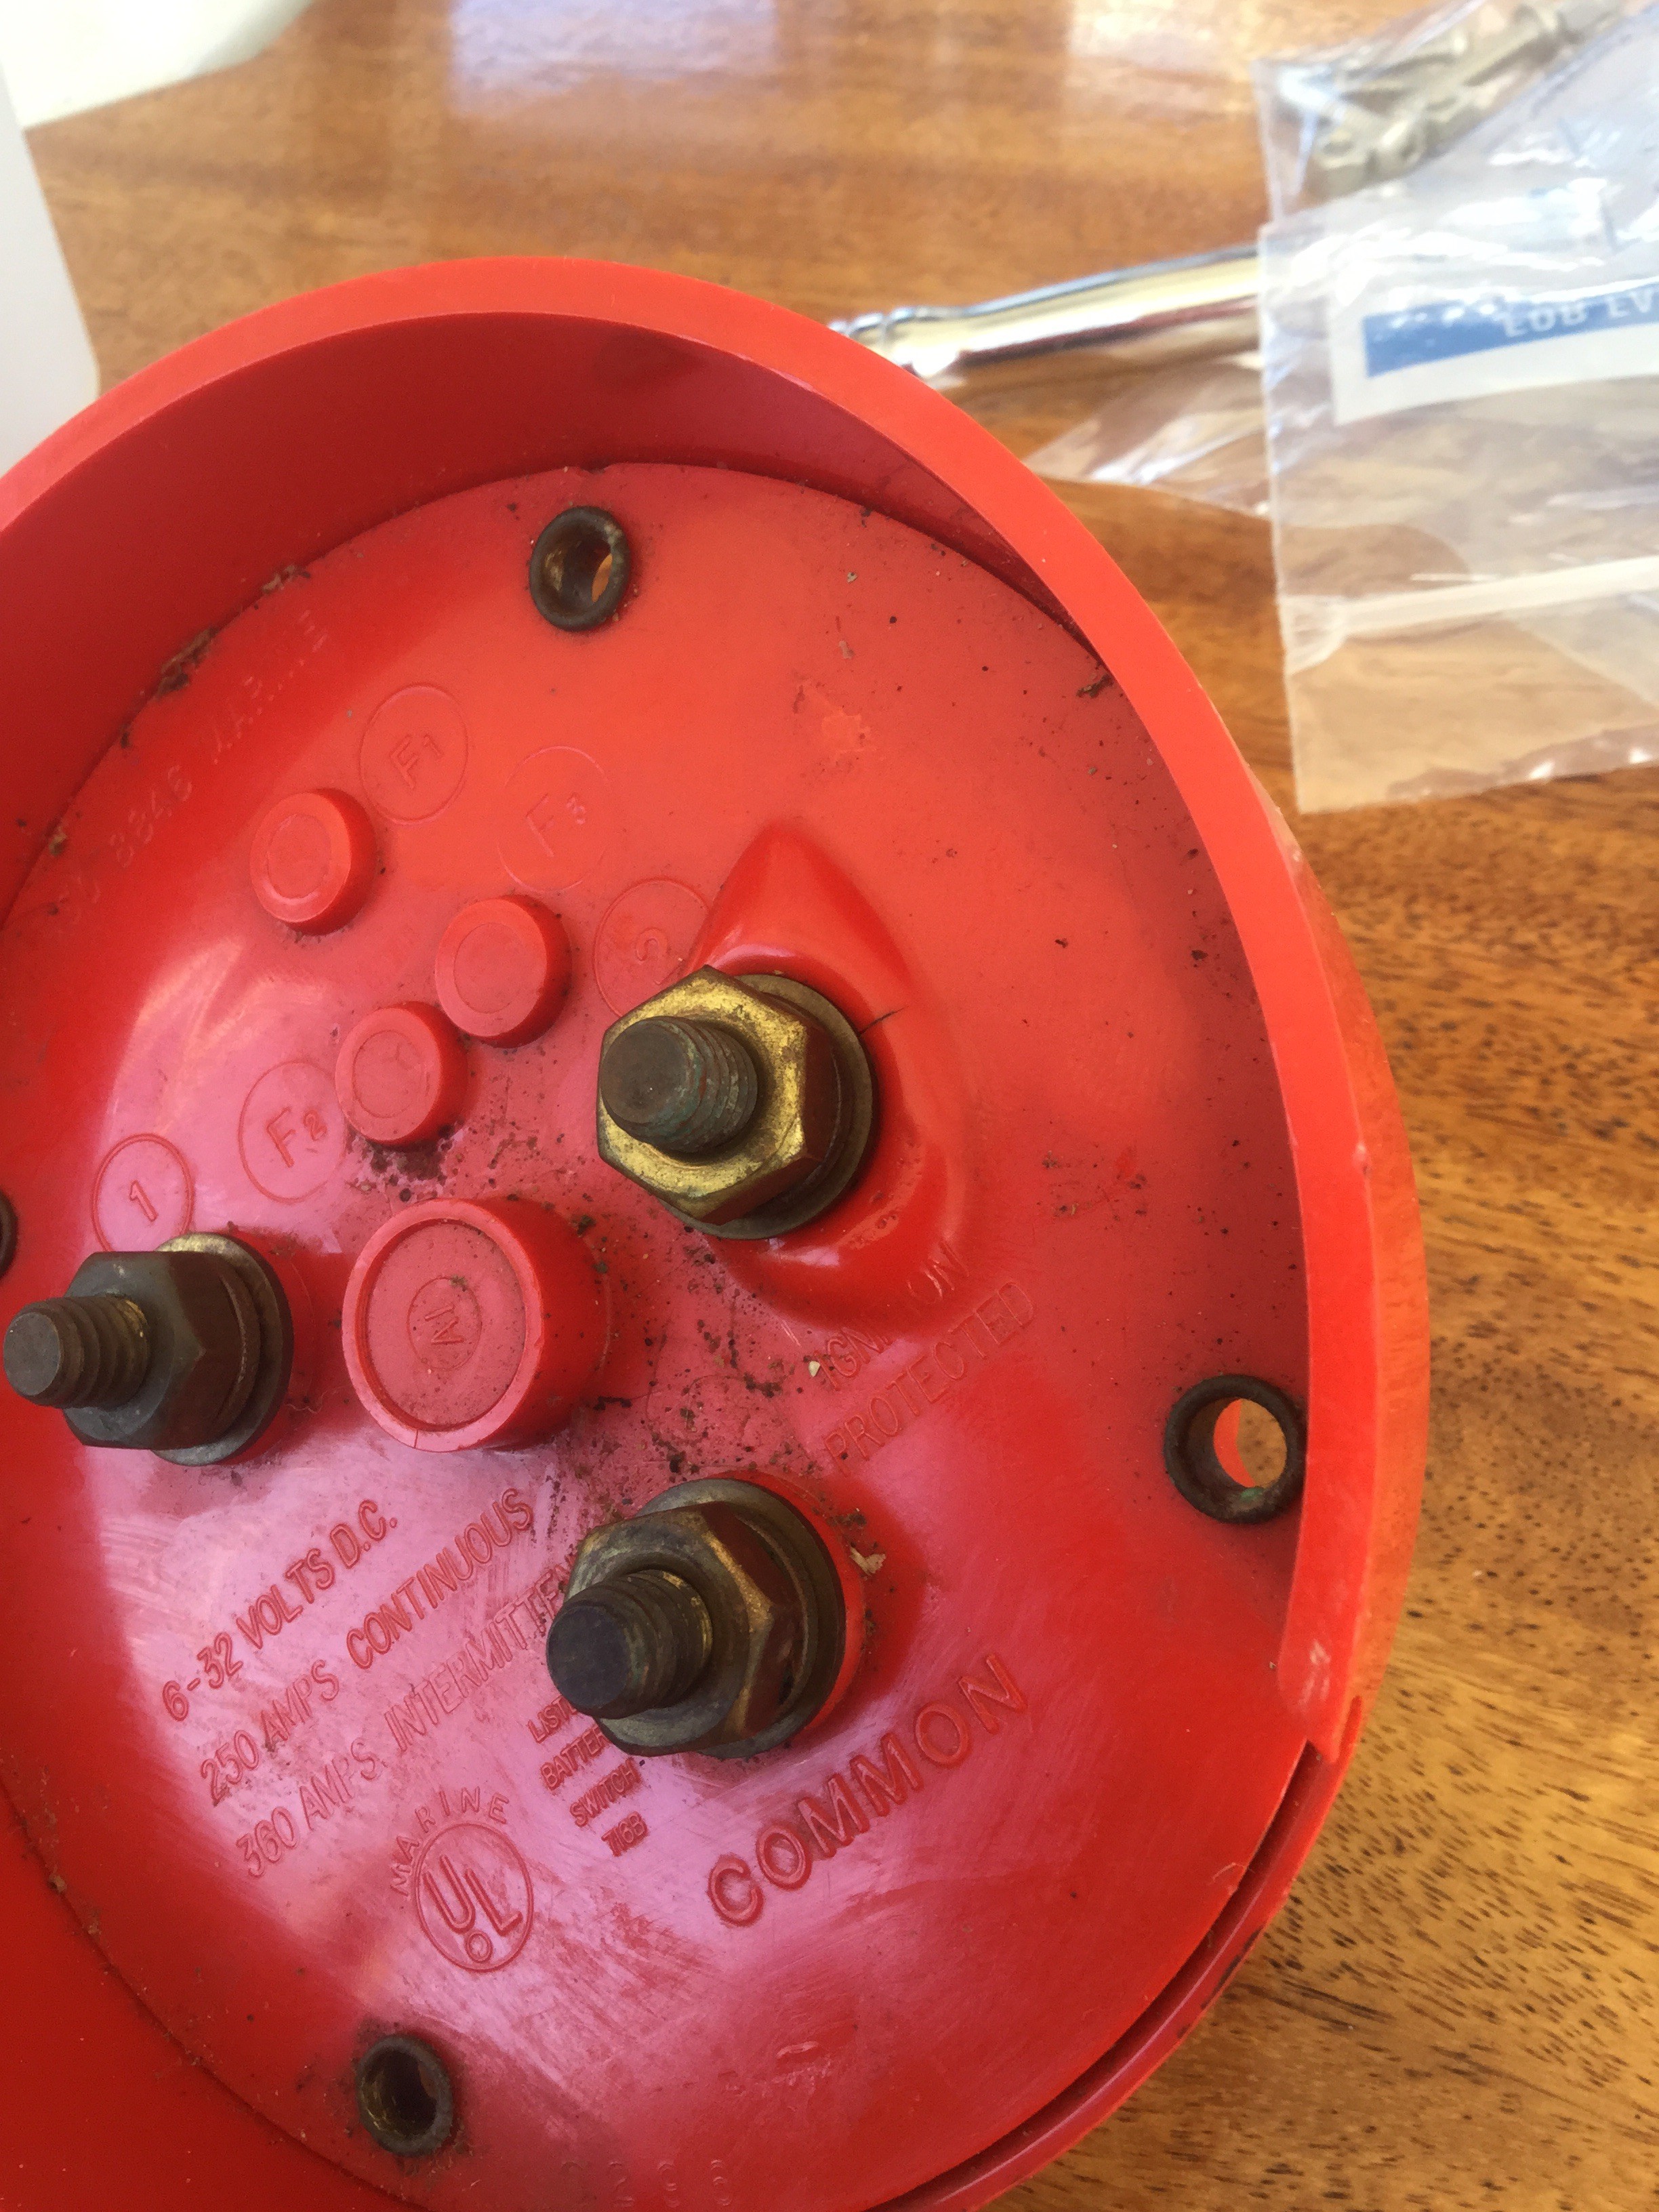
During our rebuild of our heads, (which are Raritan Compact II manual heads, which means they must be manually pumped to drain and introduce water as opposed to electric heads which just require the push of a button) we ran into an issue where the pump assembly, simply would not stop leaking. We disassembled and reassembled the unit about a half dozen times. It had what we thought was just a difficult seal around one of the bolts that holds the pump to the base. My brilliant wife said “could there be a crack in that we can’t see?” Well, long story short even thought we couldn’t see or feel a crack…there was one…..once we we replaced the pump housing….voilá…no leak.

Once the pump was removed we could see the hairline crack on the backside….it looked like a mark from a wrench…..we made sure to inspect all of our spare units and discarded any with a similar mark….so we threw away three of them….which will cost about $110 a piece to replace….ow.
Since we had two sets of visitors it was only right that during each visit one of our heads clogged. Our aft head was first during the first set of visitors and then our forward head lines clogged. Maybe two heads really are better than one ? Haha….you don’t want to be without a head at all. I had even made the comment that “if the aft one has clogged the forward one can’t be far behind” how regrettably right I was. We were glad it happened where we were, rather than away from easy access to transportation and parts. Plus, I had assistance from one of our guests when the forward head clogged. The upside is we have rebuilt pumps and brand new lines for both heads now. These clogs are mostly caused by calcium build up from using salt water to flush the heads. We are considering changing to composting heads in the future but for now they are just too expensive plus we should get four or five years of use after this rebuild.
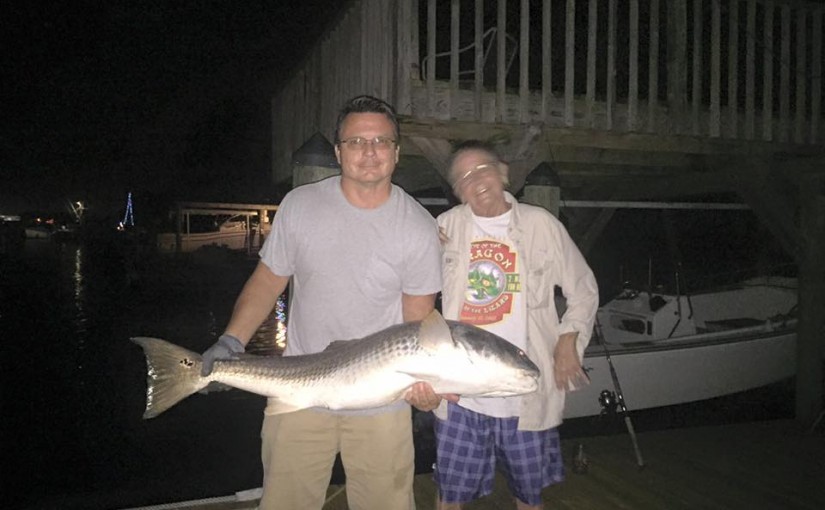
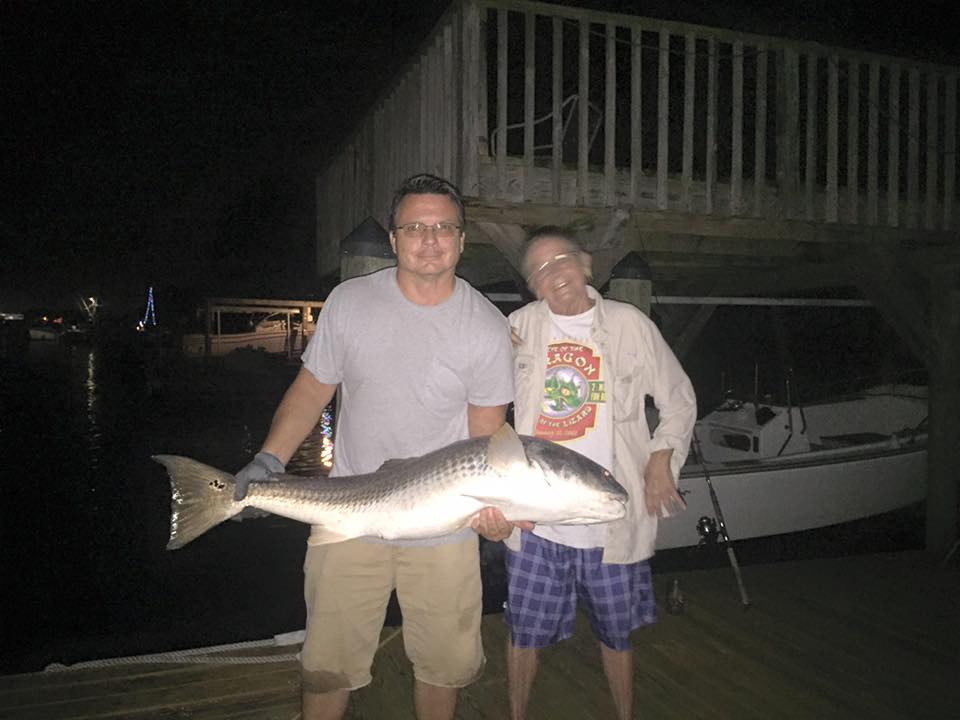
On the upside…between clogged heads…..a neighbor and I landed an enormous Redfish….so two heads did work better than one in that instance……sadly, it was over the size limit to keep but may have been a state record…..
Quick Release Battery Pack — Compatible with all battery-powered Ring Cameras and Ring Doorbells
$34.99 (as of July 25, 2026 07:36 GMT +00:00 - More infoProduct prices and availability are accurate as of the date/time indicated and are subject to change. Any price and availability information displayed on [relevant Amazon Site(s), as applicable] at the time of purchase will apply to the purchase of this product.)
Amazon eGift Card | Birthday
$50.00 (as of July 25, 2026 07:36 GMT +00:00 - More infoProduct prices and availability are accurate as of the date/time indicated and are subject to change. Any price and availability information displayed on [relevant Amazon Site(s), as applicable] at the time of purchase will apply to the purchase of this product.)
Visa Virtual eGift Card - $50 (plus $4.95 Purchase Fee) | For Online Use Only
$54.95 (as of July 25, 2026 07:36 GMT +00:00 - More infoProduct prices and availability are accurate as of the date/time indicated and are subject to change. Any price and availability information displayed on [relevant Amazon Site(s), as applicable] at the time of purchase will apply to the purchase of this product.)
Apple Gift Card - App Store, iTunes, iPhone, iPad, AirPods, MacBook, accessories and more (eGift)
$25.00 (as of July 25, 2026 07:36 GMT +00:00 - More infoProduct prices and availability are accurate as of the date/time indicated and are subject to change. Any price and availability information displayed on [relevant Amazon Site(s), as applicable] at the time of purchase will apply to the purchase of this product.)
Visa Physical Gift Card $25 (plus $3.95 Purchase Fee)
$28.95 (as of July 25, 2026 07:36 GMT +00:00 - More infoProduct prices and availability are accurate as of the date/time indicated and are subject to change. Any price and availability information displayed on [relevant Amazon Site(s), as applicable] at the time of purchase will apply to the purchase of this product.)Auto Amazon Links: No products found.


 Aaron Carmona and his traveling pooch (photo credit to Towne Dock)