Attaching the veneer to the hatch plywood took a little time, some quality wood glue, and a few clamps……
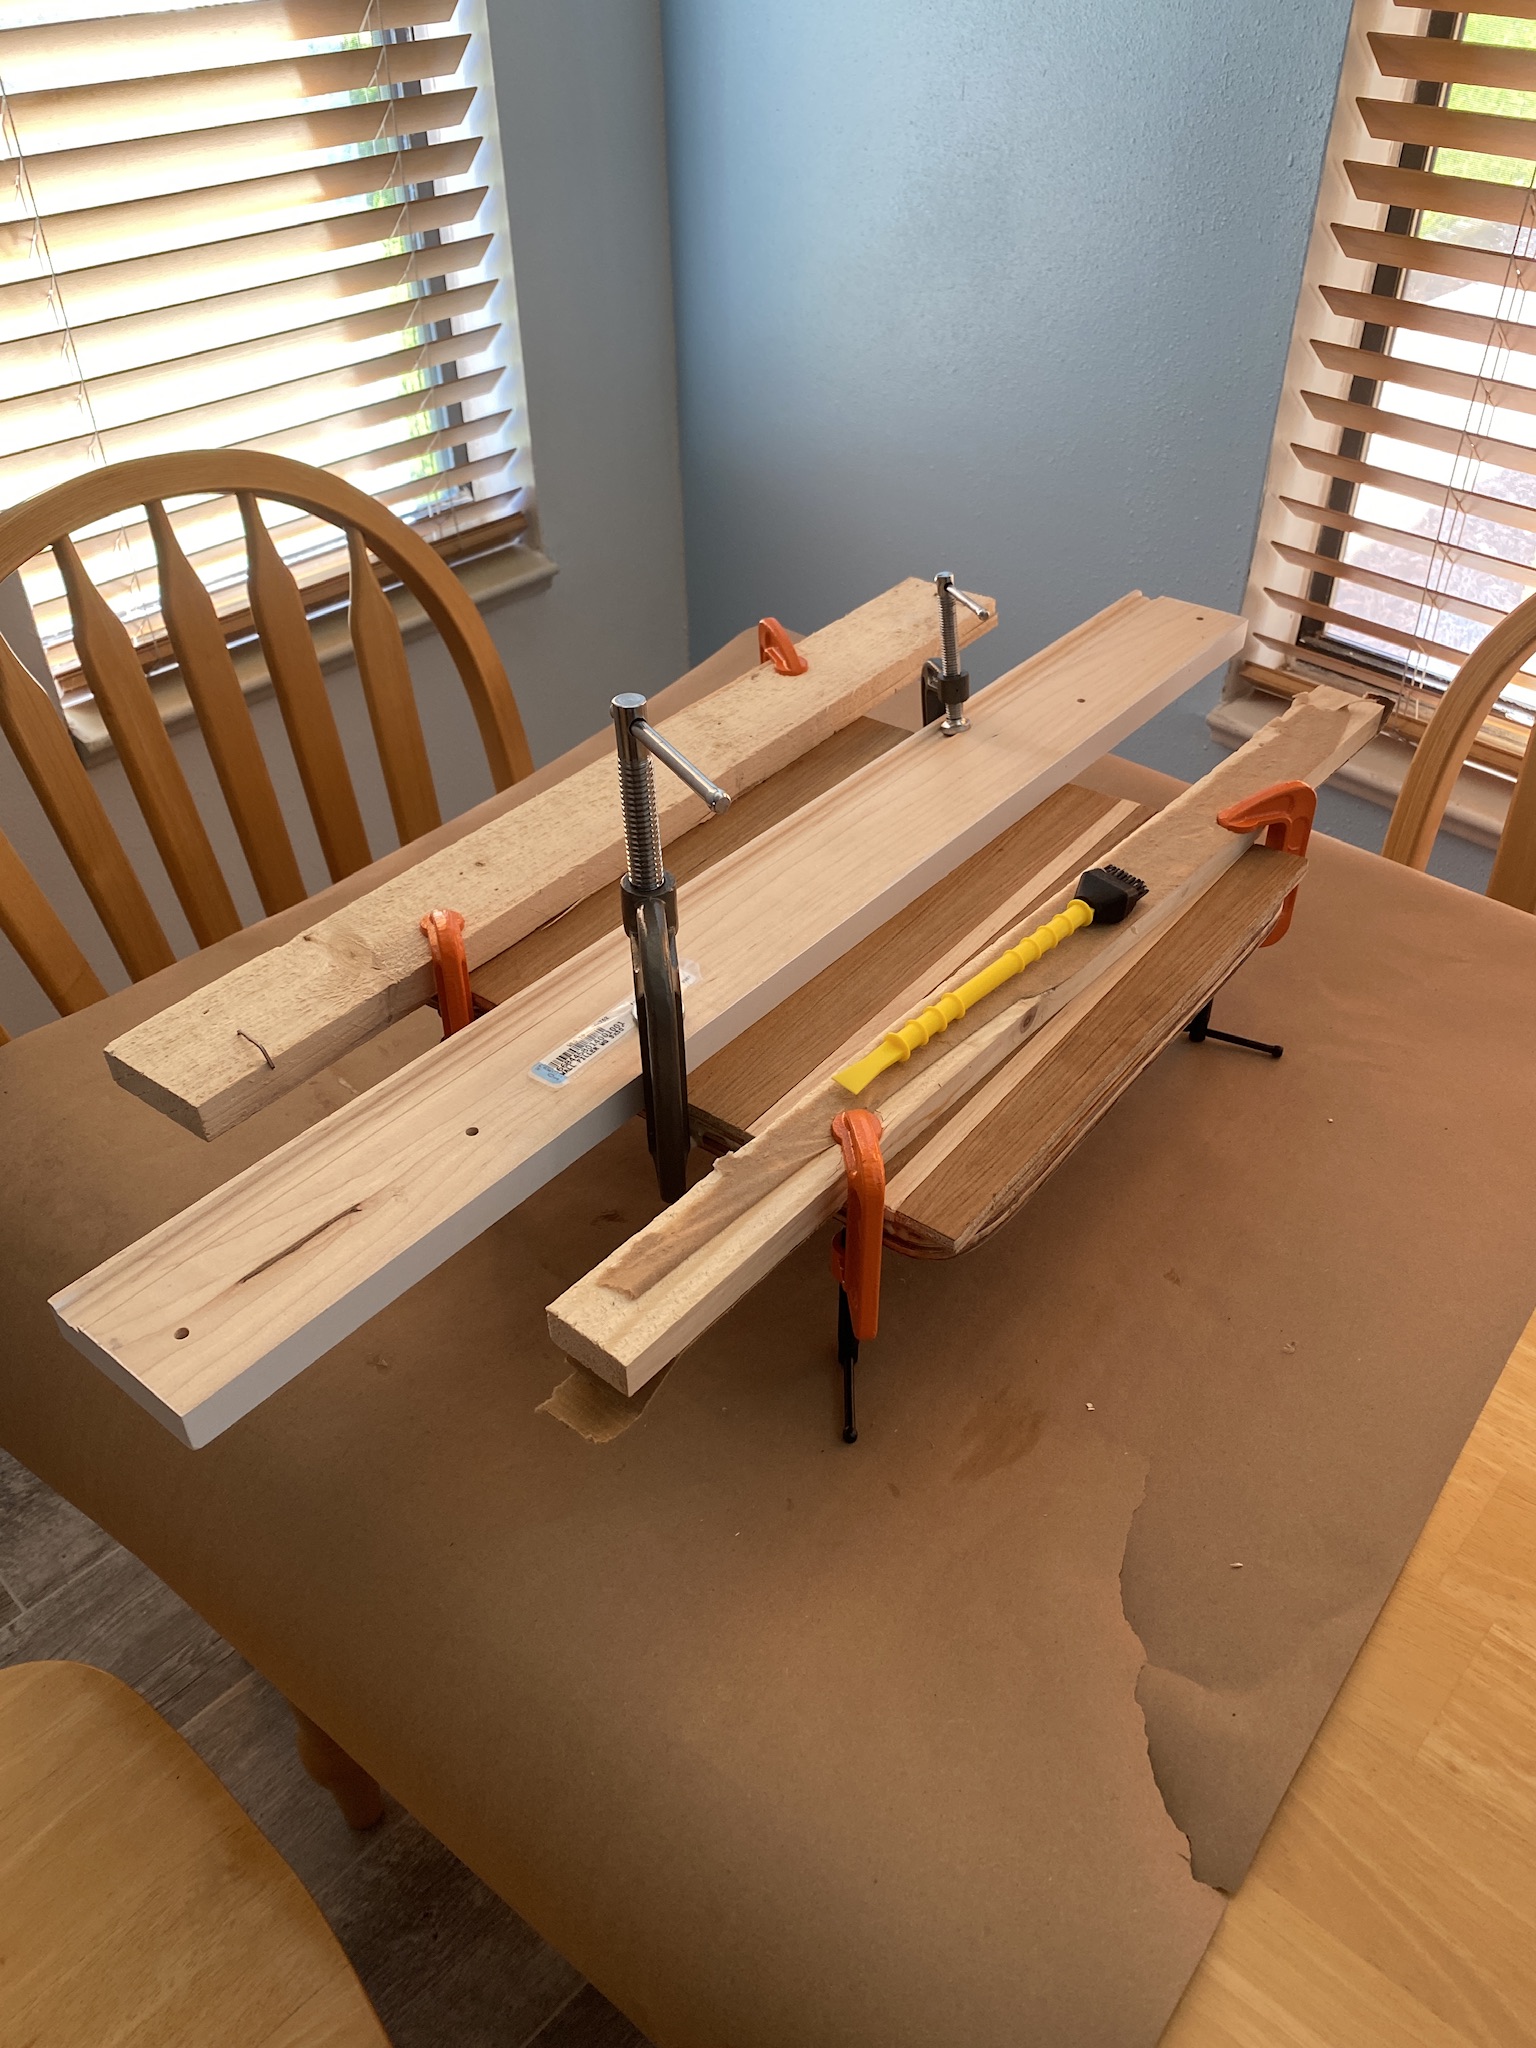
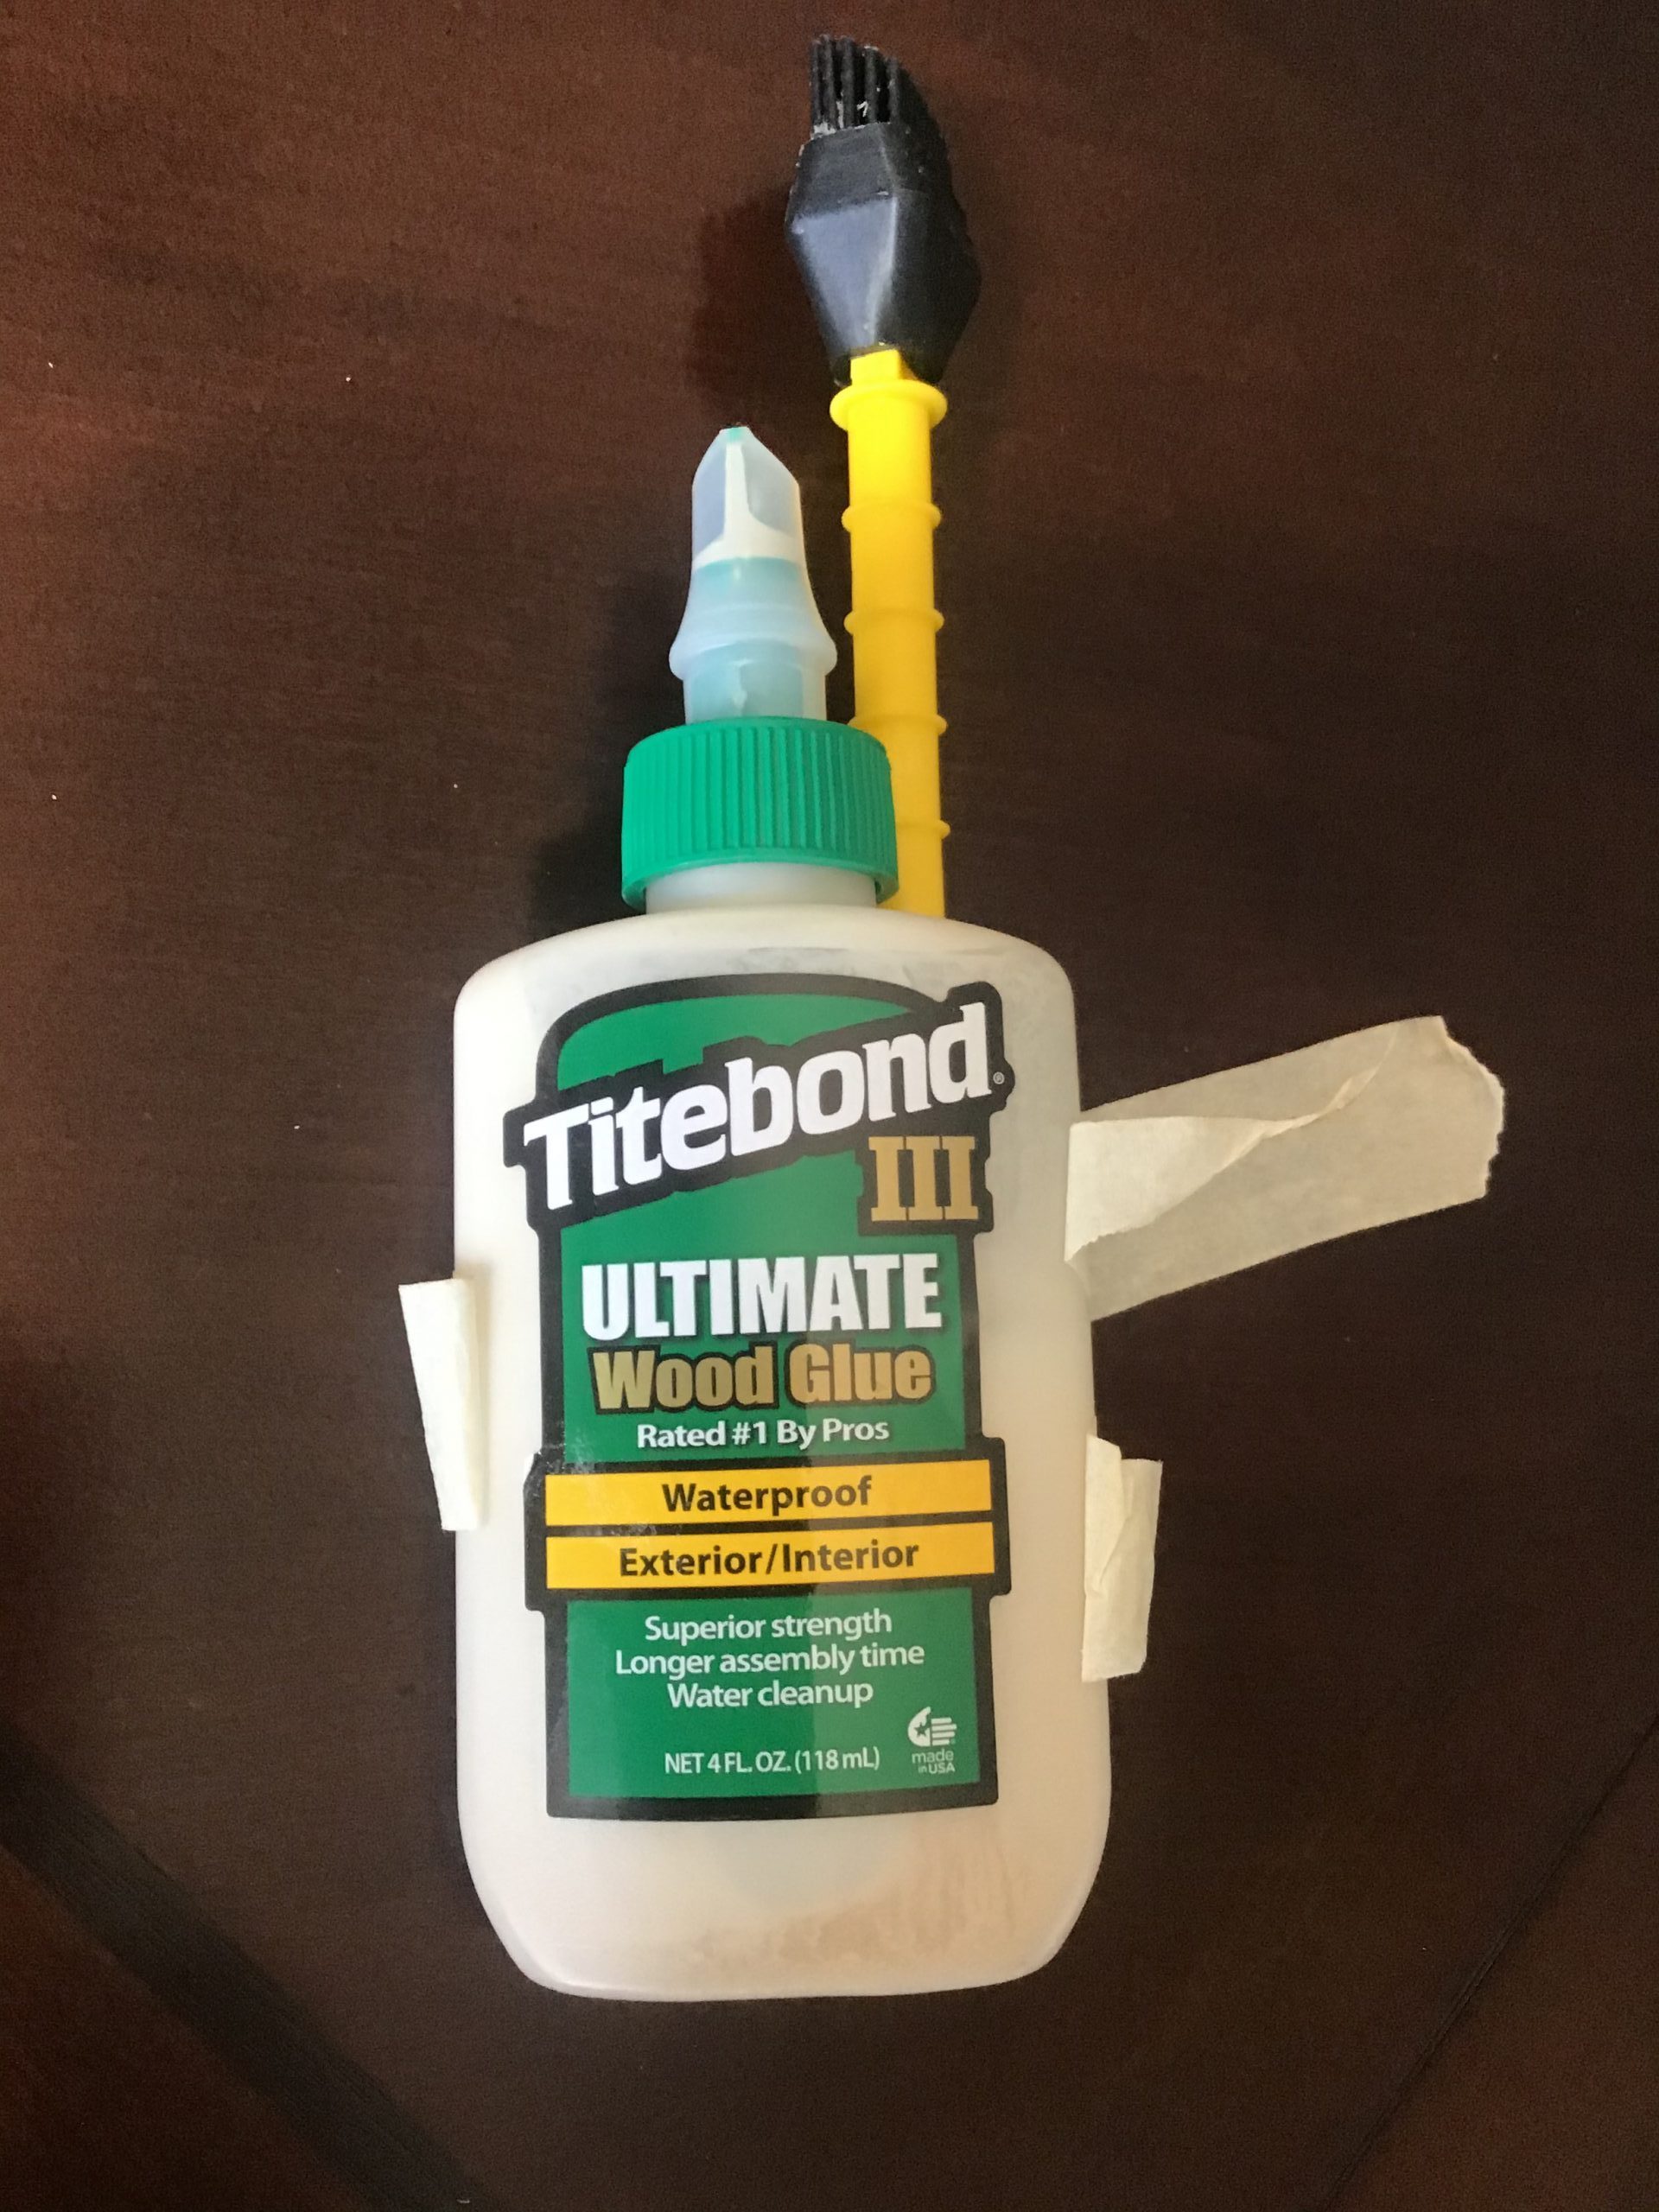
The glue of champions…..
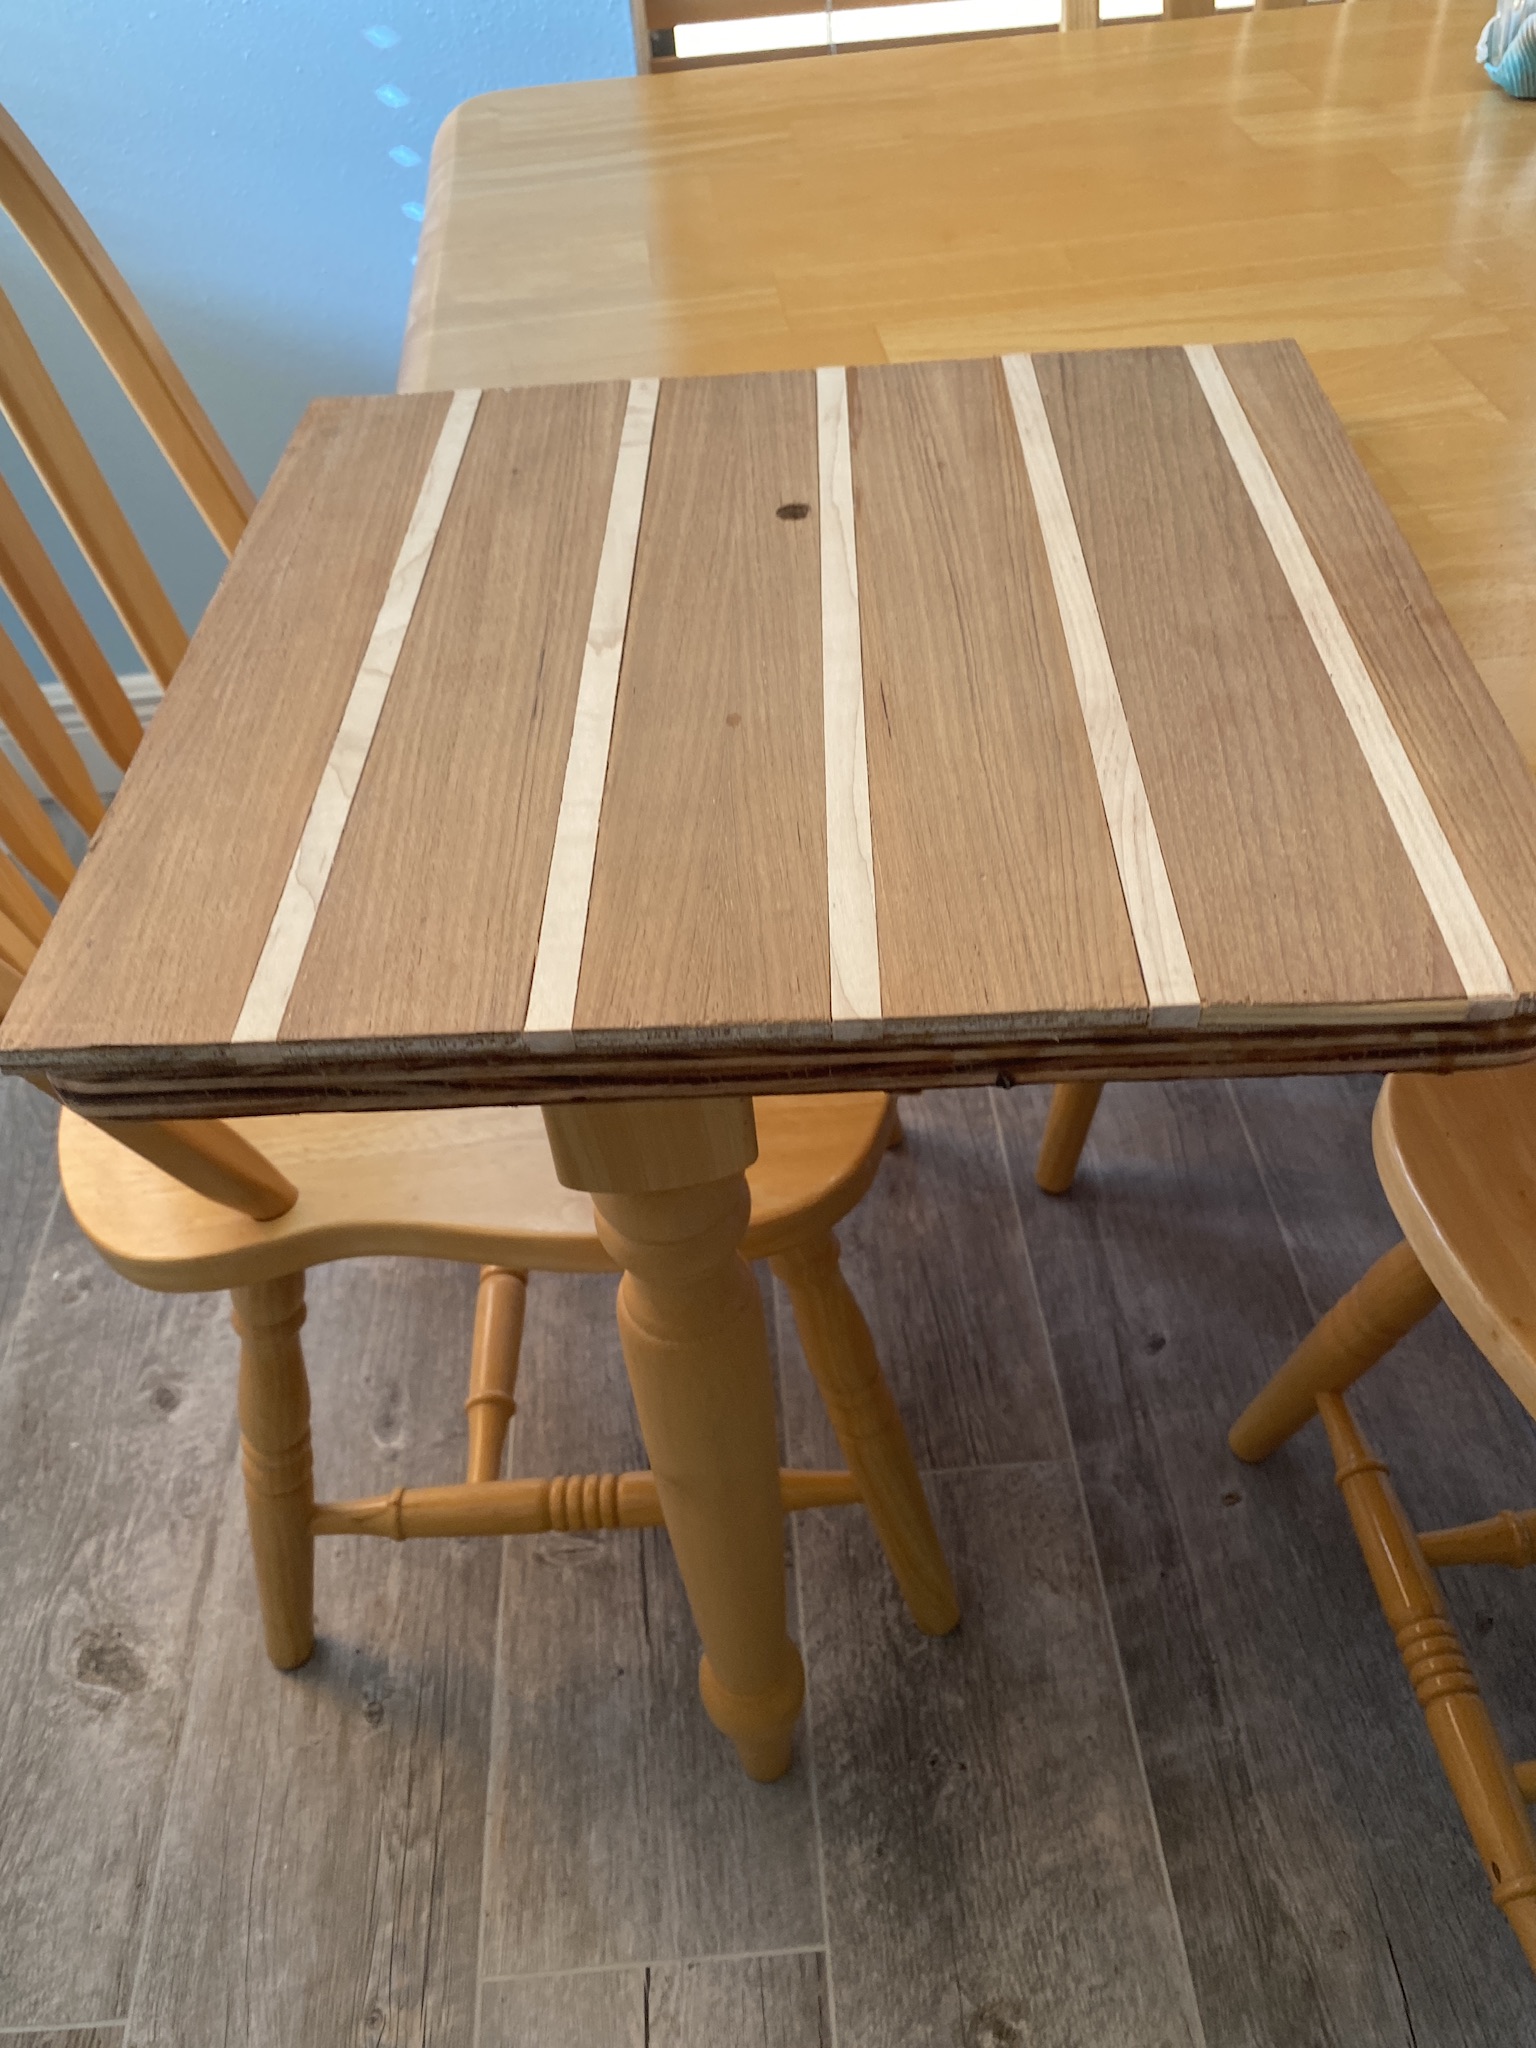
After it was secured …..
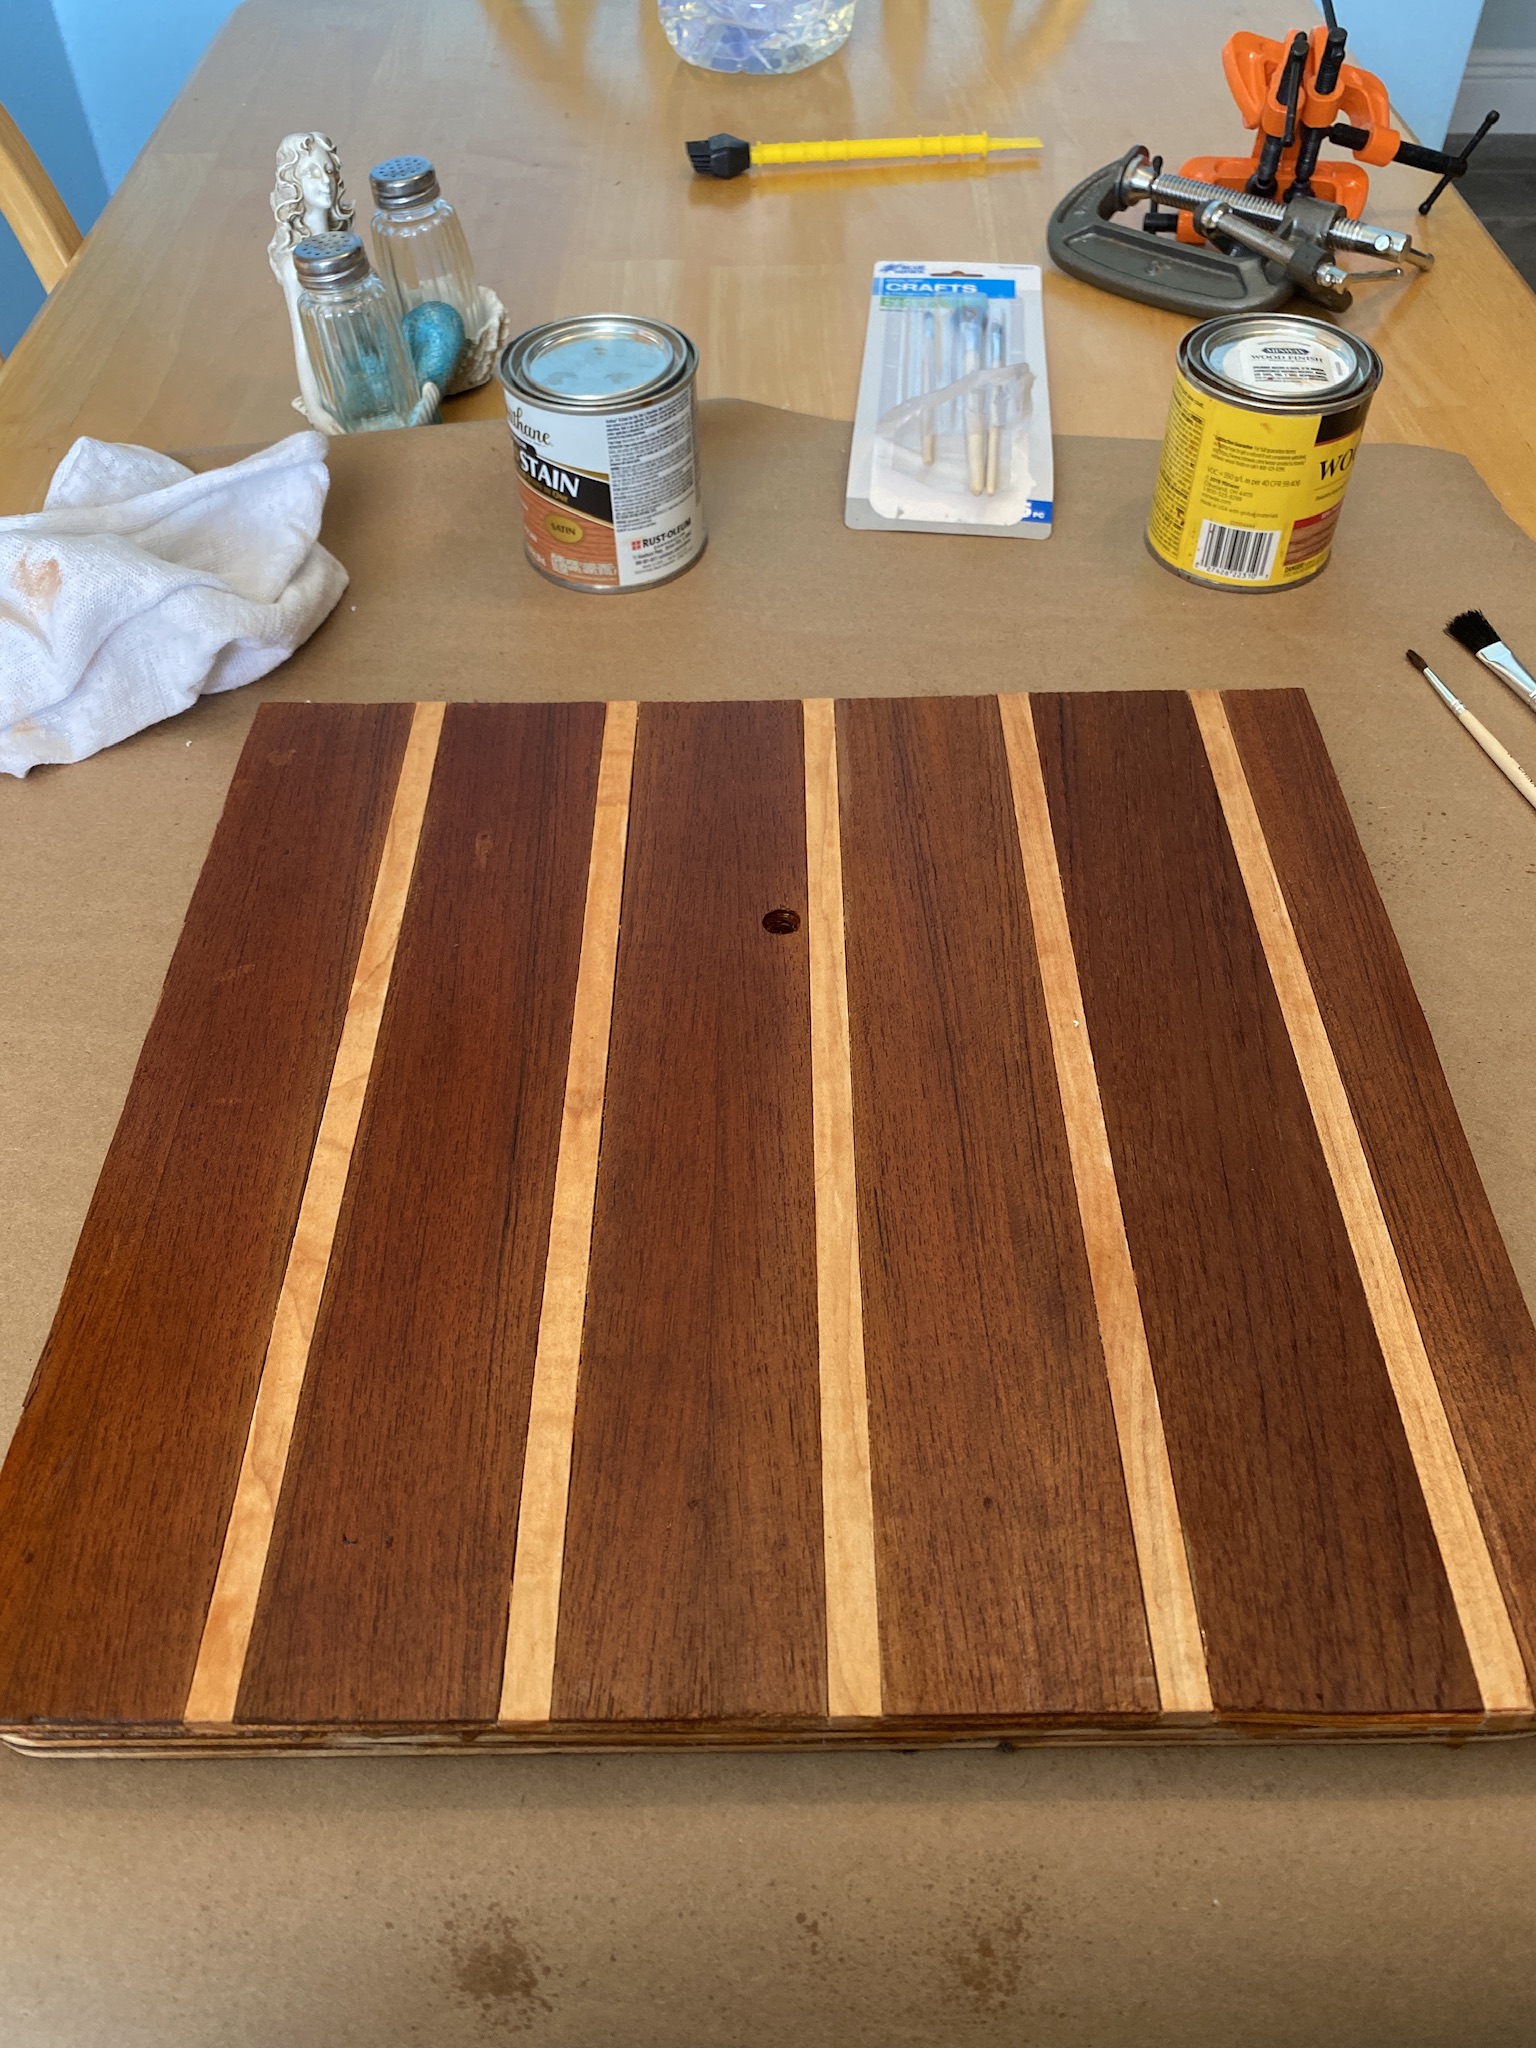
Let the staining begin……it ultimately took about 8 coats for the Light parts (the holly strips) of pecan colored stain and four coats on the teak parts of Gunstock to match the existing floor.
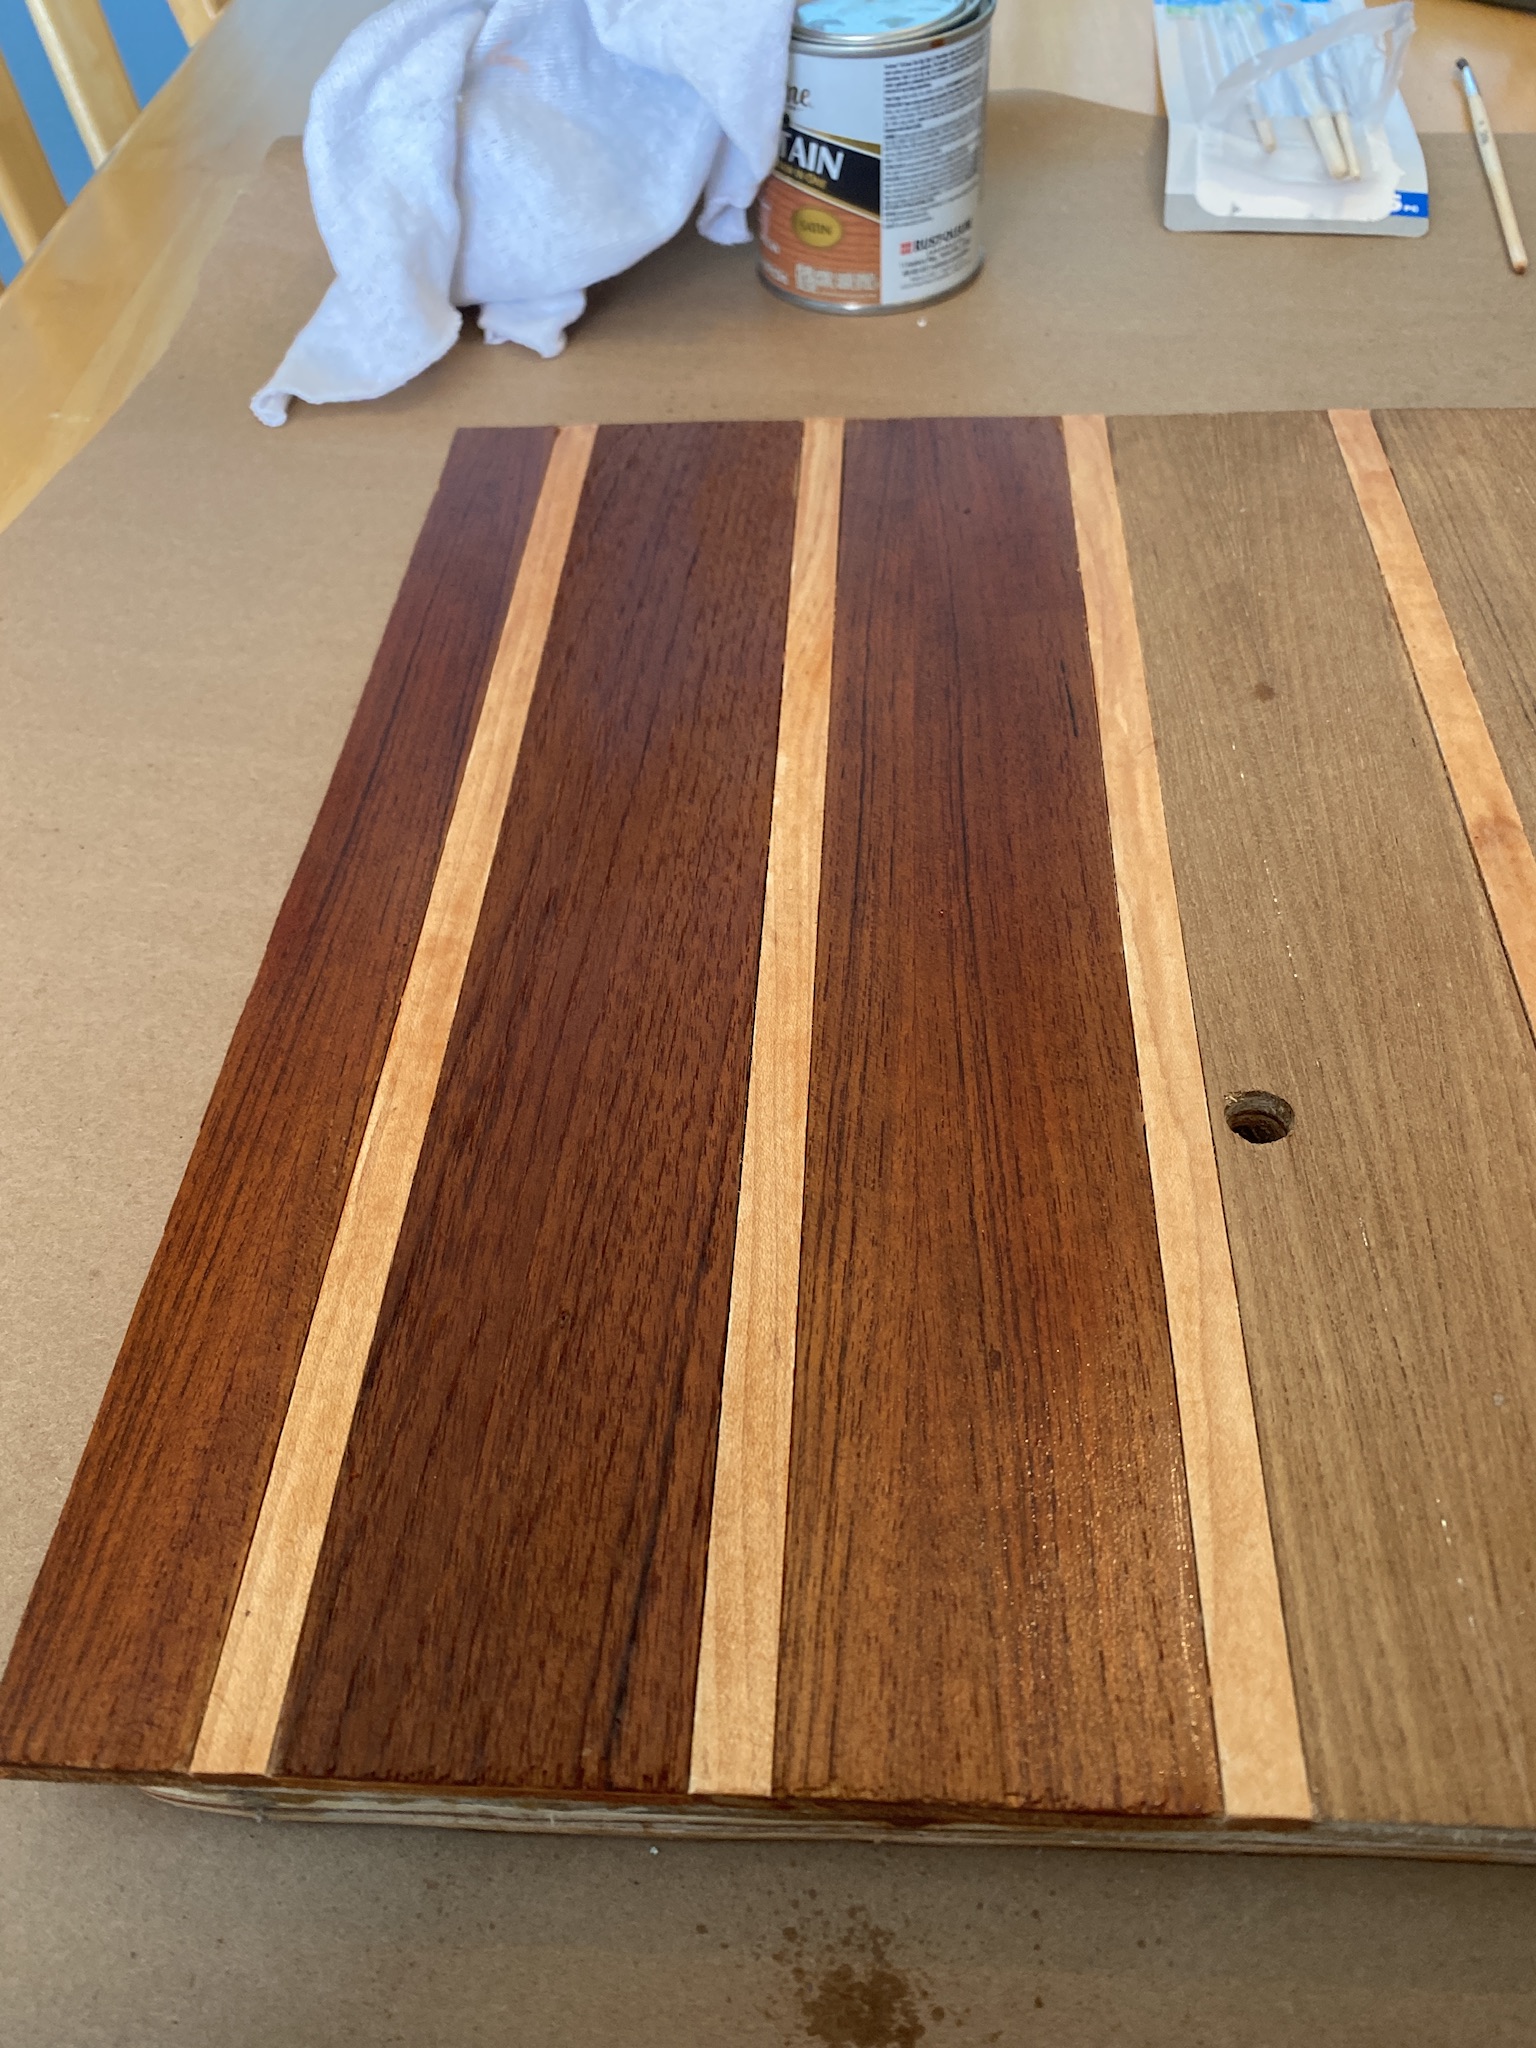
first coats…..
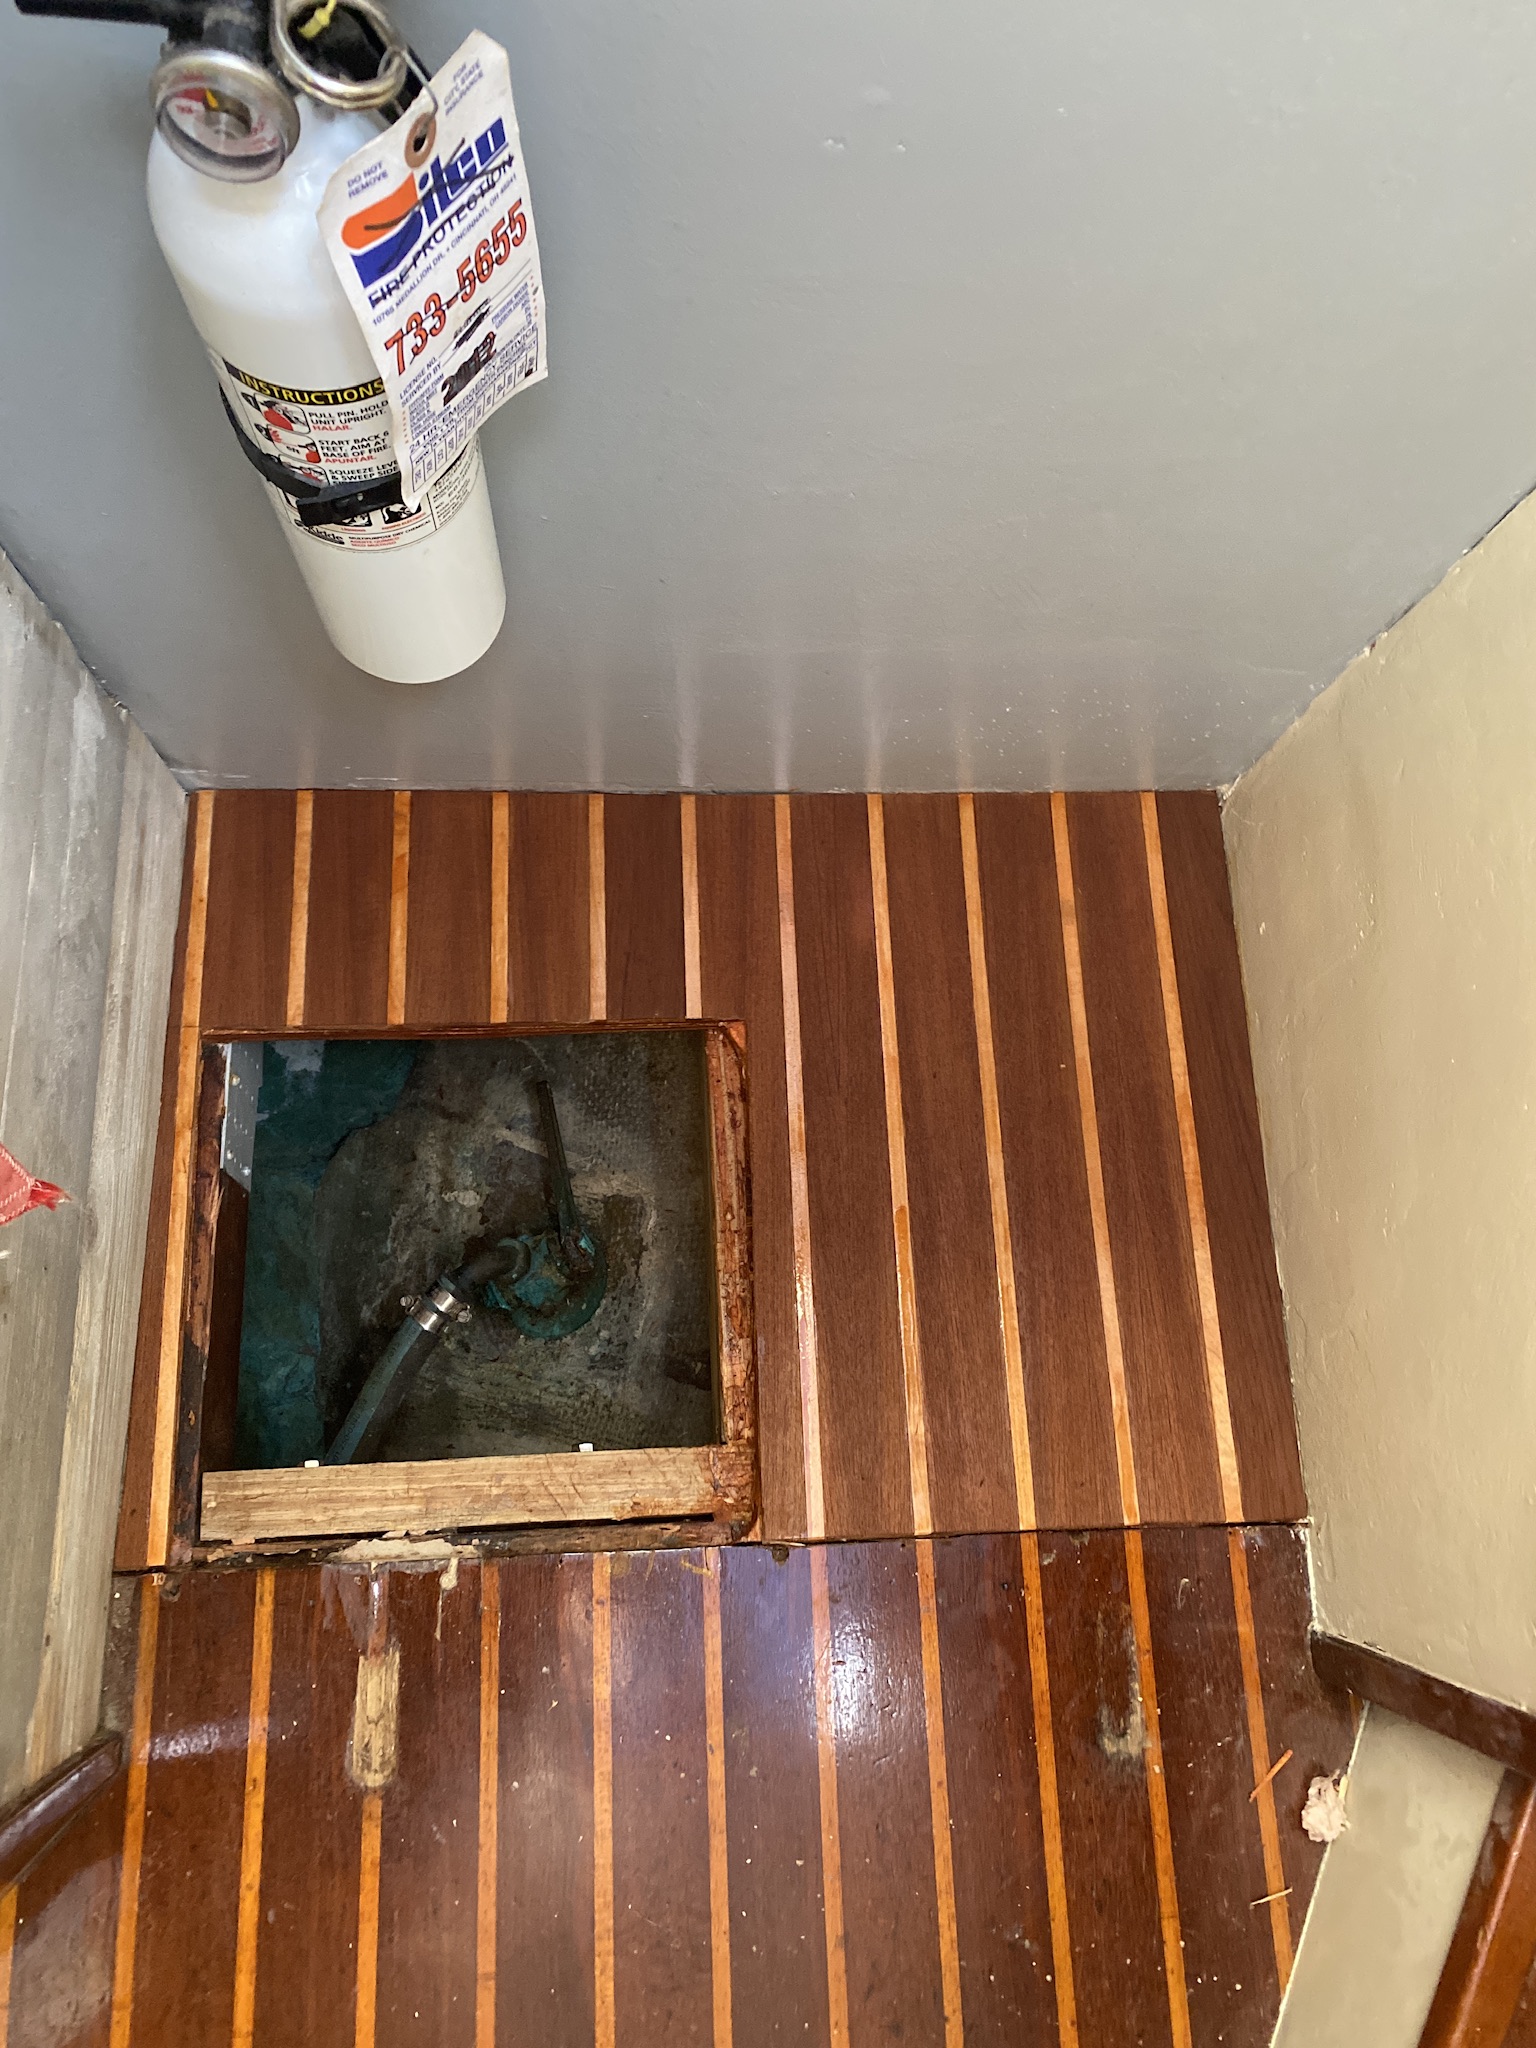
Then it was on to stain the section of floor that had already been replaced.

As you can see, there is a decent amount of difference in the old vs new colors……
This is as close as I felt I could get them to match…..

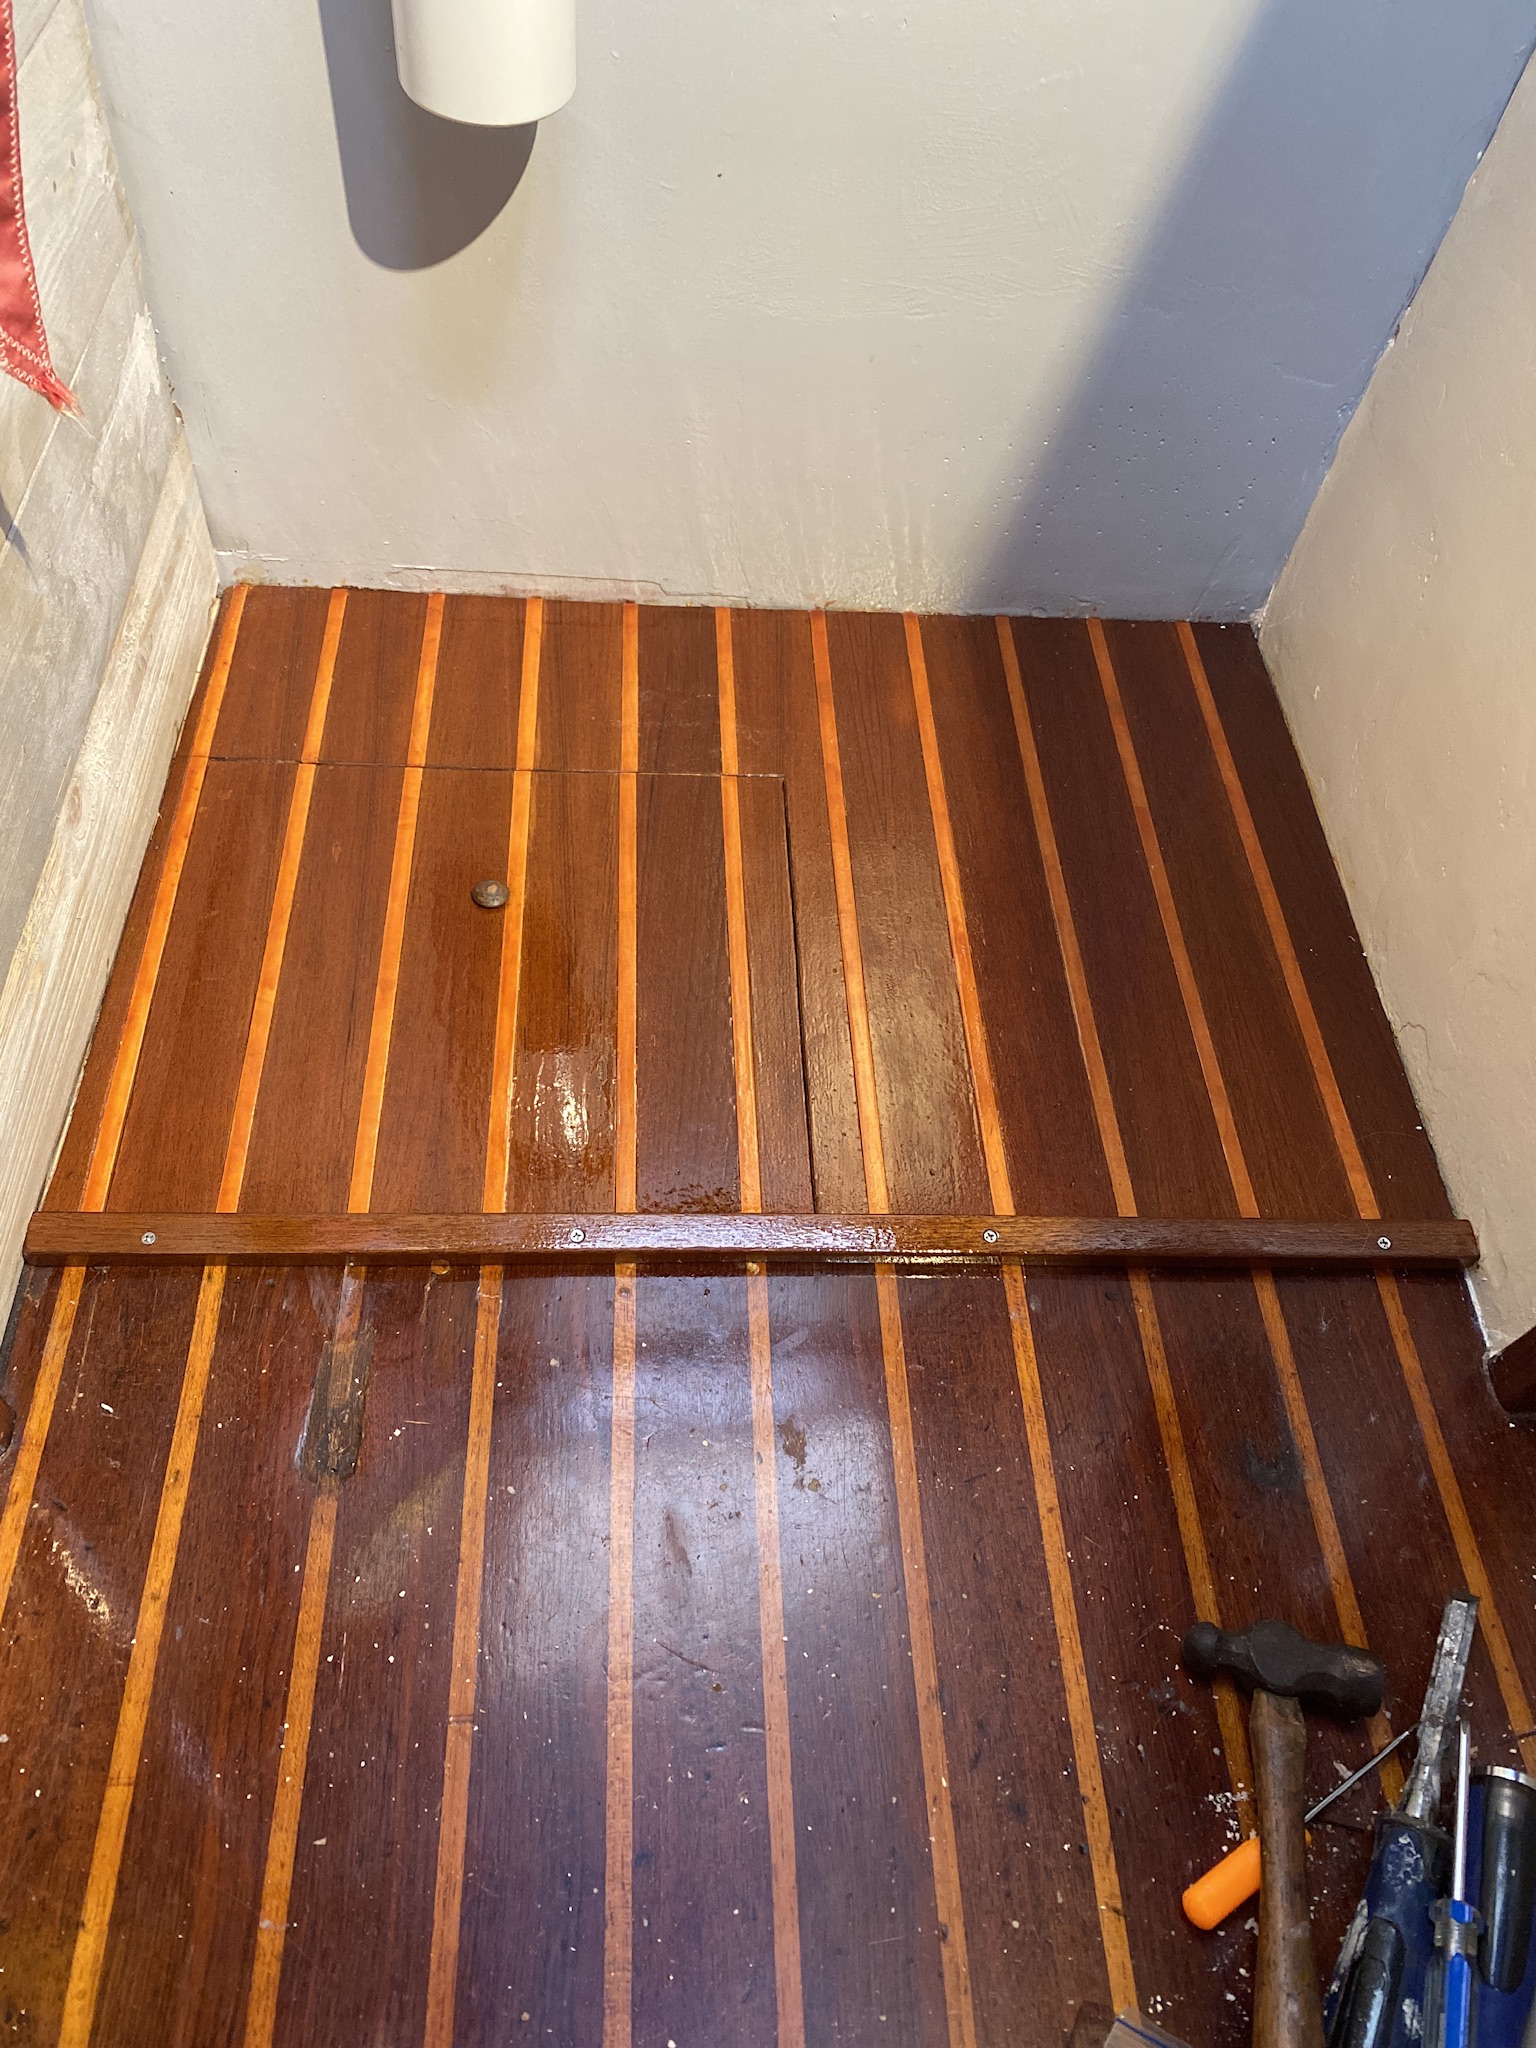

All we need now is some trim pieces to finish it off….. But that’s next time…..

Ring Rechargeable Quick Release Battery Pack
$34.99 (as of May 13, 2026 02:31 GMT +00:00 - More infoProduct prices and availability are accurate as of the date/time indicated and are subject to change. Any price and availability information displayed on [relevant Amazon Site(s), as applicable] at the time of purchase will apply to the purchase of this product.)
Ring Outdoor Cam Plus, Battery (newest model), Home or business security, Wide-Angle 2K Video with Ring Vision, Low-Light Sight for full-color night vision, Mount-Anywhere Versatility, Black
$99.99 (as of May 13, 2026 02:31 GMT +00:00 - More infoProduct prices and availability are accurate as of the date/time indicated and are subject to change. Any price and availability information displayed on [relevant Amazon Site(s), as applicable] at the time of purchase will apply to the purchase of this product.)
Amazon eGift Card | Greetings, Digital Delivery
$50.00 (as of May 13, 2026 02:08 GMT +00:00 - More infoProduct prices and availability are accurate as of the date/time indicated and are subject to change. Any price and availability information displayed on [relevant Amazon Site(s), as applicable] at the time of purchase will apply to the purchase of this product.)
Amazon eGift Card - Mother's Day
$50.00 (as of May 13, 2026 02:08 GMT +00:00 - More infoProduct prices and availability are accurate as of the date/time indicated and are subject to change. Any price and availability information displayed on [relevant Amazon Site(s), as applicable] at the time of purchase will apply to the purchase of this product.)
Amazon Physical Gift Card | Mini Envelope, Appreciation
$10.00 (as of May 13, 2026 02:08 GMT +00:00 - More infoProduct prices and availability are accurate as of the date/time indicated and are subject to change. Any price and availability information displayed on [relevant Amazon Site(s), as applicable] at the time of purchase will apply to the purchase of this product.)Auto Amazon Links: No products found.
Looks like a proper job to me. Well done!
Thanks Barry !!!
Wow, that’s gorgeous!! You did a great job matching it!! Great work!!!
Thanks Barb !!!
That looks awesome! Nice job on the match
Thanks Edmo !!